

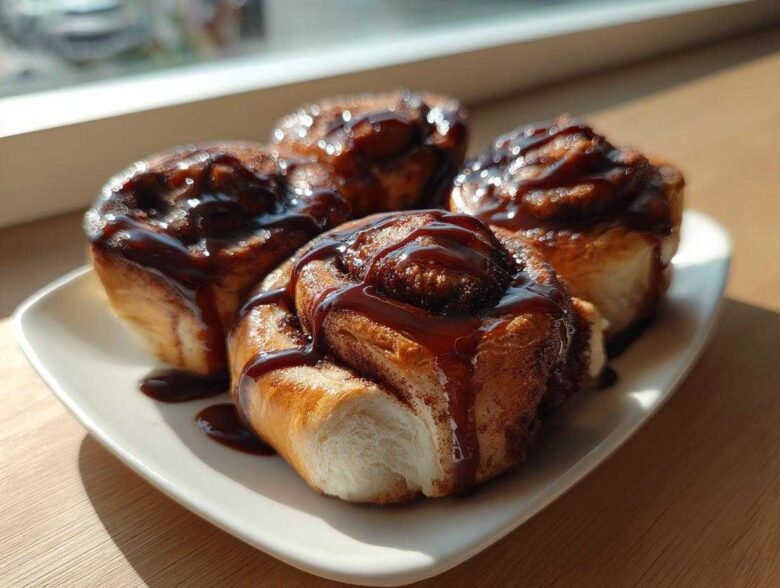
There is just nothing better than waking up on a chilly weekend morning and smelling yeast dough doing its magical rise, promising a decadent treat soon to come. Forget plain cinnamon swirls for a minute; we’re elevating our breakfast game today with my absolute favorite Coffee Rolls! These aren’t just sweet rolls; they are fluffy, yeast-risen beauties infused with that deep, comforting coffee flavor you crave.
I simply adore baking with coffee because it adds a grown-up, complex bitterness that balances the sugar perfectly. The real payoff comes from the intense espresso glaze dripping down the sides. Trust me, this rich coffee swirl bread recipe makes brunch legendary. If you loved how moist my sour cream coffee cake turned out, you are going to freak out over these! Check out that recipe after you nail these rolls!
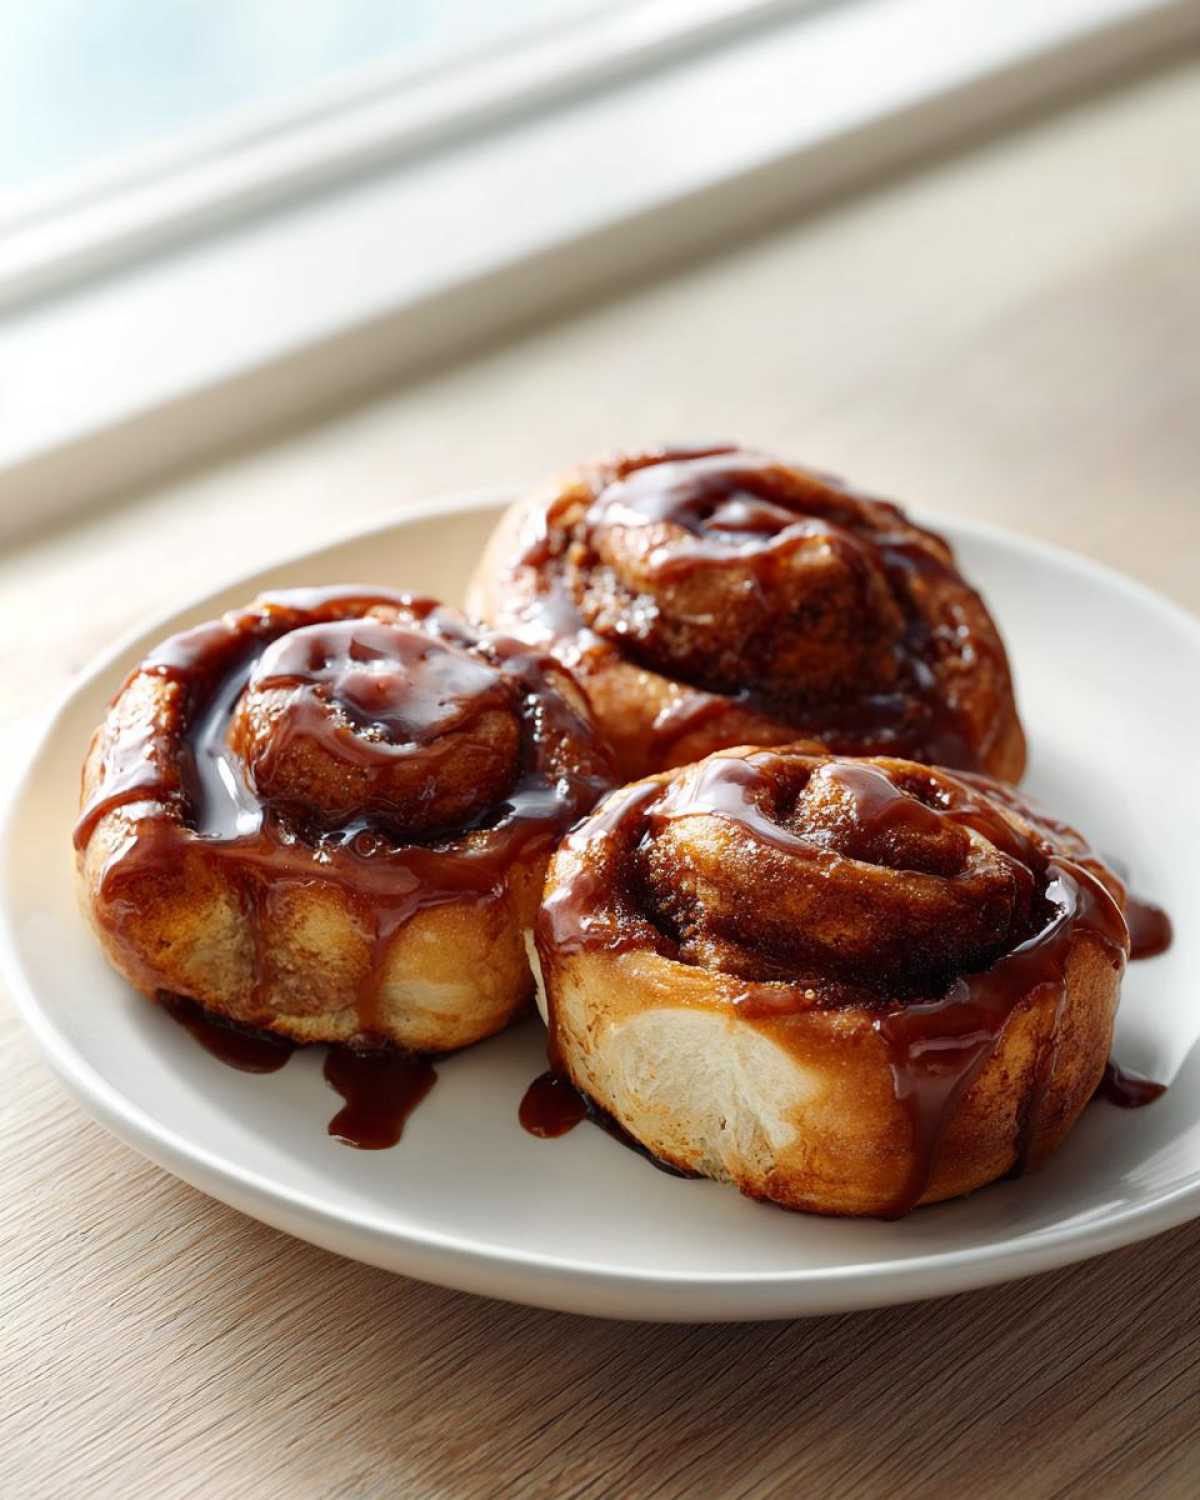
Why You Will Make These Soft Coffee Rolls Recipe Again
I know what you’re thinking: yeast dough, really? Is it worth the time? My answer is a resounding YES! These rolls are leagues above any quick bread version, and I promise you’ll be making them every single weekend once you see the results. Here’s why this recipe is going straight into your favorites folder:
- They are unbelievably soft and fluffy. We’re talking melt-in-your-mouth tender, thanks to the perfect balance of melted butter and milk in the dough.
- The coffee flavor isn’t just a whisper; it’s a bold, rich note in both the dough and the filling that plays so well against the sweetness.
- We are skipping overly complicated steps. While it’s a yeast dough, the process is very straightforward—no weird ingredients needed for this English muffin-level texture!
- The espresso glaze is seriously decadent. It sets up just perfectly—not too runny, not too hard—giving you that gooey topping everyone fights over.
- This recipe yields a good batch (12 rolls!), meaning you have enough for company or glorious leftovers for breakfast the next day.
- It makes your entire house smell like the best gourmet coffee shop you’ve ever visited. That alone is worth the effort!
Essential Ingredients for Perfect Coffee Rolls
Now, I know some people get totally intimidated by dough, especially yeast dough, but I promise you, the magic here is in the simple ratios. We’re using real, quality ingredients to make sure these aren’t just okay rolls—they’re the best homemade coffee rolls recipe you’ll ever try! Organization is half the battle, so I always gather everything and sort it into three piles before I even touch the mixer. It saves so much drama later! You’ll want to make sure you have everything measured out perfectly before starting, just like when I make my homemade English muffins.
For the Coffee Roll Dough
This is where we build the foundation for that incredible softness. You absolutely must have your milk nice and warm—we’re talking 105 to 115 degrees Fahrenheit. If it’s too hot, you’ll kill your yeast, and then we’re sitting here with sad, flat bread! Make sure that active dry yeast has a little teaspoon of sugar to snack on while it proofs. We use about a teaspoon of instant espresso powder right in the dough itself to give the whole bun that lovely underlying coffee note. And when it comes to flour, start with 3 cups and only add up to the 3 1/2 mark as needed; we want soft, not stiff!
For the Gooey Coffee Cinnamon Filling
This filling is where we really layer in that flavor, and it needs to be mixed before the dough even finishes rising. You need 1/2 cup of butter, but listen to me: it has to be truly softened—like silly putty soft! If it’s cold, you’ll tear your beautiful rolled-out dough. Mix that soft butter with packed light brown sugar, the cinnamon, and another teaspoon of espresso powder. That’s right, more coffee power! This creates that rich, slightly dark paste that melts into the most incredible sweet rolls for brunch center when baked.
For the Rich Espresso Glaze
Forget that thin, watery glaze you sometimes see—we want this one to taste like a concentrated shot of espresso over a cloud! You’ll need a full cup of powdered sugar, but the liquid component is crucial. You must use strong brewed espresso or coffee; instant coffee mixed with water just won’t deliver the punch we need here. Add a touch of vanilla extract for balance, and then start adding that coffee just a tiny bit at a time until you get a thick, slow drizzle consistency. If you make it too thin, just whisk in a little more powdered sugar. This glaze really sets these apart from standard cinnamon rolls!
How to Make Coffee Rolls From Scratch: Step-by-Step Tutorial
Alright, let’s get these delicious coffee rolls into the oven! We’re breaking this down so you can’t possibly mess it up. Seriously, if you can follow directions, you will end up with perfect, fluffy yeast rolls with coffee glaze. Just stick to the timing for the rises; that’s where the structure comes from!
Activating the Yeast and Mixing the Dough
First step is waking up that yeast. Mix your warm milk (remember, 105-115°F—not lava!) with the tiny bit of sugar and sprinkle the yeast right on top. Let this just sit for about 5 to 10 minutes. If it gets nice and foamy, give yourself a high-five, because your yeast is alive and ready to work! Once it’s bubbly, mix in the rest of your sugar, that melted butter, the first hit of espresso powder, and the salt. Then, start adding the flour gradually. I always toss in about 3 cups, mix until it just comes together, and only then do I start kneading on the counter with the remainder. You want smooth and elastic dough—about 5 to 7 minutes of kneading should do it.
First Rise and Preparing the Filling
Toss that gorgeous dough ball into a lightly oiled bowl, turn it over so it gets coated, and cover it up. Find a warm spot for it, maybe near the (turned off!) oven, and let it hang out for about 1 to 1 1/2 hours until it’s doubled in size. While that’s happening, you need to whip up that filling we talked about earlier. Get that butter, brown sugar, cinnamon, and the rest of the espresso powder all mixed up until it’s a smooth, spreadable paste. Having this ready means zero downtime once the dough is done rising! I know this isn’t exactly a savory recipe, but if you’re ever making my incredible homemade brown gravy, you learn the importance of getting your base components ready upfront!
Shaping and Second Rise for Fluffy Coffee Rolls
Punch that air out gently! Turn the dough onto a lightly floured surface and roll it out to a perfect 12×18 inch rectangle—try to keep those edges neat. Now, generously slather that coffee cinnamon filling all over the dough. Make sure you leave a clear 1-inch border on one of the long sides; this is our seal! Roll that dough up super tightly, starting from the opposite side, until you are pressing that empty border closed. Pinch the seam hard! Then, cut that log into 12 equal pieces. Place them cut-side up in your greased 9×13 pan and cover it again for its final, puffy rest—about 30 to 45 minutes. They should look puffy and cozy together!
Baking and Applying the Coffee Glaze
Fire up your oven to 375°F (190°C). Bake these beauties for about 20 to 25 minutes. You’re looking for a lovely golden brown across the top. While they bake, whisk together your glaze ingredients—powdered sugar, vanilla, and that strong brewed espresso. When the rolls come out, let them sit for a quick 5 minutes, and then go wild drizzling that rich glaze all over the warm tops. That slight warmth lets the glaze melt just enough to sink down into all the cracks. You can check out my trick for no-fail cinnamon rolls if you want more confidence when rolling and cutting!
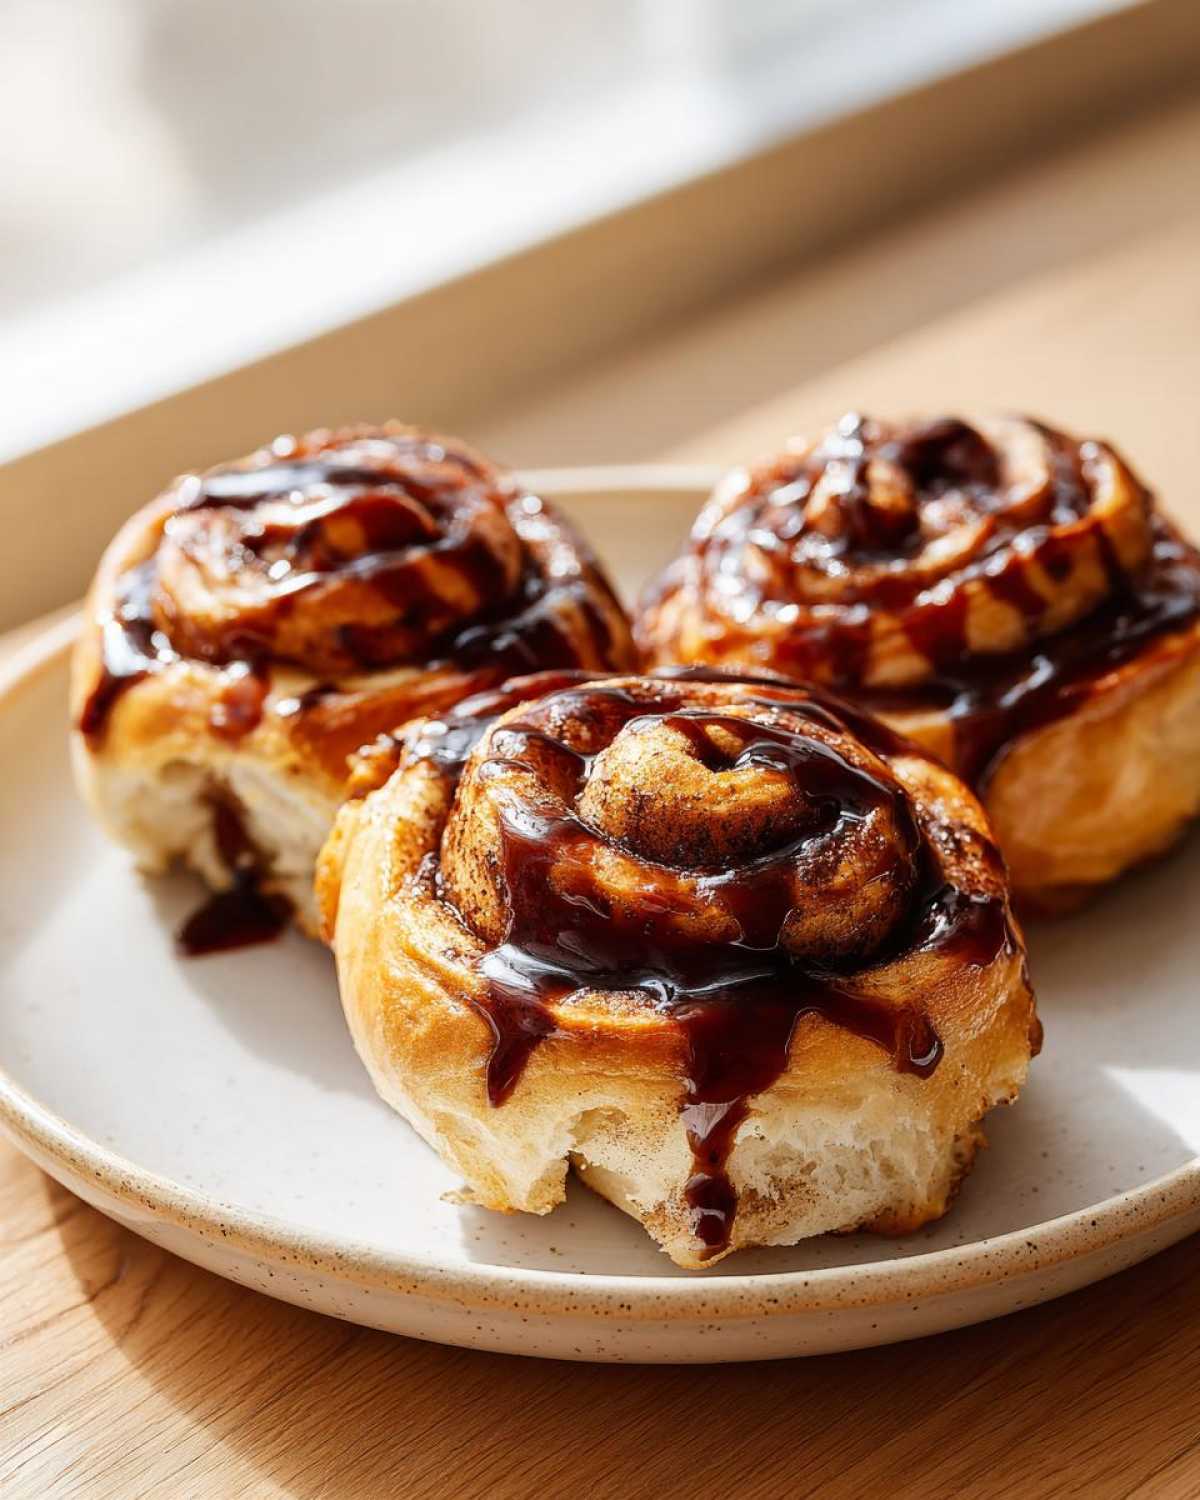
Tips for Success with Your Coffee Rolls Dough
Working with yeast dough can feel a little intimidating sometimes, but seriously, don’t sweat it! The number one thing I learned—the hard way, mind you—is dough temperature. If your kitchen is too cold, that first rise takes forever, and sometimes the yeast just gives up. I remember one winter trying to make these rolls; they barely budged after two hours! So, my fix? I turned off my oven, put the bowl inside, and just let it sit there cozy warm. Worked like a charm!
Also, when you are kneading, remember why we’re doing it: to develop gluten for that fluffy texture. You want elastic, not tacky. If your dough feels sticky even after you’ve added that extra half cup of flour, it means it’s probably still a bit underdeveloped. Keep kneading! It’s worth the arm workout for the soft, pillowy texture you want in these sourdough sandwich bread-level soft rolls. Trust your hands on this one!
Ingredient Notes and Substitutions for Coffee Rolls
One thing I love about this recipe is how forgiving it is, even though we aim for perfection! Since we are baking with coffee, people always ask me about the best way to pack that flavor in, especially if they don’t keep fancy espresso powder stocked. I’ve got you covered for common swaps here.
If you don’t have pure instant espresso powder on hand—which I highly recommend for that deep flavor—you can certainly use instant coffee granules, it just won’t be quite as concentrated. Just measure it cup-for-cup! If you’re leaning into the coffee theme even more, you should check out my recipe for the Horchata Iced Latte—it’s got that amazing coffee/spice vibe.
Now, let’s talk about that glaze thickness, because nobody wants a puddle of sugar water running off their roll! The recipe calls for 2 tablespoons of strong espresso, but that depends entirely on how strong you brewed that coffee! If your glaze looks too thin to really coat the rolls nicely, just whisk in one more tablespoon of powdered sugar until it flows slowly off your whisk. If, heaven forbid, you accidentally made it too thick and paste-like, just stir in half a teaspoon of warm milk or coffee at a time until it’s pourable again. These adjustments are just part of the fun of baking, really!
Storage and Reheating Instructions for Coffee Rolls
Okay, so you made a dozen perfect rolls, and now you have to figure out how to keep them tasting fresh for tomorrow. These yeast rolls are so soft that if you just leave them out uncovered, they’ll get hard faster than you can say ‘espresso glaze’! The best way to store leftovers is right in the same 9×13 pan you baked them in. Make sure the rolls are completely cooled down first, then cover the whole thing tightly with plastic wrap and aluminum foil—I use both layers for a good seal.
They stay perfectly soft at room temperature for about three days stored this way. If you know you won’t get to them before then, these freeze like a dream! You can freeze them either glazed or unglazed; I usually freeze them *before* I put the glaze on, just because sometimes the glaze gets a little sticky in the freezer.
To freeze, place the cooled rolls (or cut them into individual portions) in a freezer-safe, airtight container or heavy-duty zip-top bag. They are good in the freezer for up to three months. When you’re ready to eat them, the reheating trick is everything! Don’t even think about the microwave unless you’re just heating one roll for 10 seconds. For that bakery-fresh softness, wrap a few rolls in foil and pop them in a 350°F oven for about 10 minutes. If you froze them unglazed, now is the time to quickly whip up a batch of glaze and pour it over them while they’re warm. If you’re looking for other big-batch treats, this homemade hot cocoa mix is perfect for pairing with these rolls on a cold morning!
Serving Suggestions for Your Coffee Rolls
Oh, the best part! These coffee rolls are rich all on their own, but pairing them with the right sidekick makes them next-level decadent. Since the rolls already have that lovely coffee flavor built right in, I tend to pair them with something creamy or something that bridges nicely into the brunch territory.
If you’re serving these for a slow weekend brunch, they are fantastic alongside a big platter of fruit—maybe some fresh berries or sliced melon to cut through the sweetness of that espresso glaze. If you happen to be making my version of the stuffed French toast, you’ll want to save the rolls for later, as that’s a heavy hitter meal! For beverages, it’s obvious, right? A glass of cold milk is classic, but if you’re feeling fancy, you should absolutely try them with something cold, like my copycat pumpkin cream cold brew. The cool creaminess against the slightly sticky, warm roll is just heaven. Honestly, though? Just a hot cup of black coffee works perfectly to balance out all that sugar and flavor complexity.
Frequently Asked Questions About Coffee Rolls
I know you’ve probably got a few buzzing around in your head now that you’ve seen how rich these get! It’s totally normal when tackling a new yeast recipe. You want to make sure everything goes smoothly, especially when you’re aiming for those perfect, gooey coffee cinnamon rolls. Let me try and answer the ones I get asked most often about this recipe.
Can I make the dough for these Coffee Rolls ahead of time?
Yes, you absolutely can! This is one of my favorite little tricks for having sweet rolls for brunch ready without waking up at 4 AM. After you knead the dough (Step 3), you put it in the lightly oiled bowl, cover it tight, and instead of leaving it on the counter, stick it in the fridge overnight—up to 18 hours works great. The cold drastically slows down the yeast, giving the dough a long, slow “cold proof.” When you take them out in the morning, let them sit on the counter for about an hour to warm up just a tiny bit before punching them down and rolling the filling in. It makes the whole process feel way easier!
How to get the softest and sweet coffee rolls texture?
It all comes down to two main things, and they happen early on! First, the yeast activation in Step 1. If that milk isn’t between 105°F and 115°F, your yeast is sluggish or dead, and that means a flat roll. You need that foamy head! Second, kneading. You have to work that dough until it’s truly smooth and elastic. If you stop kneading early, you won’t develop enough gluten structure, and the rolls will be dense instead of pillowy. Really work it for those full 5 to 7 minutes until it springs back when you poke it. If you’re looking for other baking feats, these no-bake cheesecake bites are easy, but these rolls need a little love!
Can I use standard brewed coffee instead of espresso powder in the dough?
You sure can substitute brewed coffee for the espresso powder in the dough, but you have to be careful how much liquid you add! If you swap the teaspoon of espresso powder for coffee, you need to reduce the milk in the recipe by about two tablespoons, or the dough will be too loose. Remember, the espresso powder dissolves but doesn’t add extra liquid volume like brewed coffee does. For the glaze, though, I still insist on the strongest brewed coffee you can manage for that deep flavor punch!
Quick Facts and Estimated Nutrition for Coffee Rolls
I always keep this quick reference handy for when someone asks how heavy these indulgence rolls really are! Keep in mind that since we are making these from scratch, these numbers are just a baseline estimate per roll. If you use more sugar in the filling or extra-thick glaze, your numbers will climb! Feel free to check out all my other breakfast recipes for more ideas.
- Yield: 12 glorious rolls
- Prep Time: 30 minutes (plus rising time!)
- Cook Time: 25 minutes
- Estimated Calories: 350 per roll
- Fat: 16g
Disclaimer: Nutritional information listed here is an estimate based on the standard recipe ingredients and is provided for informational purposes only.
Share Your Homemade Coffee Rolls Experience
Wow, you made it through the whole process! I truly hope your kitchen smells wonderfully of sweet yeast and rich coffee right now. These Coffee Rolls are a labor of love, but I promise, they are worth every single minute spent rolling and pinching!
Now, I want to hear all about them! Did you try making them ahead of time? Did you use a stronger brew in the glaze? Don’t be shy! Please hop down to the comments below and give this recipe a big 5-star rating if you loved them as much as my family does. Your feedback helps other bakers feel confident tackling these weekend treats!
If you made any fun variations—maybe you added some chopped pecans to the filling or swapped vanilla for almond extract in the glaze—share that knowledge! We all learn so much from each other. If you want to know more about my baking philosophy or just say hello, you can always check out my About Me page. Happy baking, friends!
PrintSoft Coffee Rolls with Espresso Glaze
A recipe for making soft, sweet yeast rolls flavored with coffee and topped with a rich espresso glaze.
- Prep Time: 30 min
- Cook Time: 25 min
- Total Time: 150 min
- Yield: 12 rolls
- Category: Breakfast
- Method: Baking
- Cuisine: American
- Diet: Vegetarian
Ingredients
- 1 cup warm milk (105-115°F)
- 2 1/4 teaspoons active dry yeast
- 1/4 cup granulated sugar plus 1 teaspoon for yeast
- 1 large egg, room temperature
- 1/4 cup unsalted butter, melted
- 1 teaspoon instant espresso powder
- 1/2 teaspoon salt
- 3 to 3 1/2 cups all-purpose flour
- 1/2 cup unsalted butter, softened (for filling)
- 1/2 cup packed light brown sugar (for filling)
- 2 teaspoons ground cinnamon (for filling)
- 1 teaspoon instant espresso powder (for filling)
- 1 cup powdered sugar (for glaze)
- 2 tablespoons strong brewed espresso or coffee (for glaze)
- 1 teaspoon vanilla extract (for glaze)
Instructions
- Combine the warm milk, 1 teaspoon sugar, and yeast in a large bowl. Let stand for 5 to 10 minutes until foamy.
- Stir in the 1/4 cup sugar, melted butter, 1 teaspoon espresso powder, and salt into the yeast mixture. Add the egg and mix well.
- Gradually add the flour, mixing until a soft dough forms. Knead on a lightly floured surface for 5 to 7 minutes until smooth and elastic.
- Place the dough in a lightly oiled bowl, turning to coat. Cover the bowl and let the dough rise in a warm place for 1 to 1 1/2 hours, or until doubled in size.
- While the dough rises, prepare the filling by mixing the softened butter, brown sugar, cinnamon, and 1 teaspoon espresso powder in a small bowl until smooth.
- Punch down the risen dough. Turn it out onto a lightly floured surface and roll it into a 12×18 inch rectangle.
- Spread the filling evenly over the dough, leaving a 1-inch border on one long edge.
- Tightly roll the dough up starting from the long edge opposite the border. Pinch the seam closed.
- Cut the log into 12 equal rolls. Place the rolls cut-side up in a greased 9×13 inch baking pan.
- Cover the pan and let the rolls rise again for 30 to 45 minutes, or until puffy.
- Preheat your oven to 375°F (190°C). Bake for 20 to 25 minutes, or until golden brown.
- While the rolls bake, whisk together the powdered sugar, brewed espresso, and vanilla extract to make the glaze.
- Remove the rolls from the oven and let them cool slightly in the pan for 5 minutes. Drizzle the espresso glaze over the warm rolls before serving.
Notes
- For a stronger coffee flavor in the dough, dissolve the espresso powder in a tablespoon of hot water before adding it to the wet ingredients.
- If you prefer a thicker glaze, reduce the amount of brewed coffee used.
- You can substitute instant coffee granules for espresso powder if needed.
Nutrition
- Serving Size: 1 roll
- Calories: 350
- Sugar: 30g
- Sodium: 250mg
- Fat: 16g
- Saturated Fat: 9g
- Unsaturated Fat: 7g
- Trans Fat: 0g
- Carbohydrates: 48g
- Fiber: 2g
- Protein: 7g
- Cholesterol: 45mg