

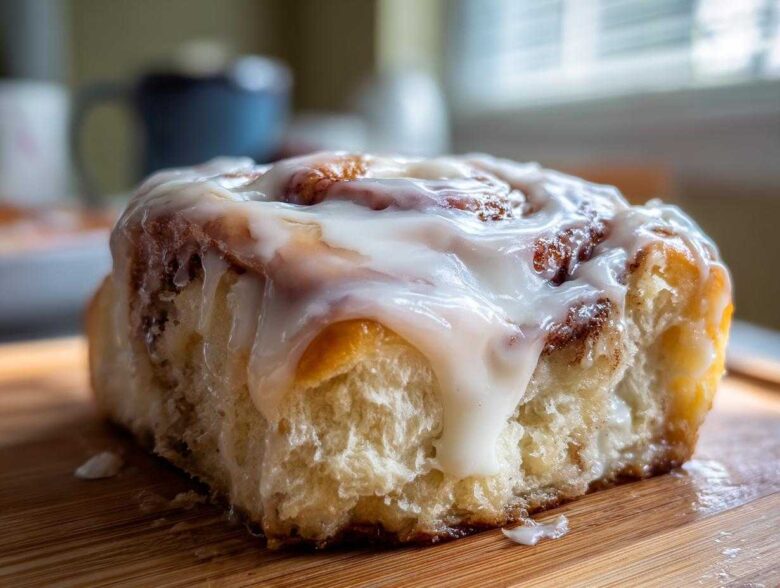
Oh, that smell! You know the one—warm yeast, melted butter, and a heavy cloud of cinnamon taking over the whole house? That’s the soundless signal that everything is about to be right with the world. Forget those dry, sad rolls you sometimes get. We are making the ultimate, bakery-quality, soft, and gooey homemade cinnamon rolls right here today. When Liam first started showing me how to bake, he used simple, reliable food as his love language. That’s what Cookery Courier is all about: passing along messages of comfort that are impossible to mess up. This is the foolproof recipe you need for the most perfect cinnamon roll you’ve ever made.
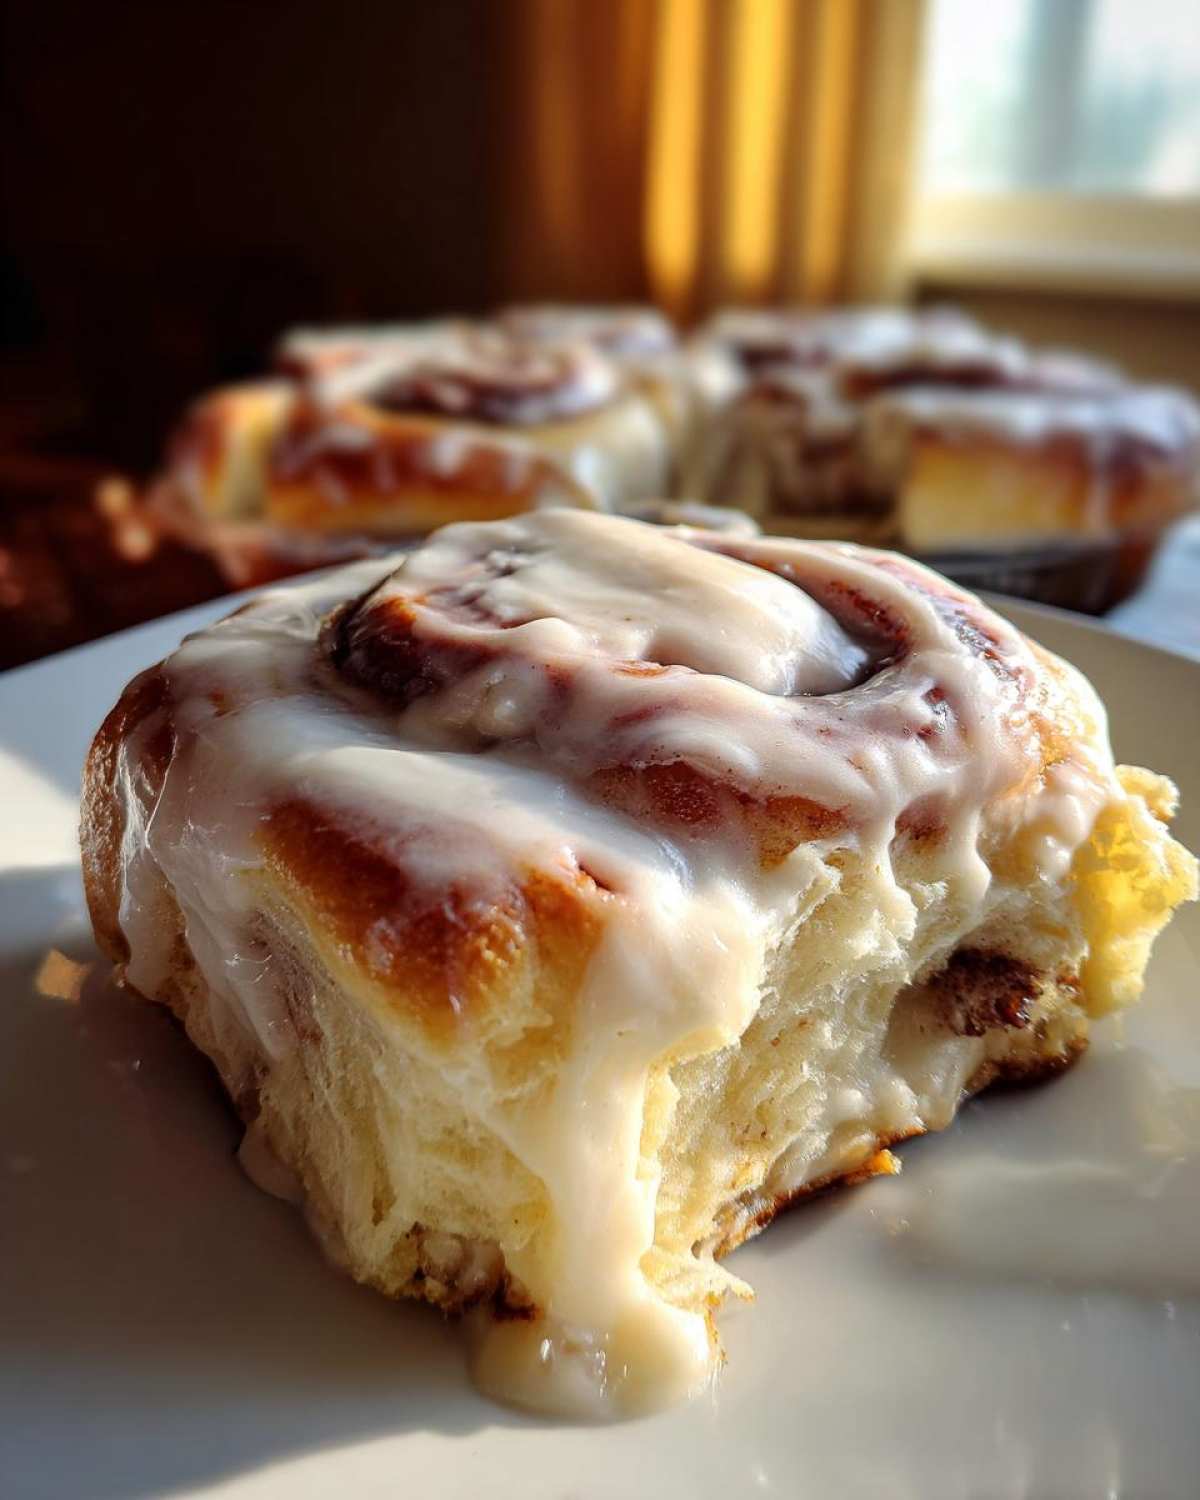
Why This is the Best Cinnamon Roll Recipe You Will Ever Make
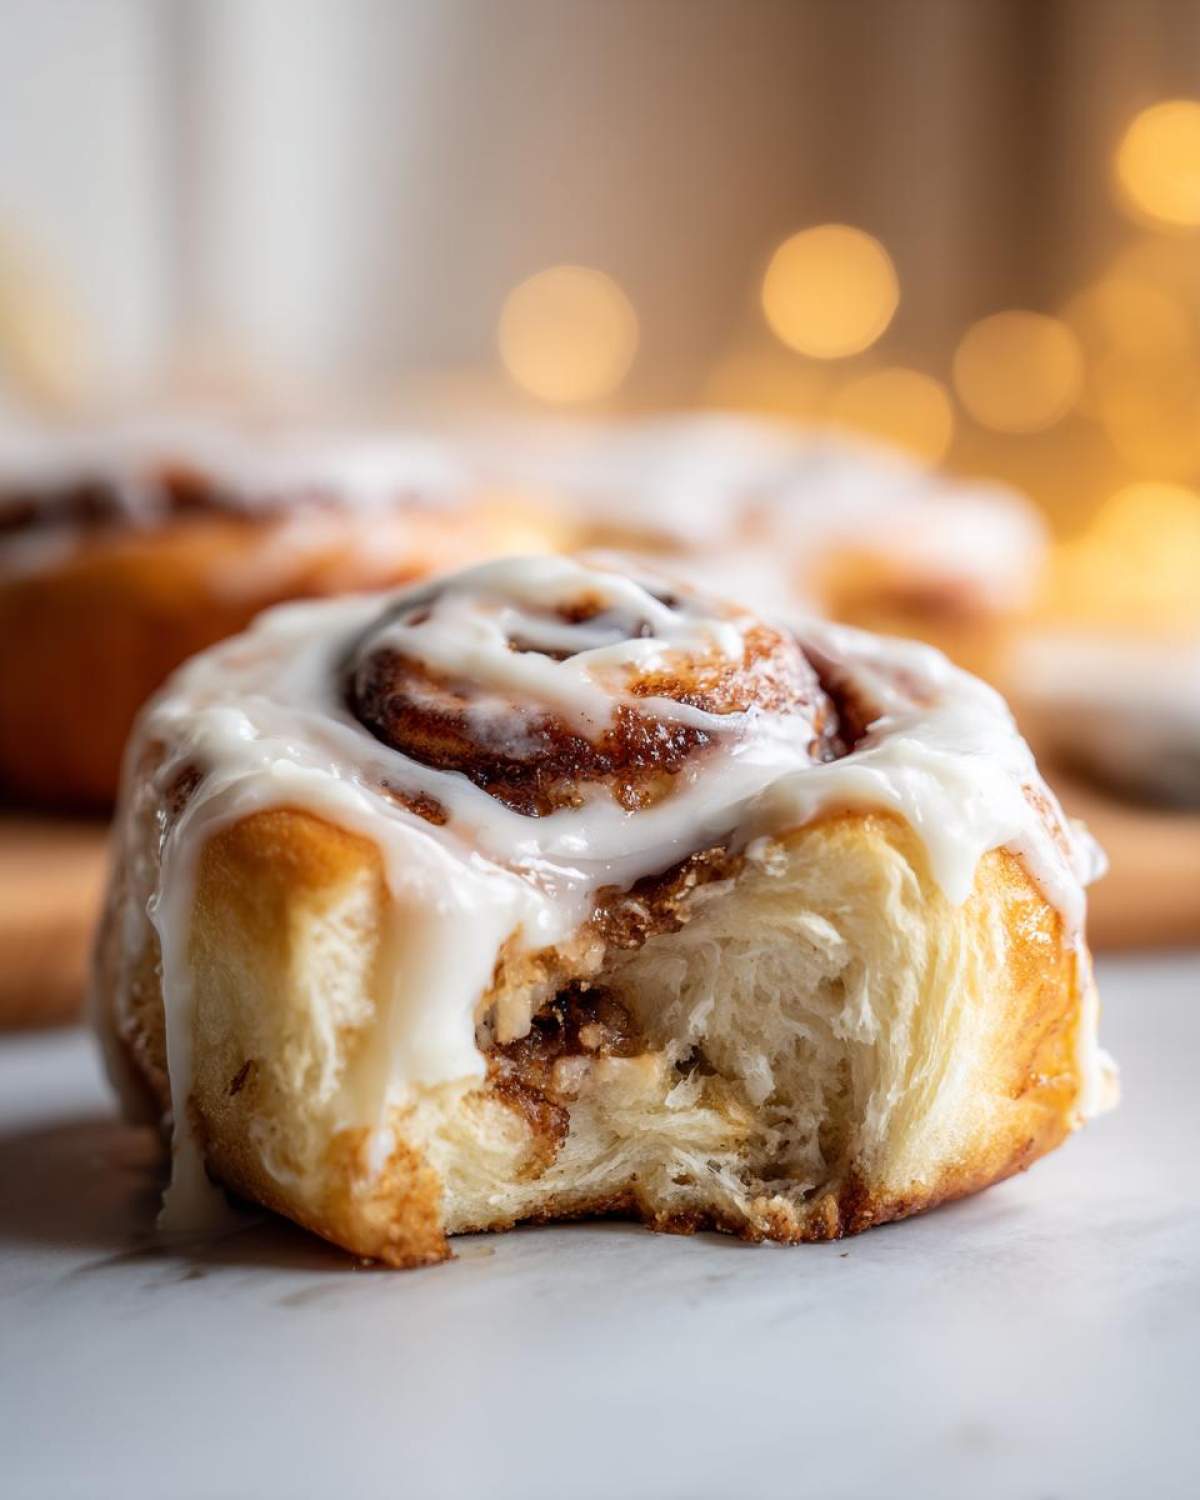
I know, I know, everyone claims to have the “best” recipe. But trust me on this one, folks. This batch of pastries delivers on that bakery-quality promise—soft, unbelievably fluffy rolls that practically melt when you bite into them. They have that perfect gooey center that makes your kitchen smell like heaven. We built this recipe to be reliable, so you can feel confident delivering this amazing sweet breakfast recipe to your family.
- You get irresistibly gooey layers, not just cinnamon-flavored bread.
- The rolls stay soft for days (if they even last that long!).
- The cream cheese icing is rich without being sickly sweet.
Achieving Peak Softness with the Yeast Roll Recipe
The secret to that wonderful, pillowy texture—the hallmark of a great yeast roll recipe—is all in the dough handling. You need that perfect balance of warmth and kneading time. If your milk is too hot, you kill the little yeast guys, and the dough won’t lift. If you rush the kneading, the gluten won’t develop its strength.
My simple expert tip? After you think you’re done kneading, poke the dough right in the middle. If the indentation slowly springs back without collapsing, you’re perfectly set! That’s the texture we are shooting for.
Gathering Your Ingredients for Homemade Cinnamon Rolls
Alright, let’s get down to business! Making homemade cinnamon rolls means treating our base ingredients with a little respect. Liam always says that laying out your ingredients beforehand—the French call it mise en place—is halfway to success. It makes the whole process feel calmer, and we don’t want frantic chaos when we are dealing with yeast!
Here’s exactly what you need to gather for your dough, filling, and especially that glorious icing. Notice how specific I am with the butter and sugar; trust me, those details matter later!
- For the Dough: 1 cup whole milk, warmed to about 110°F, 2 1/4 teaspoons active dry yeast, 1/2 cup granulated sugar, plus 1 tablespoon for yeast, 1/2 cup unsalted butter, softened, 2 large eggs (room temperature!), 4 cups all-purpose flour, plus more for dusting, and 1 teaspoon salt.
- For the Filling: 1/2 cup (1 stick) unsalted butter, softened, 1 cup packed light brown sugar, and 2 tablespoons ground cinnamon.
- For the Cream Cheese Icing: 8 ounces cream cheese, softened, 1/2 cup (1 stick) unsalted butter, softened, 3 cups powdered sugar, sifted, 1 teaspoon vanilla extract, and 1-3 tablespoons milk.
Ingredient Notes and Substitutions for Your Cinnamon Roll
A word of advice on temperature—this is crucial! When warming your milk for the yeast, it must be around 110°F. Too cold, and the yeast sleeps; too hot, and you cook it dead. Liam learned that the hard way when my first attempt tasted like sad bread!
Also, please, please leave your two eggs out on the counter well before you start. Room temperature eggs mix into the butter and sugar much better, creating a smoother dough structure that traps those air bubbles we love. And that butter in the filling? It needs to be nice and pliable so you can spread it right to the edges without tearing your dough later on!
Step-by-Step Instructions for Perfect Cinnamon Rolls
Okay, this is where the magic really happens! Taking the time for fluffy yeast dough is the biggest difference between a *good* morning pastry and a total showstopper. We’re going to work through these steps together, and I promise, even if your hands feel like they’re covered in sticky dough for a bit, the payoff is worth every second. When Liam first saw my dough double in size on the counter, he actually cheered. It felt like I finally cracked the code on this sweet breakfast recipe!
You can find a great companion recipe for a festive cinnamon roll apple pie filling if you want even more spice!
Mastering the Dough and First Rise for Your Cinnamon Roll
First things first: wake up those yeast buddies! Combine your warm milk (remember, 110°F!) with a tablespoon of sugar and the yeast. Wait about 5 to 10 minutes until it gets foamy on top—that’s your visual cue that they are alive and ready to work their yeasty wonders. Once you mix everything else—flour, eggs, butter, and the yeast mixture—you need to knead it. Use your stand mixer on medium speed for a solid 5 to 7 minutes. You are looking for that dough to pull away from the sides and feel smooth and elastic when you touch it. Then, tuck it into an oiled bowl, cover it up, and let it nap in a warm spot for 1 to 1.5 hours until it’s doubled. Don’t peek too much!
Rolling, Filling, and Shaping the Ideal Cinnamon Roll Log
Time to deflate that beautiful air pocket! Gently punch the dough down. Lightly flour your counter and roll that baby out into a nice, even 12×18 inch rectangle—try to keep the edges neat. Now, take that creamy, buttery cinnamon filling we mixed and spread it all over, but make sure you leave about a half-inch border clear on one of the long sides. This empty strip is your glue!
When you start rolling from the opposite long side, roll it up as tightly as you can manage—this is what creates those beautiful, tight spirals inside. Pinch that empty seam closed when you reach the end so it doesn’t spring open while baking. For slicing, forget the knife if you want perfect circles! Use unflavored dental floss; slip it under the log and cross it over the top, then pull. It cuts clean without squishing your hard work!
The Second Rise and Baking the Cinnamon Roll
Arrange your 12 cut rolls snugly into your greased 9×13 pan. They need another cozy nap now! Cover them loosely and let them sit again for about 30 to 45 minutes. They should look noticeably puffy and close together—this second rise is non-negotiable for soft texture!
When they look ready, preheat your oven to 375°F. Bake them for 20 to 25 minutes. You’re looking for that lovely golden brown top. Take them out, let them sit for just five minutes to cool off slightly, and then it’s time for the best part!
Creating the Ultimate Cream Cheese Icing for the Cinnamon Roll
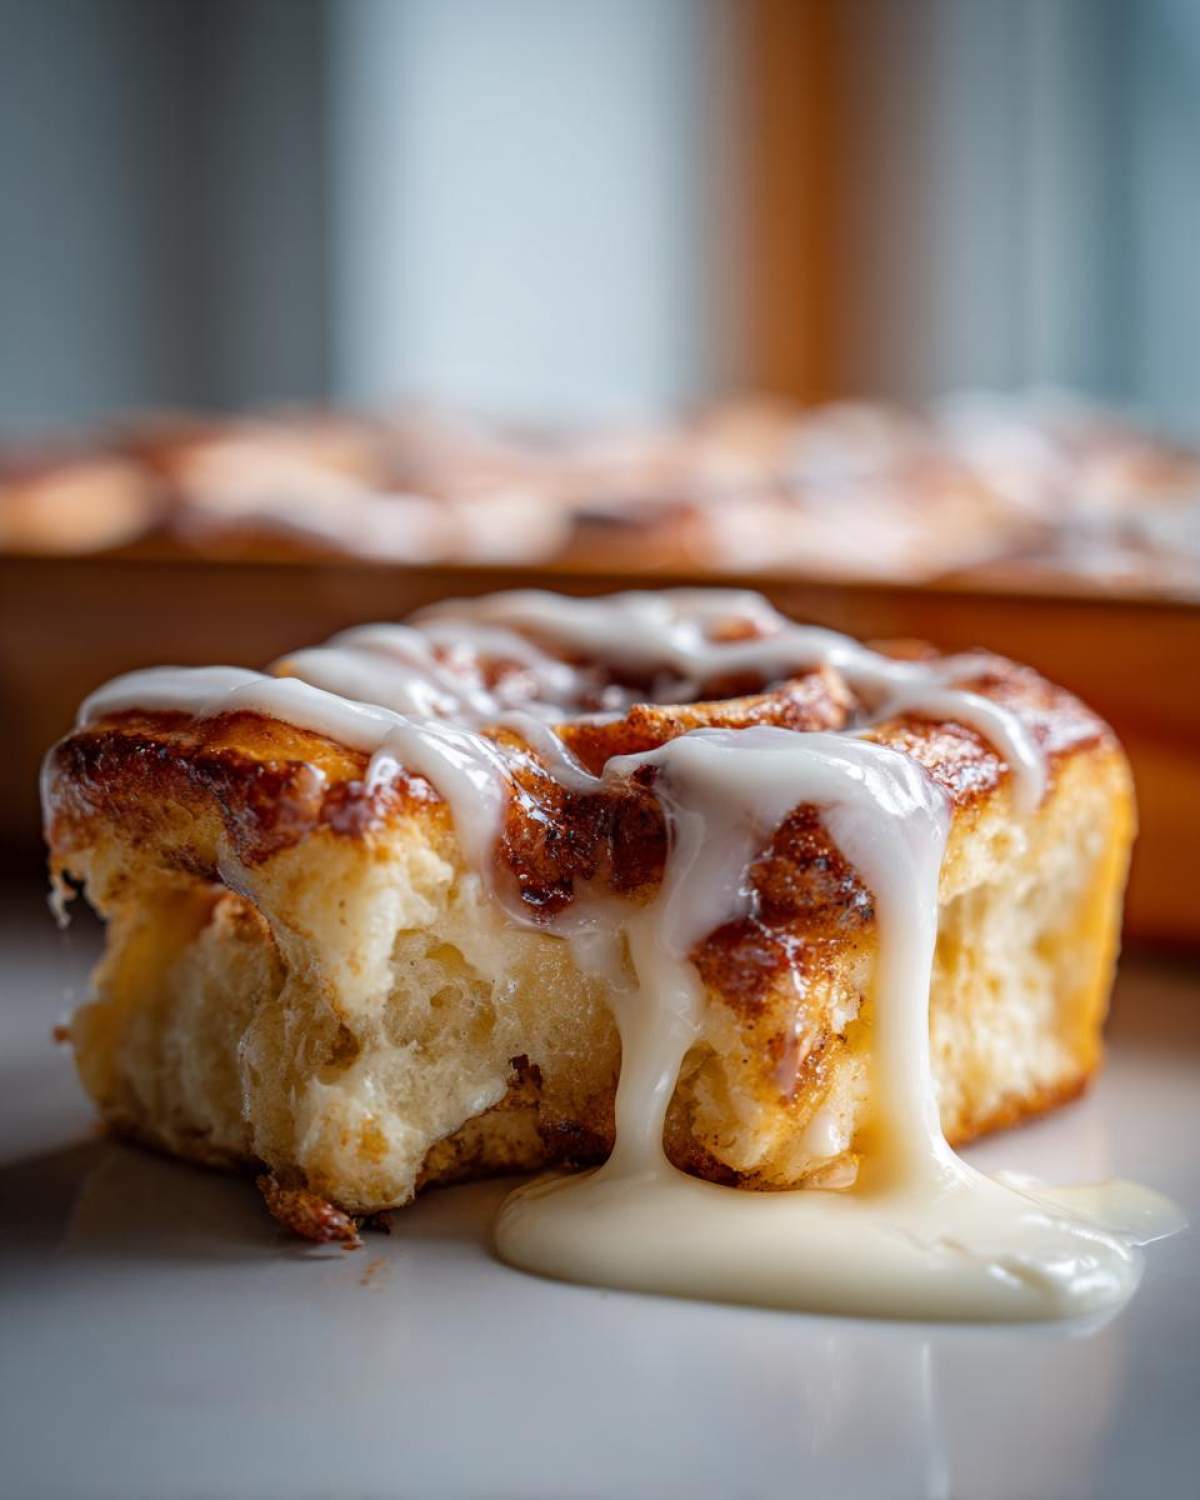
If the dough promised softness, the icing has to deliver that signature glorious, drippy sweetness, right? This is where we finish our best cinnamon roll masterpiece. Before you even think about taking those rolls out of the oven, make sure your cream cheese and butter are totally softened up. Seriously, if they are cold, you’ll end up with lumps, and nobody wants lumpy icing!
In a clean bowl, beat that softened cream cheese and butter together until they look completely smooth. Then, start adding your sifted powdered sugar and that lovely vanilla extract. The key to getting that perfect, thick but spreadable consistency is the milk. You might need all three tablespoons, or maybe just one! Add it one tablespoon at a time, beating after each addition, until it’s luxurious enough to coat the back of a spoon. We don’t want a runny pool; we want that perfect blanket of tangy sweetness over the warm sweet breakfast recipe. If you ever want an alternative, check out my recipe for vanilla buttercream frosting, but this cream cheese version is a showstopper for these rolls!
Tips for Success When Making Easy Cinnamon Rolls
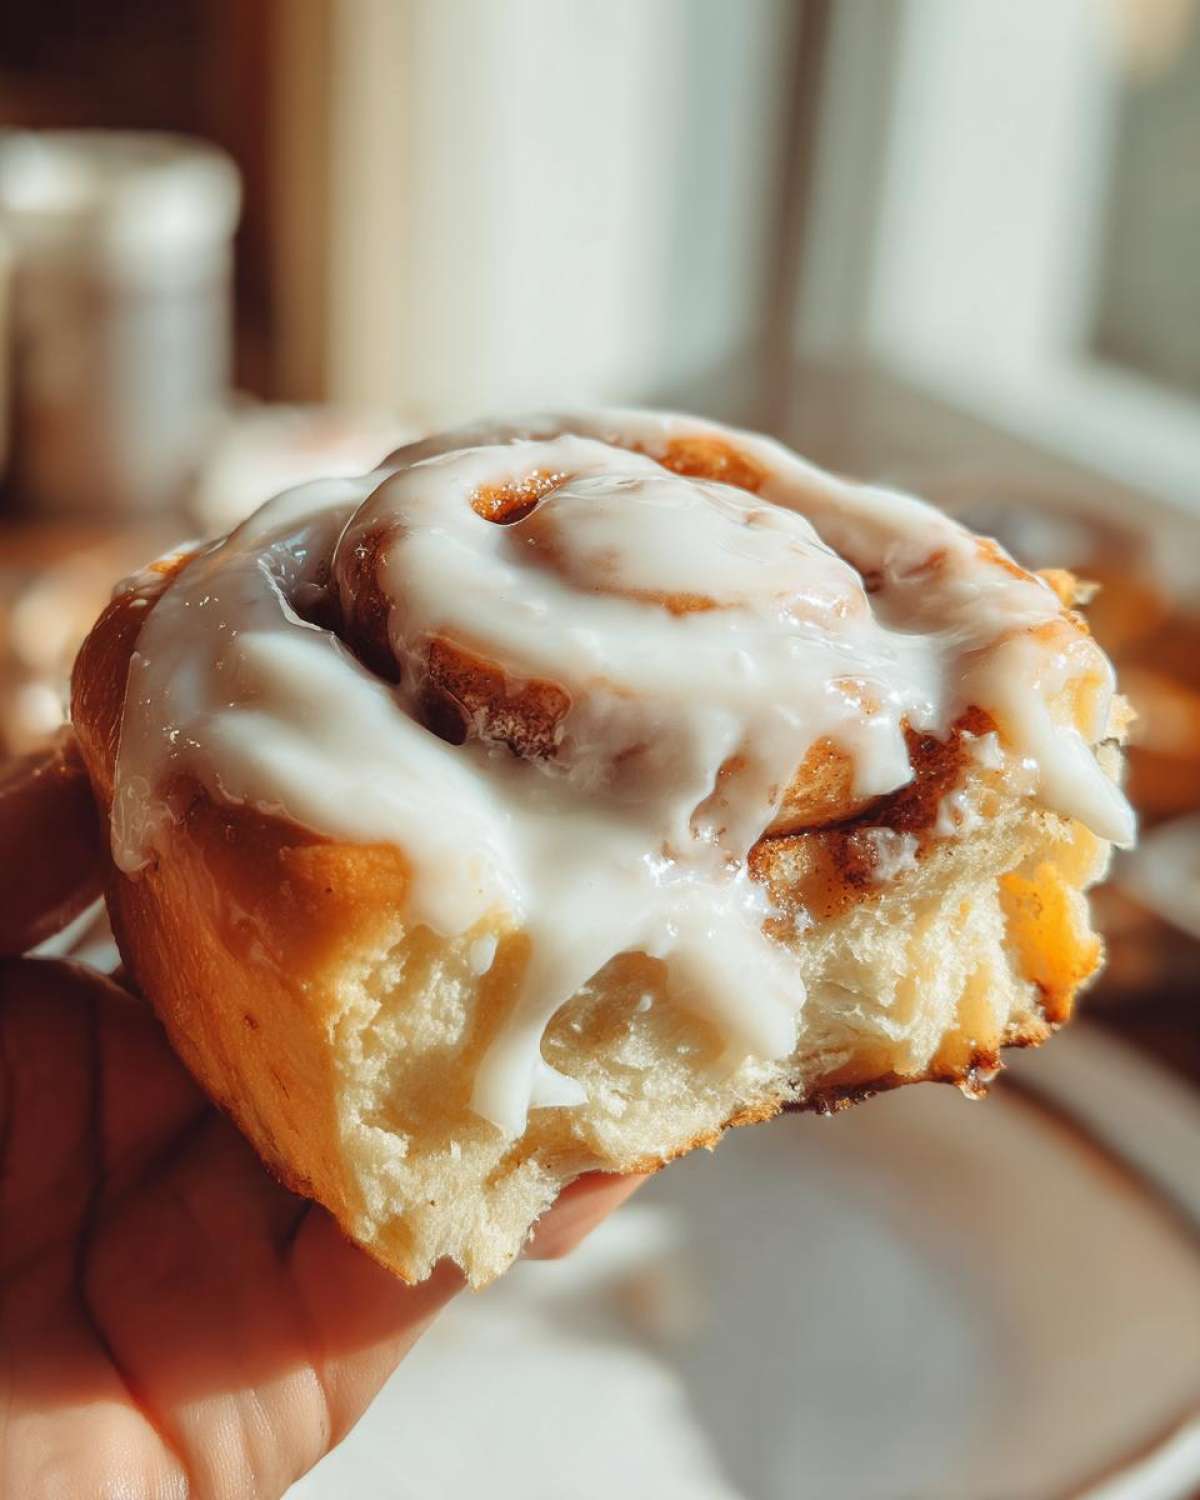
Even though this recipe is designed to be super reliable, a few little insider tricks can make a world of difference, especially if you’re aiming for easy cinnamon rolls!
- Make sure your milk is warm (around 110°F for the yeast) but never hot. Hot milk kills the yeast, and that means no rise! This is the #1 cause of flat rolls.
- If your dough feels super sticky after you’ve kneaded it for the full 7 minutes, don’t panic. Add extra flour just one tablespoon at a time. You want it manageable, not stiff.
- Remember my trick for slicing? If you want those picture-perfect spirals in your rolls, skip the standard knife and use unflavored dental floss. It slices right through the entire log without squishing the layers we worked so hard to create.
- If you’re short on time and thinking about skipping the second rise, don’t! That final puffiness is what guarantees those beautifully soft interiors.
Serving Suggestions for Your Homemade Pastry
When these gorgeous, gooey cinnamon rolls come out of the oven, they demand a celebration! Honestly, my favorite way to serve them is just piled high on our big white cake stand, glaze slightly melty and dripping down the sides. The smell alone is the main presentation, but I always like to have a few nice things around them to balance out all that sweetness.
If you’re serving these up as the centerpiece of a big weekend brunch, they pair beautifully with something fresh and bright. Think about putting out a platter of sliced berries—strawberries, raspberries, maybe even some crisp apple slices—to cut through the richness of the pastry. That little bit of tartness is such a perfect contrast!
And naturally, you need the perfect beverage companion. For us, it’s always a fresh pot of strong, hot coffee. Liam likes his black, but I prefer mine with a splash of cream. If you’re looking to turn this into a full weekend spread, I always pair these rolls with my recipe for stuffed French toast—it covers all the bases for a fantastic sweet breakfast recipe!
Storage and Reheating Instructions for Leftover Cinnamon Roll
I hate to admit it, but sometimes, unbelievably, we have leftover cinnamon rolls. It’s rare, but when it happens, we have to keep them fresh because day-two rolls are still incredible if you treat them right! The worst thing you can do is leave them sitting out on the counter uncovered; they dry out faster than you can believe.
The absolute best method is to store them in a truly airtight container. If you’ve already iced them, just make sure the icing layer isn’t smushed when you close the lid. They keep beautifully at room temperature for about two days, sometimes three if your kitchen isn’t too dry. If you know you have leftovers for longer than that, wrap them tightly in plastic wrap and then foil, and tuck them into the freezer. They freeze surprisingly well!
Now for the reheating—this brings them right back to that gooey, just-out-of-the-oven texture. You have two main options, depending on how many you are reheating.
The Quick Microwave Fix
If you just need one or two rolls for a quick morning fix, the microwave is your friend. Place the roll on a microwave-safe plate. I like to put a little scrap of damp paper towel next to it in the microwave—it adds just a touch of steam and prevents them from turning into chewy little hockey pucks. Nuke it for about 10 to 15 seconds. They come out warm, soft, and ready to eat!
Oven Method for Restoring Softness
If you are reheating a whole batch or want that truly golden exterior back, use the oven. Preheat your oven to a low temperature, maybe 300°F. Place the rolls in a baking dish (covered loosely with foil—we want to steam them gently, not toast them!). Heat them for about 10 to 15 minutes. The foil traps the moisture escaping from the sugar and icing, bringing that initial soft fluffiness right back to the dough. If you froze them, let them thaw on the counter overnight first, then give them this gentle warming treatment!
Frequently Asked Questions About Making Cinnamon Rolls
I get so many messages asking for tweaks, and that’s great! It means you’re diving into making these easy cinnamon rolls yourself. Here are a few things I hear most often when people are tackling their first batch of these amazing rolls.
How can I make these cinnamon rolls ahead of time?
Oh yes, you absolutely can! This is my favorite way to prep for a big brunch. After you slice the rolls (Step 8), instead of the second rise, cover the pan tightly with plastic wrap and stick it in the fridge overnight. The cold slows the yeast down. The next morning, pull them out while the oven preheats—they will do their second rise right there as the oven gets hot. This makes them feel incredibly fresh!
Can I use instant yeast instead of active dry yeast?
Yes, that’s a great question for those of you aiming for easy cinnamon rolls! You can swap them, but you skip the foaming step. Just mix the instant yeast right in with your dry ingredients (flour, sugar, salt). Then, when you add the wet ingredients, use milk that is slightly cooler, maybe just lukewarm, not 110°F. Instant yeast is much more forgiving!
Why didn’t my dough rise properly?
This is usually one of two things! Either your milk was too hot and zapped your yeast (it happens to everyone, don’t stress about it!), or your kitchen was too cold. Yeast needs warmth to thrive. If it’s chilly in your house, try putting your covered bowl of dough into an oven that is turned OFF, but with the light on. That little bit of ambient heat works like a charm for the first rise.
Are these rolls still good if I don’t use cream cheese icing?
Of course! This is a classic yeast roll recipe, and Grandma Chloe (that’s me!) often just dusts them with powdered sugar when we’re in a hurry. But if you want to keep it sweet without the tang, you can easily thin the cream cheese icing with a couple more tablespoons of milk until it’s thinner, or just use a simple vanilla glaze recipe. Visit my main blog page for quick glaze ideas!
Estimated Nutritional Information for This Sweet Breakfast Recipe
Now, I have to be honest with you all, because that’s how Liam and I run Cookery Courier—with total clarity. When we share a favorite recipe, we want you to know exactly what you’re making. Because we all use slightly different brands of butter or measure our brown sugar with different levels of enthusiasm (guilty!), the exact nutritional breakdown for these decadent cinnamon rolls can shift a bit.
What I’m including here is an estimate based on common measurements for one serving of this rich sweet breakfast recipe. Please treat these numbers as a general guide for your planning, not as a strict fact list!
For the most detailed breakdown or for full transparency on how we calculate these figures, you can always check out our full disclaimer page right here: you can find the full nutritional disclaimer here. Happy baking, and remember, the joy these rolls bring far outweighs any number crunching!
PrintSoft and Gooey Homemade Cinnamon Rolls
Follow this simple recipe for bakery-quality cinnamon rolls that are soft, fluffy, and dripping with a perfect cream cheese glaze. This is the foolproof recipe you need for a celebratory breakfast.
- Prep Time: 45 min
- Cook Time: 25 min
- Total Time: 135 min
- Yield: 12 servings
- Category: Breakfast
- Method: Baking
- Cuisine: American
- Diet: Vegetarian
Ingredients
- 1 cup whole milk, warmed to about 110°F
- 2 1/4 teaspoons active dry yeast
- 1/2 cup granulated sugar, plus 1 tablespoon for yeast
- 1/2 cup unsalted butter, softened
- 2 large eggs, room temperature
- 4 cups all-purpose flour, plus more for dusting
- 1 teaspoon salt
- For the Filling:
- 1/2 cup (1 stick) unsalted butter, softened
- 1 cup packed light brown sugar
- 2 tablespoons ground cinnamon
- For the Cream Cheese Icing:
- 8 ounces cream cheese, softened
- 1/2 cup (1 stick) unsalted butter, softened
- 3 cups powdered sugar, sifted
- 1 teaspoon vanilla extract
- 1-3 tablespoons milk
Instructions
- Activate the yeast: In a small bowl, combine the warm milk and 1 tablespoon of sugar. Sprinkle the yeast over the top and let it sit for 5-10 minutes until foamy.
- Make the dough: In a large bowl or stand mixer, combine the remaining 1/2 cup sugar, softened butter, eggs, flour, and salt. Pour in the activated yeast mixture. Mix on low speed until a shaggy dough forms, then increase speed to medium and knead for 5-7 minutes until the dough is smooth and elastic.
- First rise: Place the dough in a lightly oiled bowl, turning to coat. Cover the bowl with plastic wrap and let it rise in a warm spot for 1 to 1.5 hours, or until doubled in size.
- Prepare the filling: While the dough rises, mix the softened butter, brown sugar, and cinnamon together in a small bowl until well combined. Set aside.
- Roll the dough: Gently punch down the risen dough. On a lightly floured surface, roll the dough into a large rectangle, about 12×18 inches.
- Spread the filling: Spread the cinnamon-sugar filling evenly over the entire surface of the dough, leaving a small half-inch border on one long edge.
- Shape the rolls: Starting from the long edge opposite the border, tightly roll the dough into a log. Pinch the seam closed.
- Slice the rolls: Use a sharp knife or unflavored dental floss to cut the log into 12 equal pieces, about 1.5 inches thick.
- Second rise: Arrange the rolls in a greased 9×13 inch baking pan. Cover loosely and let them rise again for 30-45 minutes until puffy.
- Bake: Preheat your oven to 375°F. Bake for 20-25 minutes, or until the tops are golden brown.
- Make the icing: While the rolls bake, beat the softened cream cheese and butter together until smooth. Gradually beat in the powdered sugar and vanilla extract. Add milk one tablespoon at a time until you reach a thick, spreadable consistency.
- Ice and serve: Remove the rolls from the oven and let them cool for about 5 minutes. Spread the cream cheese icing generously over the warm rolls. Serve immediately.
Notes
- For the softest rolls, make sure your milk is warm, not hot, so you do not kill the yeast.
- If your dough feels sticky after kneading, add flour one tablespoon at a time until it is manageable.
- To get perfect swirls, use dental floss to slice the log; it cuts cleanly without squishing the dough.
- If you want a thinner glaze, add more milk to the icing mixture.
Nutrition
- Serving Size: 1 roll
- Calories: 450
- Sugar: 45
- Sodium: 300
- Fat: 25
- Saturated Fat: 15
- Unsaturated Fat: 10
- Trans Fat: 0
- Carbohydrates: 55
- Fiber: 2
- Protein: 6
- Cholesterol: 75