

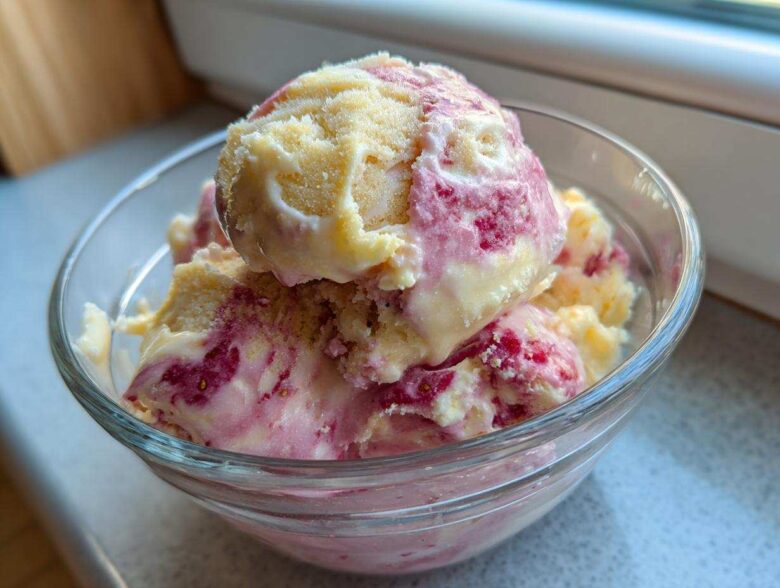
Oh, you absolutely have to beat this summer heat with something cold, creamy, and ridiculously easy! I remember sneaking strawberries out of my grandma’s garden as a kid, fighting over them with my brother, and she’d always freeze the overripe bananas we inevitably had left over. Well, I’ve finally mashed those two amazing summer flavors together into the absolute easiest, creamiest Strawberry Banana Ice Cream you’ll ever meet. Seriously, you don’t need that giant, clunky ice cream maker for this one. Trust me when I say this no-churn recipe delivers amazing texture with almost zero effort. We’re going straight to deliciousness! For more of my go-to baking tips, you can always check out my latest posts over at the blog.
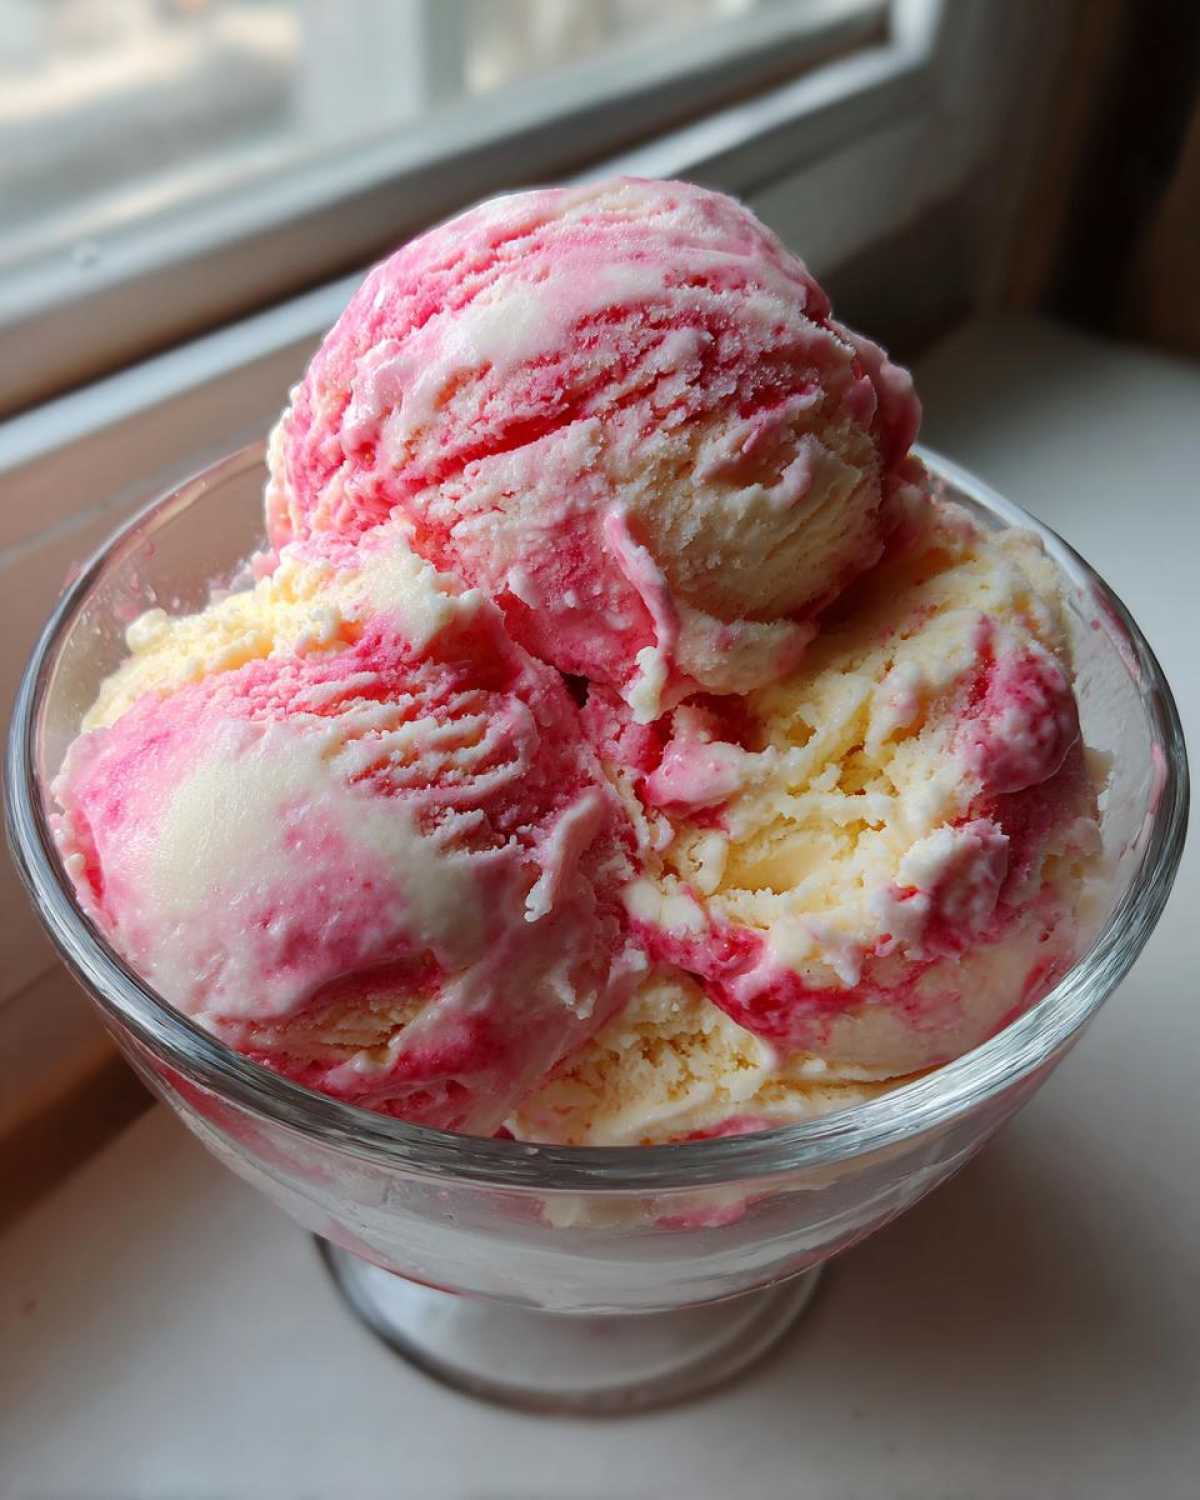
Why This Easy No-Churn Strawberry Banana Ice Cream Recipe Works
I know, I know, homemade ice cream sounds like a commitment, right? You picture standing over a machine, babysitting it for 30 minutes while wondering if it’s churning right. Not with this recipe! This is the real magic of the no-churn approach. It’s designed to give you that luxurious result without all the fuss. If you’ve ever struggled with a churner, or just want a fantastic **Homemade strawberry banana ice cream recipe** ready for dinner tonight, you’re in the right place. We are cutting corners in the best possible way!
Achieving Creamy Texture in Your Strawberry Banana Ice Cream
The secret sauce here is twofold: the sweetened condensed milk and the heavy cream. The condensed milk is packed with sugar, which is crucial because sugar is an antifreeze! It lowers the freezing point, which means those ice crystals stay tiny. Small crystals equal smooth texture, not icy chunks!
Then you have the whipped heavy cream. We whip air right into that fat, creating a lovely, fluffy structure. When we gently fold the fruit base into that air, we get a density that rivals anything you’d buy in the store. That’s how we nail that super thick, luscious mouthfeel in our **Strawberry Banana Ice Cream**.
Speed and Simplicity: The No-Churn Advantage
What I love most is the active time. You blend the frozen fruit and milk mixture—that takes maybe five minutes if you’re being slow—and then you fold. That’s it! No churning required. You can put this mixture in the freezer and completely forget about it until tomorrow. It makes this the ultimate summer treat when you don’t want a lot of fuss in a hot kitchen. If you want to see another easy frozen delight, check out my guide on cottage cheese ice cream for a higher protein option!
Gathering Ingredients for Perfect Strawberry Banana Ice Cream
Okay, let’s talk about what goes into this creamy dream. Even though this is the easiest **Homemade strawberry banana ice cream recipe**, the quality of your ingredients makes a huge difference. Seriously, you can’t cheat on the fruit here! If you’re aiming for that natural sweetness that makes this a wonderful option for a **Healthy banana strawberry frozen dessert**, use the ripest bananas you can find. When they are super spotty, that’s when the natural sugars are at their peak. Also, make sure your strawberries are completely frozen solid before you start blending. We’re relying on the frozen fruit to do all the heavy lifting in place of an ice cream maker!
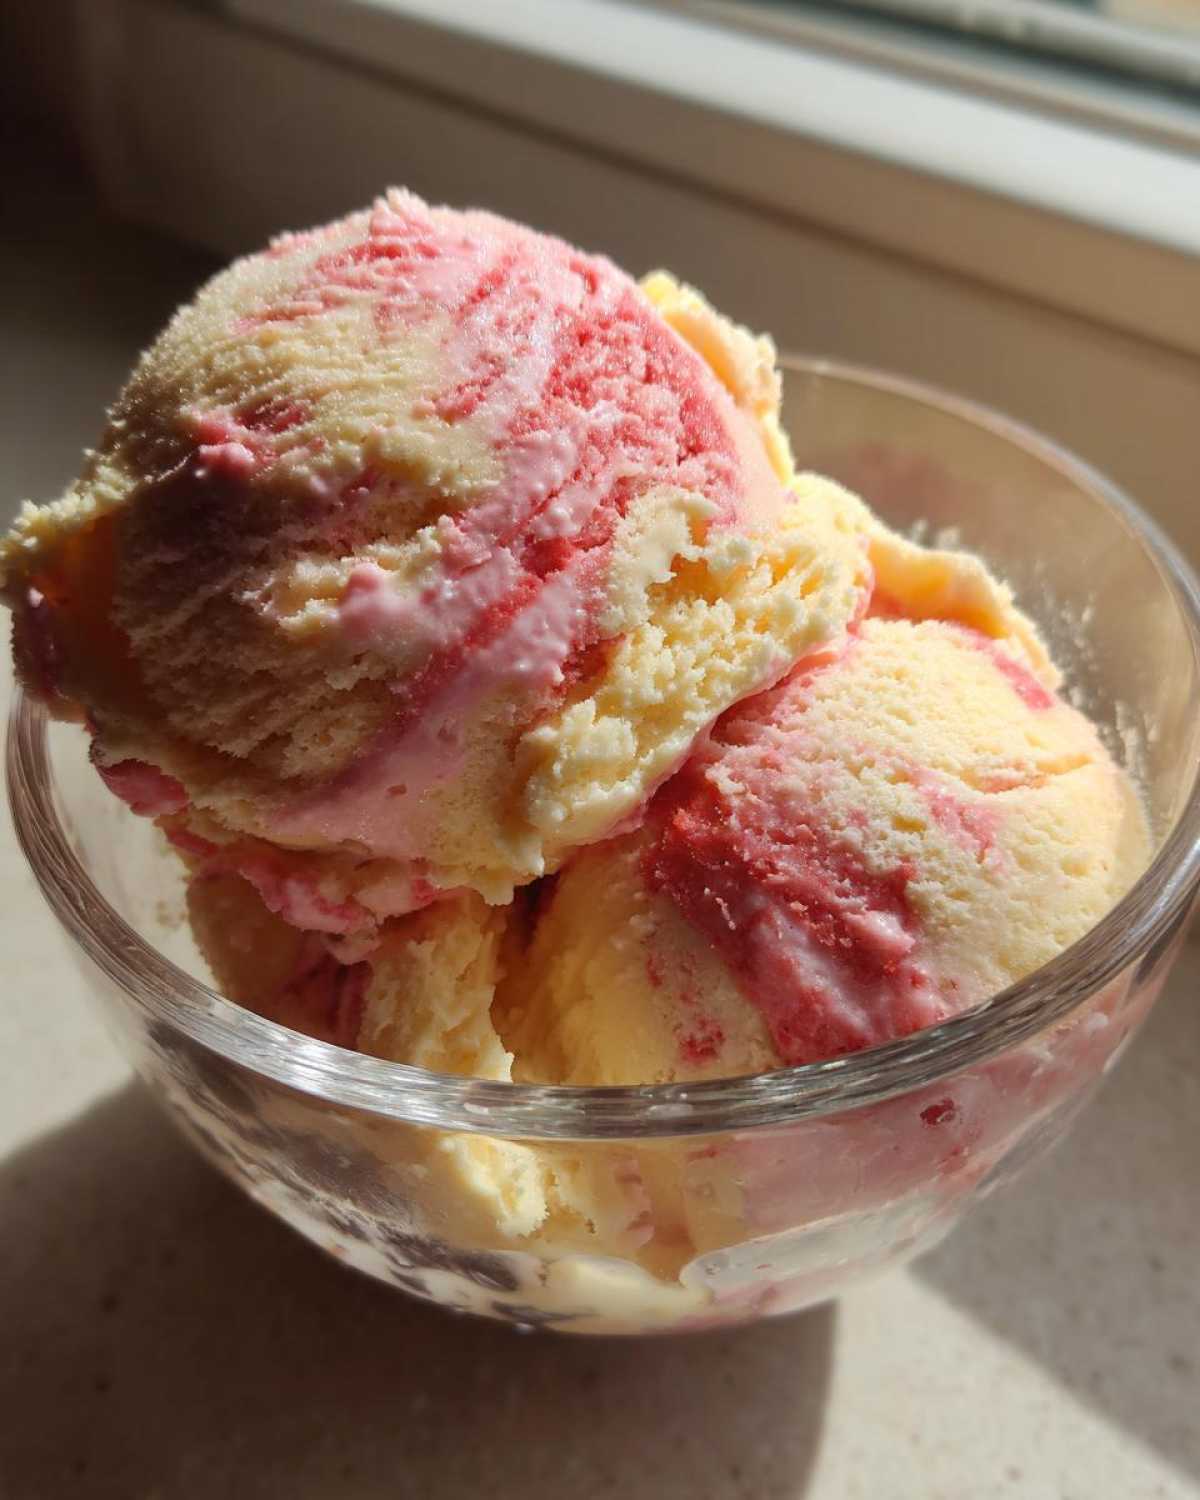
When thinking about variations, you can always swap things out, but for this classic version, stick to the list below. I’ve found that pairing creamy vanilla extract with these two fruits is just non-negotiable for the best flavor profile. You can check out my favorite berry bark recipe for another way to use up frozen fruit if you get ambitious later: frozen yogurt berry bark.
Ingredient List for the Best Strawberry Banana Ice Cream
Here’s everything you need to pull this together. Don’t worry about needing any fancy stabilizers or eggs; this is totally straightforward!
- 2 cups frozen sliced bananas
- 1 cup frozen strawberries
- 1 (14 ounce) can sweetened condensed milk
- 1 teaspoon vanilla extract
- 1 cup heavy whipping cream
Step-by-Step Instructions for Your Strawberry Banana Ice Cream
Okay, now for the fun part! Seeing how fast this comes together is going to blow your mind, especially since you don’t need any special equipment beyond a good food processor. Remember, active time here is maybe 15 minutes total. I like to get my cream chilling while I work on the fruit, just to make sure it whips up nice and fast later on. This whole process is the secret to getting amazing Strawberry Banana Ice Cream without waiting around for the machine to finish its job! If you want a little chocolate twist later, check out my Oreo ball recipe for inspiration!
Preparing the Fruit Base for Your Strawberry Banana Ice Cream
First thing’s first: toss those hard frozen bananas and strawberries right into your food processor. You’re going to want to pulse this initially. Don’t just turn it on high! Pulse it until you see the fruit mostly broken down into little chunks. This saves your motor! Once it looks a bit chunky, add in your can of sweetened condensed milk—the magic ingredient—and that smooth vanilla extract. Now, process until it’s totally smooth and creamy. You might have to stop it a couple of times to scrape the sticky sides down with a spatula. We want zero fruit chunks in this base!
Whipping Cream and Folding the Strawberry Banana Ice Cream Base
While that base is getting smooth, grab your separate clean bowl and your mixer. Whip that heavy cream until you get good, stiff peaks. You know it’s ready when you pull the whisk out and the peaks stand straight up without flopping over. This is crucial for that light texture in our **Easy no churn strawberry banana ice cream**, so don’t stop too soon! Now, take your smooth fruit mixture and gently fold it into the whipped cream. I mean gently! You want to use a rubber spatula and use an under-and-over motion. The second it’s just combined—I mean, you see maybe three streaks of white—stop mixing immediately. We’re preserving all that beautiful air we just whipped in.
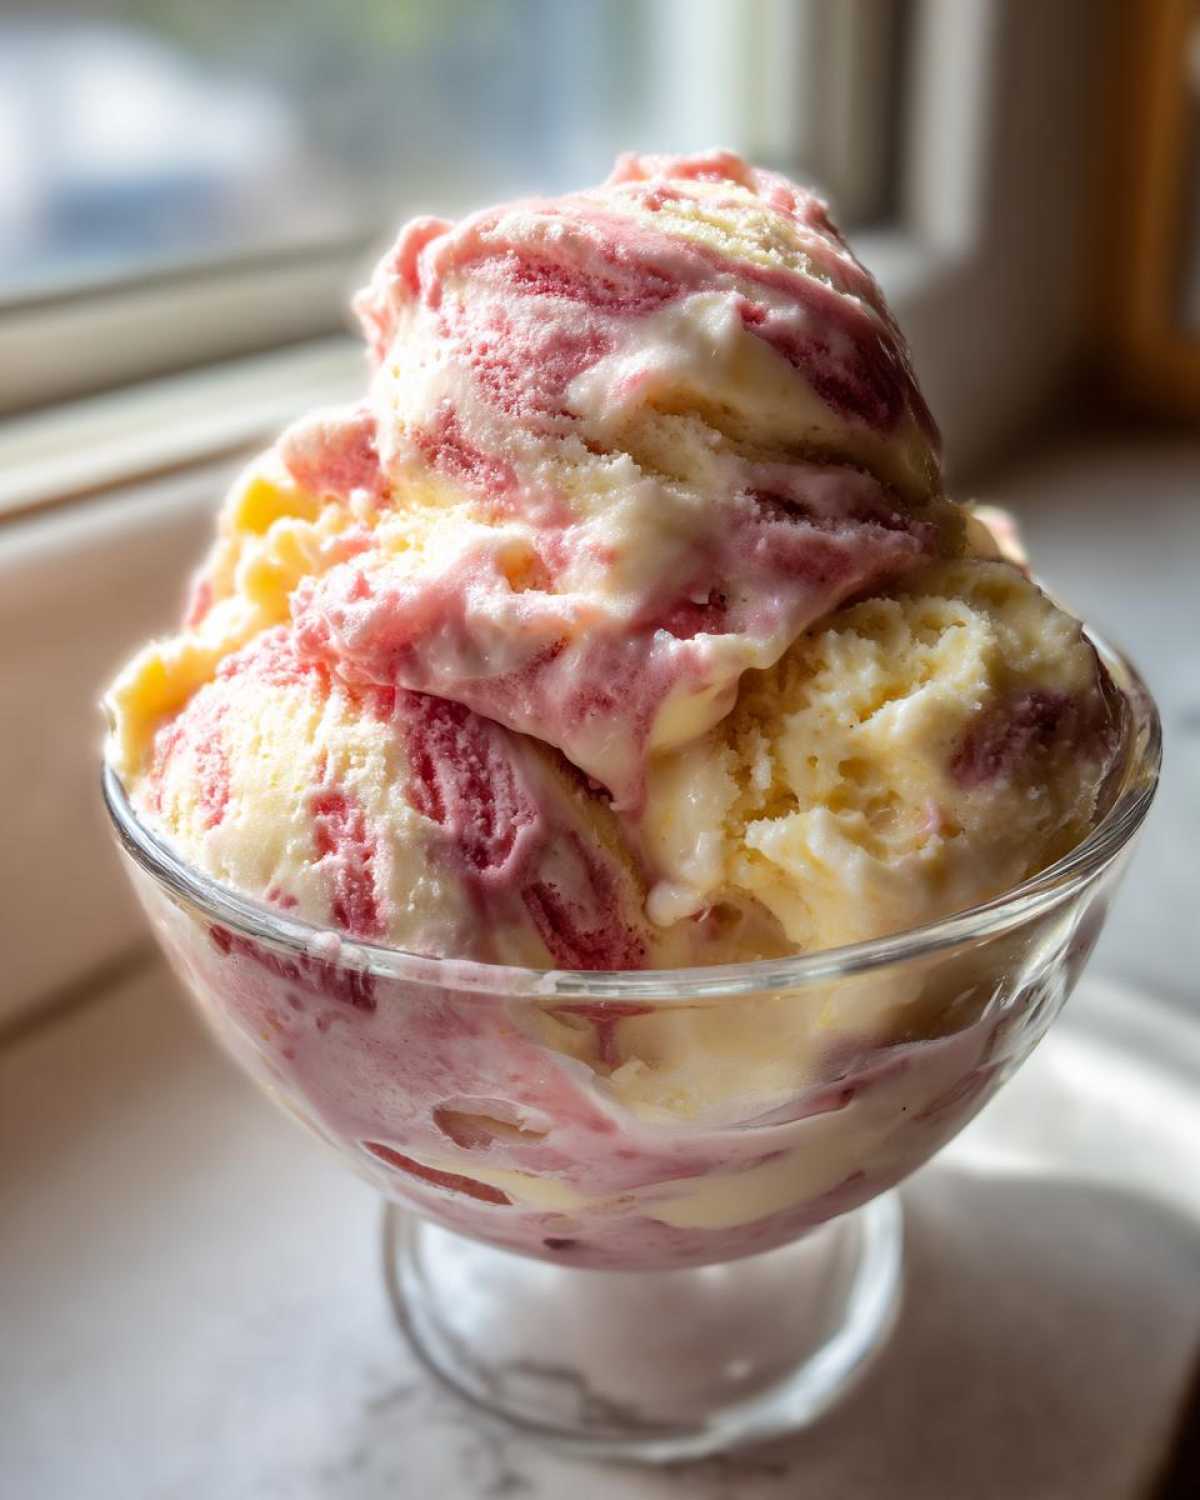
Freezing Your Homemade Strawberry Banana Ice Cream Recipe
Time to settle down in the freezer! Pour that lovely, thick mixture into a loaf pan or whatever freezer-safe container you have handy. Now, here is the most important step to avoid those annoying ice crystals: take a sheet of plastic wrap and press it directly onto the surface of the ice cream mixture. Don’t leave any air space! This stops freezer burn and iciness, which is a big issue when you’re making **Homemade strawberry banana ice cream recipe** without churning. Cover the whole pan tightly with foil or a lid. Then, honestly, forget about it. You need a minimum of six hours, but overnight is even better, for a perfectly scoopable treat!
Tips for Making Perfect Strawberry Banana Ice Cream Every Time
Even though this is such a simple recipe for **Strawberry Banana Ice Cream**, a couple of little secrets inherited from my baking days will ensure perfection. You don’t want that slightly off-flavor, or worse, a texture that freezes rock solid. If you follow these expert tips, you’ll be scooping dreamily every single time. Don’t forget, if you want to check out my amazing warm desserts, I highly recommend my apple tart recipe for a complete contrast to this cold treat! You can find the recipe you need over at my apple tart guide.
Ingredient Selection for Optimal Strawberry Banana Ice Cream Flavor
I mentioned it before, but I have to stress this again: the bananas need to be screamingly ripe—the skins should be covered in brown spots! That’s where all the amazing, concentrated sweetness comes from. If your bananas are too yellow, you’ll find yourself wanting to add more sugar, and that throws off the texture we worked so hard to perfect. Also, if you’re buying strawberries, try to get the ones that are already frozen or freeze them yourself right when they look perfect in the store. That fresh-from-the-freezer chill helps the initial blending process tremendously and keeps everything moving quickly!
Making Dairy Free Strawberry Banana Ice Cream Substitutions
I totally understand that not everyone can do dairy, and luckily, this **Strawberry Banana Ice Cream** base is super adaptable! If you want to make this dairy free, the main swaps are simple. Instead of heavy whipping cream, use chilled, full-fat coconut cream. You just scoop out that thick top layer from a can of chilled coconut milk—it whips up surprisingly well! For the sweetened condensed milk, you can find excellent dairy-free condensed milk alternatives these days, usually made from oat or coconut milk. It keeps the sugar content right where we need it for creaminess, and boom—you have a **Dairy free strawberry banana ice cream** that tastes just as good!
Variations on This Creamy Strawberry Banana Frozen Dessert
Now that you have the most straightforward, creamy **Strawberry Banana Ice Cream** recipe down, let’s talk about making this base work for different moods! Sometimes you want something a little lighter, right? Maybe after a big BBQ, you don’t need all that richness. The beauty of this recipe is how easily you can shift the dials to change the whole vibe. If you’re looking for lighter dessert ideas, you might also want to sneak a peek at my guide for chocolate macarons later, just for fun!
Creating a Healthy Banana Strawberry Frozen Dessert Alternative
If you’re trying to keep things lighter and maybe even sneak closer to a **Natural no sugar added ice cream** profile, you can totally mess with the dairy components here. Instead of using the full can of sweetened condensed milk, try just a third of it and make up the rest of the volume by folding in some plain Greek yogurt or perhaps even a quality, thick coconut cream. You lose a *tiny* bit of the extreme creaminess, sure, but you get a texture much closer to a frozen yogurt. It makes for a fantastic **Healthy banana strawberry frozen dessert** that still tastes incredibly fruity and satisfying when you need a cool treat!
Serving Suggestions for Your Strawberry Banana Ice Cream
Once your Strawberry Banana Ice Cream is perfectly firm, it’s time for the applause! Because it’s so naturally soft, it scoops like a dream after just 5 or 10 minutes on the counter. I love piling two scoops into a waffle cone for that crunch contrast against the creamy filling. For something richer, drizzle it with a little melted dark chocolate—the slight bitterness is amazing against the sweet fruit. Or, try topping a scoop with some crushed vanilla wafers or pecans. If you want to see my favorite salty-sweet crunch recipe, check out my recipe for peanut butter pretzel bark!
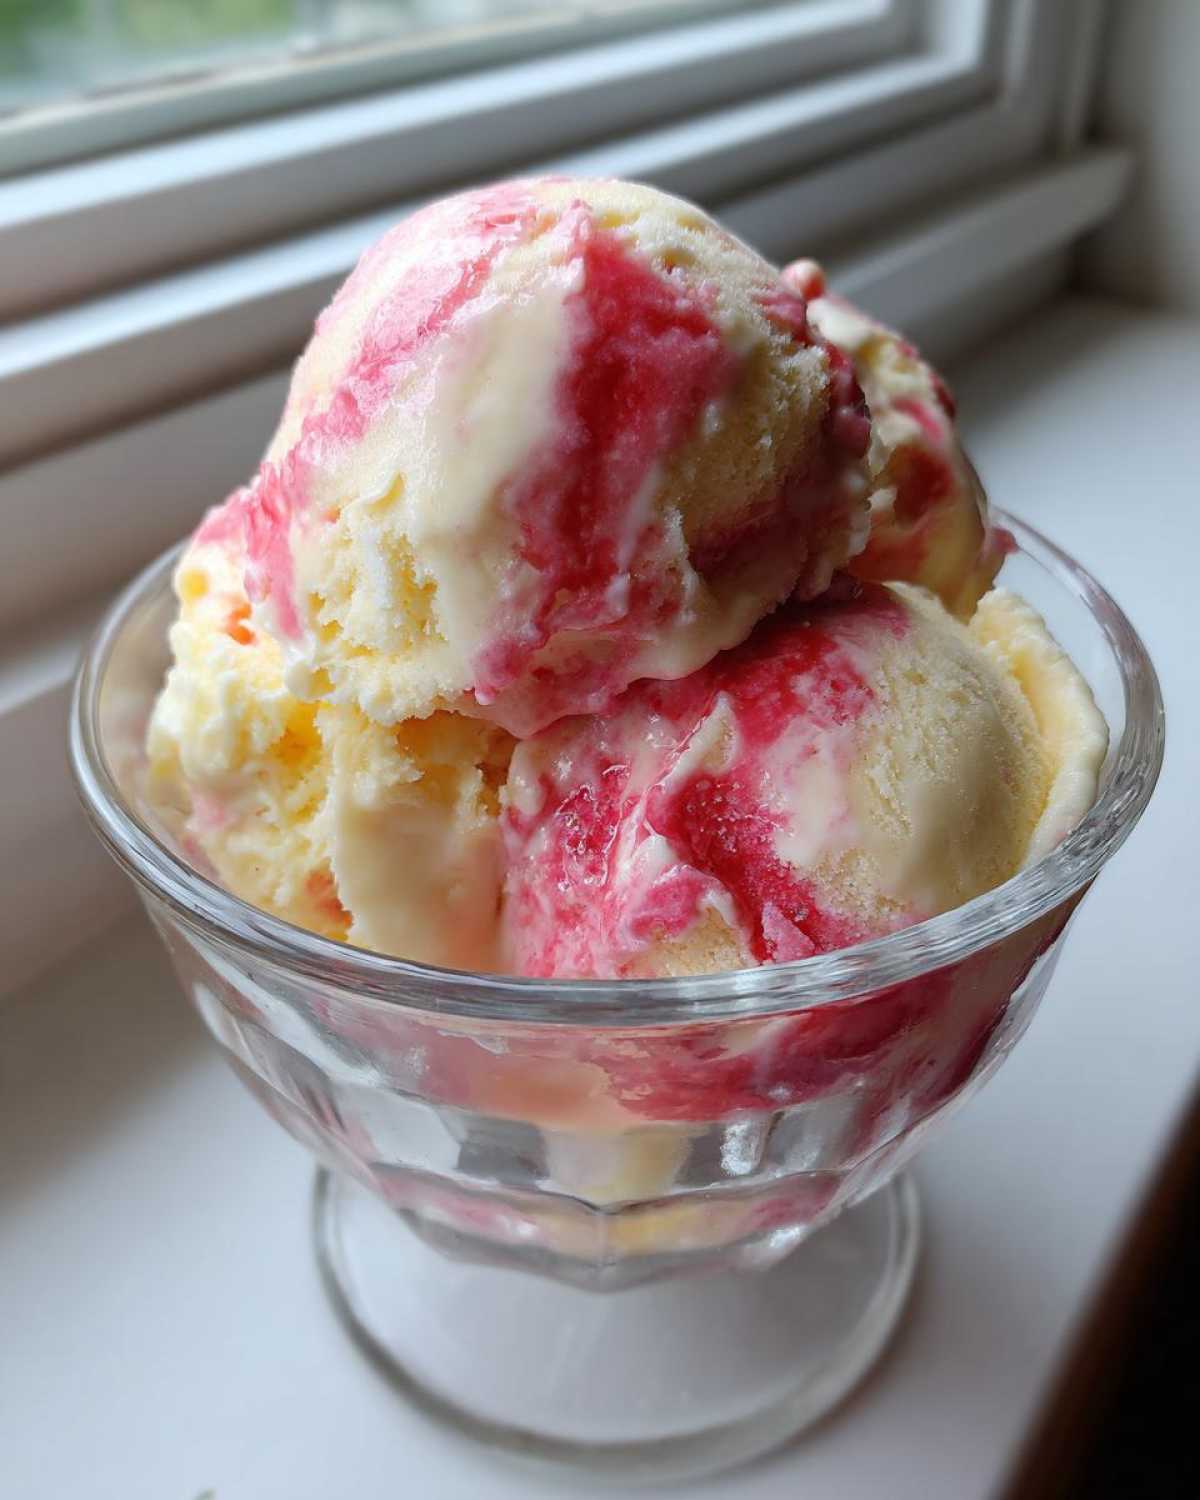
Storage and Reheating Instructions for Strawberry Banana Ice Cream
Storing homemade ice cream is always the true test, isn’t it? You work so hard to get that perfect, airy texture, and then you open the freezer two weeks later only to find a block of icy disappointment. That won’t happen with this fantastic Strawberry Banana Ice Cream, I promise, as long as you follow one critical rule! The enemy here is air exposure, which leads straight to those awful freezer burn crystals turning your creamy dream patchy.
When you transfer your finished ice cream into its final container, here’s what you need to do: get a piece of plastic wrap—the cheap stuff works fine—and press it *directly* onto the surface of the ice cream. I mean push it down until it touches the frozen mixture everywhere. This blocks air from settling on top and creating those hard, white patches. Once it’s sealed tight to the surface, cover the whole container with a lid or another layer of foil. Pop it into the back of the freezer where it won’t get jostled around.
As for ‘reheating’—we call it softening, because we don’t microwave this beauty! Because of the heavy cream base, this ice cream can freeze up quite firm, especially if your freezer runs colder than mine. You’ll want to pull it out about 5 to 10 minutes before you want to serve it. That 10-minute window is perfect for it to soften up just enough so you can get those beautiful, clean scoops. If you’re looking for something warm and cozy to go alongside that cold scoop, you absolutely have to try my apple dumpling crescent roll recipe!
Frequently Asked Questions About Homemade Strawberry Banana Ice Cream
I always get so many questions when people try this recipe for the first time, usually revolving around texture because, being a no-churn style, it behaves a little differently than traditional ice cream. That’s totally okay! We want maximum creaminess, right? This is such a fun dessert to customize, and I’ve gathered the biggest questions people have when they first dive into making their own **Homemade strawberry banana ice cream recipe**.
Can I use fresh fruit instead of frozen fruit in this Strawberry Banana Ice Cream recipe?
Yes, you totally can, but you have to be prepared to change the process slightly. If you use fresh fruit, you won’t get that immediate thick, broken-down base we look for. It’ll just be a liquid smoothie, and that air won’t fold in correctly! If you’re set on using fresh fruit, I highly suggest freezing it yourself first. If you absolutely must use it fresh, blend it down and then chill that mixture in the fridge for about an hour or two. After chilling, you’ll need to add maybe a cup of regular cubed ice to the food processor at the very end to get that necessary icy component for texture, and then you’ll definitely need to stir it every 45 minutes while it freezes!
How long does the finished Strawberry Banana Ice Cream last in the freezer?
Since this recipe doesn’t use industrial stabilizers, it’s best eaten within the first week or so for peak creamy quality. If you seal it really well—remember that plastic wrap trick pressing right against the surface—it should last great for about two weeks. After that, you might start noticing the flavors dulling a bit because the natural fruit sugars can start crystallizing around the edges.
What is the best way to get a smoother texture if my mixture is too icy?
This usually happens if the mixture wasn’t cold enough when you folded in the cream, or if you didn’t use enough setting ingredients like the condensed milk. If you take a scoop out later and it seems too icy, don’t panic! Just transfer the whole lot back into the food processor—or use a powerful blender—and pulse it for about 30 seconds until it loosens up and gets smooth again. Then, move it quickly back to the freezer container and press that plastic wrap right down onto the surface. It should return to a beautifully smooth texture once it refreezes!
If you ever need a savory break from frozen desserts, I use my homemade cream of chicken soup recipe all the time! You can find the full guide over here: homemade cream of chicken soup.
Estimated Nutritional Information for This Frozen Dessert
Now, I hate to put a damper on something this delicious, but we should probably talk about the numbers, right? Like Grandma always said, “We eat with our eyes, but we have to be mindful of what we put in our bodies!” These figures are just my best guess based on the ingredients listed above—since we are using heavy cream and condensed milk, this is definitely more of an indulgent summer treat than a light snack. But honestly, a scoop this good is worth every bit of it, especially when you compare it to what you pay for a tiny tub at the store!
For a full serving of this glorious homemade creation, here is what you can generally expect. If you want to know more about how we cook things around here, feel free to peek at my About Us page!
- Serving Size: 2/3 cup
- Calories: 310
- Sugar: 35g (Remember, a lot of this comes from the natural fruit and the essential condensed milk!)
- Fat: 16g (Includes 10g Saturated Fat—that’s where the creaminess lives!)
- Protein: 5g
- Cholesterol: 60mg
- Carbohydrates: 38g
If you’re making substitutions, like using the coconut cream alternative we talked about earlier, these numbers will obviously shift! But this gives you a great baseline for the classic, unbelievably creamy version when you’re making this strawberry banana ice cream the traditional no-churn way.
PrintEasy No-Churn Strawberry Banana Ice Cream

Make creamy strawberry banana ice cream without an ice cream maker using this simple, no-churn recipe.
- Prep Time: 15 min
- Cook Time: 0 min
- Total Time: 6 hr 15 min
- Yield: 6 servings
- Category: Dessert
- Method: No-Churn Freezing
- Cuisine: American
- Diet: Vegetarian
Ingredients
- 2 cups frozen sliced bananas
- 1 cup frozen strawberries
- 1 (14 ounce) can sweetened condensed milk
- 1 teaspoon vanilla extract
- 1 cup heavy whipping cream
Instructions
- Place the frozen bananas and frozen strawberries in a food processor. Pulse until the fruit breaks down into small pieces.
- Add the sweetened condensed milk and vanilla extract to the food processor. Process until the mixture is smooth and creamy, scraping down the sides as needed.
- In a separate large bowl, whip the heavy whipping cream until stiff peaks form.
- Gently fold the fruit mixture into the whipped cream until just combined. Do not overmix.
- Transfer the mixture to a freezer-safe container, such as a loaf pan. Cover the surface directly with plastic wrap to prevent ice crystals.
- Freeze for at least 6 hours, or until firm. Stirring is not required.
Notes
- Use very ripe bananas for the best natural sweetness.
- For a dairy-free version, substitute the heavy cream with chilled full-fat coconut cream and use a dairy-free condensed milk alternative.
- If you prefer a softer texture, let the ice cream sit at room temperature for 5 to 10 minutes before scooping.
Nutrition
- Serving Size: 2/3 cup
- Calories: 310
- Sugar: 35
- Sodium: 75
- Fat: 16
- Saturated Fat: 10
- Unsaturated Fat: 6
- Trans Fat: 0
- Carbohydrates: 38
- Fiber: 2
- Protein: 5
- Cholesterol: 60