

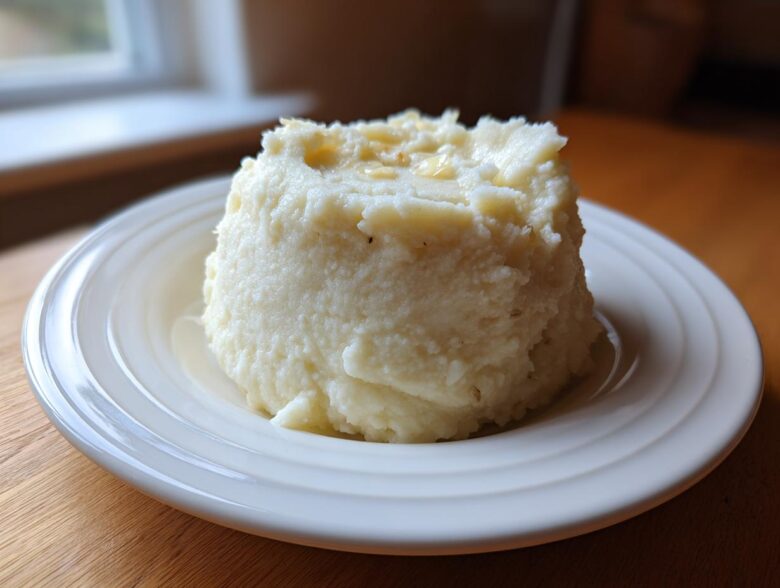
Okay, listen up! I know what you’re thinking. Cauliflower mash? It’s supposed to be watery, bland, or just plain lumpy, right? Wrong! For years, I searched for a side dish that felt like that big holiday bowl of velvety mashed potatoes without all the carbs. I tried everything, and trust me, it took way too long to crack the code on texture.
But I finally did it. This recipe for Creamy Garlic Mashed Cauliflower is the real deal. It’s buttery, bursting with deeply roasted garlic flavor, and has a texture so smooth you won’t even miss the spuds. The secret? It’s all about drying the heck out of that cauliflower after boiling. Seriously, if you nail that one step, you’re practically done. You can check out my original amazing roasted garlic mashed potatoes recipe, but this cauliflower version feels lighter and just as comforting.
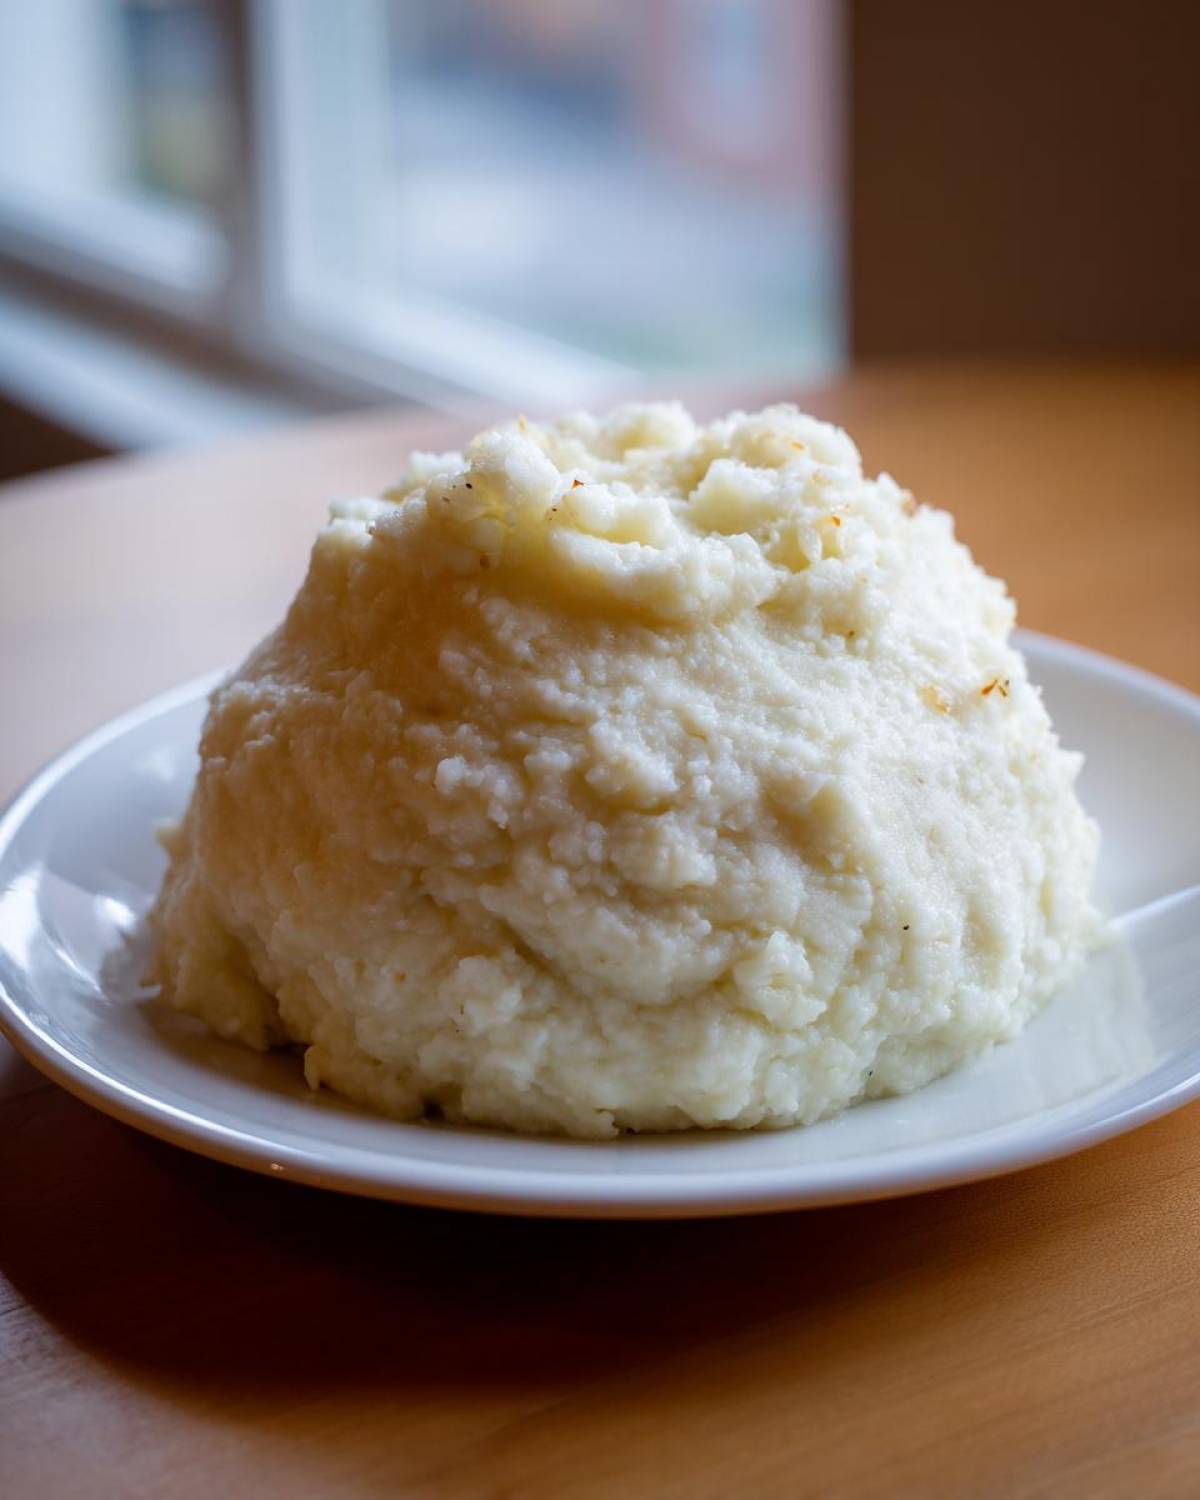
Why This Creamy Garlic Mashed Cauliflower Recipe Works (The Secret to Smoothness)
You asked how to get this right, and I’m telling you, the success of this dish hinges entirely on technique, not ingredients! People fail at cauliflower mash because they boil it, drain it, and immediately mash it. Oops! That leaves you with soup! To make this the best creamy cauliflower mash—truly a smooth garlic cauliflower puree—we need to attack the water content.
We’re taking two big steps: first, we boil the florets until they are fork-tender, and then—and this is crucial—we cook that tender cauliflower in the pan for a few minutes afterward just to steam out every drop of excess water. That evaporation process is literally how to make cauliflower creamy not watery. Trust me, don’t skip that quick sauté after draining; it’s the difference between a decadent side and a sad vegetable puddle. I learned this the hard way making roasted cauliflower soup when I accidentally added too much broth!
The Importance of Roasting the Garlic for Maximum Flavor
We want a strong garlic punch here, but raw garlic is just too harsh. By roasting those four cloves wrapped in foil with a bit of olive oil, we completely transform them. The heat mellows out the sharp edge, caramelizes the sugars, and makes the garlic naturally sweet and incredibly soft. When you squeeze that pulp into the blender, you get that signature robust flavor that makes this a fantastic keto mashed cauliflower side dish without tasting aggressive.
Gathering Ingredients for the Best Creamy Cauliflower Mash
Okay, let’s talk about assembling our powerhouse ingredients. Since we’re aiming for that satisfying, rich mouthfeel—basically a buttery smooth keto side dish—we need to lean into the fats. Don’t skimp here; this is what makes it taste like comfort food!
You’ll need one whole large head of cauliflower, make sure you break it down into small, uniform florets so everything cooks evenly. For the garlic, we’re using four cloves, peeled, ready for their little spa treatment in the oven. We are coating this heavily in flavor!
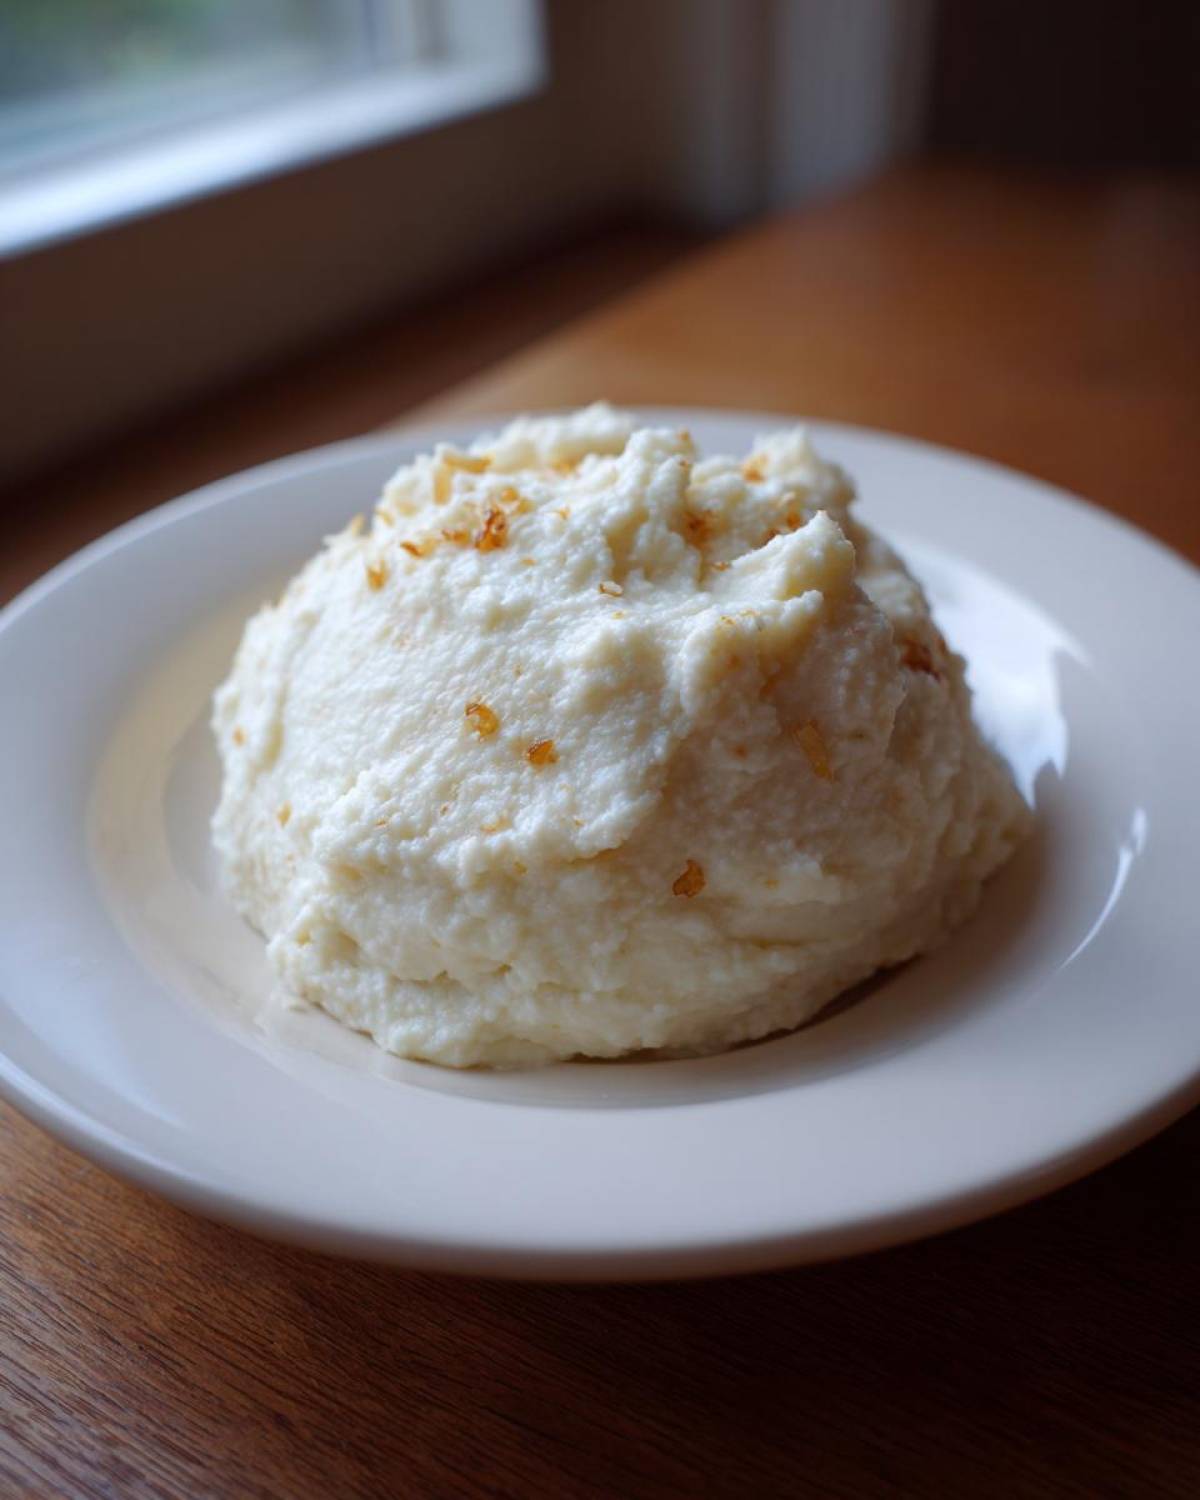
Next up, the creamy agents: Four tablespoons of unsalted butter or ghee is essential—ghee adds a beautiful nuttiness. We also bring in heavy cream, which is non-negotiable for that fluffy texture. If you need a dairy-free option, full-fat coconut milk works wonders, just like in my creamy spinach soup recipe, but for the absolute creamiest result, stick with the dairy cream first. Oh, and a little something called cream cheese adds an incredible tang and thickness, or you can use nutritional yeast if you’re keeping this strictly vegan.
Step-by-Step Instructions for Perfect Creamy Mashed Cauliflower
Alright, time to put on your apron because this is where the magic happens! Don’t just eyeball this; the sequence matters a whole lot if you want that velvety texture. We tackle the flavor first, then we beat the water content out of the cauliflower, which sounds aggressive, but it’s totally necessary.
Prepping and Roasting the Garlic
Grab those four cloves of garlic. You just need to peel them, toss them lightly with about a tablespoon of olive oil—don’t drown them! Wrap them up loosely in aluminum foil—make a little tent so the steam stays in but the garlic can soften. Pop that foil packet into the oven right when you start preheating to 400°F (200°C). They need about 20 to 25 minutes until they are ridiculously soft and golden. Once they’re cool enough to handle, you just squeeze the soft, sweet garlic pulp right out. It’s totally worth taking the time for this step!
Cooking Cauliflower and Removing Excess Moisture for Creamy Garlic Mashed Cauliflower
Next up, the main event. Cut your big head of cauliflower into small, uniform florets—smaller pieces cook faster and more evenly, which is what we want. Put them in a big pot, cover them with water, add a half teaspoon of salt, and bring that baby to a rolling boil. Reduce the heat and simmer for 10 to 15 minutes. You want them soft enough that a fork slides in without fighting you at all.
Now, here’s the pro secret for how to make cauliflower creamy not watery: Drain those florets really, really well in a colander. Then, let them just sit there and steam off for five full minutes! Seriously, don’t rush it. After that resting period, dump the cauliflower into a large, dry skillet over medium heat. You need to cook this for another 3 to 5 minutes, stirring, until you see steam rising off it and it looks genuinely dry. If you skip this, your mash will weep water later, guaranteed.
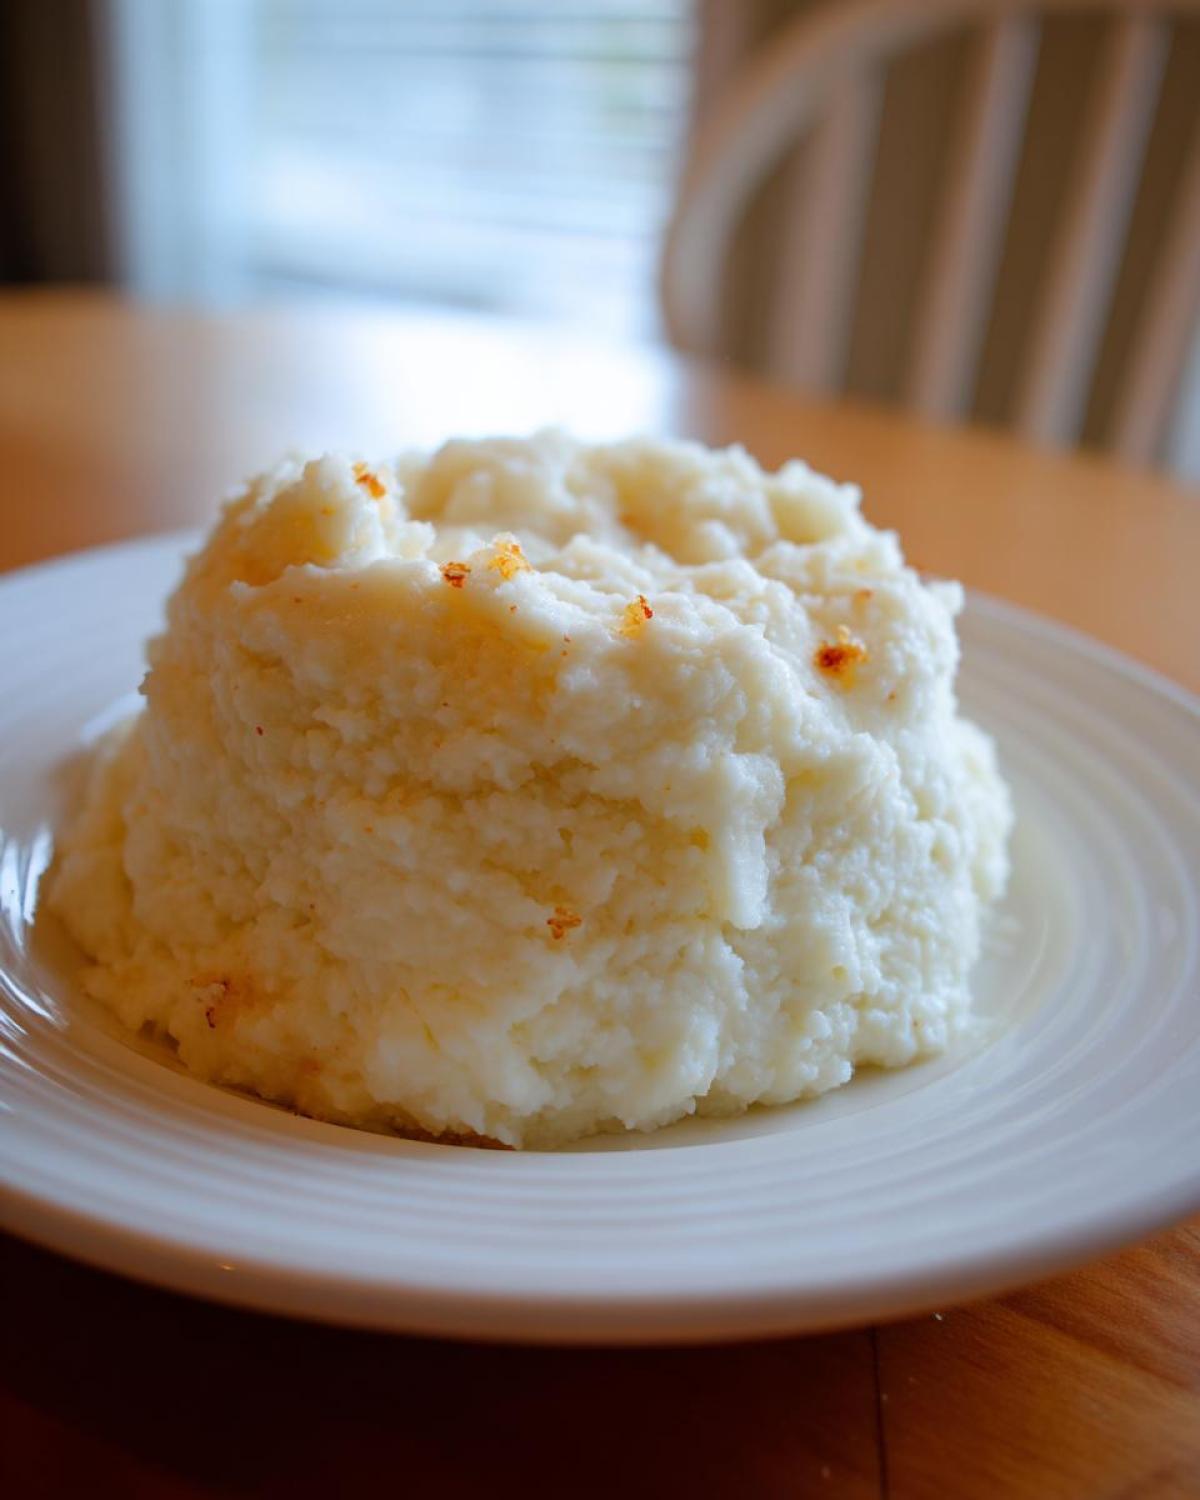
Blending to Achieve a Smooth Garlic Cauliflower Puree
With your cauliflower dry and your garlic roasted, everything goes into the skillet. Add your soft roasted garlic pulp, the butter, heavy cream, cream cheese (or that nutritional yeast if you’re skipping dairy), salt, and pepper. Now, you can use a sturdy potato masher, but if you want that absolute, ultimate smooth garlic cauliflower puree, you grab your immersion blender! Blend right there in the skillet until it looks like velvet. If you’re using a standard blender, work in small batches and be *so* careful because hot liquids expand fast. Blending smooths out everything that boiling made soft, incorporating all that fat into a perfect, silky texture. I sometimes even use my meat thermometer to check the temperature before blending, just making sure it’s cooled down enough for that roasted chicken you might be serving it with.
Tips for the Best Creamy Garlic Mashed Cauliflower
Now that you’ve mastered the drying technique, let’s talk about fine-tuning this dish. If you’re worried about keeping this a low-carb winner, remember that heavy cream is your best friend. It adds incredible richness without adding bulk.
If you’re aiming for that ultra-luxurious, buttery smooth keto side dish feel, consider swapping the regular butter for browned butter. Just melt the butter slowly until the milk solids turn deep brown and smell nutty—wow! It adds another layer of complexity that goes perfectly with the roasted garlic.
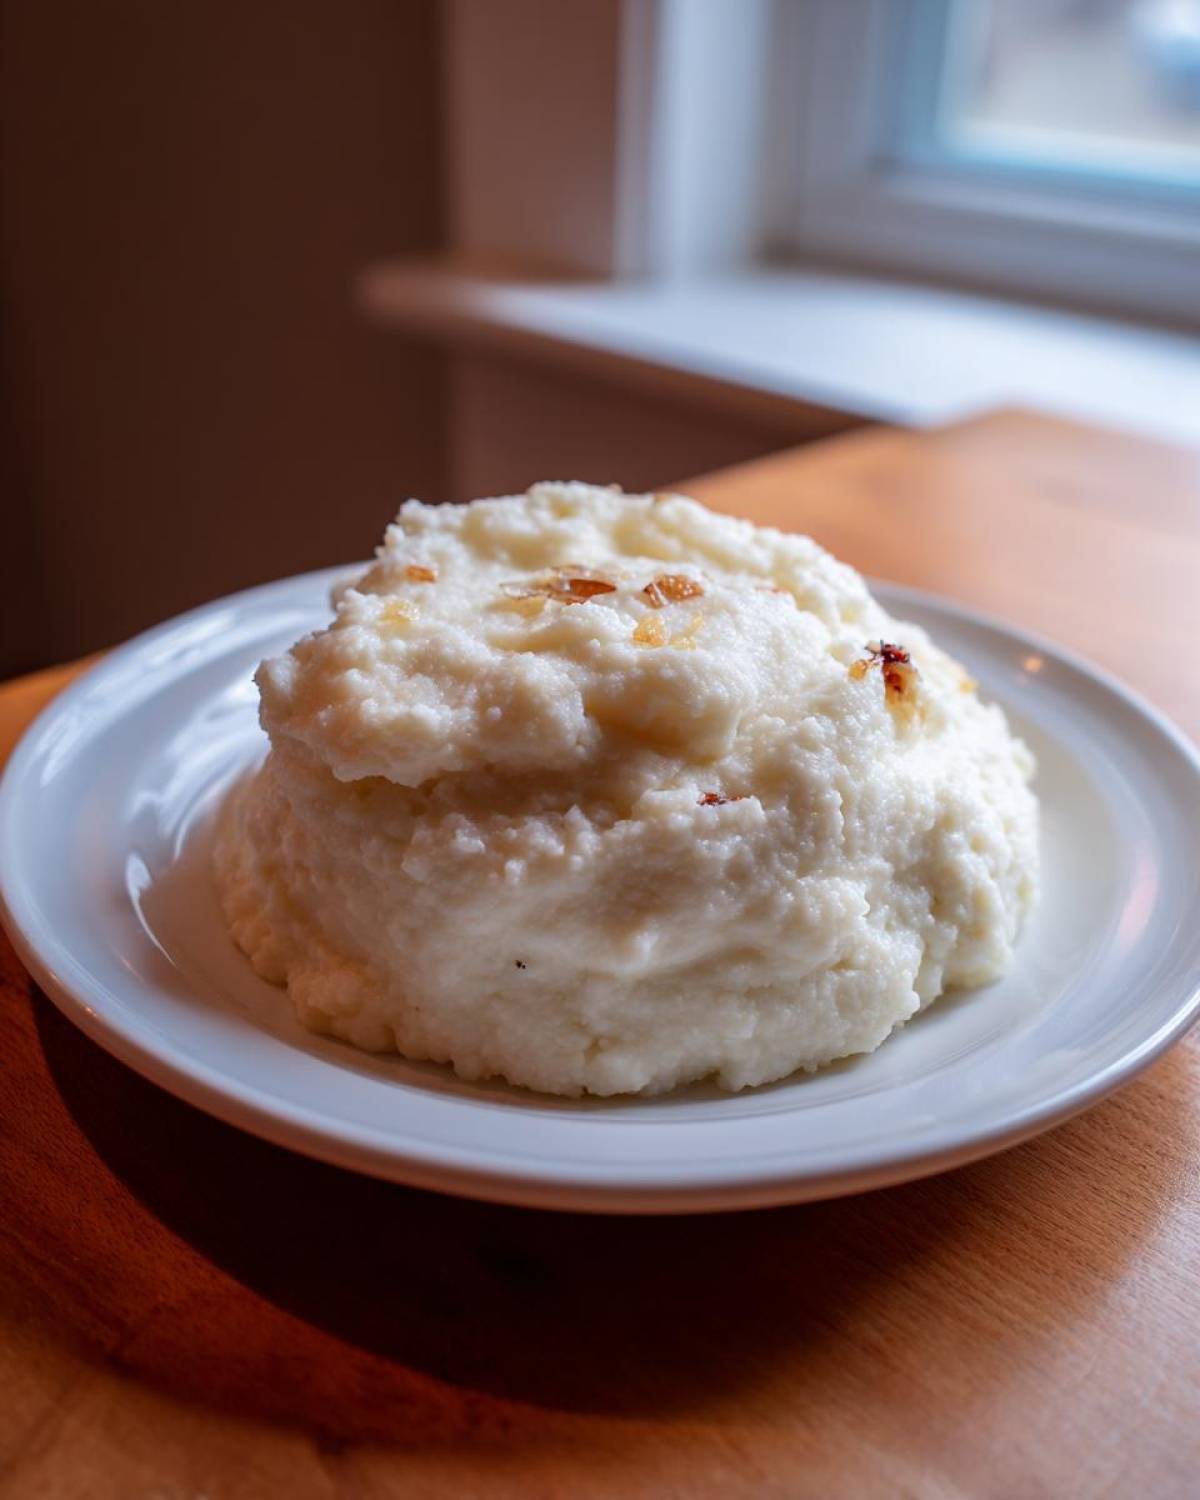
Remember those dairy-free notes? If you can’t use cream cheese, nutritional yeast is your secret weapon. It provides that subtle, cheesy depth that makes the **garlic cauliflower mash low carb** feel so substantial. Don’t forget, if you accidentally make it too thick after blending, just warm up a tablespoon of extra cream and stir it in until it’s spoonable. You can always thin it out, even after blending! You can see how I sneak cream into my keto white chicken chili, too—fat equals flavor!
Serving Suggestions for Your Creamy Mashed Cauliflower Side Dish
This fluffy, garlic-infused side dish works perfectly as a healthy mashed potato substitute for almost any main course! Because we kept the carbs super low, it supports richer heavier meals beautifully. I love serving a big scoop right next to a perfectly seasoned meatloaf or my favorite Salisbury steak with mushroom gravy.
It also pairs wonderfully with roasted meats. Think about slow-roasted chicken, baked salmon, or even pork chops—the smooth, garlicky texture just melts alongside them. It feels like a hearty, comforting side dish, even though it’s packed with veggies!
Storage and Reheating Creamy Garlic Mashed Cauliflower
This side dish is honestly even good the next day, provided you store it correctly! Pop any leftovers into an airtight container. I usually aim to get it into the fridge within two hours of making it, just to be safe. It keeps really well for about three days. The texture might tighten up a little bit once it chills, so don’t panic when you go to reheat it.
When you’re ready to eat your leftovers, you absolutely need to bring back that lovely creaminess. Don’t just microwave it straight from the fridge; it turns dense! Heat it gently on the stovetop over low heat, and make sure you stir in a splash—maybe a tablespoon—of fresh heavy cream or milk while it warms up. This loosens everything right back up! It’s just like reviving my slow cooker soup base; a little fresh liquid makes all the difference in texture!
Frequently Asked Questions About Creamy Cauliflower Mash
It’s totally normal to have a few lingering questions when you’re making a switch from potatoes to veggies! We want to make sure you get that perfect, comforting texture every single time, whether you’re grabbing your recipe for a quick weeknight meal or plating up something special.
Can I use frozen cauliflower for this Creamy Garlic Mashed Cauliflower?
I really, really prefer fresh cauliflower because it holds less water naturally. If you absolutely have to use frozen florets for your garlic cauliflower mash low carb attempt, you need to bump up the drying time significantly after boiling. Frozen cauliflower releases way more moisture than fresh, so after you drain it, you might need to cook it in that dry skillet for a full 7 or 8 minutes. Keep stirring until it looks seriously dehydrated before you try to blend it!
Is this the best keto mashed cauliflower side dish?
In my opinion, yes! This recipe has very minimal carbohydrates because we skip the potatoes entirely. By leaning heavily on the butter, cream, and cream cheese—all high-fat ingredients—we get the richness we crave while keeping the carb count super low. It’s the ultimate low-carb side that satisfies that craving for a rich, creamy mash, making it a fantastic healthy mashed potato substitute for anyone watching their sugar intake. I often pair it with my chicken broccoli rice casserole for a totally keto-friendly dinner!
Estimated Nutritional Data for Creamy Garlic Mashed Cauliflower
I know so many of you are looking at switching to this recipe because you’re tracking macros, or just generally trying to eat cleaner, so I always try to run the numbers! This is where that low-carb magic really shines when you compare it to traditional potato mash.
Here’s the breakdown based on the ingredients listed above, which serves about four people generously. Remember, this is an estimate—the exact amount of butter you use or the brand of cream cheese can shift things slightly, but this gives you a great framework for your macro tracking. It’s amazing how much flavor we pack in while keeping carbs low!
- Calories: Approximately 185 per serving
- Fat: Around 15g (Note: 8g of that is Saturated Fat from the butter/cream)
- Carbohydrates: Only about 9g total
- Fiber: 3g (which means lower net carbs!)
- Protein: About 4g
- Sodium: Close to 350mg
- Cholesterol: About 30mg
Honestly, you could swap out the dairy for avocado oil and coconut milk if you needed to make this even cleaner, but I find that the richness from the butter and cream really makes this an excellent comfort food that just happens to be low carb. If you’re interested in how I use similar high-fat ingredients in desserts, you should check out my easy no-bake Oreo balls recipe—it’s all about balance!
Please keep in mind that this data is purely an estimation based on the quantities I provided. You should always calculate your own nutrition if you are following strict dietary guidelines!
Share Your Perfect Creamy Garlic Mashed Cauliflower
Now that you’ve conquered the water content and mashed your way to vegetable perfection, I absolutely want to hear about it! Cooking should always be a conversation, right?
Did you manage to get that unbelievably smooth garlic cauliflower puree I was raving about? Did you use ghee or stick with classic butter for your blend? Please drop a comment below and let me know how much you loved this comfort food vegetable mash. Seeing your success stories—especially those of you who struggled with watery cauliflower before—is what keeps me testing recipes in my own kitchen!
And if you snap a photo of this gorgeous, creamy, low-carb side dish sitting next to your favorite low-carb protein, tag me on social media! I love seeing how you incorporate these healthy swaps into your meals. Head over to the main blog page to see what other favorite side dishes I’ve been experimenting with lately. Happy mashing!
PrintCreamy Garlic Mashed Cauliflower
Make a smooth, creamy, low-carb substitute for mashed potatoes using cauliflower and roasted garlic.
- Prep Time: 15 min
- Cook Time: 35 min
- Total Time: 50 min
- Yield: 4 servings
- Category: Side Dish
- Method: Stovetop/Roasting
- Cuisine: American
- Diet: Low Fat
Ingredients
- 1 large head cauliflower (about 2 lbs)
- 4 cloves garlic
- 2 tablespoons olive oil
- 4 tablespoons unsalted butter or ghee
- 1/4 cup heavy cream or full-fat coconut milk
- 2 tablespoons cream cheese or nutritional yeast for dairy-free
- 1/2 teaspoon salt
- 1/4 teaspoon black pepper
Instructions
- Preheat your oven to 400°F (200°C).
- Peel the garlic cloves, toss them with 1 tablespoon of olive oil, and wrap them loosely in aluminum foil. Roast the garlic for 20 to 25 minutes until soft and golden brown. Set aside to cool slightly.
- Cut the cauliflower into small, uniform florets.
- Place the cauliflower florets in a large pot and cover with water. Add 1/2 teaspoon of salt. Bring to a boil, then reduce heat and simmer for 10 to 15 minutes, or until the cauliflower is very tender when pierced with a fork.
- Drain the cauliflower completely in a colander. Let it sit for 5 minutes to allow excess steam and water to escape. This step is key for creaminess.
- Transfer the drained cauliflower to a large, dry skillet over medium heat. Cook for 3 to 5 minutes, stirring occasionally, to dry out any remaining moisture.
- Add the roasted garlic (squeeze the soft pulp from the skins), butter, heavy cream, cream cheese (or nutritional yeast), salt, and pepper to the skillet with the cauliflower.
- Use an immersion blender or a potato masher to blend the mixture until completely smooth and creamy. If using a standard blender, work in batches and be careful with hot liquids.
- Taste and adjust salt and pepper as needed. Serve immediately.
Notes
- To achieve the smoothest texture, use a food processor or high-powered blender instead of a hand masher.
- For a richer flavor, substitute the butter with browned butter.
- If the mash seems too thick, add cream one tablespoon at a time until you reach your desired consistency.
Nutrition
- Serving Size: 1/4 recipe
- Calories: 185
- Sugar: 5
- Sodium: 350
- Fat: 15
- Saturated Fat: 8
- Unsaturated Fat: 7
- Trans Fat: 0
- Carbohydrates: 9
- Fiber: 3
- Protein: 4
- Cholesterol: 30