

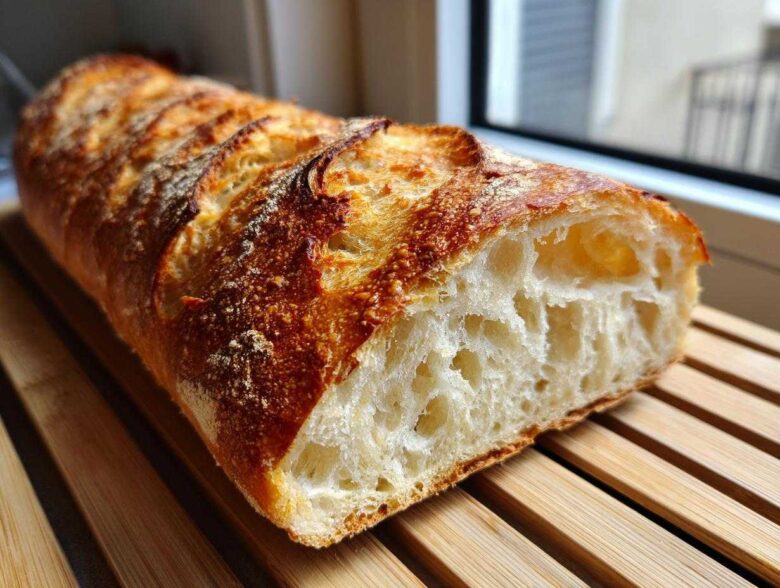
Forget everything you think you know about making French bread at home—that pale, too-dense stuff that crunches more like a cracker? We’re throwing that out! My absolute favorite thing to pull from the oven is a crackling, airy loaf of Sourdough French Bread, and getting that perfect bakery quality is totally achievable, I promise. If you’ve struggled with high-hydration, lean doughs like this before, you’re in the right place. I’ve spent years wrestling with stickiness and steam issues to nail down the method that gives you that incredible, wide-open crumb and that shatteringly crisp crust that sings when you slice it. This isn’t a quick fix; this is the real deal for true artisan results. For more on getting crusty loaves, check out my general guide on homemade crusty loaf. You can trust me on this journey; we’re going straight to the top shelf with this bake!
Mastering Your Starter for Sourdough French Bread
Listen, if we’re attempting true Sourdough French Bread, the starter has to be throwing a huge party inside its jar. Lean doughs don’t have much sugar or fat to feed that wild yeast, so we need serious lifting power!
You absolutely cannot use a sluggish starter for this. I always feed mine the night before, aiming for a robust 1:2:2 ratio—that’s one part starter, two parts flour, and two parts water.
Feeding Schedule for Optimal Sourdough French Bread Activity
I really prefer using cool water when I feed my starter for this recipe. It slows things down just enough so the starter peaks right when I’m ready to mix my dough, usually around 6 to 8 hours later depending on how warm my kitchen is. We want that starter to be light, bubbly, and smell pleasantly tangy, not sour and desperate. Use it right at its peak—when it’s doubled and the dome is just starting to look a little wobbly. That’s when you get the best lift for your Sourdough French Bread.
Ingredients for Authentic Sourdough French Bread
When you’re only using flour, water, salt, and starter, every single ingredient matters, doesn’t it? For this Sourdough French Bread, you need that high-protein bread flour—it’s non-negotiable for getting the structure we want. We’re aiming for about 70% hydration here, so pay close attention to your water temperature! I use cool water, aiming for about 65°F (18°C), which helps keep the bulk fermentation from raging out of control.
- 100g active sourdough starter (100% hydration)
- 375g water (cool, about 65F/18C)
- 500g bread flour (high protein)
- 10g fine sea salt
Ingredient Notes and High Hydration Sourdough Bread Adjustments
Using cool water is key for managing this high hydration sourdough bread. If your kitchen is warm, hot water will make this dough impossible to handle! Also, resist the urge to use lower-protein flour; these lean doughs need that strength to hold onto all the gas they create. If you want to see how I tweak things for softer loaves sometime, check out my soft honey sandwich loaf recipe, but for French bread, stick to the strong stuff!
The Best Sourdough French Bread Baking Method: Mixing and Bulk Fermentation
This is where we teach the dough how to be strong, even though it’s super floppy! First, mix that active starter right into your cool water until it’s mostly dissolved. Then, toss in the flour. Mix it just until you don’t see any dry bits left—it’ll look ugly and shaggy, and that’s perfect! Let it rest for 30 minutes; this is the autolyse, and it lets the flour soak up all that water beautifully. We need that structure for our Sourdough French Bread.
Next, sprinkle your salt on top. Now, we really mix. Squish it all together with wet hands for a good minute or two until the salt disappears. Don’t worry, gentle hands are the secret with this high-hydration sourdough bread. We don’t want to beat it up; we want to teach it manners using folds! If you want to see a totally different approach to quick bread, you could check out my easy 4 ingredient soda bread recipe, but for this artisan loaf, patience is everything.
Stretch and Folds: Building Strength in Lean Sourdough Dough
We’re going to wake up the gluten structure with four carefully timed sets of stretch and folds. Do this every 30 minutes for the first two hours of bulk time. Grab a section of the dough, stretch it up high without tearing it, and fold it over the middle. Rotate the bowl and do it again until you’ve gone all the way around. After those four sets, the dough should feel significantly smoother and tighter.
Bulk fermentation is going to take a while—maybe 3 to 5 hours total, depending on your kitchen temp. The goal isn’t doubling; we only want a 40-50% increase in volume. You’ll see some nice bubbles underneath when you gently lift an edge. This slow, gentle fermentation is what gives your **Sourdough French Bread** that incredible depth of flavor!
Shaping Techniques for Artisan Sourdough Baguette Recipe Success
Okay, we have the strength, now we have to be gentle—this is the hardest part! If we punch this beautiful, airy dough down, we deflate all those gorgeous gas pockets we worked so hard to build in the bulk fermentation. When you turn the dough out onto your surface, try to flour it as little as possible. Divide it softly into two pieces.
First, we pre-shape them into very loose logs or rough boules. Cover them and let them chill out for about 20 minutes. This bench rest lets the gluten relax before the final shaping. When you go to shape the final loaf for your **Artisan Sourdough Baguette Recipe**, work quickly! Gently stretch each piece into a long, thin cylinder, making sure the seams are sealed tightly underneath. You are stretching, not squeezing, them into shape.
If you feel like cheating and making these into rustic rounds, I totally get it—check out this easier route for English muffins for a change of pace—but for that true baguette experience, you need the length, and you need to be swift!
Proofing and Couche Support for Sourdough French Bread
The shaped loaves have to go onto a heavily floured couche or a linen cloth, seam side up. You need to make deep folds between each loaf to stop them from spreading sideways into one big pancake. They’ll proof for about 45 minutes up to an hour and a half. How do you know they are done? Use the poke test!
If you gently poke the side of your **Sourdough French Bread** and the indentation springs back right away, they need more time. If the dent stays put or fills back *super* slowly, they are perfect for the hot oven. This timing is everything for that great oven spring!
Achieving the Perfect Crust: Baking Sourdough with Steam
If you want that deep, mahogany color and the audible crunch when you bring your **Sourdough French Bread** home, you simply must create steam. This is non-negotiable for that incredible crust! You need to preheat your oven to 500°F (260°C) with your baking stone or steel inside for at least a full hour—it has to be screaming hot. Also, place a heavy pan, like an old cast iron skillet, on the bottom rack while it heats up.
When you’re ready to load, work fast! Get those loaves onto the hot stone, then immediately grab a cup of water that’s already boiling and dump it right into that hot pan on the bottom rack. Slam that door shut instantly! This burst of steam keeps the crust soft for the first 15 minutes, letting the dough soar high, which sets up that open crumb structure we love. Seriously, if you forget the steam, the crust sets too early, and you get a dense chew instead of a crackle. My family loves using leftover bread for dipping, check out this easy homemade garlic breadsticks recipe when these loaves are done!
Scoring Sourdough for Maximum Oven Spring
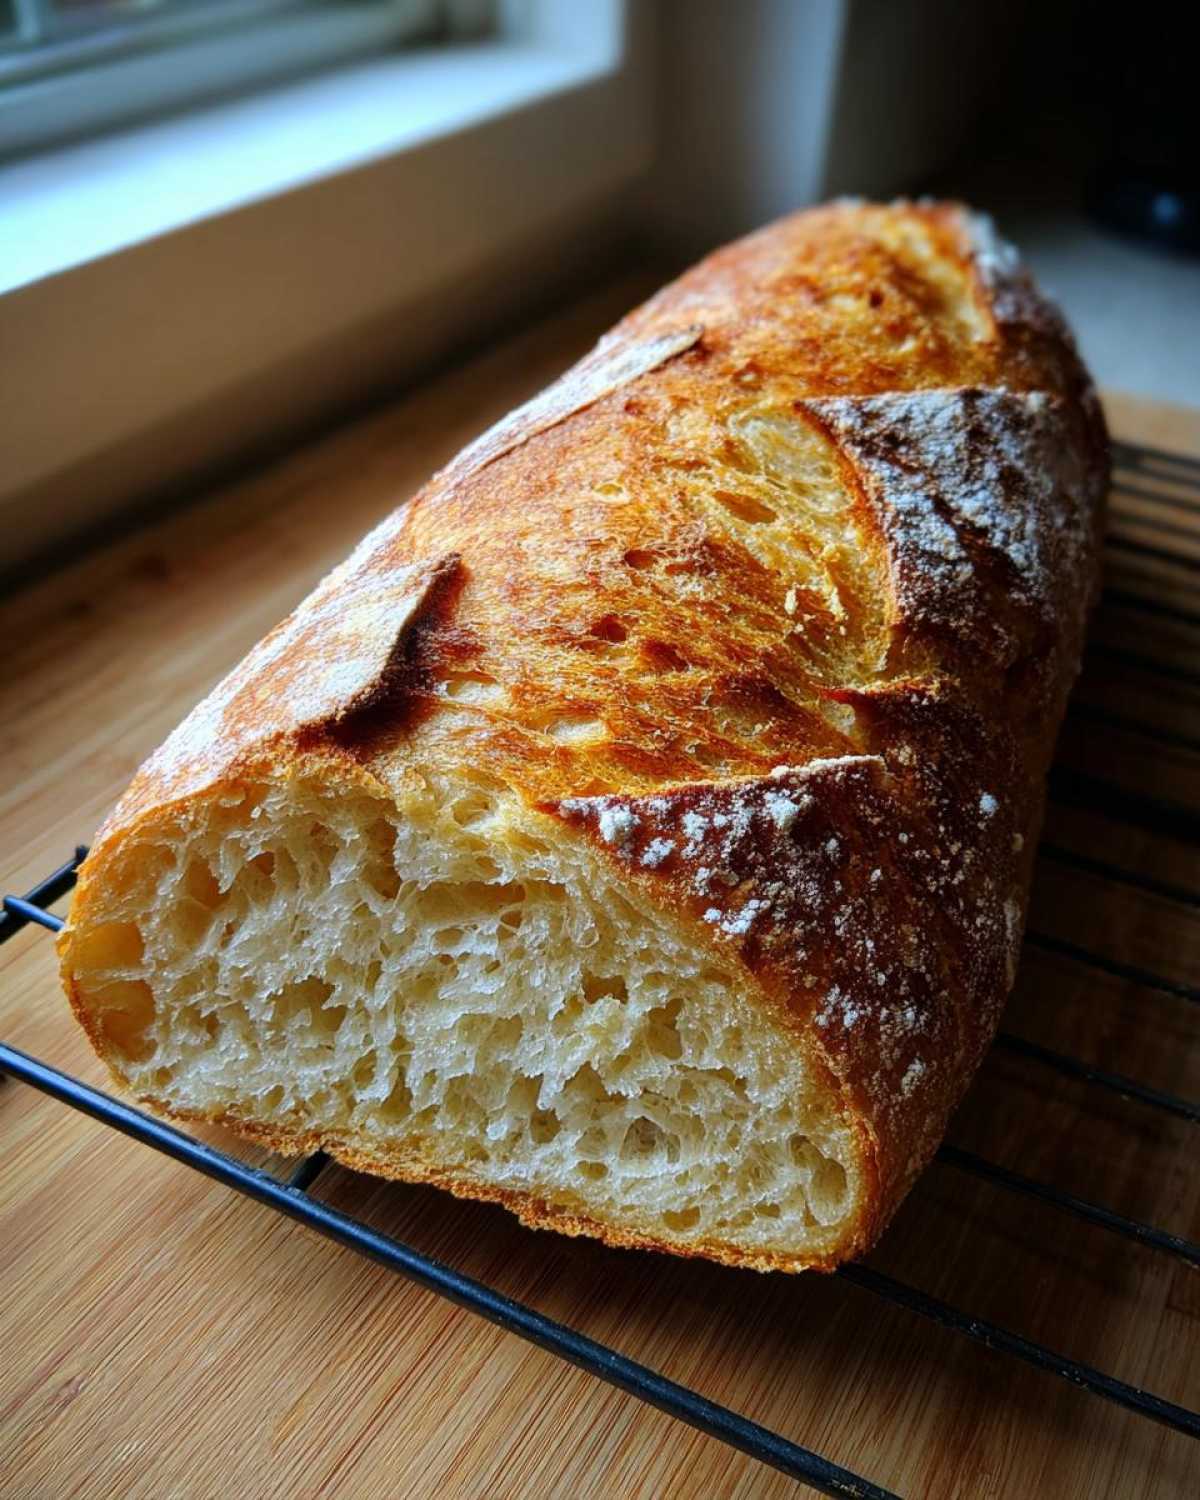
Scoring needs confidence and speed! Use a very sharp lame or even a fresh razor blade. Hold the blade at a really shallow angle, maybe 30 degrees, against the surface of the loaf. You want to make quick, decisive, overlapping slashes down the length of the bread. If you make shallow cuts, the dough will just burst wherever it wants. Those distinct cuts direct the expansion exactly where we want it, which is critical for that beautiful ear and open crumb in your **Sourdough French Bread**.
Temperature Management and Crumb Setting
After about 15 minutes, the dough should have achieved maximum oven spring. Now, you need to get rid of that moisture. Carefully crack the door open to let the steam escape—maybe even pull that hot water pan out with some tongs if you feel bold! Drop the temperature immediately down to 450°F (232°C).
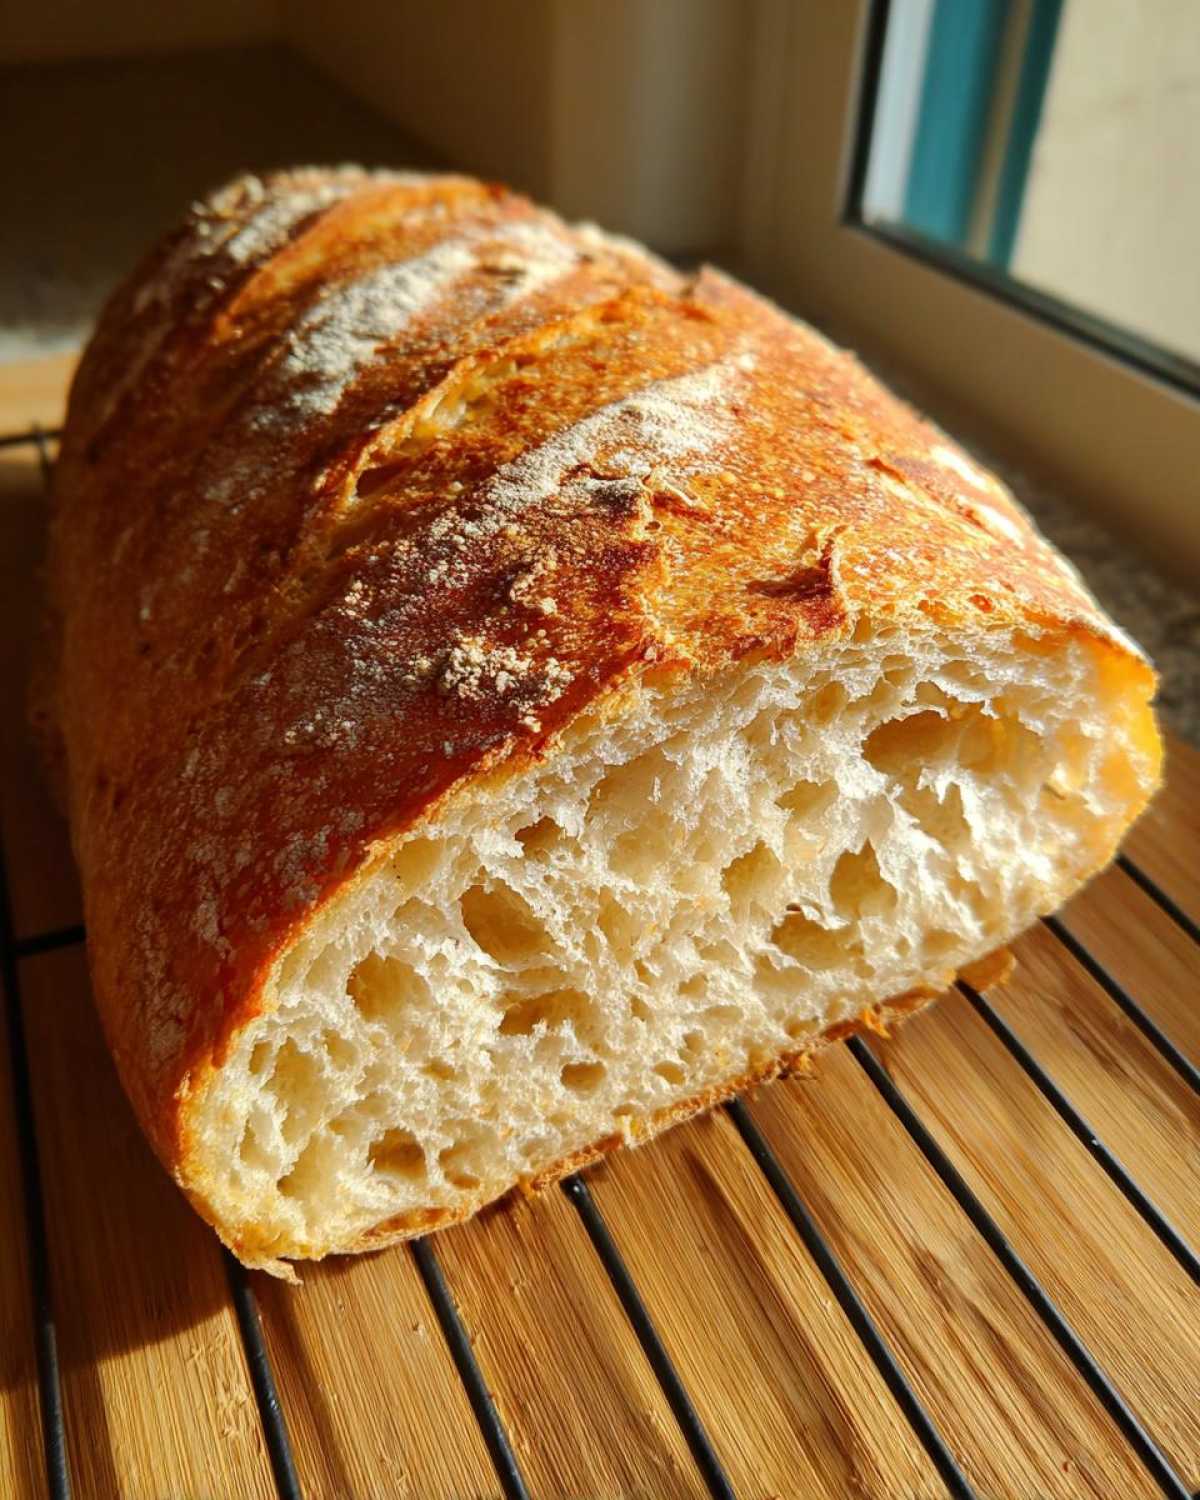
Keep baking for another 15 to 20 minutes until the crust is a deep, rich brown. Don’t pull it early thinking it’s burning; that dark color equals maximum crunch! The last, painful step is letting it cool completely on a wire rack for at least two hours. Slicing it hot ruins the structure inside, trust me on this one!
Troubleshooting Common Sourdough French Bread Issues
It’s okay if your first attempts at this Sourdough French Bread aren’t perfect; lean dough is tricky! If your loaf came out flat? That almost always means your starter wasn’t at its absolute peak, or you over-proofed the dough until it ran out of structure. Go back and check your starter feeding timeline next time.
Did you struggle with the dough sticking everywhere? That’s the high hydration whispering to you. Don’t add tons of flour during shaping; instead, use wet hands or a tiny bit of oil on your working surface if you need a slight adjustment. And if your crust turned out pale instead of that deep, shiny brown? You didn’t generate enough initial steam, or you pulled it out too soon!
If you found this challenging, don’t despair! My recipe for sourdough sandwich bread is much more forgiving if you need a win before tackling the baguette again.
Serving Suggestions for Your Crusty Sourdough Loaf
Now that you have that gorgeous, crackling **Crusty Sourdough Loaf**, what do you do? Keep it simple, that’s what I say! This bread doesn’t need fancy toppings; it needs to shine on its own. Dip thick slices into really good extra virgin olive oil, or just smear it with some high-quality, chilled butter.
Honestly, I make a massive batch just so I have plenty left over for dipping into soup. If you’re looking for a killer dunking potion, you have to try my recipe for Cowboy Butter—it’s so flavorful, and this sourdough soaking it all up is just heaven. Don’t overcomplicate it!
Storage and Reheating Instructions
The heartbreak of a perfectly baked loaf is eating it the next day only to find the crust has gone soft! You absolutely cannot store this **Sourdough French Bread** in plastic. Plastic traps moisture and steam, which turns that beautiful, crispy exterior into something chewy and sad overnight. Nope. You need a paper bag, or even better, just leave it cut-side down on a wooden cutting board.
If you have leftovers after a day, don’t worry—we can bring that crunch back! To reheat a whole loaf, lightly spritz the outside with a tiny bit of water. Pop it directly onto your oven rack at about 350°F (175°C) for about 5 to 8 minutes. You’re just warming it through and reviving the crust.
For a single slice, I just pop it under the broiler for literally 60 seconds. Watch it closely, though, because the edges toast up fast! This tricks your brain/mouth into thinking you just pulled it straight from the oven this morning. It’s the best way to enjoy this bread over a couple of days.
Nutritional Estimates for Lean Sourdough
Now, while this focus is totally on the flavor and that amazing crust, I know some of you lovely bakers want the numbers! Based on how I make this loaf using standard bread flour percentages, here are the estimates per small slice. Remember, these figures are just a guide since flour brands vary wildly, so you can always check my general disclaimer page for more on nutrition sourcing.
- Serving Size: 1/8 loaf
- Calories: 260
- Protein: 10g
- Carbohydrates: 55g
- Fat: 0.8g
Not bad at all for something that tastes this purely wonderful!
PrintArtisan Sourdough French Bread

A detailed recipe for baking high-hydration sourdough French bread with an open crumb and a very crispy crust, requiring steam during baking.
- Prep Time: 45 min
- Cook Time: 35 min
- Total Time: 5 hours 55 min
- Yield: 2 loaves
- Category: Bread
- Method: Baking
- Cuisine: French
- Diet: Vegetarian
Ingredients
- 100g active sourdough starter (100% hydration)
- 375g water (cool, about 65F/18C)
- 500g bread flour (high protein)
- 10g fine sea salt
Instructions
- Mix the starter and water in a large bowl until mostly combined.
- Add the flour and mix until a shaggy mass forms. Let this autolyse for 30 minutes.
- Sprinkle the salt over the dough and mix thoroughly, squeezing and folding the dough until the salt is incorporated.
- Perform four sets of stretch and folds every 30 minutes during the first two hours of bulk fermentation.
- Continue bulk fermentation at room temperature (68-72F) until the dough has increased in volume by about 40-50% and shows good activity, usually 3 to 5 hours total, depending on starter strength.
- Gently turn the dough onto a lightly floured surface. Divide it into two equal pieces. Pre-shape each piece into a loose log or boule. Cover and rest for 20 minutes (bench rest).
- Shape the dough into long, thin baguettes. Work gently to maintain the gas structure. Place each shaped loaf seam-side up onto a heavily floured couche or linen cloth, ensuring deep folds separate the loaves for support.
- Proof the loaves at room temperature for 45 to 90 minutes, or until they feel slightly puffy but still have good resistance when gently poked (poke test).
- Preheat your oven to 500F (260C) with a baking stone or steel inside for at least one hour. Place a cast iron pan or broiler tray on the bottom rack.
- Just before baking, transfer the loaves to a peel dusted with cornmeal or semolina. Score each loaf quickly and deeply with a sharp lame or razor blade at a shallow angle (about 30 degrees).
- Carefully slide the loaves onto the hot stone. Immediately pour 1 cup of boiling water into the hot pan on the bottom rack to create steam. Close the oven door quickly.
- Bake for 15 minutes with steam. Carefully vent the steam by opening the oven door slightly or removing the water pan. Reduce the temperature to 450F (232C).
- Continue baking for another 15 to 20 minutes until the crust is deep golden brown and crisp.
- Cool completely on a wire rack before slicing to allow the internal structure to set.
Notes
- Use cool water to slow down fermentation, which is necessary for the complex flavor development in lean doughs.
- For maximum oven spring, ensure your starter is very active and the final proofing time is accurate; under-proofed doughs often burst unevenly.
- To achieve a very crispy crust, avoid opening the oven door until the steam phase is complete.
Nutrition
- Serving Size: 1/8 loaf
- Calories: 260
- Sugar: 0.5
- Sodium: 350
- Fat: 0.8
- Saturated Fat: 0.1
- Unsaturated Fat: 0.7
- Trans Fat: 0.0
- Carbohydrates: 55
- Fiber: 2.5
- Protein: 10
- Cholesterol: 0