

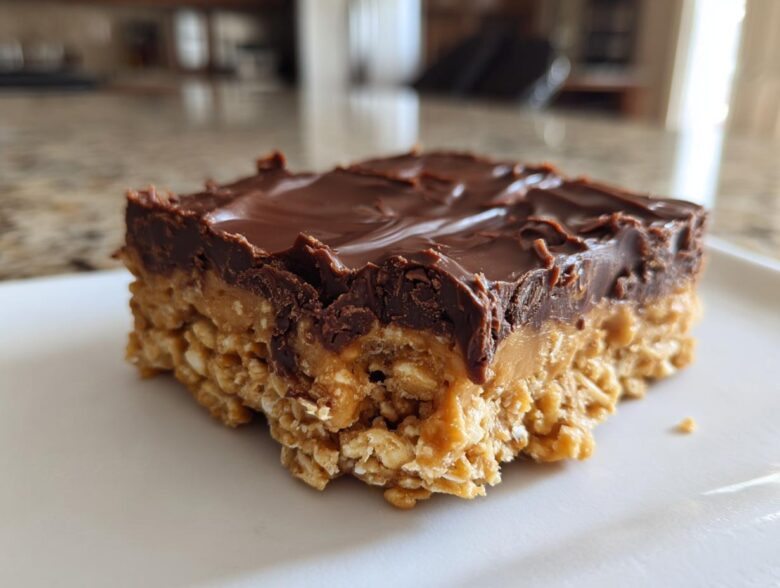
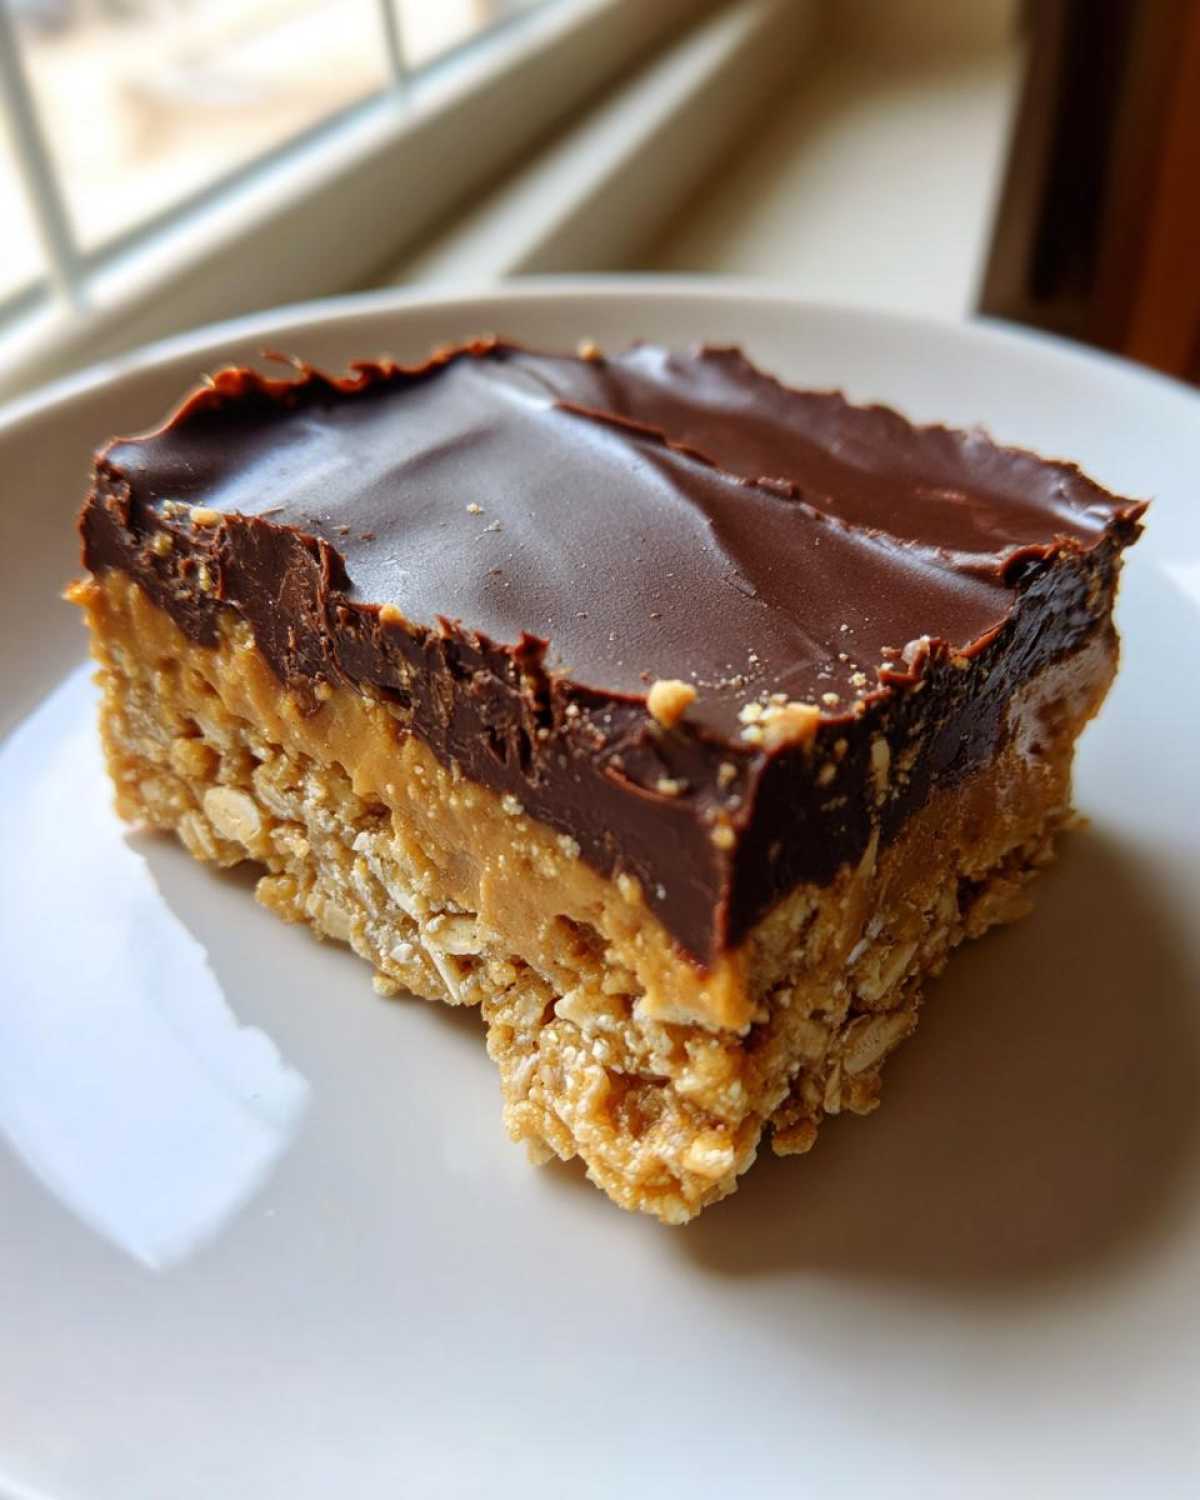
Oh my gosh, have you ever gotten that craving? You know the one—you need something chocolatey, something absolutely dripping with peanut butter, but the thought of turning on the oven just makes you tired? Welcome to my favorite baking hack! These **No-Bake Chocolate Peanut Butter Oat Bars** are the answer to all my summer dessert emergencies. Seriously, last week the neighbors dropped by unexpectedly, and within twenty minutes of grabbing ingredients, I was pulling these beauties out of the freezer. They are the ultimate layered treat: chewy, creamy, and so rich. Forget complicated baking; this recipe is pure, simple magic that you can feel good about putting together! If you love this texture, you have to check out my recipe for no-bake peanut butter pie sometime, too!
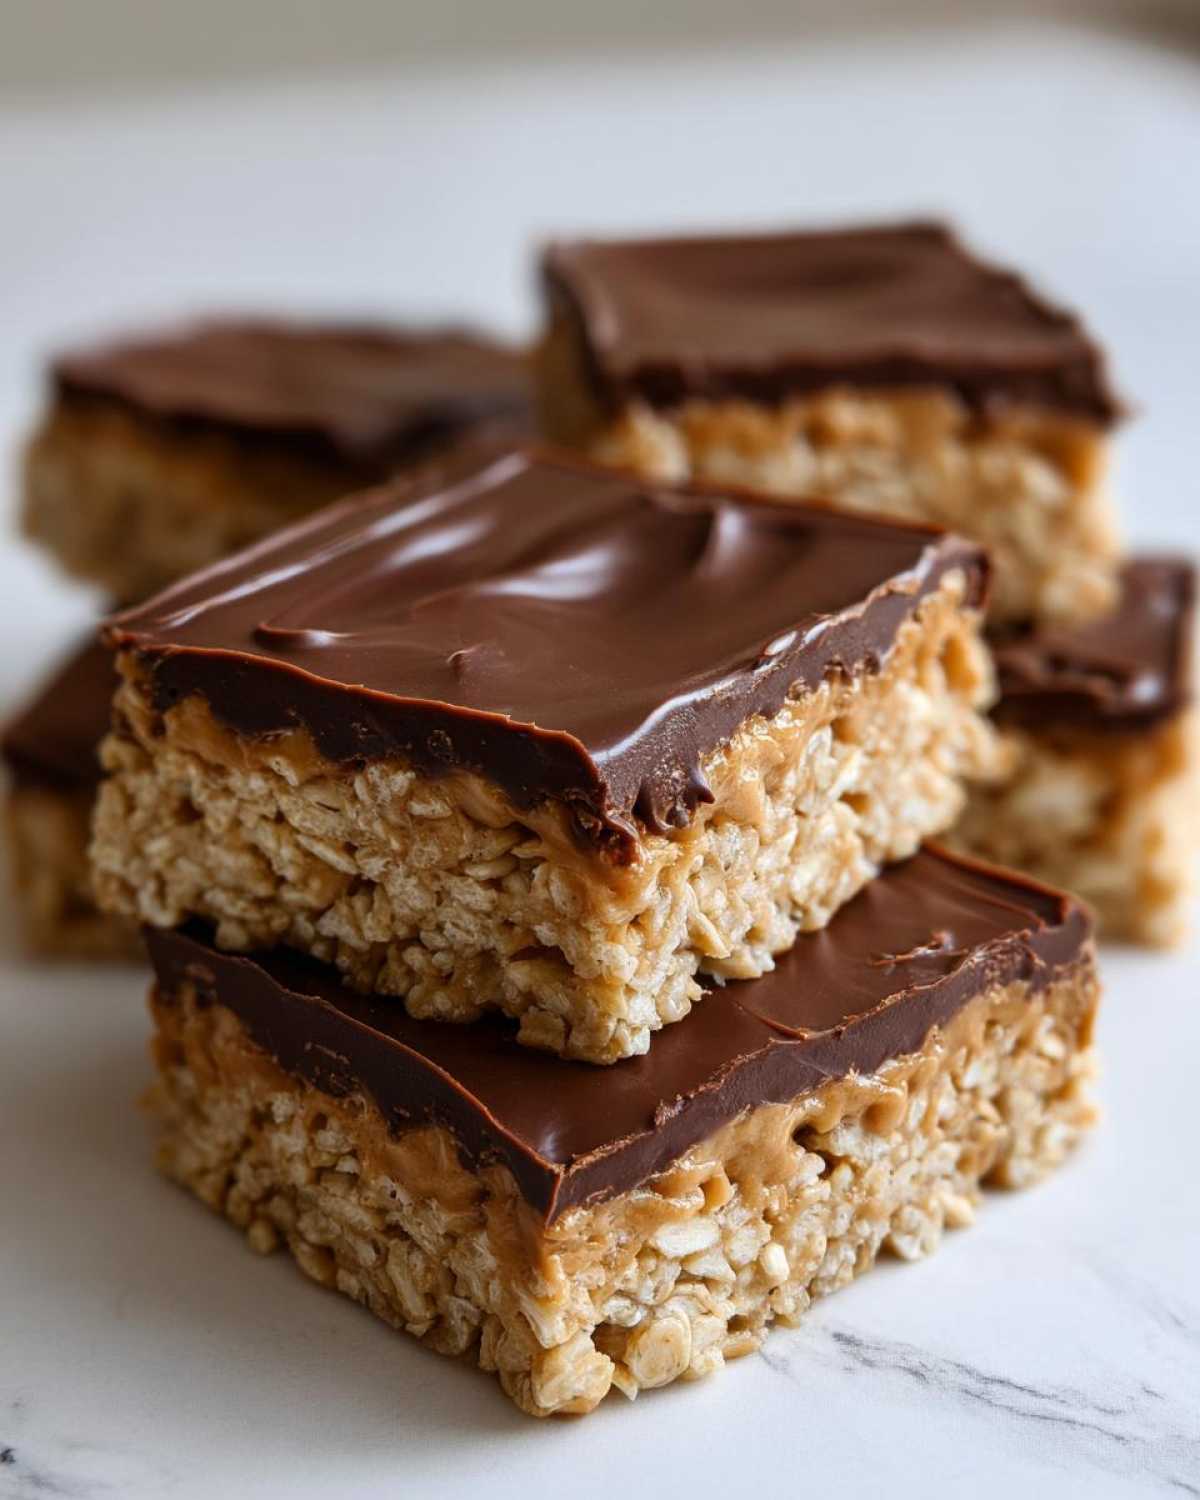
Why You Will Make These No-Bake Chocolate Peanut Butter Oat Bars Repeatedly
Honestly, these bars are going to be your new go-to snack, trust me. They solve so many problems! The best part about these **No-Bake Chocolate Peanut Butter Oat Bars** is how reliably fantastic they turn out, even when you’re rushing around.
- They are genuinely so fast! Prep time is barely fifteen minutes, making them perfect for last-minute needs.
- Zero oven time, which means your kitchen stays cool and you don’t have to worry about preheating or watching edges brown!
- The chocolate and peanut butter layers set up beautifully, meaning you get clean, satisfying squares every time.
- Perfect for packing! They hold their shape wonderfully, making them ideal no bake energy bars for snack time or lunch boxes.
- The combination of sweet chocolate over that salty, chewy base hits that dessert craving every single time. If you love that salty crunch, you should definitely see my peanut butter pretzel bark, too!
That’s why these become a repeat offender in my kitchen. Quick, portable, and totally delicious!
Gathering Ingredients for No-Bake Chocolate Peanut Butter Oat Bars
Okay, let’s look at what you need, because that’s the real secret to making these work so smoothly—having everything measured and ready to go! Since we aren’t baking, there’s no forgiveness if you forget something later, so I always lay everything out first. Don’t stress, though; the ingredient list is short and uses things I bet you already have in your pantry. These **no bake dessert bars** come together quickly because the ingredients are so straightforward. If you love simple desserts like this, check out my peanut butter Rice Krispie treats, too!
For the Oat Base Layer
This layer is the chewy foundation that holds the whole bar together, so you want to make sure these ingredients are exactly right. We combine the dry stuff with the wet stuff to make a dense dough.
- You’ll need 1 1/2 cups of good old rolled oats—none of that instant stuff here!
- 1 cup of graham cracker crumbs gives us that lovely texture and binding power.
- 1/2 cup of unsalted butter, and this MUST be melted before you add it in.
- 1/2 cup of granulated sugar for sweetness.
- The first portion of peanut butter: 1/2 cup of creamy peanut butter.
- Just 1 teaspoon of vanilla extract—that bit of flavor goes a long way!
For the Chocolate Peanut Butter Topping
This is where we create that indulgent, fudgy top. Notice we are using the peanut butter twice, but for two different jobs, so keep them separate!
- 1 cup of semi-sweet chocolate chips—I like using good quality ones here because they melt so beautifully.
- The second portion of our peanut butter: just 1/4 cup of creamy peanut butter, which gets mixed right into the chocolate to make it softer and richer.
Step-by-Step Instructions for Your No-Bake Chocolate Peanut Butter Oat Bars
Alright, this is the fun part! Since we aren’t actually baking, the oven doesn’t get a look-in, which is my favorite part about making these **quick chocolate snack recipe** bars. The entire process relies on good mixing and patience in the fridge. If you happen to have a batch of my no-bake Oreo balls cooling down, you’ll notice the vibe is very similar!
Preparing the Pan and Oat Foundation
First things first: you need a safe home for your base! Grab that 8×8 inch pan—mine is metal, but glass works too—and line it with parchment paper. Make sure you leave a flap hanging over two opposite sides. Those flaps are your handles later when we pull the whole thing out; don’t skip that step!
In a nice big bowl, toss in your oats, graham cracker crumbs, melted butter, sugar, the main 1/2 cup of peanut butter, and the vanilla. Mix it all up until it looks like everything is evenly coated—it’ll be shaggy but moist. Now, here’s my main piece of advice for a bar that doesn’t crumble: press this oat mixture down HARD into the pan. I use the bottom of a flat measuring cup to really pack it in there so it forms a solid layer. Once it’s tight, pop it in the freezer while we handle the chocolate top.
Melting the Chocolate Topping
Time for the rich topping! Get your chocolate chips and the remaining 1/4 cup of peanut butter into a microwave-safe bowl. Now, pay attention here because melted chocolate is sneaky. You need to nuke it in short bursts—only 30 seconds at a time. After each 30-second zing, pull it out and stir it really well, even if it doesn’t look melted yet. Stirring distributes the heat and stops those awful scorches! Keep doing that until it’s completely smooth and glossy. Honestly, that small amount of peanut butter makes the chocolate topping unbelievably creamy.
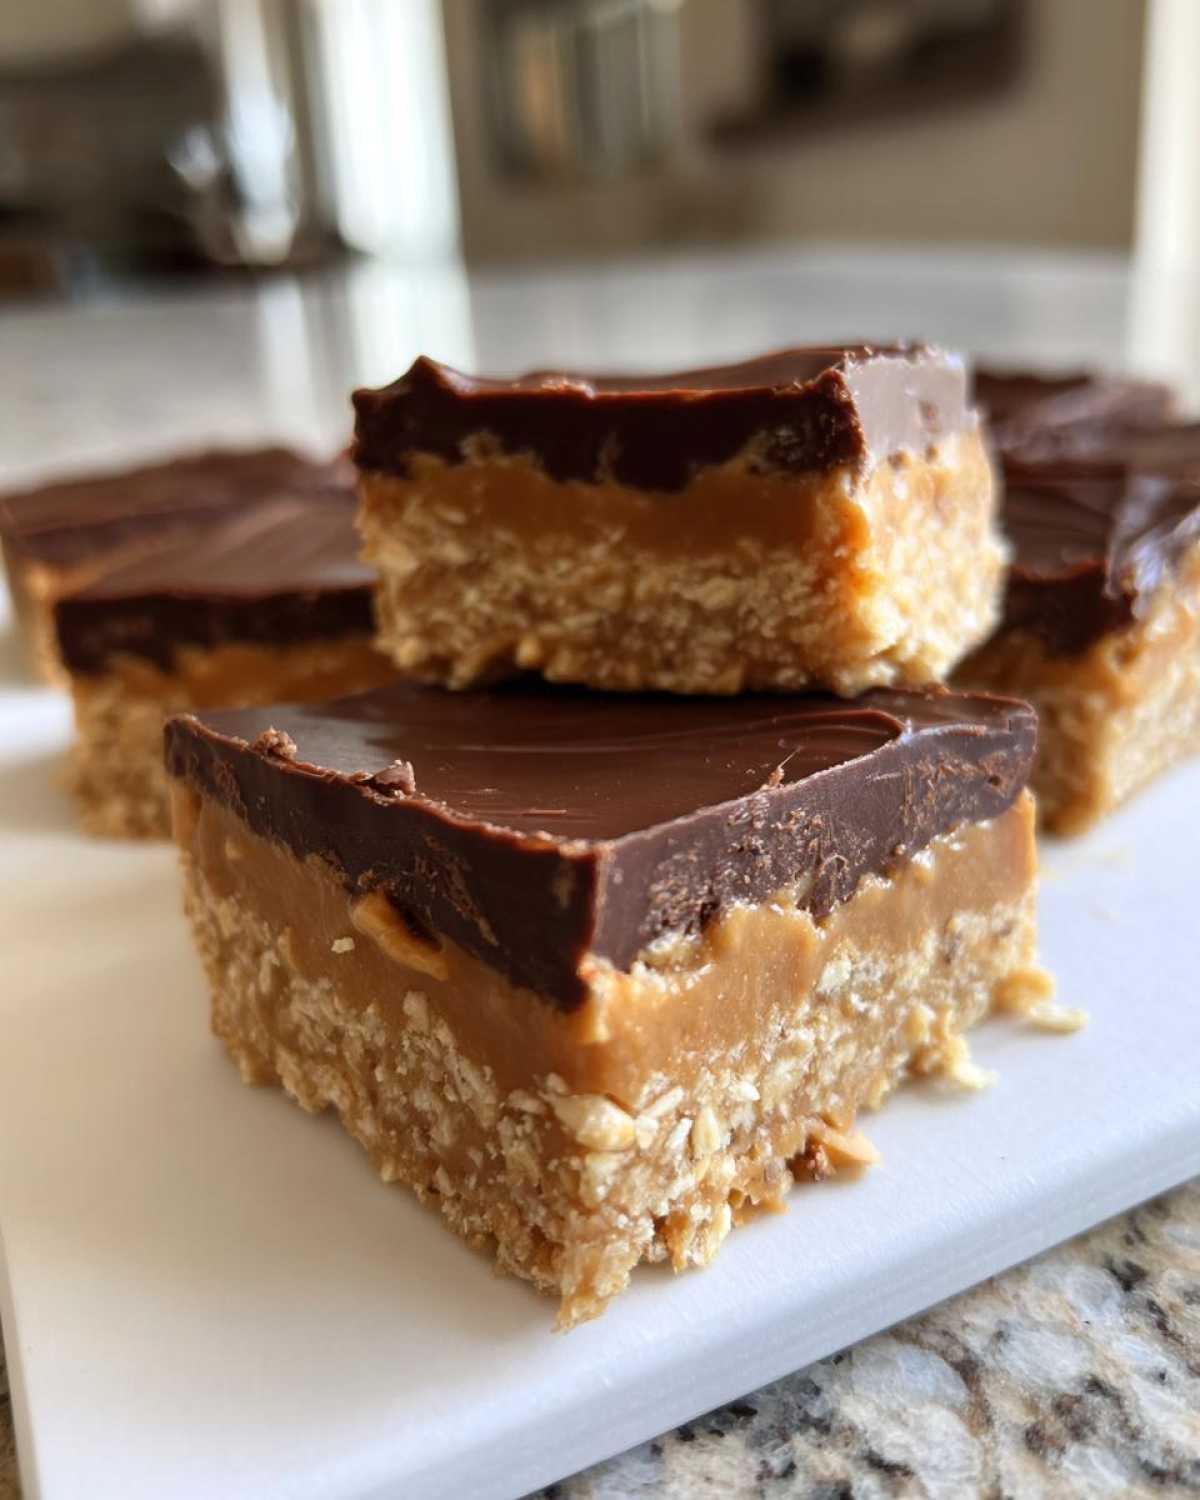
Layering and Setting the No-Bake Chocolate Peanut Butter Oat Bars
Once your oat base has had a little chilly time, it’s ready for its chocolate blanket. Pour that melted perfection right on top of the cold base. Use an offset spatula—or just the back of a spoon—to gently spread your chocolate layer evenly right to the edges. You want one nice, flat surface.
Now for the hardest part: waiting! Back into the refrigerator it goes. You need at least two full hours for that chocolate top to set up completely firm. If you try to rush this, your bars will smear everywhere when you cut them. Two hours minimum for clean cuts, I promise!
Tips for Perfect No-Bake Chocolate Peanut Butter Oat Bars
Getting these bars right is all about technique, since we skip the oven completely. My biggest tip for making sure these **No-Bake Chocolate Peanut Butter Oat Bars** hold together like a dream involves the temperature of your base ingredients when you mix them. Try to make sure that 1/2 cup of butter isn’t piping hot when you pour it over the dry ingredients—it just needs to be melted! If it’s too hot, it can melt the sugar a bit too much, throwing off your texture later.
Also, when you mix the oat base, don’t just toss it in the bowl; I like to use my hands for the final stages of mixing just to feel when it’s perfectly incorporated. It shouldn’t be dry at all! We want every oat flake dusted and moist.
And when it comes to that beautiful chocolate layer? Don’t rush the microwave step! Always stir frequently. If you scorch that chocolate and peanut butter mix, the whole thing tastes bitter, and that’s just a disaster. A few minutes in the fridge, and a light dusting of flakes on top—maybe some flaky sea salt—makes these bars feel super gourmet. You can see how I use salt on my best chocolate peanut butter no bake recipes for that perfect flavor pop!
Ingredient Notes and Substitutions for Your No-Bake Oat Bars
Since we aren’t baking, sometimes folks worry about substitutions, but the beauty of these **peanut butter dessert bars no oven** recipes is they are so forgiving! If you’ve got someone in the house who can’t touch peanuts, don’t panic. You can absolutely swap out the peanut butter for almond butter or even sunflower seed butter—just make sure whatever you use is smooth! It changes the flavor slightly, but the structure stays the same, which is awesome.
What about the oats? We specifically called for rolled oats here because they give you that perfect chewiness. If you need a **gluten free no bake option**, just make absolutely sure the rolled oats you grab are certified gluten-free. That’s the only change needed for the base! If you’re ever looking for baked alternatives, check out my oatmeal chocolate chip cookies sometime. These bars really shine because they skip all the fuss!
Storage and Make-Ahead Options for No-Bake Chocolate Peanut Butter Oat Bars
One of the biggest wins with these **No-Bake Chocolate Peanut Butter Oat Bars** is that they are designed to be made ahead! In fact, they taste even better the next day once everything has really settled in. Because they rely on chilling to set, storage is super easy, which makes them fantastic for meal prepping your sweets.
You absolutely have to store leftovers in an airtight container. I usually layer mine with a small piece of parchment paper between the layers so they don’t stick together, which is just good kitchen practice. The best place for them is the refrigerator. They stay perfectly firm there, and according to my notes, they’ll be great straight from the fridge for up to a week! That means you can make a big pan on Sunday and have your sweet fix ready for nearly the whole week.
Freezing is an option too, especially if you’re making them for a party or just know you won’t get to them right away. Wrap the squares individually in plastic wrap or foil before popping them into a freezer bag. They freeze really nicely! They just need about 30 minutes on the counter to thaw slightly before you dig in. It’s such a relief knowing I have these simple, **make ahead sweet snacks** ready to go. If you prep desserts ahead of time often, you should bookmark my full guide on make ahead sweet snacks for other great ideas!
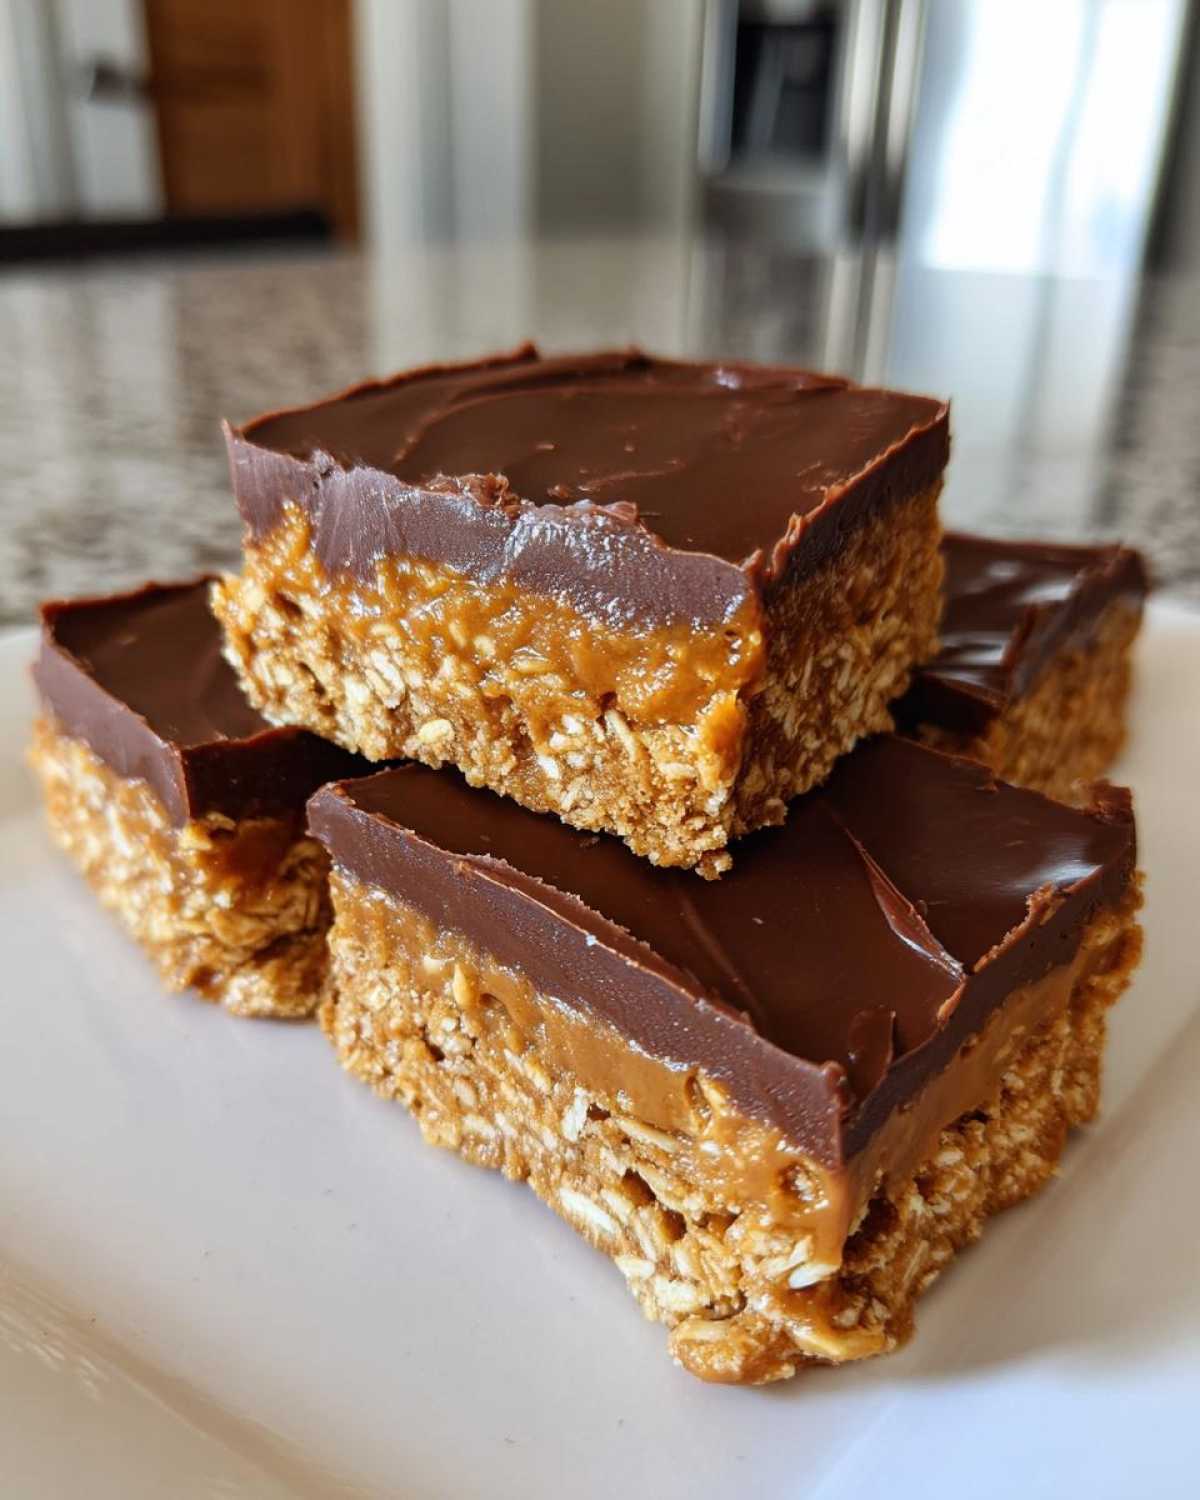
Variations on the Classic No-Bake Chocolate Peanut Butter Oat Bars
While I stand by the classic combination—it’s unbeatable for a reason!—I love playing around with these **fudgy no bake oat squares**. Since the base is so sturdy and the chocolate topping is so simple, you have tons of options to customize them!
My absolute favorite trick, which I mentioned earlier, is finishing them off with a light sprinkling of flaky sea salt right after you pour the chocolate layer on. It just cuts through some of that richness and makes the peanut butter flavor pop! It’s such a small step, but wow, what a difference.
If you have some extra chocolate chips kicking around, try swapping out half of the semi-sweet chips for dark chocolate chips when you melt the topping. Or, if you’re making these for kids, toss a handful of mini M&Ms right on top of the wet chocolate before it sets. They look festive and add a little crunch! If you ever want to work on your chocolate liquid skills, my recipe for quick creamy homemade chocolate milk is fun, too!
Frequently Asked Questions About These No-Bake Chocolate Peanut Butter Oat Bars
I get so many questions about these bars because everyone wants that perfect texture. It’s true that when you skip the oven, you have to be a little more focused on the chilling process, but it’s so worth it to get these amazing **no bake energy bars** right! When people ask me about this **quick chocolate snack recipe**, they often wonder about structural integrity. If you need a fast sweet fix, I have other ideas too, like my quick guide to a quick chocolate snack recipe.
Can I make these No-Bake Chocolate Peanut Butter Oat Bars Vegan?
Yes, absolutely! This is a really easy recipe to make vegan friendly. For the dairy swaps, you just need to substitute the butter with a good quality stick of vegan butter or solid coconut oil. Then, when you melt your chocolate for the top, make sure you are using chocolate chips that are specifically dairy-free or labeled as vegan chocolate chips. Otherwise, all the oats and peanut butter are generally fine as they are!
Why are my bars too soft or crumbly?
Oh, that’s the worst! If your base crumbles when you try to cut it, you almost certainly didn’t press that initial oat layer down hard enough into the pan. You really need to compact it tightly. If the top layer is too soft, it means you didn’t give it long enough to chill. It needs that full two hours minimum—sometimes longer if your kitchen is warm! Don’t try to cut them until the chocolate is completely hard to the touch. If you’re looking for more tips on making **simple layered dessert bars**, I’ve got more advice in my main post!
A less common issue is using the wrong kind of peanut butter. If you use a natural, runny peanut butter that separates easily, it won’t bind the base as well as the standard creamy oils will. Stick to what the recipe calls for to guarantee those well-behaved **peanut butter dessert bars no oven**! I also have a funny recipe for Salisbury Steak, which is proof that I cook things besides sweets, even if these bars are my favorite!
Estimated Nutritional Snapshot for No-Bake Oat Bars
Now, I know we are making these rich **no bake oatmeal squares** because they taste like heaven, not necessarily because they’re diet food! But I always feel like it’s important to have a rough idea of what you are digging into. Here is the estimated snapshot based on the ingredients we used for these **No-Bake Chocolate Peanut Butter Oat Bars**. Remember, this is an estimate, so your actual numbers might shift a tiny bit depending on the brands of chips or peanut butter you use!
If you are tracking macros or just trying to keep things balanced, you can see these are a solid, energy-packed treat! For more ideas on lighter versions, take a peek at my guide on healthy peanut butter oat bars.
- Serving Size: 1 bar (We get 16 of these beauties!)
- Calories: Around 210 per square.
- Total Fat: About 14 grams.
- Carbohydrates: Roughly 20 grams total.
- Protein: A decent little boost of 5 grams.
- Sugar: About 15 grams (that’s where the goodness is!).
- Fiber: 2 grams.
It’s a good balance for a homemade candy bar, honestly! If you are trying to manage saturated fat, that’s where the chocolate chips really contribute, so feel free to use a darker chocolate with less added fat next time you make a batch.
PrintUltimate No-Bake Chocolate Peanut Butter Oatmeal Bars
Make these simple, layered bars featuring a chewy oat base, a creamy peanut butter filling, and a rich chocolate topping. No oven is required.
- Prep Time: 15 min
- Cook Time: 0 min
- Total Time: 2 hours 15 min
- Yield: 16 bars
- Category: Dessert
- Method: No-Bake
- Cuisine: American
- Diet: Vegetarian
Ingredients
- 1 1/2 cups rolled oats
- 1 cup graham cracker crumbs
- 1/2 cup unsalted butter, melted
- 1/2 cup granulated sugar
- 1/2 cup creamy peanut butter
- 1 teaspoon vanilla extract
- 1 cup semi-sweet chocolate chips
- 1/4 cup creamy peanut butter (for the middle layer)
Instructions
- Line an 8×8 inch baking pan with parchment paper, leaving an overhang on two sides for easy removal.
- In a medium bowl, combine the rolled oats, graham cracker crumbs, melted butter, granulated sugar, 1/2 cup peanut butter, and vanilla extract. Mix until the mixture is evenly moistened.
- Press this oat mixture firmly and evenly into the bottom of the prepared pan. Place the pan in the freezer while you prepare the next layers.
- In a small, microwave-safe bowl, combine the chocolate chips and the remaining 1/4 cup of peanut butter. Microwave in 30-second intervals, stirring between each, until smooth and fully melted.
- Pour the chocolate mixture over the chilled oat base. Spread it evenly across the top.
- Return the pan to the refrigerator and chill for at least 2 hours, or until the chocolate topping is firm.
- Use the parchment paper overhang to lift the bars from the pan. Cut into 16 squares before serving.
Notes
- For a firmer bar, chill the bars overnight before cutting.
- Store leftovers in an airtight container in the refrigerator for up to one week.
- You can substitute almond butter for peanut butter if desired.
Nutrition
- Serving Size: 1 bar
- Calories: 210
- Sugar: 15
- Sodium: 75
- Fat: 14
- Saturated Fat: 6
- Unsaturated Fat: 8
- Trans Fat: 0
- Carbohydrates: 20
- Fiber: 2
- Protein: 5
- Cholesterol: 10