

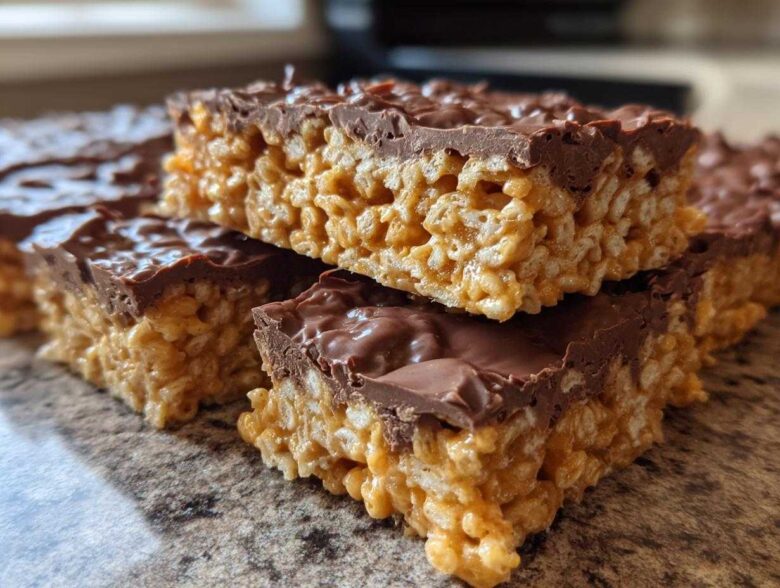
Remember those days when a five-minute dessert felt like winning the lottery? Me too! When Liam first started wooing me, it wasn’t with fancy dinners—it was with nostalgia delivered warm, and nothing screams childhood comfort like a peanut butter twist on the classic cereal bar. We are so excited to finally share our absolute favorite recipe for peanut butter rice krispie treats. These aren’t the crumbly, sad versions you sometimes get; these are the ultimate chewy, gooey, and surprisingly sturdy squares that hold their shape perfectly, even when you’re rushing them into lunchboxes. If you loved our peanut butter pretzel bark, you’ll adore this one even more. Here at Cookery Courier, we believe the best messages are simple, and this recipe truly delivers comfort in under 15 minutes. Trust me, you’re going to want to save this one immediately!
Why This is the Ultimate Chewy Peanut Butter Rice Krispie Treats Recipe
You know how sometimes homemade bars turn out rock hard or just fall apart the second you cut them? That used to drive me nuts! Liam figured out the secrets to getting the perfect peanut butter rice krispie treats every single time—they’re soft, delightfully gooey, but they don’t crumble into a million pieces on the plate. We focused hard on making sure this recipe fixes those common problems we all face in the kitchen. If you love our no-bake peanut butter energy bites, this one is going to be right up your alley!
- We use fresh marshmallows because stale ones steal the chewiness right out.
- We’re religious about keeping the heat low to protect that marshmallow fluff.
- The peanut butter selection is crucial for binding everything together beautifully.
These tips make a huge difference, I promise!
Achieving Perfect Gooey Rice Krispie Treats Texture
If you want that irresistibly soft texture, listen up: low heat is your best friend. Liam insists on melting the butter and peanut butter first, then taking the whole pan RIGHT off the burner before the marshmallows even think about going in. If that marshmallow mixture overheats, it caramelizes too quickly, and suddenly you’ve got a candy bar instead of a soft treat! Also, please, please use fresh marshmallows. Stale ones mean hard treats, and nobody wants that!
Making Sturdy Peanut Butter Krispie Squares
The biggest complaint ever is crumbling. To make sure you get nice, neat Peanut Butter Krispie Squares that look great for a party, the trick is in the pressing! You need to press the mixture into the pan gently—don’t mash it down like it owes you money! Packing it too tightly activates the starch in the cereal and makes it dense and prone to cracking later. Just spread it evenly, lightly, and let it set. That’s how you get a bar that travels well!
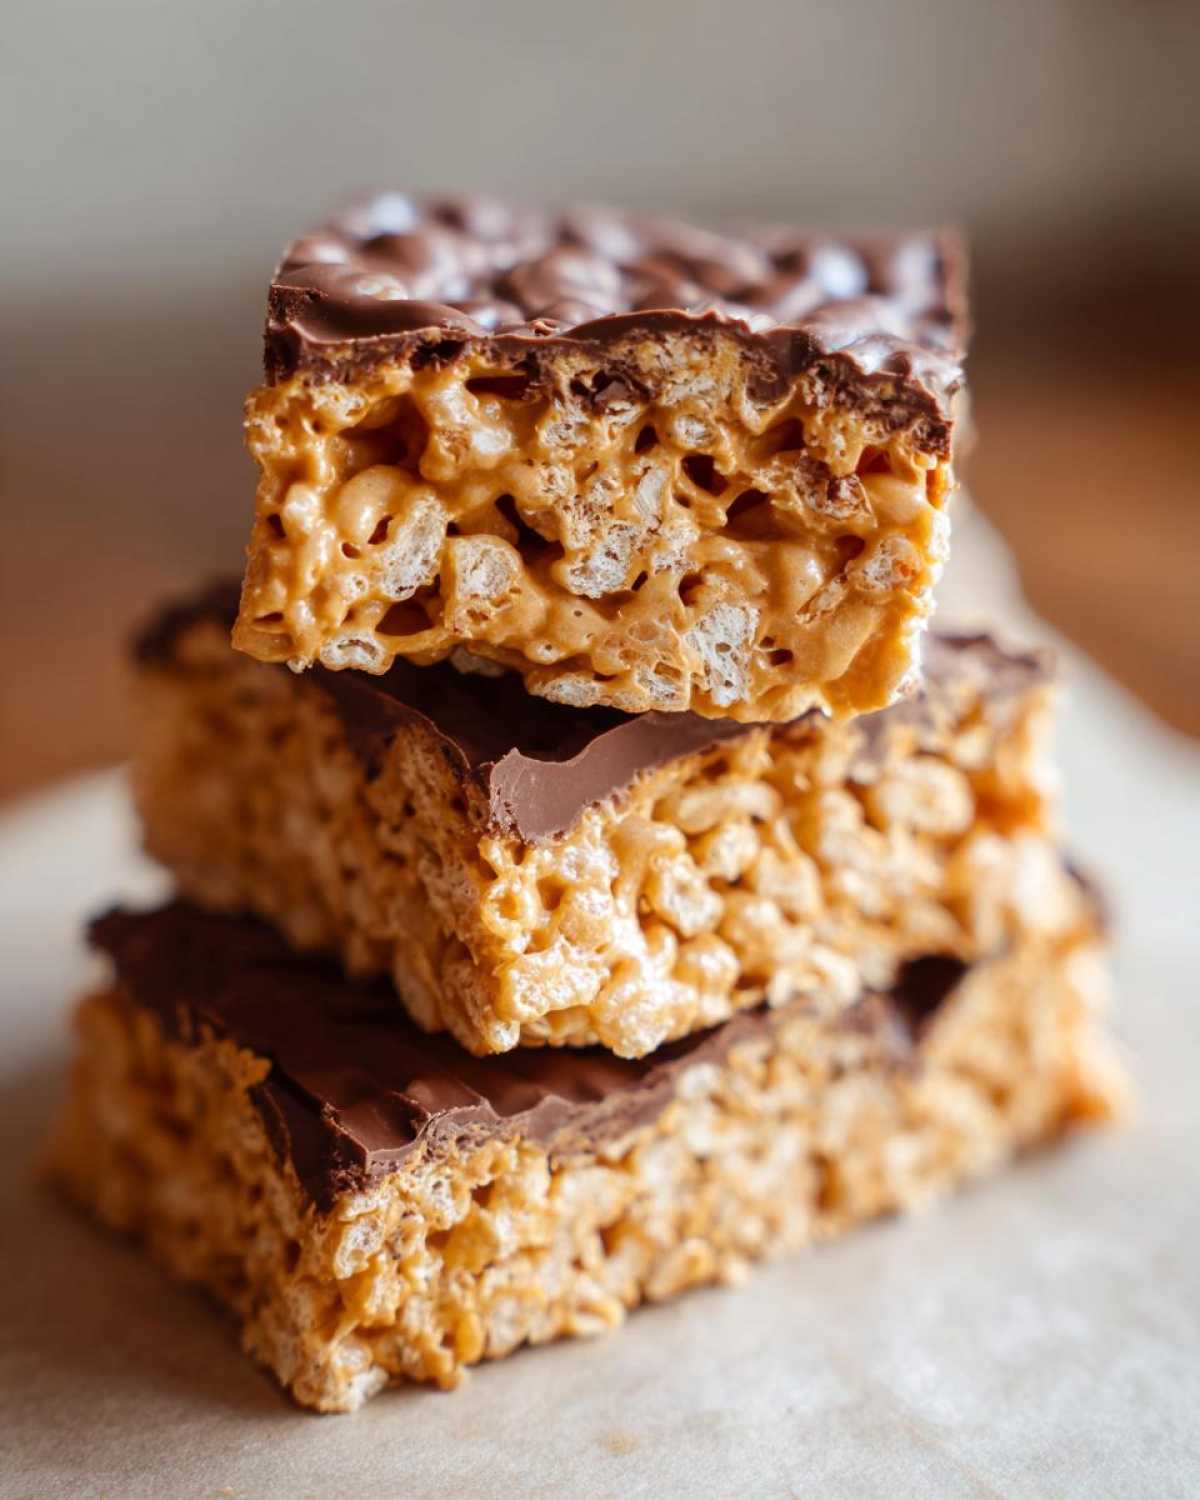
Gathering Ingredients for Perfect Peanut Butter Rice Krispie Treats
Okay, let’s talk fuel! Getting the right ingredients is half the battle won when making these peanut butter rice krispie treats. I try to only use ingredients I trust, and being specific really helps here because this recipe is so simple. You only need a handful of things, so making sure they are good quality makes all the difference for that perfect texture we’re after.
When you look at the list, don’t be tempted to just grab whatever peanut butter is closest! We really need that creamy binding power for these bars to stick together as designed.
Ingredient Notes and Smart Substitutions
For the ultimate goo factor, skip the natural, runny peanut butter—you know, the kind where the oil sinks to the bottom? That oil separation messes with the marshmallow glue! Stick to creamy, shelf-stable peanut butter; it mixes in so much better. Also, I mentioned it before but it bears repeating: grab the freshest, softest bag of mini marshmallows you can find. Seriously, they are the key to chewiness!
If you absolutely love texture, you can use crunchy peanut butter, but know this: the resulting bars will be slightly less smooth and a little more rustic in texture overall. Liam prefers creamy, but if you’re a crunch hero, go for it!
You’ll want to check out Liam’s favorite pairing for another peanut butter classic, our Peanut Butter Kiss Cookies, for some inspiration!
Equipment Needed for Your Peanut Butter Rice Krispie Treats
Since these are so quick, you don’t need a sink full of complicated gear, which I love! I’m all about minimizing cleanup after a satisfying, quick dessert like this. For these treats, you really only need the basics, but having the right size pot really helps keep things from boiling over or scorching on the bottom.
This is one of those moments where Liam says, “Just use what you have,” but I always find that having a good, heavy-bottomed saucepan makes the difference when melting the butter and peanut butter base. It distributes the heat evenly, which you really need when you are working over low heat.
Here is the short list of things you should grab before you start melting anything:
- A large, heavy-bottomed saucepan or pot. We use an 8-quart, but anything big enough to stir 6 cups of cereal comfortably works!
- Your 9×13 inch baking dish. This size is perfect for getting those nice, thick squares that don’t crumble apart. Don’t try to force this batch into an 8×8 unless you want super fudge-like bars!
- A good sturdy rubber spatula. You need something flexible enough to scrape the sides clean, but strong enough to gently fold in all that cereal without breaking it up.
- Some parchment paper or wax paper—this is your best friend for easy removal later! If you’re trying to get these out neatly for a party, you don’t want to skip this step.
Oh, and if you’re planning on adding that gorgeous chocolate topping, grab a microwave-safe bowl for that step too! If you’re looking for other super simple, no-mess recipes, check out our easy no-bake Oreo balls—pure genius!
Step-by-Step Instructions for Easy Peanut Butter Rice Krispie Treats
Alright, here’s where the magic happens! We’re making the best peanut butter rice krispie treats right now, and it’s going to take under 20 minutes total. Remember, patience during the melting stage keeps them chewy later. We prep our 9×13 pan first—I always use parchment paper with an overhang so I can just lift the whole thing out later. That’s a game-changer, trust me.
Melting the Base: Butter and Peanut Butter
Get your pan ready, then head to the stove. You need medium-low heat for this. We melt the butter until it’s just bubbly, then stir in that creamy peanut butter. Liam is really strict about this part: we stir constantly until it’s utterly smooth. If you stop stirring, the peanut butter risks burning where it touches the bottom of the pan, and a burnt base is a terrible message to send!
Incorporating Marshmallows and Cereal for Chewy Rice Krispie Treats
Once the base is smooth, knock the heat right down if it’s still on, or take the whole pot off the heat, seriously. Now toss in all those miniature marshmallows. Stir them until they are completely melted and glossy. The second they are smooth, *off* the heat they go, and immediately pour in the cereal. We fold this gently—we are mixing, not beating! This careful motion protects the air pockets, which is key for those super Chewy Rice Krispie Treats.
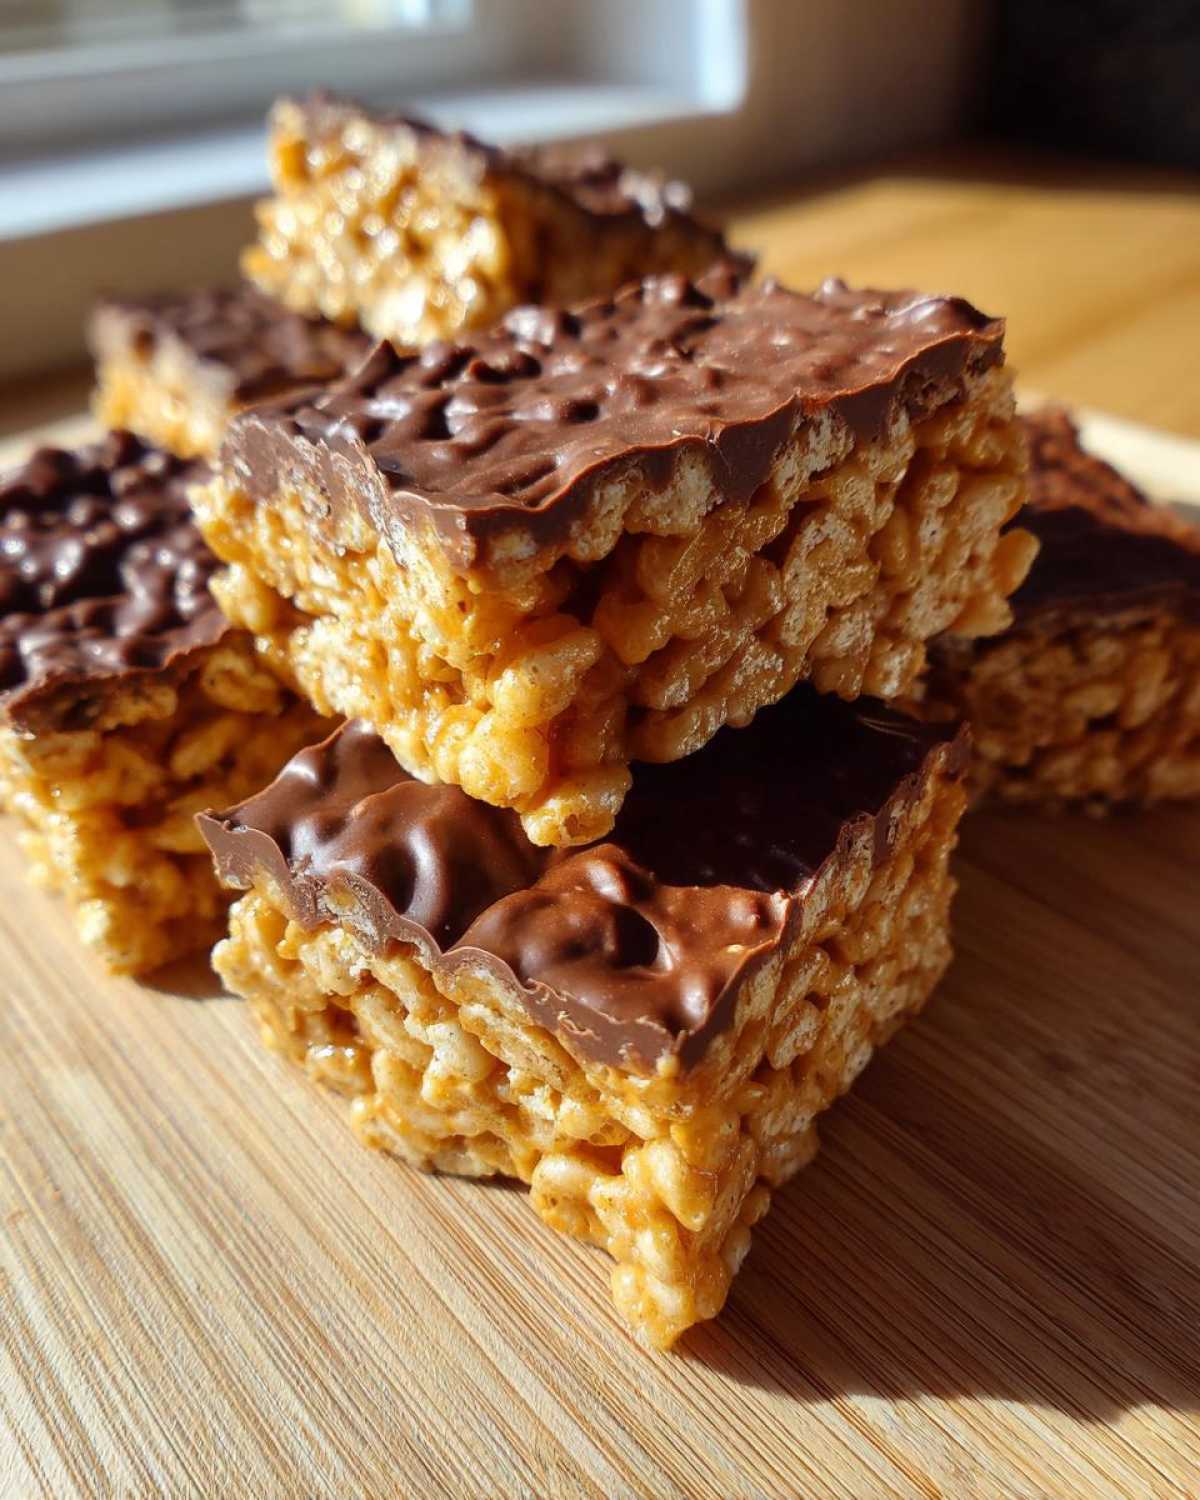
Pressing and Setting the Peanut Butter Cereal Bars
Now, you need to press this goodness into your lined pan. This is the most important technique for ensuring they don’t crumble later! Use a piece of wax paper or lightly spray your hands with cooking spray. Press the mixture down gently, just enough so it’s even—don’t compact it hard! We want them fluffy, not dense cement. Let them cool completely, and you’ll have perfect No Bake Peanut Butter Cereal Bars ready to devour. If you need another quick recipe to try, check out this easy 15-minute dessert guide!
Elevating Your Peanut Butter Rice Krispie Treats with Toppings
Once you’ve got that perfectly chewy base set, it feels almost criminal not to add a little something extra on top! For me, the grown-up upgrade is always a layer of chocolate. It just takes these simple treats and sends them straight into party-ready territory. We keep the topping super simple using the microwave because who wants to dirty another saucepan?
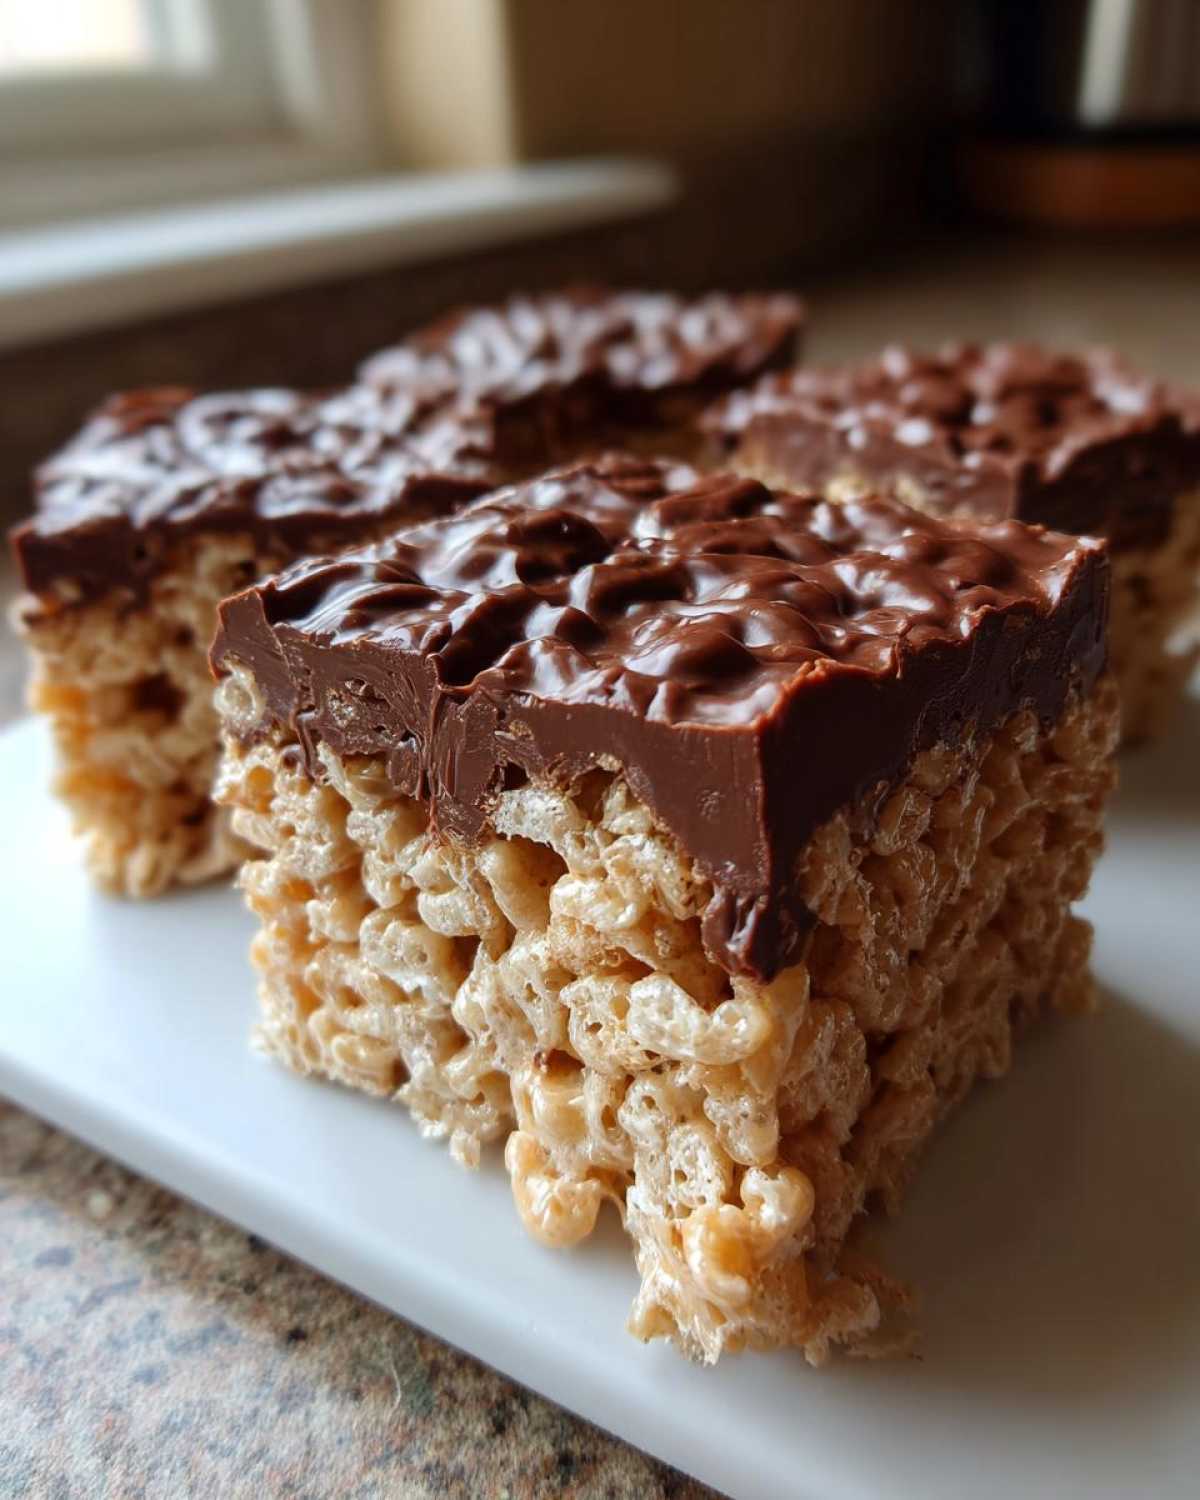
This chocolate layer acts like a little cap, adding richness and helping those squares stay together even more firmly. If you want to see another one of Liam’s favorite chocolate pairings, you must try our Peanut Butter Pretzel Bark—it’s ridiculously good!
Making Classic Scotcharoos Recipe Topping
Now, if you grew up in the Midwest, you might know these by a different name: Scotcharoos! That variation is so nostalgic and easy. If you want to make that classic topping instead of just plain chocolate, take the semi-sweet chips and swap out half of them for butterscotch chips. You melt both with a tiny bit of coconut oil for smoothness before spreading it over the set peanut butter layer.
It gives it that signature tan color and a slightly different, deeper sweetness. You can find a great example of how perfectly those sweet and salty flavors work together on Julie’s site for their take on peanut butter rice krispie treats! It’s a simple swap, but it changes the whole game.
Tips for Making Kid Friendly Snacks That Hold Up
Okay, busy parents and party preparers, listen up! We know that when you’re packing these peanut butter rice krispie treats into a lunchbox or setting them out on a crowded buffet table, you need them to survive the journey. Sturdiness is non-negotiable!
The main reason our recipe makes such great kid friendly snacks that resist crumbling? It comes down to really gentle mixing and not pressing too hard when setting them in the pan. We want those treats to be chewy, not rock solid. If they are too packed down, they snap instead of bend when someone tries to pick one up.
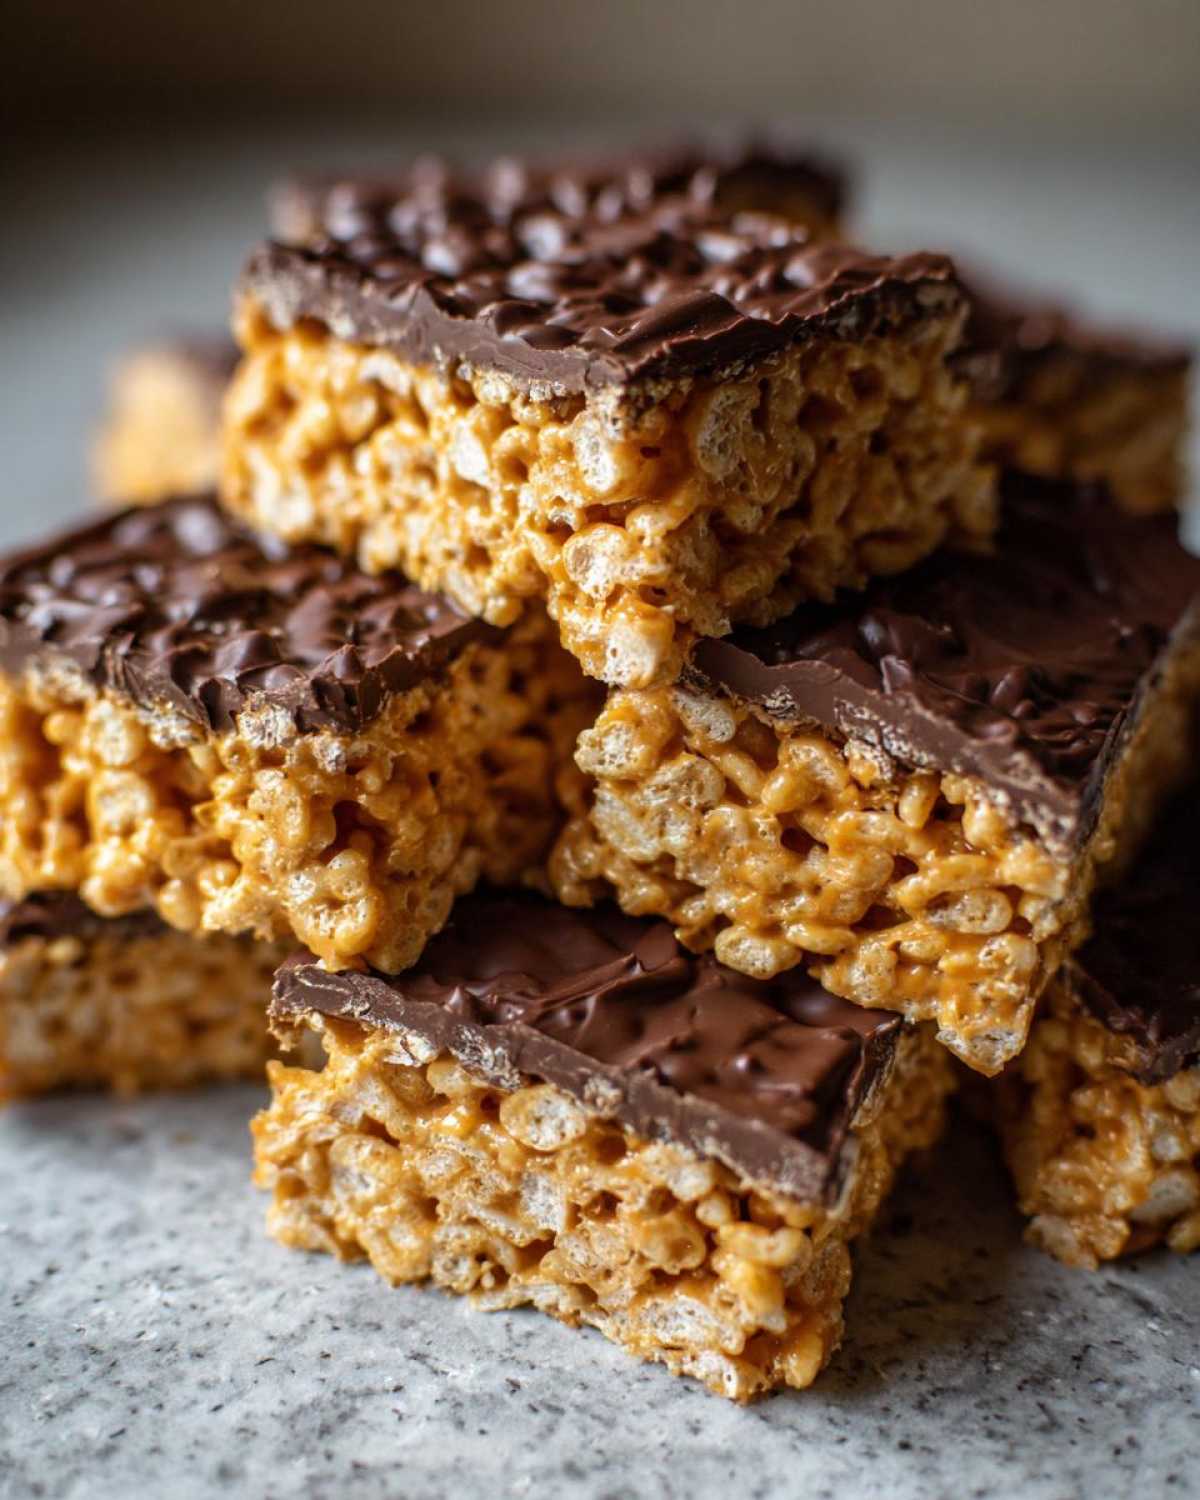
Also, if you are making these ahead for a school bake sale, make sure they are completely cool and allow that chocolate topping (if you used it) to set fully before slicing. That chocolate hardens up and acts like an extra piece of structural support holding everything together. For more incredible, fuss-free ideas that travel well, you have to check out this quick snack inspiration over at Meals & Recipes!
If you’re planning a big batch, our little guide on no-bake mini cheesecake bites has some great tips on maximizing yield while keeping things simple for large events.
Storage and Making Ahead for These Simple No Bake Treats
Since these are so unbelievably easy, you might be tempted to make a double batch right away—and I totally support that! But we need to talk about keeping them fresh. We want them gooey and soft right up until we eat them, not stale the next day. Luckily, because they aren’t baked, they keep really well, provided you treat them right.
The biggest thing to remember is air. Air is the enemy of chewiness! If you leave these out just sitting on the counter uncovered, they’ll start to dry out pretty quickly, and you’ll lose that lovely texture we worked so hard to achieve.
For storage, you want an airtight container. I learned years ago that layering them is key, especially if you’ve added that chocolate topping. Place a small sheet of wax paper or parchment paper between layers of bars. This stops the chocolate from sticking to the layer above it, or the top of one bar sticking to the bottom of the next. It keeps everything separate and looking beautiful.
Can you make them ahead? Absolutely! They are actually better on the second day, once everything has settled and the flavors have really melded together. You can safely store them at cool room temperature for about three days. We don’t actually recommend freezing them, though; freezing messes with the marshmallow texture and can make them a little weird when thawed.
If you’re looking for other simple recipes that are great for prepping ahead for busy weeks, you should definitely check out Liam’s tips on making easy homemade garlic breadsticks—even baked goods taste better the next day if stored properly!
Frequently Asked Questions About Peanut Butter Rice Krispie Treats
I know you might have a few lingering questions, especially if this is your first time making these—or maybe your last batch turned out a little too crunchy! Don’t worry, we get questions all the time about these fantastic no bake peanut butter cereal bars. Liam and I tried to cover everything we thought you might wonder about while you’re prepping your ingredients. If you’ve got a question that isn’t answered here, drop us a comment below, and we’ll get right back to you!
We love diving deep into the troubleshooting for these simple treats. You can also check out our other in-depth guide to a similar no-bake wonder right here: More on Peanut Butter Crispy Treats.
Can I use natural or oil-separated peanut butter in peanut butter rice krispie treats?
Honestly, I really advise against it if you can help it. Natural peanut butter, the kind that separates, contains more liquid oil. This oil interferes with the marshmallow mixture’s ability to stick really well to the cereal. When you use it, you often end up with bars that feel greasy and, worse, they become super crumbly because the ‘glue’ isn’t strong enough. We want that firm, yet soft hold, which creamy, processed peanut butter gives us every time.
How do I get the fudgiest Rice Krispie Treats?
That’s a great question about texture! Our recipe here aims for chewy perfection, but if you specifically want that soft, dense result—that’s leaning toward how to make fudgy Rice Krispie Treats—you need to adjust your ratio of fat and marshmallows versus the cereal. To get fudgier treats, you technically need less cereal. You can reduce the cereal by about half a cup, or bump up the butter and marshmallow amount slightly. More marshmallow means a softer, more pliable bar, which feels fudgier when you bite into it!
Sharing Your Delicious Peanut Butter Cereal Bars
And there you have it! The recipe that Liam used when he was trying to win my heart with surprisingly delicious, homemade snacks. Now that you know the secrets for getting incredibly soft, sturdy peanut butter rice krispie treats, I hope you’re planning on delivering a little comfort to someone today. Maybe it’s your co-worker who looks stressed, or maybe it’s just yourself after a long, hard week. That’s what cooking is all about, right? Sending a message that says, “I care about you,” wrapped up in a delightful, no-bake square.
Whether you dress them up with chocolate, turn them into classic Scotcharoos, or just enjoy them plain, I want to hear about it! Did you manage to sneak in a batch of these for a quick party dessert? Did they hold up perfectly for your kids’ lunchboxes?
Please leave a comment below telling me how they turned out for you! A quick star rating helps other folks know this recipe is reliable. And if you snap a picture, tag us so we can see your beautiful creations. We love seeing our cooking messages getting delivered successfully! If you’re looking for even more simple ideas to send out into the world, you can always browse our full archives right here at the Cookery Courier recipe dispatch center. Happy sharing!
PrintUltimate Chewy Peanut Butter Rice Krispie Treats
Make the best no bake peanut butter Rice Krispie treats that are soft, gooey, and hold together perfectly. This easy recipe delivers nostalgic flavor fast.
- Prep Time: 10 min
- Cook Time: 5 min
- Total Time: 15 min
- Yield: 12 large squares
- Category: Dessert
- Method: No Bake
- Cuisine: American
- Diet: Vegetarian
Ingredients
- 6 tablespoons unsalted butter
- 1 cup creamy peanut butter
- 1 (10 ounce) package miniature marshmallows
- 6 cups crispy rice cereal
- 1 cup semi-sweet chocolate chips (for optional topping)
- 1 teaspoon coconut oil (for optional topping)
Instructions
- Lightly grease a 9×13 inch baking pan or line it with parchment paper, leaving an overhang for easy removal.
- In a large saucepan over medium-low heat, melt the butter.
- Once the butter is melted, stir in the peanut butter until completely smooth.
- Add the miniature marshmallows to the saucepan. Stir constantly until the marshmallows are fully melted and the mixture is smooth. Keep the heat low to prevent scorching.
- Remove the saucepan from the heat immediately.
- Pour the crispy rice cereal into the marshmallow and peanut butter mixture. Fold gently with a rubber spatula until the cereal is evenly coated. Do not overmix, as this can make the treats hard.
- Press the mixture evenly into the prepared baking pan. Use a piece of wax paper or lightly buttered hands to press down gently; avoid packing too tightly to keep them chewy.
- If adding the chocolate topping, combine the chocolate chips and coconut oil in a microwave-safe bowl. Microwave in 30-second intervals, stirring between each, until smooth.
- Spread the melted chocolate evenly over the top of the cereal mixture.
- Let the treats cool completely at room temperature, about 1 hour, before cutting into squares.
- Lift the treats out of the pan using the parchment paper overhang and cut into bars.
Notes
- For the chewiest texture, use fresh marshmallows. Stale marshmallows result in harder treats.
- If you want to make Scotcharoos, substitute half of the chocolate chips with butterscotch chips in the topping layer.
- To prevent sticking when pressing the mixture into the pan, lightly spray your hands or a spatula with non-stick cooking spray.
- This recipe makes sturdy Rice Krispie Bars that resist crumbling when cut.
Nutrition
- Serving Size: 1 square
- Calories: 250
- Sugar: 18
- Sodium: 150
- Fat: 12
- Saturated Fat: 4
- Unsaturated Fat: 8
- Trans Fat: 0
- Carbohydrates: 35
- Fiber: 1
- Protein: 6
- Cholesterol: 5