

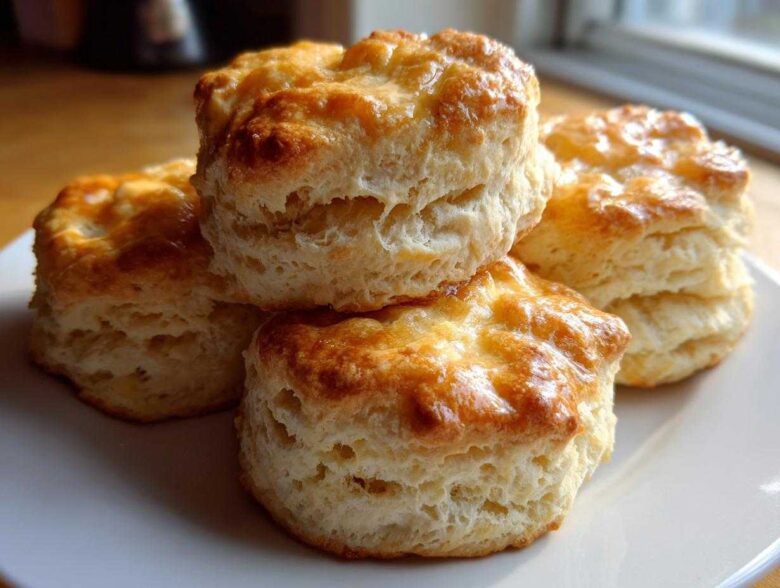
There is just nothing better in the whole world than that first bite of a warm, tender, flaky buttermilk biscuit, right? When I first started trying to bake, quick breads like this felt impossible—always coming out dense or crumbly. But now? Now I can deliver the best batch of homemade biscuits to Liam every single time. These aren’t just any biscuits; these are Tall and Flaky Southern Buttermilk Biscuits that practically float apart when you pull them open. If you’re looking for that classic, buttery bite but need an easy, reliable method, you’ve come to the right dispatch center. I learned the secrets to making them rise high right here in our kitchen lab, and you absolutely can too. For more on how we turned our kitchen into a messaging station, check out what drives us over at our story!
Why These Are the Best Buttermilk Biscuits You Will Ever Make
I know, I know, everyone claims their biscuit recipe is the best. But I promise you, this method delivers every single time, turning out those dreamy biscuits you see on magazine covers. We focus on technique, not complicated ingredients. That’s why these are my go-to for any breakfast bread situation!
Achieving Flaky Buttermilk Biscuits Recipe Layers
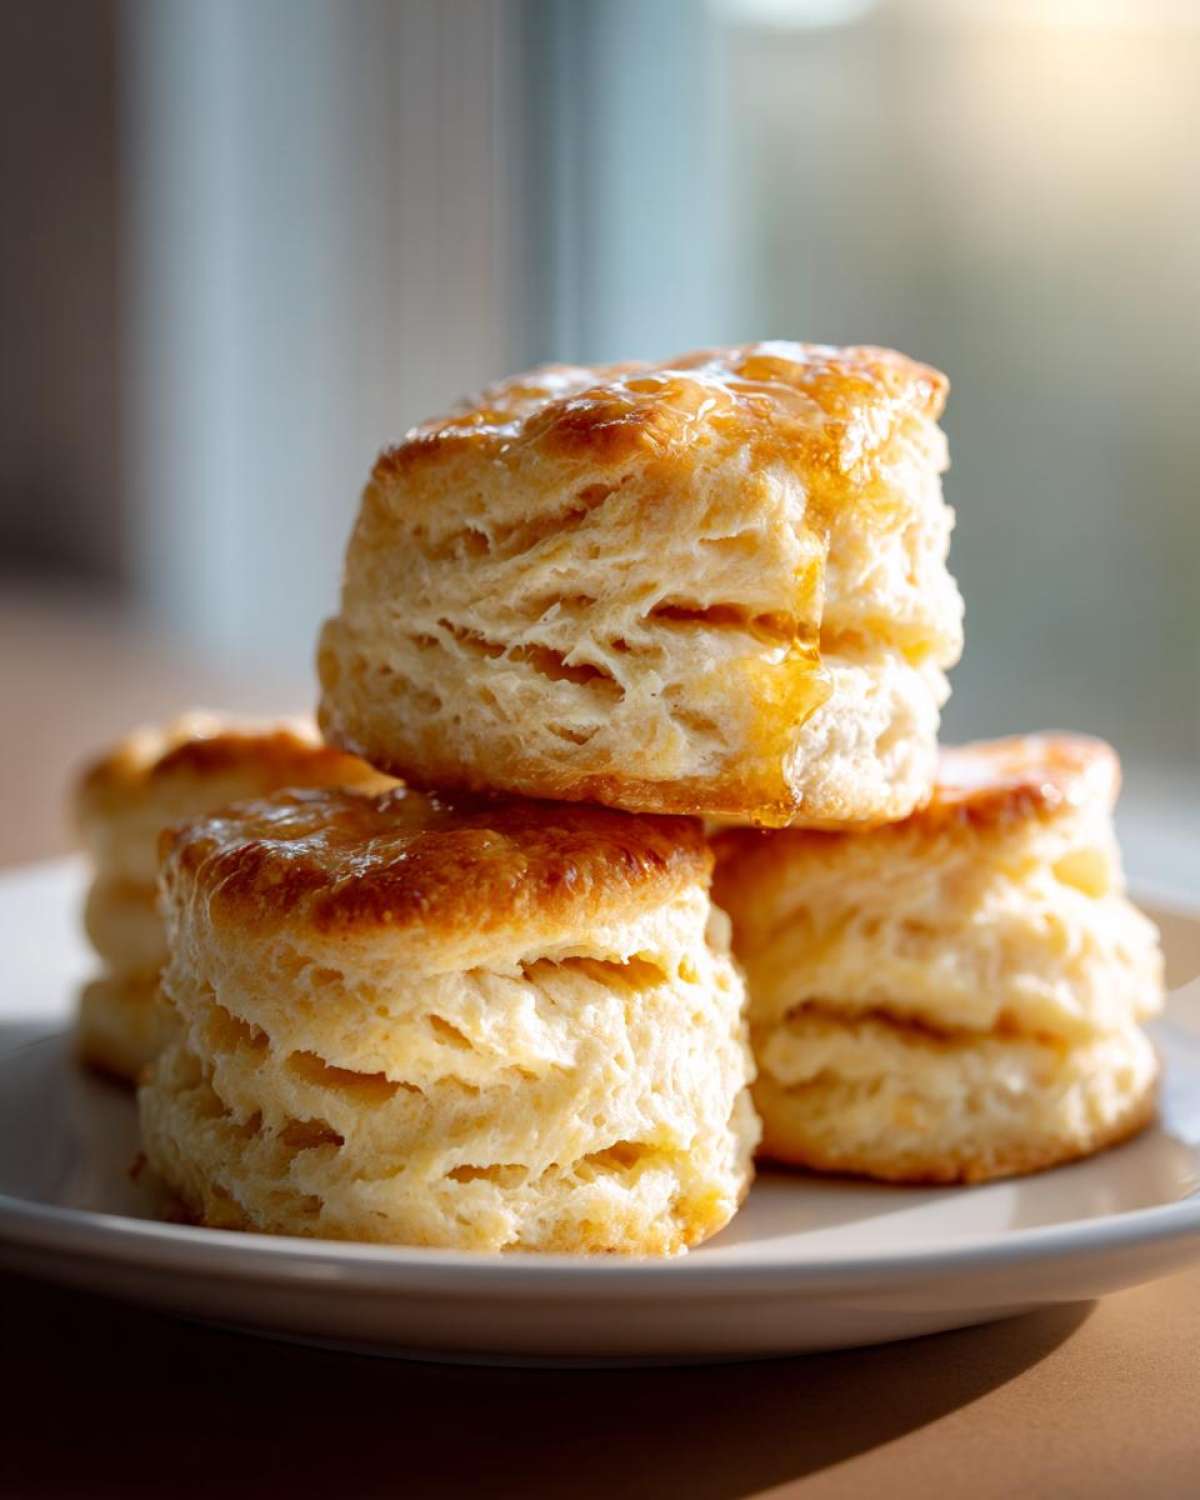
The thing that sets this recipe apart from other flaky buttermilk biscuits recipe attempts is the folding. We aren’t just mixing; we are purposefully creating air pockets! By patting the dough out and folding it like a letter—a few times—we build those incredible vertical layers. This guarantees you get those satisfyingly tall biscuits recipe results.
Quick Prep for Easy Homemade Biscuits
Even though we are making them totally scratch, we keep the active time super low. You’ll be shocked how fast these come together when you need a quick biscuit recipe fix. Seriously, the whole mixing process takes about ten minutes before they head into the oven. Hello, effortless Saturday morning!
Gathering Ingredients for Tall and Flaky Southern Buttermilk Biscuits
Getting your ingredients ready is step one for achieving that perfect rise. Remember, we aren’t cutting corners on quality here, but we are using simple, pantry-friendly items. Keep everything listed below as cold as possible—this is non-negotiable for fluffy results!
- 2 cups all-purpose flour
- 1 tablespoon baking powder
- 1 teaspoon salt
- 1 teaspoon sugar
- 6 tablespoons cold unsalted butter, cut into small cubes
- 3/4 cup cold buttermilk
- 2 tablespoons melted butter, for brushing
Ingredient Notes and Substitutions for Buttermilk Biscuits
The secret weapon here is temperature. That cold butter and the cold buttermilk create little pockets of tension that turn into steam and force those layers up when they hit the heat, giving us those airy fluffy buttermilk biscuits. If you’re out of real buttermilk, don’t fret! You can easily make a substitute. Just take your regular milk and stir in one tablespoon of lemon juice or white vinegar and let it sit for five minutes. It won’t have the exact same tang, but it will curdle enough to give the dough the acidity it needs to rise.
Essential Equipment for Scratch Baking Biscuits
Liam laughs because my utensil drawer used to hold nothing but measuring cups. But now, for these biscuits, we rely on a few specific tools to get that lift. You don’t need fancy mixers, trust me! All you truly need are a large bowl for the dry ingredients, a solid pastry blender—or just your very clean, cold hands—and, most importantly, a sharp biscuit cutter.
We like to use a 2-inch round cutter. Make sure you have a sturdy baking sheet ready to go, too! Having everything ready before you start mixing means you can work fast when the dough gets fragile.
How to Make Buttermilk Biscuits: Step-by-Step Instructions
Okay, now for the fun part—bringing it all together! If you follow these steps, you’ll finally see why mastering how to make biscuits from scratch is totally achievable, even for a former takeout queen like me. We start with the dry mix (flour, leaveners, salt, sugar) and make sure those cold butter cubes are rubbed in to look like coarse crumbs—that’s your flake insurance!
Then, dump in the cold buttermilk and mix it just until the shaggy dough comes together. Don’t stir it into submission! We want it slightly messy. Take that shaggy dough, turn it out onto a lightly floured spot, and then we get to the magic part.
The Crucial Step: Building Layers for Flaky Buttermilk Biscuits
This is where we elevate these from just okay biscuits to flaky buttermilk biscuits that stack up high. Gently pat your dough into a rough rectangle about an inch thick. Now, pretend you’re folding a letter: fold one side over the middle, and then fold the other side over that. This action stacks the layers of butter right on top of each other!
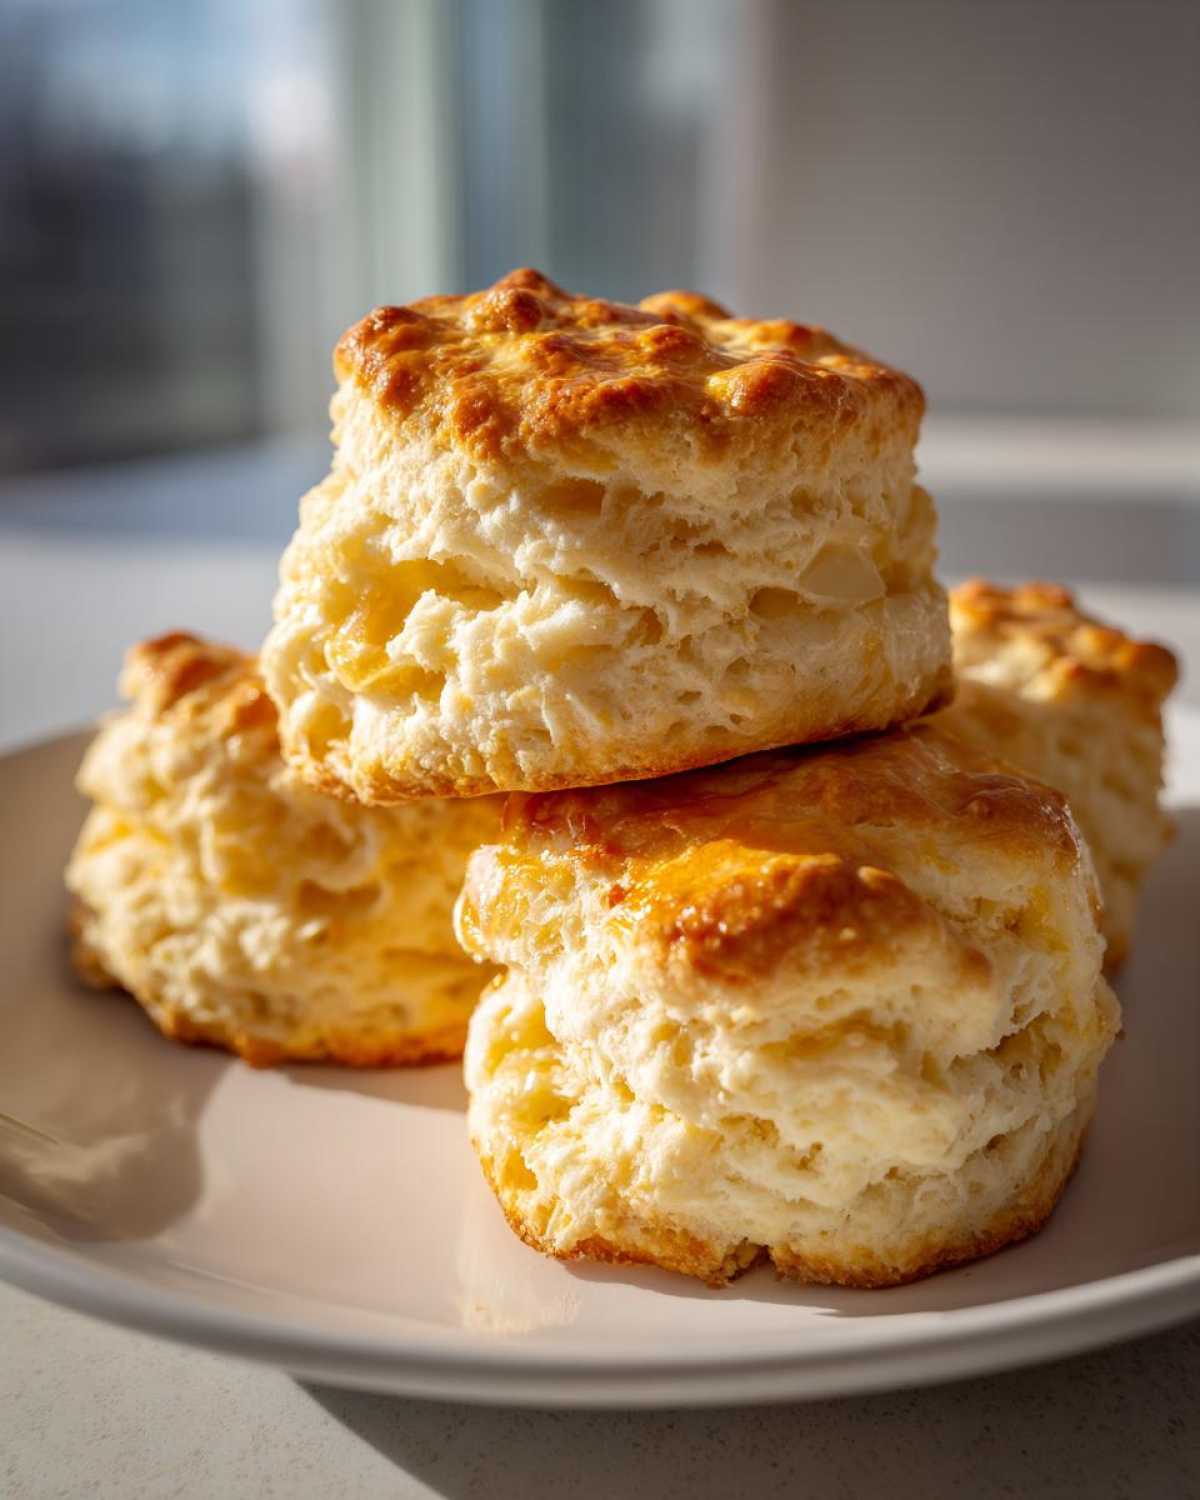
We repeat this folding and gentle patting one more time. Seriously, don’t press too hard! We are coaxing height, not squashing them flat. After that second fold, we are ready to cut. Remember my number one rule: press your cutter straight down and lift—never, ever twist! Twisting seals those delicate layers we just worked so hard to create.
Baking Tips for Golden Southern Style Biscuits
Make sure your oven is screaming hot at 425°F before they even think about going in. For truly perfect southern style biscuits with soft sides that help them rise even taller, place them right next to each other on an ungreased baking sheet. If you like a little crispness on the edges, give them a bit more breathing room.
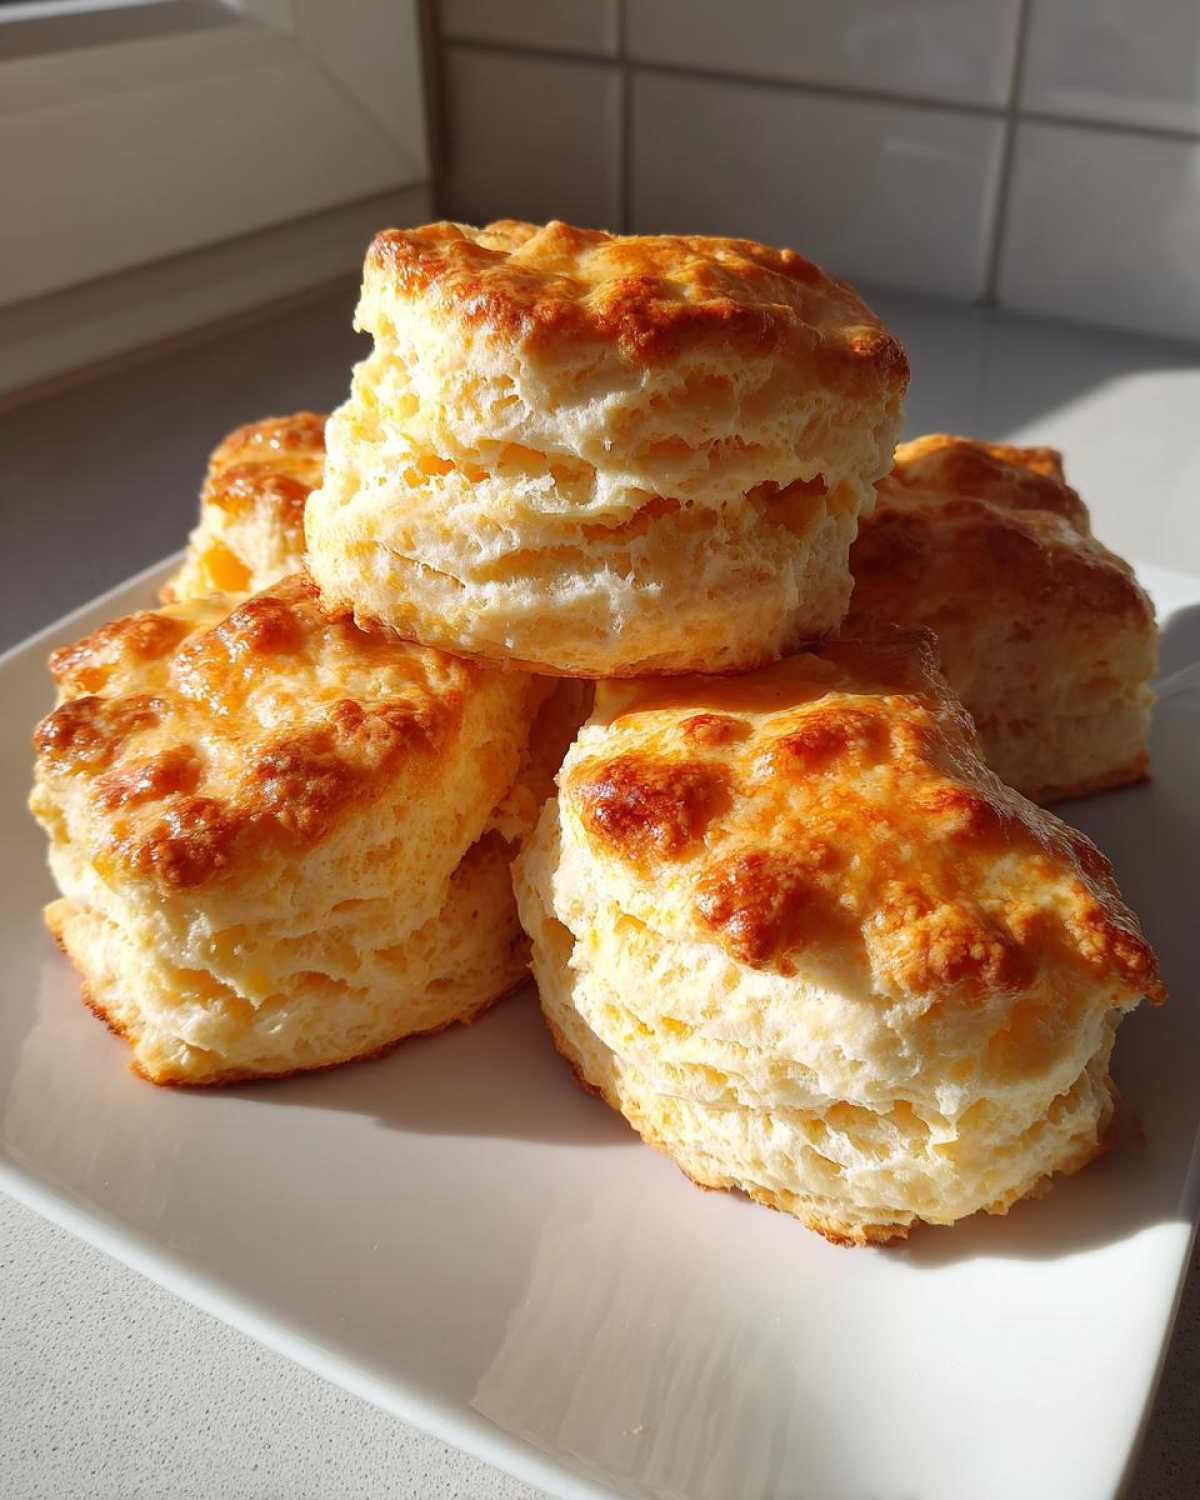
They only need about 12 to 15 minutes to turn perfectly golden brown on top. As soon as they come out, brush them generously with melted butter. You can find some other great tips over on the Cookery Courier Blog if you want to dive deeper into baking basics!
Tips for Success Making Tender Buttermilk Biscuits
You’ve done the hard work of mixing and folding, so let’s lock in that success! I learned early on that with biscuits, temperature is everything. Seriously, if your recipe fails, nine times out of ten it’s because one of your fats got too warm too soon. Keep that butter and buttermilk ice cold right up until the moment they go into the oven. That cold fat is what generates the steam lift we need for those ultra-tender buttermilk biscuits!
My other major tip, which Liam still reminds me about, is how you cut them. Once you use that biscuit cutter, you must only press straight down and pull it out. Do not twist! Twisting seals up the flour around the edges, which stops the biscuit from climbing those flaky layers we created. It’s a little extra step, but it makes a huge difference. For more great tips on flaky baking, check out this article from Clara!
Flaky Homemade Buttermilk Biscuits Recipe
Serving Suggestions for Your Buttery Biscuits
These buttery biscuits are honestly so good on their own, slathered with butter straight out of the oven, that they almost don’t need anything else. Almost! But I do have a few favorite ways we deliver these comforting messages at our house.
If it’s breakfast time, they absolutely demand rich, dark sausage gravy. Liam makes his from scratch, and it’s divine—you can follow his amazing recipe right here, if you want to get really cozy! For something simple, just a dollop of homemade honey butter or a thick layer of strawberry jam makes them shine.
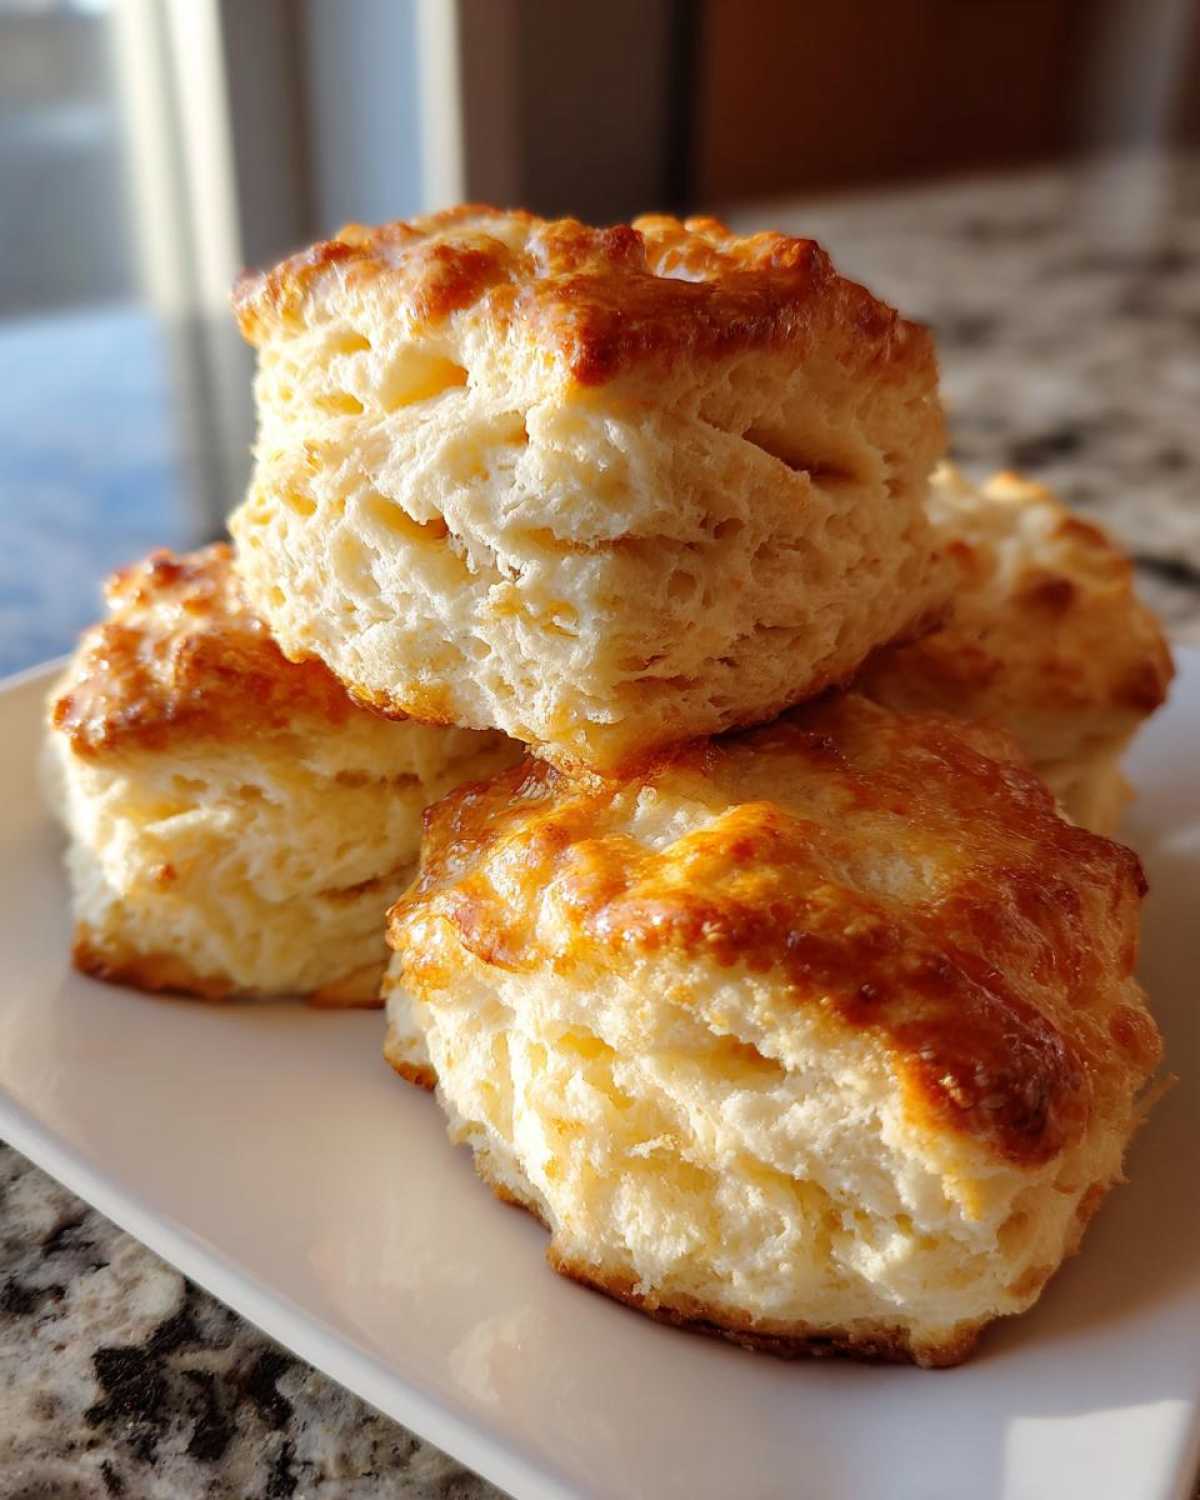
They are also the perfect dinner roll alternative when you serve them alongside a hearty beef stew or pot roast. They soak up all those delicious juices perfectly.
Storage and Reheating Instructions for Buttermilk Biscuits
I always hope there are leftovers because these buttermilk biscuits are just as good the next morning! If you have any, the trick is to store them tightly wrapped in plastic wrap and then tucked into an airtight container. Store them on the counter, not in the fridge, because the cold air dries them out super fast.
When you’re ready to eat them, please, please, please skip the microwave if you can. Microwaving makes them chewy! To bring back that fresh-baked, fluffy texture, just pop them in a preheated 350°F oven for about five minutes until they are warm right through to the middle. Instant bliss!
Frequently Asked Questions About Fluffy Buttermilk Biscuits
I get so many messages asking little troubleshooting questions, and that’s totally okay! Baking should feel like a conversation, not a test. If you’re striving to make these incredible breakfast bread recipes at home, I’ve gathered a few of the questions I hear most often about getting that perfect rise and texture in this classic comfort food baking staple. For more amazing breakfast ideas, make sure you check out our full collection over at the breakfast category!
Can I use regular milk instead of buttermilk in buttermilk biscuits?
Yes, you absolutely can fake it if you’re desperate! Buttermilk gives us that slight tang and the acidity needed to react perfectly with the baking powder, which is what gives the biscuits that signature lift into fluffy buttermilk biscuits. If you use regular milk, you need to give it a little kick of acid first. Do the milk substitution trick I mentioned earlier: stir 1 tablespoon of white vinegar or lemon juice into the regular milk, let it sit for about five minutes until it curdles slightly, and then use that mixture in place of the buttermilk. It won’t be quite as tangy, but it will work great!
Why did my buttermilk biscuits turn out flat instead of tall?
Oh, that’s the saddest thing! This almost always comes down to two things, both of which we obsess over in the instructions. First, was your butter and buttermilk ice cold? Seriously, if the butter melts before it hits the oven, it just squishes into the dough instead of creating those steam pockets. Second, did you twist the cutter? Twisting is the enemy of height! You have to press straight down firmly and lift straight up. That way, the layers stay separated and can shoot straight up when baking!
Share Your Delicious Message: Rate This Buttermilk Biscuits Recipe
Now that you have all the secrets to making the best buttermilk biscuits, I’m dying to know how they turned out for you! Did they stack high? Were they perfectly tender? Please take a few minutes to leave me a star rating right below this post.
Sending one of these warm, delicious messages to your family or friends is the best way to show you care. Tag us in your photos if you share them online! Happy baking, sweet friends!
PrintTall and Flaky Southern Buttermilk Biscuits
Learn the simple method to make tall, fluffy, and flaky Southern buttermilk biscuits from scratch. These buttery biscuits melt in your mouth and are perfect for any meal.
- Prep Time: 15 min
- Cook Time: 15 min
- Total Time: 30 min
- Yield: 8 servings
- Category: Breakfast
- Method: Baking
- Cuisine: Southern American
- Diet: Vegetarian
Ingredients
- 2 cups all-purpose flour
- 1 tablespoon baking powder
- 1 teaspoon salt
- 1 teaspoon sugar
- 6 tablespoons cold unsalted butter, cut into small cubes
- 3/4 cup cold buttermilk
- 2 tablespoons melted butter, for brushing
Instructions
- In a large bowl, whisk together the flour, baking powder, salt, and sugar. This is your dry mix.
- Add the cold butter cubes to the flour mixture. Use a pastry blender or your fingertips to cut the butter into the flour until the mixture resembles coarse crumbs with some pea-sized pieces of butter remaining. These pieces create the flakes.
- Make a well in the center of the dry ingredients and pour in the cold buttermilk all at once.
- Use a fork to gently mix the ingredients until just combined. Do not overmix; the dough will look shaggy.
- Turn the dough out onto a lightly floured surface. Gently pat the dough into a rough rectangle about 1 inch thick.
- Fold the dough into thirds, like a letter. Turn the dough 90 degrees and gently pat it down again to about 1 inch thick. This folding process builds layers for tall biscuits. Repeat this fold and pat process one more time.
- Use a 2-inch biscuit cutter to cut straight down through the dough. Do not twist the cutter, as twisting seals the edges and prevents rising.
- Place the cut biscuits close together on an ungreased baking sheet for softer sides, or slightly apart for crispier sides.
- Bake in a preheated oven at 425 degrees F (220 degrees C) for 12 to 15 minutes, or until the tops are golden brown.
- Immediately brush the tops of the hot biscuits with the 2 tablespoons of melted butter. Serve warm.
Notes
- Keep all your ingredients, especially the butter and buttermilk, very cold. Cold fat creates steam in the oven, which results in flaky layers.
- For the tallest biscuits, dip your biscuit cutter in flour before each cut. Press straight down without twisting.
- If you want extra buttery biscuits, you can brush the tops with melted butter halfway through baking as well.
Nutrition
- Serving Size: 1 biscuit
- Calories: 250
- Sugar: 2
- Sodium: 450
- Fat: 14
- Saturated Fat: 9
- Unsaturated Fat: 5
- Trans Fat: 0
- Carbohydrates: 28
- Fiber: 1
- Protein: 5
- Cholesterol: 35