

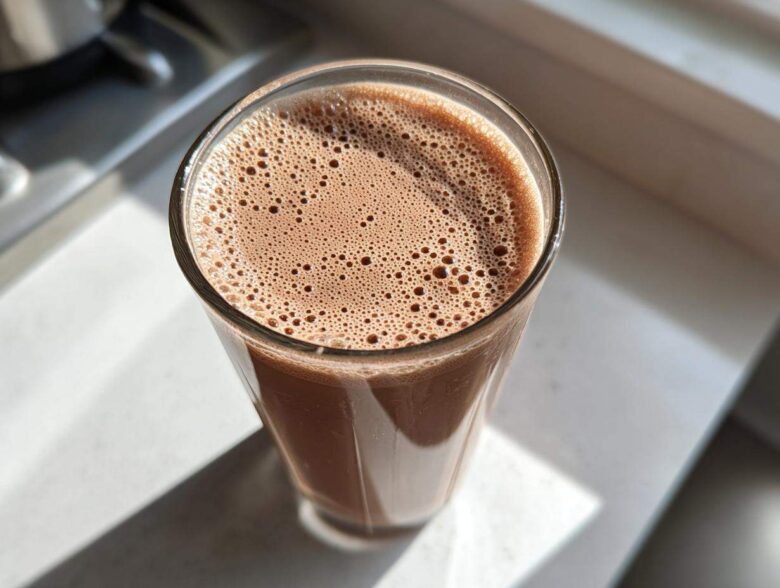
Remember those tall, cold glasses of rich chocolate milk you’d get after school? Man, that was the absolute best comfort drink, wasn’t it? Well, I’ve got a secret for you: the stuff in those cardboard cartons just doesn’t hold a candle to what we can whip up in our own kitchens. Seriously, forget those overly sweet, sometimes chalky store-bought versions! I’m sharing my go-to recipe for the best homemade chocolate milk you’ll ever taste—and the best part? We’re talking creamy texture in under five minutes. Plus, because we’re mixing it ourselves, you control the sugar, meaning this can easily be a low-sugar delight!
I learned a lot about quality when I started making all our family treats from scratch. You just taste the real ingredients, and trust me, once you try this, you won’t go back. If you’re looking for the top-tier drink recipes that always impress, you should check out my full collection of best drink recipes.
Why This Homemade Chocolate Milk Recipe Beats Store-Bought
Why bother mixing this up when the store sells it? Simple: you get full control, and it tastes infinitely better! This isn’t some watered-down stuff; this is pure, rich goodness we’re making right here. You get to decide exactly how much sugar goes in, which is huge.
- Total control over the sweetness level—hello, low sugar chocolate milk!
- No weird stabilizers or preservatives lurking in your glass.
- It’s a fantastic, quick drink fix when that craving hits.
Achieving Creamy Chocolate Milk from Scratch
The absolute number one complaint with any quick chocolate drink is lumps. Nobody wants that gritty texture! My trick—and this is vital—is creating a thick paste first. You mix your cocoa, sugar, and vanilla with just a tiny bit of milk until it’s a smooth, glossy syrup base.
Once that paste is perfectly smooth, adding the rest of the cold milk is a breeze. It instantly dissolves that thick base, eliminating any chunky bits. That’s the secret to truly creamy chocolate milk from scratch; it’s all in the initial mix and makes such a difference!
Essential Ingredients for Perfect Chocolate Milk with Cocoa Powder
Making amazing chocolate milk is honestly all about what you use—and thankfully, the list is super short! We rely heavily on good quality unsweetened cocoa powder; that’s where all that deep chocolate flavor comes from. Then, we balance that with your sweetener of choice. I usually grab granulated sugar, but you can certainly tailor this! Don’t forget the vanilla extract—it’s tiny, but it truly rounds out the chocolate notes and makes the flavor pop. And a little salt? Yes, salt! It keeps the whole drink from tasting flat.
You’ll need about two cups of milk to make a healthy glass, and this is where you get creative with the type you choose. Finally, these five simple players work together to create magic without any fuss.
Ingredient Notes and Low Sugar Chocolate Milk Substitutions
When it comes to selecting your milk, please use whatever you love! Dairy, almond, oat—they all work great for this quick chocolate drink. If you’re aiming for that low sugar chocolate milk goal, just swap out the granulated sugar for a sweetener you prefer, like stevia or monk fruit. Start with a little less than recommended and taste as you go! The vanilla extract, even just half a teaspoon, is so crucial because it adds warmth and complexity, stopping the cocoa from tasting flat or bitter. It’s the secret flavor booster!
How to Prepare Quick and Easy Chocolate Milk
Okay, let’s get mixing, because this truly is the ultimate quick drink fix. The instructions are so simple, but you have to follow them in order if you want that perfect glass of lump-free chocolate milk. First things first, gather your flavor makers—the cocoa powder, sugar, salt, and vanilla—in a small dish. Now here’s the part that changes everything: you only add about two tablespoons of milk to that dry mix!
Stir that small amount vigorously! You need to work it until you have a dark, thick, completely smooth paste. Seriously, take your time here. Once that paste is creamy and glossy, you can pour in the rest of your cold milk and whisk until everything is blended. Pour it over ice immediately, or chill it down. It’s so fast, you won’t believe it!
Tips for the Best Homemade Chocolate Milk Recipe
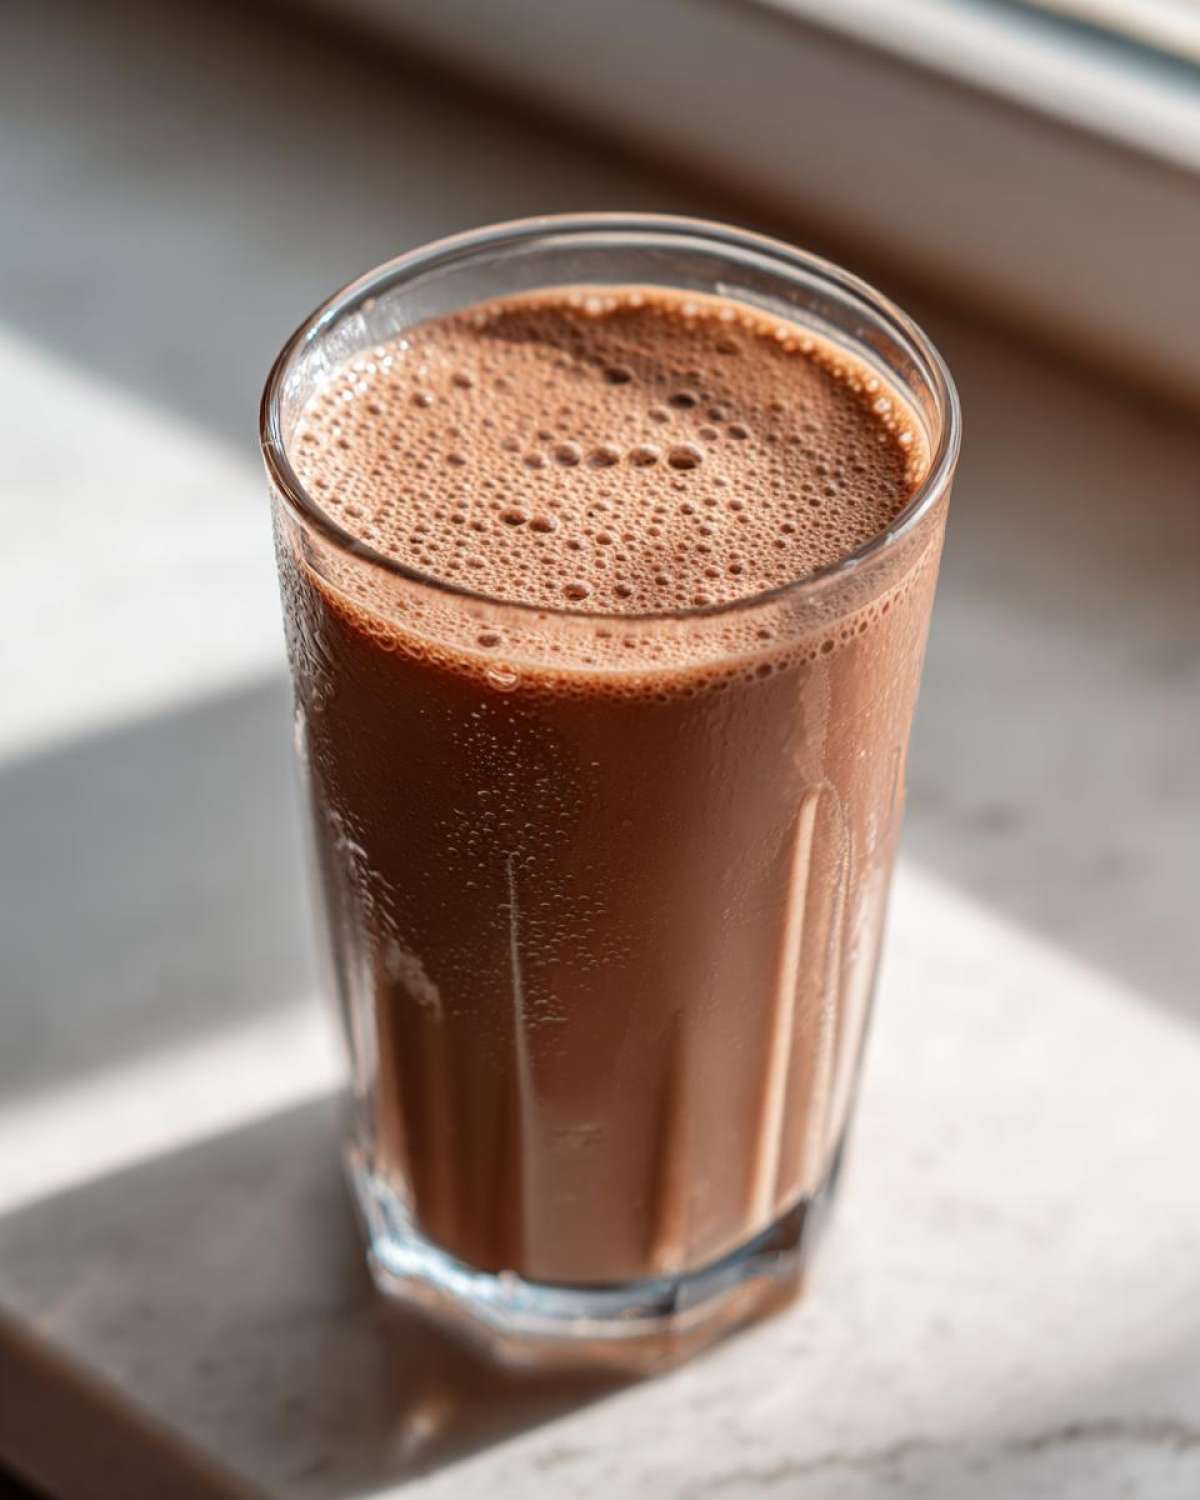
To get the absolute best homemade chocolate milk recipe results, always use whole milk if you can—it just adds richness we can’t get from skim!
And remember what I said about tasting? After you mix everything, take a tiny sip. Do you need another half teaspoon of sugar? Go for it! Adjusting that final sweetness pushes this from “good” to “absolutely mandatory once a week.” Don’t forget to taste before chilling, too, because cold temperatures slightly dull sweetness!
Variations for Your Creamy Chocolate Milk from Scratch
Once you’ve mastered the basic, perfectly smooth, creamy chocolate milk from scratch, you’re ready to play! I love using this base recipe as a jumping-off point for fun drinks, especially for the kids when they want something special. If you are feeling fancy and want something truly decadent, you absolutely must try turning it into whipped chocolate milk—it’s amazing!
To do the whipped chocolate milk tutorial, you take just the base paste we made (cocoa, sugar, vanilla) and mix that with only about a quarter cup of milk. Then, you use one of those little battery-powered milk frothers—they’re cheap and so handy! Froth that small amount right up until it’s foamy and light. Then, slowly pour in the rest of the cold milk. Wow! It looks like a fancy coffee shop drink.
But on a practical note, if you’re making this all the time, you need to save yourself the two minutes of measuring cocoa powder daily. You can whip up a batch of my Chocolate Milk Powder Mix DIY! Just combine half a cup of cocoa powder with a cup of sugar and a tiny bit of salt in a jar. Stir it up, seal that puppy tight, and store it somewhere cool. Then, when you want a drink, just grab three heaping tablespoons of the mix and stir it into a glass of milk. Super efficient! If you want more fun recipes like this, you have to check out my list of chocolate lover treats.
Serving Suggestions for Your Chocolate Milk
This beautiful chocolate milk is honestly perfect just standing alone after a long day—it’s such a relaxing comforting drink! If you are serving it for breakfast, it pairs magically with pancakes or maybe some fresh toast. For an after-school treat, always serve it over ice in a tall glass so those kids can watch the chocolate swirl throughout the cold milk. But honestly, if you’re making it late at night, just pour it straight from the fridge; that icy chill isn’t always necessary when the flavor is this good!
Storage and Reheating Instructions for Chocolate Milk
Because this is fresh, real-deal chocolate milk without all those yucky preservatives, it needs a good home in the fridge! You must store any leftovers in a sealed container. I usually keep mine for no more than two days max; honestly, it’s best enjoyed the day you make it, especially if you want that fresh, bright flavor.
Don’t even think about trying to reheat this one, okay? We made it cold and delicious! If you warm it up, you’ll just end up melting the flavor right out of it. Just make sure it’s nice and cold for the best experience possible!
Frequently Asked Questions About Easy Chocolate Milk
I know you probably have questions buzzing around after reading how simple this easy chocolate milk is. It’s a classic drink, and people always wonder how to tweak it for different needs, especially when making it for the little ones or trying to keep things lighter. I’ve gathered up the most common things folks ask about making this drink!
Can I use this recipe for Healthy Chocolate Milk?
Absolutely, you can tailor this to be a healthy chocolate milk! I already mentioned swapping the sugar for a sweetener you prefer, like maple syrup or even blending in a pitted date with the base paste. Since we start with real milk and pure cocoa powder, the base is already much better than most bottles out there!
How do I make this a 3 Ingredient Chocolate Milk?
If you truly want the bare minimum—a real 3 ingredient chocolate milk—you can skip the vanilla and the salt. Just mix your milk, your cocoa powder, and your sugar (or sweetener) together. It’s very basic, but it hits that fundamental chocolate craving in a pinch!
Estimated Nutrition for This Chocolate Milk Recipe
Now, before you start making a whole pitcher, I want to be super clear about the numbers. Since we all use different kinds of milk—like skim, whole, or maybe some fancy oat milk—and everyone loves a different amount of sugar, these numbers are just an educated guess based on the standard recipe I listed!
This estimate is based on using 2% dairy milk and the mid-range sugar suggestion. If you use almond milk or are using a zero-calorie sweetener, your numbers will definitely look different, which is great for customizing your chocolate milk! If you ever need to check out general nutritional guidelines, I always recommend looking at the official disclaimer page here: my site’s disclaimer.
- Serving Size: 1 cup
- Calories: 180
- Sugar: 22g
- Sodium: 80mg
- Fat: 5g
- Saturated Fat: 3g
- Trans Fat: 0g
- Carbohydrates: 30g
- Fiber: 2g
- Protein: 8g
- Cholesterol: 15mg
See? It’s pretty straightforward, but remember, if you’re using whole milk for that extra creamy texture, the fat content goes up. If you opt for honey or maple syrup instead of granulated sugar, you’ll be changing the carb count slightly too! Enjoy knowing exactly what’s going into your delicious glass!
Share Your Best Homemade Chocolate Milk Experience
Now that you’ve whipped up your own batch of the best chocolate milk this side of the grocery aisle, I really want to know what you think! Did you manage to get that perfectly smooth base on your first try? Did you decide to go super low-sugar, or did you load yours up with enough sweetness to remind you of childhood?
Don’t be shy! Head down to the comments and give this recipe a rating—give me stars so I know how you feel about ditching the cartons for good. Even better, snap a picture of your creamy glass and tag me on social media. Seeing your creations really makes my day, and it helps other folks decide to try making this wonderfully easy chocolate milk recipe too!
If you ever have questions while you’re mixing, or if you want to tell me about your favorite milk to use, please reach out via my contact page. Happy sipping!
PrintQuick and Creamy Homemade Chocolate Milk
Make rich, creamy chocolate milk at home in minutes using simple cocoa powder. This recipe offers a low-sugar option compared to store-bought drinks.
- Prep Time: 2 min
- Cook Time: 0 min
- Total Time: 2 min
- Yield: 1 serving
- Category: Drink
- Method: Mixing
- Cuisine: American
- Diet: Vegetarian
Ingredients
- 2 cups Milk (dairy or non-dairy)
- 2 tablespoons Unsweetened Cocoa Powder
- 1 to 2 tablespoons Granulated Sugar or sweetener of choice (adjust to taste)
- 1/2 teaspoon Vanilla Extract
- Pinch of Salt
Instructions
- Combine the cocoa powder, sugar, vanilla extract, and salt in a small bowl or directly into a glass.
- Add about 2 tablespoons of the milk to the dry ingredients. Stir vigorously until a smooth, thick paste (syrup base) forms. This prevents lumps.
- Pour in the remaining milk.
- Stir or whisk well until everything is fully combined and smooth.
- Taste the milk and add more sweetener if you prefer it sweeter.
- Serve immediately over ice, or chill before serving for a colder drink.
Notes
- For a richer flavor, use whole milk or add 1 teaspoon of melted dark chocolate to the base paste.
- To make a batch of homemade chocolate milk powder mix, combine 1/2 cup cocoa powder, 1 cup sugar, and 1/4 teaspoon salt. Store dry mix in an airtight container. Use 3 tablespoons of mix per cup of milk.
- If you want whipped chocolate milk, mix the base paste with 1/4 cup of milk and use a small milk frother until foamy before adding the rest of the cold milk.
Nutrition
- Serving Size: 1 cup
- Calories: 180
- Sugar: 22
- Sodium: 80
- Fat: 5
- Saturated Fat: 3
- Unsaturated Fat: 2
- Trans Fat: 0
- Carbohydrates: 30
- Fiber: 2
- Protein: 8
- Cholesterol: 15