

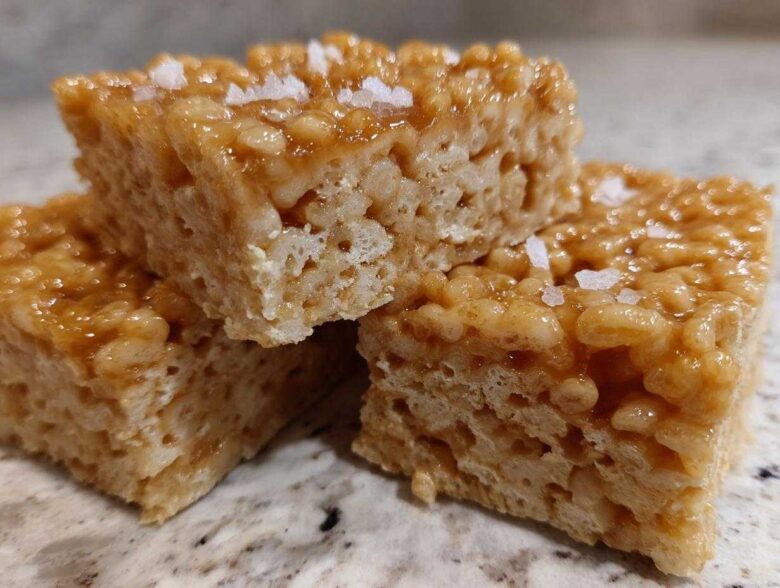
Oh my goodness, you have to try making Rice Krispie Treats differently this time! Seriously, ditch the plain melted butter for just a second. I remember the first time I accidentally overheard someone talking about using brown butter in them, and I thought, “No way, that sounds too fancy for such a simple treat!” But wow, I was wrong. Once you introduce that deep, nutty, caramel flavor, you’ve created something totally addictive. We are talking about the best Brown Butter Rice Krispie Treat Bars you’ll ever put in your mouth. It takes maybe two extra minutes, but the flavor payoff is unbelievable.
Why This Brown Butter Rice Krispie Treat Bars Recipe Works
When you upgrade the butter, you upgrade everything! This simple swap elevates the whole experience. The main reason this recipe sings is that lovely, toasty flavor you can only get from heating the milk solids until they caramelize. It turns something perfectly fine, like our favorite childhood snack, into something truly special. Honestly, once you taste this nutty depth, you’ll never look back at plain old melted butter again. It just adds so much richness! If you love that depth of flavor, you should check out my recipe for brown butter pumpkin cookies, too.
- That deep, toasted flavor makes these treats taste like they took hours, not minutes!
- The brown butter helps absorb the sweetness of the marshmallows perfectly.
- It gives the final bars an irresistible aroma that fills the whole kitchen. They smell like dessert heaven.
Achieving the Perfect Texture: Chewy Brown Butter Bars
It’s not just about flavor; the technique matters for texture too. We want that perfect balance of crispy cereal suspended in gooey goodness. The secret here is twofold: make sure you melt the marshmallows slowly over low heat, and crucially, don’t smash the mixture into the pan. If you press down too hard, you compress all those lovely air pockets, and you end up with hard little bricks instead of soft, Chewy Brown Butter Bars.
Gathering Ingredients for Your Brown Butter Rice Krispie Treat Bars
Okay, ingredient gathering is serious business, even for a treat this simple. Forget eyeballing things here; precision is key, especially when dealing with melting fat! First up, you absolutely must use unsalted butter. I need exactly 6 tablespoons of it to get that perfect level of browning without flooding the mixture. Since we are adding salt separately, using salted butter is a recipe for disaster—too much sodium shows up fast! Then there’s the marshmallows; you’ll need a full 10-ounce package. Make sure they are fresh bags, not the stale ones hiding in the back of the pantry, because old marshmallows lead to tough treats.
Ingredient Clarity and Notes for Browned Butter Cereal Bars
For the cereal, stick to the standard puffed rice cereal—no fancy frosted stuff, please! We want the brown butter flavor to shine. Remember, we need those 6 glorious tablespoons of unsalted butter to start the magic. If for some reason you are out of vanilla extract, which gives a lovely background warmth to these Browned Butter Cereal Bars, you can always skip it, but I really wouldn’t recommend it. And please, buy flaky sea salt if you can manage it! If you only have regular table salt, just use half the amount recommended for topping, because flaky salt dissolves slower and gives you those lovely little pops of saltiness.
Mastering the Brown Butter Stage for Gourmet Marshmallow Squares
This is where the show starts, my friend! If you rush this part, you just end up with regular Rice Krispie Treats, and we aren’t making those today, are we? We are aiming for Gourmet Marshmallow Squares! Take your 6 tablespoons of butter and put it right into that medium saucepan over medium heat. Don’t walk away—I mean it! The butter will first melt completely, and then it starts getting really foamy on top. That foam is water boiling off, which is good, but we aren’t done yet.
Keep swirling the pan gently. Soon, that foam will start to subside, and you’ll see tiny brown specks—those are the milk solids toasting! That’s the good stuff! The smell should change instantly from just “butter” to this rich, roasted, nutty aroma. That’s your cue! The second it smells nutty, you have to yank that pan right off the hot burner. Seriously, the residual heat will keep cooking those little brown bits, and if you leave it on the stove for even 20 more seconds, those gorgeous specks will turn into sharp, bitter ash.
As an expert tip, try to keep the heat level steady; if you see the butter start smoking aggressively, pull it off right away and let it rest in a cool spot for thirty seconds before putting it back on low. It’s a balancing act, but trust me, that nutty scent is your best guide! You can read more about managing heat with butter in my guide on French onion butter rice; the principle of watching the solids is the same!
Step-by-Step Instructions for Perfect Brown Butter Rice Krispie Treat Bars
Now that we’ve mastered the glorious brown butter, putting these bars together is super fast—like, embarrassingly fast once you realize how easy they are! You need to move quickly from the butter stage to the marshmallow stage, but remember, things cool down fast, so speed helps keep things gooey.
Preparing the Pan and Mixing the Brown Butter Rice Krispie Treat Bars
Before you even think about melting that butter, get your 9×13 inch pan ready. I highly recommend lining it with parchment paper. Just let the edges hang over the sides—that’s your built-in handle for lifting them out later! Next, head back to your saucepan holding that fragrant, browned liquid gold. Pull the heat source completely away, because the residual heat is enough to scorch the marshmallows. Toss in your entire bag of marshmallows. Stir them constantly, gently, until the mixture is totally smooth and glossy. Then, stir in that teaspoon of vanilla extract—it really deepens the nutty flavor.
Once the marshmallows are melted into liquid bliss, take the pan off the stove completely! Quickly dump in your 6 cups of puffed rice cereal. Now, here’s the non-negotiable part for chewiness: you have to fold gently! Don’t stir vigorously or beat the mixture. Just delicately fold the cereal until every piece is coated in that beautiful brown butter marshmallow goo. If you’re interested in making marshmallows from scratch sometime, you can check out my guide on homemade marshmallows!
Setting and Cutting Your Nutty Rice Krispie Treats Recipe
Transfer that fluffy mix into your prepared pan. Use a piece of wax paper or a lightly buttered spatula to spread it out evenly into the pan. Please, please, please do not press it down hard! A light, even layer is what you want for a tender bite. If you are going for that gourmet touch, this is the moment to sprinkle that flaky sea salt right on top for the prettiest finish for your Nutty Rice Krispie Treats Recipe.
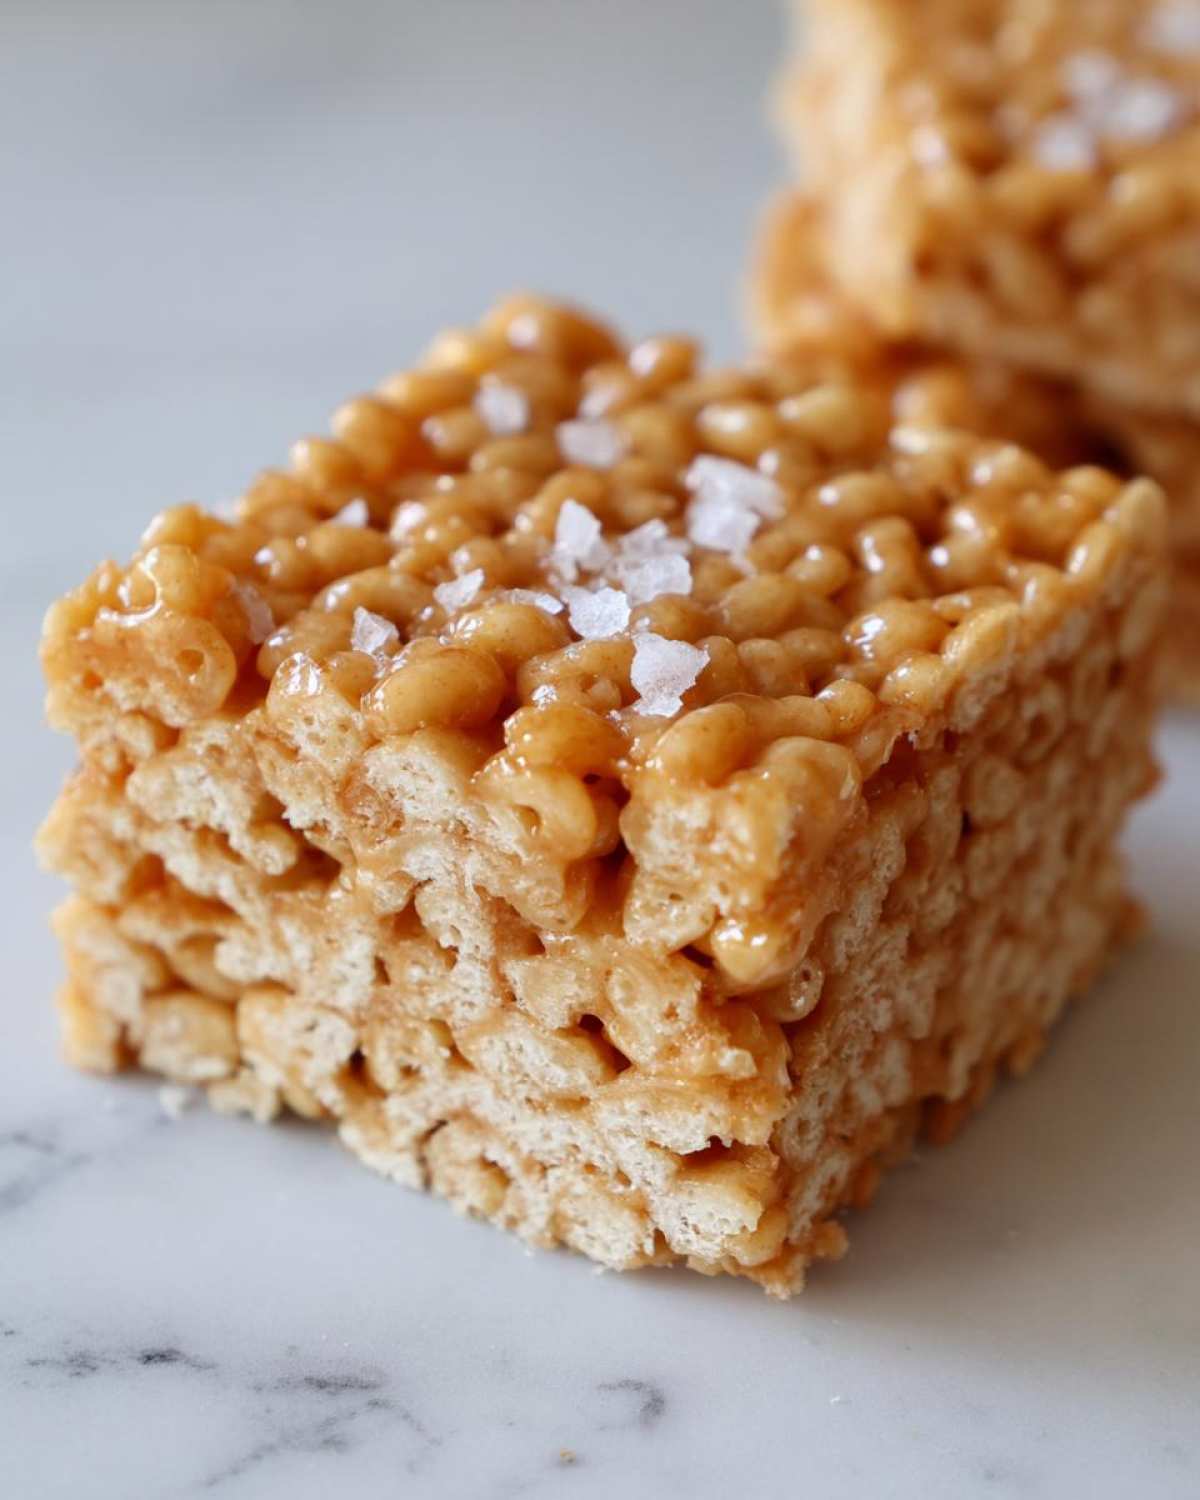
Now we wait. You have to let these cool completely at room temperature for at least an hour before slicing. Rushing this step guarantees sticky messes that tear apart! Once they are totally solid, use that parchment overhang to lift the whole slab onto a cutting board. For super neat squares, lightly spray your sharp knife with cooking spray before each cut. It slides right through!
Tips for Success with Your Homemade Cereal Bars with Brown Butter
Even though these are so simple, people run into two major snags, and I want to make sure your Homemade Cereal Bars with Brown Butter turn out chewy and perfect, not hockey pucks! First pitfall: burning the butter. You must reduce the heat right when you smell that nutty scent. If you see black specks starting to pile up on the bottom, you’ve gone too far, and you’ll need to start over with fresh butter for the best results.
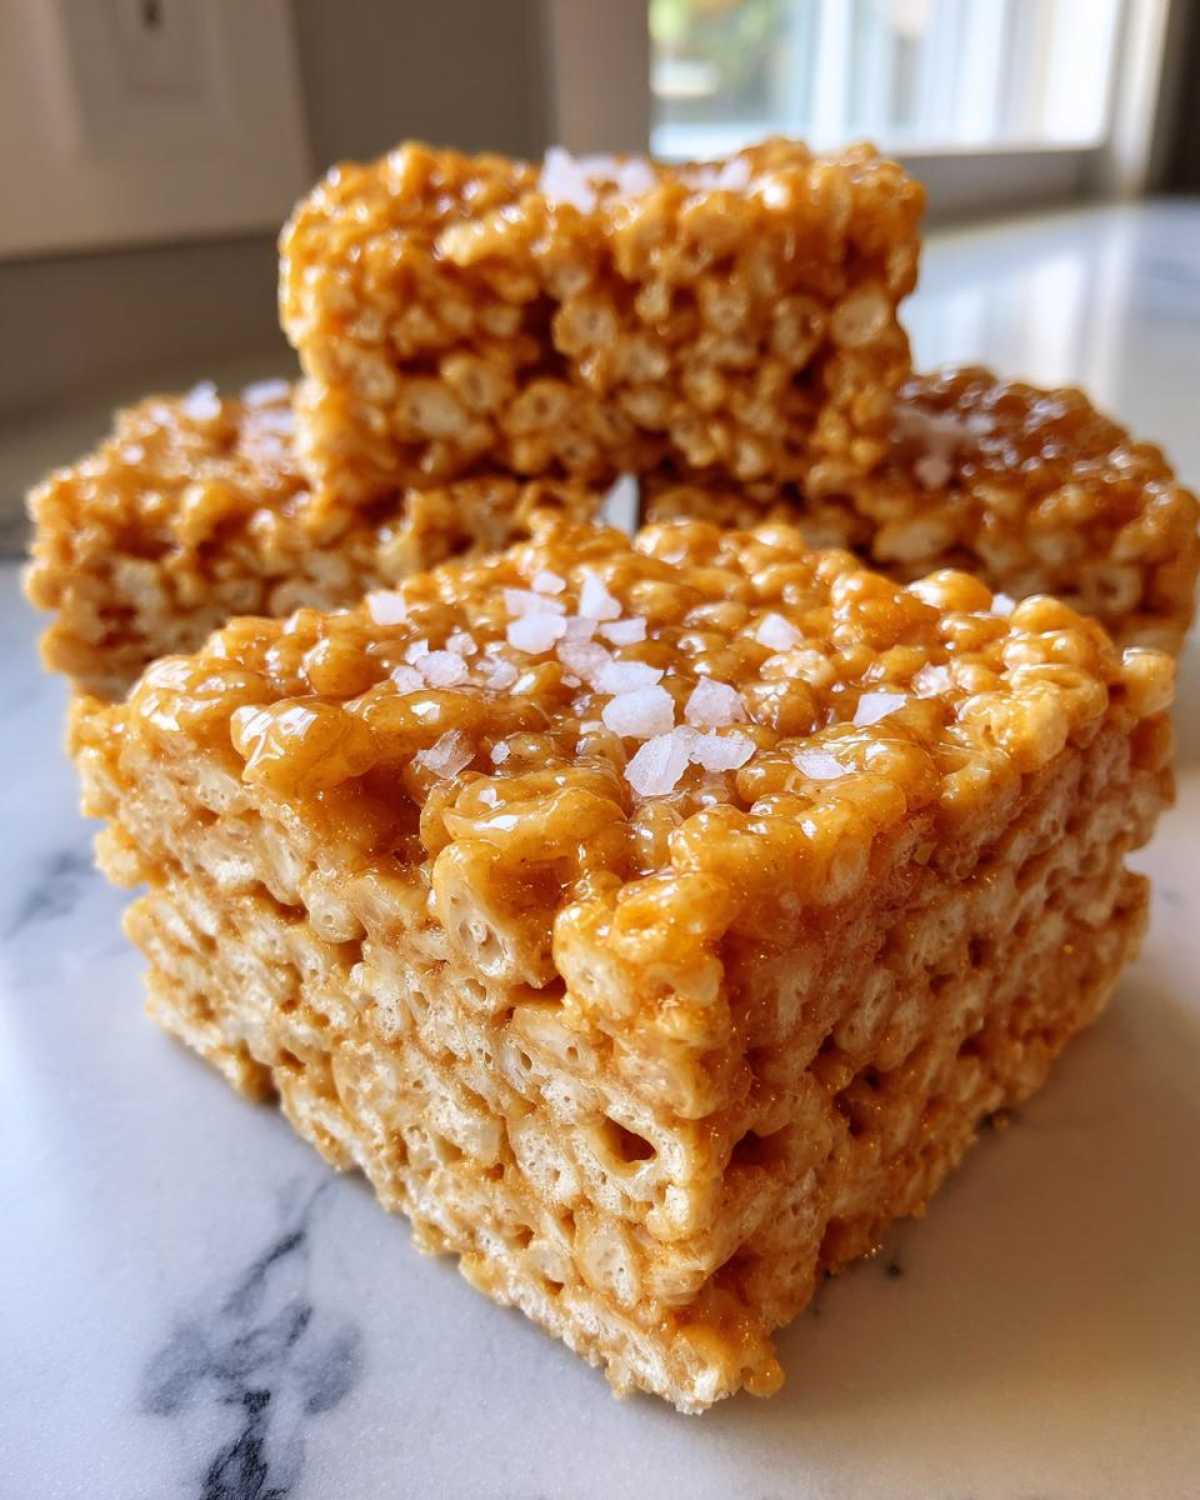
Second, remember what I said about pressing down? Be gentle! Think of spreading frosting on a cake—light pressure only. If you’re looking to really jazz these up, try this expert trick: once you fold in the cereal, quickly fold in about a half cup of peanut butter chips or even some toasted pecans. They melt just slightly into the marshmallow, adding texture and extra deep flavor. For more chewy ideas, check out my peanut butter Rice Krispie treats recipe for inspiration!
Variations for Salted Brown Butter Treats
Once you taste the depth of flavor these bars have, you’ll realize brown butter isn’t just for a one-off treat! It opens up a whole new world of flavor for your baking projects. If you want to push these Salted Brown Butter Treats over the top—and you absolutely should!—try a drizzle of soft caramel sauce just before they set. That combination of salty, nutty, and sweet is just divine. Or, for a texture boost, fold in some chopped toffee bits right alongside the cereal!
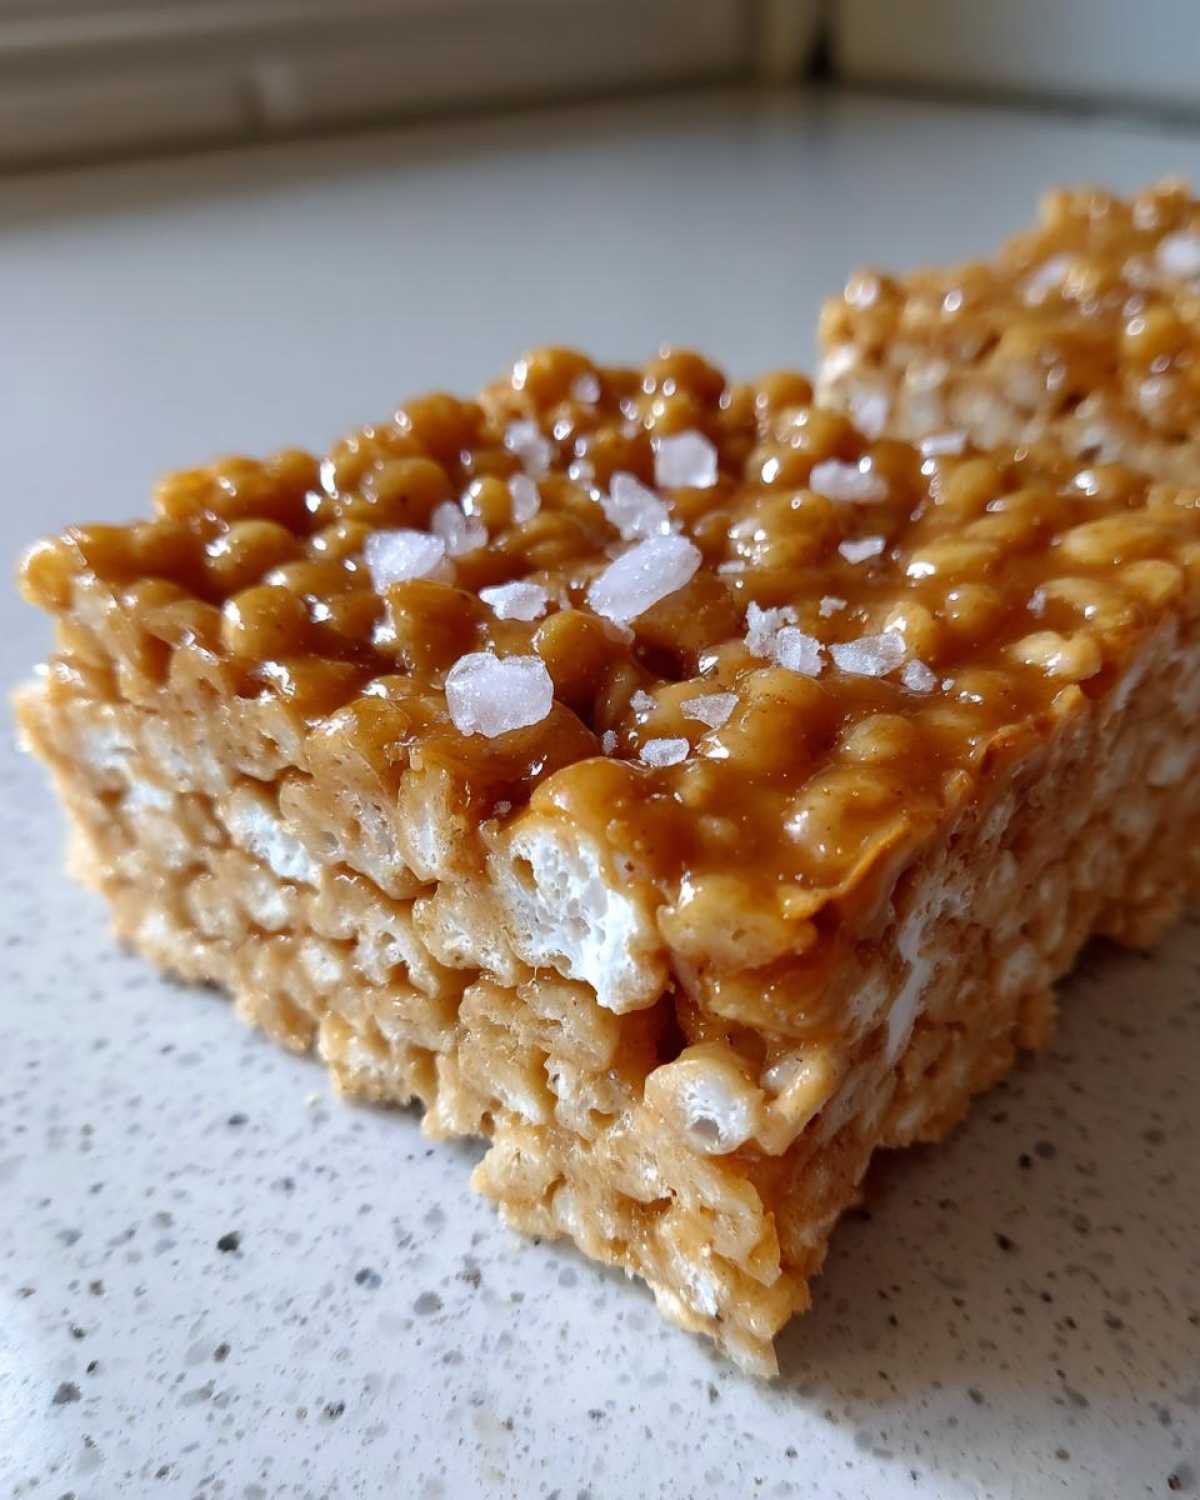
Brown butter is fantastic in so many other things, too. It adds instant sophistication to cookies or blondies. If you love the caramel notes, you have to look at my recipe for salted caramel cheesecake, where that nutty background note really shines. Applying the principles of Simple Brown Butter Baking to any recipe immediately makes it feel more gourmet. It’s the easiest way to impress people without really trying hard!
Storage and Serving Suggestions for Brown Butter Rice Krispie Treat Bars
The best part about these amazing Brown Butter Rice Krispie Treat Bars is that they actually taste even better the next day once they’ve fully settled! You want to keep them airtight, so grab a container with a tight lid—plastic or glass works just fine. Keep them right there on the counter at room temperature; don’t refrigerate them! Chilling them makes them lose that signature chewiness we worked so hard to achieve.
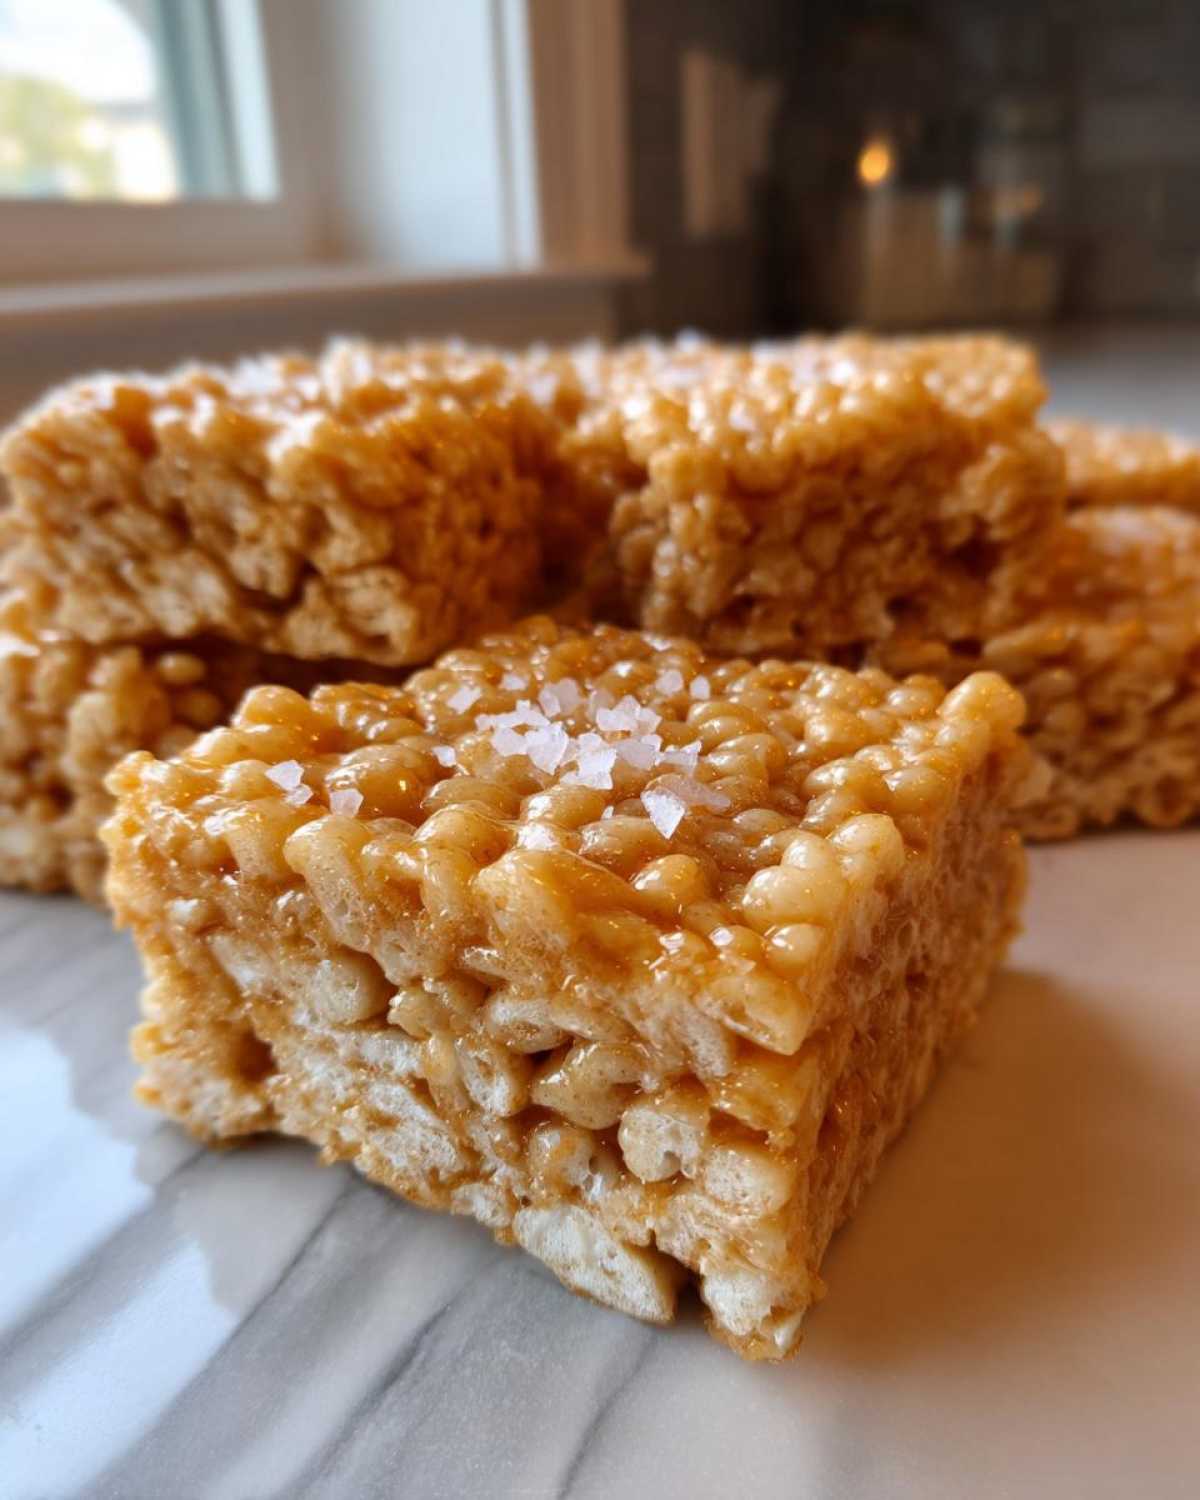
Honestly, they last about three days before they start getting a little stale, but if you’ve made them right, they won’t last that long anyway! My absolute favorite way to enjoy one is with a giant mug of strong, black coffee first thing in the morning. The slight bitterness of the coffee plays off the salt and the nutty, sweet brown butter perfectly. It’s a real treat!
Frequently Asked Questions About Brown Butter Dessert Bars for Parties
I get so many questions every time I make these, which just proves how much everyone loves them! It’s great that you’re thinking ahead, especially if you’re taking these lovely Brown Butter Dessert Bars for Parties. Trying to troubleshoot while you’re making them is the worst, so let’s get these little uncertainties sorted out now!
Can I use salted butter instead of unsalted butter for these Brown Butter Rice Krispie Treat Bars?
Oh, please don’t! I really advise against it unless you are a super seasoned baker who can perfectly judge salt concentration. When you cook that butter down, you are concentrating every single element in it. If you use salted butter, the final product ends up tasting far saltier than you intended. We want that deep, nutty flavor, not a salt lick! Stick to unsalted so you can control the beautiful flaky salt finish we add on top.
How do I know when my butter is perfectly browned, not burnt?
This is the most important visual cue! When you’re cooking it, everything will foam up, but once it settles, you’ll see tiny, toasted brown specs—think dark sand—settle at the bottom of the pan. The liquid fat itself will turn a gorgeous, light amber or deep gold color. And the smell! As soon as you smell that powerful, nutty warmth, pull it off the heat immediately. If it smells acrid or smoky, oops, you burned it, and you’ll need to start over with fresh butter!
Is this recipe for Easy Chewy Bars better than the original?
Honestly, yes! I think so, and I hope you will too. The brown butter transforms the flavor profile completely—it adds a level of sophistication that plain butter just can’t touch. You get these subtle caramel and toffee undertones woven throughout. But here’s the catch: if you mess up the technique—like pressing too hard when spreading them into the pan—then they won’t be Easy Chewy Bars; they’ll be hard! So, follow the gentle folding and light pressing instructions, and you’ll have the absolute best version possible. For some other simple swaps, check out my ideas on why brown butter just makes everything better!
Nutritional Estimates for Brown Butter Rice Krispie Treat Bars
It’s smart to peek at the nutrition, even for a treat this wonderfully simple! Now, remember, since we’re dealing with toasted butter and store-bought cereal, these numbers are just estimates based on the standard ingredients listed. The final values will change slightly depending on your specific marshmallow brand or if you add extras like chips. But for a single serving of these incredible Brown Butter Rice Krispie Treat Bars, you’re looking at roughly 150 calories.
For the macro breakdown, we see around 5 grams of fat from that rich butter, about 25 grams of carbohydrates primarily from the cereal and sugar, and usually around 2 grams of protein per bar. Enjoy them guilt-free because, let’s be honest, they are worth every single nutty, chewy, delicious bite!
PrintBrown Butter Rice Krispie Treat Bars
Make classic Rice Krispie Treats better by using brown butter for a deep, nutty flavor. This recipe yields chewy and crispy bars.
- Prep Time: 10 min
- Cook Time: 10 min
- Total Time: 20 min
- Yield: 18 bars
- Category: Dessert
- Method: Stovetop
- Cuisine: American
- Diet: Vegetarian
Ingredients
- 6 tablespoons unsalted butter
- 1 (10 ounce) package marshmallows
- 1 teaspoon vanilla extract
- 6 cups puffed rice cereal
- 1/2 teaspoon flaky sea salt (optional, for topping)
Instructions
- Lightly grease a 9×13 inch baking pan or line it with parchment paper, leaving an overhang for easy removal.
- Place the butter in a medium saucepan over medium heat. Cook the butter, swirling the pan occasionally, until it melts, foams, and then brown bits start to form at the bottom. The butter will smell nutty. This takes about 5 to 7 minutes. Watch carefully to prevent burning.
- Remove the pan from the heat immediately once the butter is browned.
- Add the marshmallows to the saucepan with the brown butter. Stir constantly until the marshmallows are completely melted and smooth.
- Stir in the vanilla extract.
- Remove the pan from the heat. Add the puffed rice cereal to the marshmallow mixture. Fold gently until the cereal is evenly coated. Do not overmix.
- Transfer the mixture to the prepared baking pan. Lightly press the mixture evenly into the pan using a piece of wax paper or a lightly buttered spatula. Avoid pressing too firmly, as this makes the bars hard.
- If using, sprinkle the flaky sea salt evenly over the top.
- Let the bars cool completely at room temperature for at least 1 hour before cutting into squares.
- Use the parchment overhang or a sharp knife to cut into bars.
Notes
- For cleaner cuts, lightly spray your knife with cooking spray before slicing the cooled bars.
- Store the finished bars in an airtight container at room temperature for up to 3 days.
- If you want extra nutty flavor, add 1/2 cup of white chocolate chips or peanut butter chips along with the marshmallows when melting.
Nutrition
- Serving Size: 1 bar
- Calories: 150
- Sugar: 12
- Sodium: 85
- Fat: 5
- Saturated Fat: 3
- Unsaturated Fat: 2
- Trans Fat: 0
- Carbohydrates: 25
- Fiber: 0
- Protein: 2
- Cholesterol: 10