

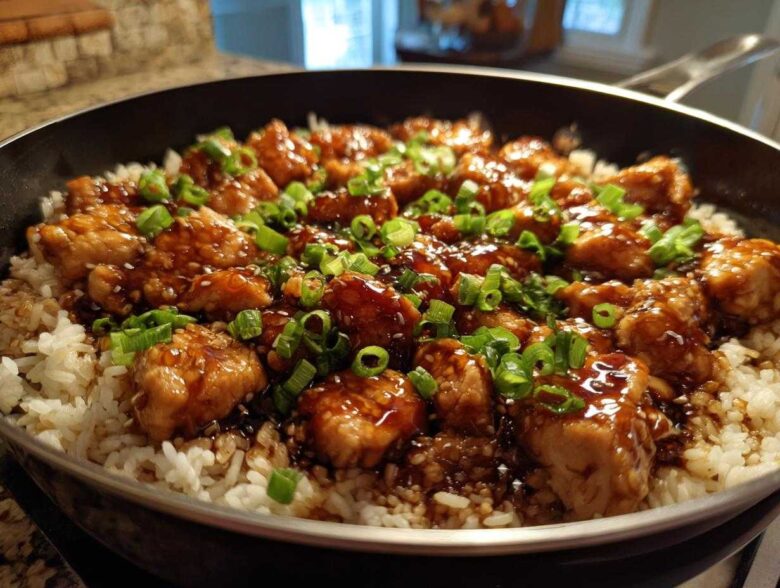
Oh, you know those evenings? When the kids are melting down, you’re staring into the fridge thinking you have to make three separate things for dinner, and you just want to lie down? I was there last Tuesday. Totally burned out. But then I remembered the magic move: my One-Pan Honey Garlic Chicken Skillet with Rice. Seriously, this recipe is my emergency panic button. It’s the ultimate solution because everything—the sticky, sweet-and-savory chicken and the fluffy rice—cooks right in one deep skillet. Cleanup? Just one pan, people! It’s fast, it’s deeply flavorful, and it keeps the promise of a satisfying, complete dinner without making you wash a mountain of pots. You are going to love how much easier this makes your week. Trust me, this is the best weeknight savior I’ve whipped up in years!
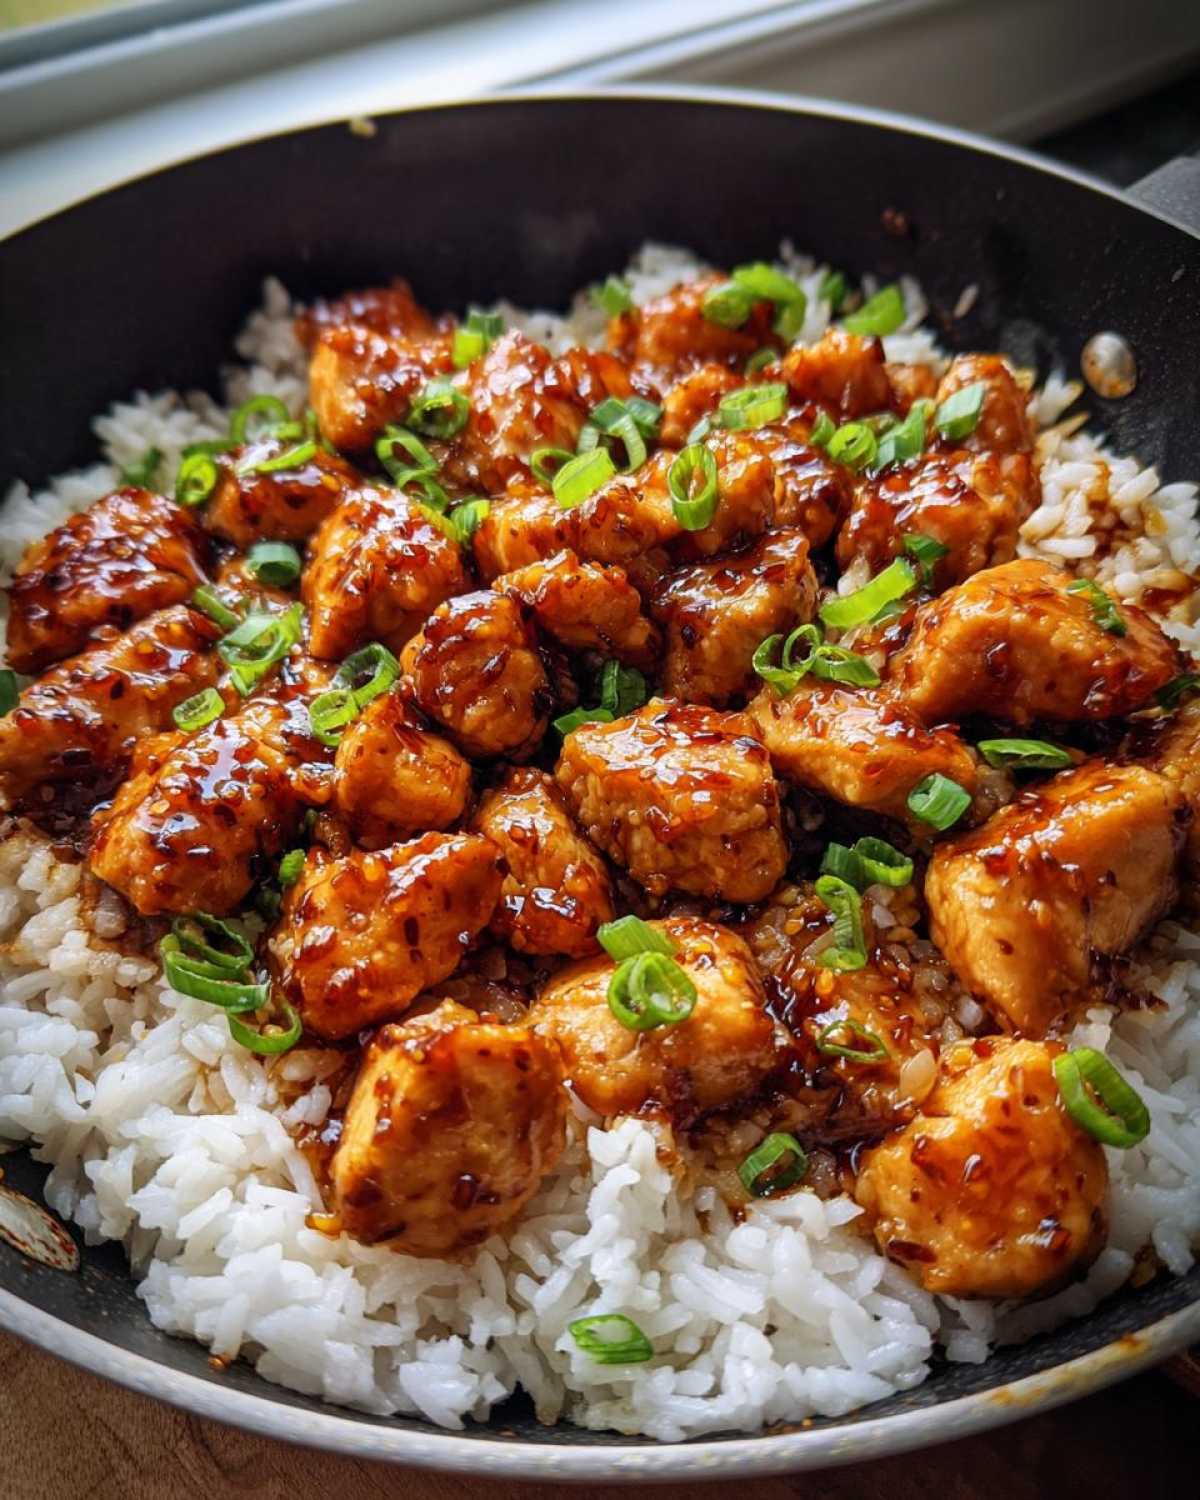
Why This Honey Garlic Chicken Skillet with Rice Works So Well
Listen, I test a lot of recipes trying to save you time, but this One Pan Chicken and Rice combo is truly a winner. Honestly, it’s designed for the chaotic evenings when your energy is zero but your standards for flavor are still pretty high. It’s comfort food without the commitment!
Here’s why this method beats making chicken and rice separately:
- It’s a complete meal! You don’t have to worry about cooking rice in a separate pot.
- It seriously counts as an Easy Honey Garlic Chicken weeknight weapon, clocking in at under 40 minutes total.
- The rice absorbs all those amazing sweet and savory flavors while it cooks, making it taste way better than plain steamed rice.
Speed and Simplicity: The Quick Skillet Chicken Dinner Advantage
The best part about making this a Quick Skillet Chicken Dinner is ditching the dirty pots! We are building the sauce right where we browned the chicken. Because the rice cooks right there in that seasoned broth, you skip the entire waiting period for a separate pot of water to boil. That cuts at least 15 minutes off your active time, easy.
Achieving the Perfect Sticky Honey Garlic Sauce
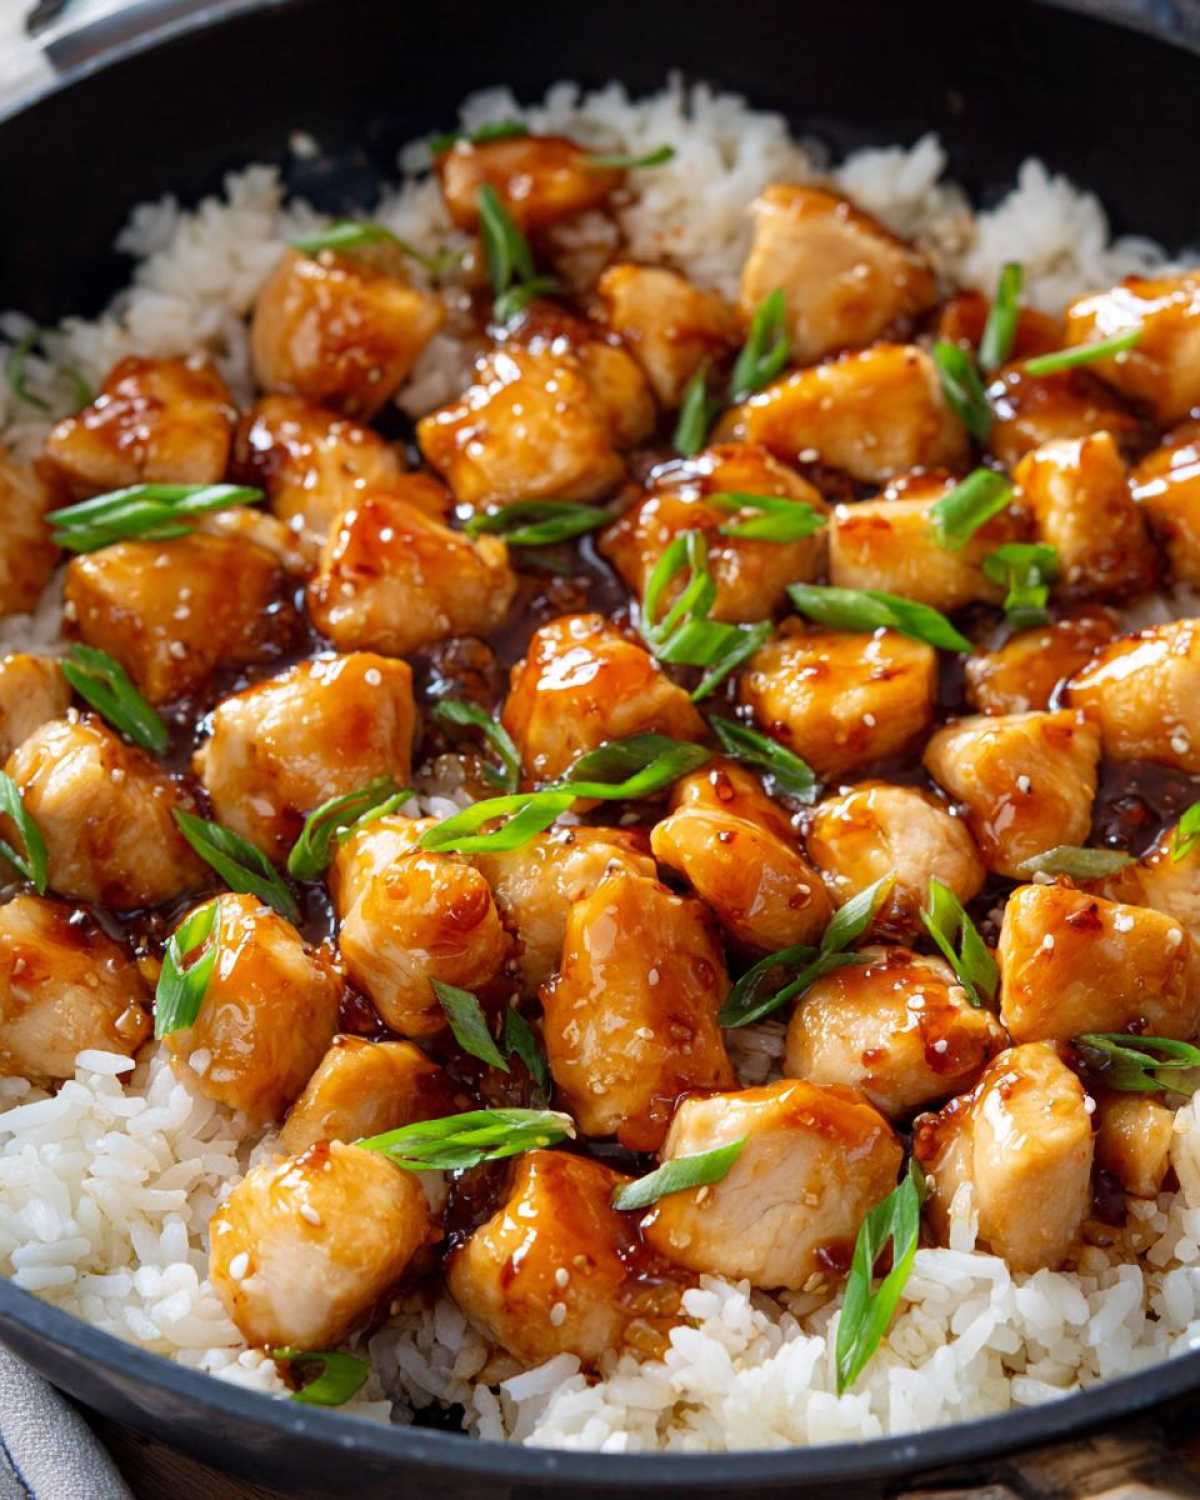
That glossy finish you see on the chicken? That’s the goal! The combination of honey, soy, and vinegar reduces down perfectly in the pan around the rice. It creates this unbelievable, thick, Sticky Honey Garlic Sauce that coats every piece of chicken and every grain of rice. It’s sweet, but the vinegar keeps it sharp—it’s just addictive!
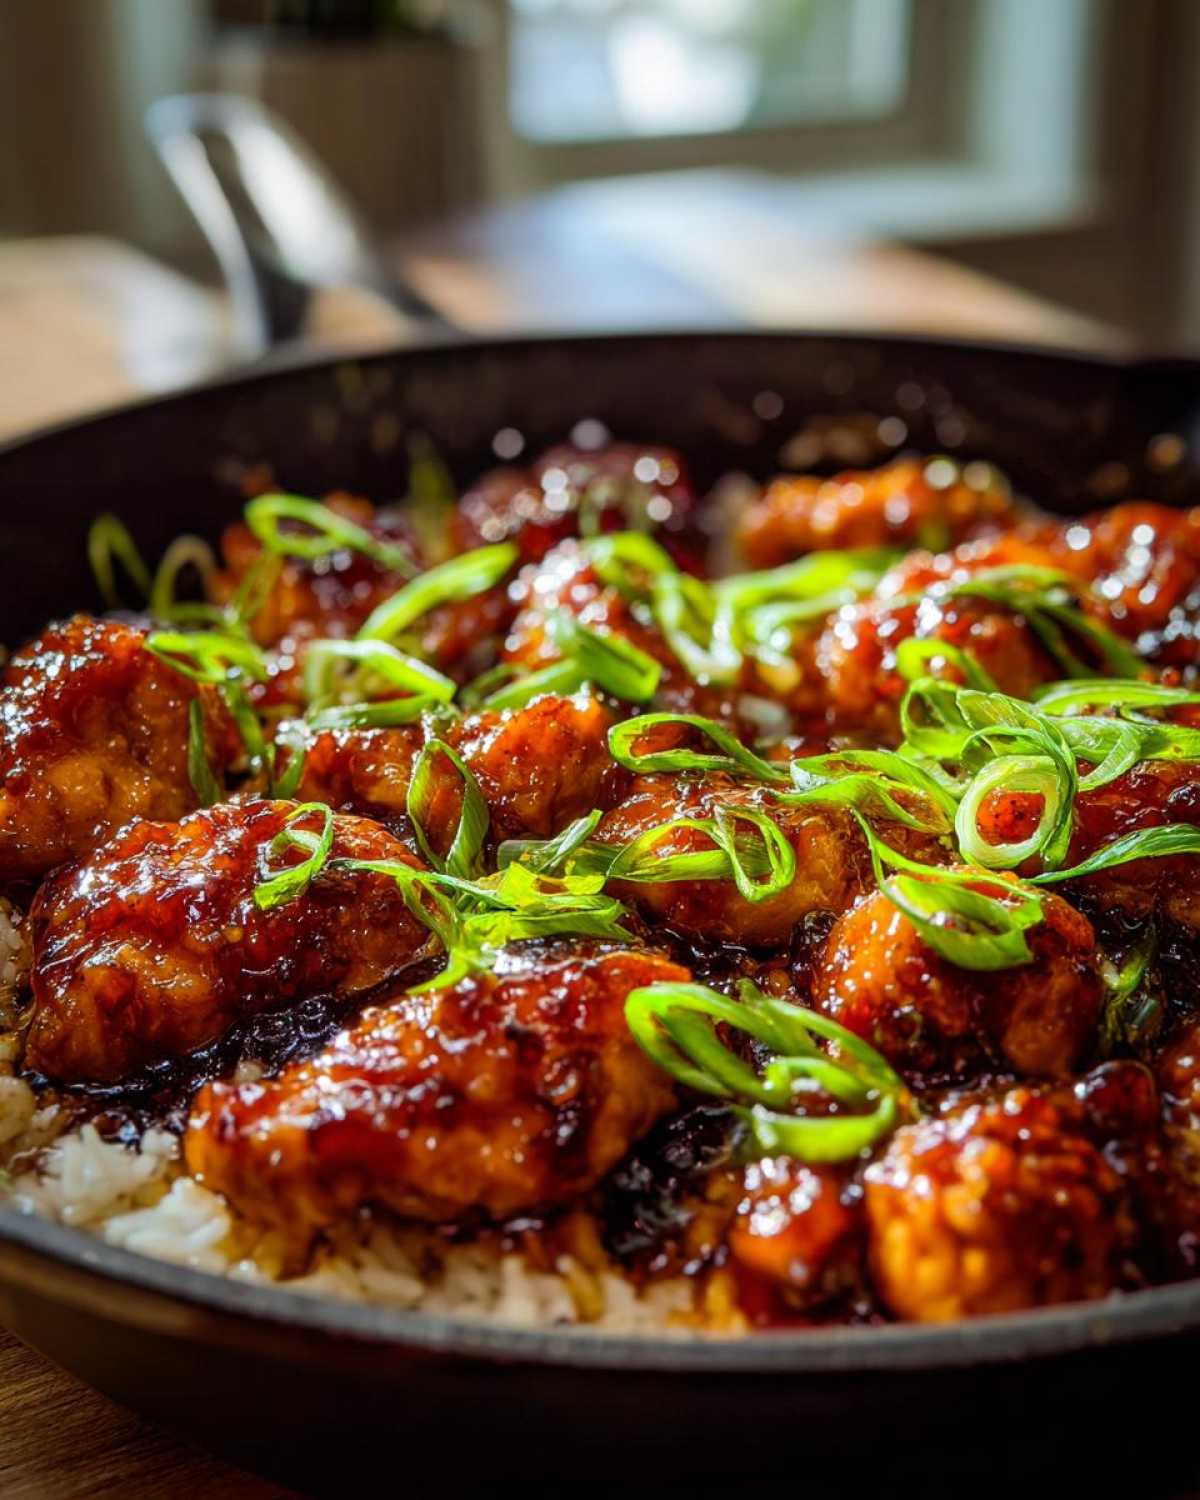
Essential Ingredients for Your Honey Garlic Chicken Skillet with Rice
Okay, let’s talk about what you need. Because this is a one-pan wonder, every single ingredient really pulls its weight, so we have to treat them right! You’re going to want everything prepped and ready to go before you even turn the stove on. I learned the hard way that when you’re making a quick Stovetop Chicken and Rice meal, if you stop to chop garlic while your chicken is browning, you end up with sad, slightly overcooked chicken. Don’t do it! Get your sauce ingredients measured and your chicken portioned first. This makes the actual cooking process feel like cheating it’s so smooth! I even have a whole post on how to make sure your chicken marinade is perfect, but honestly, for this, we just focus on getting a good sear, which you can read about here best chicken marinade for juicy flavorful.
Here is the simple list of what you absolutely must have on hand for this meal. I promise, no weird ingredients are required for this!
- One tablespoon of olive oil—nothing fancy, just good for getting that sear.
- About a pound and a half of boneless, skinless chicken breasts.
- A teaspoon of salt and half a teaspoon of black pepper for seasoning the meat.
- Three cloves of garlic—and please, please mince them fresh! This is crucial for that big flavor pop in your Garlic Glazed Chicken Meal.
- Half a cup of chicken broth. This helps steam the rice perfectly!
- Half a cup of low-sodium soy sauce. I use low-sodium so I can control how much salt gets in there when we add the honey.
- One-third cup of honey. Get the good stuff!
- Two tablespoons of rice vinegar—this provides just the right amount of tang.
- One teaspoon of ground ginger.
- One cup of long-grain white rice, which is uncooked. This is important; don’t use Minute Rice here!
- Two cups of water, since we are cooking the rice from scratch right there in the pan.
- And finally, two green onions, thinly sliced, just for sprinkling on top at the very end because presentation matters!
Ingredient Clarity: Chicken and Rice Selection
Let’s get specific about the stars of the show. For the chicken, you need exactly 1.5 pounds of boneless, skinless chicken breasts, and you want them cut into nice, even 1-inch pieces. Uniform pieces mean they cook evenly, so you don’t end up with some chunks chewy and others perfect. This recipe really sings when the pieces are small enough to soak up that glaze!
For the starch, we are using 1 cup of long-grain white rice, uncooked. This type of rice is sturdy enough to handle the liquid ratios we use in the skillet without turning to mush. If you use Basmati or Jasmine, you might need a tiny bit less water, but for this specific One Pan Chicken and Rice technique, long-grain is my tried-and-true standard. Remember, we’re adding it raw straight into the bubbling sauce!
Building the Flavor Base for Your Garlic Glazed Chicken Meal
This is where the magic happens before the rice even joins the party. After the chicken is out, you drop in those **3 cloves of fresh minced garlic**. You only want to cook that for about 30 seconds—just until you can really smell it. If you burn the garlic, the whole dish tastes bitter, so keep an eye on the heat!
Once the garlic wakes up, we start layering the sauce for that signature Sticky Honey Garlic Sauce flavor. We’re talking broth, soy sauce, the honey, rice vinegar, and that little pinch of ginger. Stir it up, let it come to a slow, happy simmer, and scrape up all those delicious brown bits stuck to the bottom of the pan. That fond is pure flavor, and we absolutely do not want to waste it when cooking our Easy Honey Garlic Chicken!
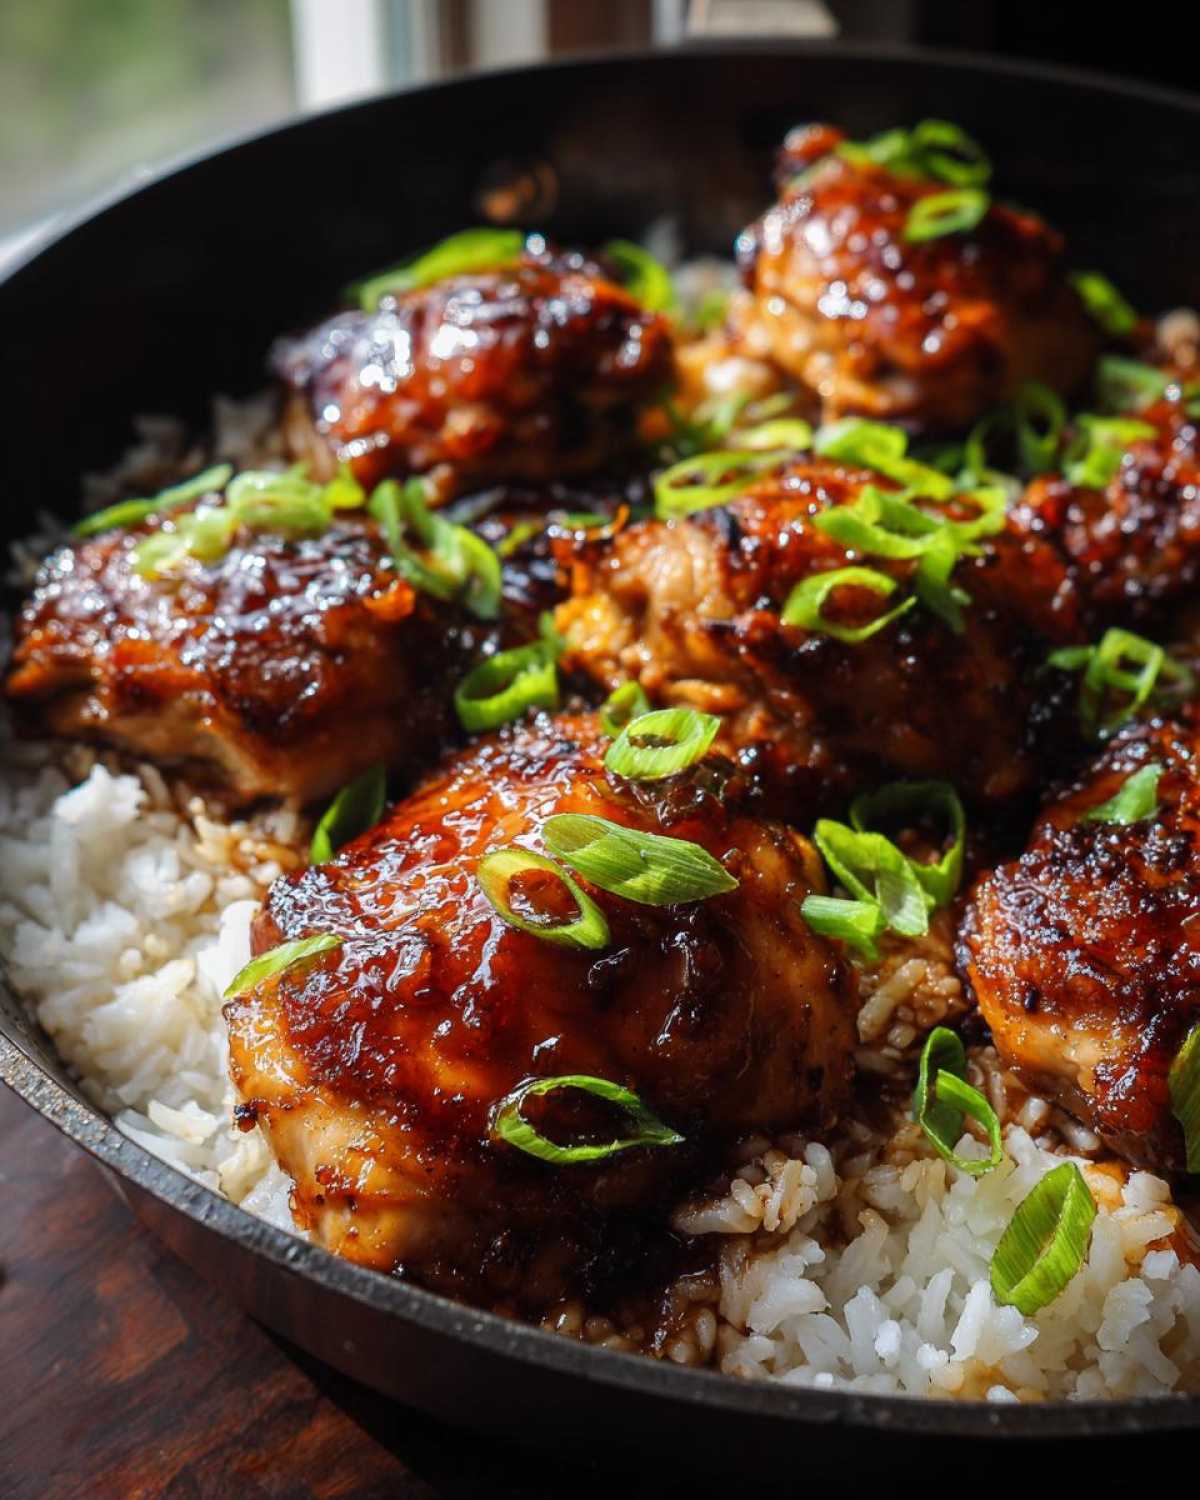
Step-by-Step Instructions for Honey Garlic Chicken Skillet with Rice
Alright, let’s get cooking! I’m walking you through the entire Stovetop Chicken and Rice process, from fire-up to fork. Because everything happens in one vessel, timing is everything, but don’t stress. If you follow this order, you end up with gorgeous, perfectly cooked chicken and fluffy rice every single time.
Browning the Chicken and Preparing the Sauce Base
First things first, get your large, deep skillet heated over medium-high heat, and add that tablespoon of olive oil. Toss in your 1-inch chicken pieces along with the salt and pepper. You want to cook these until they are nicely browned on all sides. It takes about 5 to 7 minutes total. Don’t crowd the pan if you don’t have to, or the chicken will steam instead of sear. Once they look golden, scoop them out onto a clean plate and set them aside for later.
Now, drop the heat to medium. This is vital so we don’t burn the garlic! Add your minced garlic and stir it constantly for just 30 seconds. You’ll know it’s ready because the smell will fill your kitchen—wow! Then, we build the sauce right there. Pour in the chicken broth, soy sauce, honey, rice vinegar, and ginger. Use a wooden spoon to scrape up every last one of those delicious brown bits stuck to the bottom of the pan. That’s crucial flavor for our One Pan Chicken and Rice! Now, don’t forget that inspiration for other easy stovetop meals uses similar techniques; check out how I handle chili over on my Stovetop White Chicken Chili post!
The Crucial Simmering Phase for One Pan Chicken and Rice
Time for the starch! Add your cup of uncooked long-grain white rice and the two cups of water directly into that simmering sauce. Give it just one quick stir to make sure the rice is spread out evenly across the bottom. Now, nestle your seared chicken pieces right back into the mixture—you want them partially submerged.
Bring everything back up to a gentle simmer. Once you see those first bubbles breaking the surface everywhere, put that lid on TIGHTLY. Immediately drop the heat down to the lowest setting you have. Seriously, keep it low. And here’s the golden rule for perfect skillet rice: Do not, under any circumstances, lift that lid for the next 18 to 20 minutes. Lifting the lid lets the steam escape, and we need every bit of trapped steam to cook that rice perfectly fluffy!
Resting and Finishing the Honey Garlic Chicken Skillet with Rice
When those 18 to 20 minutes are up, turn the burner completely off. Don’t peek yet! We let the covered skillet stand right there on the warm burner for a full 5 minutes. This resting period lets the last bit of steam redistribute, preventing the bottom layer from getting gummy. It’s a game-changer for fluffy rice.
Finally, remove the lid. Gently fluff the rice with a fork—don’t stir aggressively, or you’ll break the grains. Give everything a final toss to coat the rice in the thickened sauce, then sprinkle those sliced green onions over the top. Serve it straight from the skillet for the easiest dinner presentation ever!
Tips for Success with Your Honey Garlic Chicken Skillet with Rice
So, you’ve followed the steps, and everything looks great, but sometimes those little things happen that make you wonder, “Did I mess up?” Don’t worry! That’s why I always keep a few troubleshooting tips handy. Learning these little kitchen secrets is what separates a good dinner from the Best Homemade Chicken Skillet experience. A little tweak here and there can save your meal!
Adjusting Sauce Consistency for Your Sweet Savory Chicken Entree
The biggest worry people have with any saucy skillet meal is ending up with rice that’s swimming or sauce that’s too watery. If you peek after the 5-minute rest period and you think your wonderful Sweet Savory Chicken Entree glaze is still too thin—don’t panic! Remember that step where we turned the heat off? Turn it back on to medium-low, take the lid completely off, and just let it bubble gently for about 5 minutes. That exposed surface area allows the excess moisture to evaporate really quickly. It concentrates that honey and garlic flavor and gives you that beautiful stickiness you’re looking for. If you do this, just be cautious not to stir the rice too much while it reduces!
Ingredient Swaps for Family Friendly Chicken Recipe Variations
I always use breasts because they’re lean, but if you find yourself with boneless, skinless chicken thighs instead, please go for it! Thighs just add a richer flavor, which I think pairs amazing with the honey, but they are a touch fattier. My only note is that they don’t need quite as much time to brown initially—maybe a minute or two less.
If you’re out of that long-grain white rice, you can certainly use medium-grain rice for this Family Friendly Chicken Recipe. Medium-grain rice absorbs liquid a little faster, so keep a closer eye on it during the covered simmering time. It might be done closer to 17 or 18 minutes instead of the full 20. Also, if you’re trying to recreate that deep flavor but are worried about sodium, just use regular soy sauce instead of low-sodium and skip adding any extra salt to the initial chicken seasoning!
If you want to see more ways I make dinner stress-free, I have tons of ideas over on my advice pages, like this guide on making homemade brown gravy. Sometimes a good sauce recipe is all you need!
Variations on the Classic Honey Garlic Chicken Skillet with Rice
I love that this dish is so flexible! While the classic combination of sweet honey and sharp garlic is absolutely perfect on its own, sometimes you just need to throw in some green stuff to feel like you’ve truly nailed ‘balance’ for the day. This is the best part about a one-pan meal—it’s forgiving enough for little experiments!
I rarely change the sauce ratios because that’s the core flavor, but you can definitely mix up what goes *into* the pan with the rice and chicken. If you’re looking for something completely different but still easy, you might want to check out my Coconut Lime Chicken Recipe – total flavor change-up!
Adding Vegetables to Make it a Full Meal
If you’re trying to bulk this up into a veggie-packed powerhouse, you have a couple of great options depending on when you add them. If you are using quick-cooking veggies like frozen peas or small diced carrots, you just toss them in during the last 10 minutes of that covered simmer time. They’ll steam perfectly right alongside the rice thanks to the trapped heat.
If you want something a little crunchier, like bell peppers or maybe some sliced mushrooms, you need to add them when you are sautéing the garlic (Step 2). Let them cook down for about 3 or 4 minutes until they just start to soften. Then proceed with making the sauce right on top of them! The bell peppers get wonderfully caramelized by the sauce as it cooks down. It’s an easy way to get an extra serving of vegetables without dirtying a single extra pot or pan!
Serving Suggestions for This Quick Skillet Chicken Dinner
Because this Quick Skillet Chicken Dinner is so rich and sticky from that shiny glaze, you really need something bright and fresh on the side to cut through it! I usually keep it simple because, let’s be honest, we’re only cleaning one pan. A quick side of thinly sliced cucumber tossed with a dash of white vinegar does the trick beautifully. Or, if you want a warm side, you can’t go wrong roasting some broccoli with lemon. I’ve got a fantastic recipe for Easy Broccolini with Lemon and Garlic that you can throw in the oven while the rice is resting. It’s the perfect fresh contrast!
Storage and Reheating Instructions for Leftover Honey Garlic Chicken Skillet with Rice
Part of the genius of this Honey Garlic Chicken Skillet with Rice is that it actually tastes even better the next day, once those flavors have fully married! I love making this recipe when I know I want zero thoughts about lunch the next day. You want to handle leftovers carefully, though, especially because the rice is sitting right in that sugary sauce. Don’t just leave it in the open skillet, though; that’s asking for dry rice!
Store the leftovers in an airtight container in the fridge. It should stay perfectly good for about three to four days. I’ve had some last five days, but honestly, for the best texture, I try to eat it within four. If you’re prepping ahead of time, this keeps things moving smoothly!
When it comes to reheating, we have two main routes, and one is definitely better than the other for keeping that rice happy. If you’re reheating a smaller portion, the microwave is fastest. Pop it in for about 60 to 90 seconds, but here’s my little trick: add just a teaspoon of water or chicken broth straight into the container before you cover it with a damp paper towel. That moisture steams the rice as it heats, preventing it from getting hard and chewy.
If you are reheating a larger portion, I actually prefer the stovetop method because you have more control. Put the leftovers back into a clean skillet—or the original one if you washed it out!—over low heat. Add a splash of extra broth or water, cover it, and let it warm through gently. This low-and-slow steam bath keeps the rice soft without scorching the honey glaze underneath. It’s nearly as good as when it was fresh!
It’s a great idea to have some quick sides ready too, just to freshen things up the next day. Maybe some simple steamed broccoli or even some of those amazing easy homemade garlic breadsticks on the side to soak up any extra sauce!
Frequently Asked Questions About Honey Garlic Chicken Skillet with Rice
I know cooking a one-pan dish can sometimes bring up funny little questions, especially when you’re mixing raw rice right into the sauce! Don’t sweat it, though. I’ve gathered the most common things people ask me about this Honey Garlic Chicken Skillet with Rice so you can feel totally confident before you even start. It seems scary, but I promise, it’s designed to be foolproof, and these tips help nail those tricky spots!
Can I use brown rice in this Honey Garlic Chicken Skillet with Rice?
Yes, you totally can swap in brown rice if that’s what you prefer! But listen closely: brown rice takes way longer to cook than the long-grain white rice we use here. If you make the switch, you need to bump up that covered simmering time significantly. I’d suggest cooking it covered for an extra 15 to 20 minutes longer than the recipe calls for. You’ll need to check it carefully so it doesn’t stick, but it should absorb the extra liquid you need.
How do I make the sauce thicker without uncovering the rice too early?
This is such a great question because we want that sauce thick and sticky, but we absolutely cannot lift the lid during the main cooking time! If you want to ensure a super thick, glossy finish without messing up the rice’s steam cycle, here’s my secret weapon. Right before you return the chicken to the pan in Step 5—after you’ve made the sauce but *before* you add the rice and chicken back in for the simmer—mix up a cornstarch slurry. Just take 1 teaspoon of cornstarch and mix it into 1 tablespoon of cold water until it’s completely smooth. Stir that slurry right into your simmering sauce mixture. It thickens up almost instantly and maintains that beautiful glaze while the rice steams underneath untouched. It’s the perfect trick for a guaranteed visually stunning Sticky Honey Garlic Sauce!
Is this recipe suitable for other Weeknight Chicken Recipes alternatives?
Absolutely! This whole technique is super versatile, making it a fantastic baseline for other Weeknight Chicken Recipes. If you swap the chicken breasts for boneless, skinless chicken thighs, the flavor gets a little richer, and honestly, they are much harder to overcook, so you have a bit more wiggle room on timing. If you’re feeling super speedy, you could even try this with large shrimp!
But be careful with shrimp—they cook incredibly fast. If you use shrimp, you’d only cook them for about 2 minutes on each side to brown them, and then you’d reduce the covered simmering time for the rice down to about 15 minutes total, or just cook the shrimp separately and stir them in right at the end with the green onions, like a shortcut!
If you ever want more tips on general kitchen creativity and cooking advice, feel free to browse my general advice articles over on the blog page!
Nutritional Estimates for This Family Friendly Chicken Recipe
Now, I know some of you amazing cooks like to keep track of what’s going into your family’s belly, even when it’s just a super easy weeknight meal like our Honey Garlic Chicken Skillet with Rice. I’ve pulled together the estimated nutritional breakdown below for a single serving based on the ingredients list.
I want to be super honest here—I’m a cook, not a registered dietitian, so these numbers are calculated based on standard online databases for the amounts listed. They are helpful estimates, sure, but treat them as a guideline rather than gospel, especially since the exact brand of soy sauce or honey can slightly shift the totals. If you’re serious about tracking macros, you might use this as a base and fine-tune it! For more general guidance on counting calories while still enjoying great food, check out my post on Calorie Counting Guide.
This calculation is based on 4 generous servings:
- Serving Size: 1 serving
- Calories: Approximately 550
- Sugar: About 22g (That’s the honey doing its job!)
- Sodium: Around 950mg (See? This is why I push low-sodium soy sauce!)
- Fat: Roughly 10g total fat
- Protein: A whopping 48g per serving—great for keeping everyone full!
- Carbohydrates: Around 65g (mostly coming from that delicious rice!)
Honestly, for a complete stove-top meal that includes protein, starch, and so much flavor from that sticky glaze, I think those numbers are pretty darn good for a Tuesday night dinner!
Share Your Experience Making This Honey Garlic Chicken Skillet with Rice
I truly hope this simple **Honey Garlic Chicken Skillet with Rice** saves your weeknight chaos just like it saves mine! I put so much love into testing these one-pan methods because I know how stressful it is to get a tasty, complete dinner on the table when you’re exhausted.
Now that you’ve tried it, I absolutely need to hear from you! Did the rice come out fluffy? Was that sticky glaze just as perfect as you hoped? Don’t keep your delicious results a secret!
Please, hop down to the comments section and leave a rating for the recipe. Give it those five glorious stars if it rocked your weeknight routine! And if you snap a picture of your finished meal—especially of that glossy chicken nestled in the seasoned rice—send it my way! You can always send me a message or photo through my contact page. I love seeing my recipes come to life in your kitchens. Happy cooking, and thanks for trusting me with your dinner plans!
PrintOne-Pan Honey Garlic Chicken and Rice Skillet

Make a quick, complete meal with this easy recipe for honey garlic chicken cooked directly with rice in one skillet.
- Prep Time: 10 min
- Cook Time: 30 min
- Total Time: 40 min
- Yield: 4 servings
- Category: Dinner
- Method: Stovetop
- Cuisine: American
- Diet: Low Lactose
Ingredients
- 1 tablespoon olive oil
- 1.5 pounds boneless, skinless chicken breasts, cut into 1-inch pieces
- 1 teaspoon salt
- 0.5 teaspoon black pepper
- 3 cloves garlic, minced
- 0.5 cup chicken broth
- 0.5 cup low-sodium soy sauce
- 0.33 cup honey
- 2 tablespoons rice vinegar
- 1 teaspoon ground ginger
- 1 cup long-grain white rice, uncooked
- 2 cups water
- 2 green onions, sliced, for garnish
Instructions
- Heat the olive oil in a large, deep skillet over medium-high heat. Add the chicken pieces, salt, and pepper. Cook until the chicken is browned on all sides, about 5 to 7 minutes. Remove the chicken from the skillet and set it aside.
- Reduce the heat to medium. Add the minced garlic to the skillet and cook for 30 seconds until fragrant.
- Pour in the chicken broth, soy sauce, honey, rice vinegar, and ground ginger. Stir well to combine, scraping up any browned bits from the bottom of the pan. Bring the sauce to a simmer.
- Add the uncooked rice and the 2 cups of water to the skillet. Stir once to distribute the rice evenly.
- Return the cooked chicken to the skillet, nestling it into the liquid and rice mixture.
- Bring the mixture back to a gentle simmer. Once simmering, cover the skillet tightly with a lid.
- Reduce the heat to low and cook undisturbed for 18 to 20 minutes, or until the liquid is absorbed and the rice is tender. Do not lift the lid during this time.
- Remove the skillet from the heat and let it stand, covered, for 5 minutes.
- Fluff the rice gently with a fork. Garnish with sliced green onions before serving directly from the skillet.
Notes
- For thicker sauce, uncover the skillet during the last 5 minutes of cooking and let excess liquid evaporate slightly before resting.
- You can substitute chicken thighs for breasts if you prefer a richer flavor.
- Use medium-grain rice if long-grain is unavailable, but adjust water slightly if needed based on package directions.
Nutrition
- Serving Size: 1 serving
- Calories: 550
- Sugar: 22
- Sodium: 950
- Fat: 10
- Saturated Fat: 2
- Unsaturated Fat: 8
- Trans Fat: 0
- Carbohydrates: 65
- Fiber: 2
- Protein: 48
- Cholesterol: 130