

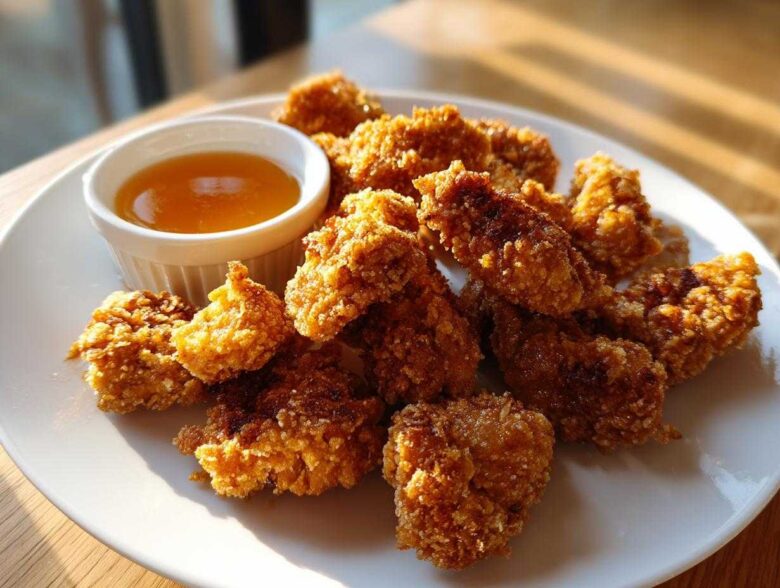
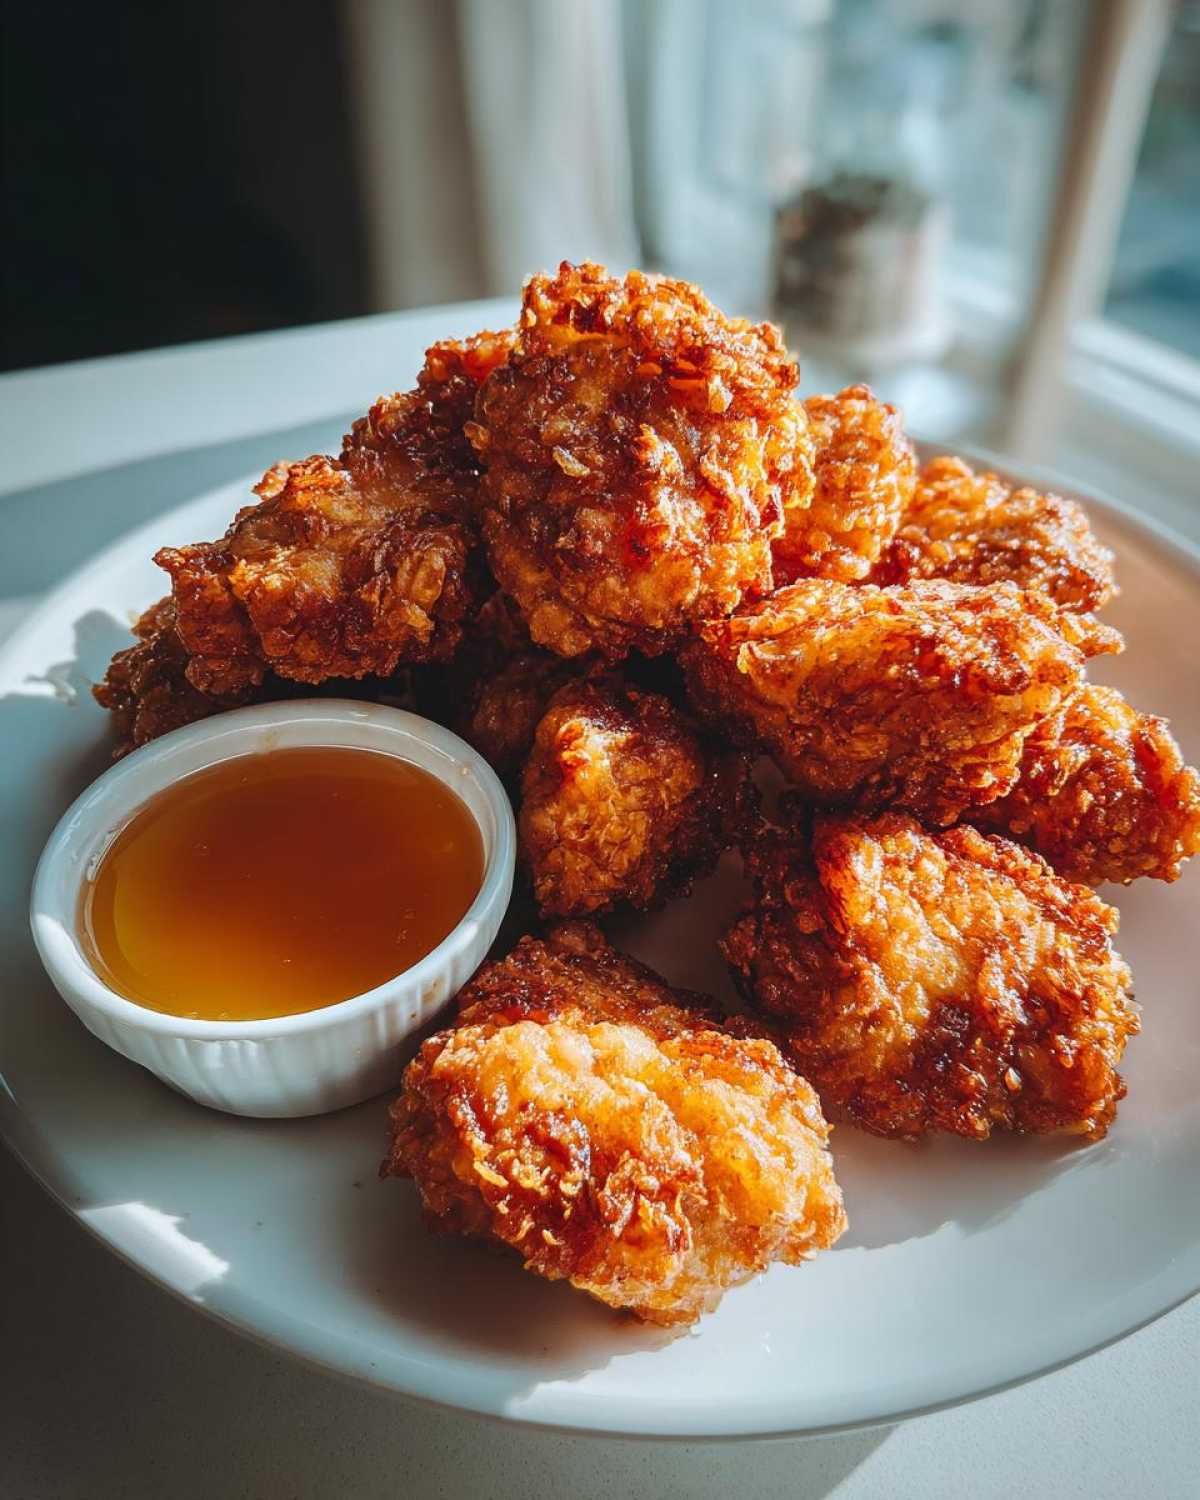
Forget those sad, mushy nuggets you get from the freezer aisle! I spent years trying to crack the code on texture, and friends, I finally have it. If you’ve dreamed of making genuinely Crispy Chicken Nuggets with Honey Dip that taste better than any drive-through, you’re in the absolute right place. The secret isn’t necessarily a massive deep fryer; it’s all about technique with the oil and using the right breading. I perfected this homemade chicken nuggets recipe after countless batches just so my kids would stop asking me to pull over at the fast-food places. For juicier chicken in the future, check out my tips on the best chicken marinade for juicy flavorful meat, but for now, trust me, this coating works magic! Once you see these things turn golden brown and hear that satisfying crunch, you won’t go back!
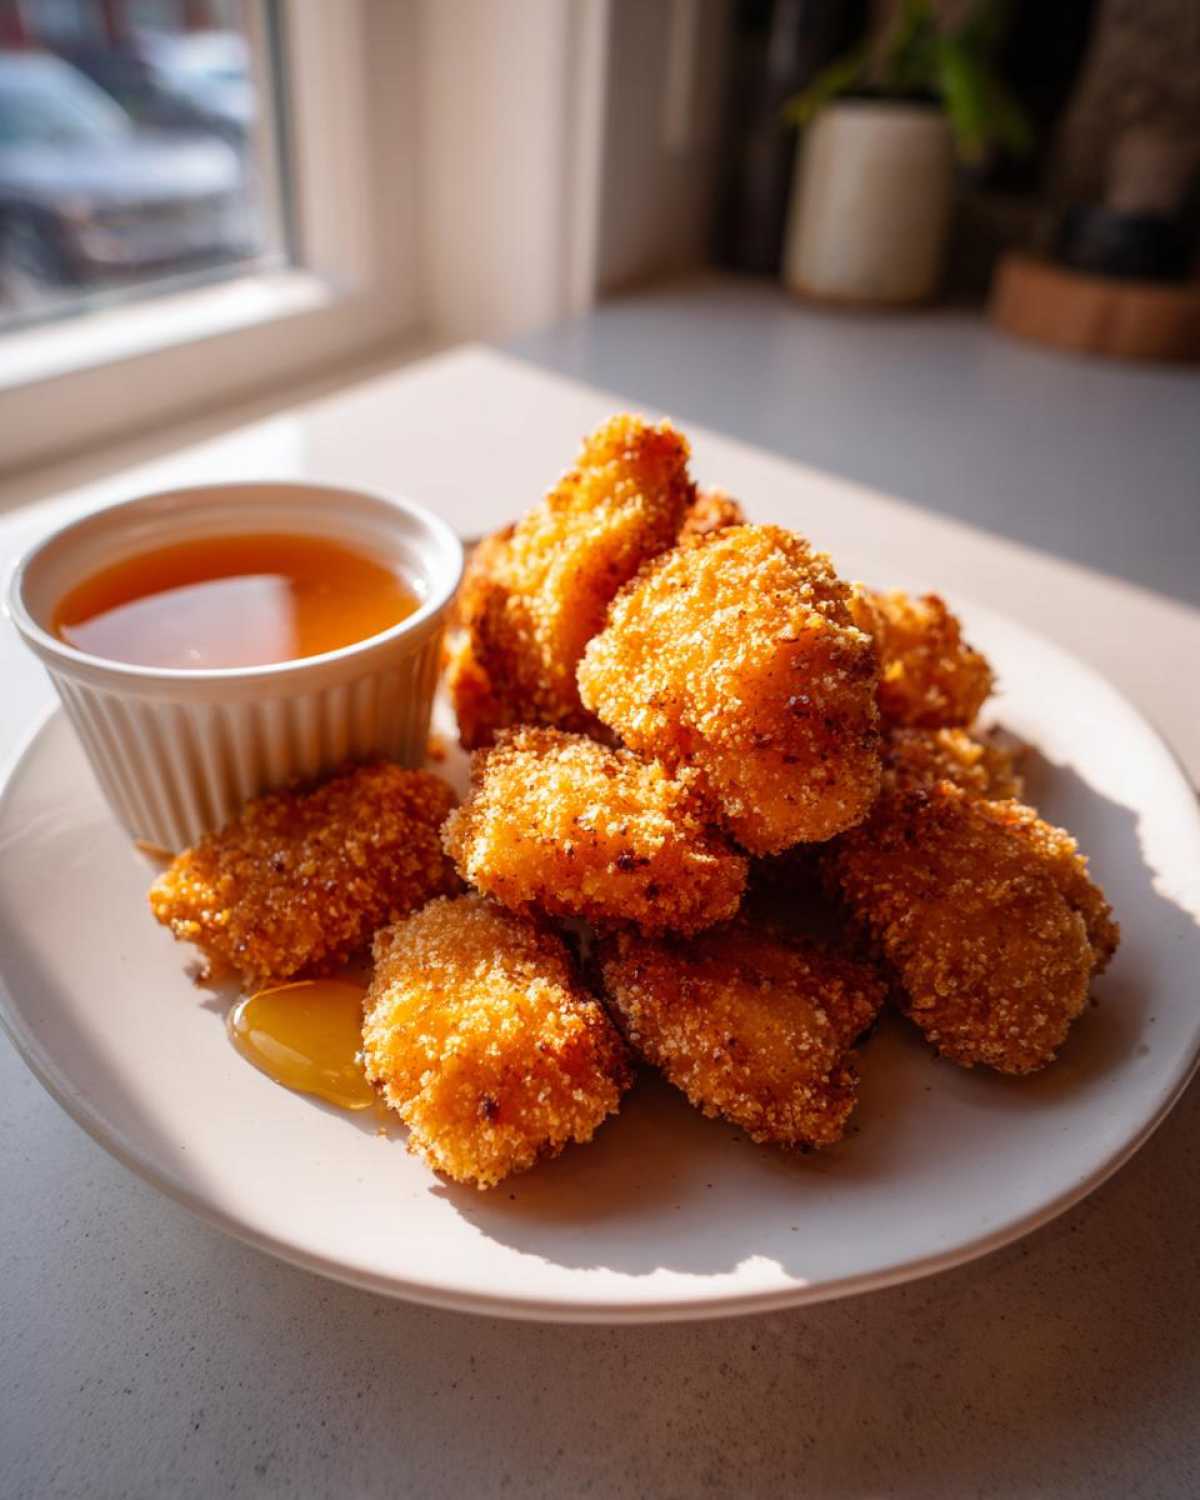
Why This Crispy Chicken Nuggets with Honey Dip Recipe Works
Okay, so why are these the ones that finally stayed crispy, even after sitting on the cooling rack for five minutes? It’s not luck; it’s science, baby! We are doing a few things differently in the preparation phase that the store-bought stuff just can’t copy. If you’re looking for that perfect, shatteringly crisp shell that holds up beautifully, this is where we focus our energy.
We talk texture a lot because that’s the challenge with homemade nuggets. Here’s the rundown on what makes our process so solid:
- The chicken breast is patted bone-dry first. Wet chicken equals sad, soggy coating!
- We use Panko breadcrumbs exclusively—they are flakier and lighter than regular crumbs.
- The triple-dredge method locks everything down tight before it even sees the oil.
If you want to pair these with some buttery goodness later on, make sure you check out my tips for easy homemade garlic breadsticks!
The Secret to the Best Crispy Chicken Coating
This is the workhorse step for achieving maximum crunchiness. The three-step dredging process creates layers that puff up slightly when they hit the hot oil. First, we dredge in seasoned flour to create a dry surface for the egg to stick to. Next, into the egg/milk bath for a wet layer.
But the star here is the Panko! Don’t substitute it if you can help it. Panko breadcrumbs are Japanese-style flakes—they are bigger, lighter, and absorb less oil than traditional fine breadcrumbs. You have to really press the chicken into the Panko to make sure every little nook and cranny is covered up. That double layer of coating is what gives us that fantastic, golden-brown crunch we’re chasing.
Making the Homemade Honey Dipping Sauce Recipe
You can’t have crispy nuggets without a great dip, right? My homemade honey dipping sauce recipe is the perfect partner. It’s sweet, obviously, because it’s honey, but I throw in just a tiny bit of apple cider vinegar. That little bit of acid cuts through the richness of the fried chicken perfectly. It takes literally two minutes on the stove, and bam, you have a professional-tasting side sauce.
Gathering Ingredients for Crispy Chicken Nuggets with Honey Dip
Okay, time to get everything lined up! When you bake your next batch of gravy—I highly recommend my homemade brown gravy recipe—you learn that having ingredients prepped makes life so much easier. For these nuggets, separation is key. You want everything ready to go because once the chicken is coated, we need to move fast!
Here’s exactly what you’ll need for the nuggets themselves. I always buy good quality, boneless, skinless chicken breast because it stays nice and white when cooked.
- 1.5 lbs boneless, skinless chicken breast, cut into 1-inch pieces
- 1 cup all-purpose flour
- 1 teaspoon salt
- 1/2 teaspoon black pepper
- 1/2 teaspoon garlic powder
- 1/4 teaspoon paprika
- 2 large eggs, beaten
- 1 cup milk
- 2 cups Panko breadcrumbs
- Vegetable oil, for frying (You’ll need about 2 inches deep in your pot)
And of course, we need the materials for the homemade honey dip that makes these so addictive. Seriously, don’t skip the vinegar here; it brightens everything up!
For the Homemade Honey Dipping Sauce Recipe
- 1/2 cup honey (use the really smooth, runny kind if you have it!)
- 2 tablespoons water
- 1 teaspoon apple cider vinegar
Make sure your chicken is measured out and your spices are mixed before you start coating anything. Trust me, having that little bit of prep time makes the dredging process stress-free!
Step-by-Step Instructions for Crispy Chicken Nuggets with Honey Dip
Alright, deep breaths! This is the fun part, but it moves quickly once the oil gets hot. Before you even think about turning on the stove, I need you to remember one crucial thing: the chicken has to be dry. I mean paper towel-dry! Grab your chicken pieces and pat, pat, pat. If you skip this, your breading will slide right off, and we can’t allow that to happen to these beautiful little things. For some great companion sauces down the road, stick around and check out my cowboy butter dipping sauce recipe!
We are working fast to keep the coating intact and the oil happy. Ready? Let’s walk through the cooking process!
Preparing the Dredging Station and Coating the Chicken
Set up your three dishes in a line: Flour mix first, then the egg/milk wash, and finally, your Panko breadcrumbs. Don’t just lightly toss the nugget; we need commitment here! Take each little piece of chicken and work it through the flour, shaking off the major excess. Next, give it a bath in that wet egg mixture—let it drip for just a second.
Now, the magic happens in the Panko. Place the wet piece in the crumbs and press down firmly! I mean *really* push it in there. You want those jagged little Panko flakes to totally encase the chicken. When you pick it up, it should look fuzzy and ready for its hot tub. Set these finished beauties on a wire rack while you finish the rest. If you have time, stick that rack in the fridge for 15 minutes—it helps the coating stick even better!
The Make Chicken Nuggets Ultra Crispy Technique: Frying
Turn your attention to the oil. You need about two inches in your heavy pot, and you must use a thermometer. Don’t guess! We are aiming for a happy 350°F (175°C). If it’s too low, the nuggets soak up oil and get greasy. Too high, and the outside burns before the middle cooks.
When the temperature holds steady, carefully lower a small batch of nuggets in—don’t drop a huge load, or the temperature will crash! Fry them for 4 to 6 minutes, turning them gently until they’re that perfect, rich golden brown. Pull them out when they hit 165°F internally. If you don’t have a thermometer, worry about that deep golden color.
Finishing the Crispy Chicken Nuggets with Honey Dip
As soon as they come out of the oil, put them straight onto a clean wire rack set over a baking sheet. Do NOT use paper towels right away; paper towels trap steam and ruin the crispiness we worked so hard for! Sprinkle them with a tiny pinch of salt while they are still sizzling hot. A wire rack lets the air circulate underneath so the bottoms stay crunchy.
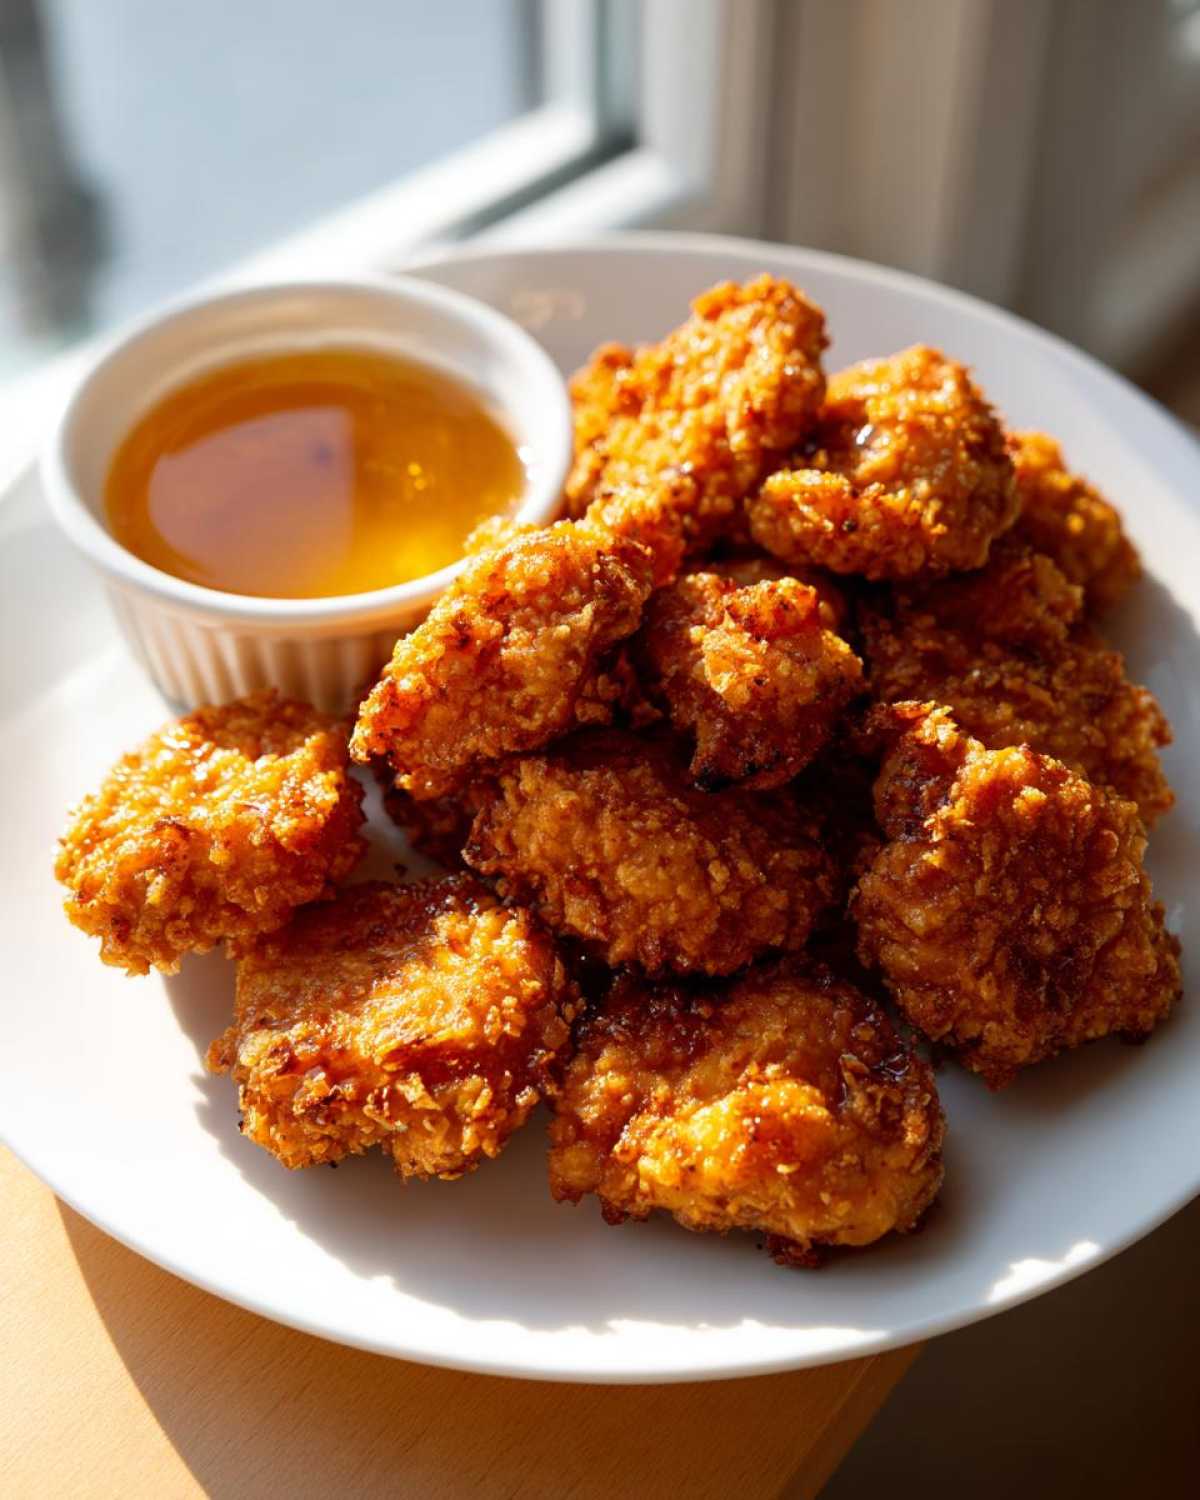
While those glorious nuggets are draining, take a tiny saucepan. Gently warm up that honey, water, and vinegar until it’s smooth and combined—we don’t want it boiling, just warm enough to mix the honey. That’s it! Serve the nuggets piping hot with the warm dip for the ultimate contrast!
Tips for Success with Your Crispy Chicken Nuggets with Honey Dip
Even with the best recipe, sometimes things go a little sideways in the kitchen, right? Don’t worry! I’ve learned these little tricks over the years—mostly after having to throw away a batch that went soggy almost immediately. If you follow these few golden rules, your Crispy Chicken Nuggets with Honey Dip will come out perfectly every single time. It really boils down to temperature and time management now that the coating is dialed in.
My biggest takeaway? Don’t rush the chilling phase. If you can plan even 15 minutes ahead, you honestly should. It makes a noticeable difference in that final texture!
- The Chill Factor: Seriously, bag those breaded nuggets and put them in the fridge for about 15 minutes before frying. This lets the egg wash set up and basically glues the Panko to the chicken surface. It stops ingredients from separating when they hit that hot oil.
- Oil Temperature is Boss: I cannot stress this enough—use that thermometer! If you see little wisps of smoke, your oil is too hot, and you’re burning the coating before the inside cooks. Aim for that happy medium of 350°F.
- Drain Right: When they come out, they must go onto a wire rack. Paper towels are the enemy of crispiness because they trap the steam underneath, turning your beautiful crunch into soft sadness. A rack allows air to circulate on the bottom.
- Keep Them Warm: If you’re making a big batch for a party, you can place the finished, drained nuggets on a baking sheet set in a very low oven (around 200°F) while you finish the rest. This keeps them hot without continuing to cook them.
If you’re looking for other great dipping companions for dunking, you might want to try my classic tartar sauce recipe next time. It’s super versatile!
Variations: Oven Baked Crispy Chicken Nuggets and Air Fryer Options
I know frying isn’t everyone’s favorite thing—it can be messy, and sometimes you just don’t want to deal with all that oil. That’s totally fair! The good news is that thanks to that awesome Panko coating we used, this recipe is surprisingly adaptable to drier heat methods. You’re not going to get that exact deep-fried texture, but we can get surprisingly close to that golden-brown goodness.
If you’re trying to use your air fryer or just want to save on cleanup, I have you covered. I often use these methods when I’m running low on time, especially if I’m also working on another recipe, like my air fryer frozen shrimp recipe!
Baking These Nuggets to Golden Perfection
If you’re going the oven route, the critical thing is making sure that coating doesn’t just fall off or burn before the chicken cooks. You HAVE to use a wire rack! If you place the breaded nuggets directly on a baking sheet, the bottoms will steam and go soggy—and we absolutely cannot have soggy Crispy Chicken Nuggets with Honey Dip.
So, here’s the drill for the oven: Preheat your oven nice and hot to 400°F (200°C). Set up your wire rack over a metal sheet pan. Lightly spray the rack with oil so the nuggets don’t stick, and arrange them in a single layer. Bake them for about 18 to 20 minutes total. You must flip them halfway through—around the 10-minute mark—to ensure both sides get that nice, even golden brown color.
The Air Fryer Crispy Chicken Nuggets Method
Oh, the air fryer! It’s my weeknight hero for things like my crispy air fryer chicken wings recipe, and it works well here too. Just like the oven, the magic is in the air circulation, so don’t pile them up!
Set your air fryer to about 380°F (190°C). Lightly spray the basket with cooking spray, or use parchment liners if you have them. Give the tops of your breaded nuggets a very light spritz of oil—this helps them brown up faster. Cook them for about 10 to 12 minutes, shaking the basket halfway through. They cook faster than the oven, so keep an eye on them around the 10-minute mark so they don’t dry out!
Serving Suggestions for Your Family Dinner Chicken Recipe
So, we nailed the Crispy Chicken Nuggets with Honey Dip. Bravo! But now we have an amazing main event, and we need some supporting actors, right? You can’t just serve a pile of perfect nuggets on a plate alone; we need a balanced meal! Because our nuggets have that lovely sweet-and-savory vibe from the honey dip, you want sides that either offer a bit of cool contrast or lean into that rich comfort feeling.
I always think about texture balance. After all that crunch, sometimes something a little smoother or fresher hits the spot just right. For a killer family dinner night, here are the sides I always pull out when these hot nuggets come off the rack:
- Sweet Potato Fries: These are non-negotiable in my house! They bring sweetness that complements the honey dip but offer a different texture profile than the nuggets. If you want to go all out, try making them ahead of time using my recipe for candied sweet potatoes with southern glaze—just use a lighter glaze consistency if you want them more savory than dessert-like!
- Something Green (but fun): Nobody wants plain lettuce. Try a simple, crunchy cabbage slaw dressed lightly with a tiny bit of lemon juice and olive oil. It’s refreshing and cuts through the richness of the fried coating.
- Crinkle Cut Fries (The Classic): If you feel like keeping it totally classic fast-food style, you can’t beat crinkle cuts for scooping up extra honey dip when the nuggets are gone!
- Mac and Cheese: It’s the ultimate pairing for anything breaded and fried, isn’t it? The creamy, savory cheese is just pure comfort alongside that crunchy bite.
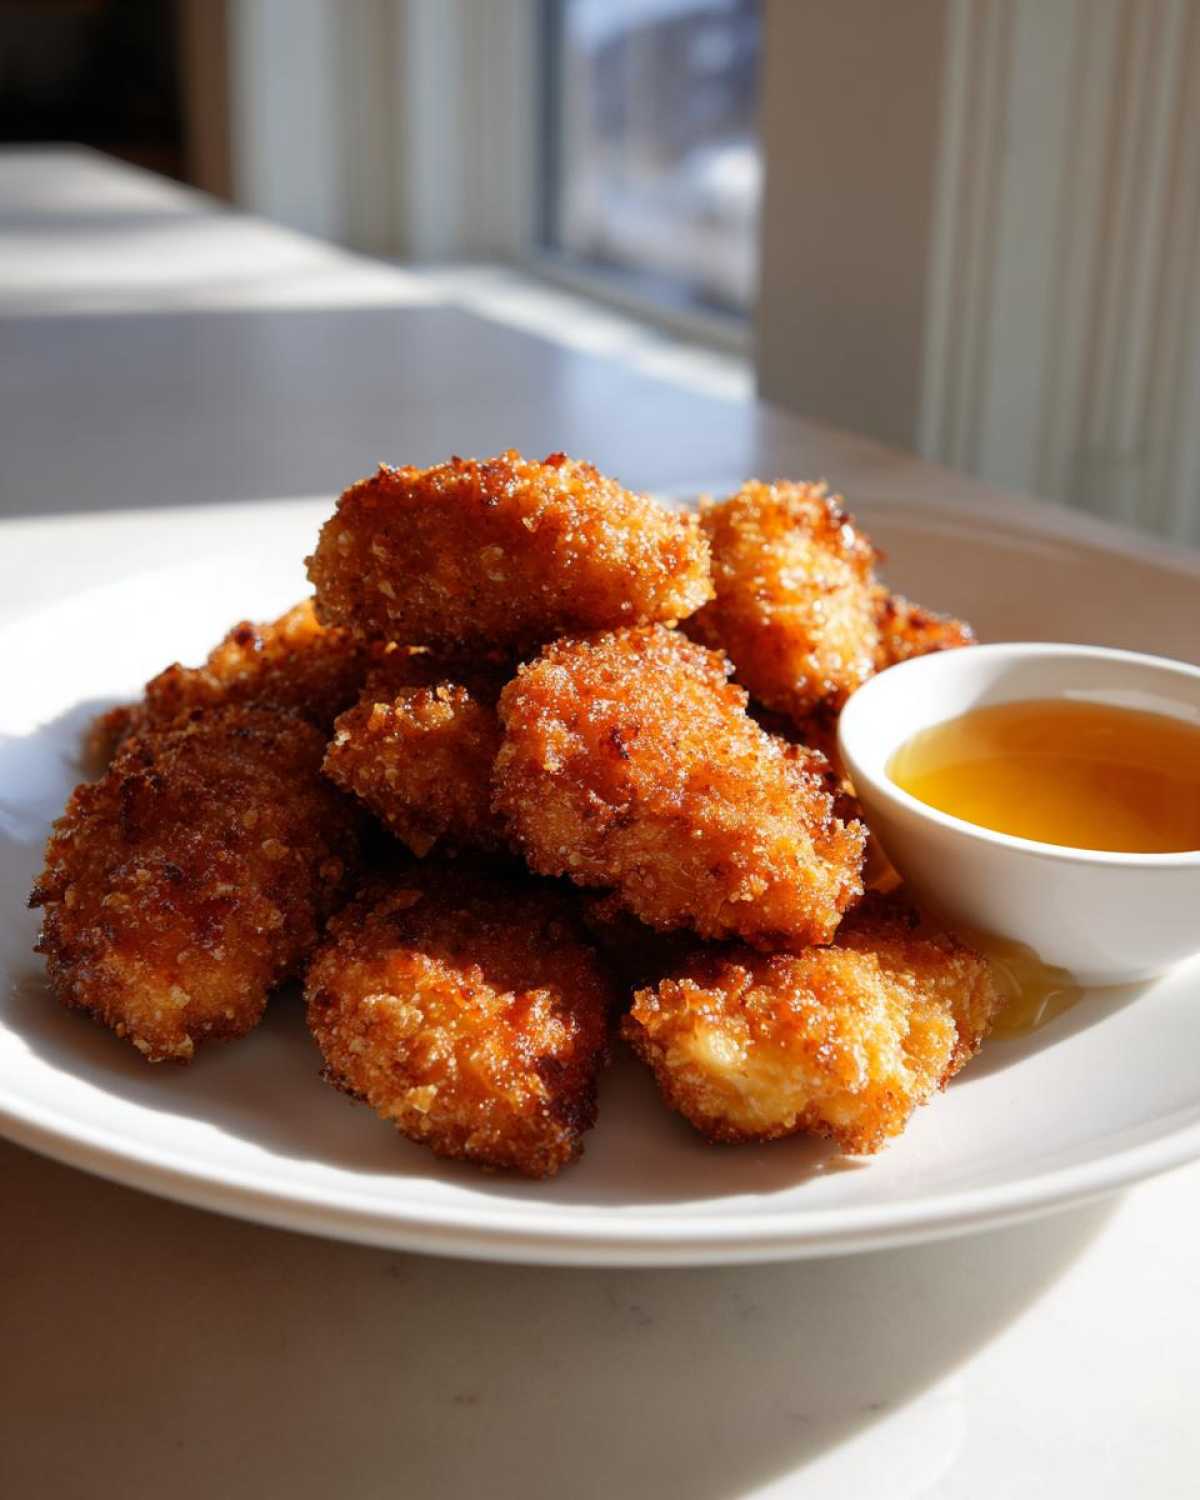
The goal is to make sure every kid (and adult!) leaves the table feeling satisfied. Honestly, if you get the nuggets right, you’ve already won half the battle. The sides just make it feel like a proper meal!
Storage and Freezer Friendly Chicken Nuggets Prep
So, you made a giant batch of Crispy Chicken Nuggets with Honey Dip, and you’re already thinking about lunch tomorrow? Smart move! These nuggets are great fresh, but they’re almost just as good the next day if you handle the leftovers correctly. My biggest problem used to be trying to reheat them and ending up with rubbery, sad chicken. We’ve cracked the code on that too!
If you’re planning ahead—which I love doing, especially before a busy week—freezing the uncooked nuggets for later is a lifesaver. It means you can have homemade fast food style nuggets whenever the craving hits! Speaking of planning ahead, if you ever need a great make-ahead dessert, you have to try my recipe for the easy southern peach cobbler recipe.
Storing and Reheating Leftovers for Maximum Crisp
First things first: leftovers need to breathe! Once the nuggets are completely cool (this is important—warm food traps moisture), store them in an airtight container. But don’t use paper towels inside the container! If you used a paper towel to soak up extra oil, get rid of it once the nuggets are cold. Trapped moisture is the enemy of crispiness.
Reheating them in the microwave? Absolutely not. It’s just going to steam the Panko right off. Instead, use the oven or the air fryer. The air fryer is my preference if you only have a few nuggets to reheat—set it to about 375°F (190°C) for just 4 to 6 minutes. It blasts the exterior back to life instantly. In the oven, use a wire rack set over a baking sheet at 350°F (175°C) for about 8 minutes. They’ll crisp right back up!
Freezer Friendly Chicken Nuggets Prep for Easy Meals
This is my favorite tip for busy weeks. You can totally freeze these nuggets before you fry them! This requires setting aside a little extra time on your cooking day, but future-you will be so grateful.
Once you have finished the entire coating process—flour, egg, Panko—and the nuggets are sitting on that wire rack, lay them out in a single layer on a baking sheet lined with parchment paper. Pop that sheet into the freezer until the nuggets are rock solid. This step is mandatory; if you skip it, they will freeze together in one giant chicken clump!
Once they’re frozen solid, transfer them into a heavy-duty freezer bag. Squeeze out as much air as you can before sealing. They should hold up perfectly well for about two to three months. When you’re ready to cook them, you can drop them straight from the freezer into hot oil (just add an extra minute or two to the frying time) or bake them from frozen. They turn out amazingly well, even from frozen!
Can I Make the Honey Dip Ahead of Time?
Oh, yes! The dip is actually one of those wonderful recipes that tastes better the next day because the flavors have time to mingle. You can make the honey dipping sauce days ahead of time. Just combine the honey, water, and vinegar as directed, but don’t heat it up if you’re storing it for later.
Keep it in a sealed jar in the refrigerator. When you’re ready to serve your batch of Crispy Chicken Nuggets with Honey Dip, just let the jar sit on the counter for about 30 minutes to warm up slightly, or microwave it for about 10 seconds until it’s easy to pour. It doesn’t need to be piping hot, just liquid enough for dunking!
Frequently Asked Questions About Crispy Chicken Nuggets with Honey Dip
When I was trying to master this recipe, I had a million little questions buzzing in my head! Don’t worry if some things still seem unclear; that’s why we have this FAQ section. I’ve gathered the most common worries people have when turning pantry staples into restaurant-quality Crispy Chicken Nuggets with Honey Dip.
Can I use chicken thighs instead of breast meat?
That is a great question! Absolutely, you can use boneless, skinless chicken thighs. Chicken thighs have a higher fat content, which means they stay even juicier than breast meat—which is great, especially if you are baking or air frying. The cooking time might be slightly longer because the thigh meat is a little denser, so just check that internal temperature (still 165°F) before pulling them out. You’ll get a richer flavor, too!
What is the absolute best way to guarantee I don’t get soggy nuggets?
Okay, this is the core of the whole recipe, isn’t it? I already mentioned a few things, but the biggest culprit for sogginess is moisture, period. So, let’s review the must-dos for that ultra-crispy texture: First, pat your chicken aggressively dry. Second, let the fully breaded nuggets chill in the fridge for 15 minutes before frying. Third, use a thermometer to keep your oil exactly at 350°F. If the oil dips, the coating absorbs oil instead of crisping up, leading to that greasy, soft texture.
Can the homemade honey dipping sauce be made ahead of time?
Yes, and I highly encourage it! My homemade honey dipping sauce recipe is so simple that it keeps well in the fridge for up to two weeks in a tightly sealed jar. As I mentioned before, just keep it refrigerated and let it sit on the counter for about 20 minutes, or give it a quick 10-second zap in the microwave to loosen it up before serving. It’s perfect for making the night before your big family dinner!
Can I use cracker crumbs or regular breadcrumbs instead of Panko?
You can, but it won’t be the same result! If you use regular fine breadcrumbs, they will absorb more oil and result in a denser, less airy coating. Cracker crumbs are an interesting alternative—they often give a slightly saltier flavor profile. If you’re in a pinch, use cracker crumbs, but know that the signature texture of this best crispy chicken coating comes from the light, jagged structure of Panko.
What can I do if I want a sweet and savory chicken dip sauce that isn’t honey-based?
If you’re looking for something beyond the basics, you can experiment with mustard or mayo bases! For a fantastic sweet and savory chicken dip sauce, try whisking together 1/2 cup mayonnaise, 2 tablespoons of Dijon mustard, 1 tablespoon of brown sugar, and a dash of Worcestershire sauce. It gives you that tangy, sharp flavor that pairs wonderfully with the crispy nuggets. It’s similar in concept to the honey dip but has a totally different kick!
If you’re looking for more simple, quick recipes we’ve tackled, check out my easy no-bake Oreo balls recipe—a guaranteed crowd-pleaser!
Estimated Nutritional Data for Crispy Chicken Nuggets with Honey Dip
Now, I have to be totally transparent here. When you fry things, the numbers can jump around a bit depending on how much oil your Panko soaks up and exactly how much honey you drizzle on top when you serve it. But, since you asked for the numbers, I worked up the estimates based on the core recipe—that’s about six nuggets plus a standard serving of the dip. If you’re using the baking or air fryer method, your numbers will definitely be lower on the fat content!
Remember to always check the labels on your specific ingredients, but based on my calculations for the fried version:
- Serving Size: 6 nuggets (with dip)
- Calories: 350
- Fat: 18g (This is where frying really adds up!)
- Saturated Fat: 4g
- Carbohydrates: 25g
- Protein: 22g
- Sugar: 15g (Mostly from that delicious honey dip!)
- Sodium: 350mg
These are pretty solid numbers for a homemade treat, especially compared to taking your family to a fast-food place! But hey, because this is my personal kitchen blog, I always have to throw in that little disclaimer. For all the legal stuff about how these numbers are calculated and what they mean for you, please take a peek at my official disclaimer page. Enjoy those nuggets, and don’t worry about the numbers too much—they are totally worth it!
PrintCrispy Chicken Nuggets with Honey Dip

A reliable recipe for making ultra-crispy homemade chicken nuggets paired with a simple, sweet honey dipping sauce.
- Prep Time: 20 min
- Cook Time: 15 min
- Total Time: 35 min
- Yield: 4 servings
- Category: Snack
- Method: Frying
- Cuisine: American
- Diet: Low Fat
Ingredients
- 1.5 lbs boneless, skinless chicken breast, cut into 1-inch pieces
- 1 cup all-purpose flour
- 1 teaspoon salt
- 1/2 teaspoon black pepper
- 1/2 teaspoon garlic powder
- 1/4 teaspoon paprika
- 2 large eggs, beaten
- 1 cup milk
- 2 cups Panko breadcrumbs
- Vegetable oil, for frying
- For the Honey Dip:
- 1/2 cup honey
- 2 tablespoons water
- 1 teaspoon apple cider vinegar
Instructions
- Prepare the chicken: Pat the chicken pieces completely dry with paper towels. This step helps the coating adhere.
- Set up the dredging station: In one shallow dish, mix the flour, salt, pepper, garlic powder, and paprika. In a second shallow dish, whisk the eggs and milk together. In a third shallow dish, place the Panko breadcrumbs.
- Coat the chicken: Dredge each chicken piece first in the flour mixture, shaking off excess. Dip it into the egg mixture, letting excess drip off. Finally, press it firmly into the Panko breadcrumbs to ensure full coverage. Place coated nuggets on a wire rack.
- Heat the oil: Pour about 2 inches of vegetable oil into a deep, heavy-bottomed pot or Dutch oven. Heat the oil to 350°F (175°C). Use a thermometer to monitor the temperature.
- Fry the nuggets: Working in batches to avoid overcrowding, carefully lower the nuggets into the hot oil. Fry for 4 to 6 minutes, turning occasionally, until golden brown and cooked through (internal temperature reaches 165°F or 74°C).
- Drain: Remove the nuggets with a slotted spoon and place them on a clean wire rack set over a baking sheet to drain excess oil. Sprinkle lightly with salt immediately after removing from the oil.
- Make the dip: While the nuggets drain, combine the honey, water, and apple cider vinegar in a small saucepan. Heat gently over low heat until just warm and combined. Do not boil.
- Serve the hot nuggets immediately with the warm honey dip.
Notes
- For extra crispiness, chill the fully breaded nuggets on the rack for 15 minutes before frying.
- If you prefer baking, place nuggets on a lightly oiled rack set over a baking sheet and bake at 400°F (200°C) for 18-20 minutes, flipping halfway.
- You can substitute Panko with crushed corn flakes for a different texture.
Nutrition
- Serving Size: 6 nuggets
- Calories: 350
- Sugar: 15
- Sodium: 350
- Fat: 18
- Saturated Fat: 4
- Unsaturated Fat: 14
- Trans Fat: 0
- Carbohydrates: 25
- Fiber: 1
- Protein: 22
- Cholesterol: 75