

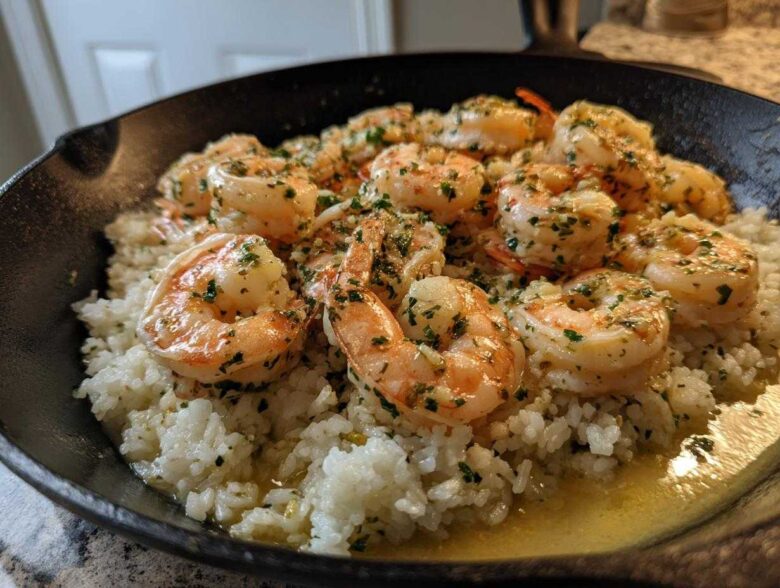
Ugh, the weeknight dinner juggle is real, isn’t it? You’re tired, the kids are hungry, and the last thing you want is a sink full of dishes staring back at you. I’ve been there a million times. That’s why I spent way too much time perfecting what I now call my *emergency* meal: the Garlic Butter Shrimp and Rice Skillet. Seriously, this isn’t just a recipe; it’s a lifeline.
It hits that perfect trifecta: fast, incredibly flavorful, and I only have to wash one big pan when we’re done. The secret is coaxing every bit of flavor out of the butter and garlic right there in the skillet before the rice even starts cooking. Trust me, once you try making this Quick Shrimp Rice Skillet Meal from start to finish in one go, you’ll never look back. It’s just pure, easy magic.
Why This Garlic Butter Shrimp and Rice Skillet is Your New Weeknight Hero
What makes this meal so amazing? Well, it’s all about convenience without sacrificing that incredible, rich flavor. We’re talking serious payoff for minimal effort. You know you need those quick go-to recipes!
- It’s a genuine One Pan Shrimp and Rice situation. Cleanup is basically a breeze!
- You get that deep garlic butter punch in under 35 minutes. It really is a Quick Shrimp Rice Skillet Meal solution.
- The rice soaks up all the savory shrimp residue. It’s unbelievably satisfying.
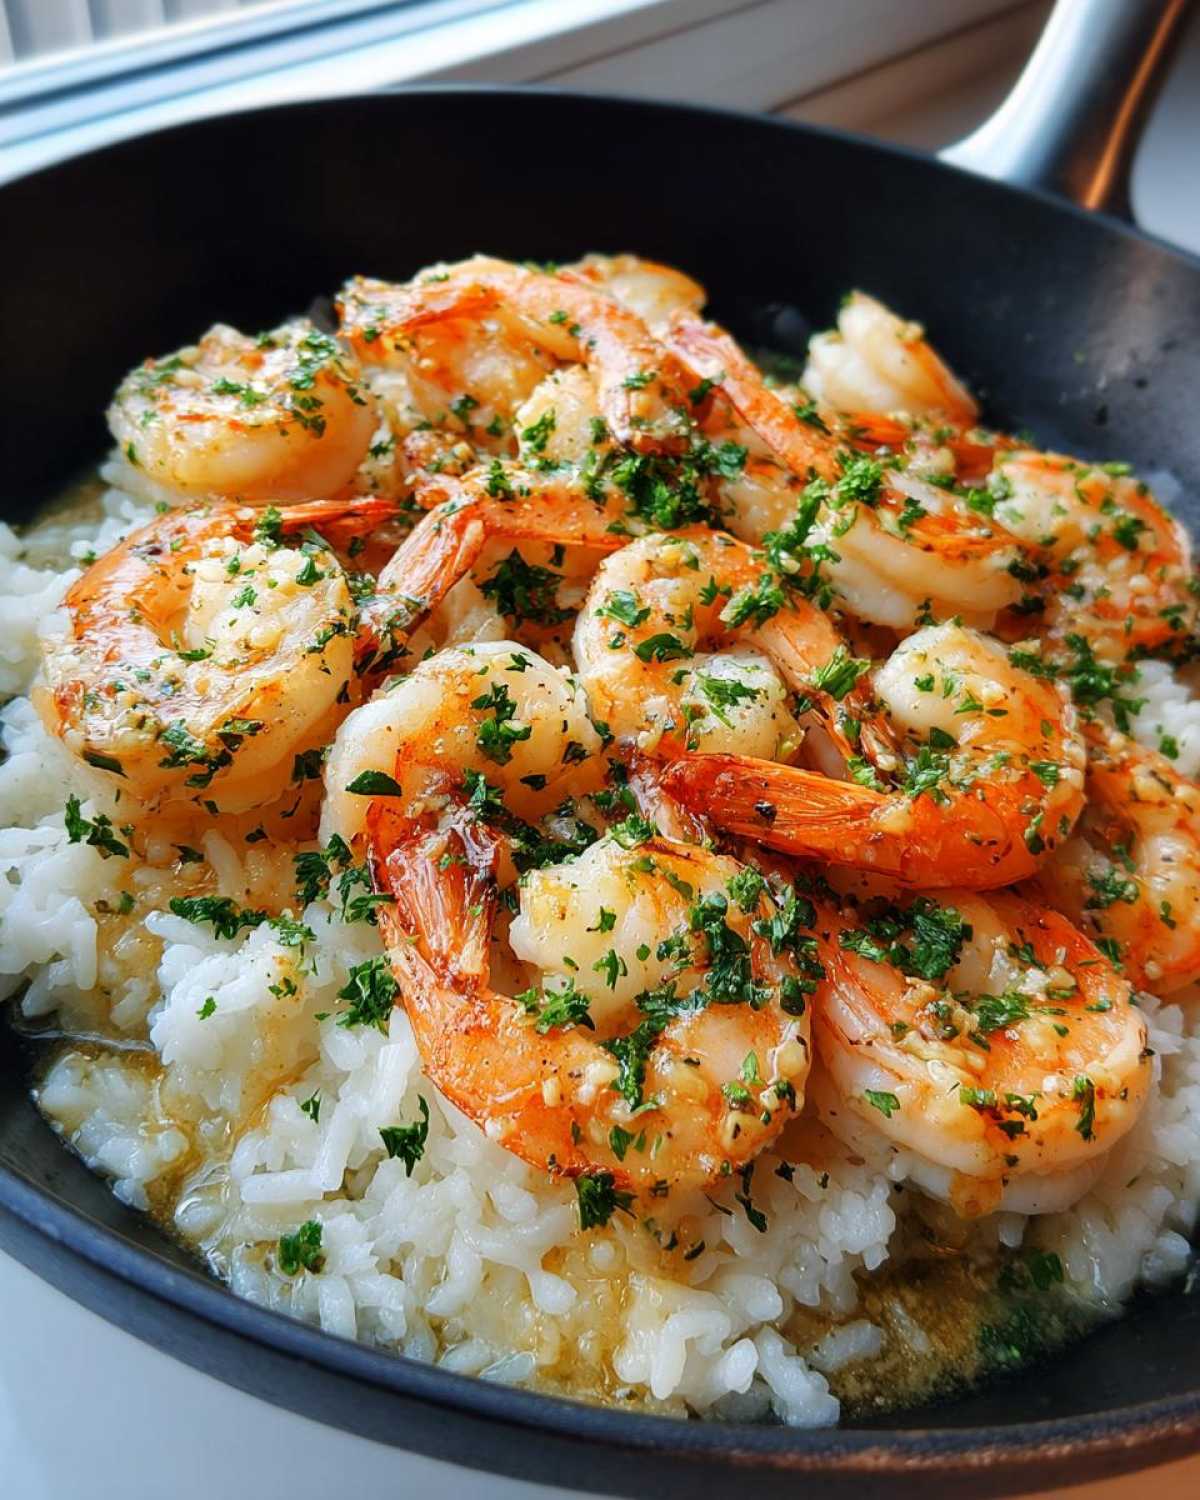
Essential Ingredients for the Flavorful Shrimp Rice Skillet
You don’t need a pantry full of fancy stuff to make this skillet sing! It really relies on having the right basics ready to go. Make sure you grab everything before you start heating up that pan, trust me on that one. Sometimes I grab extra shrimp just for snacking while I prep!
Here is what you need on hand for this Skillet Shrimp and Rice Dinner:
- 1 tablespoon olive oil
- 1 pound large shrimp, peeled and deveined (they need to be raw, folks!)
- 1 teaspoon salt
- 1/2 teaspoon black pepper
- 4 tablespoons unsalted butter, divided (yes, *divided* – this is important)
- 4 cloves garlic, minced (don’t even think about using the jarred stuff here)
- 1/2 cup uncooked long-grain white rice
- 2 cups chicken broth (or veggie if you prefer, see notes later!)
- 1/4 cup heavy cream (this is optional, but wow, it makes it creamy)
- 1 tablespoon fresh lemon juice
- 2 tablespoons fresh parsley, chopped (for that pop of color at the end)
If you are looking to pair this with something super easy, you absolutely must check out my recipe for easy homemade garlic breadsticks. They are perfect for soaking up the leftover sauce!
Ingredient Spotlight: Building the Garlic Butter Sauce for Shrimp and Rice
The magic here lives in that butter and garlic combo. You need four tablespoons of butter in total, but use half early for the shrimp and save the rest for the flavor base. Toasting that fresh garlic very briefly—just 30 seconds until it smells amazing—is non-negotiable for the best flavor in this Garlic Butter Shrimp and Rice Skillet. Don’t ever burn the garlic; burnt garlic tastes bitter, and we are aiming for pure richness!
Step-by-Step Instructions for Your Garlic Butter Shrimp and Rice Skillet
Okay, let’s get cooking! This is where the magic happens, and I promise, learning How to Make Shrimp and Rice in One Pan is easier than you think if you follow the rhythm. I always start by setting out all my ingredients, because once that skillet is hot, things move fast!
The first main goal is getting that beautiful shrimp flavor infused into the pan without turning your shrimp into little pink rubber bands. After that, we tackle the rice underneath that coating of flavor, and then we let everything steam together peacefully. If you need a dipping sauce idea later that uses a lot of butter and garlic, you absolutely have to check out my cowboy butter dipping sauce recipe!
Searing the Shrimp for the Best Garlic Butter Shrimp and Rice Skillet
First things first, grab your biggest oven-safe skillet and get that olive oil nice and warm over medium-high heat. Season your raw shrimp well with salt and pepper—don’t skip seasoning the shrimp itself! Add half of your cold butter (that’s 2 tablespoons) to the hot pan, then toss in the shrimp. Cook them quickly, about one to two minutes on each side until they are just pink. Immediately scoop those gems out of the skillet and set them aside; they are heading back later, I promise, but if you leave them now, they’ll get tough! Remember, using raw shrimp is key here for the best texture.
Cooking the Rice Perfectly in the Skillet
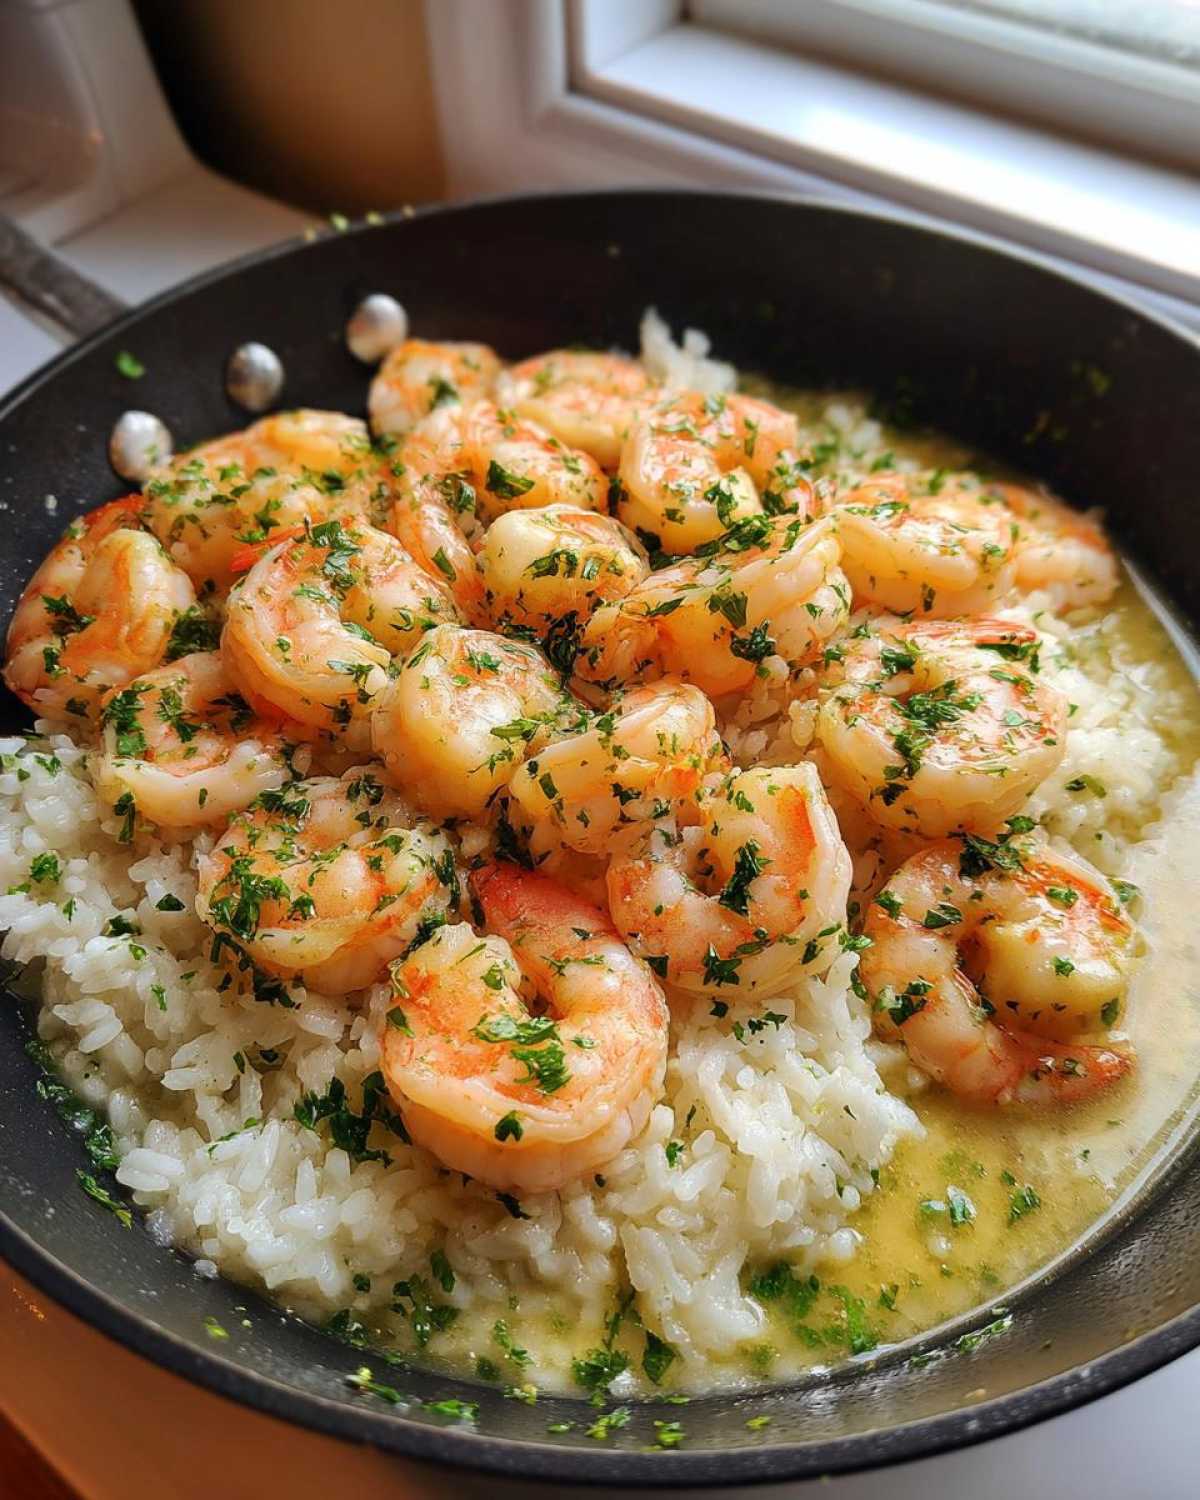
Now that the shrimp are safe, drop that remaining butter right into the hot pan over medium heat. Toss in your minced garlic and cook it for just 30 seconds until you can really smell it—it should be wonderful, not brown! Next, add your uncooked rice and toast it for a full minute while stirring constantly; this toasting step gives the final rice a much better texture. Pour in the chicken broth, bring it to a simmer, and then immediately clap that lid on tight. Turn the heat down low and walk away for 15 to 18 minutes. Seriously, do not peek! Lifting the lid releases all that beautiful steam needed to cook this rice perfectly for your Garlic Butter Shrimp and Rice Skillet.
Once the time is up, you’ll finish it off with the heavy cream and lemon juice (yes, stir those in off the heat!) before gently folding the cooked shrimp back in. Let it cover and rest for five minutes so the shrimp warms through gently. Serve topped with fresh parsley, and try not to eat the whole skillet yourself!
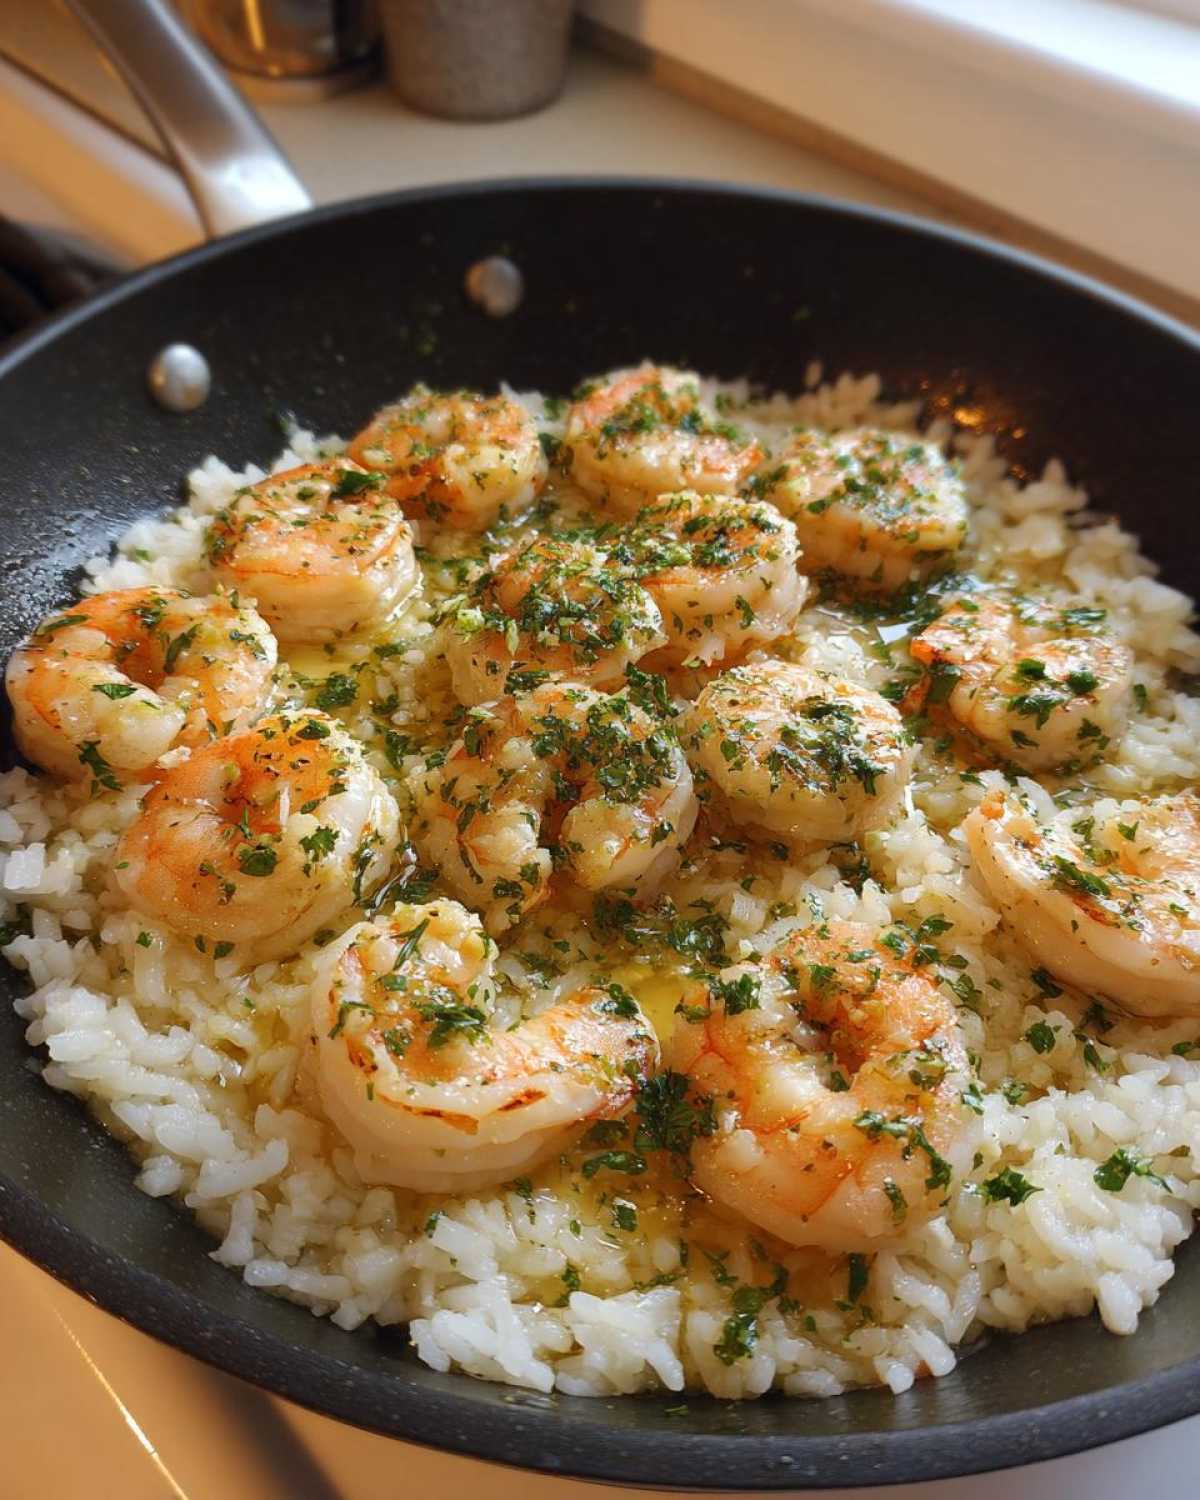
Tips for Success with Your Simple One Pot Shrimp and Rice
Even though this Garlic Butter Shrimp and Rice Skillet is built for simplicity, a couple of little secrets pulled from my many attempts will take it from good to absolutely incredible. It’s all about respecting the ingredients and managing that heat in the pan. You want that rich flavor, right? That means paying attention when things are cooking fast.
Never, ever skimp on the butter! This is a *garlic butter* recipe, after all. Half the butter goes to cook the shrimp and the other half builds the base when you toast that rice. If you try to cut back, the rice ends up dry and the garlic ends up tasting harsh instead of sweet and complex. It’s worth every glorious ounce of fat, trust me. If you’re looking for another hearty, simple dish, my easy Salisbury steak is another weeknight winner!
For that perfect rice texture—not crunchy but certainly not mushy—the key is twofold. First, briefly toasting the raw rice in the fat is essential; it coats the grains and helps them cook evenly. Second, and this is huge, when you put the lid on and turn the heat to low, you cannot lift that lid until the timed cooking is done, usually around 17 minutes. Peeking lets the steam out, which is what cooks the rice perfectly for your Quick Shrimp Rice Skillet Meal. Patience right there wins the prize!
Also, make sure your shrimp are completely thawed if you bought them frozen. Soggy, half-frozen shrimp will just steam and release water into your skillet, which messes up that beautiful buttery sear we are trying to achieve for our primary goal of the Garlic Butter Shrimp and Rice Skillet. Quick pat-down with a paper towel before they hit the heat helps tremendously!
Variations for Your Flavorful Shrimp Rice Skillet
I love that this Flavorful Shrimp Rice Skillet is already so good, but sometimes you just need to mix things up, right? You don’t have chicken broth? No problem! Vegetable broth works just as well, giving you a slightly lighter base flavor. Or, if you want to sneak in some veggies, toss in a giant handful of fresh spinach right at the end when you fold the shrimp back in; it wilts down instantly.
If you’re craving some heat, a pinch of red pepper flakes added right when you toast the garlic (Step 3) gives you a lovely kick. For a brighter flavor profile that tastes sunny even on a rainy day, add some sun-dried tomatoes along with your garlic. They plump up beautifully in the broth. If you need more dinner inspiration that’s bright and zesty, you have to try my coconut lime chicken recipe!
Serving Suggestions for Your Weeknight Shrimp Skillet Recipe
We’ve done the heavy lifting by cooking the main event in one pan, so when it comes time to serve this gorgeous Garlic Butter Shrimp and Rice Skillet, we want to keep the accompaniments just as simple. The richness of the butter and rice begs for something bright to cut through it all, am I right? You don’t want to drag out another pot for boiling vegetables at 7 PM!
The first and most crucial addition is lemon. A generous squeeze of fresh lemon juice right over the top of the finished dish brightens up the whole experience. It just wakes everything up. I usually keep a cut lemon right on the table if we have company over because everyone tends to reach for it.
Beyond the lemon, fresh herbs are your best friend. We put parsley in the actual recipe, but throwing a tiny sprinkle of fresh dill over the top right before serving adds a subtle, almost seafood-y lift that is phenomenal. Or maybe some fresh chives for that mild oniony bite!
If you absolutely need a side dish because your family demands greens, skip the stove and grab the air fryer or oven for something super quick. My absolute favorite pairing is my easy broccolini with lemon, garlic, and parmesan. You can roast that while the rice is resting, and it takes minimal effort. A fresh, crisp side salad with a simple vinaigrette is an excellent choice, too, if you’re looking for zero cooking at all!
Storage and Reheating the Garlic Butter Shrimp and Rice Skillet
Listen, this Garlic Butter Shrimp and Rice Skillet is so delicious you might actually have leftovers, which is a win in my book! Storing it properly keeps that lovely flavor intact for later. I usually aim to eat it within two days, but honestly, three days in the fridge is usually fine if you seal it up right.
Pop any remains into a truly airtight container. Don’t just cover the bowl with plastic wrap; make sure it’s sealed tight to keep that flavorful butter sauce from drying out in the cold air. You want to save all that garlic and butter goodness!
The Best Way to Reheat Your Skillet Meal
Reheating this is where you need to be a little careful, especially because of the shrimp and the rich rice base. If you blast it in the microwave on high, the shrimp will instantly turn rubbery, and you’ll lose all the great moisture we worked so hard to build. That’s a dinner tragedy!
For the best results and to keep this Quick Shrimp Rice Skillet Meal tasting fresh, I strongly suggest reheating it slowly on the stovetop. Put the leftovers into a clean skillet—yes, another pan, but only for reheating!—over low to medium-low heat. The trick is adding just a tiny splash of extra chicken broth or even water when you start heating it.
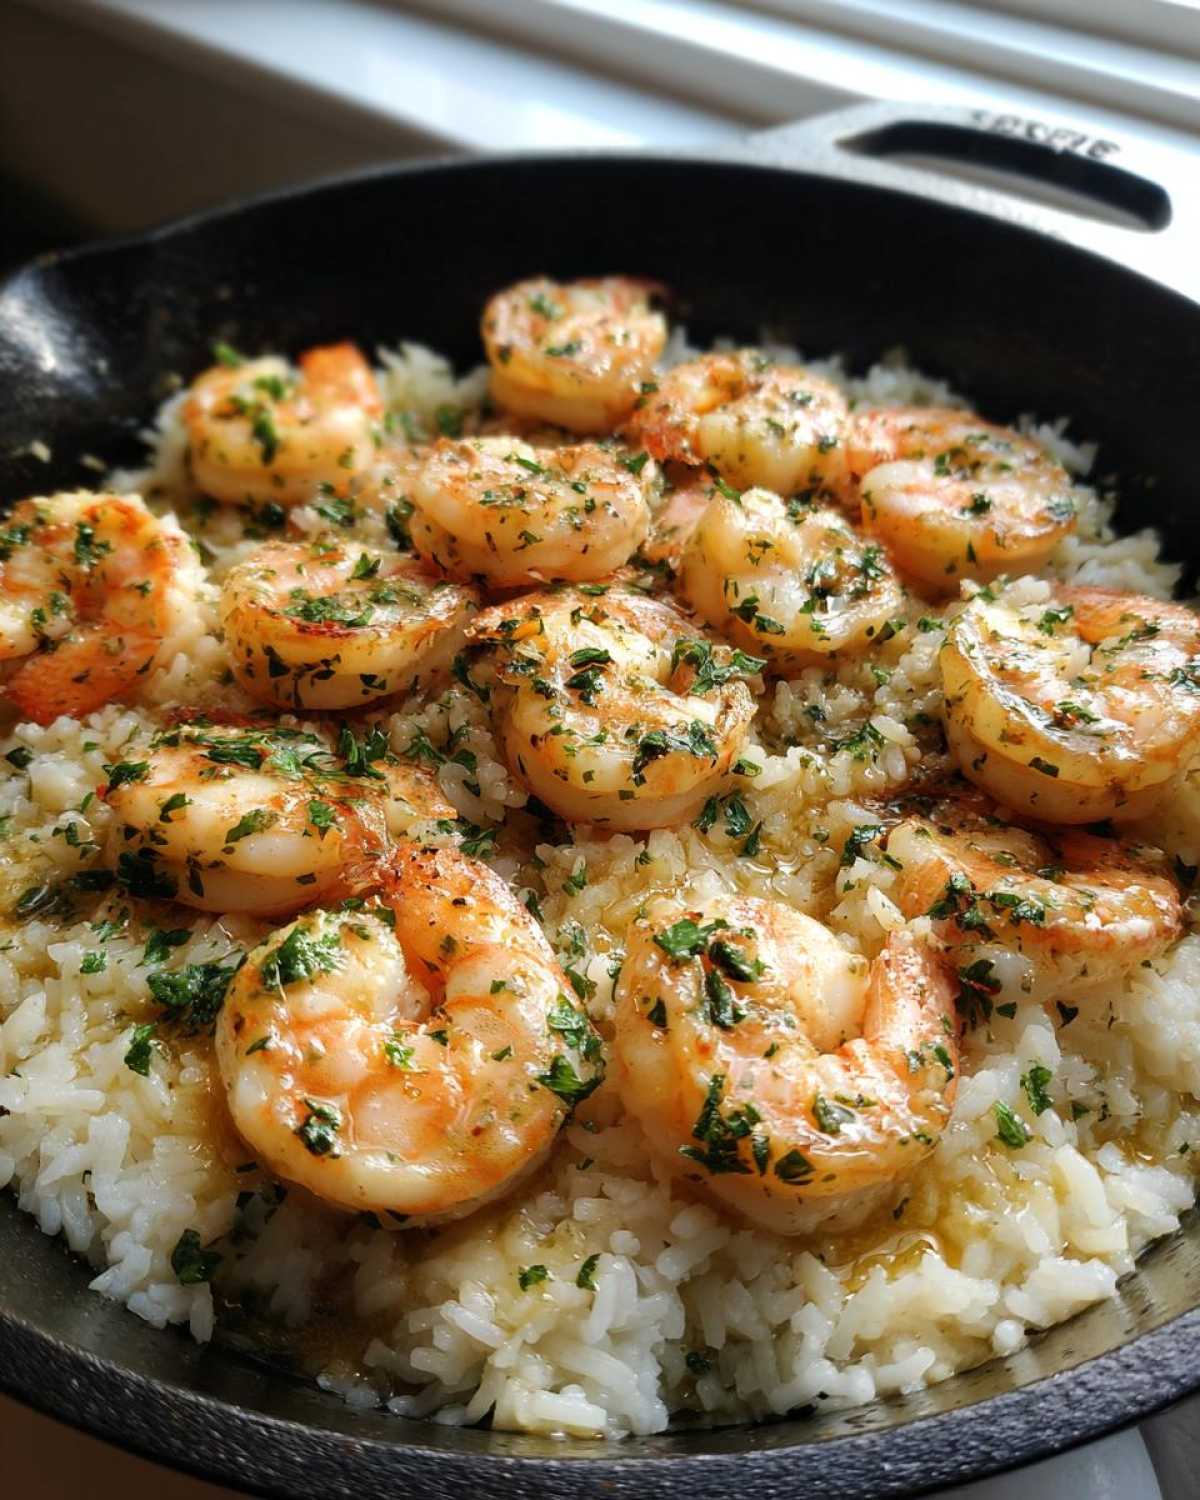
Stirring gently as it warms up lets the rice absorb that tiny bit of extra liquid. This rehydrates everything perfectly and warms the shrimp through without cooking it further. If you’re reheating a big batch, make sure to use a lid for the first couple of minutes to trap the steam. It brings it right back to life!
If you have to use the microwave (we all have those lazy nights!), use 50% power and heat in 30-second bursts, stirring in between each burst. This gentler method does a much better job of preserving the integrity of the shrimp. If you’re looking for a great make-ahead meal that tastes incredible even days later, you might want to check out my recipe for slow cooker chicken noodle soup—it’s perfect for freezing!
Frequently Asked Questions About This Easy Garlic Butter Shrimp Recipe
I know when you’re making a new recipe, especially one you want for a quick Weeknight Shrimp Skillet Recipe, you always have a few burning questions. I’ve tried to think of everything, but if you still have questions, feel free to browse my general recipe blog!
Can I use frozen shrimp in this Garlic Butter Shrimp and Rice Skillet?
Oh, absolutely you can! But you have to thaw them first—I learned this the hard way once! Throwing rock-hard frozen shrimp into a hot pan just steams them instead of searing them, and you end up with watery rice. So, the trick is to thaw them completely first. I usually put them in a bowl of cool water for about 20 minutes, changing the water once, until they are pliable. Then, pat them bone dry with paper towels before seasoning and cooking. The final result is much better for your Garlic Butter Shrimp and Rice Skillet that way!
What is the best type of rice for this Skillet Shrimp and Rice Dinner?
For this specific recipe, you really, really want to stick to long-grain white rice, like Basmati or standard long-grain. Why? Because the cooking time listed (15 to 18 minutes covered) is calculated perfectly for that type to become tender without turning into mush. If you use short-grain rice, it will cook way too fast and get sticky. And brown rice? Forget it—it needs way more liquid and almost double the cooking time, which would burn that gorgeous garlic butter base before the rice was even halfway done for our Skillet Shrimp and Rice Dinner!
How do I make this a Creamy Garlic Butter Rice with Shrimp?
If you want that luxurious, restaurant-style texture for your **Creamy Garlic Butter Rice with Shrimp**, you absolutely need to use the heavy cream I listed! It gets stirred in right at the very end, off the heat, before you fold the shrimp back in. It adds richness that just takes the whole dish up a notch. If, for some reason, you don’t have heavy cream on hand, you can try stirring in a tablespoon of cream cheese or a dollop of sour cream at the very last second, stirring until melted and smooth. It works in a pinch for thickening up that sauce for your **Simple One Pot Shrimp and Rice**.
Estimated Nutritional Data for the Garlic Butter Shrimp and Rice Skillet
Okay, now for the numbers part! I always feel a little funny putting nutritional facts down because honestly, when I’m making this Garlic Butter Shrimp and Rice Skillet on a Tuesday night, I’m focused on speed, not counting every molecule. But, for those of you who need to track things or are just curious, I pulled the estimates based on the ingredients listed.
Keep in mind, these figures are just a general guideline. If you use extra butter (and who could blame you?) or lighter broth, things will change! This data is based on 4 servings, so you’re looking at a pretty good, hearty portion for a Family Friendly Skillet Dinner Shrimp.
Here’s the breakdown:
- Serving Size: 1 serving
- Calories: Around 450 (not bad for a complete meal!)
- Protein: A whopping 35g – thanks to all that shrimp!
- Fat: About 18g total (Remember, some of that is the good butter fat!)
- Carbohydrates: 40g
- Sugar: Very low, just about 2g.
- Sodium: About 750mg (This can vary depending heavily on your broth choice!)
See? It’s a balanced meal, packed with protein, and it all cooked in one pan. That’s why I keep coming back to this Easy Garlic Butter Shrimp Recipe week after week. It fits right into the busy life, and you feel good eating it!
PrintGarlic Butter Shrimp and Rice Skillet

Make a complete, flavorful meal using only one skillet. This recipe features shrimp cooked in a rich garlic butter sauce with rice.
- Prep Time: 10 min
- Cook Time: 25 min
- Total Time: 35 min
- Yield: 4 servings
- Category: Dinner
- Method: Stovetop
- Cuisine: American
- Diet: Low Lactose
Ingredients
- 1 tablespoon olive oil
- 1 pound large shrimp, peeled and deveined
- 1 teaspoon salt
- 1/2 teaspoon black pepper
- 4 tablespoons unsalted butter, divided
- 4 cloves garlic, minced
- 1/2 cup uncooked long-grain white rice
- 2 cups chicken broth
- 1/4 cup heavy cream (optional, for creaminess)
- 1 tablespoon fresh lemon juice
- 2 tablespoons fresh parsley, chopped
Instructions
- Heat the olive oil in a large, oven-safe skillet over medium-high heat. Season the shrimp with salt and pepper.
- Add half of the butter (2 tablespoons) to the skillet. Add the shrimp and cook for 1 to 2 minutes per side until pink. Remove the shrimp from the skillet and set aside.
- Reduce the heat to medium. Add the remaining 2 tablespoons of butter to the skillet. Add the minced garlic and cook for about 30 seconds until fragrant. Do not let the garlic burn.
- Add the uncooked rice to the skillet and toast for 1 minute, stirring constantly.
- Pour in the chicken broth. Bring the mixture to a simmer, then cover the skillet tightly. Reduce the heat to low and cook for 15 to 18 minutes, or until the liquid is absorbed and the rice is tender. Do not lift the lid during this time.
- Remove the skillet from the heat. Stir in the heavy cream, if using, and the lemon juice.
- Gently fold the cooked shrimp back into the rice mixture. Cover the skillet and let it stand for 5 minutes to allow the shrimp to heat through.
- Garnish with fresh parsley before serving.
Notes
- For best results, use raw, not pre-cooked, shrimp.
- If you prefer a less rich sauce, omit the heavy cream.
- You can substitute vegetable broth for chicken broth if needed.
Nutrition
- Serving Size: 1 serving
- Calories: 450
- Sugar: 2
- Sodium: 750
- Fat: 18
- Saturated Fat: 9
- Unsaturated Fat: 9
- Trans Fat: 0
- Carbohydrates: 40
- Fiber: 1
- Protein: 35
- Cholesterol: 250