

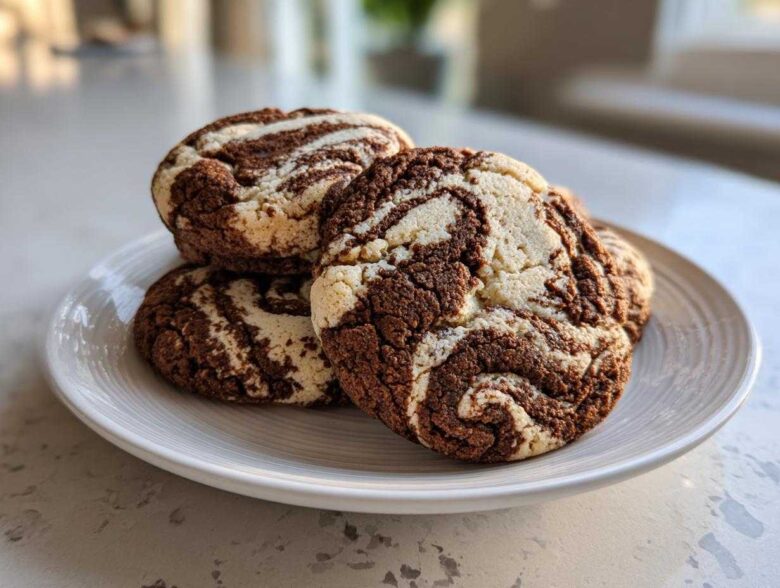
If you’re anything like me, you walk past the fancy bakery case and think, “Wow, that looks amazing, but I bet I can make it better (and cheaper!) at home.” Well, these treats are exactly that kind of showstopper! Forget those complicated rolled-up logs you see on fancy baking shows. My recipe for **Coffee Marble Cookies** takes that stunning two-tone elegance and makes it totally foolproof. I swear, the first time I brought these buttery, espresso-kissed delights to a neighborhood potluck, people genuinely thought I’d bought them from a specialty shop. They are so tender, and that caffeine kick paired with the sweet dough is addictive. Trust me, you’re going to want to save this one!
Why You Will Love These Coffee Marble Cookies
Honestly, sometimes you just need a cookie that looks way fancier than the effort you put into it. That’s what these **Coffee Marble Cookies** are all about. Here’s why they jump straight to the top of my favorites list:
- They are incredibly tender! We use softened butter and just the right amount of flour so they melt in your mouth but hold that beautiful shape. They turn out to be seriously buttery coffee biscuits.
- That visual pop! The swirl of dark coffee dough against the pale vanilla dough creates stunning marble pattern baked goods that always impress guests. They’re truly dazzling cookie patterns in the making.
- The flavor balance is spot on. You get that rich, deep note from the espresso powder that cuts through the sweetness without being bitter—it makes them the perfect gourmet coffee flavored treat for after dinner.
- Chilling the dough makes clean slicing a breeze. This means you get perfect, immediate slices ready for the oven without them turning into a mushy mess on the counter. So easy!
- These are wonderful for gifts! Wrapping a few slices of these elegant swirl cookies tied with a ribbon makes anyone feel special.
If I can manage to get these done after a long Tuesday, you absolutely can too. You might even want to check out my tips for perfectly fluffy scrambled eggs if you feel like making breakfast just as impressive!
Essential Ingredients for Perfect Coffee Marble Cookies
When you’re making something this visually striking, you can’t skimp on the ingredients, but honestly, this list is so simple! It’s mostly pantry staples, which is why I love these so much. We are relying on very few powerful players here to create that signature flavor and texture. If you’re looking for a gorgeous, buttery base that holds a swirl well, pay close attention to the butter and flour.
For the best results in these edible marble pattern baked goods, make sure you have the following ready to go:
- 1 cup unsalted butter, softened—this has to be soft!
- 3/4 cup granulated sugar
- 1 large egg
- 1 teaspoon vanilla extract
- 2 1/4 cups all-purpose flour
- 1/2 teaspoon baking powder
- 1/4 teaspoon salt
- 1 tablespoon instant espresso powder (Don’t use regular instant coffee if you can help it; espresso powder really delivers that clean coffee punch.)
- 1 teaspoon hot water (This is just our tiny solvent for the coffee!)
These ingredients form the base for some seriously good buttery coffee biscuits. If you want to see how I handle a richer dough, you should check out my recipe for sour cream coffee cake—it uses a lot of fat, just like this recipe, for amazing moisture!
Tips for Achieving the Best Coffee Marble Cookies Flavor and Texture
Okay, making these Coffee Marble Cookies perfect isn’t hard, but a couple of little tricks make the difference between a good cookie and one you wake up dreaming about! This is where we lean into the quality of our baking with instant espresso powder.
Controlling the Coffee Intensity in Your Coffee Marble Cookies
Espresso powder is strong, my friends! The base recipe, using one tablespoon, gives you a fantastic, balanced flavor—that perfect morning wake-up call that doesn’t overpower the cookie’s buttery nature. But if you’re a real coffee fiend, you absolutely can amp it up. Honestly, for a really intense punch, I sometimes bump that up to 1.5 teaspoons in the coffee dough portion. Just don’t go crazy! Too much powder, especially without adding more moisture, can make the dough dry and bitter instead of richly flavored.
Achieving Tender, Buttery Coffee Swirl Cookies
Texture is everything for these buttery coffee biscuits. My number one warning for any slice-and-bake cookie? Do NOT overmix when you add the flour. I mean it! Once you see those dry streaks disappear—stop mixing! You want the gluten just barely developed. Also, make sure that butter is truly softened. If it’s still hard, the sugar won’t cream properly, and you’ll end up with dense bricks instead of soft, swirled cookies. Seriously, take the time to let that butter sit out until you can easily poke a dent in it.
If you want to see what happens when I use a lot of butter in a bread recipe, check out my guide for easy, super moist pumpkin bread. The principles of using soft fat remain the same!
Step-by-Step Instructions: How to Make Coffee Marble Cookies
Alright, here is where the fun really begins! This whole process is what makes these some of the most impressive marbled cookie dough tutorials out there, yet it’s mostly just mixing and chilling. Don’t let the swirl intimidate you—we’re doing this like pros, one log at a time!
Preparing the Vanilla and Coffee Dough Portions
First things first, get that buttery base ready. Cream your softened butter and sugar until it looks pale and fuzzy, then beat in that egg and vanilla. Next, mix your dry ingredients in a separate bowl—flour, baking powder, salt. Slowly add those dry bits to the wet until *just* combined. Remember what I said about overmixing? Keep it quick! Now, divide that lovely dough right down the middle into two bowls. In one bowl, leave it pure vanilla bliss. In the other, make your coffee magic: dissolve that espresso powder completely in just one teaspoon of hot water, then mix that dark liquid right into the second dough portion until it’s uniformly colored.
Forming the Log for the Marble Pattern Baked Goods
This is the crucial step for our two tone cookie recipes! Roll each dough portion—vanilla and coffee—into its own tight log, aiming for about 1.5 inches thick. Now, here’s my pro move for a super defined look: place the two logs side-by-side and give them a gentle press together. If you want a slightly wilder pattern, give the combined log a tiny little twist before you wrap it up. Don’t overdo the twist, or you just end up with one messy brown blob!
Chilling and Slicing Your Coffee Marble Cookies
Wrap those logs up tight in plastic wrap. They absolutely must chill for a minimum of two hours—seriously, don’t rush this! If the dough is soft when you try to slice it, you’ll lose that beautiful elegant swirl cookie pattern. Once it’s firm enough to slice cleanly, preheat the oven to 350°F (175°C) and line your sheets. Slice the firm log into thin, quarter-inch rounds. That’s when you finally see the glorious coffee marble cookies pattern emerge in every slice! Place them two inches apart because they puff just a tiny bit. Check out my tips for homemade English muffins if you enjoy bread-like baking, though these cookies are far easier!
Creating Dazzling Cookie Patterns: The Swirling Technique for Coffee Marble Cookies
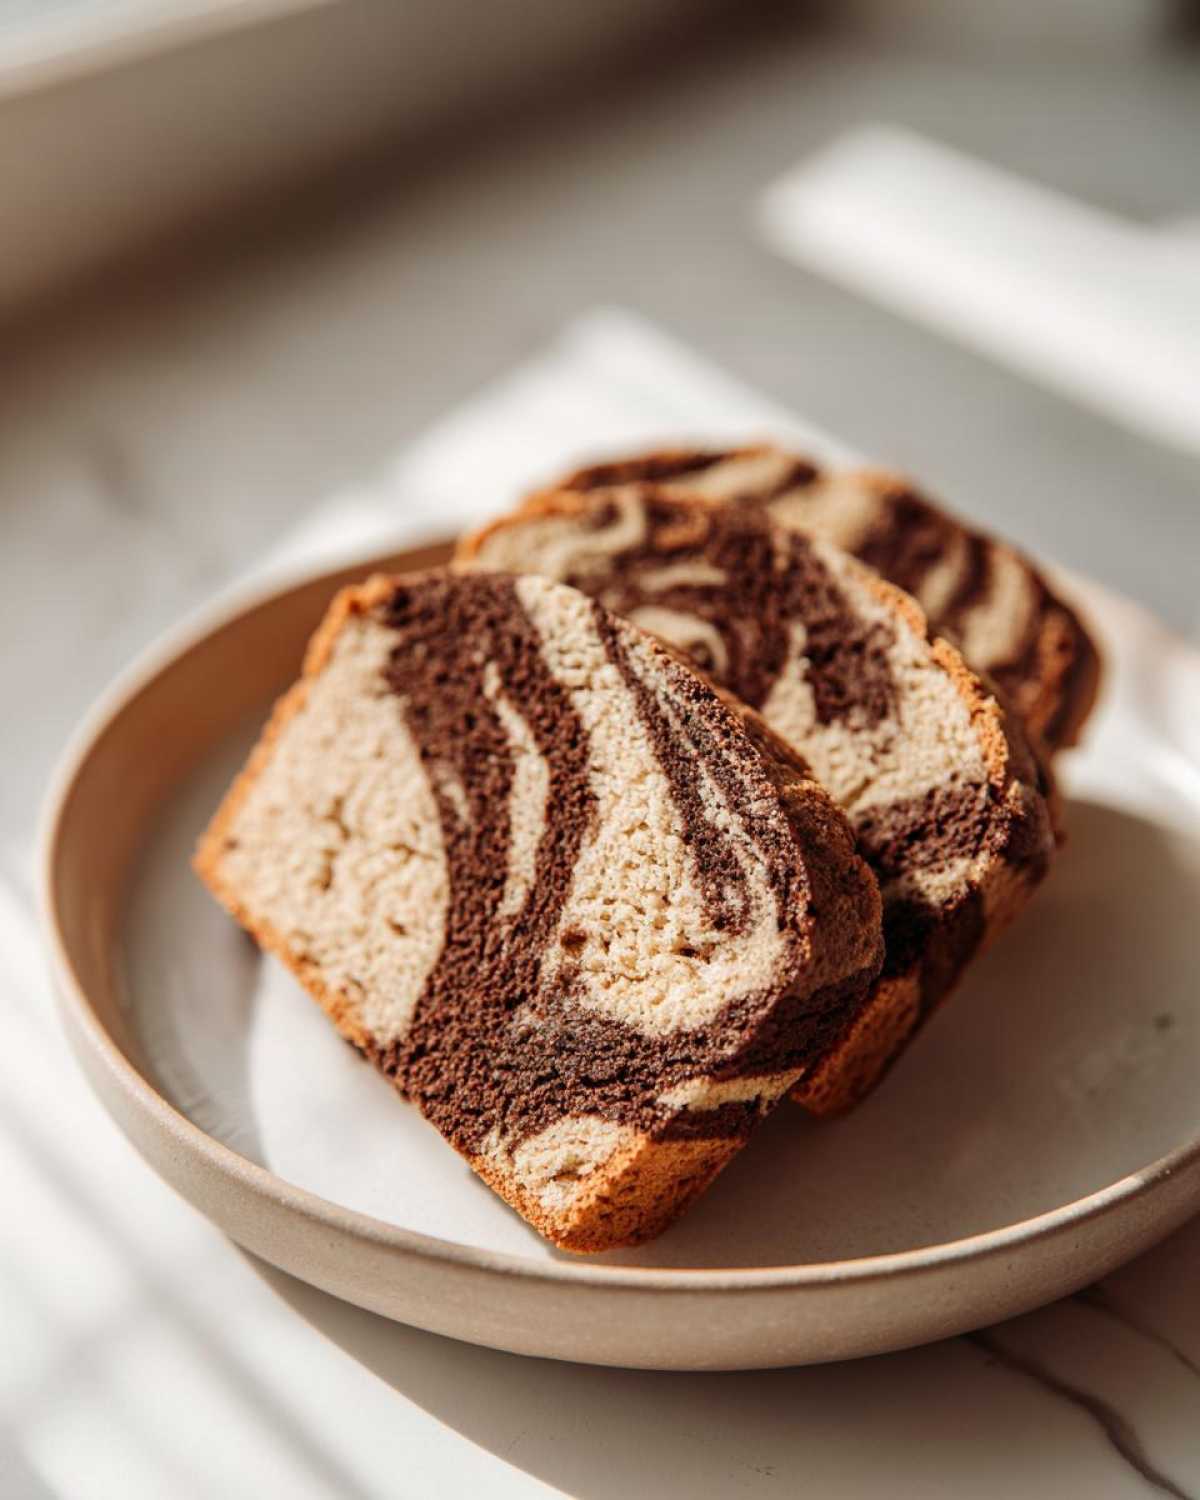
This swirl is the whole reason we call these Coffee Marble Cookies glamorous! It’s funny, you’d think achieving this look requires some complicated rolling technique, but nope! The magic is just in how you combine those two separate doughs. Since we’re aiming for those classic two tone cookie recipes, we roll each color into its own uniform log—the vanilla and the coffee—right? Then, you place them perfectly touching side-by-side.
When you roll the combined, touching logs together for the final time, that’s when the marbling happens. Think gently, not violently! If you press too hard while rolling it into the final, thinner cylinder that you chill, you’ll just mash the colors together, and you’ll get a uniform light brown color instead of those lovely ribbons. You want just enough pressure to keep them married together so that when you slice them, you get those stunning, elegant swirl cookies that look like they took hours!
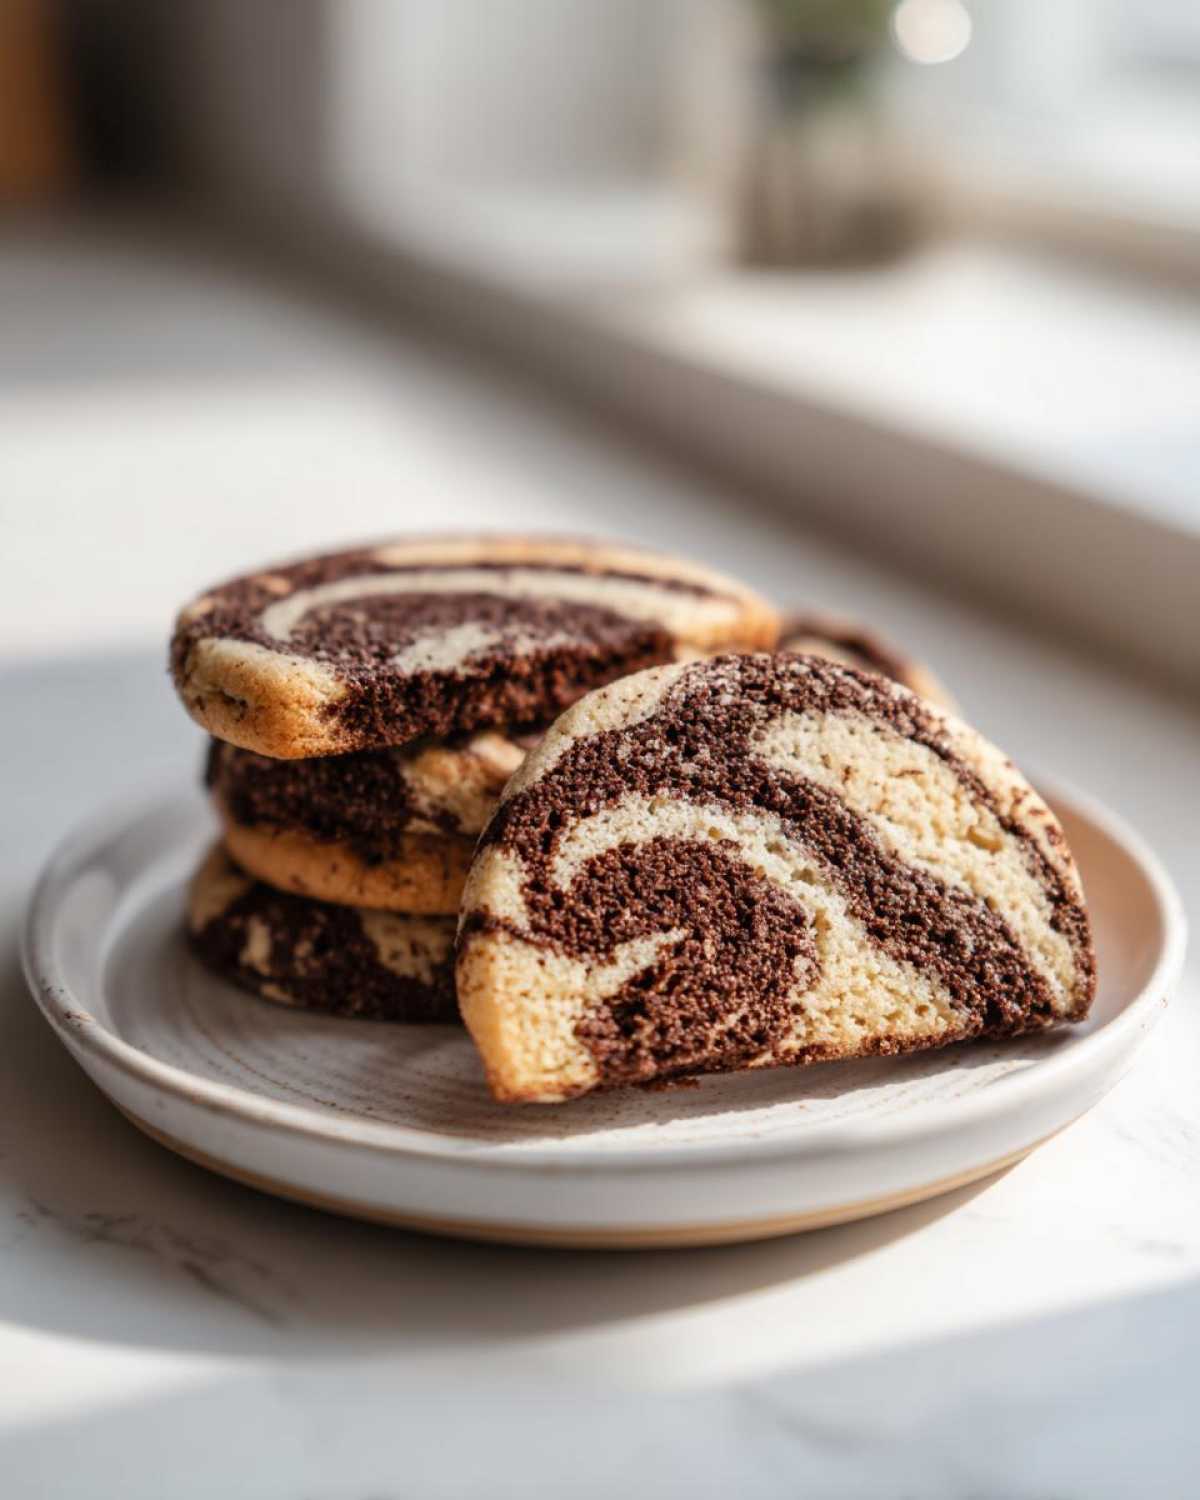
If you want a tighter, more intricate swirl, give the combined log a few gentle twists before wrapping it for the fridge. Trust me, these patterns look amazing, and they’re easier than making actual fudge! If you ever want to try another impressive cookie technique, check out my guide for chocolate macarons—though these cookies are way simpler!
Baking and Cooling Your Coffee Swirl Cookies
Finally! After all that chilling, it’s time for the heat! Set your oven to 350°F (175°C). Line those baking sheets with parchment paper—this is non-negotiable for easy cleanup and guaranteed release, especially since these buttery Coffee Marble Cookies can sometimes stick if they overbake just a hair.
Bake these gorgeous slices for about 10 to 12 minutes. Remember, we aren’t aiming for deep brown here; we want the edges to just start turning *lightly* golden. That slight color change tells you the butter has set perfectly without drying out the interior. Seriously, watch them closely during those last two minutes!
Once they look done, take them out! Let those fragile Coffee Swirl Cookies rest right on the hot baking sheet for about five minutes. They seem soft and might break if you try moving them right away. After that short break, carefully move them over to a wire rack to finish cooling completely. This two-part cooling process keeps them intact! Don’t forget to peek at my recipe for gooey butter cookies if you like things ultra-soft!
Ingredient Notes and Coffee Vanilla Swirl Variations
I always say that great cookies start with quality ingredients, especially when you aren’t hiding the flavors under heavy frosting. Using a pure, high-quality vanilla extract is a must here—it really shines through in the lighter half of the dough. Since this recipe is so straightforward, you really taste everything, even the salt!
But the fun part is twisting it up slightly! If you’re craving a bit of sweetness alongside that coffee kick, you can easily play with the vanilla dough half. Maybe you want a classic Coffee Vanilla Swirl? Go for it! Or, if you feel adventurous, try swapping out that vanilla extract for a teaspoon of almond extract to give the light portion a nutty background note.
Swapping Flavors for Unique Patterned Cookies
If you want to make these even more dazzling, think dark and dramatic! For an extra layer of wow factor in your Coffee Marble Cookies, replace half of the vanilla dough with a dough flavored with unsweetened cocoa powder or a tablespoon of melted dark chocolate. That creates a gorgeous dark brown/light brown swirl instead of just vanilla/dark brown. It’s an easy way to make genuinely unique patterned cookies without changing the overall technique at all. If you need tips on making a stellar vanilla base for these kinds of experiments, check out my guide on making soft, fluffy vanilla cupcakes—the base dough principles are similar!
Storage and Reheating Instructions for Coffee Lover Desserts
These Coffee Marble Cookies are built to last, thanks to that high-butter shortbread base! Once they are completely cool—and I mean totally cool, or you’ll get condensation—tuck ’em into an airtight container. They keep beautifully at room temperature for a solid week, staying pretty perfect. If you are planning ahead for the holidays, wrap your unbaked dough logs tightly in plastic wrap and pop those babies in the freezer. They freeze for up to three months! Frozen logs bake the same way, maybe adding just two extra minutes to the bake time. These truly are some of the best gourmet coffee flavored treats you can keep on hand!
For future reference when you’re baking up a storm, my tips for freezing chocolate chip banana bread apply here too—freezing the dough is always the baker’s best friend!
Frequently Asked Questions About Making Coffee Marble Cookies
It’s totally normal to have questions when you’re trying a new technique like slicing marble dough! I get asked all the time about the coffee element, since that’s the real star here. Here are the things I hear most often when people are making these glorious swirls for the first time.
Can I use brewed coffee instead of instant espresso powder in these Coffee Marble Cookies?
Oh, I know coffee is life, but please try to stick to the powder for these! Brewed coffee, even strong brewed coffee, adds way too much liquid into our very specific dough ratio. That extra water messes with the flour, and suddenly your nice firm Coffee Marble Cookies dough turns into a sticky mess. If you are absolutely stuck and have zero espresso powder, I guess you could try making a super, super concentrated reduction on the stove—like a tablespoon of super-thick sludge—but honestly, the powder dissolves so cleanly and gives you that pure flavor boost without the sogginess. Stick to the powder for the best cookie results!
How do I prevent the marble pattern from disappearing during baking?
This is all about technique right before baking! You want those beautiful ribbons visible on the edge of the cookie, right? The main culprit for a lost pattern is handling the sliced dough too much. Don’t press those slices down at all! They need to bake looking exactly like you sliced them. If you pat them flat or handle them roughly while moving them to the sheet, you squish the layers together and you just get a solid brown cookie. Make sure your dough is rock solid when you slice it; firm edges equal defined swirls when baked. This preserves your elegant swirl cookies look perfectly.
What makes these different from regular shortbread? (Addressing ‘Swirled shortbread recipes’)
That’s a great question, especially since these are buttery like a shortbread! The biggest difference is structure. Traditional shortbread has flour, butter, and sugar, and that’s it. Our recipe includes a whole egg and a little bit of baking powder. That egg gives it richness and a bit more binding power, and the baking powder gives it a *tiny* lift so it’s not quite as dense as a crumbly shortbread. It makes these some of the best swirled shortbread recipes out there, but slightly softer and easier to bite into. If you want more ideas on that base flavor, check out my guide for making juicy chicken—just kidding! No, seriously, stay focused on the butter content here for tenderness!
PrintCoffee Marble Cookies

Make these buttery cookies featuring a distinct swirl pattern combining vanilla and rich coffee flavors.
- Prep Time: 25 min
- Cook Time: 12 min
- Total Time: 157 min
- Yield: About 3 dozen
- Category: Dessert
- Method: Baking
- Cuisine: American
- Diet: Vegetarian
Ingredients
- 1 cup unsalted butter, softened
- 3/4 cup granulated sugar
- 1 large egg
- 1 teaspoon vanilla extract
- 2 1/4 cups all-purpose flour
- 1/2 teaspoon baking powder
- 1/4 teaspoon salt
- 1 tablespoon instant espresso powder
- 1 teaspoon hot water
Instructions
- Cream the softened butter and sugar together until light and fluffy. Beat in the egg and vanilla extract.
- In a separate bowl, whisk together the flour, baking powder, and salt. Gradually add the dry ingredients to the wet ingredients, mixing until just combined.
- Divide the dough evenly into two separate bowls.
- In the first bowl (Vanilla Dough), leave the dough as is.
- In the second bowl (Coffee Dough), dissolve the instant espresso powder in the hot water. Mix this solution thoroughly into the dough in the second bowl until the color is uniform.
- Roll each dough portion into a log approximately 1.5 inches in diameter.
- Place the two logs side-by-side. Gently press them together.
- Roll the combined dough log in plastic wrap and chill for at least 2 hours, or until firm enough to slice.
- Preheat your oven to 350°F (175°C). Line baking sheets with parchment paper.
- Slice the chilled dough log into 1/4-inch thick rounds. You will see the marble pattern in each slice.
- Place slices onto the prepared baking sheets, leaving about 2 inches between them.
- Bake for 10 to 12 minutes, or until the edges are lightly golden.
- Let the cookies cool on the baking sheet for 5 minutes before transferring them to a wire rack to cool completely.
Notes
- For a stronger coffee flavor, increase the espresso powder to 1.5 teaspoons in the coffee dough.
- To achieve a more pronounced marble effect, gently twist the two dough logs together slightly before rolling them into the final cylinder.
- Do not overmix the dough after adding the flour to keep the cookies tender.
Nutrition
- Serving Size: 1 cookie
- Calories: 120
- Sugar: 7g
- Sodium: 45mg
- Fat: 6g
- Saturated Fat: 4g
- Unsaturated Fat: 2g
- Trans Fat: 0g
- Carbohydrates: 15g
- Fiber: 0g
- Protein: 2g
- Cholesterol: 25mg