

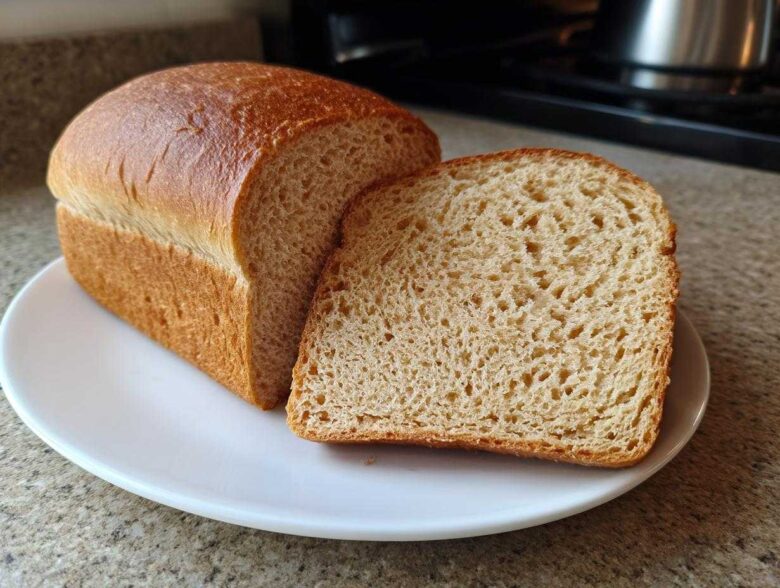
Listen, stepping away from that sad, spongy store-bought loaf and baking your own incredible whole wheat bread is a game-changer. I used to think baking anything beyond pouring cereal was impossible; I mean, my kitchen was practically untouched! But Liam, bless his heart, showed me that real comfort comes from things made with care. This Soft Honey Whole Wheat Sandwich Loaf isn’t just a recipe; it’s the absolute clearest, most reliable ‘dispatch’ I can send out to you, especially if you’re just starting out with your own kitchen adventures, like I documented over at our story. It’s foolproof, produces the softest crumb, and gets the apartment smelling amazing fast.
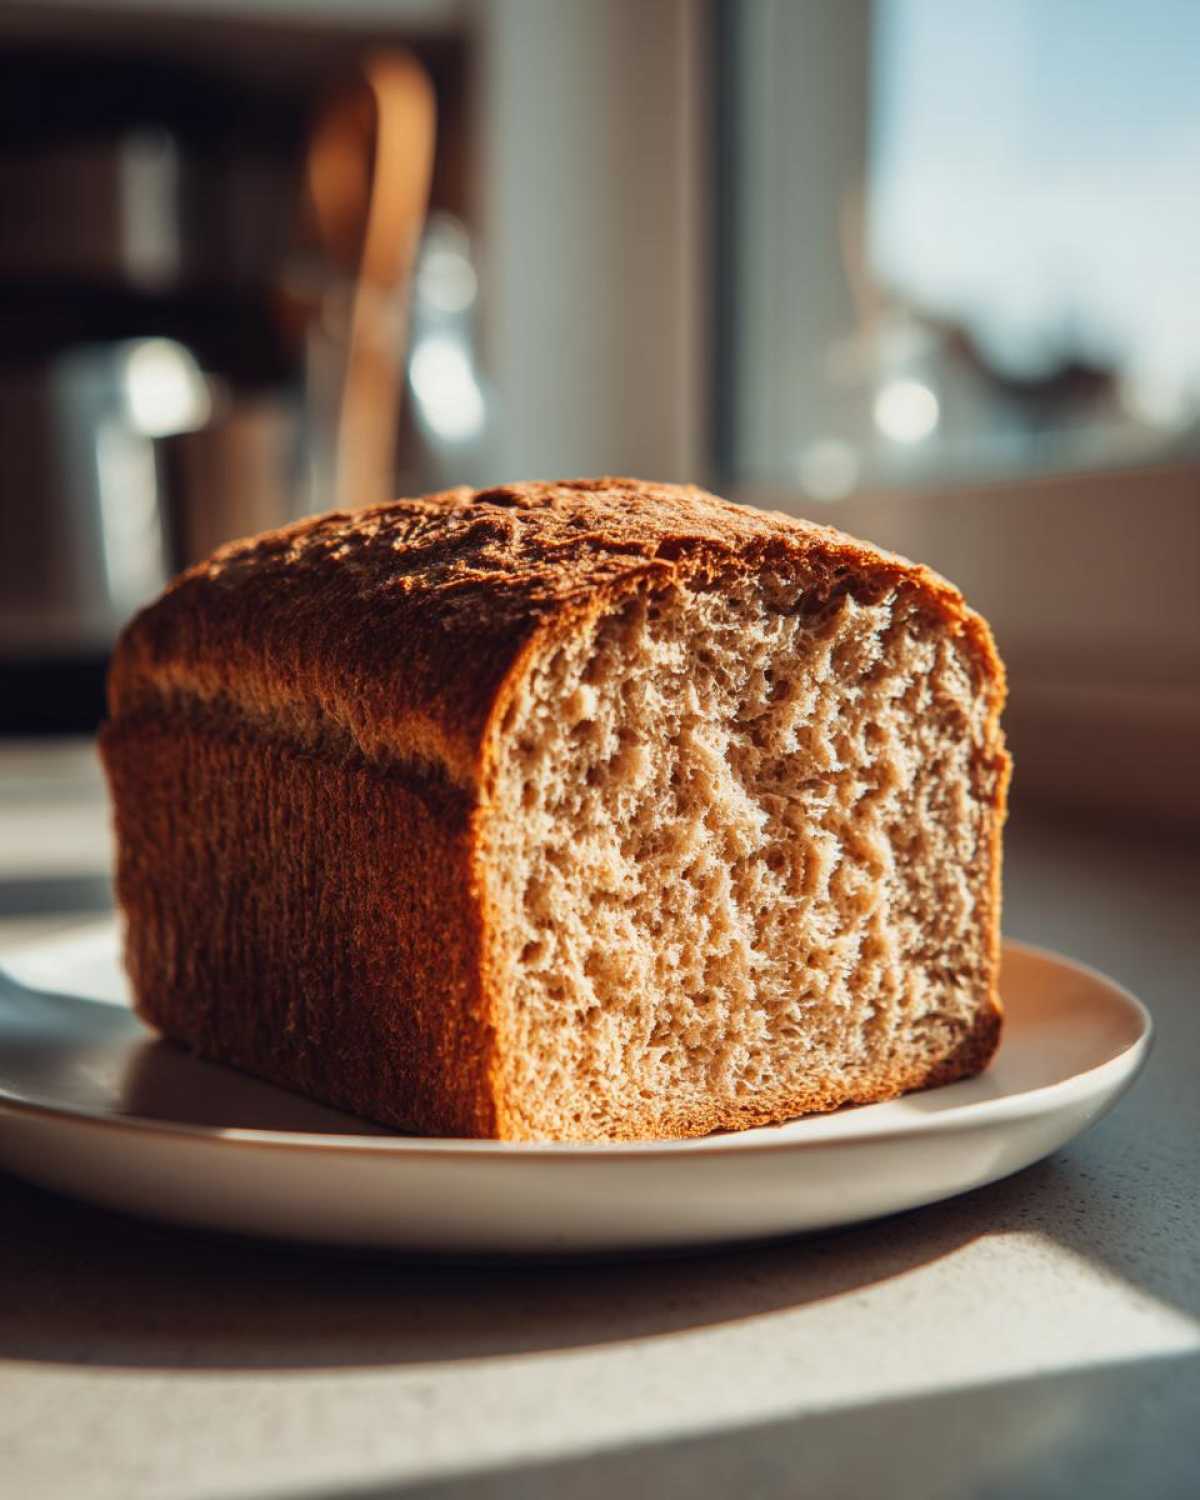
Why This Soft Honey Whole Wheat Bread Recipe Works for Everyone
We designed this recipe because, honestly, we needed a reliable loaf that wasn’t complicated. If you’re looking for an easy whole wheat bread recipe that doesn’t taste like cardboard, you’ve found it! This isn’t some fussy artisan loaf you need a Dutch oven for; this is straightforward, good bread.
- It’s perfectly sweet thanks to the honey—no weird aftertaste!
- It’s tender enough for the kids’ lunchboxes—the ultimate whole wheat sandwich loaf.
- It comes together faster than you think, getting you that fresh-from-the-oven smell quickly.
- We even keep the steps clear so you can check out more tips over on the main blog if you need a little extra confidence boost!
Achieving That Fluffy Texture in Your Whole Wheat Bread
The real secret to avoiding that dense brick feeling so common with whole wheat bread is simple: we use a blend of flours. We bring in some all-purpose flour to lighten the load that the hearty whole wheat flour carries. It keeps the crumb open and light. Don’t worry, though; you still have to put in some elbow grease with the kneading part later on to activate that fluffiness!
Gathering Ingredients for Your Homemade Whole Wheat Bread
Okay, let’s talk about what you actually need to bring this masterpiece to life. When I first started baking whole wheat bread, I thought I could substitute everything, and, oh boy, was that a mistake! Liam insists on exact measurements here because precision matters when you’re mixing different types of flour. We need the warm water to wake up that yeast—it should feel like a warm bath, not a hot tub (105-115°F is perfect).
The key players for flavor and structure are the melted butter and, of course, the honey. That honey does double duty; it sweetly flavors the loaf and keeps the crumb incredibly tender. Don’t skimp on salt either; it’s essential for flavor development!
Ingredient Notes and Substitutions for Whole Wheat Bread
Since we are mixing, pay close attention to the flour ratio. I use 1 3/4 cups of whole wheat flour, but we pair it with 1 1/2 cups of all-purpose flour. This combination is crucial for making your whole wheat bread soft! If you happen to have bread flour, you can swap out about half of the white flour for it; that just gives you a little extra structure, which is great for taller sandwich loaves.
The most important thing is keeping that yeast active. If your water is too hot, you kill your yeast, and then you’re just mixing flour soup. Trust me, I’ve tossed out perfectly good flour because I got the water temperature wrong in the beginning!
Step-by-Step Instructions for the Easiest Whole Wheat Bread Recipe
Now for the fun part—putting it all together! You’ll start by waking up your yeast in that warm water. Wait until it gets nice and foamy; that’s the visual cue Liam taught me means, “We’re good to go!” Once that’s happy, stir in the honey, butter, and salt. Then, the flours go in—whole wheat first to mix into the wet stuff, followed by the all-purpose flour until you have what is basically a very shaggy, messy dough ball. Don’t panic if it looks ugly right now; this is normal for whole wheat bread.
Next, it needs some love! Turn that shaggy mess onto a floured surface and knead it for a solid 6 to 8 minutes. This gentle-but-firm kneading is where we build the structure that keeps this bread soft, not flat. After kneading, move your dough to a lightly oiled bowl, cover it up, and let it rest. If you want to see how I used to mess this part up, check out my guide to muffin making—it took trial and error to get the rise right!
The First Rise: Developing Flavor in Your Whole Wheat Bread
Find a warm, draft-free spot for this first rise. We’re looking for the dough to double, which usually takes between an hour and an hour and a half. This slow build-up is what develops that deep, wholesome flavor in your whole wheat bread. Don’t rush it; the dough needs this time to grow happy air pockets.
Shaping and Second Proofing for the Perfect Whole Wheat Sandwich Loaf
Once doubled, gently punch the air out—we aren’t deflating it completely, just convincing it to settle down! Shape it gently into a tight log and nestle it into your prepared loaf pan. The second rise brings it up over the rim. You’re looking for it to crown about an inch over the top edge before it goes into the hot oven. This ensures you get that perfect whole wheat sandwich loaf shape.
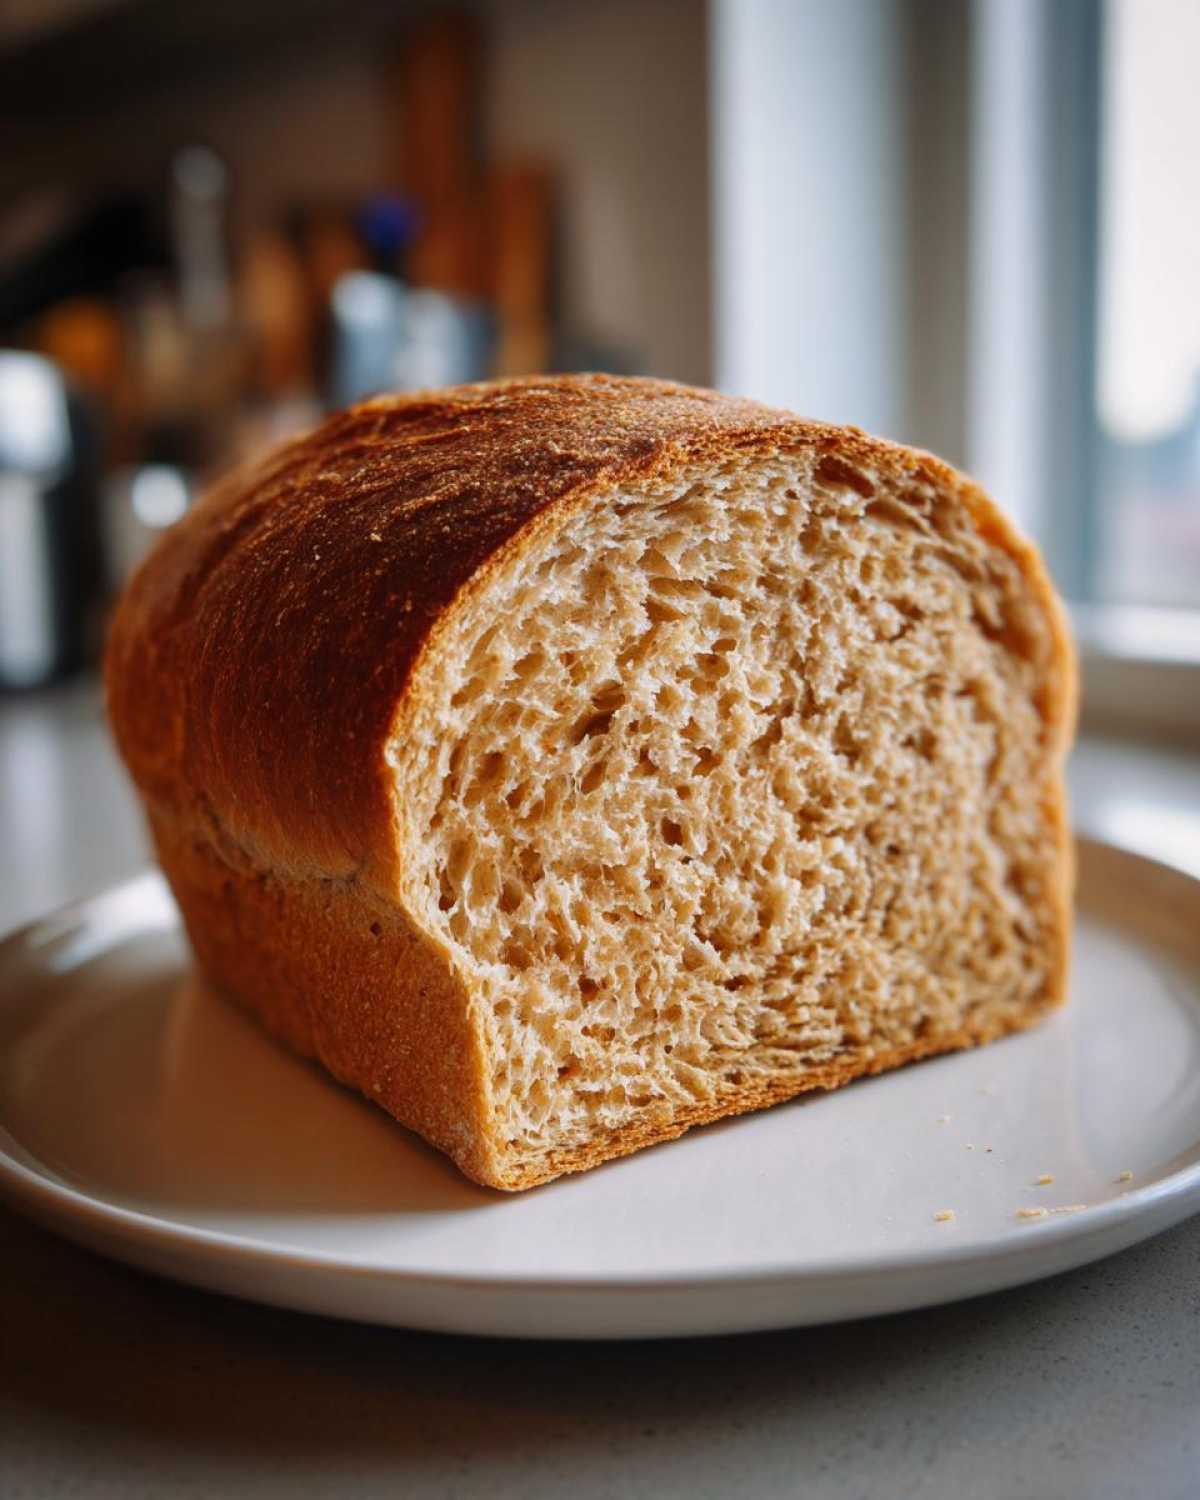
Baking Your Honey Whole Wheat Bread to Golden Perfection
This is the part where your patience pays off! You need to make sure your oven is ready before that final rise is done; preheat it to 375°F (190°C) during the last 15 minutes the loaf is proofing. Bake that beautiful honey whole wheat bread for about 30 to 35 minutes.
Visually, you want the top to be a lovely, rich golden brown. But honestly, the real secret to knowing it’s done—and this is what Liam checks every time—is the temperature. Stick an instant-read thermometer right into the center; if you see 200°F (93°C), pull it out immediately! Don’t leave it in there another minute.
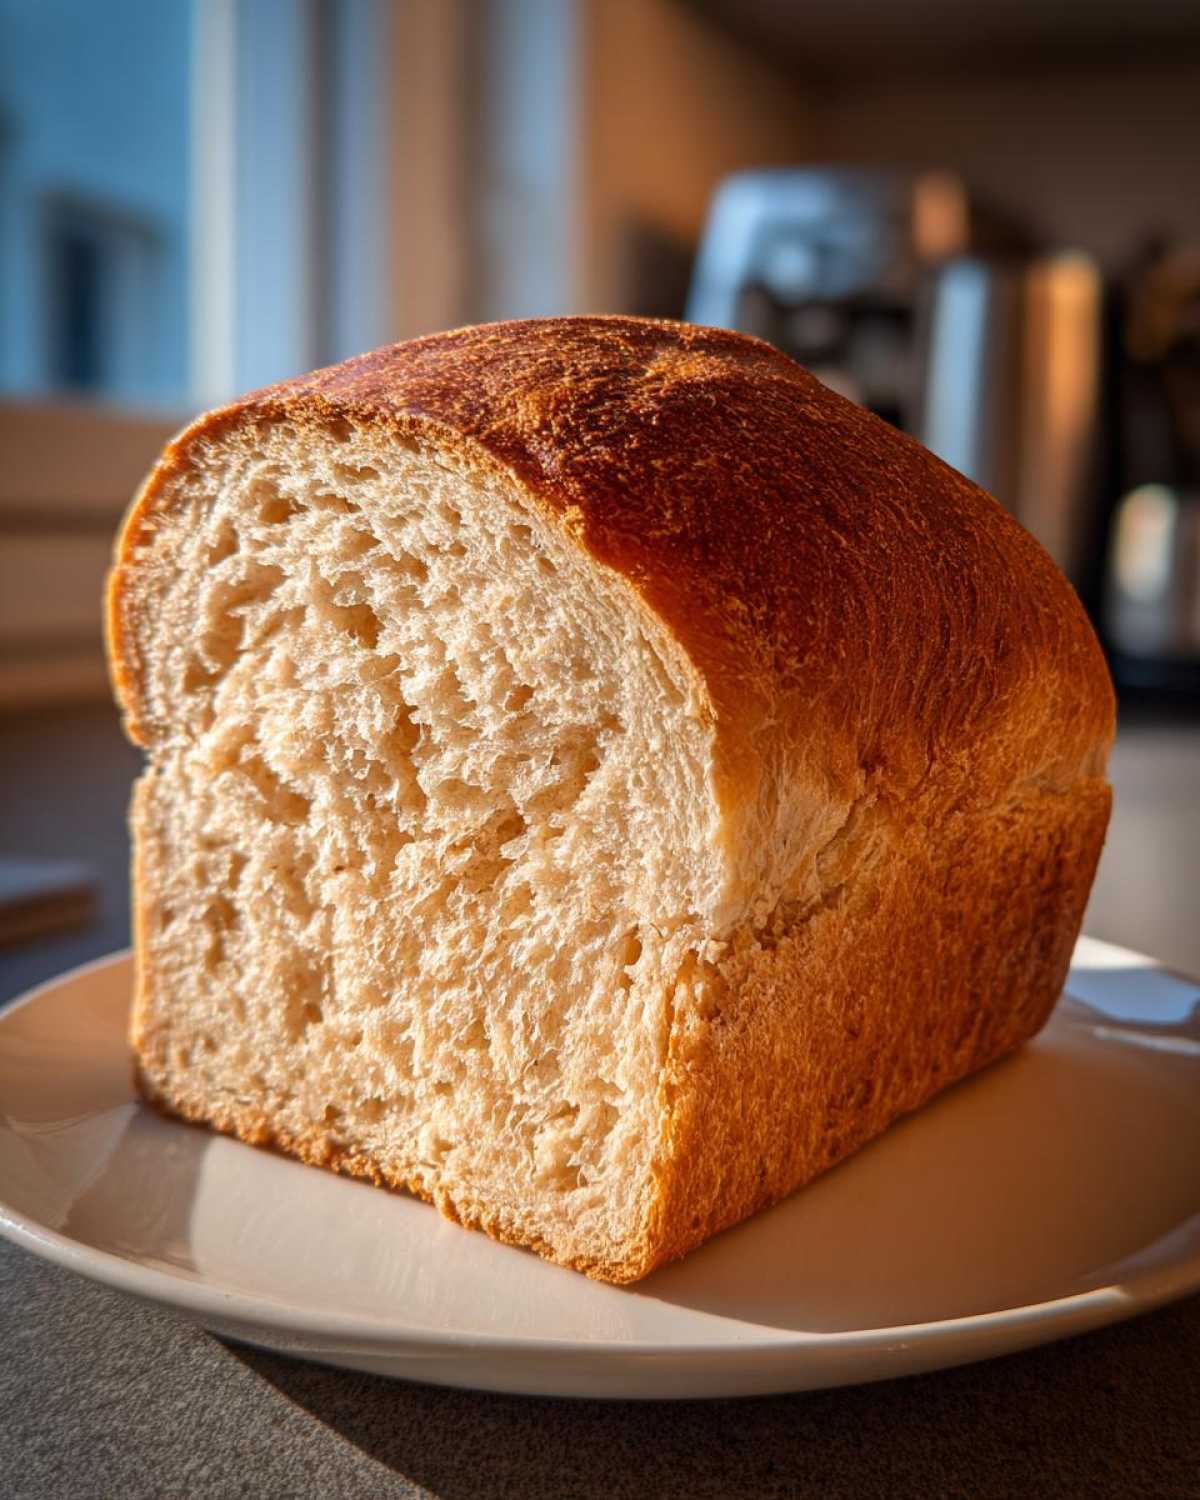
Super important step: get it out of the pan right away and let the loaf cool completely on a wire rack. If you leave it in the pan, the trapped steam will make the bottom soggy, and nobody wants a soggy loaf, right?
Making Bread at Home: Tips for Success with Whole Wheat Flour
Welcome to the joy of learning to make bread at home! Listen, getting that first perfect loaf feels like a huge accomplishment. When I first tried baking with whole wheat flour—before Liam showed me the ropes—I kept making these rocks. Seriously heavy, dense things that could probably double as doorstops. I was so frustrated because I thought I just didn’t have the magic touch for baking.
The payoff for getting over those early hurdles is huge, though. You trade chemical additives for wholesome goodness and that amazing fresh smell. This recipe helps avoid the pitfalls newbies run into, but if you want to see how we managed to bake even messy things like garlic breadsticks, stick with us. It takes practice, but this soft loaf is a great starting point!
Troubleshooting Dense Whole Wheat Bread
If your whole wheat bread ends up too heavy, it almost always comes down to two things: yeast or kneading. Make sure your water temperature is spot-on—too cold, and the yeast sleeps; too hot, and it dies. Dead yeast means no rise, hence density. Also, you really need to knead for those full 6 to 8 minutes. That’s how you develop the gluten structure that traps the air and keeps the crumb light.
Storage and Reheating Instructions for Your Whole Wheat Bread
You’ve baked the perfect loaf, and now you want it to last! Because we used honey and butter, this bread stays softer longer than standard loaves, but keeping it fresh is still key for those delicious sandwiches and toast.
Once the whole wheat bread is fully cooled—and I mean totally cool to the touch—store it wrapped tightly in plastic wrap or a bread bag on the counter for about three days. Resist the urge to put it in the fridge! Cold air dries bread out fast, turning that lovely soft texture crumbly.
If you need it to last longer, slice it all up and freeze what you won’t eat within three days. It thaws like a dream on the counter or pops right into the toaster!
Serving Suggestions for Wholesome Bread Recipe
Here is where this beautiful, wholesome bread recipe truly earns its stripes! Since we aimed for that soft, tender crumb, this loaf shines brightest when it’s used for everyday comfort. Of course, it makes the best classic sandwiches—think turkey or grilled cheese. And don’t even get me started on using thick slices for toasting! You need a bread sturdy enough to hold up under rich gravy, and this one delivers without falling apart.
It’s also fantastic simply warmed up with a smear of butter and cinnamon sugar for a quick, healthy snack. That honey sweetness really comes through when it’s lightly toasted!
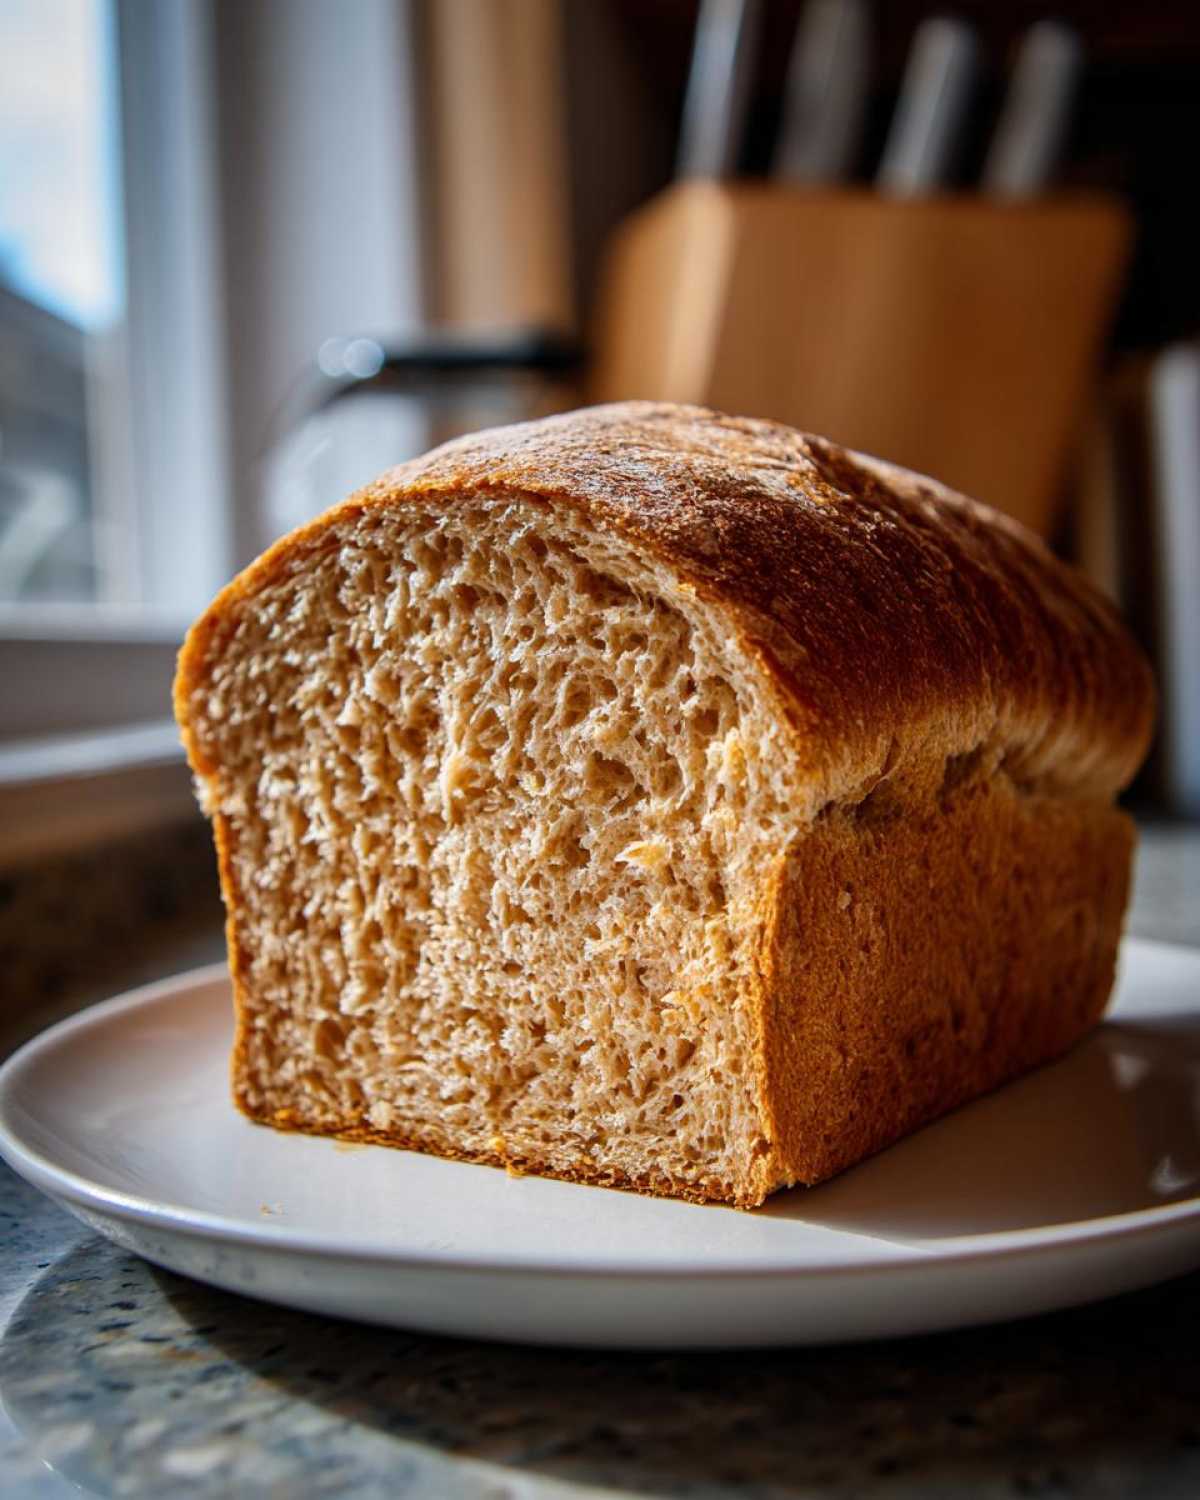
Frequently Asked Questions About Making Whole Wheat Bread
I know when you’re just starting to make bread at home, the questions pile up fast! You want everything to turn out perfect the first time, especially when you’re aiming for that soft whole wheat bread texture we talked about. Don’t hesitate to reach out if you have other issues; Liam and I always try to answer messages posted over at our contact page!
Can I use 100 percent whole wheat bread flour instead of mixing flours?
That’s a huge question, and here’s the honest answer: yes, you absolutely *can*, but it won’t be the star of our “Soft Honey Whole Wheat Sandwich Loaf.” When you switch to 100 percent whole wheat bread flour, you lose the structure provided by the white flour, making the dough heavier. The result is usually denser, though still very wholesome! You might need to add an extra splash of water too, as pure whole wheat is thirsty.
How long does this homemade whole wheat bread stay soft?
Because this recipe has honey and butter, it holds onto moisture quite well. Stored properly on the counter, it stays deliciously soft for close to three days, making it perfect for everyday sandwiches or toast. It definitely outlasts most commercial loaves!
Why did my dough not rise enough?
If your dough didn’t double after the first rise, it’s usually because your yeast wasn’t happy or your kitchen was too cold. Yeast needs warmth to thrive and do its job of creating that lovely fluffiness in your whole wheat bread. Aim for that sweet spot we mentioned in the instructions!
Can I make this an easy no knead whole wheat bread?
That’s a great idea if you’re short on time! This specific recipe relies on 6-8 minutes of kneading to build the soft structure, so removing that step means you’ll have a more rustic, less fluffy loaf. You can adapt a no knead whole wheat bread technique, but it won’t have the tender crumb this sandwich loaf is famous for.
Share Your Homemade Whole Wheat Bread Journey
Wow, I bet your kitchen smells incredible right now! Taking the leap and learning to make bread at home is such a rewarding thing, and I genuinely want to hear all about how your Soft Honey Whole Wheat Sandwich Loaf turned out.
Did you nail that tender crumb on your first try? Did Liam steal the heel slice while it was still warm? Tell me everything! Drop a comment below and let me know what you thought of the recipe. Seeing your loaves pop up online is the best thing that happens to us here at Cookery Courier.
If you snapped a picture of your beautiful, fluffy loaf—or if you used it to make an amazing post-workout lunch—please tag us on social media! Seeing your success in baking this healthy homemade bread motivates us to keep sharing our simplest, most reliable ‘dispatches’ with you.
If you want to check out our policies before signing up for our newsletter (which you really should, so you don’t miss a recipe!), you can always review our privacy policy over here. Happy baking, my friends, and thank you for sharing your love language with us!
PrintSoft Honey Whole Wheat Sandwich Loaf

Bake a wonderfully soft and wholesome whole wheat bread loaf sweetened with honey. This easy recipe delivers a tender crumb perfect for everyday sandwiches and toast, making store-bought bread unnecessary.
- Prep Time: 20 min
- Cook Time: 35 min
- Total Time: 1 hour 55 min
- Yield: 1 loaf
- Category: Baking
- Method: Kneading and Baking
- Cuisine: American
- Diet: Vegetarian
Ingredients
- 1 cup warm water (105-115°F)
- 2 1/4 teaspoons active dry yeast
- 1/4 cup honey
- 2 tablespoons unsalted butter, melted
- 1 1/2 teaspoons salt
- 1 3/4 cups whole wheat flour
- 1 1/2 cups all-purpose flour (plus more for dusting)
Instructions
- Combine the warm water and yeast in a large bowl. Let it sit for 5 minutes until foamy.
- Stir the honey, melted butter, and salt into the yeast mixture.
- Add the whole wheat flour and mix until just combined.
- Gradually add the all-purpose flour, mixing until a shaggy dough forms.
- Turn the dough out onto a lightly floured surface. Knead for 6 to 8 minutes until the dough is smooth and elastic. This develops the softness you want.
- Lightly grease a large bowl. Place the dough in the bowl, turning to coat. Cover the bowl with plastic wrap or a clean towel.
- Let the dough rise in a warm place for 1 to 1.5 hours, or until it has doubled in size.
- Gently punch down the risen dough. Shape it into a loaf and place it in a greased 9×5 inch loaf pan.
- Cover the pan loosely and let the dough rise again for 30 to 45 minutes, or until it has crowned about 1 inch above the rim of the pan.
- Preheat your oven to 375°F (190°C) during the last 15 minutes of the second rise.
- Bake for 30 to 35 minutes, or until the top is golden brown and the internal temperature reaches 200°F (93°C).
- Remove the loaf from the pan immediately and let it cool completely on a wire rack before slicing for the best texture.
Notes
- For a richer flavor, substitute 1/2 cup of the all-purpose flour with bread flour.
- If you prefer a crustier exterior, brush the top of the loaf with a little water before baking.
- This bread is excellent for making homemade whole wheat bread sandwiches.
Nutrition
- Serving Size: 1 slice
- Calories: 135
- Sugar: 3
- Sodium: 210
- Fat: 2
- Saturated Fat: 1
- Unsaturated Fat: 1
- Trans Fat: 0
- Carbohydrates: 26
- Fiber: 3
- Protein: 5
- Cholesterol: 5