

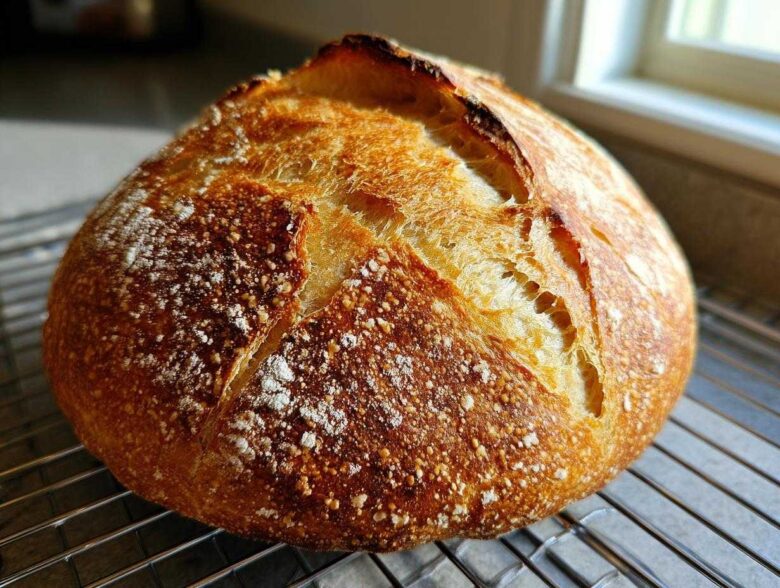
Oh my goodness, you guys, if you could smell my kitchen right now! That warm, yeasty perfume that fills every corner of the house? That is the smell of success, my friends. For the longest time, I thought getting that perfect, crackly, golden crust on an Italian bread loaf meant visiting the best bakery in town. But Liam—bless his patient heart—showed me the light! He taught me that you don’t need fancy equipment or endless hours. This recipe is totally foolproof, delivering that bakery-style crusty exterior and that unbelievably soft, chewy middle we all crave. Anyone who is new to baking needs this in their life; it’s the perfect message of comfort you can deliver right from your own oven. You can read more about how we learned to speak each other’s language in the kitchen over at Our Love Language is Delivered Warm.
Why This Easy Crusty Homemade Italian Bread Recipe Works for Beginners
I know looking at bread recipes can feel intimidating. Trust me, I was there! But this particular Homemade Italian Bread Recipe cuts out all the complicated steps. It’s designed specifically so you, a beginner, can walk away with amazing results. You don’t need a fancy mixer or hours of hands-on work. It’s fast enough for a weeknight, too!
- Zero Stress Rising: We only do two relatively short rises, keeping the total time under three hours—a dream when chasing that quick Italian bread tutorial vibe.
- Ingredient Simplicity: Everything in here is probably sitting in your pantry right now. No specialty flours required!
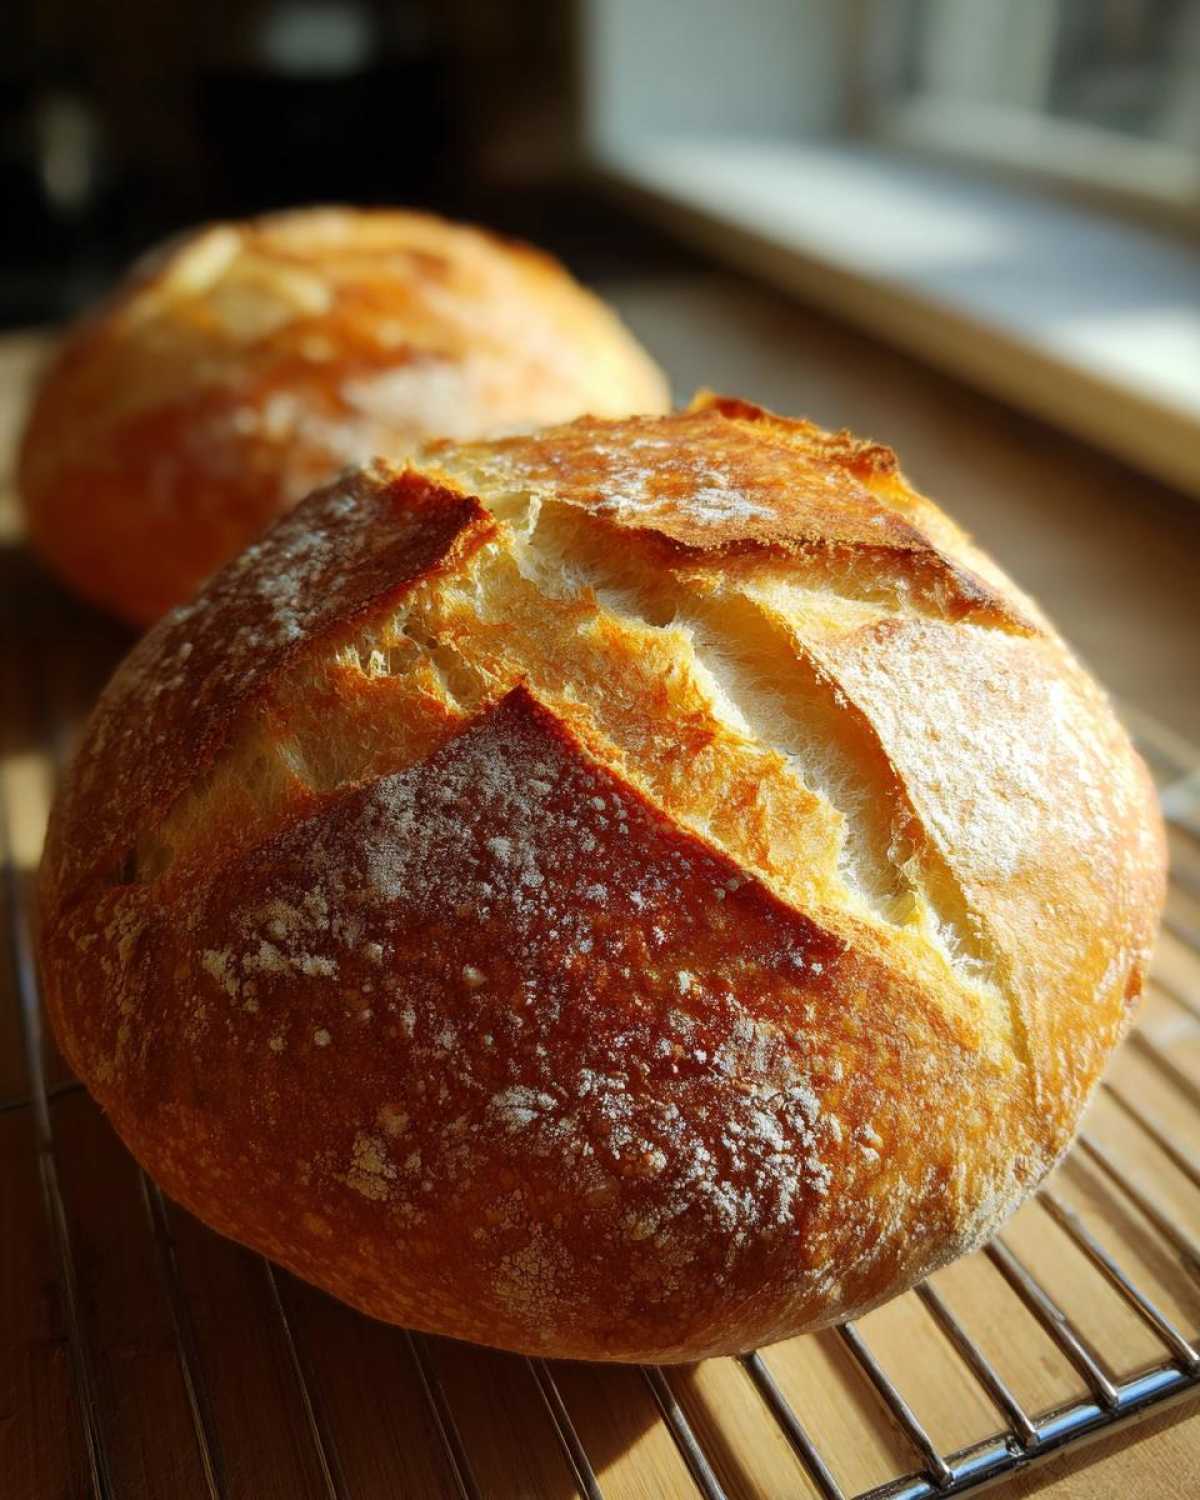
- Texture Guaranteed: This recipe consistently lands that perfect sweet spot: a beautiful, crackly crust and an interior that’s soft and delightfully chewy. It’s the best part of Easy Crusty Bread Baking.
Achieving that Bakery Style Italian Loaf Texture
The secret weapon we use later on, that little pan of hot water in the oven, is pure magic for achieving that true Bakery Style Italian Loaf look. That burst of steam hits the dough right as it starts baking, which keeps the outside skin supple for a few minutes. It allows the loaf to expand fully before setting. When that steam exits, you get that crunchy, shatteringly crisp crust we all want. Don’t skip that step!
Ingredients for Your Homemade Italian Bread Recipe
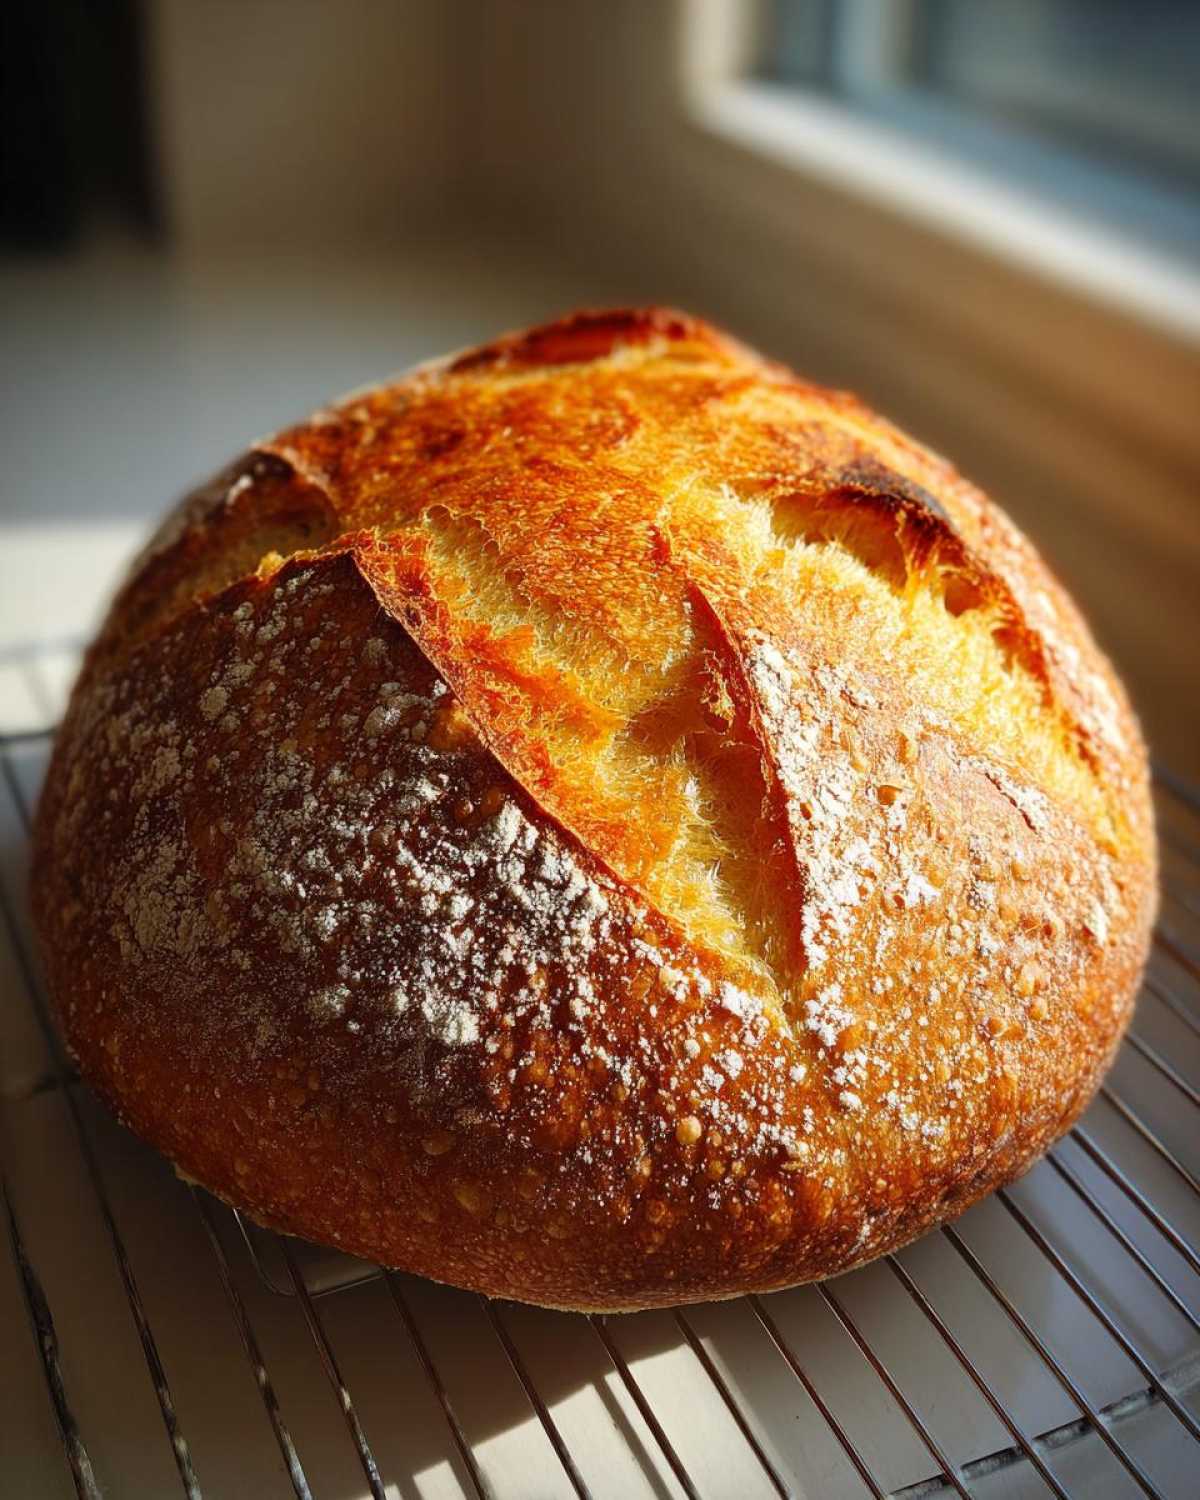
When Liam first taught me this, I was worried I’d have to run out for some specialty Italian grain. Nope! The beauty of this Homemade Italian Bread Recipe is how basic it is. We’re sticking to pure pantry staples here. You’ll need 3 1/2 cups of regular all-purpose flour, 1 1/2 teaspoons of salt, and just 1 teaspoon of sugar to wake up the yeast. The star active ingredient is 2 1/4 teaspoons of active dry yeast—that’s one full packet. And make sure that water is warm, not hot!
Ingredient Notes and Simple Substitutions
The water temperature is actually a big deal for our yeast. You want it between 105°F and 115°F. If it’s too cold, the yeast gets sleepy; too hot, and you kill it. We aren’t using any fancy bread flour here—the standard all-purpose flour works perfectly because we are kneading it enough to build that structure. Also, don’t forget the 2 tablespoons of good olive oil; it adds richness you can taste even before it hits the oven.
Step-by-Step Instructions for Perfect Italian Bread
Time to get those hands dusty! This really is such a quick tutorial, I promise. We’re moving quickly through the steps so we can get that incredible smell going in the oven. Follow these closely, and you’ll have that amazing Italian bread loaf ready before you know it. Liam always says baking this is about respecting the ingredients, but not being bossy with them.
Activating Yeast and Mixing the Italian Bread Dough
First things first: we wake up the yeast! Grab your big bowl and pour in your warm water (remember that 105°F sweet spot!) and your teaspoon of sugar. Sprinkle the yeast right over the top. Liam waits nervously beside me here, because if it doesn’t start getting foamy in about 5 to 10 minutes, you’ve got dead yeast and need to start the water step over again. Once it’s bubbly and alive, stir in your 2 tablespoons of olive oil. In a separate bowl, mix your flour and salt.
Now, add your dry ingredients into the wet stuff a little at a time. Don’t try to mix it perfectly! Just stir it with a spoon until you end up with what bakers call a “shaggy dough.” It looks messy, and that’s exactly what we want before we start the real work.
Kneading and the First Rise for Chewy Italian Loaf
Turn that shaggy mess out onto a well-floured counter. Now we knead! This is where you build the structure for that Chewy Italian Loaf interior. You need persistence here—knead it firmly for a solid 5 to 7 minutes. You’ll know you’re done when the dough feels noticeably smooth and elastic. If you poke it, it should spring back slowly. Now, brush a clean bowl with a little oil, place your dough inside, turn it over to coat, cover it up, and let it rest in a warm spot for about an hour to an hour and a half until it’s doubled. Remember, this is your first rise, so be patient!
Shaping, Second Rise, and Creating Steam for Crusty Italian Bread
Gently punch the air out of that big puffy dough; don’t over-handle it! Shape it gently into a rustic log right there on your parchment-lined baking sheet. Cover it loosely again for that second proof, about 30 to 45 minutes. Here’s the trick for that Golden Brown Crust Bread: During the last 15 minutes of this rise, crank your oven up to 400°F and put a shallow pan on the bottom rack. Just before the bread goes in, use a sharp knife to score a few shallow diagonals across the top. When you slide your loaf inside, quickly pour a cup of hot water into that hot bottom pan and shut the door fast! That steam is everything for that crackly crust. You can find more tips on achieving that perfect texture, including some of Liam’s favorite ways to serve it, over in my notes section on our homemade English muffins recipe page, because the science is similar!
Tips for Success When Baking Your Italian Bread
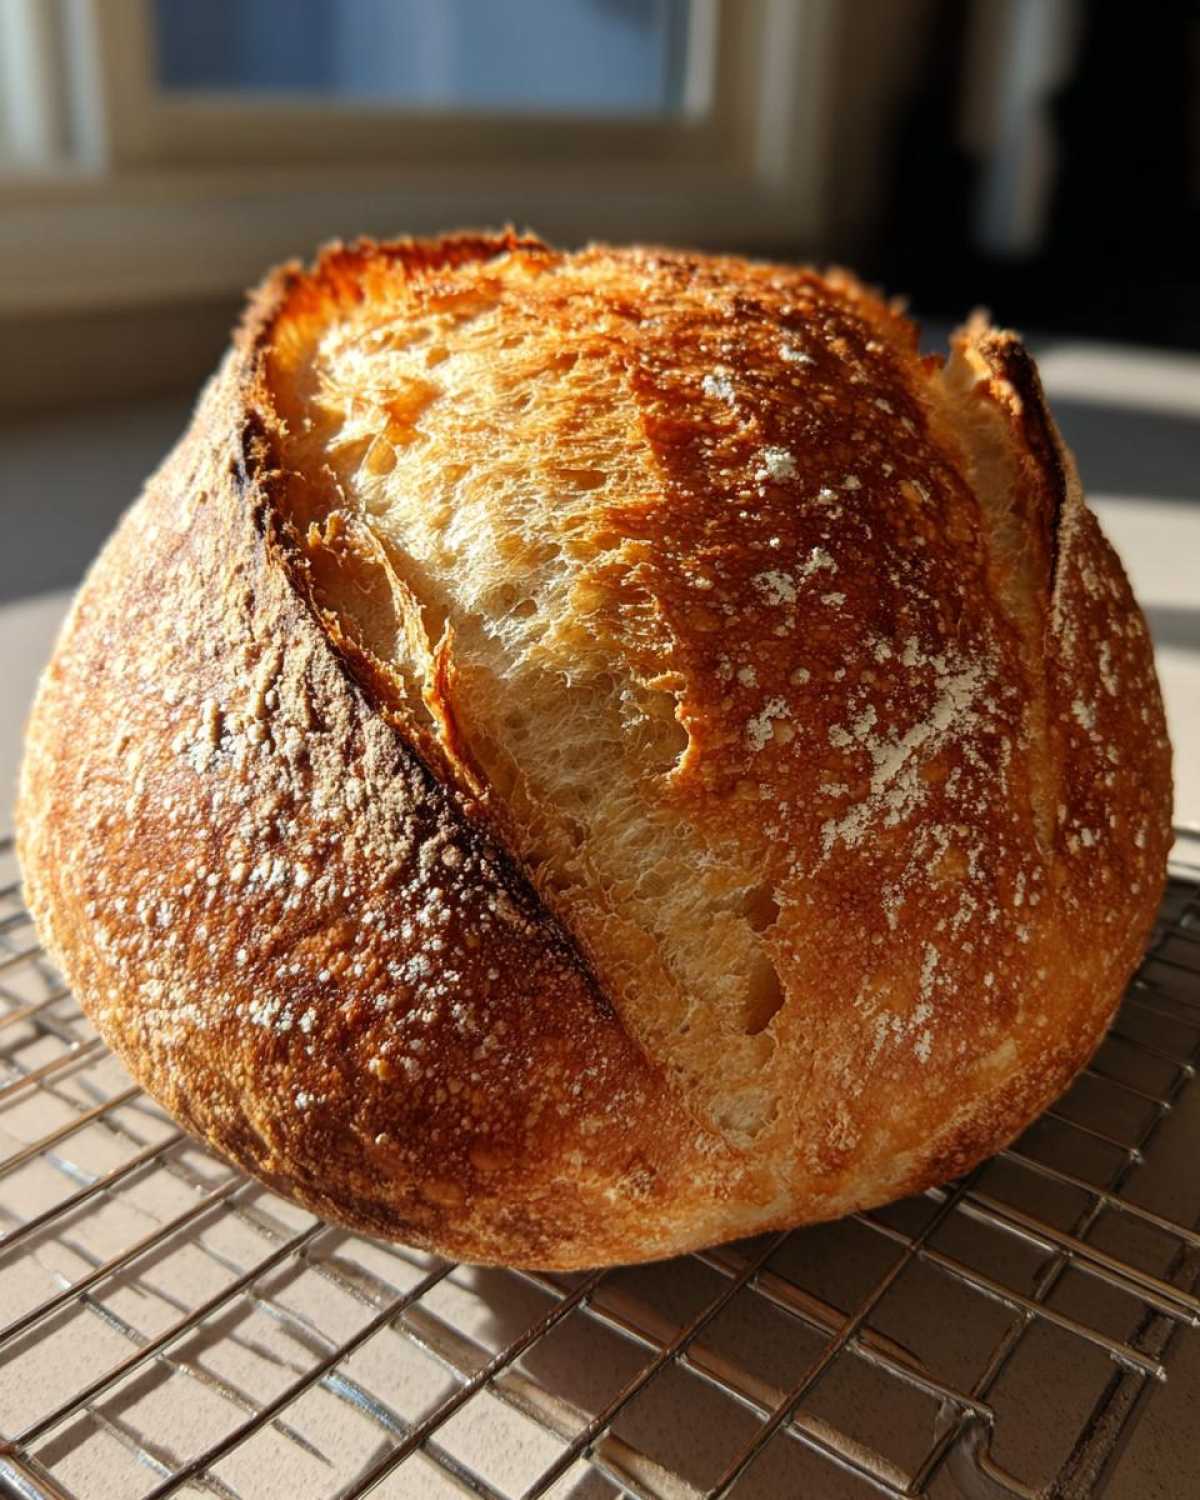
Okay, you’ve got your dough rising; now let’s talk execution! Getting that perfect crunch on your Italian bread really comes down to those last few minutes in the oven. Remember how I talked about steam? That’s the number one way to turn this into an Artisan Bread at Home masterpiece. If you skip the steam pan, don’t stress! You can brush the top of the loaf with melted butter right after it comes out of the oven. That’s Liam’s shortcut for a softer finish, though I prefer that loud, shattering crust myself.
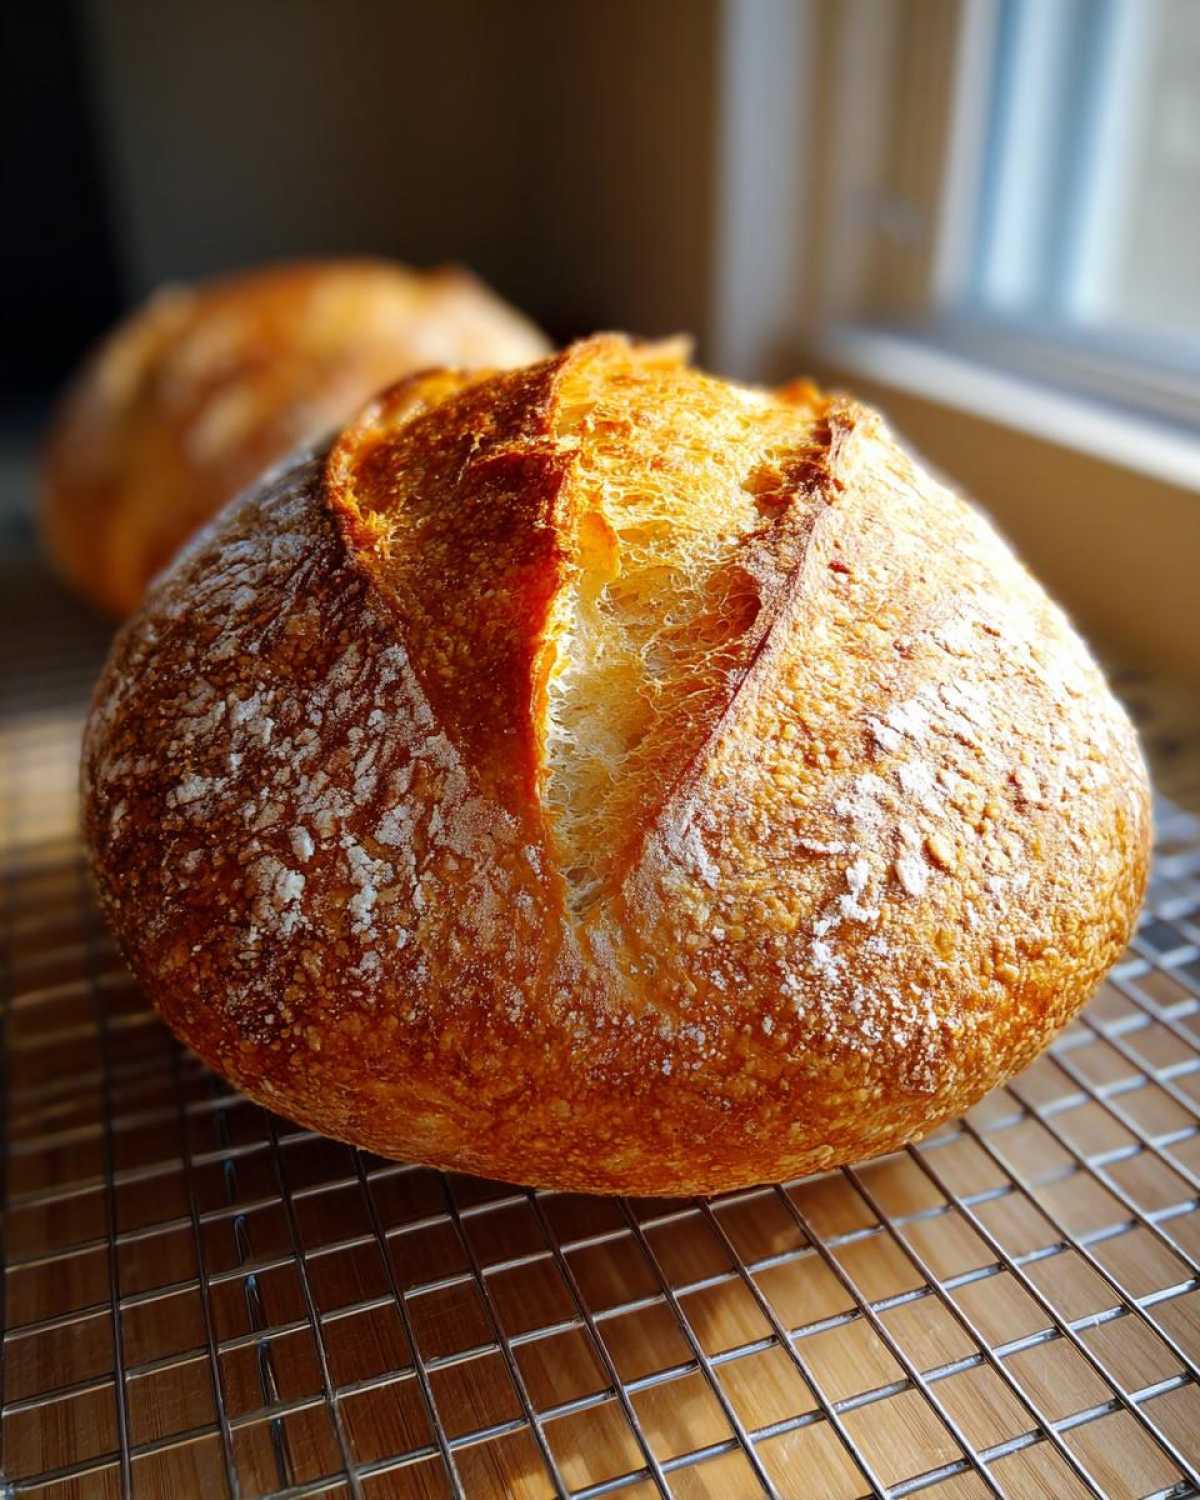
We already know this bread is amazing for dipping, but don’t forget how great it is for sandwiches too! Whether you’re making a massive sub or just eating the crusty end with a drizzle of olive oil, this loaf shines. If you’re looking for other fun ways to use simple dough, you have to check out my recipe for easy homemade garlic breadsticks; it uses a similar dough concept. For more reassurance on getting that crackly crust, check out the techniques discussed over at Crusty Italian Bread: Bake Perfect Crust Every Time!
Serving Suggestions for Your Fresh Baked Bread Aromas
I swear, the best part of baking this Italian bread isn’t even eating it warm; it’s walking around the house enjoying those Fresh Baked Bread Aromas! Now that you have this spectacular loaf, what do you do with it? Honestly, I have so many ways I serve it now that I’ve become a real baker. It’s the absolute undisputed star of any night we have soup—we make a huge pot of Liam’s Italian Sausage Tortellini Soup, and this bread is the main event for dipping! This is why it’s so great for amazing Dipping Bread Recipes.
Of course, it shines as a simple Dinner Side Bread Recipe, drizzled with good olive oil and a little bit of flaky salt. But I also use the leftovers constantly for quick sandwiches the next day! The crust holds up so well, keeping the sandwich from getting soggy. If you want to see how good this loaf is next to a hearty main dish, check out the incredible crust pics over at Crusty Italian Bread – Golden, Rustic & Perfectly Chewy! It truly makes any meal feel a little more special.
Storage and Reheating Instructions for Leftover Italian Bread
Even though I know this beautiful loaf of Italian bread will probably disappear the day it comes out of the oven, you might be lucky enough to have some leftover! The most important thing about storing crusty bread is letting it cool completely on a wire rack first. Don’t wrap it while it’s warm; that traps moisture and kills the crispy crust we worked so hard for! If you have leftovers, just keep them at room temperature in a paper bag for a day or two.
If the crust starts hiding from you and gets a little soft, don’t worry! To bring back that awesome crunch, just pop the whole loaf (or even slices) back into a 350°F oven for about 5 to 7 minutes. It’s like magic! It crisps right back up, and you get those wonderful Fresh Baked Bread Aromas all over again.
Frequently Asked Questions About This Italian Bread Recipe
You might have a few lingering questions before you dive into baking, and that’s totally normal! When I first started, I had a million of them too. Don’t sweat it; this quick tutorial is designed to be the best Beginner Bread Making guide possible. We want you to feel confident before you even turn the oven on!
Can I make this a No Knead Italian Bread?
That’s a great question, especially if you’re busy! Because this recipe is built for speed and structure—we want that Chewy Italian Loaf inside—it really does require that 5 to 7 minutes of kneading to develop the gluten. If you absolutely have zero time to knead, you might want to search specifically for a true “no knead” recipe, but just know those usually require a much longer overnight rest. For this method to get that golden crust, kneading is our friend!
How can I get a softer inside crusty outside bread?
This is the dream, right? Soft inside, crunchy outside! This comes down to two things we covered in the tutorial. First, avoiding over-baking: pull the bread out when it *just* sounds hollow when tapped. Second, the steam we create in the oven is essential for keeping the crust from setting too quickly, allowing the interior to puff up beautifully. Keep that steam pan in there for at least the first 10 minutes!
If you want to see more of my kitchen questions and answers, check out my general thoughts on baking over at the Cookery Courier Blog. And for super specialized crust tips, Crusty Italian Bread Recipe often has great insights!
Estimating Nutritional Data for Classic Italian Baking
Now, I’m Chloe, not a nutritionist, so please keep this in mind! These numbers are an estimate based on the basic ingredients listed for this rustic, Classic Italian Baking recipe. This loaf is delightfully simple, meaning no weird fats or additives sneaking in. For one slice, you’re looking at roughly 180 calories, about 3 grams of fat, 34 grams of carbohydrates, and 5 grams of protein. It’s honestly amazing how much flavor we get from just flour, water, yeast, and salt!
Share Your Homemade Italian Bread Creations
I absolutely love, love, love seeing your bakes! When you make this Italian bread, please snap a picture and tag us. If you loved it, give the recipe 5 stars right here on the page—it helps other bakers find this easy tutorial! I would be thrilled if you dropped a comment sharing what amazing sauce or soup you served this incredible loaf with. If you need to reach out with a question or just want to say hello, use our Contact page! And don’t forget to check out the community sharing their stunning results over at Homemade Italian Bread with Crispy Crust!
PrintEasy Crusty Homemade Italian Bread: Bakery Style at Home
Learn to make bakery-style Italian bread with a golden, crunchy crust and a soft, chewy interior. This beginner-friendly recipe uses simple pantry ingredients and delivers comforting results fast.
- Prep Time: 20 min
- Cook Time: 35 min
- Total Time: 2 hours 5 minutes
- Yield: 1 loaf
- Category: Baking
- Method: Baking
- Cuisine: Italian
- Diet: Vegetarian
Ingredients
- 3 1/2 cups all-purpose flour
- 1 1/2 teaspoons salt
- 1 teaspoon granulated sugar
- 2 1/4 teaspoons active dry yeast (1 packet)
- 1 1/2 cups warm water (about 105-115°F)
- 2 tablespoons olive oil, plus more for the bowl
Instructions
- In a large bowl, mix the warm water, sugar, and yeast. Let this stand for 5 to 10 minutes until it becomes foamy. This shows your yeast is active.
- Add the olive oil to the yeast mixture.
- In a separate bowl, whisk together the flour and salt.
- Gradually add the dry ingredients to the wet ingredients, mixing until a shaggy dough forms.
- Turn the dough out onto a lightly floured surface. Knead the dough for 5 to 7 minutes until it becomes smooth and elastic. You want a soft, chewy texture.
- Lightly oil a large bowl with olive oil. Place the dough in the bowl, turning it once to coat. Cover the bowl with plastic wrap or a clean kitchen towel.
- Let the dough rise in a warm place for 1 to 1.5 hours, or until it has doubled in size. This is your first rise.
- Gently punch down the dough to release the air. Shape the dough into a long, rustic loaf shape on a baking sheet lined with parchment paper.
- Cover the shaped loaf loosely and let it rest for a second rise for 30 to 45 minutes. Preheat your oven to 400°F (200°C) during the last 15 minutes of the second rise. For an extra crispy crust, place a shallow pan on the bottom rack while preheating to create steam.
- Just before baking, use a sharp knife to score the top of the loaf with a few shallow diagonal cuts. If using the steam method, carefully pour about 1 cup of hot water into the preheated shallow pan and quickly close the oven door.
- Bake for 30 to 35 minutes, or until the crust is deep golden brown and sounds hollow when tapped.
- Remove the bread from the oven and transfer it to a wire rack to cool completely before slicing. Enjoy this homemade Italian bread warm.
Notes
- For the best crispy crust, create steam in the oven during the first 10 minutes of baking.
- If you prefer a softer crust, skip the steam pan and brush the top of the loaf lightly with melted butter immediately after it comes out of the oven.
- This bread is perfect for dipping in olive oil or serving alongside pasta dishes.
Nutrition
- Serving Size: 1 slice
- Calories: 180
- Sugar: 1
- Sodium: 250
- Fat: 3
- Saturated Fat: 0.5
- Unsaturated Fat: 2.5
- Trans Fat: 0
- Carbohydrates: 34
- Fiber: 1.5
- Protein: 5
- Cholesterol: 0