

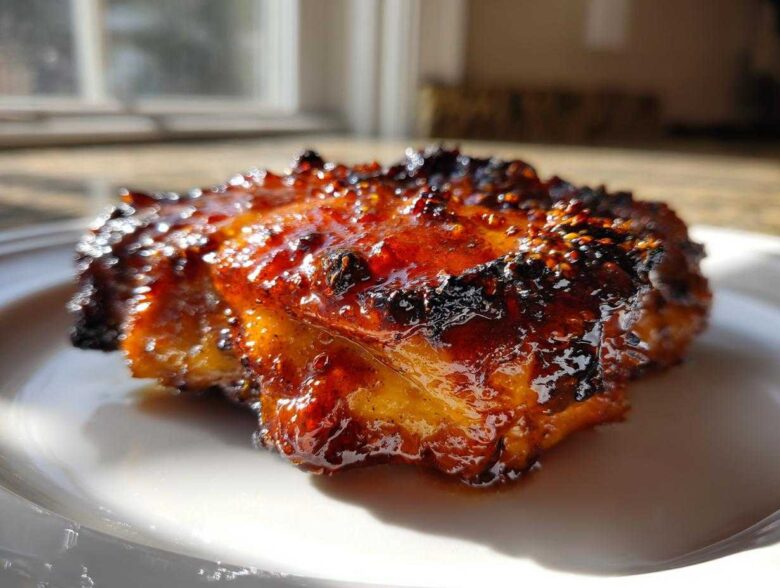
Okay, listen to me. I’ve spent years wasting money ordering that watery, sad orange chicken from the local spots. It’s usually dry breast meat swimming in too-sweet sauce that slides right off. No, thank you! That’s why I completely dedicated myself to figuring out the best way to make it at home, and WOW, did I crack the code. Forget everything you thought you knew!
This recipe for Sticky Orange Chicken Thighs Better Than Takeout is a total game-changer because we are using thighs—they stay juicy no matter what. Plus, the process I use creates a glaze that is perfectly thick, glossy, and actually *clings* to the meat for that incredible sweet and tangy bite every single time. For more juicy chicken tips, you should check out my guide on the best chicken marinade for incredibly flavorful results! Trust me, once you try this, you’ll never go back to delivery again. I perfected this specific method so you don’t have to waste time testing slumps!
Why This Recipe for Sticky Orange Chicken Thighs Better Than Takeout
I know you’re skeptical. We all are! But this isn’t just *another* Chinese-American recipe. This version is scientifically proven (okay, kitchen-tested for years) to be better than anything you’ll get in those little white cartons. We upgrade the quality in every single step, focusing on flavor and texture.
- We ditch sad, dry chicken breast. This recipe locks in so much flavor because we use thighs. They just don’t dry out, even if you leave the sauce on a little too long!
- The sauce consistency is everything. Takeout sauces are often thin and runny. Mine is thick, glossy, and actually *sticks* where it’s supposed to.
- We build depth with fresh zest and ginger, giving you that bright, real orange flavor that bottled stuff just can’t replicate.
Juicy Meat Guaranteed with Chicken Thighs
This is non-negotiable for me. Chicken thighs have more intramuscular fat, which means they stay tender and flavorful even when they hit that high heat in the skillet. When you sear them right, those fat pockets render out, giving you an amazing richness that breast meat simply cannot deliver. It’s the secret to a satisfying bite!
Achieving The Ultimate Sticky Orange Sauce for Chicken
The secret to that perfect, restaurant-quality stickiness? It’s all about the cornstarch slurry timing! You have to whisk it into simmering liquid slowly. When done right, BAM! You get a magnificent, thick glaze that completely envelops the chicken. It’s shiny, it’s clingy, and it is unbelievably delicious. That technique is what separates the amazing from the average, I promise you that.
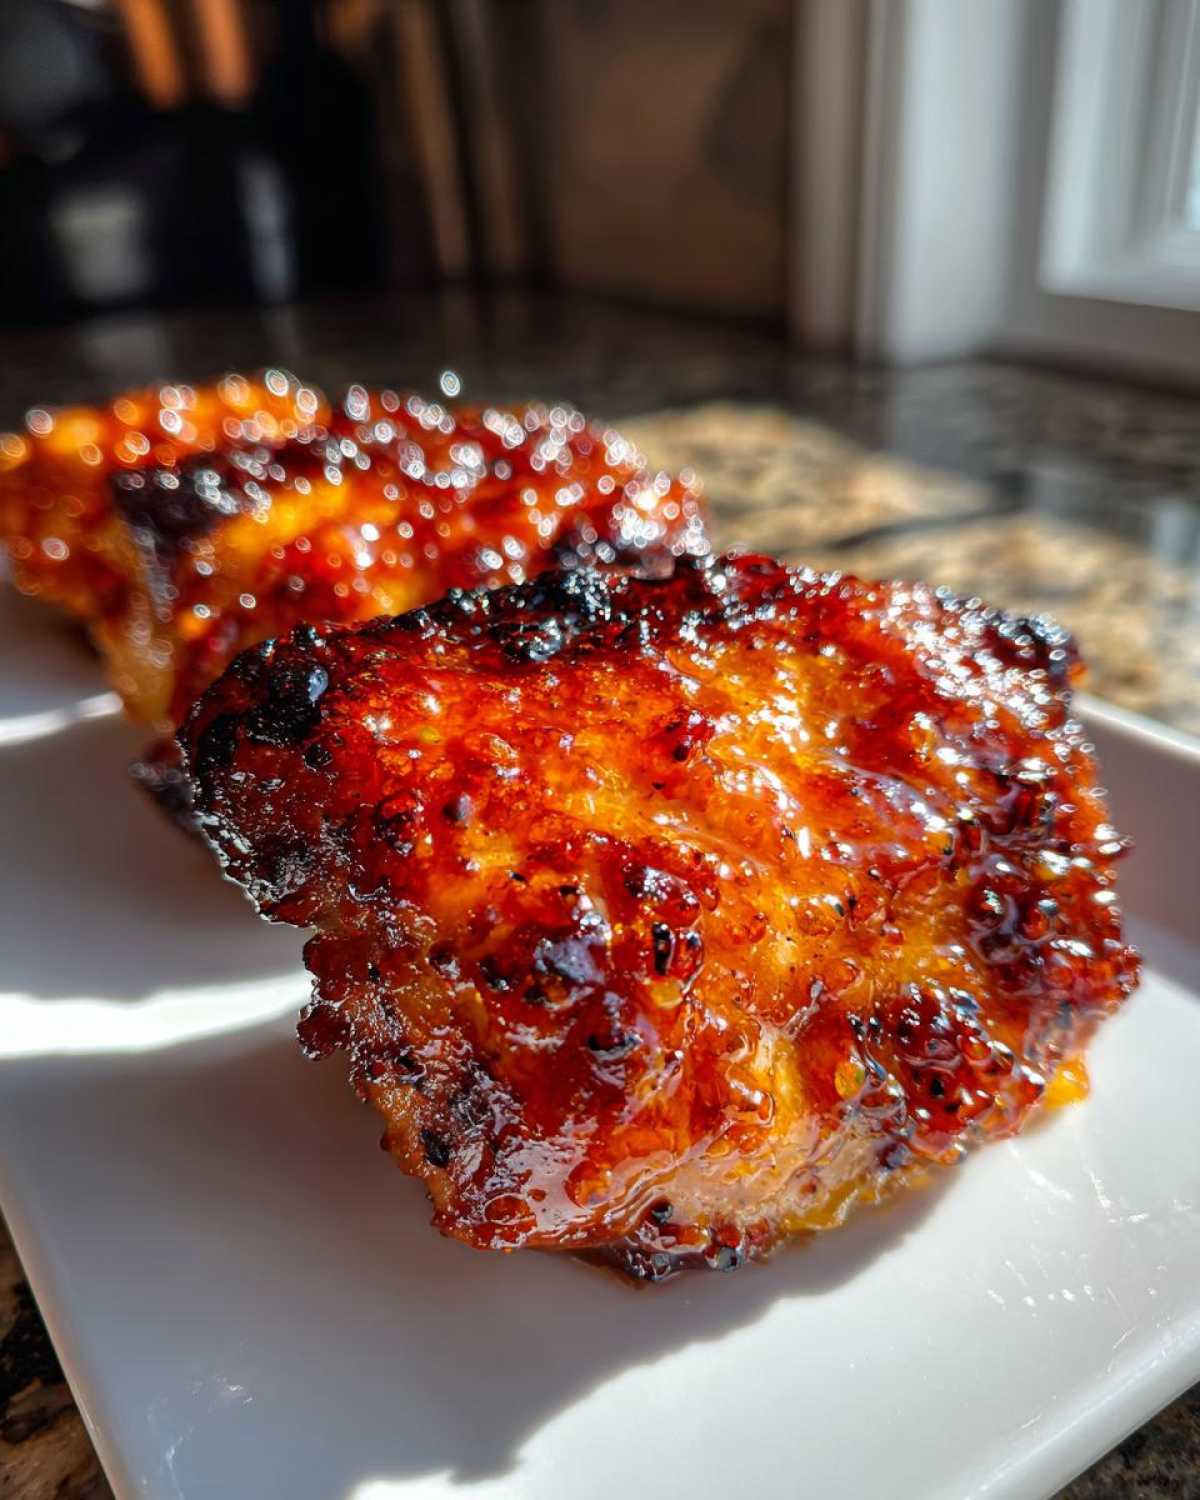
Ingredients for Sticky Orange Chicken Thighs Better Than Takeout
You don’t need a pantry full of specialty sauces for this, which is part of why I love it so much for a quick weeknight meal! Everything here comes together fast, but using fresh ingredients really elevates the final product. Seriously, grab a real orange—the difference between fresh juice and that stuff from the shelf is night and day for this recipe. We are aiming for a bright, vibrant flavor, not something dull!
If you’re looking for an even deeper dive into copycat recipes, I’ve got a fantastic comparison piece on the best copycat orange chicken recipes floating around that might inspire you later! But for now, let’s gather our supplies. Here’s exactly what you need to make this magic happen:
- 2 lbs boneless, skinless chicken thighs, make sure you trim off any really large, floppy bits of fat!
- 1 tablespoon vegetable oil (or any high-heat oil you like for searing).
- 1/2 cup fresh orange juice—remember, fresh is best!
- 1/4 cup soy sauce (I use low sodium, but use what you have).
- 1/4 cup rice vinegar (this gives it that crucial tang).
- 1/2 cup packed light brown sugar (packing it tight makes sure it measures correctly!).
- 2 tablespoons grated fresh ginger—don’t bother peeling perfectly, grating takes care of it!
- 2 cloves garlic, minced finely.
- 1 teaspoon sesame oil (save this for the sauce, not the searing).
- 1/2 cup cold water.
- 3 tablespoons cornstarch (our thickening masterpiece!).
- Orange zest from 1 large orange—this really wakes up the sauce!
- Optional: A small pinch of red pepper flakes if you like a little kick.
- For serving: You absolutely need some cooked rice and thinly sliced green onions for garnish.
Essential Equipment for Your Sticky Orange Chicken Thighs
Before you even think about grabbing the chicken, let’s make sure your kitchen is set up for success! Getting your tools ready is a huge part of making this a quick, non-stressful weeknight dinner. If you’re scrambling for a spatula mid-glaze, things can go sideways fast, and we certainly don’t want a burnt-sugar emergency on our hands!
I find that having everything measured out beforehand—what we professional cooks call *mise en place*—is the secret weapon for highly active cooking like this stir-fry method. You’ll be moving fast once that skillet gets hot!
Here are the few simple items you absolutely need:
- A large, heavy-bottomed skillet or a wok. Seriously, use the biggest one you have. You need room to sear the chicken properly in one or maybe two batches without crowding the pan, and that crowding is what prevents that beautiful brown crust we want.
- Measuring cups and spoons. Precision matters most when you’re dealing with the sauce ratios, especially the cornstarch and sugar mix!
- A good box grater or microplane for getting that fresh ginger and orange zest—don’t skip grating these; they are flavor powerhouses!
- Tongs for flipping the chicken easily while it sears.
- A small bowl dedicated solely to mixing up that cornstarch slurry. Don’t try mixing it right in the pan!
- The whisk! You need a good whisk for incorporating that slurry evenly into the liquid without lumps. That ensures a smooth, glossy finish.
How to Prepare Your Sticky Orange Chicken Thighs Better Than Takeout
This is the part where the magic actually happens, and honestly, it moves fast once you get going! The key to success here isn’t just following the recipe; it’s doing two things right: getting a good sear on the meat first, and then not stopping whisking when you add the thickener. If you’re ready to transform your kitchen into a takeout dream spot, let’s get started with the steps.
If you ever make my amazing honey garlic chicken stir-fry, you’ll recognize how important it is to get that first sear down perfectly—it builds so much foundational flavor!
Preparing and Searing the Chicken Thighs
The first rule for any sticky glaze is starting with dry meat. Go ahead and give those gorgeous chicken thighs a really good pat-down with paper towels. Seriously, blot them until they feel almost dry to the touch! This is non-negotiable because wet chicken steams instead of browns, and we want color here. Once dry, just give them a light dusting of salt through pepper.
Heat up your oil in that big skillet until it’s shimmering over medium-high heat. Lay the chicken in a single layer—don’t overcrowd the pan, or you’ll regret it later! Sear them for about five to seven minutes on each side until they are beautifully golden brown and mostly cooked through. Pro tip: If you want a truly crispy exterior that holds up even better in the sauce, dredge those dry thighs lightly in a bit of cornstarch (or flour) before searing. Once seared, yank them out and set them aside on a clean plate.
Building The Thick Sticky Orange Glaze Technique
Now, use the same skillet—all those browned bits add flavor! You’re going to toss in the fresh orange juice, soy sauce, rice vinegar, brown sugar, ginger, garlic, sesame oil, and that bright orange zest. Bring this mixture up to a simmer over medium heat, stirring until that brown sugar completely melts away. Don’t rush this part; let it get happy!
While it’s simmering, mix your 1/2 cup of cold water with the 3 tablespoons of cornstarch in a separate little cup until it’s completely smooth—that’s your slurry. Now comes the critical part: pour that slurry into the simmering sauce while whisking constantly, and I mean constantly! Keep whisking for just a minute or two. You’ll see it magically transform! It goes from watery to thick and glossy in seconds. How do you know it’s ready? It should thickly coat the back of your stirring spoon—when you run your finger along the spoon’s backside, the line should hold clear and not immediately run back together.
Coating the Chicken for the Final Sticky Orange Chicken Thighs Better Than Takeout Finish
Now that your glaze is perfect, reduce that heat back down to low—we don’t want it boiling anymore. Gently nestle all those seared chicken thighs back into the skillet. Use tongs to toss everything together carefully. You only need about one minute here! The goal is just to warm the chicken back up and let that incredible, thick glaze adhere lovingly to every nook and cranny. You want that “better than takeout” coating!
Once every piece is beautifully coated, take it straight off the heat. Serve it up immediately piled high over fluffy white rice, and don’t forget to sprinkle on those fresh green onions. Look how sticky that is! You nailed it!
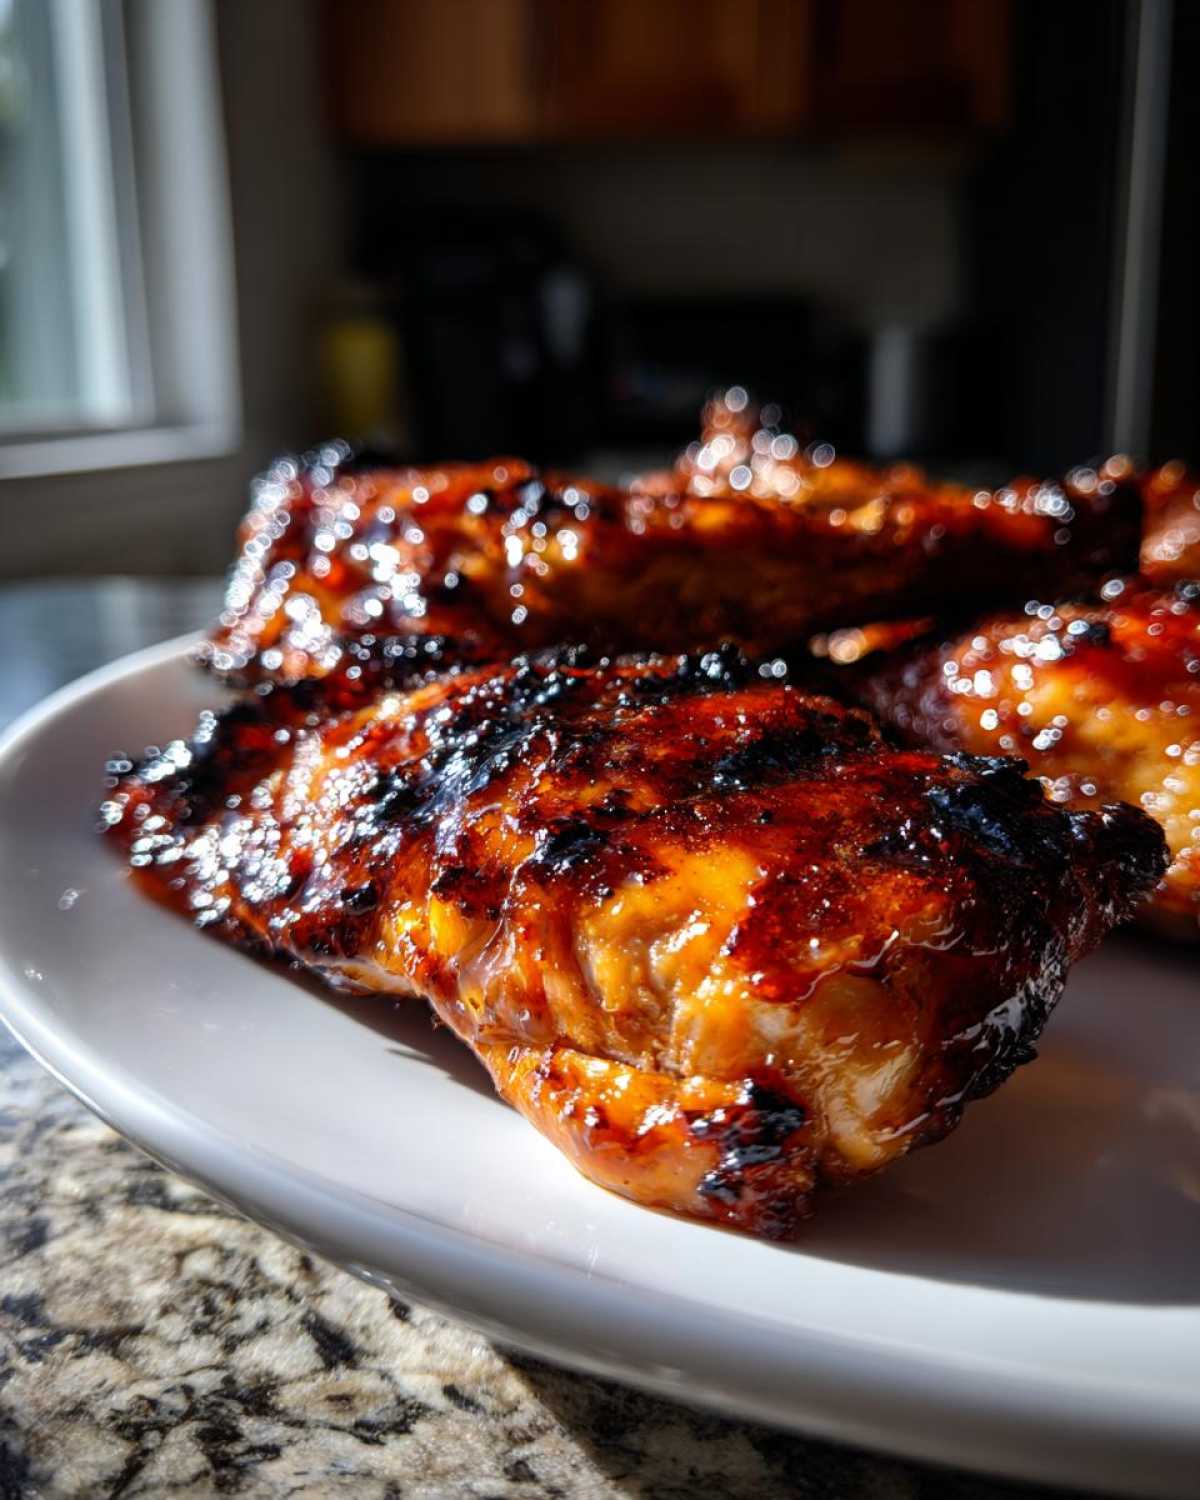
Tips for Success with Your Sticky Orange Chicken Thighs
I want you to have maximum success with this recipe! It’s really straightforward, but a couple of little details I learned through trial and error can make the sticky glaze go from good to absolutely phenomenal. Remember, this is about elevating something basic into a showstopper meal, so pay attention to these small victories.
First off, I want to talk about flavor density. You really can taste the effort you put in when it comes to citrus! Always, always use fresh orange juice. That bottled stuff has stabilizers and dulls the flavor, just turning things sweet instead of bright. For a special treat, maybe make some cranberry orange scones for dessert later—the difference that fresh citrus makes is amazing!
Here are the absolute best tips I can give you to ensure that glaze is perfect:
- Don’t Skimp on the Simmer Time: After you whisk in that cornstarch slurry, you *must* keep it simmering and whisking for at least a full minute, maybe a minute and a half. This is how you cook out that raw cornstarch taste and achieve that beautiful, thick, glossy texture. You want the sauce thick enough that it holds its shape on the back of a spoon—that’s the hallmark of a truly superior sticky glaze.
- The Power of Fresh Zest: That little bit of orange zest is crucial! It contains the essential oils from the peel, giving you that aromatic, high note of orange flavor that complements the juice. Bottled extract just can’t capture that freshness when paired with savory garlic and ginger. I usually zest the orange right before I juice it to maximize flavor extraction.
- Pat, Pat, Pat Your Chicken Dry: I mentioned it in the steps, but I’m saying it again because it’s that important for texture! Moisture equals steam. Steam equals pale, flabby chicken exterior. Dry chicken equals a deep, rich sear in the hot oil, which gives the final glaze something delicious to grip onto.
- Use Medium Heat for the Sauce Reduction: When you’re reducing the liquid base (juice, soy sauce, sugar), keep the heat at a nice medium. If you crank it too high, the sugar can scorch before the liquid has a chance to properly break down and reduce slightly, which results in a muddy flavor instead of a clean, sweet tang.
Follow these little guidelines, and you won’t have any thin, sad sauces sticking around—you’ll have perfectly coated, restaurant-level chicken thighs ready for dinner!
Variations for Your Chinese American Chicken Thighs Recipe
Even though this recipe is already spectacular as is—I mean, it’s better than takeout, remember?—sometimes you just want to switch things up a little mid-week, right? Kitchens are supposed to be fun, not rigid! Since the base sauce is so robust and flavorful, it’s a fantastic canvas for adding other amazing textures and tastes. You can easily turn this into a full dinner sheet pan meal or just amp up the zing factor.
If you want to bulk it up with some fresh veggies, I highly recommend doing that right after you sear the chicken and *before* you make the sauce. Don’t worry, you can throw some vibrant colors into this Chinese American Chicken Thighs Recipe without overcomplicating things. Speaking of amazing vegetable sides, you absolutely have to check out my recipe for Chinese green beans with garlic sauce—it pairs perfectly with this chicken!
Here are a few ways I love to change up my batch:
- Add Veggies for a Complete Meal: Toss about two cups of raw broccoli florets or sliced bell peppers (I like yellow and red!) into the skillet right after you remove the seared chicken. Sauté them for about 3-4 minutes until they are bright green but still have a great snap. Then, proceed with building your sauce. The veggies will get coated in that sticky glaze beautifully!
- Boost the Heat Level: If you find yourself needing more of a kick than just a pinch of red pepper flakes, try adding a teaspoon of Sriracha or a dash of chili garlic sauce right when you add the ginger and garlic to the pan. It deepens the spice profile wonderfully without fighting the orange flavor.
- Extra Tang! Sometimes I crave a little more sour punch to cut through the richness of the thighs. Before you add the slurry, taste your simmering sauce. If it feels too sweet, I add an extra teaspoon of rice vinegar or even a splash of fresh lime juice. It brightens everything up immediately.
- Sesame Crunch Power-Up: For the final toss, sprinkle in a tablespoon of toasted sesame seeds along with the chicken. They add such a lovely, nutty little texture contrast to the thick glaze. Plus, it makes the final dish look totally professional!
See how easy that is? You take the same killer sauce base and suddenly you have three new dinners ready to go. That’s the beauty of having a core, unbeatable recipe! Have fun tweaking it!
Storage and Reheating Instructions for Sticky Orange Chicken Thighs
One of the greatest things about mastering a dish like Sticky Orange Chicken Thighs Better Than Takeout is knowing you have amazing leftovers for lunch the next day! Unlike takeout, where the sauce gets gummy or watery after an hour in the fridge, we can actually save this properly to keep that perfect sticky texture intact.
The key here is dealing with the sauce correctly. The cornstarch does its job beautifully when hot, but when it cools, it will set up quite firm. That’s okay! It’s totally reversible. For meal prepping, I always look for recipes that hold up well, and this one is a winner. If you want some dedicated prep ideas, check out my guide over at meal prep sticky orange chicken for how I portion this out for busy weeks.
Here’s how to handle leftovers so your second meal is just as good as the first:
- Storage is Simple: Let any leftovers cool down completely on the plate for about 30 minutes before you seal them up. Store the chicken and any extra rice in separate, airtight containers. The chicken pieces with the glaze should go into one sealed container. I find that if you store the chicken and the glaze already mixed, the sauce might pull a little moisture out of the meat overnight if you leave it too long.
- Reheating the Chicken (Best Method): Forget the microwave for this one if you can; it tends to steam the beautiful sticky coating right off! The absolute best way to reheat is on the stovetop. Toss the coated chicken pieces into a non-stick skillet over medium-low heat. Add just one tablespoon of water or chicken broth to the pan—this creates enough steam to warm the chicken without drowning the glaze. Let it heat gently until it’s hot through.
- The Sauce Fix: If the leftover glaze seems too thick or gelatinous after refrigeration, don’t panic! Just scoop the cold glaze into a tiny saucepan, add one or two teaspoons of water or orange juice, and warm it gently over low heat, whisking until it smooths out and becomes glossy again. Once smooth, pour it over your reheated chicken.
- Make-Ahead Tip: You can actually make the orange glaze entirely ahead of time! Whip up the sauce (Steps 3, 4, and 5 from the recipe) and store it covered in the fridge for up to three days. When you’re ready to eat, just sear your raw, seasoned chicken thighs, and then proceed with Step 6: returning the cooked chicken to the pre-made, warmed sauce. It saves you about 15 minutes during the cooking process when you’re tired!
Because we used extra-juicy thighs, this dish reheats beautifully and stays tender for up to three days in the fridge. Enjoy your zero-effort lunch!
Frequently Asked Questions About Sticky Orange Chicken Thighs Better Than Takeout
I get so many messages about people trying to adjust recipes, and that’s totally fine! Cooking is all about making things your own. But for this specific recipe, there are a few key things people often ask about, especially when it comes to achieving that perfect texture without deep-frying. I’ve got answers for you right here, so you don’t have to guess!
If you’re specifically looking to avoid the stove entirely for a cleaner cook, check out my thoughts on making homemade orange chicken thighs without frying—it’s a great alternative if you’re trying to keep things light.
Can I Make Sticky Orange Chicken Thighs Better Than Takeout in an Air Fryer?
Oh, absolutely you can! The air fryer is fantastic for getting a super crispy crust on the chicken, which is fun. If you do this, you’ll want to cook the chicken thighs without any sauce first, usually around 380°F for about 15 to 18 minutes, flipping halfway, until they’re done. Since the air fryer dries things out a bit, I still highly recommend making the glaze separately in a small saucepan using the stovetop method described earlier. Once the sauce is thick and glossy, toss your crispy air-fried thighs right into that hot sauce until they are lovingly coated. That way, you get the crispy exterior AND the perfect sticky glaze clinging to the outside!
What is the Best Way to Substitute the Chicken Thighs?
I always push for thighs because they are foolproof, but I get it—sometimes you only have chicken breast! If you use breast meat, you MUST cut it into smaller, bite-sized pieces before you sear them. Breasts cook so much faster and dry out almost instantly. You’ll need to watch them like a hawk, maybe only searing 3 minutes per side before setting them aside. They need less time in the final glaze step, too, maybe just 30 seconds of tossing rather than a full minute. If you’re going fully plant-based, extra-firm tofu works great too! Press it really well to get the water out before searing, and the result is often referred to as an excellent copycat takeout orange chicken!
Is it possible to make this dish lighter?
Yes, you can definitely tweak it for a lighter option, although you lose a little richness! To lighten it up, try cutting the brown sugar amount down by about a quarter—it’ll still be sweet and tangy, just less intense. For the fat, use just half a tablespoon of oil for searing the chicken, and rather than using skinless, boneless *thighs*, you could switch to skinless breast meat. Watch the sodium, too; using low-sodium soy sauce really helps cut down on how salty the final product is while keeping that essential savory background note!
What kind of orange should I use for the juice and zest?
My absolute favorite is a standard Navel orange. It gives you that beautiful, sweet-yet-tangy balance that pairs perfectly with the savory soy and ginger. You want a good solid medium-to-large orange to get that full half-cup of juice you need. I always try to juice mine right before I start cooking so the juice is bright and lively. If you can’t find Navels, a Cara Cara orange is delicious, too, but avoid super tart varieties like Seville oranges unless you plan on increasing the sugar significantly!
How do I prevent the glaze from becoming grainy?
Graininess usually happens when brown sugar doesn’t fully dissolve or if the sauce cools down too fast after being cooked. When you combine the juice, vinegar, and brown sugar in the pan—make sure you stir it constantly over medium heat until you can no longer feel any gritty sugar crystals on the bottom of the pan before you even think about adding the slurry. Once you add the cornstarch, keep it moving and slightly simmering until it’s glossy. If it cools too much before you use it, give it a quick reheat right before you toss the chicken in to ensure a perfectly smooth, delicious coating.
Estimated Nutrition for This Sweet and Tangy Orange Chicken Dish
I always like to give a little heads-up on what you are eating, even though I’m much more focused on flavor than counting calories during dinner prep! Since we are using fattier thighs here, the fat content is slightly higher than if we used breast meat, but trust me, that fat is where all the amazing flavor comes in. It’s a trade I’m always willing to make for something this delicious!
Please remember that these numbers are just estimates based on the exact recipe quantities, and they don’t account for the rice you serve it over or any extra oils used for cooking. If you use low-sodium soy sauce or less sugar, the sodium and sugar counts will drop, which is great for keeping things healthy!
- Serving Size: Approximately 1 thigh with sauce
- Calories: 450
- Sugar: 28g
- Sodium: 750mg (This is why low-sodium soy is a friend!)
- Fat: 18g
- Saturated Fat: 5g
- Unsaturated Fat: 13g
- Trans Fat: 0g
- Carbohydrates: 35g
- Fiber: 1g
- Protein: 38g
- Cholesterol: 130mg
So there you have it! A super satisfying meal packed with protein and flavor. Enjoy every single sticky bite!
PrintSticky Orange Chicken Thighs Better Than Takeout

Make juicy chicken thighs coated in a thick, sweet, and tangy orange glaze that surpasses standard takeout quality.
- Prep Time: 15 min
- Cook Time: 25 min
- Total Time: 40 min
- Yield: 4 servings
- Category: Dinner
- Method: Stovetop Searing and Glazing
- Cuisine: Chinese American
- Diet: Low Lactose
Ingredients
- 2 lbs boneless, skinless chicken thighs, trimmed
- 1 tablespoon vegetable oil
- 1/2 cup fresh orange juice
- 1/4 cup soy sauce
- 1/4 cup rice vinegar
- 1/2 cup packed light brown sugar
- 2 tablespoons grated fresh ginger
- 2 cloves garlic, minced
- 1 teaspoon sesame oil
- 1/2 cup water
- 3 tablespoons cornstarch
- Orange zest from 1 large orange
- Optional: Red pepper flakes for heat
- For serving: Cooked rice and sliced green onions
Instructions
- Pat the chicken thighs dry with paper towels. Season lightly with salt and pepper.
- Heat the vegetable oil in a large skillet or wok over medium-high heat. Add the chicken thighs and cook for 5-7 minutes per side until browned and cooked through. Remove chicken and set aside.
- In the same skillet, combine the orange juice, soy sauce, rice vinegar, brown sugar, ginger, garlic, sesame oil, and orange zest. Bring the mixture to a simmer over medium heat, stirring until the sugar dissolves.
- In a small bowl, whisk together the water and cornstarch until smooth to create a slurry.
- Pour the cornstarch slurry into the simmering sauce while whisking constantly. Continue to cook and whisk for 1-2 minutes until the sauce thickens significantly and becomes glossy.
- Return the cooked chicken thighs to the skillet. Toss gently to coat every piece thoroughly with the sticky orange sauce. Cook for 1 minute to allow the glaze to adhere.
- Remove from heat. Serve immediately over rice, garnished with sliced green onions.
Notes
- For a crispier exterior, you can lightly dredge the chicken thighs in flour or cornstarch before searing them.
- To achieve the thickest glaze, let the sauce simmer for an extra minute after adding the slurry, ensuring it coats the back of a spoon.
- Use fresh orange juice for the best flavor; bottled juice often lacks the necessary brightness.
Nutrition
- Serving Size: 1 thigh with sauce
- Calories: 450
- Sugar: 28
- Sodium: 750
- Fat: 18
- Saturated Fat: 5
- Unsaturated Fat: 13
- Trans Fat: 0
- Carbohydrates: 35
- Fiber: 1
- Protein: 38
- Cholesterol: 130