

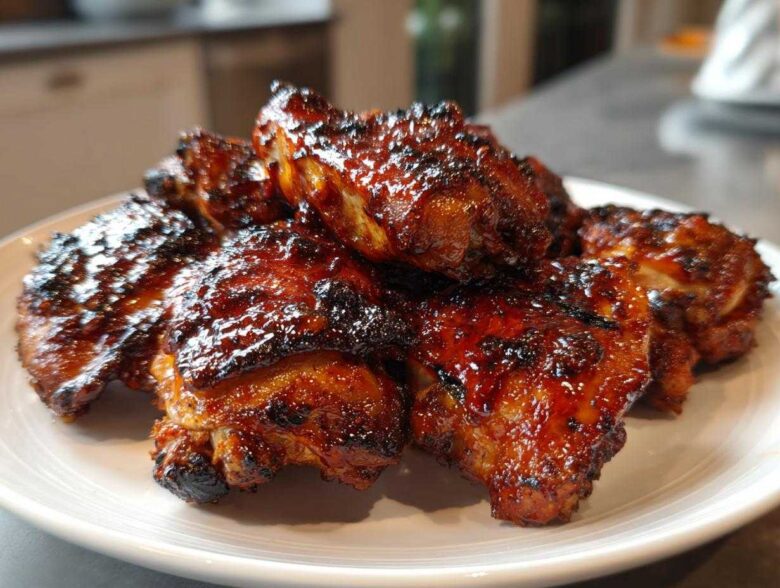
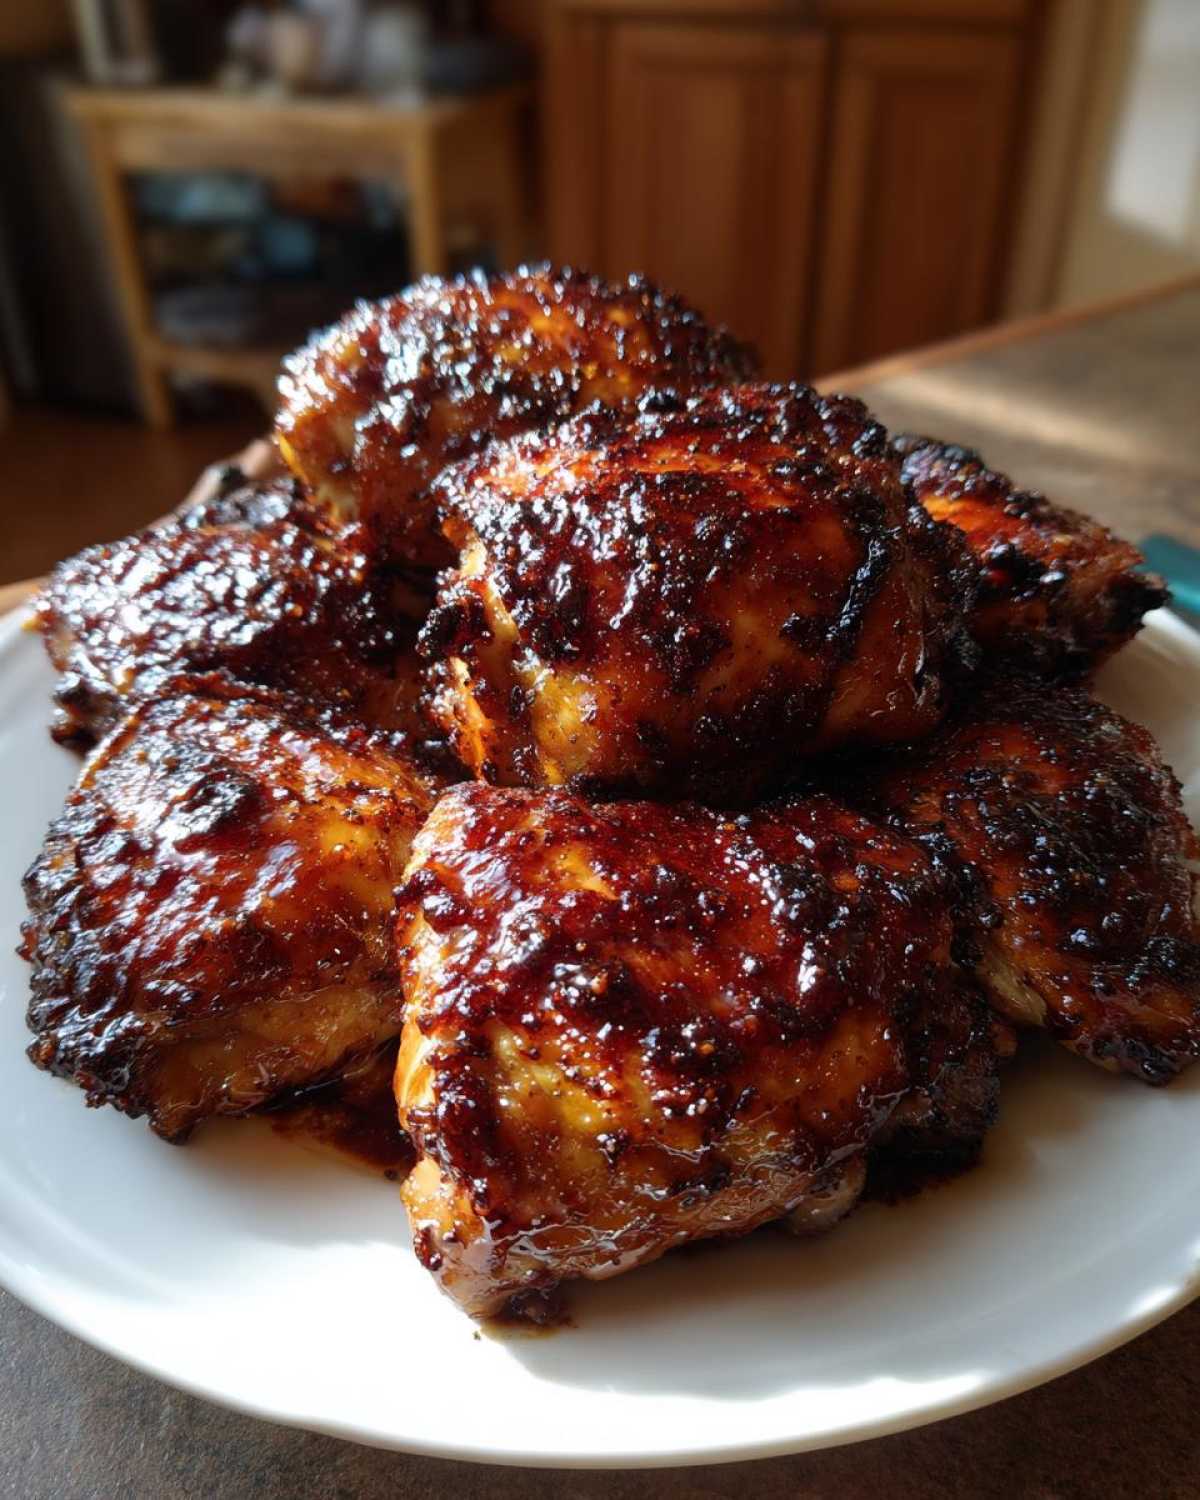
Oh, let me tell you, there’s nothing sadder than BBQ chicken that just drips sadly off the bone. We want sticky! We want that glorious, thick, browned glaze that pulls away just right when you bite into it. I spent way too many weekends trying to get that consistency perfect. Most recipes give you a thin, runny glaze that bakes right off, but not mine. Trust me, after too many messy attempts, I figured out the secret to the ultimate Sticky BBQ Chicken Thighs with Honey Glaze. It’s all about the simmer time on that sweet coating!
This version, using bone-in thighs, is just incredibly moist, and the honey caramelizes into this unbelievable sticky armor around the meat. I’ve got the exact saucepan technique down pat now, so you won’t have to guess whether your sauce is thick enough. I even have a whole post about how to make easy homemade BBQ sauce, but this glaze is my favorite variation. It’s easy, I promise. When you pull these out of the oven, be prepared for everyone to immediately have sticky fingers!
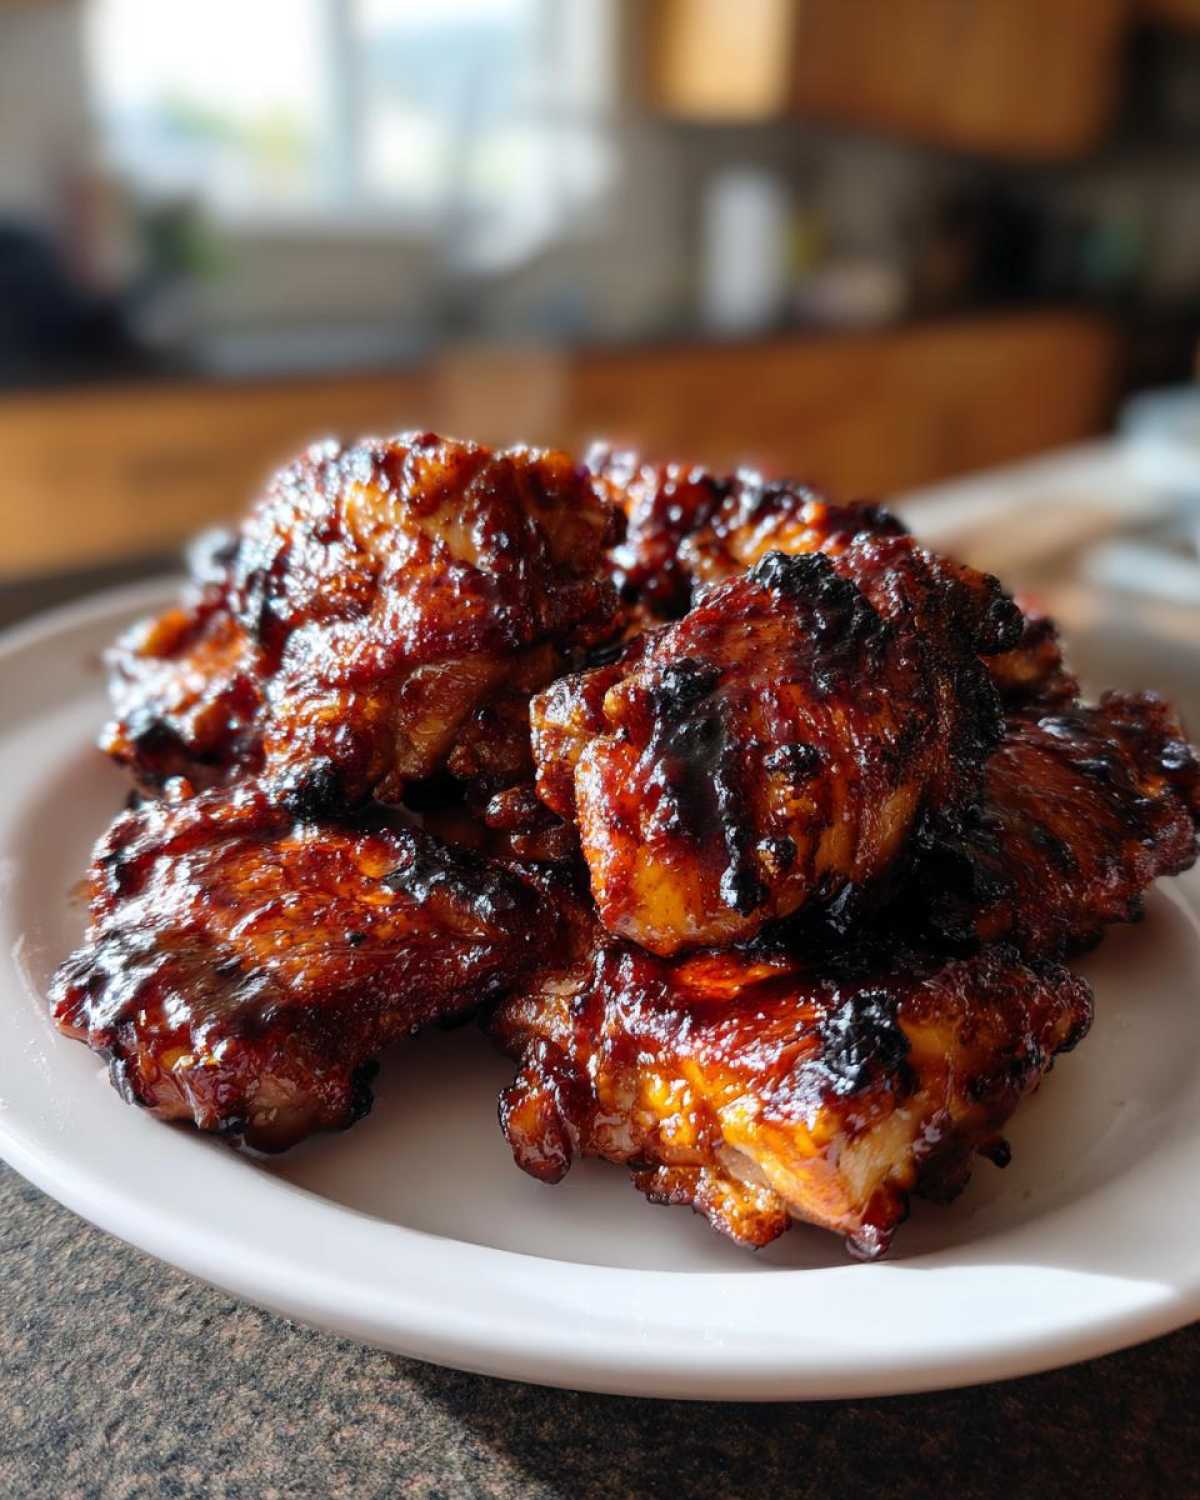
Why This Sticky BBQ Chicken Thighs with Honey Glaze Recipe Works (EEAT Focus)
You can use any chicken cut, honestly, but there’s a reason I always insist on bone-in, skin-on thighs for this recipe. That’s where the moisture stays locked in! Using the right cut alongside the right technique is key to delivering on that sticky promise. We’re building layers of flavor and texture here, not just slapping sauce on top and hoping for the best. It’s all about patience—just a little bit of it! I actually have a whole guide on how to get extra juicy flavor when cooking chicken, and that philosophy applies here too.
Achieving Moist Chicken Thighs with Glaze
The biggest mistake people make is not letting the chicken start cooking naked! We give those skin-on thighs a solid 25 minutes in the hot oven first. This renders some of that surface fat and crisps up the skin just a bit before the thick glaze ever hits it. It’s like preparing a perfect canvas. You have to cook it to that safe internal temperature early on, and then the glaze becomes the perfect finishing touch for flavor, not the primary cooking agent.
Building the Perfect Sticky BBQ Chicken Thighs with Honey Glaze
The secret to that unbelievable stickiness? The glaze reduction. We can’t just dump the honey mixture on and call it a day. We simmer the sauce just long enough to concentrate those sugars—that’s what creates the drag and tackiness we love in Sticky BBQ Chicken Thighs with Honey Glaze. Then, we employ the secret weapon: a quick, high-heat blast under the broiler after basting. That final minute under the heat locks everything down and gives you that dark, caramelized crown.
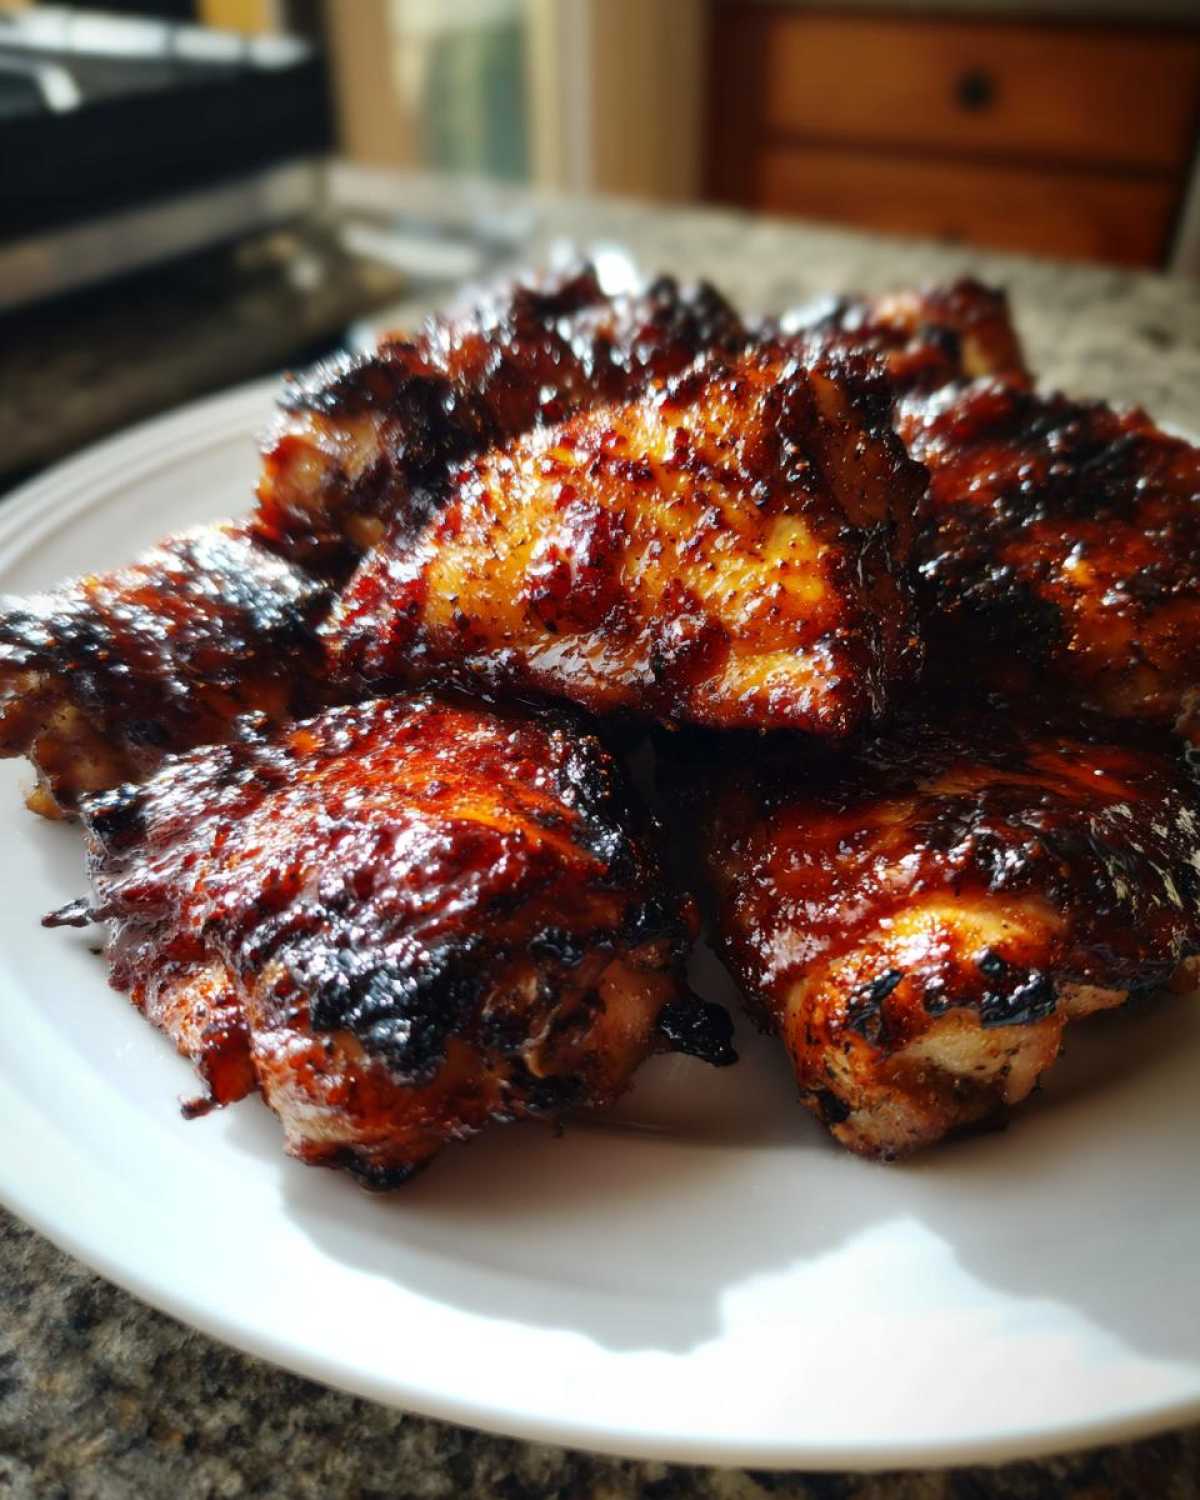
Ingredients for Your Sticky BBQ Chicken Thighs with Honey Glaze
You only need a few things you probably already have, which makes getting these Sticky BBQ Chicken Thighs with Honey Glaze on the table so much easier! The key is using good quality honey, obviously, since it’s the star here. Don’t skimp on the smoked paprika; it gives us that great BBQ depth without having to fire up the grill.
- 8 bone-in, skin-on chicken thighs
- 1 tablespoon olive oil
- 1 teaspoon salt
- 1/2 teaspoon black pepper
- 1/2 cup ketchup
- 1/4 cup honey
- 3 tablespoons apple cider vinegar
- 2 tablespoons brown sugar, packed
- 1 tablespoon Worcestershire sauce
- 1 teaspoon smoked paprika
- 1/2 teaspoon garlic powder
- 1/4 teaspoon cayenne pepper (if you like a little kick!)
Essential Equipment for This Sticky Chicken Thigh Recipe
You might think you need a fancy smoker or a massive grill for amazing chicken, but honestly, a few simple items tucked away in your kitchen will nail this recipe perfectly. Getting your tools ready before you start chopping or measuring is half the battle won, trust me on this!
First off, you absolutely need a sturdy baking sheet. Since we are dealing with a thick, sugary glaze, a foil-lined sheet is non-negotiable for cleanup, but you’ll want an oven-safe wire rack to go on top of that foil. This lets the heat circulate underneath the thighs so you get crispy skin all around, instead of steaming the bottom in its own juices.
Then, for the sauce, grab a small saucepan—no need to pull out a huge pot for just a cup of glaze. A small whisk works great for dissolving that brown sugar smoothly. And finally, please, please use a good instant-read meat thermometer. This is what guarantees moist chicken every single time, especially when you’re close to that last-minute broil where things can go from sticky perfection to charcoal in three seconds flat!
How to Prepare Sticky BBQ Chicken Thighs with Honey Glaze Step-by-Step
Okay, this is where the magic happens! Seriously, reading the steps out loud makes me hungry all over again. The key to getting those amazing results with your Sticky BBQ Chicken Thighs with Honey Glaze is following these steps exactly. Don’t rush the initial bake, and definitely don’t walk away during that final broil. You want caramelized heaven, not a mess!
Preparing the Chicken and Oven Setup
First things first, get that oven humming at 400 degrees Fahrenheit (200 Celsius). Line a baking sheet with foil—you’ll thank me later—and put that wire rack right on top. Now, grab your paper towels, because this is vital: pat those chicken thighs completely dry. Seriously, dry them like you mean it! Any surface moisture causes steaming instead of crisping. Once they’re dry, rub them lightly with olive oil, then season them aggressively with salt and pepper. Now, place your thighs skin-side up on that rack. Pop them into the hot oven for 25 minutes, just like that.
Making the Homemade Honey BBQ Glaze
While the chicken is getting its first head start, let’s make the star of the show. In a small saucepan, just dump everything together: ketchup, honey, vinegar, brown sugar, Worcestershire, paprika, garlic powder, and that little bit of cayenne if you want a spark! Set that over medium heat and stir until you see that sugary goodness dissolve. Once it starts to bubble gently—a low simmer—let it hang out there for about 5 minutes. It will thicken up just a hair. Take it off the heat; you don’t want it boiling rapidly. If you want to see how I prepare other awesome sauce bases, check out my guide on honey garlic chicken stir-fry for sauce inspiration!
Baking, Basting, and Caramelizing for Sticky BBQ Chicken Thighs with Honey Glaze
After those first 25 minutes, pull the pan out (carefully!). Brush every single surface of those thighs with a really generous coat of your homemade glaze. Back into the oven they go! Let them cook for another 15 to 20 minutes until they hit that 165-degree internal temperature; always check the thickest part near the bone. This is the moment of truth: switch your oven to the broil setting. Brush on any finishing glaze left over, and watch them like a hawk! Broil for just 2 to 3 minutes until that honey bubbles up dark brown and sticky. Don’t blink, or you’ll burn off all that hard work!
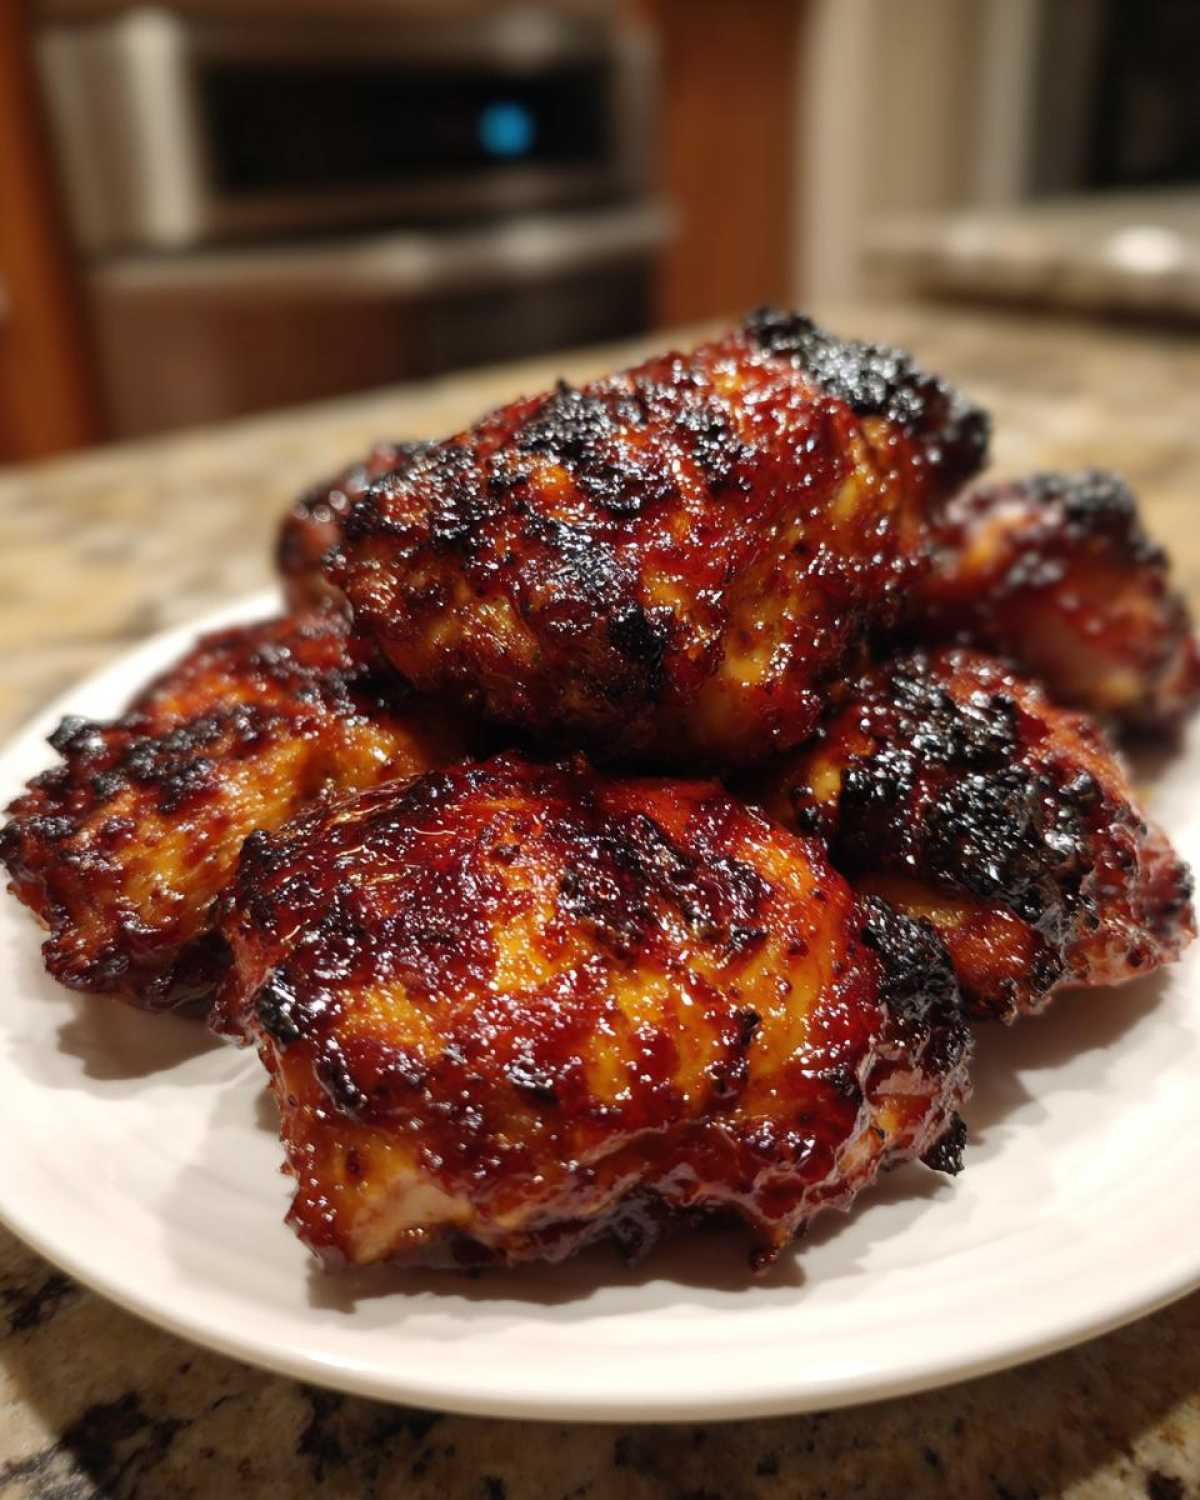
Tips for Perfect Caramelization on Your Sticky Chicken Thigh Recipe
Look, honey is sugar, and sugar loves high heat—sometimes a little too much! We want that beautiful, deep amber color that makes the surface feel tacky and sweet when you touch it, but we do *not* want coal. That last push under the broiler is where people get nervous, but if you follow my setup, you’ll be fine. I check on mine every 45 seconds like I’m waiting for a baby in the oven!
We talk about setting the oven rack fairly high up before you switch to broil—I like the upper-middle slot. This gives the heat enough intensity to caramelize the glaze quickly without scorching the chicken sitting underneath. If you leave the rack too low, the heat might never reach that glaze properly!
If you’re grilling instead of baking, the technique changes slightly, but the goal remains the same: low and slow first, high and sticky last. For grilling, you’ll cook the chicken over indirect heat until it’s nearly done. Then, you move it over the direct flame *only* when you’re applying the final glaze layers. Brush it on, turn it constantly, and watch it closely. You can’t forget about it for a second on the grill, but the payoff is that amazing smoky flavor!
If the glaze seems too thin right before the final bake, just pop the sauce back onto the stove for two minutes. If it seems too thick to brush, just whisk in a teaspoon of hot water or extra vinegar. Small adjustments make a huge difference in how that final coating sets up. You can even check out my recipe for caramelized onion dip—the principles of pulling deep color out of sugar without burning are similar!
Ingredient Notes and Substitutions for Sticky BBQ Chicken Thighs with Honey Glaze
You asked about substitutions, and I totally get it—we don’t always have every obscure ingredient hiding in the pantry. While I stand by this exact lineup for the best Sticky BBQ Chicken Thighs with Honey Glaze, sometimes you just have to pivot! The beauty of this recipe is that the core components—honey, ketchup, and acid—are the framework.
Let’s talk chicken cut first. I swore by bone-in, skin-on thighs because the bone insulates the meat and keeps it juicy while that glaze does its sticky work. However, if you only have boneless, skinless thighs, you can absolutely use them. Just remember that they cook much faster! You’ll need to reduce the total cooking time by about 10 minutes overall. Check the temp early, seriously, or you’ll dry them out before the glaze even sets.
What If I Don’t Have Apple Cider Vinegar?
The apple cider vinegar is important because it brings a specific fruity brightness and tanginess that cuts through the sweetness of the honey and brown sugar. It stops the glaze from tasting too heavy or straight-up like candy. If you look at my guide on making gravy from scratch, you see how acid balances richness? It’s the same principle.
If you’re out of apple cider vinegar, your next best bet is standard white vinegar, but use just a tiny bit less—maybe 2 and a half tablespoons instead of 3—because it’s sharper. Lemon juice is an option too, but it leans more tart than tangy. Avoid balsamic; it’s way too dark and will make your glaze muddy instead of richly caramelized.
Swapping Out Brown Sugar
The recipe calls for packed brown sugar to add that molasses warmth that white sugar just can’t give us. If you need a substitute, use an equal amount of regular granulated white sugar, but add just a half teaspoon of molasses to the sauce mixture instead. This brings back a little bit of that deep, dark flavor we want in a great BBQ sauce. Remember, these slight changes can affect how thick the sauce gets, so keep an eye on it during that simmer!
Serving Suggestions for Sweet and Sticky Chicken Dinner
When you serve up something this rich, sweet, and gloriously sticky, you need sides that can stand up to the flavor without fighting it, right? We want balance! Since this chicken is heavy on the sweet and savory BBQ profile, I always lean toward sides that bring a little brightness or a cool, creamy contrast to the plate. It just cuts through the richness beautifully.
For the ultimate comforting dinner, you absolutely have to pair this with something starchy and creamy. My go-to favorite is always a pan of creamy, cheesy scalloped potatoes. The sharpness of the cheese and the soft texture is just heavenly next to that sticky, caramelized skin. It’s almost too decadent, but totally necessary!
If you’re leaning toward picnic vibes, classic, sharp, homemade coleslaw is a must. The crunch and the vinegar base are exactly what your tastebuds need to refresh between bites of that rich glaze. A simple side of roasted asparagus or green beans tossed with a squeeze of fresh lemon also works wonders if you need something light and green. They don’t interfere with the star of the show!
And for dessert? Well, you can’t possibly go wrong ending a BBQ meal with fruit. If you’ve got the oven free, I highly suggest whipping up my recipe for easy Southern peach cobbler. The warm peaches are the perfect sweet note to finish off a savory dinner like this!
Storage and Reheating Instructions for Glazed Chicken Thighs Recipe
You’re going to want leftovers, trust me. This glazed chicken is somehow even better the next day when those flavors have truly married! But because we have all that sticky honey sugar in the glaze, we need to be smart about how we store and reheat it so we don’t end up with a melted, gummy puddle in the container.
The glaze acts a little bit like glue when it cools down, which is great, but it also burns easily when reheated improperly. I always advise eating this within three days of making it. Any longer, and the quality really starts to drop off, even if it’s stored perfectly.
When storing, make sure the chicken is completely cooled before bagging it up. Store it in an airtight container—I prefer using glass containers because they heat more evenly later on. If you’re not planning on eating it all, you can even freeze leftovers for a quick meal future! My friend made a big batch and froze some before adding the final glaze—you can try that if you like, though I prefer glazing fresh.
The Best Way to Reheat Glazed Chicken
Please, for the love of sticky dark meat, avoid the microwave if you can! Microwaving chicken is fine for speed, but that intense heat trapped in the microwave will turn that gorgeous, caramelized honey glaze into a soft, wet mess. It loses all that wonderful sticky texture we worked so hard to build during that broil.
The oven is your best friend here. Preheat your oven to a gentle 300 degrees Fahrenheit (150 Celsius). Place the leftover thighs on a foil-lined baking sheet—again, the foil saves you so much scrubbing! Don’t brush any extra sauce on them yet. Bake them for about 12 to 15 minutes, just until they are warmed through and the glaze is soft again.
Getting That Sticky Finish Back After Reheating
If you want that truly fresh-off-the-rack look, this is the trick: After the chicken has warmed through in the low oven (around 15 minutes), take the pan out. Quickly brush any remaining sauce you saved, or mix up a super tiny batch of fresh glaze (just half the recipe!) to brush over the tops now. Then, switch the oven to broil for just 1 to 2 minutes total. This re-caramelizes the surface without drying out the meat underneath. It brings back that incredible pull and tackiness! It’s worth the extra five minutes, I promise. If you wanted an entirely different kind of saucy, comforting meal, you could look at my recipe for easy bean soup instead, but this chicken is worth saving!
Frequently Asked Questions About Sticky BBQ Chicken Thighs with Honey Glaze
I get so many questions about this recipe—it seems everyone wants that perfect sticky texture! It’s usually down to small technical things, so let’s clear up the most common confusion points right here before you start cooking.
Can I use chicken breasts instead of thighs for Sticky BBQ Chicken Thighs with Honey Glaze?
You certainly can, but you must adjust your timing dramatically! Chicken breasts are much leaner and cook faster, meaning they dry out easily under the high heat needed to caramelize that glaze. If you use breasts, cut the initial bake time way down, maybe only 15 minutes, and start checking the internal temperature frequently. I’d also recommend brining the breasts first, just to give them a little moisture insurance! Otherwise, the concept is exactly the same.
What is the ideal thickness for the honey BBQ glaze?
This is crucial! When you take the sauce off the heat after simmering—before you brush it on—it should coat the back of a spoon nicely, but it still needs to be thin enough to drizzle or brush easily. If it’s too thick right away, it’s going to seize up into a hard crust when you broil it. The final stickiness happens when the residual heat of the chicken activates the broil; the sauce needs to be slightly looser going in than you think it should be!
Can I make this recipe completely on the grill?
Yes, you absolutely can! If you prefer grilling, just know you need to cook them low and slow over indirect heat until they’re almost done—probably about 30-35 minutes depending on your grill setup. Only start brushing on the glaze during the last 10 minutes, turning constantly. You must finish it over direct heat for just a minute or two per side to get that deep caramelized layer, kind of like how you finish my grilled cheese with brie for that perfect melt.
Why does my honey glaze keep burning before the chicken is done?
This almost always comes down to the sugar content and the heat being too high for too long. If you are baking, make sure you follow the two-stage process: initial bake *without* sauce, then the second bake *with* sauce. If you notice burning starting during the second bake, pull the rack down lower in the oven, or skip the final broil. A slightly softer glaze is usually better than a burnt crust!
PrintSticky BBQ Chicken Thighs with Honey Glaze
Make moist chicken thighs coated in a thick, sweet, and sticky homemade honey BBQ glaze. This recipe focuses on achieving maximum caramelization.
- Prep Time: 10 min
- Cook Time: 45 min
- Total Time: 55 min
- Yield: 4 servings
- Category: Dinner
- Method: Baking
- Cuisine: American
- Diet: Low Lactose
Ingredients
- 8 bone-in, skin-on chicken thighs
- 1 tablespoon olive oil
- 1 teaspoon salt
- 1/2 teaspoon black pepper
- 1/2 cup ketchup
- 1/4 cup honey
- 3 tablespoons apple cider vinegar
- 2 tablespoons brown sugar, packed
- 1 tablespoon Worcestershire sauce
- 1 teaspoon smoked paprika
- 1/2 teaspoon garlic powder
- 1/4 teaspoon cayenne pepper (optional)
Instructions
- Preheat your oven to 400 degrees Fahrenheit (200 Celsius). Line a baking sheet with foil and place a wire rack on top.
- Pat the chicken thighs completely dry using paper towels. Rub the thighs all over with olive oil, then season evenly with salt and pepper. Place the thighs skin-side up on the wire rack.
- Bake the chicken for 25 minutes.
- While the chicken bakes, prepare the glaze. In a small saucepan, combine the ketchup, honey, apple cider vinegar, brown sugar, Worcestershire sauce, smoked paprika, garlic powder, and cayenne pepper, if using.
- Bring the sauce mixture to a simmer over medium heat, stirring until the sugar dissolves. Reduce the heat to low and cook for 5 minutes, stirring occasionally, until the sauce thickens slightly. Remove from heat.
- After the initial 25 minutes of baking, remove the chicken from the oven. Brush a generous layer of the honey BBQ glaze over the top and sides of each thigh.
- Return the chicken to the oven and continue baking for another 15 to 20 minutes, or until the internal temperature reaches 165 degrees Fahrenheit (74 Celsius).
- For extra stickiness and caramelization, switch the oven to broil for the last 2 to 3 minutes. Watch carefully to prevent burning the honey.
- Remove the chicken from the oven and let it rest for 5 minutes before serving. Brush with any remaining glaze before plating.
Notes
- To prevent the honey from burning under the broiler, keep the oven rack positioned in the upper middle slot.
- For grilled thighs, cook over medium indirect heat, basting frequently during the last 10 minutes of cooking.
- If you prefer boneless, skinless thighs, reduce the total cooking time by about 10 minutes.
Nutrition
- Serving Size: 1 thigh
- Calories: 450
- Sugar: 25
- Sodium: 550
- Fat: 25
- Saturated Fat: 8
- Unsaturated Fat: 17
- Trans Fat: 0
- Carbohydrates: 30
- Fiber: 1
- Protein: 30
- Cholesterol: 120