

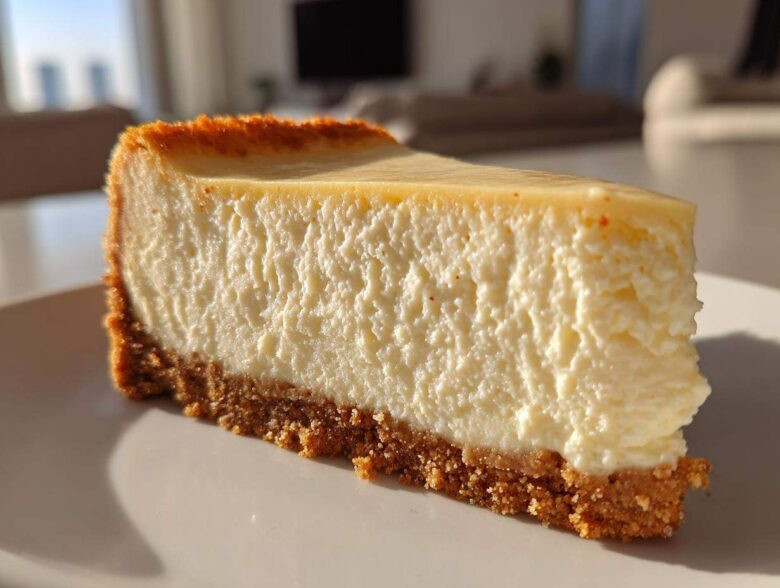
If you think truly bakery-quality dessert means battling complicated techniques and ending up with a cracked, sad mess, then you haven’t tried Liam’s secret weapon yet. Making an authentic, show-stopping **new york cheesecake** at home felt utterly impossible when I first started learning to cook. I mean, who wants to deliver stress instead of comfort? But this recipe? This one changed everything! It’s designed to deliver that super dense, unbelievably creamy texture that makes a true **new york cheesecake** legendary. Liam has perfected the low-and-slow method so that even I, the original takeout connoisseur, can deliver a perfect slice every single time. You can read a bit more about how we started this whole cooking journey over on our About Us page. Trust me, getting this rich dessert right is easier than you think.
Why This New York Cheesecake Recipe Is Your New Go-To
When Liam first made this for me, I finally understood what people meant by “velvety.” Seriously, nothing compares to this texture. We keep coming back to this recipe because it doesn’t mess around with shortcuts when it comes to flavor or structure. It just delivers exactly what you expect from an authentic, decadent dessert.
- It’s unapologetically rich—we use full-fat, room-temperature cream cheese, and you can taste the quality.
- The crust is perfectly buttery and snaps when you cut into it, not soggy!
- It has that signature, slight tang that cuts through the richness perfectly.
Achieving That Signature Dense Texture
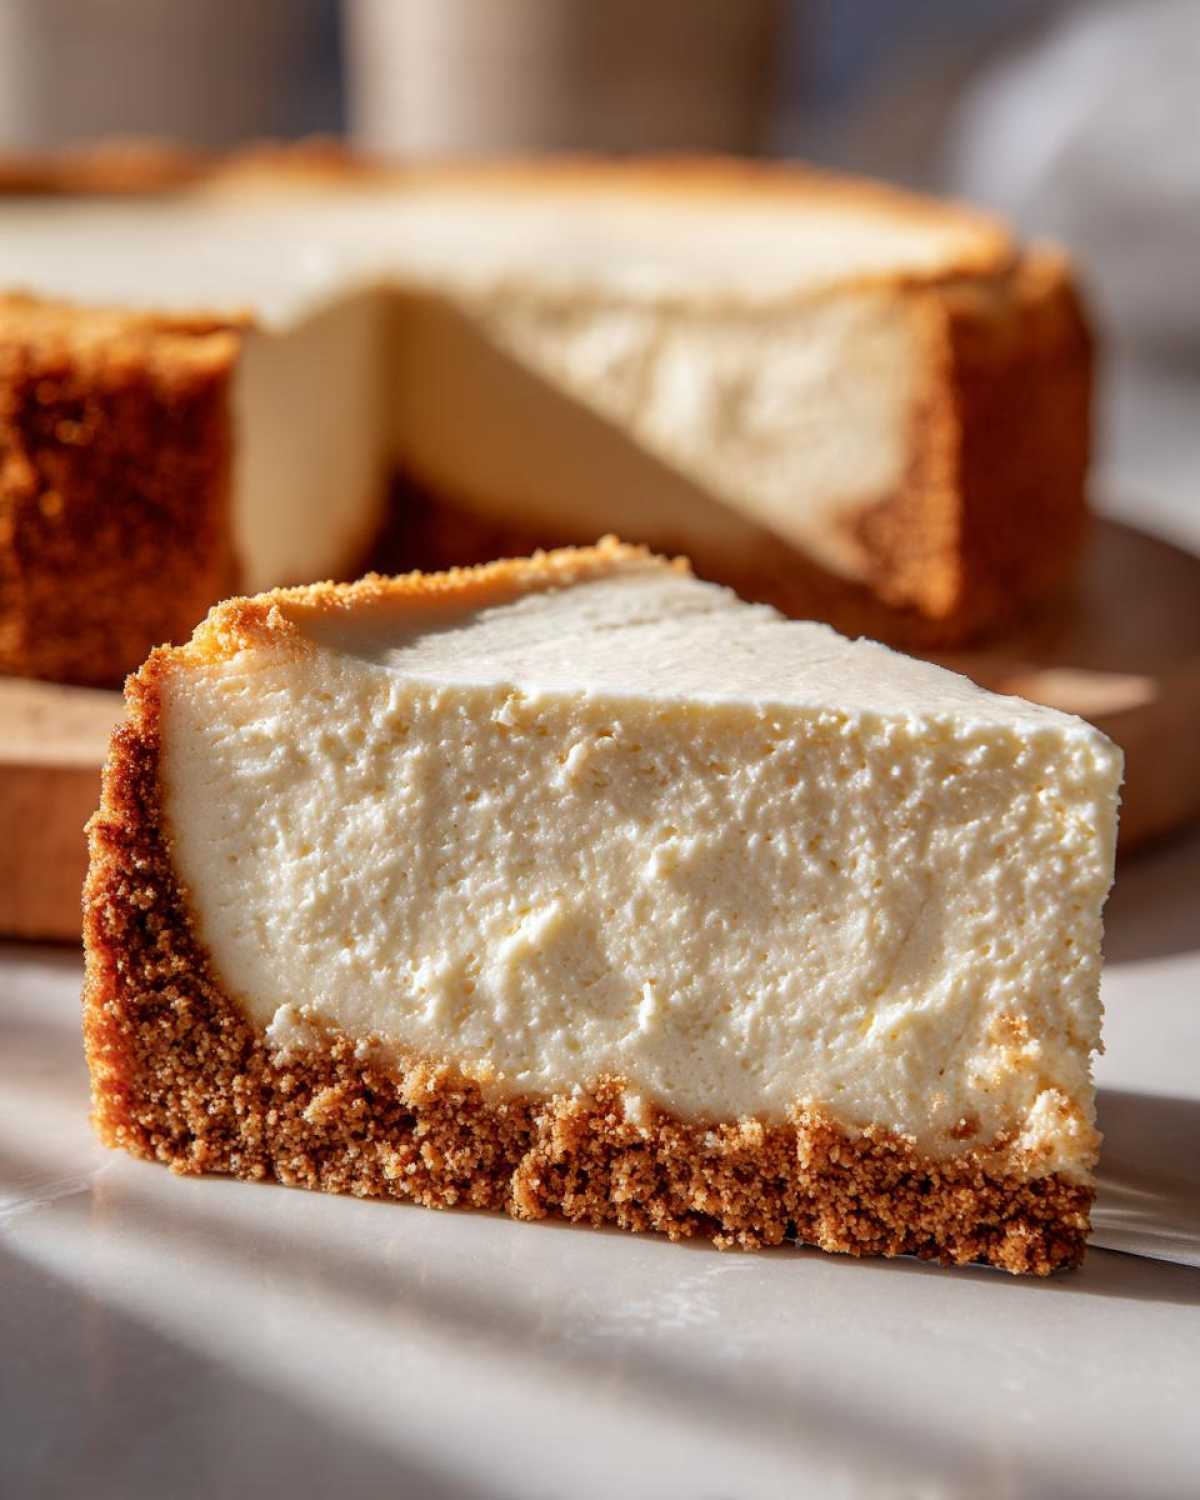
The trick to that super dense, satisfying structure of a true **new york cheesecake** isn’t just the ingredients; it’s the patience. We bake it low and slow in a water bath—don’t you dare skip that step! Then, we let it chill forever. That slow cooling is what locks in the density and keeps everything beautifully smooth.
The Perfect Balance of Richness and Tang
We never skimp on the cream cheese, obviously, but the secret weapon for that authentic punch is a little lemon zest added right into the filling. It gives this **Classic Cheesecake Dessert** that necessary bright note. It’s luxurious, yes, but never heavy or flat tasting. If you love rich cooking, you should check out our Salisbury Steak recipe for another comforting favorite!
Gathering Ingredients for Your New York Cheesecake
Okay, before we even think about turning on the oven for this new york cheesecake, we need to talk about your setup. Using ingredients that are the wrong temperature is the absolute fastest way to get lumpy batter, and nobody wants that bumpy texture! Liam always insists on letting the dairy and eggs sit out for at least an hour. This makes all the difference when creating that smooth, show-stopping filling.
Here’s what you’ll need for this incredible **Homemade Cheesecake Recipe**:
For the Buttery Graham Cracker Crust
- 1 3/4 cups graham cracker crumbs
- 1/2 cup granulated sugar (for the crust)
- 1/2 cup (1 stick) unsalted butter, melted—use the real stuff!
For the Rich Cream Cheese Filling
This is where the magic happens, so pay attention to those temps!
- 4 (8 ounce) packages full-fat cream cheese, softened to room temperature—I’m serious about this!
- 1 3/4 cups granulated sugar (for the filling)
- 1/4 cup all-purpose flour (this helps set the texture!)
- 1 tablespoon vanilla extract
- 1 teaspoon lemon zest (for that NYC tang!)
- 1/4 cup heavy cream
- 4 large eggs, room temperature
Step-by-Step Instructions for Creamy Cheesecake Baking
This is the part where all the preparation pays off, but we have to be gentle! Remember, we are aiming for ultra-creamy, something you’d get from a fancy bakery, not a cracked disaster zone. Liam always says that cheesecake is more about patience than skill, especially once we get into the mixing and cooling stages. Follow these steps closely, and you will master your very own Dense Cheesecake Tutorial. If you ever want to try a crust swap, check out our Brownie Bottom Cheesecake for inspiration later!
Baking the Graham Cracker Crust Cheesecake Base
First things first, let’s get that base set. Set your oven to 350 degrees F. Mix up your graham crumbs, the half-cup of sugar, and the melted butter—it should look like wet sand. Press this mixture firmly and evenly into the bottom and about an inch and a half up the sides of your 9-inch springform pan. You really need to pack it down hard so it holds up to the filling. Pop that into the 350°F oven for exactly 10 minutes. Once it’s done, pull it out and let it cool down while we focus on the batter.
Preparing the Water Bath for Your New York Cheesecake
This is the most boring but most important thing you’ll do: the water bath setup! Take two big sheets of heavy-duty aluminum foil and wrap the outside bottom and sides of your springform pan so tightly that water absolutely cannot sneak in—trust me on this one. Then, place that foil-wrapped pan right inside a larger roasting pan. We do this because the steam from the hot water creates a humid environment. This keeps the edges from baking too fast and ensures that gorgeous, crack-free top on your **New York Cheesecake**.
Mixing the Rich Cream Cheese Filling Without Over-aerating
Now for the batter. Get that mixer going on medium speed once the cream cheese is smooth. Scrape those sides down constantly! Once it looks like silk, add your sugar and flour until it just disappears. Now, lean in close: add the heavy cream, vanilla, and lemon zest. Finally, add your room-temperature eggs, one at a time, beating only until you see the yellow streak vanish before adding the next one. If you over-mix after the eggs go in, you whip in too much air, and that air expands, leading straight to cracks. We want zero air pockets!
Baking and the Slow Cooling Method for Dense Cheesecake Tutorial
Carefully set your roasting pan into the preheated oven and pour very hot water into the outer roasting pan until it’s about halfway up the side of the springform. Bake for 15 minutes at 350°F. Then, reduce that temperature way down to 250°F and let it bake for another 60 to 75 minutes. The center should still jiggle a bit—like set Jell-O. When you think it’s done, turn the oven off completely! Prop the door open just a crack using a wooden spoon and leave the cheesecake in there for a full hour. This slow descent from heat prevents that terrible sudden contraction. After that hour, it can cool on the counter before chilling overnight. That long chill is crucial for the **Rich Cream Cheese Filling** to set up dense and perfect!
No Crack Cheesecake Secrets for a Tall and Creamy Cheesecake
You’ve baked it slow, you’ve cooled it slow, but these final steps are what Liam calls the ‘insurance policy’ for a stunning, crack-free top. People see this gorgeous, tall slice and think it took professional magic, but honestly, it’s just about following these couple of crucial rules. If you want that envy-inducing finish for your **new york cheesecake**, pay close attention to the chilling and the environment in the oven!
Ingredient Temperature Check
I know I said it before, but I’m saying it again because it’s Liam’s biggest pet peeve: the cream cheese and eggs must be totally, completely at room temperature. If you try to beat cold cream cheese, you get lumps. Period. And lumps mean uneven baking, which leads straight to stress cracks in your **new york cheesecake**. We want that beautiful, smooth surface, not a topographical map!
The Importance of the Water Bath
The water bath isn’t just for texture, although it nails that ultra-creamy finish. It’s truly your defense against cracks! Think about it: dry heat dries out the edges of the batter while the center is still cooking. The steam from the water bath traps moisture in the oven air, making sure the entire dessert bakes evenly. This keeps the outside edges from setting too fast and shrinking away from the center as it cools. For more easy desserts, check out these no-bake mini cheesecake bites!
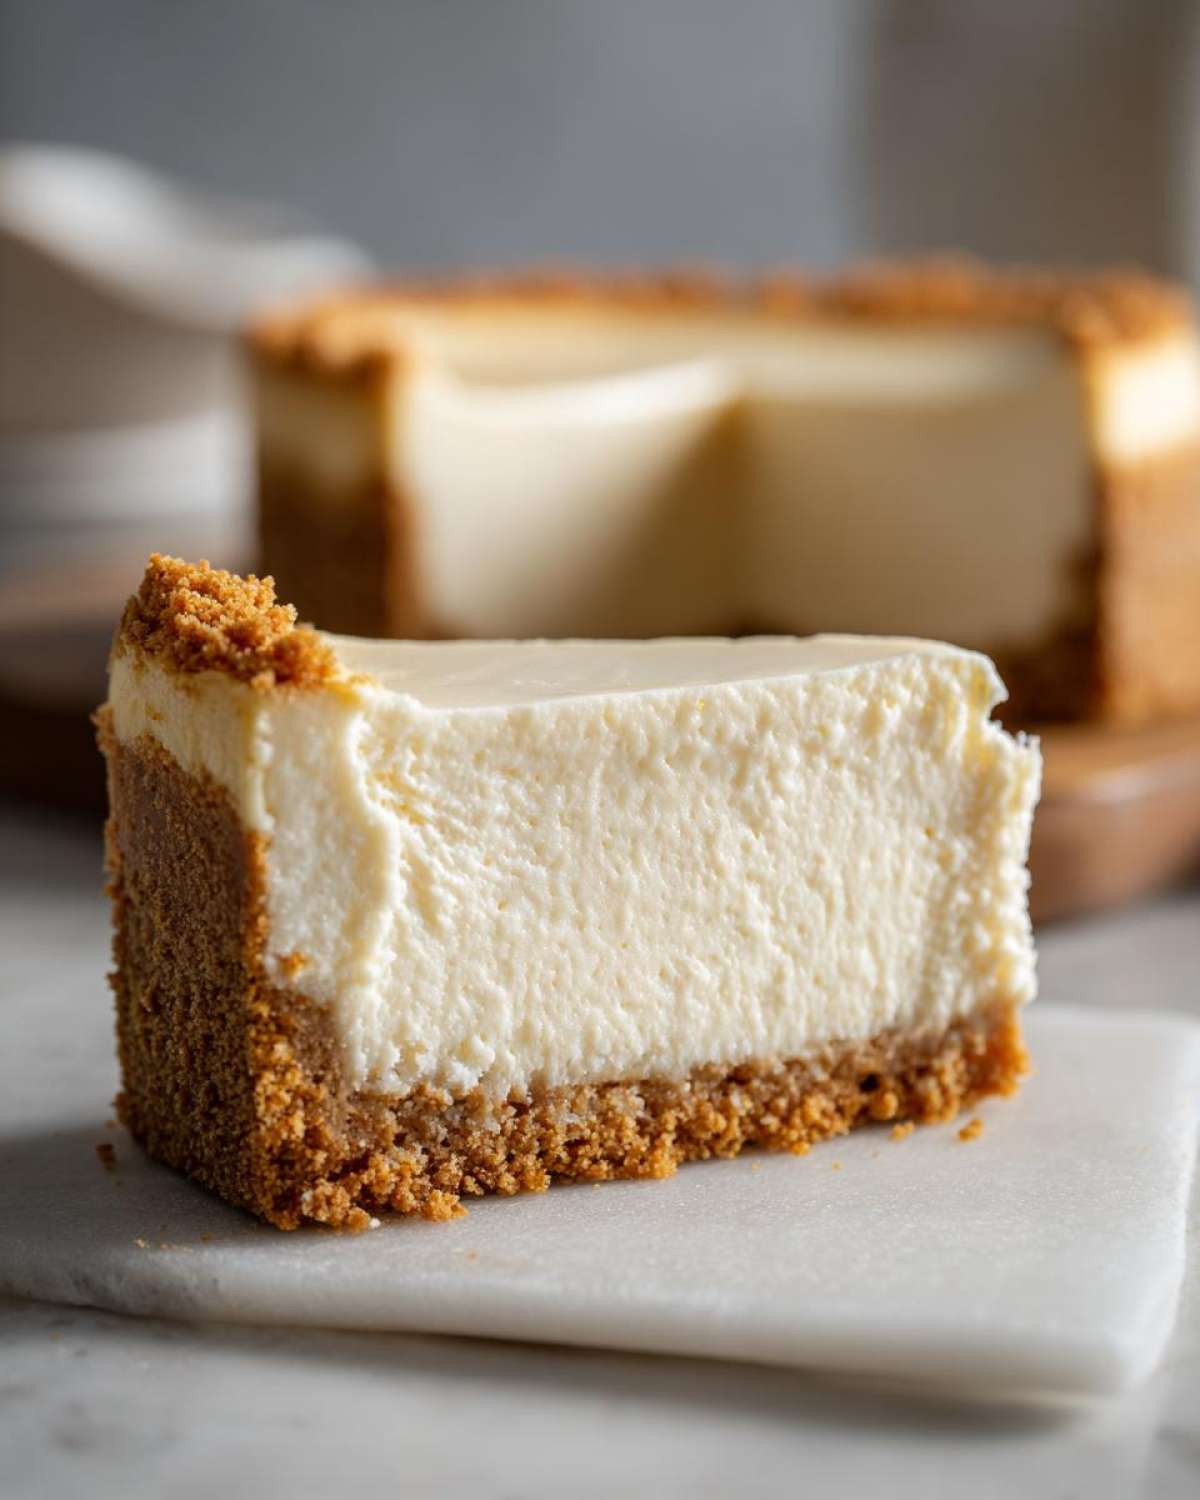
And one final secret: don’t rush the nap time! You absolutely must chill this for at least 8 hours, but overnight is truly best. That long, cold sleep is what transforms it from good cake batter to **Tall and Creamy Cheesecake**. If you’re looking for other great cake results, I really liked what someone else cooked up over at Savoring Moments.
Ingredient Notes and Substitutions for Your Homemade Cheesecake Recipe
When you’re making something as iconic as the **new york cheesecake**, you really want to respect the ingredients. Liam is pretty strict about staying true to the classic construction here because that’s what gives you that rich, decadent texture everyone raves about. If you start swapping out the core components, you’re just making a beautiful, tangy cake—but maybe not a true New York slice!
The most important thing I’ve learned is that you can’t cheat on the primary building block of this dish. Seriously, if you want the **Best Cheesecake Ever**, you’re going to have to stick with the good stuff.
Why Full-Fat Cream Cheese Is Non-Negotiable
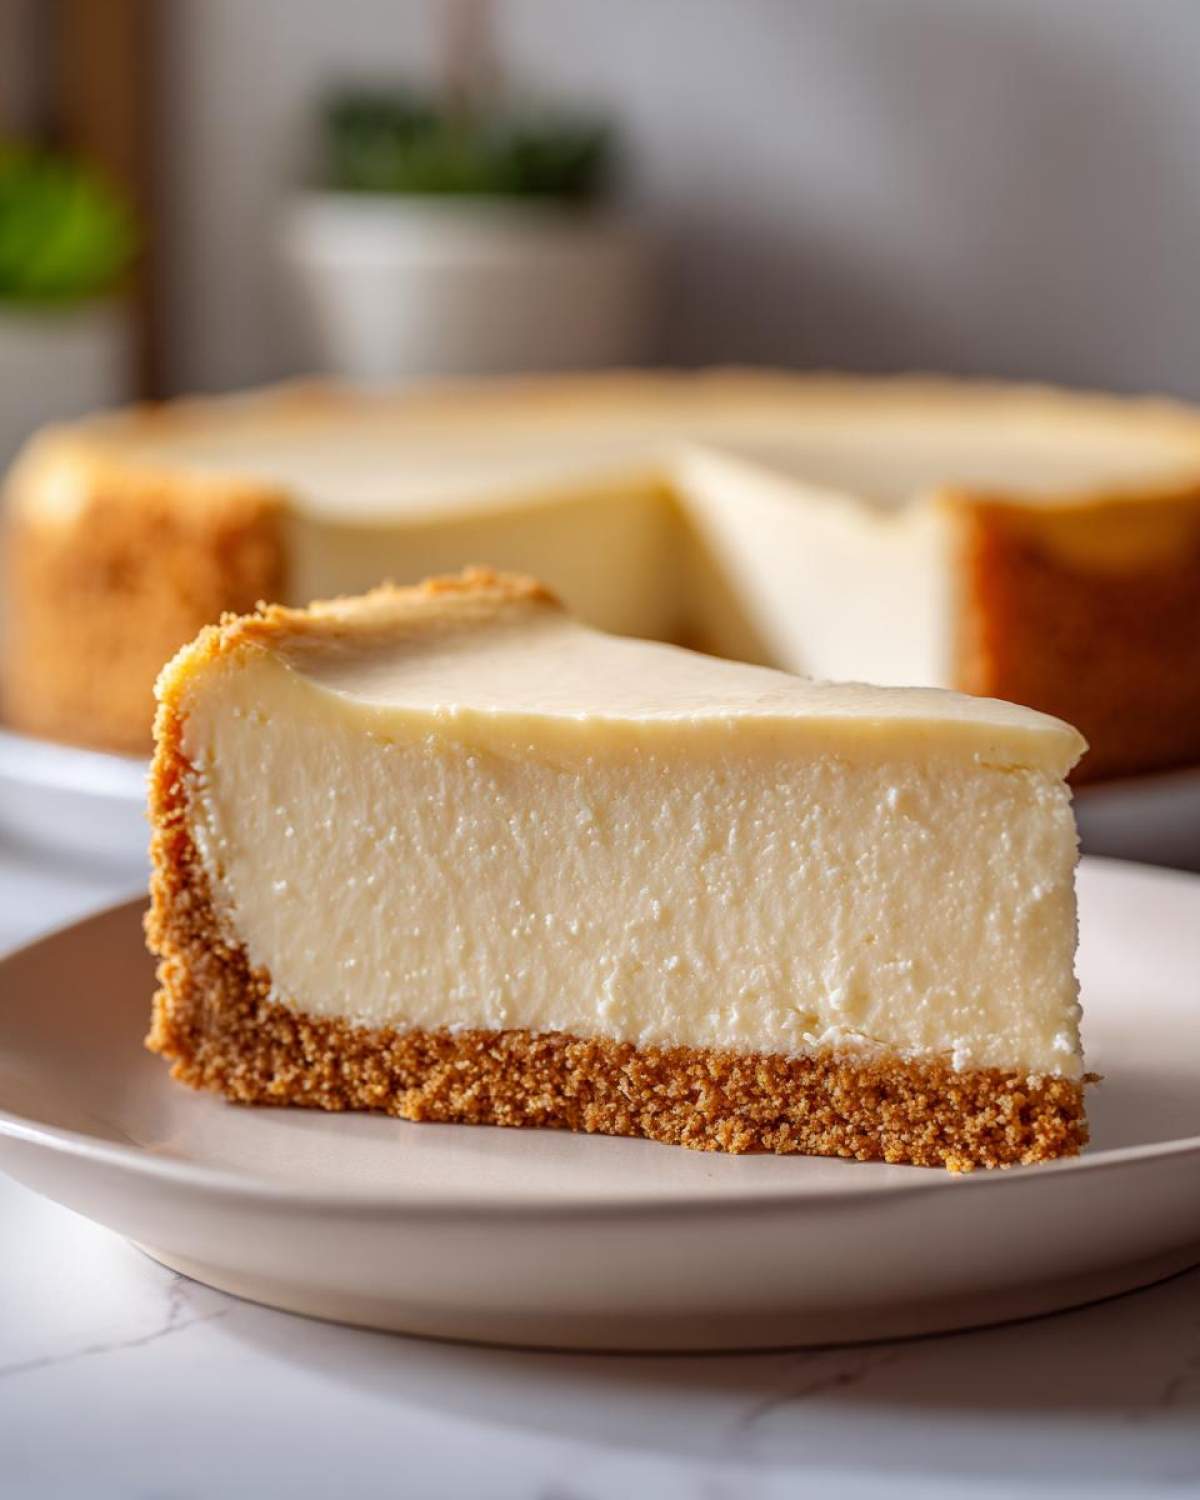
If there is one ingredient worth spending a few extra dollars on, it’s the cream cheese for this recipe. You absolutely must use full-fat blocks, not the whipped, low-fat tubs you spread on a bagel. Those lighter versions have too much water added, and it messes with the structure of the batter. Low-fat will yield a softer, almost curd-like texture after baking, and it definitely won’t achieve that satisfyingly **Dense Cheesecake Tutorial** result we are going for.
We used to mess around with a lighter version when we were too tired to run to the store, and Liam just sighed when he cut into it—it sat flatter and tasted less luxurious. Stick to the full-fat bricks!
The Role of Lemon Zest and Vanilla
The lemon zest might seem small, but it’s vital for that characteristic **Tangy Cheesecake Recipe** flavor profile that defines this style of dessert. You can use fresh lemon only—bottled juice or zest just doesn’t give you the same aromatic lift. For the vanilla, I stick to just good quality pure vanilla extract. I’ve seen people try to add almond extract, and while that’s lovely in other bakes, it competes too much with the cream cheese and lemon here.
If you’re looking for other fantastic ways to use cream cheese, check out our recipe for the amazing Cream Cheese Corn Casserole! It’s savory comfort food, completely different territory, but just as delicious.
Rethinking the Crumb Topping
While the graham cracker crust is classic, I did experiment once with adding a little something extra to the crust mix—and Liam actually approved! If you want a little more texture in your **Graham Cracker Crust Cheesecake**, try replacing about a quarter cup of the graham cracker crumbs with finely chopped pecans. They toast up nicely during that initial 10-minute bake and add a subtle earthy note that pairs beautifully with the rich filling.
Serving Suggestions for Your Decadent Cheesecake Dessert
After all that hard work—the gentle mixing, the painstaking water bath setup, and the mandatory overnight chill—you deserve a stunning finish! The beauty of a classic new york cheesecake is that the flavor is so perfectly balanced and rich, it doesn’t really need much help. Liam always says the best topping is one that complements the tang, not one that tries to hide the creamy work underneath. When we serve this for special occasions, we usually keep it clean so everyone can appreciate the height and texture.
But if you’re feeling extra festive, here are a couple of simple ways to dress up your finished masterpiece:
- Simple Berry Coulis: This is my absolute favorite. Just simmer about a cup of fresh or frozen raspberries (or strawberries!) with a couple of tablespoons of sugar and a tiny squeeze of lemon juice until it thickens slightly. Let it cool completely before drizzling. The slight tartness makes the cream cheese sing!
- Bittersweet Chocolate Ganache: For true decadence, melt down some good quality bittersweet chocolate chips with an equal amount of heavy cream until smooth. Let it cool until it thickens to a nice pouring consistency. A thin ribbon of rich chocolate on top of that creamy slice? Forget about it! This feels incredibly fancy, and hey, if you love chocolate, check out Liam’s easy recipe for Quick & Creamy Homemade Chocolate Milk for a less intense treat.
- Naked and Ready: Seriously, sometimes the best way is the simplest. Dusting it lightly with powdered sugar the minute before serving is classic, elegant, and shows off that perfect smooth top you worked so hard to achieve.
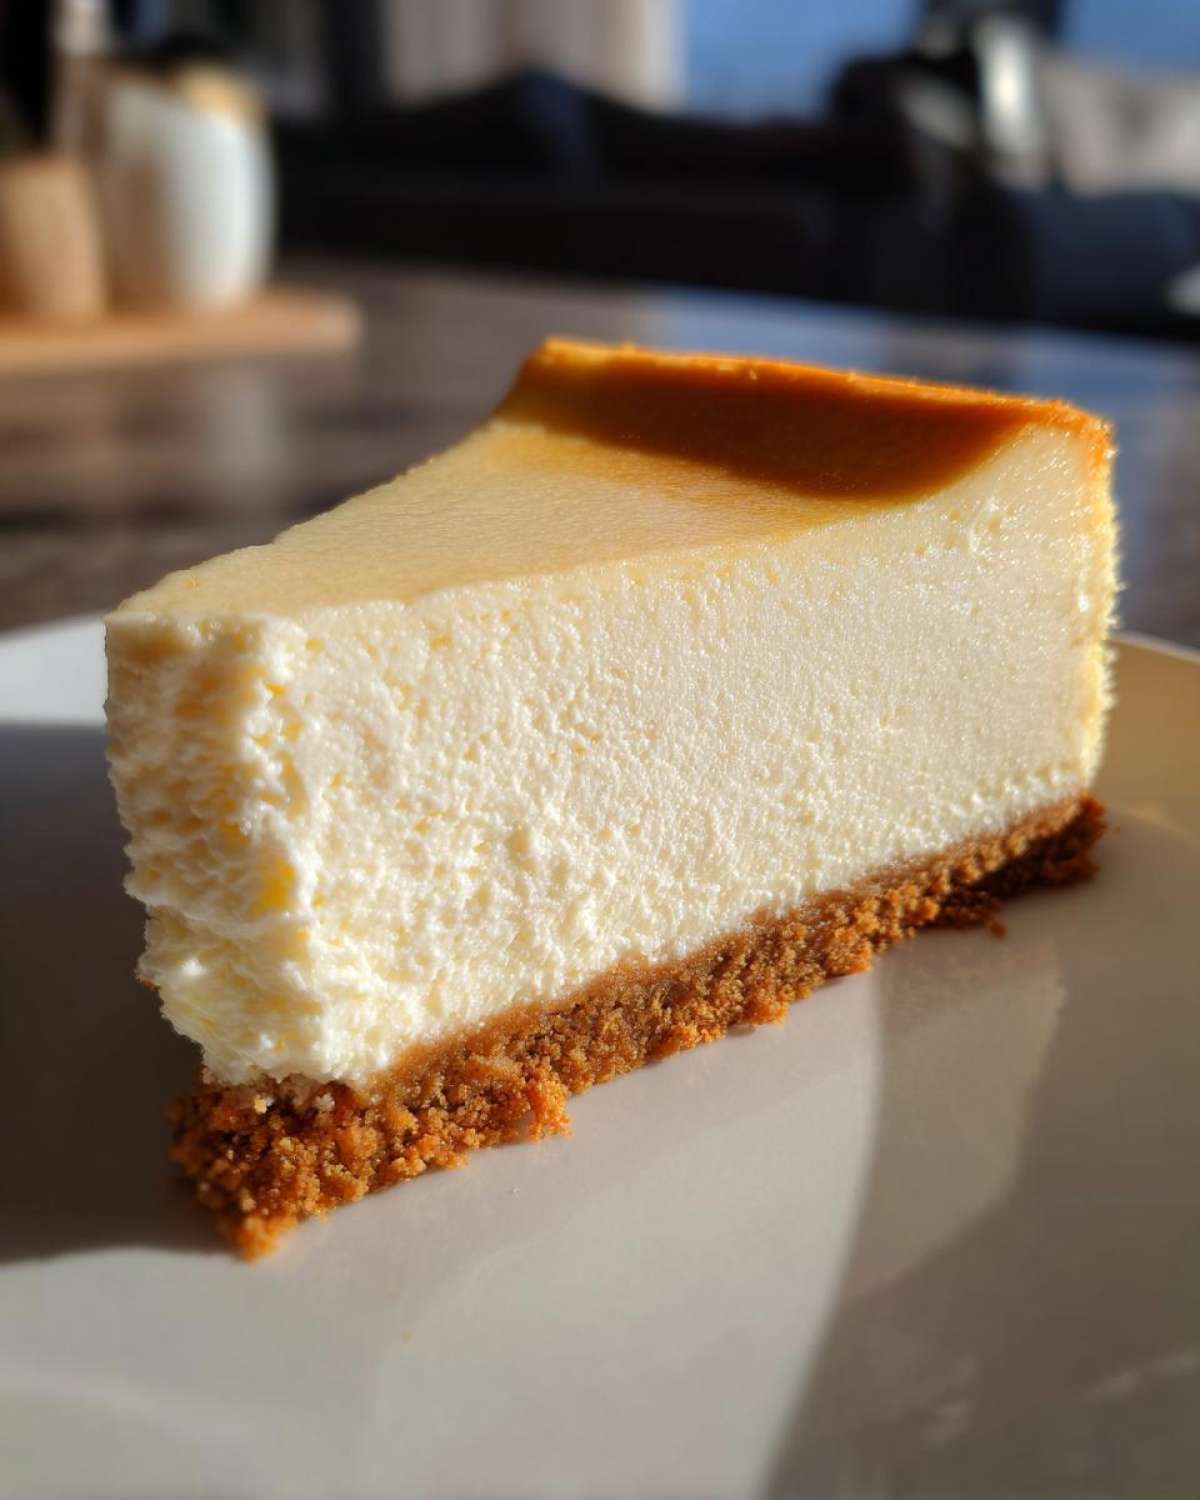
If you’re serving this for a holiday, remember that the toppings should be added right before you slice it. I know, it’s hard to wait! But we want that beautiful texture to stay perfect. For more inspiration on classic, impressive desserts, I saw a fantastic take on a similar treat over at Homemade Drink Station.
Storage and Reheating Instructions for Classic Cheesecake Dessert
Listen, I know you’ll probably gobble your first slice down the second it comes out of the fridge, but you need to know how to keep this beauty fresh! This **new york cheesecake** is an investment in time, so let’s protect that gorgeous, dense texture.
First rule: You absolutely cannot cut it short on the chill time. That minimum 8 hours, but ideally overnight, is non-negotiable. Chilling doesn’t just firm it up; it lets all those rich flavors marry together and really locks in that creamy structure. It’s like letting a good wine breathe, only this is much tastier!
How Long Does Leftover Cheesecake Last?
Once it’s fully chilled, cover the pan loosely with plastic wrap—make sure the plastic doesn’t actually touch the surface unless you used a proper layer of something on top, otherwise, you risk messing up your perfect sheen. Kept covered in the fridge, your leftovers should be fantastic for a good 5 to 6 days. It truly keeps so well because of the high fat and sugar content!
If you’ve got a container of our amazing refrigerator pickles sitting next to the cheesecake, just keep the pickle brine far away! Cheesecake loves the cold, clean air of the fridge, but strong odors can transfer.
Reheating Cheesecake? Maybe Don’t!
This is the hard truth, but I have to tell you: you really shouldn’t reheat cheesecake. It’s meant to be served cold or very slightly tempered (let it sit on the counter for about 30 minutes before slicing). Heating this rich, structured dessert up will melt those perfectly set fats, and you’ll end up with a puddle of sweet goo instead of that satisfying slice. It ruins the whole point of making a supreme **new york cheesecake**!
If you *must* soften it up for any reason, I suggest cutting the slice you plan to eat and letting that individual piece sit on the counter until it just loses its chill. It’s much safer than trying to heat the whole wheel!
Frequently Asked Questions About Making New York Cheesecake
Okay, I totally get it. Making a **new york cheesecake** feels like high-stakes baking, and you have questions! That’s why we’re here. Liam and I have learned every single possible thing that lets you confidently serve up the **Best Cheesecake Ever** without a single sweat bead on your brow. We compiled the most common gremlins that pop up so you can avoid them entirely!
Is the water bath truly necessary for this Tangy Cheesecake Recipe?
Yes! 100% yes! If you want that signature velvety, **Rich Cream Cheese Filling** that doesn’t dry out or crack, you have to use the water bath. It surrounds the cheesecake with steam, making the oven air damp. This allows the high-fat batter to cook perfectly evenly and slowly, which is the secret to that famously dense structure. Skipping it means you risk dry edges and guaranteed cracks, which defeats the purpose of making an Authentic New York Style Dessert!
Can I use light cream cheese in this Easy Cheesecake Recipe for Beginners?
Oh, sweetie, please don’t try to sneak the light stuff in here! For this specific, classic **New York Cheesecake Recipe**, you absolutely need the full-fat blocks. The lower fat content versions have more water added, and that water doesn’t bake off the same way. If you use light cream cheese, your final product will be softer, maybe a little runny, and definitely won’t have that heavy, satisfying density we’re aiming for. It just won’t hold up the same way.
Why is my cheesecake still jiggly in the center when I take it out?
That jiggle is a good sign, but maybe you took it out too soon or too late! For this recipe, the edges should look set and firm, but the absolute center—about the size of a silver dollar—should still have that gentle wobble when you nudge the pan. If the whole thing is liquid, bake it longer at 250°F. If it’s completely firm, you might be on the edge of overbaking, which sets you up for cracking later! For more troubleshooting tips, you can always check out our main Blog Page.
How long does the chilling time really need to be for this Classic Cheesecake Dessert?
I know, patience is hard when something smells this good! But you must chill it for at least 8 hours, but I highly, highly recommend doing the full overnight chill. This isn’t just about cooling; it’s about maturation. The texture only fully transforms into that incredible, **Creamy Cheesecake Baking** dream state when it’s completely cold and set. Don’t worry, you can find a great article on why chilling is important over at Sweetly Cakes.
Share Your Best Cheesecake Ever Creation
Whew! You made it! You conquered the water bath, you resisted the urge to overmix, and now you have the greatest, creamiest **Decadent Cheesecake Dessert** known to humankind. Liam and I absolutely LIVE for hearing how your deliveries turned out. Seriously, don’t just eat it in silence—tell us all about it!
We poured all our hard-earned kitchen knowledge into this guide because we truly believe that sharing good food is the best way to show people you care. So, when you finally slice into that perfectly dense, spectacular **New York Cheesecake Recipe**, we want the details!
Did It Deliver Comfort?
Did it set perfectly? Did your family fight over the last slice? Did you finally feel like a pastry chef? Drop a rating below—five stars if it achieved peak creaminess! Your feedback helps us know we’re sending out the right messages here at Cookery Courier.
Show Us Your Masterpiece!
We love seeing your beautiful results, especially when you add gourmet toppings! If you snapped a photo of your gorgeously tall, crack-free slice, please tag us on social media! I’m always scrolling, looking for that perfect photo that proves my initial fear of baking was totally silly. If you need to reach us with questions or just want to brag (you should!), you can get in touch via our Contact page.
If you’re ready for your next challenge after conquering this classic, you might want to see how the folks over at Baker by Nature tackle their creamy version. Happy baking, and thank you for letting us be part of your kitchen deliveries!
Estimated Nutritional Data for This New York Cheesecake Recipe
Okay, let’s talk science for just a second! When you’re enjoying a slice of this incredible **new york cheesecake**, you should have a general idea of what you’re digging into. This is a rich, decadent dessert, and we don’t pretend otherwise! Liam always jokes that if you’re eating cheesecake, you’re already choosing joy over calorie counting, but knowing the facts is important for when you decide to have just *one* more slice.
Here is the estimated nutritional breakdown per serving, based on 12 planned servings. Remember, these numbers are just a snapshot—your exact quantities of butter and sugar will change things slightly. For the full rundown on how we track nutrition on the site, check out our site disclaimer.
- Serving Size: 1 slice
- Calories: Around 450
- Sugar: Roughly 35g
- Sodium: About 300mg
- Fat: Around 30g (Yes, it’s rich!)
- Saturated Fat: About 18g
- Carbohydrates: Roughly 40g
- Protein: About 8g
Honestly, this is a treat meant for special occasions, not a daily snack, but wow, is it worth every single calorie when you bite into that amazing **Classic Cheesecake Dessert** texture we worked so hard to achieve!
PrintThe Ultimate Creamy, Classic New York Cheesecake Recipe
Bake the best New York Cheesecake with this detailed guide. You will achieve a dense, rich, and perfectly creamy texture with a buttery graham cracker crust, avoiding common cracks.
- Prep Time: 30 min
- Cook Time: 90 min
- Total Time: 11 hours 0 min
- Yield: 12 servings
- Category: Dessert
- Method: Baking
- Cuisine: American
- Diet: Vegetarian
Ingredients
- 1 3/4 cups graham cracker crumbs
- 1/2 cup granulated sugar (for crust)
- 1/2 cup (1 stick) unsalted butter, melted
- 4 (8 ounce) packages full-fat cream cheese, softened to room temperature
- 1 3/4 cups granulated sugar (for filling)
- 1/4 cup all-purpose flour
- 1 tablespoon vanilla extract
- 1 teaspoon lemon zest
- 1/4 cup heavy cream
- 4 large eggs, room temperature
Instructions
- Prepare the crust: Preheat your oven to 350 degrees F. Mix graham cracker crumbs, 1/2 cup sugar, and melted butter in a bowl. Press the mixture firmly and evenly into the bottom and about 1 1/2 inches up the sides of a 9-inch springform pan. Bake the crust for 10 minutes. Remove and let it cool completely.
- Prepare the water bath: Wrap the outside bottom and sides of the springform pan tightly with two layers of heavy-duty aluminum foil. This keeps water out. Place the wrapped pan inside a larger roasting pan.
- Make the filling: In a large bowl using an electric mixer on medium speed, beat the softened cream cheese until it is completely smooth and lump-free. Scrape down the sides of the bowl often.
- Add the sugar and flour to the cream cheese mixture and beat until just combined. Mix in the vanilla extract and lemon zest.
- Beat in the heavy cream. Then, add the eggs one at a time, beating only until each egg is incorporated. Do not overmix the batter once the eggs are added; this incorporates air that causes cracks.
- Pour the filling over the cooled crust in the springform pan.
- Create the water bath: Carefully place the roasting pan with the cheesecake into the oven. Pour very hot water into the roasting pan until the water reaches about halfway up the sides of the foil-wrapped springform pan.
- Bake at 350 degrees F for 15 minutes. Then, reduce the oven temperature to 250 degrees F and continue baking for 60 to 75 minutes more. The edges should look set, but the center 2-3 inches should still jiggle slightly when gently nudged.
- Cool the cheesecake slowly: Turn off the oven, but leave the cheesecake inside with the oven door propped open slightly (use a wooden spoon) for 1 hour. This slow cooling prevents cracking.
- Remove the cheesecake from the water bath and foil. Let it cool completely on a wire rack at room temperature for another 1 to 2 hours.
- Chill: Cover the cheesecake loosely with plastic wrap and refrigerate for at least 8 hours, or preferably overnight, before serving. This step is crucial for achieving the dense, creamy texture.
Notes
- Room temperature ingredients are essential for a smooth, lump-free filling. Let your cream cheese and eggs sit out for at least one hour before starting.
- Do not skip the water bath; it provides moist, even heat necessary for a creamy, dense texture and prevents the top from drying out.
- To prevent cracks during cooling, keep the oven door slightly ajar for one hour after turning the oven off. Rapid temperature changes cause the cheesecake to contract too quickly.
Nutrition
- Serving Size: 1 slice
- Calories: 450
- Sugar: 35
- Sodium: 300
- Fat: 30
- Saturated Fat: 18
- Unsaturated Fat: 12
- Trans Fat: 0.5
- Carbohydrates: 40
- Fiber: 1
- Protein: 8
- Cholesterol: 120