

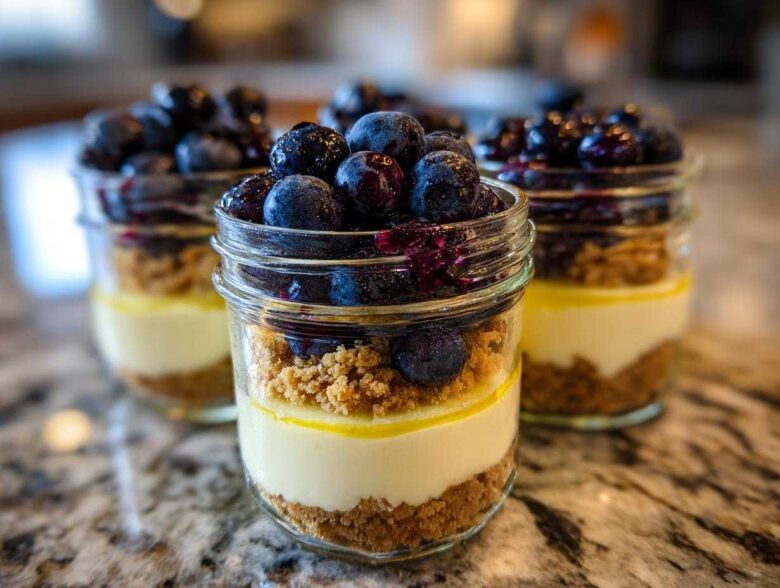
Okay, let’s talk about the absolute best party fix: food that doesn’t require spoons or forks, and definitely doesn’t require me to slice anything after I’ve already socialized for an hour! If you’re like me and think individual servings just scream ‘stress-free entertaining,’ then you are going to go wild over these **Lemon Blueberry Cheesecake Jars**. Seriously, forget hauling out a whole springform pan. These beauties are creamy, lusciously lemon-flavored, totally no-bake, and packed into perfect little single-serving containers. These **Lemon Blueberry Cheesecake Jars** are my secret weapon for summer BBQs!
Honestly, portion control is half the fun. You put the ingredients together, layer them up, and BAM! Instant, adorable dessert. Plus, there’s something so comforting about realizing you don’t have to share that last perfect bite—it’s all yours.
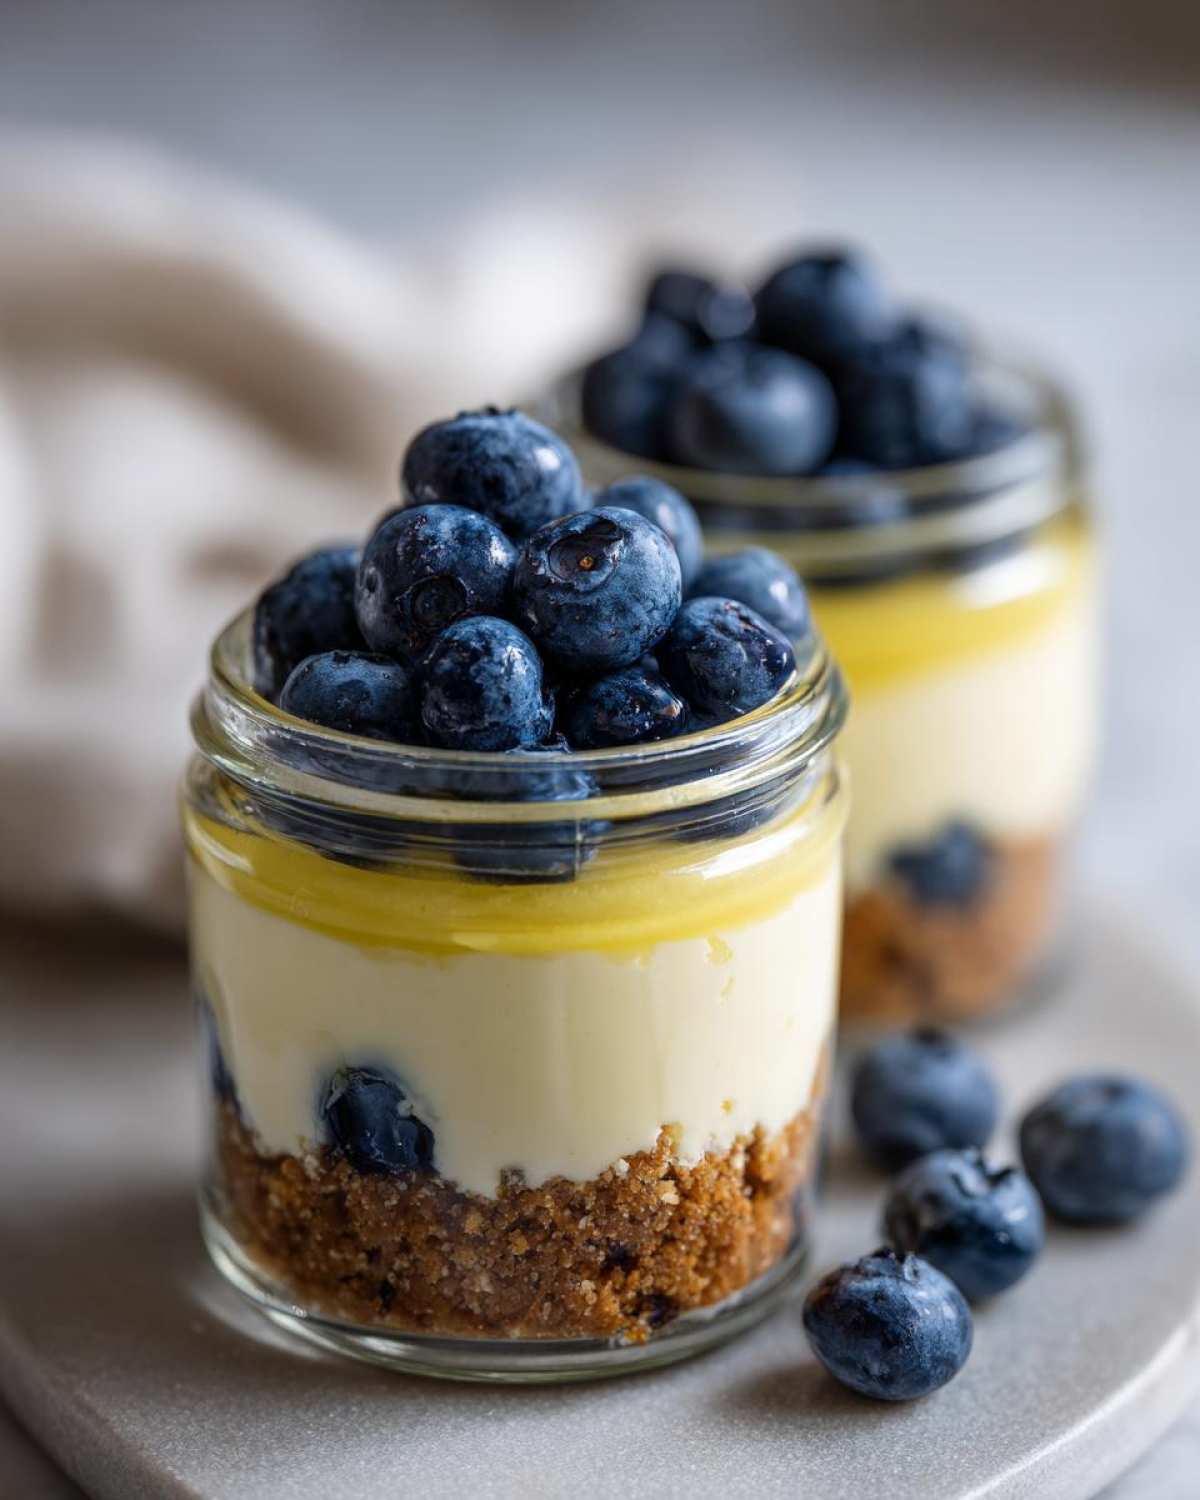
Why These Lemon Blueberry Cheesecake Jars Are Your New Favorite Easy Jar Desserts
Seriously, these **Lemon Blueberry Cheesecake Jars** solve so many dessert dilemmas! We love them because they tick every box for easy hosting. Why juggle plates and forks when you can hand out jars? They are fantastic for picnics or just having a cool treat ready in the fridge.
- They look absolutely gorgeous lined up—everyone loves eating out of a jar!
- The bright lemon cuts through the creamy cheese perfectly.
- They travel like a charm, making them ideal for taking to potlucks.
You definitely need to check out my tips for other easy jar desserts, but these cheesecakes are special.
Perfect Portion Control with Single Serving Cheesecake
This is the best part! When I make these, there’s no temptation to cut a massive slice of cheesecake that turns into two slices later. Each jar is a perfectly managed treat. It makes counting calories (or just sugar intake) so much easier because the serving size is already determined for you!
No Bake Cheesecake Jars: Minimal Effort, Maximum Flavor
Listen, when it’s hot outside, the last thing I want to do is turn on the oven and heat up my kitchen. That’s why these **No Bake Cheesecake Jars** win every single time. We get that classic, rich cheesecake texture without any of the hassle of water baths or worrying about cracks. It’s just mix, layer, chill, and serve. Simple, right?
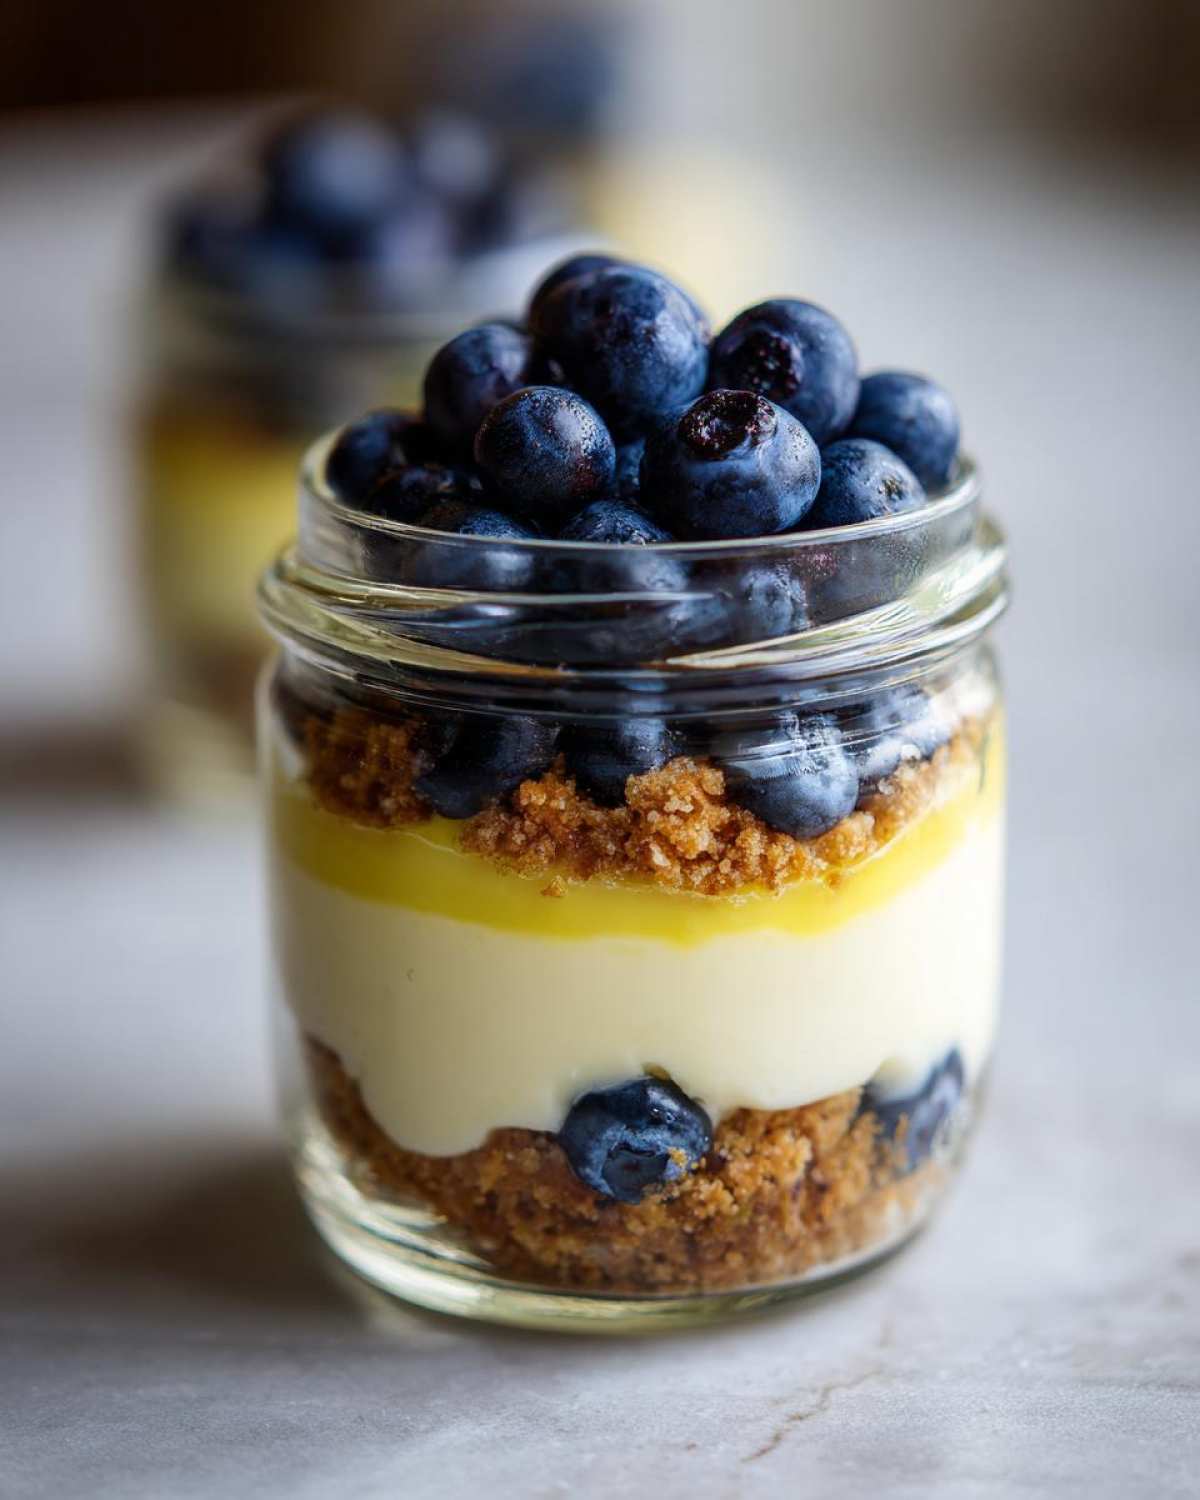
Gathering Your Ingredients for Lemon Blueberry Cheesecake Jars
Before we start spooning everything into those cute little jars, we’ve got to get our ducks in a row with the ingredients. Trust me on this: having everything ready to go makes assembly way less stressful. Since these are **Lemon Blueberry Cheesecake Jars**, we need a few key players for that bright zip and creamy base. You’ll need about six jars ready to go for this batch! I have a whole post on balancing lemon sweetness if you are looking for more lemon flavor profiles.
We need that sharp, fresh tartness from the lemon, which is non-negotiable. Also, don’t forget to check your cream cheese! It has to be truly softened—room temperature, soft enough to dent easily—otherwise, you’ll end up with lumps, and nobody wants chunky cheesecake!
Crust Components for Your Individual Dessert Jars
The base is super classic, but important! You’ll grab 1 1/2 cups of graham cracker crumbs—don’t use the fine dust, aim for a nice crumb texture. Mix those with just 1/4 cup of regular granulated sugar and 6 tablespoons of melted, unsalted butter. That little bit of sugar in the crust balances out the tart filling later; remember, the rest of the sugar goes into the filling itself!
Creating the Creamy Lemon Blueberry Cheesecake Filling
This is where the magic happens! We need a full 16 ounces of that softened cream cheese. Pair that with 1 cup of powdered sugar and 1/2 cup of granulated sugar for perfect sweetness. For that bright flavor, use 1/4 cup of fresh lemon juice and 1 teaspoon of zest—fresh zest makes such a difference. Finally, whip up 1 cup of heavy whipping cream until you get stiff peaks. That whipped cream is what makes these **No Bake Cheesecake Jars** so light!
Step-by-Step Assembly of Lemon Blueberry Cheesecake Jars
Now that we have our heavenly crust mix and our perfectly tart-and-sweet filling components ready, it’s time for the fun part: putting it all together! This is where our **Lemon Blueberry Cheesecake Jars** really come to life. I always lay out all my jars first, ready for layering. Remember, the key to great no-bake cheesecake is patience during the chilling phases, so don’t rush the fridge time! If you want to see how serious cheesecakes are done, you can peek at my guide on making a classic New York Cheesecake recipe, but honestly, these jar versions are way easier.
Preparing and Chilling the Crust Base
First up, that graham cracker crust. You want to mix your crumbs, the crust sugar, and melted butter until it looks evenly damp—think wet sand! Divide this mixture evenly between your six jars. I use the back of a small measuring spoon or a flat-bottomed glass to press that crust down really firmly into the bottom of the jar. You want a nice, compact base so it doesn’t crumble when you dig in later! Once pressed in, pop those babies into the freezer or fridge for at least 15 minutes. That quick chill helps set the butter so the crust stays put.
Whipping Cream and Mixing the Cheesecake Filling
While the crust chills, make the main event! Beat your softened cream cheese, both sugars, lemon juice, zest, and vanilla until it’s totally velvety and smooth; I mean, absolutely no little lumps hanging around. Next, take that heavy cream and whip it separately until you see stiff peaks forming. This is crucial for that airy texture we talked about! You must gently fold the whipped cream into the cream cheese base. I use a rubber spatula and take my time so I don’t deflate all that air we just whipped in. Don’t overmix this part!
Layering the Lemon Blueberry Dessert Ideas in Jars
Time to build! Take your chilled jars. Spoon or pipe exactly half of your luscious filling over the crust layer in each jar. Then, sprinkle a generous layer of fresh blueberries over that first layer of filling. Next, add the second, remaining half of the cheesecake filling on top. No more blueberries just yet! Top everything off with a final, beautiful sprinkle of your blueberries. These **Lemon Blueberry Dessert Ideas** look so vibrant when you stack the fruit like this. Cover them up and get them chilling for a minimum of four hours, but overnight is even better!
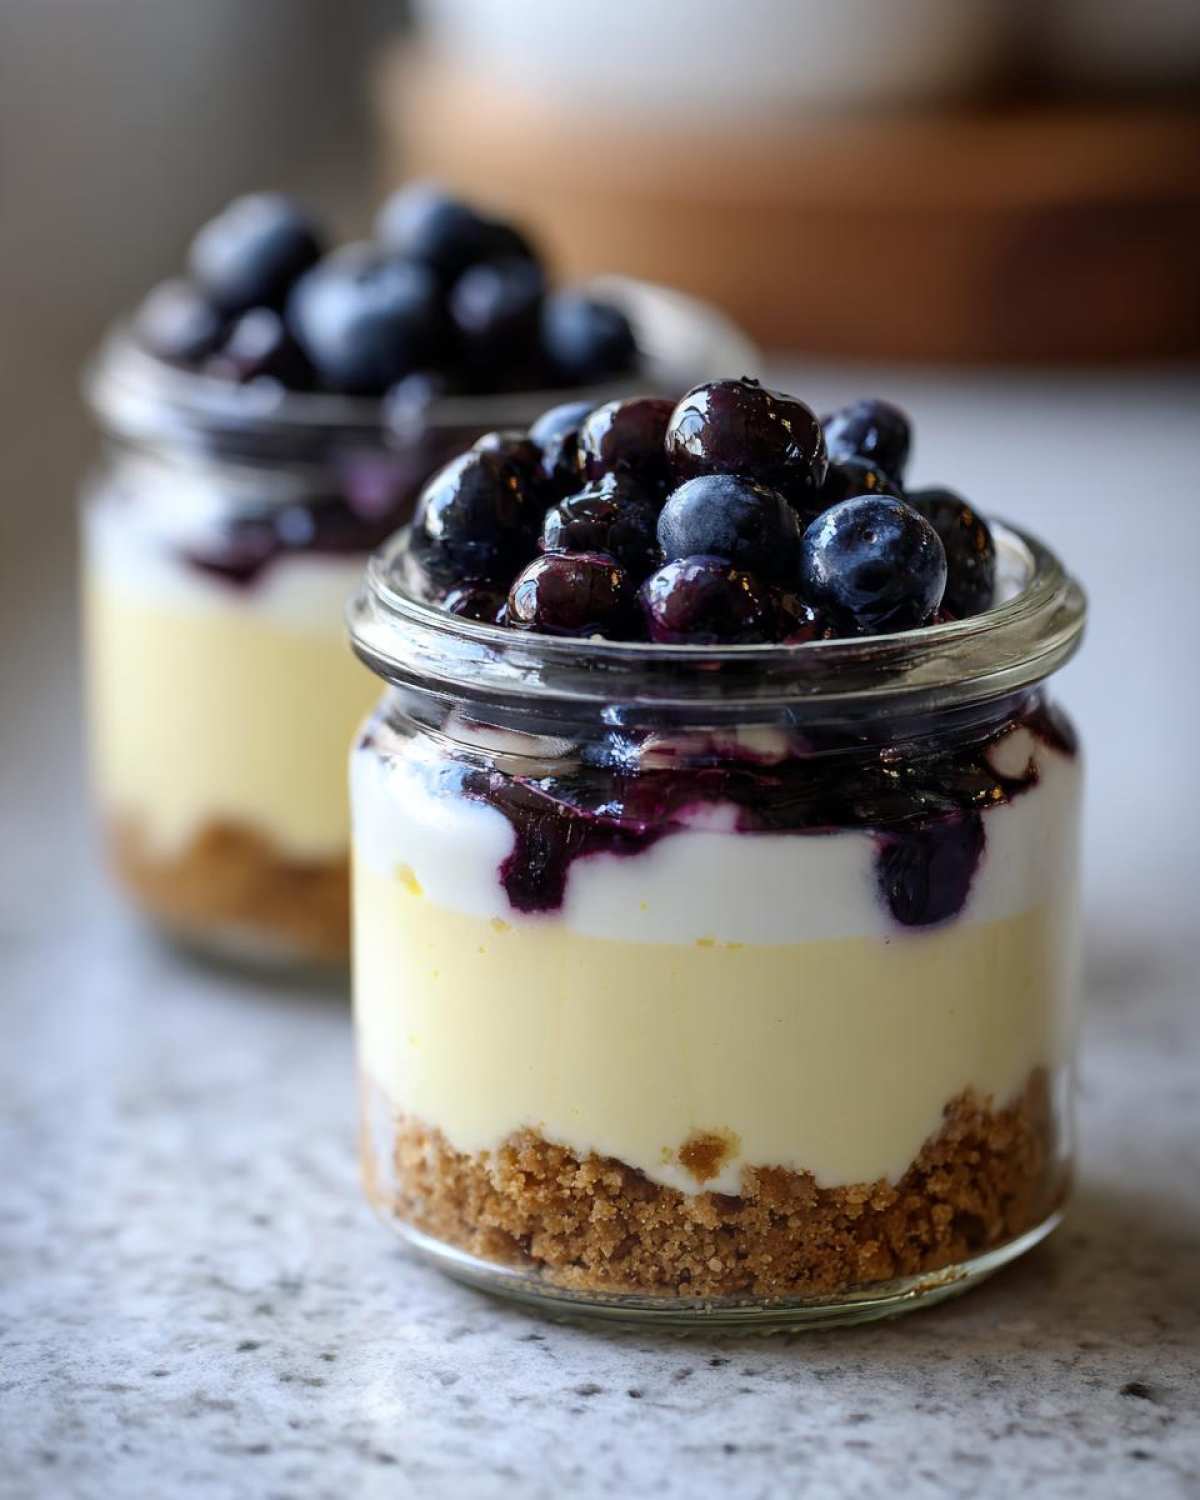
Tips for Success with Your Portable Cheesecake Recipe
These **Lemon Blueberry Cheesecake Jars** are so easy, but there are two small things that separate good ones from absolutely amazing ones. Listen up, because this is based on my own messy kitchen experiments! First, and I can’t stress this enough: make sure your cream cheese is genuinely room temperature. I’ve tried rushing it, and I always end up fighting lumps, which ruins the smooth texture when you try to layer it.
Also, when you fold in that glorious whipped cream, please use a big, gentle rubber spatula. You want to scoop from the bottom and fold over the top, treating the mixture like spun silk. We worked hard to get air into that cream, so don’t go crazy mixing! If you’re using frozen blueberries, thaw them slightly and absolutely pat them dry; we want creamy cheesecake, not watery fruit juice soaking the crust!
Achieving the Perfect Cream Cheese Texture
If your cream cheese is cold, you’re doomed to a lumpy filling, simple as that. Pull it out about an hour before you plan to start mixing. I personally like to give the softened cream cheese a quick hand-beat on its own before adding any of the powdered sugar—it helps break down any remaining stiffness. This keeps your filling smooth enough to use with any Quick Cheesecake Recipe style.
And that folding? My favorite trick is to take about a third of the whipped cream and stir it *into* the cream cheese mixture first. This lightens the base up. Then, you can fold in the rest of the whipped cream far more easily without fear of deflating it all. Follow that, and you get the lightest texture possible for these jars!
Ingredient Notes and Substitutions for Blueberry Lemon Cheesecake
One of the great things about this recipe is how forgiving it is if you’re maybe missing one key item or just want to switch things up! Since these are **No Bake Cheesecake Jars**, they don’t need the rigid structure that baked versions require, which opens up some easy swaps. For example, I mentioned vanilla wafers as an alternative crust option in my notes because sometimes graham crackers are just nowhere to be found when you need dessert pronto! If you want to dive deep into the world of lemon and blueberry pairing, you should definitely check out my thoughts on lemon blueberry muffins—it’s the same flavor combo, just in a different texture!
If you aren’t a fan of graham crackers, you can pulse vanilla wafers or even shortbread cookies in a food processor until you get the right crumb texture. It will give you a slightly sweeter, buttery crust instead of that classic cinnamon-sugar flavor, but it works beautifully with the filling. Just make sure you still use that same amount of melted butter to bind it!
What about the fruit? If you can’t find fresh blueberries, frozen ones are totally fine, but you absolutely must thaw them first and gently pat them dry with a paper towel before layering them in. If they are wet, they introduce too much liquid, and that can thin out your perfect cheesecake layer or make the crust soggy down the road. Nobody wants a sloppy jar dessert!
Storage and Reheating Instructions for Layered Cheesecake Jars
So, you’ve made these gorgeous **Layered Cheesecake Jars**. What now? Because these are no-bake, they absolutely need chill time to firm up. I always aim to refrigerate them for at least four hours before anyone even thinks about digging in, but honestly, they taste best if they chill overnight. That gives the lemon flavors time to really marry!
Make sure the lids are secure on your jars—this helps keep everything fresh and prevents them from absorbing any weird fridge smells. You can safely keep these beauties covered in the refrigerator for up to three days. Since they are no-bake, you absolutely do not want to try reheating them or leaving them out on the counter too long. They are best served cold, right out of the fridge, where they maintain that perfect creamy texture. Check out my tips for storing my No Bake Peanut Butter Pie for similar make-ahead advice!
Serving Suggestions for Desserts for Parties in Jars
These **Desserts for Parties in Jars** honestly don’t need much help looking good, but a little garnish goes a long way, especially when you’re serving them at a big picnic or backyard BBQ! Once they’re fully chilled, before setting them out, I always add a tiny sprinkle of extra lemon zest right on top of that final blueberry layer. It just brightens everything up visually!
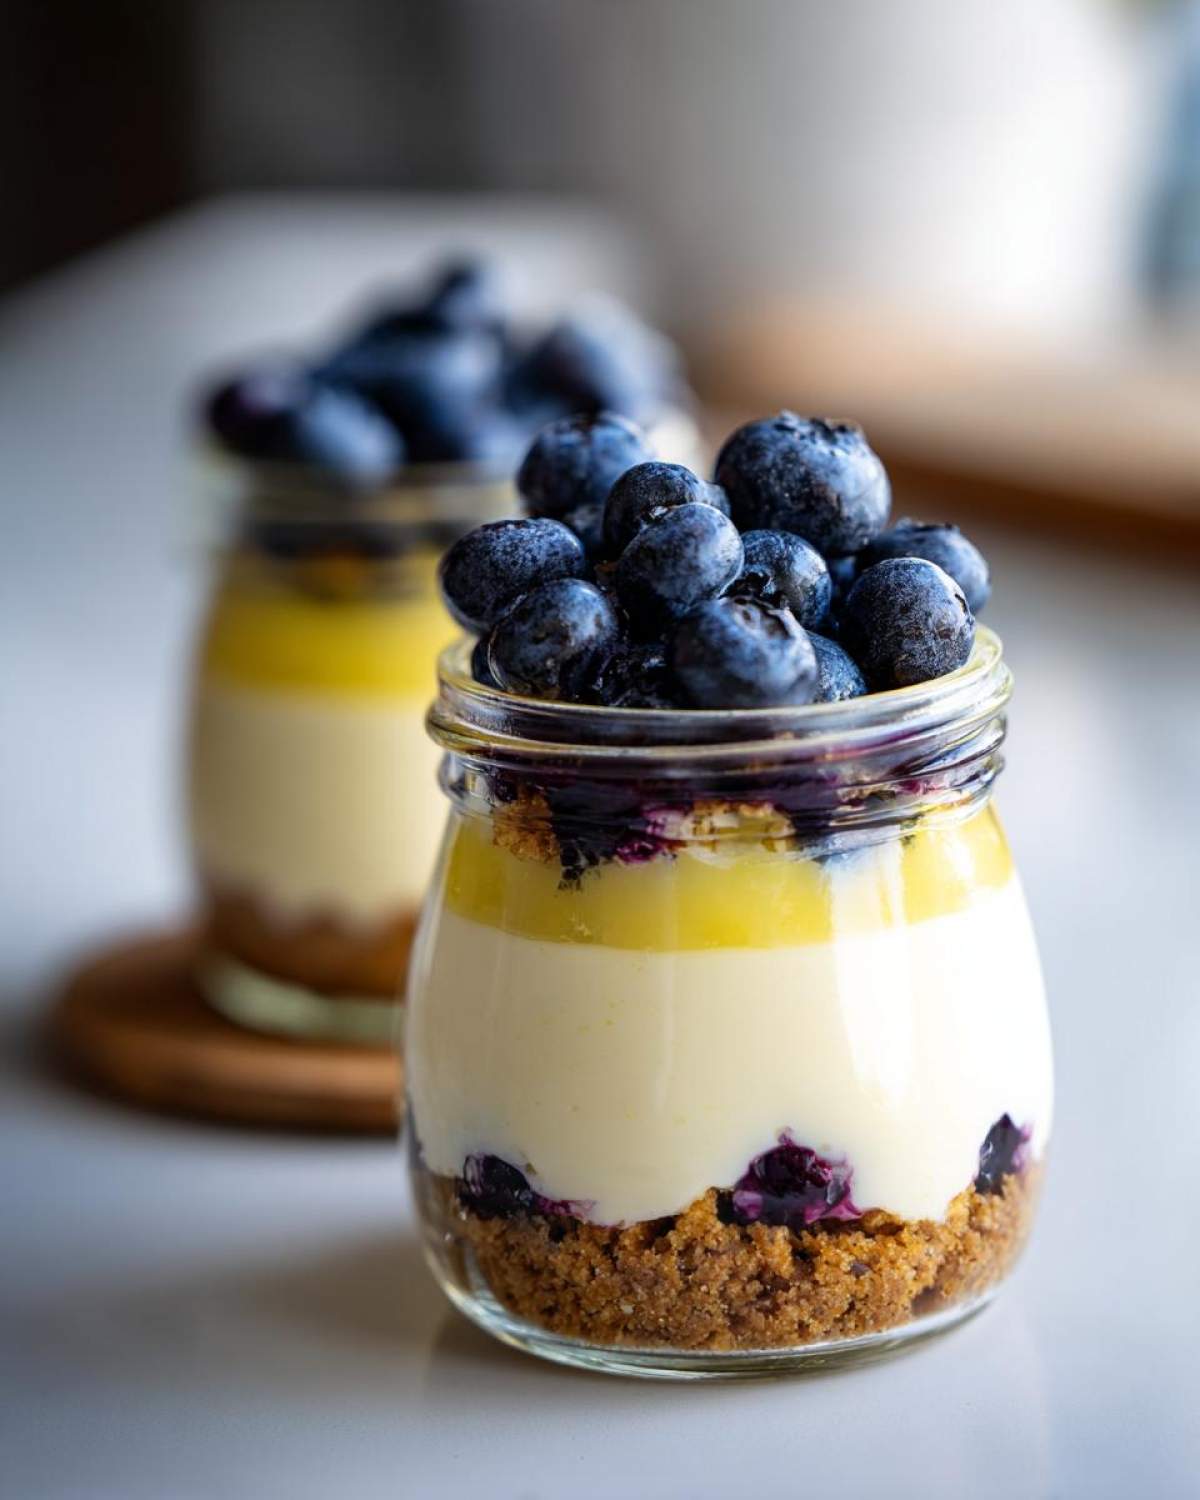
If you want to be fancy, grab some tiny sprigs of fresh mint—just one little leaf nestled on top looks so professional. These portable treats shine at potlucks, outdoor movie nights, or even just as a sweet grab-and-go dessert after a big family meal. If you need more handheld ideas, I’ve got a great recipe for apple dumpling crescent rolls that you can also package up easily!
Frequently Asked Questions About Cheesecake in a Jar Recipe
I know when you try a new recipe, especially one that uses specific containers like jars, you always have a few questions swirling around. Don’t worry, that’s totally normal! Folks ask me all the time about make-ahead timelines and the best containers to use for these divine **Cheesecake in a Jar Recipe** batches. Here are the things I get asked most often about making these perfect **Single Serving Cheesecake** treats.
Can I make these Lemon Blueberry Cheesecake Jars completely ahead of time?
Yes, you totally can, and I encourage it! Since this is a no-bake dessert, the chilling time is essential for the filling to set up properly. You can assemble the **Lemon Blueberry Cheesecake Jars** completely—crust, filling, and all the blueberries—and keep them sealed tightly in the fridge for up to three days. I find that if I make them the day before serving, the flavors have really settled in beautifully. Just make sure they stay cold!
What size jars work best for this Single Serving Cheesecake?
The recipe is aimed to yield about six servings, and I typically use small 4-ounce mason jars for these. These are the smaller jelly-jar size, which makes them the perfect amount for a satisfying dessert without being overwhelming. If you only have 8-ounce jars on hand, go for it! You’ll just end up with fewer servings (probably 4 or 5), but they’ll be big, glorious portions. I got the idea for these from making my mini pumpkin cheesecakes, and the jar size works just as well for portioning!
If you want a really generous treat, you can certainly use the 8-ounce size, you might just note that your final yield will be lower than the recipe suggests. Either way, make sure the jars have tight-fitting lids for storage!
Estimated Nutritional Data for One Serving
Okay, so if you are keeping track of things like calories or sugar, here is the rough idea of what you’re digging into with one of these amazing **Lemon Blueberry Cheesecake Jars**. Do me a favor, though: take this as a friendly estimate! I’m a baker, not a nutritionist with a fancy lab, so these numbers can swing depending on the exact brand of cream cheese or butter you use.
I calculated this based on getting exactly six jars out of the batch. If you end up making a few extra, smaller servings, the numbers will drop, of course! Remember, these are just guidelines derived from the recipe ingredients, and you should rely on your best judgment—and maybe enjoy the treat regardless!
- Serving Size: 1 jar
- Calories: 450
- Sugar: 35g
- Sodium: 250mg
- Total Fat: 30g
- Saturated Fat: 18g
- Carbohydrates: 40g
- Protein: 7g
Don’t forget to check out my privacy policy if you have any questions about data! But seriously, these are worth every single calorie. They just taste like sunshine and creamy goodness huddled together in a jar!
PrintNo-Bake Lemon Blueberry Cheesecake Jars
Make individual servings of creamy lemon blueberry cheesecake layered with a graham cracker crust in small jars.
- Prep Time: 25 min
- Cook Time: 0 min
- Total Time: 4 hr 25 min
- Yield: 6 servings
- Category: Dessert
- Method: No Bake
- Cuisine: American
- Diet: Vegetarian
Ingredients
- 1 1/2 cups graham cracker crumbs
- 1/4 cup granulated sugar (for crust)
- 6 tablespoons unsalted butter, melted
- 16 ounces cream cheese, softened
- 1 cup powdered sugar
- 1/2 cup granulated sugar (for filling)
- 1/4 cup fresh lemon juice
- 1 teaspoon lemon zest
- 1 teaspoon vanilla extract
- 1 cup heavy whipping cream
- 1 cup fresh or frozen blueberries
Instructions
- Prepare the crust: Mix graham cracker crumbs, 1/4 cup sugar, and melted butter until combined. Press 2 tablespoons of the mixture into the bottom of each of 6 small jars. Chill for 15 minutes.
- Make the cheesecake filling: In a large bowl, beat the softened cream cheese, powdered sugar, 1/2 cup sugar, lemon juice, lemon zest, and vanilla extract until smooth.
- In a separate bowl, whip the heavy cream until stiff peaks form. Gently fold the whipped cream into the cream cheese mixture until just combined.
- Assemble the jars: Spoon or pipe half of the cheesecake filling over the crust layer in the jars. Top with a layer of blueberries.
- Add the remaining cheesecake filling over the blueberries. Top with a final layer of blueberries.
- Cover the jars and refrigerate for at least 4 hours, or until firm.
Notes
- Use small mason jars or similar individual serving containers.
- If using frozen blueberries, thaw them slightly and pat them dry before layering.
- You can substitute vanilla wafers for graham crackers for the crust.
Nutrition
- Serving Size: 1 jar
- Calories: 450
- Sugar: 35
- Sodium: 250
- Fat: 30
- Saturated Fat: 18
- Unsaturated Fat: 12
- Trans Fat: 0
- Carbohydrates: 40
- Fiber: 1
- Protein: 7
- Cholesterol: 95