

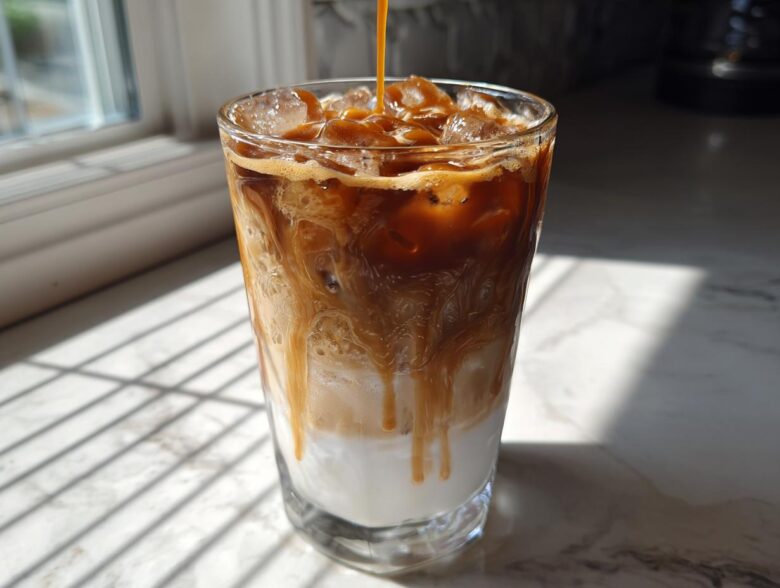
Oh, you know that feeling, right? That mid-afternoon slump hits, and suddenly you’re dreaming of that perfectly cold, sweet, layered coffee shop masterpiece? I’ve spent way too much time (and money!) perfecting my homemade version of the Iced Caramel Macchiato, and I finally cracked the code. Forget watery coffee or sad, completely mixed-up drinks; this recipe guarantees you get that beautiful, distinct layering every single time.
Honestly, after endless evenings messing with ratios and pouring techniques—and trust me, I’ve tested every fancy gadget out there—I figured out the secret isn’t a $5,000 espresso machine. It’s all about the assembly order! I’m so excited to share my tried-and-true method with you. We call this our personal Starbucks Copycat Recipe, and it tastes just as good, if not better, because you control the vanilla and the drizzle amount. If you’re ready to make the best summer iced coffee ever, keep reading!
This recipe is designed to be super quick, maybe five minutes total, especially if you have some strong coffee ready to go. I learned early on that for these layered drinks, preparation is everything. I even linked to my copycat Starbucks pumpkin cream cold brew recipe because once you master this assembly technique, you’ll be making all kinds of amazing coffee shop drinks at home. You absolutely need to see how we keep those gorgeous layers separate before the final swirl!
Why This Iced Caramel Macchiato Recipe Works (Starbucks Copycat Recipe)
I’ve tried so many recipes for this drink that ended up tasting like sweet, milky sludge after two sips. But this Starbucks Copycat Recipe is different! It’s all about respecting the order of operation. We’re aiming for that Instagram-worthy look where you can clearly see the contrast.
Here’s why this simple method consistently knocks my socks off:
- Picture Perfect Layers: By adding syrup, then milk, then ice, and finally the hot coffee, we create temperature differences that help them stack beautifully before they start mixing on their own.
- No Espresso Required: Listen, I get it—not everyone has a fancy machine. This recipe is forgiving! We specify using the strongest batch of coffee you can manage, which totally works as my personal backup espresso shot.
- Sweetness Control: You get to decide how much vanilla syrup goes in the bottom and how thick that final drizzle is. It’s your drink, after all!
Ingredients for Your Homemade Caramel Macchiato
Okay, let’s get down to what you actually need to pull this off. This shopping list is super short, which is why I love this Homemade Caramel Macchiato. You don’t need a dozen fancy flavor syrups!
For one perfect, tall glass, here’s the lineup:
- One full cup of milk (dairy or whatever fancy option you prefer).
- About half a cup of nice, big ice cubes. Don’t skimp on the ice!
- Two shots of espresso, pulled nice and hot. If you’re using my backup method, that’s about a quarter cup of coffee that’s brewed extra dark and strong.
- Exactly one tablespoon of vanilla syrup—this is crucial for the classic flavor profile.
- Two tablespoons of good caramel sauce for mixing in, plus some extra for that gorgeous drizzle on top. I grab a good quality store-bought one because frankly, I’m making this too fast to cook sauce every time! If you want the recipe for my simple drizzle, check out that section later!
If you’re looking for tips on homemade dips, I swear my caramelized onion dip recipe is amazing, but for this drink, pre-made sauce keeps us moving fast!
Ingredient Notes and Dairy Free Macchiato Alternative
The milk quality makes a huge difference in texture, which is why I recommend being a little picky here. If you are avoiding dairy, don’t sweat it! Oat milk is my absolute favorite for a Dairy free macchiato alternative because it foams up a bit better than almond milk and has a lovely natural sweetness that complements the vanilla.
Another quick tip: make sure that vanilla syrup is actually vanilla *syrup*, not just extract! You need that sweetness to sit at the bottom and create that first satisfying layer before the milk goes in. Trust me, using the right stuff makes all the difference in balancing the bitterness of the coffee.
Essential Equipment for Making an Iced Caramel Macchiato
You really don’t need a coffee shop setup for this, which is the best part!
First off, grab a tall, clear glass. It’s non-negotiable—you have to see those layers! Grab your measuring spoons too; precision is important when you’re aiming for that balanced flavor profile, especially with the vanilla syrup.
Now, let’s talk coffee. If you already have an espresso maker, great! Pull those shots hot. But if you don’t, don’t close this page! You need something concentrated. I rely on my Moka pot 90% of the time to get that deep, intense flavor needed for a Strong brewed coffee macchiato. A French press, using a much finer grind and brewing it extra strong, works in a pinch too. Just make sure it’s hot when you pour it!
For more ideas on using your daily brewer, check out my post on easy espresso recipes that don’t rely on fancy gadgets!
Step-by-Step Instructions: How to Make Iced Macchiato Layers
This is the fun part, but you need to move with purpose! This whole drink comes together in about three minutes once your coffee is ready, and we are going for that dramatic, beautiful staging. We are building a perfect Layered Coffee Drink, so read these steps twice before you start pouring, okay?
First thing, grab that tall, clear glass. Into the very bottom goes your vanilla syrup—that’s the foundation! Don’t stir it in yet; we want it waiting patiently under there. Next, you’re going to pour in your milk. Fill that glass about three-quarters of the way up with your milk selection. It feels like too much milk sometimes, but trust me, that liquid base is essential for a good layer separation.
Now for the crucial cold element: the ice! Fill that glass right up to the top with ice. The ice isn’t just for chilling; it acts as a physical barrier between your cold milk and the hot coffee we’re about to pour. If you skip that ice barrier, everything mixes immediately, and boom—you just made a vanilla latte!
Once the ice is packed in, measure out your two reserved tablespoons of caramel sauce. Drizzle that right over the top of the ice. This creates the very top layer before the coffee goes in. It just looks stunning when you start mixing it!
Finally, it’s time for the coffee. After you’ve confirmed you have ice and caramel on top, slowly, slowly pour your hot espresso or very strong coffee right over the center of the ice.
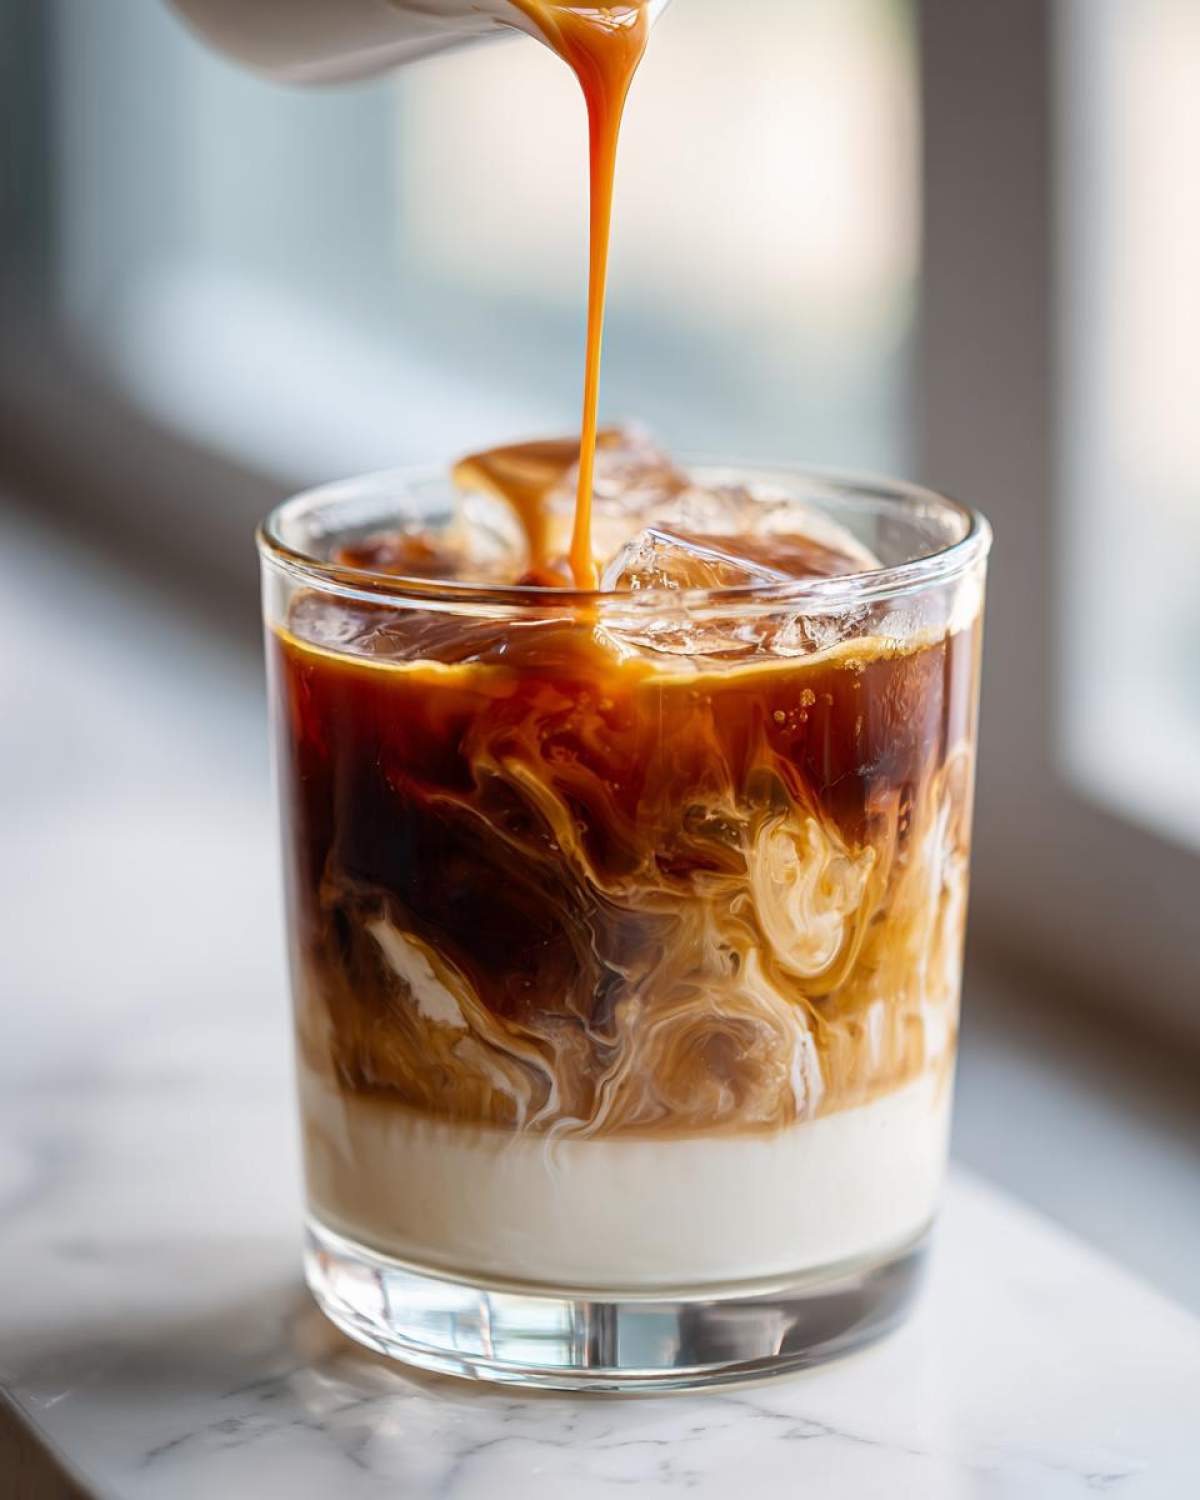
Achieving the Perfect Espresso Over Milk Recipe Pour
This final pour defines the entire drink. Remember how I said the hot coffee is key? That temperature shock against the cold milk and ice is what momentarily keeps the espresso from sinking right away. You must pour slowly. Think of it like you are gently setting the coffee onto the ice cubes, not dumping molten lava into a glass!
When you pour the hot coffee with the right slow technique, you get that stunning effect where the dark coffee sits mostly on top of the ice and just starts to marble down into the white milk. This technique is the whole trick to a great Espresso over milk recipe. Once it steeps for about thirty seconds, grab that extra caramel you saved and make a crosshatch pattern right across the top of the newly poured coffee layer. It looks spectacular, and when you hand it to someone, they know you made this with love!
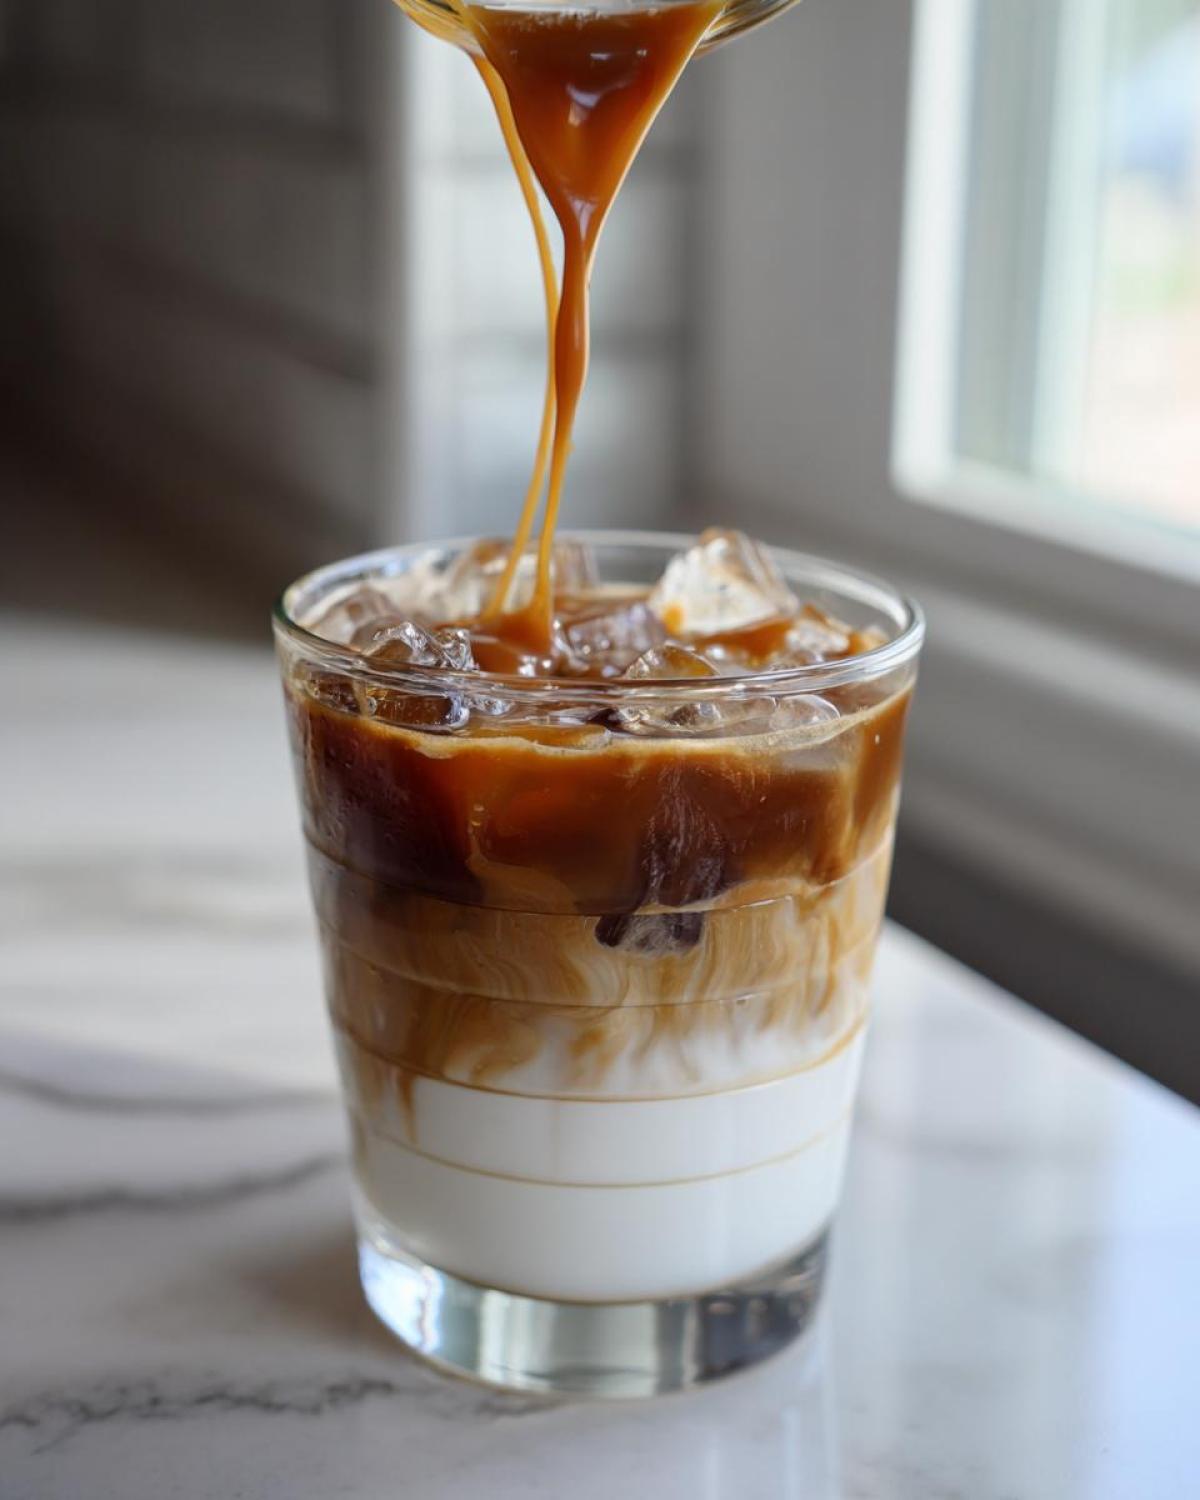
If you mess up the layers the first time, don’t panic! Just grab another glass and try again. It’s supposed to be fun! In the next section, I’ll show you the super quick way to make a drizzle if you need more sauce. For more baking tips and tricks, check out my homemade garlic breadsticks recipe—different food, same attention to detail!
DIY Caramel Drizzle for Your Iced Caramel Macchiato Recipe
Okay, so maybe you drank the two tablespoons that went into the drink, and now you need way more caramel for that gorgeous drizzle on top. I totally get it! If you don’t have a favorite store-bought syrup, making a quick DIY Caramel Drizzle is surprisingly easy. You don’t need to make a massive batch of thick caramel sauce for this; we just want something that drips nicely down the side of the glass.
Here’s my emergency drizzle method: take about a quarter cup of sugar and melt it gently in a small, heavy-bottomed saucepan over medium-low heat. Don’t stir it! Just swirl the pan sometimes until it turns a beautiful amber color. When it looks like liquid gold, take it *off* the heat immediately!
Whisk in about two tablespoons of butter—watch out, it bubbles up! Then, slowly whisk in about three or four tablespoons of heavy cream until super smooth. That’s it! Let this cool for just a few minutes until it thickens slightly, but is still pourable. It will thicken amazingly fast. This super-quick sauce is perfect for layering or for drizzling over something rich like my salted caramel cheesecake!
If you’re watching the sugar intake, this is where you adjust everything. For your vanilla base, start with just half a tablespoon of syrup, and only drizzle half a teaspoon of sauce on top. You still get that sweet, buttery flavor without overdoing it. You’re in charge of the sweets meter!
Tips for Success with Your Iced Caramel Macchiato
Even though this is a fast drink, a couple of little tricks will elevate it from good to seriously amazing. Remember, we are trying to get that professional look and feel, so listen up!
The most important thing, which I cannot stress enough for that beautiful visual separation, is the temperature contrast. You absolutely need hot coffee or espresso poured over the cold milk and ice. That heat interaction is what keeps the espresso sitting nicely on top for those precious first few minutes. Don’t use cold brew for the top layer unless you plan on stirring it right away!
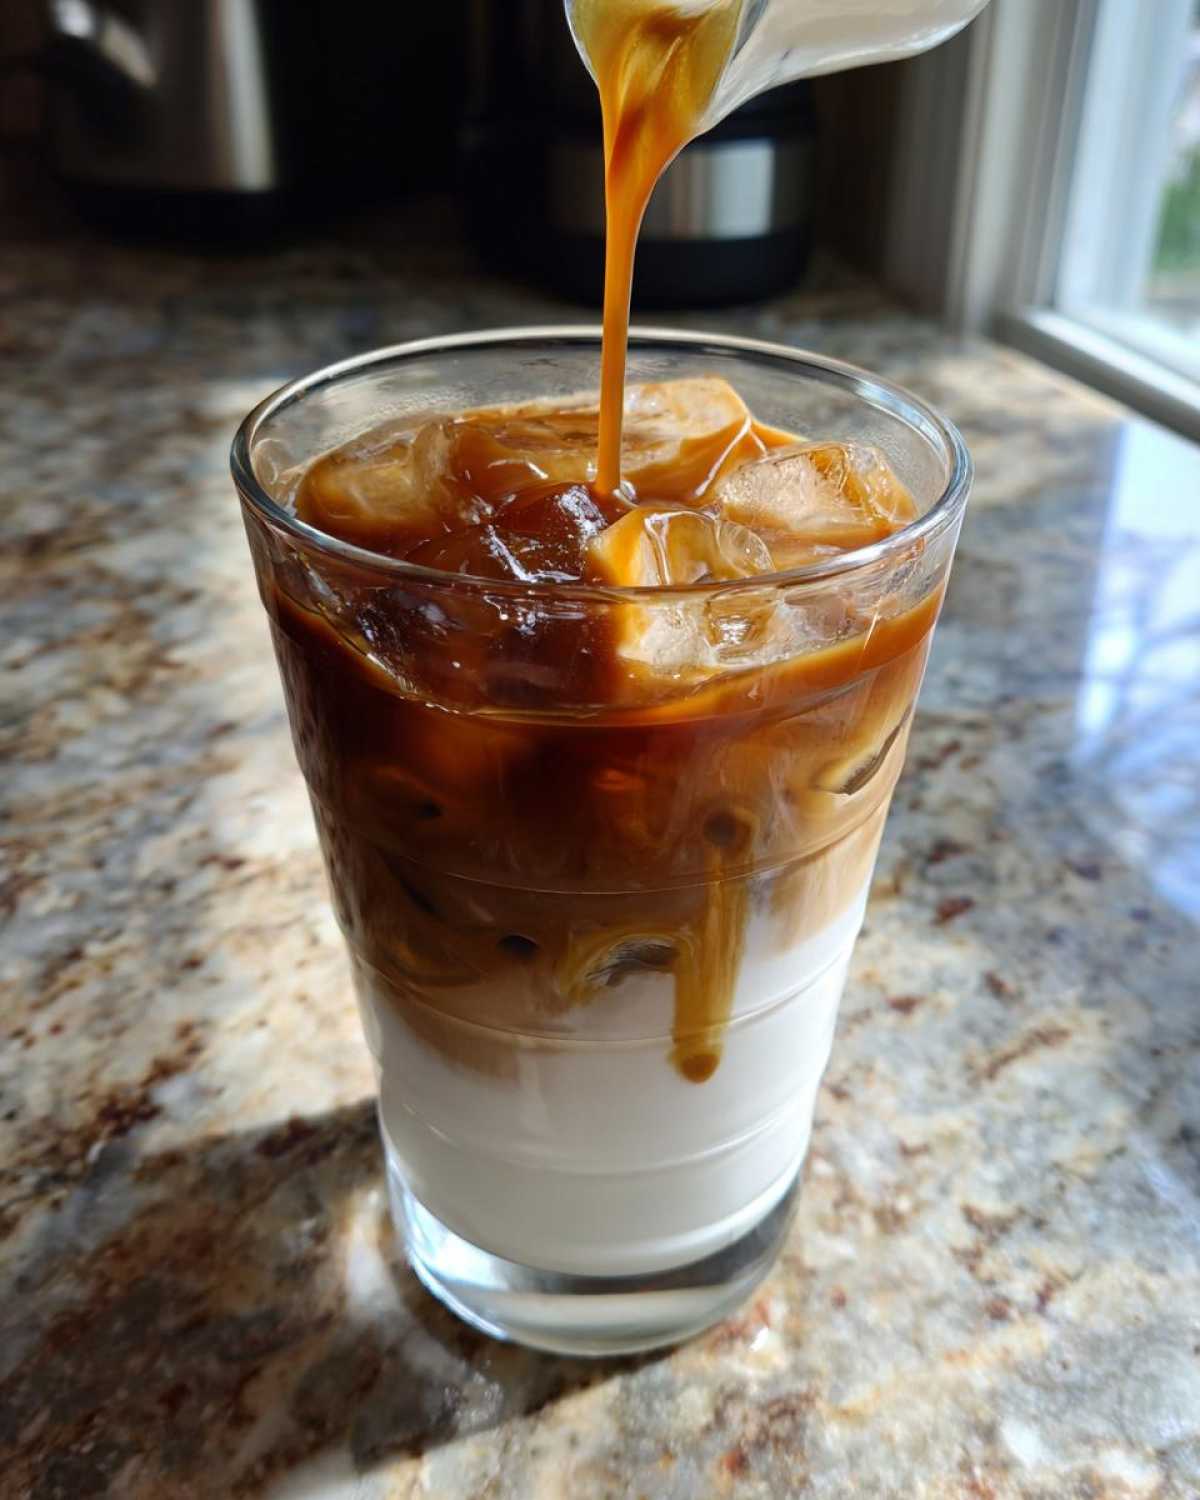
If you find your drink is too sweet—and hey, sometimes I get too excited with the sauce—just hold back on the vanilla syrup in the milk layer first. You can always add more drizzle later, but it’s hard to take out what’s already mixed in. Also, if you are stuck using that stronger brewed coffee method, make sure you use slightly less coffee, maybe only a quarter cup instead of a full quarter cup plus a splash, just because it’s more concentrated than espresso.
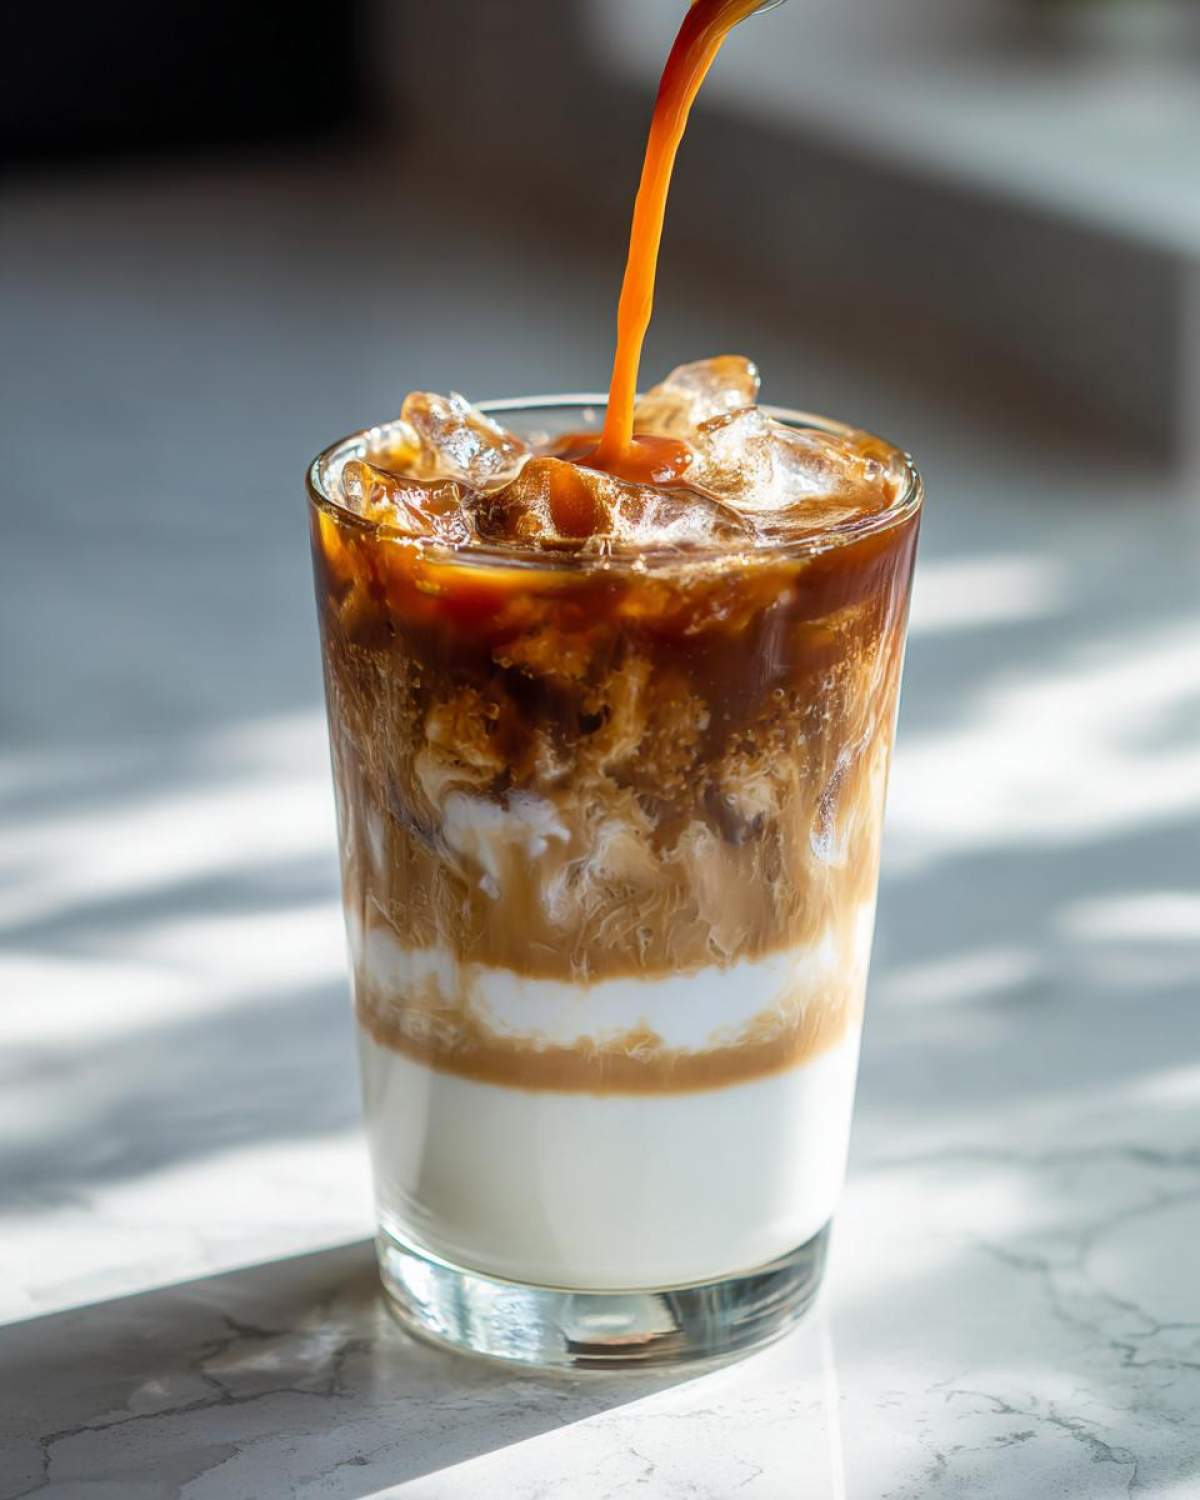
Making a truly great Strong brewed coffee macchiato requires boldness, so use high-quality beans! It really is worth the small extra effort.
Storage & Reheating Instructions for Your Coffee Drink
Confession time: this drink does *not* like to hang out. Seriously, the Iced Caramel Macchiato is best made right before you drink it so you can enjoy those gorgeous layers! If you try to save leftovers, the ice melts, the coffee sinks, and you just have sweet, cold milky coffee.
If you absolutely must prep ahead—maybe you’re making a batch for a brunch—just keep the components separate! Store the vanilla milk/ice mix in a very cold thermos, and keep your hot espresso or strong coffee separate. Then, assemble right before serving. Don’t even think about microwaving this one!
Frequently Asked Questions About Making an Iced Macchiato
I know you might have a few last-minute worries before you start pouring! Here are the questions I always get asked when I share this recipe with friends. Honestly, once you get the layering down, it’s hard to mess up!
Can I use cold brew instead of hot espresso for my Iced Caramel Macchiato?
That’s a super common query! You *can* certainly use cold brew, and it will still taste delicious! However, if you want that authentic, layered look we’ve been describing—where the coffee sits dramatically on top of the milk—you really need that temperature contrast provided by hot espresso or hot, very strong brewed coffee. Cold brew is already cold, so when you pour it over the ice and cold milk, it just mixes right in, much faster. If you use cold brew, you’re basically making a vanilla iced latte with caramel on top, which is great, but not the true macchiato experience, visually speaking.
How do I make this a less sweet coffee shop drinks at home?
Oh, I love making this for friends who aren’t huge sugar fans! The best way to make these coffee shop drinks at home less sweet is to attack the two sugary components: the vanilla syrup and the caramel drizzle. My main recipe calls for a full tablespoon of vanilla syrup in the bottom. Try starting with just half a tablespoon! Seriously, taste the milk mixture before you add the ice if you can.
For the top, be stingy with that final drizzle. Instead of the wide crosshatch pattern I love, use just a tiny bit swirled on with a toothpick. You still get the flavor essence of the caramel without all the sugar hitting you in one place! You can always add more sweetness after tasting, but you can’t take it away!
If you ever decide to try making a milky tea instead of coffee, check out my London Fog tea latte recipe—it’s another favorite that feels decadent but is easy to control the sweetness on!
Share Your Perfect Iced Caramel Macchiato
Alright, now that you know all my secrets for getting those layers just right, I absolutely want to see what you come up with! Making this drink is half science, half art, and I love seeing how you all customize it.
Did my tip about using oat milk for your Dairy free macchiato alternative work out for you? Or maybe you went totally rogue and tried a different syrup in the bottom layer? Don’t keep those brilliant ideas secret!
Please stop by the comments section below and let me know how this Iced Caramel Macchiato Recipe turned out. Give it a star rating if you loved the layering process! If you snapped a picture of that gorgeous, distinct drizzle on top, share it on social media and tag me—I live for seeing my readers enjoying amazing coffee shop drinks at home.
If you’re curious about who’s behind all these kitchen hacks and recipe testing, you can learn a little bit more about me and the site over on the About Us page! Happy stirring, and enjoy that perfect, icy caffeine kick!
PrintIced Caramel Macchiato Recipe
A simple guide to making a layered, sweet, and cold caramel macchiato at home using strong coffee or espresso.
- Prep Time: 5 min
- Cook Time: 0 min
- Total Time: 5 min
- Yield: 1 serving
- Category: Beverage
- Method: Assembly
- Cuisine: American
- Diet: Vegetarian
Ingredients
- 1 cup milk (dairy or non-dairy)
- 1/2 cup ice cubes
- 2 shots espresso (or 1/4 cup very strong brewed coffee)
- 1 tablespoon vanilla syrup
- 2 tablespoons caramel sauce (plus extra for drizzle)
Instructions
- Prepare the caramel sauce if making from scratch, or measure out 2 tablespoons of store-bought sauce.
- Pour the vanilla syrup into the bottom of a tall glass.
- Add the milk to the glass over the syrup.
- Fill the glass almost to the top with ice cubes.
- Gently pour the 2 shots of espresso (or strong coffee) over the ice. Pour slowly to keep the layers separate initially.
- Drizzle the remaining caramel sauce over the top of the drink in a crosshatch pattern for presentation.
- Serve immediately with a straw.
Notes
- If you do not have an espresso maker, use 1/4 cup of coffee brewed very strong (e.g., using a Moka pot or French press).
- For a dairy-free option, use oat milk or almond milk; these work well with the flavor profile.
- Adjust the amount of vanilla syrup and caramel sauce to control the sweetness level.
- To achieve better layering, ensure your coffee is hot when pouring over the cold milk and ice.
Nutrition
- Serving Size: 1 drink
- Calories: 250
- Sugar: 35
- Sodium: 100
- Fat: 7
- Saturated Fat: 4
- Unsaturated Fat: 3
- Trans Fat: 0
- Carbohydrates: 38
- Fiber: 0
- Protein: 8
- Cholesterol: 25