

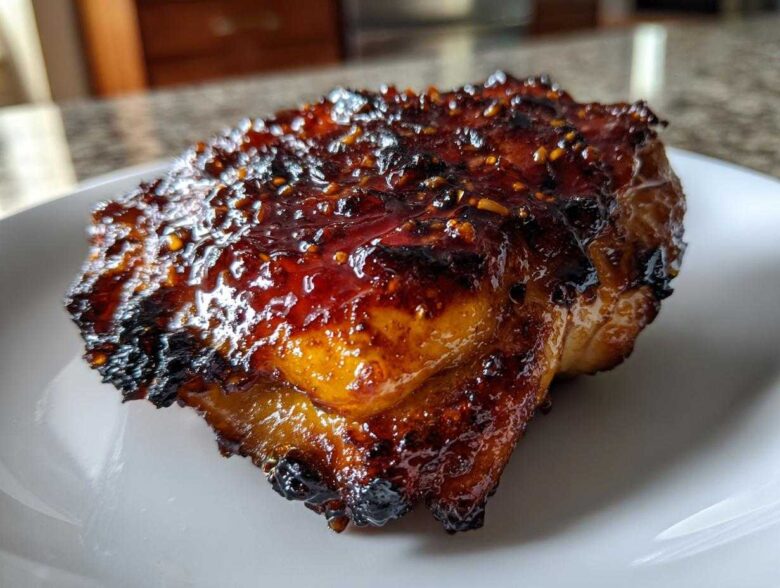
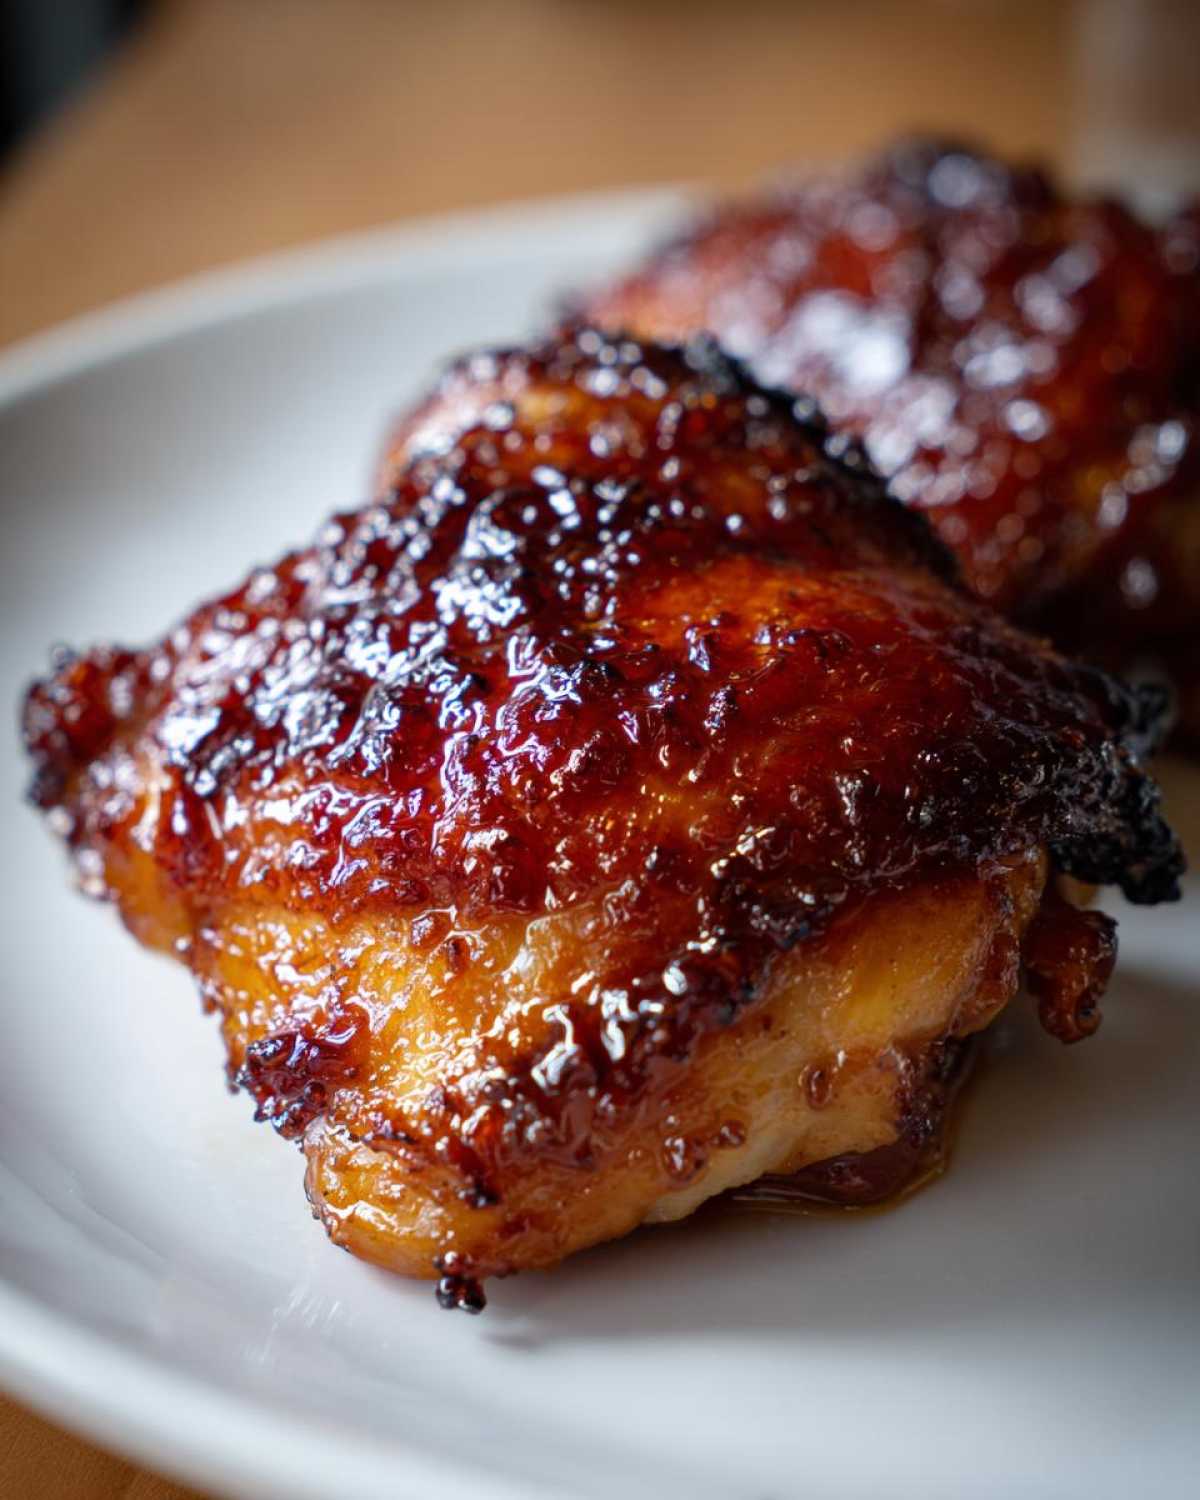
Listen, I know the struggle. You want that sticky, savory-sweet coating of a good glaze, but every time you finish baking your chicken thighs, the skin looks either soggy or burnt, right? Well, I’ve spent what feels like years perfecting the timing and technique so now, I promise you, we can nail that dream texture. This recipe for Honey Garlic Chicken Thighs with Crispy Skin is my absolute go-to. We’re talking interiors that are incredibly juicy, practically melting off the bone, paired with skin that shatters when you touch it. It took way too many wasted batches, but mastering the drying and two-stage baking process solved everything for me. Get ready for your new family favorite!
The Secret to Perfect Honey Garlic Chicken Thighs with Crispy Skin
Look, getting that shatteringly crisp skin is the holy grail when you’re cooking skin-on thighs, especially when you plan on coating them in a sticky sauce later. It’s all about rendering the fat properly, and that just can’t happen if the skin is wet. This crispy skin chicken thighs method isn’t just about luck; it’s chemistry! We use a two-stage cooking process here. First, we bake them bare so the rendered fat can actually crisp up before we introduce any moisture from the glaze. Trust me, skipping that initial dry bake is a rookie mistake that leads straight to chewy skin.
Why Drying the Skin is Non-Negotiable for Honey Garlic Chicken Thighs with Crispy Skin
Seriously, grab those paper towels and be aggressive about this step! I mean it, press them all over until the skin feels dry to the touch. If there’s any moisture left clinging to the surface when it hits that hot oven air, that moisture turns to steam. Steam keeps the skin soft and prevents the fat underneath from rendering out properly. If you want how to get crispy chicken skin, you need a totally dry canvas. Nobody wants limp, soggy skin under a sweet glaze, right?
Achieving the Best Honey Garlic Glaze Recipe
The glaze has to be perfect because it’s the star flavor! You need enough sweetness from the honey, but if it’s *only* sweet, it tastes cloying. That’s why we bring in the soy sauce for salty depth and, crucially, a pop of acid, like apple cider vinegar. That little bit of tang cuts through the richness of the fat and stops the honey from tasting overwhelming. We simmer it down just until it thickens enough to coat a spoon. It’s a simple, sticky, savory-sweet dream combo!
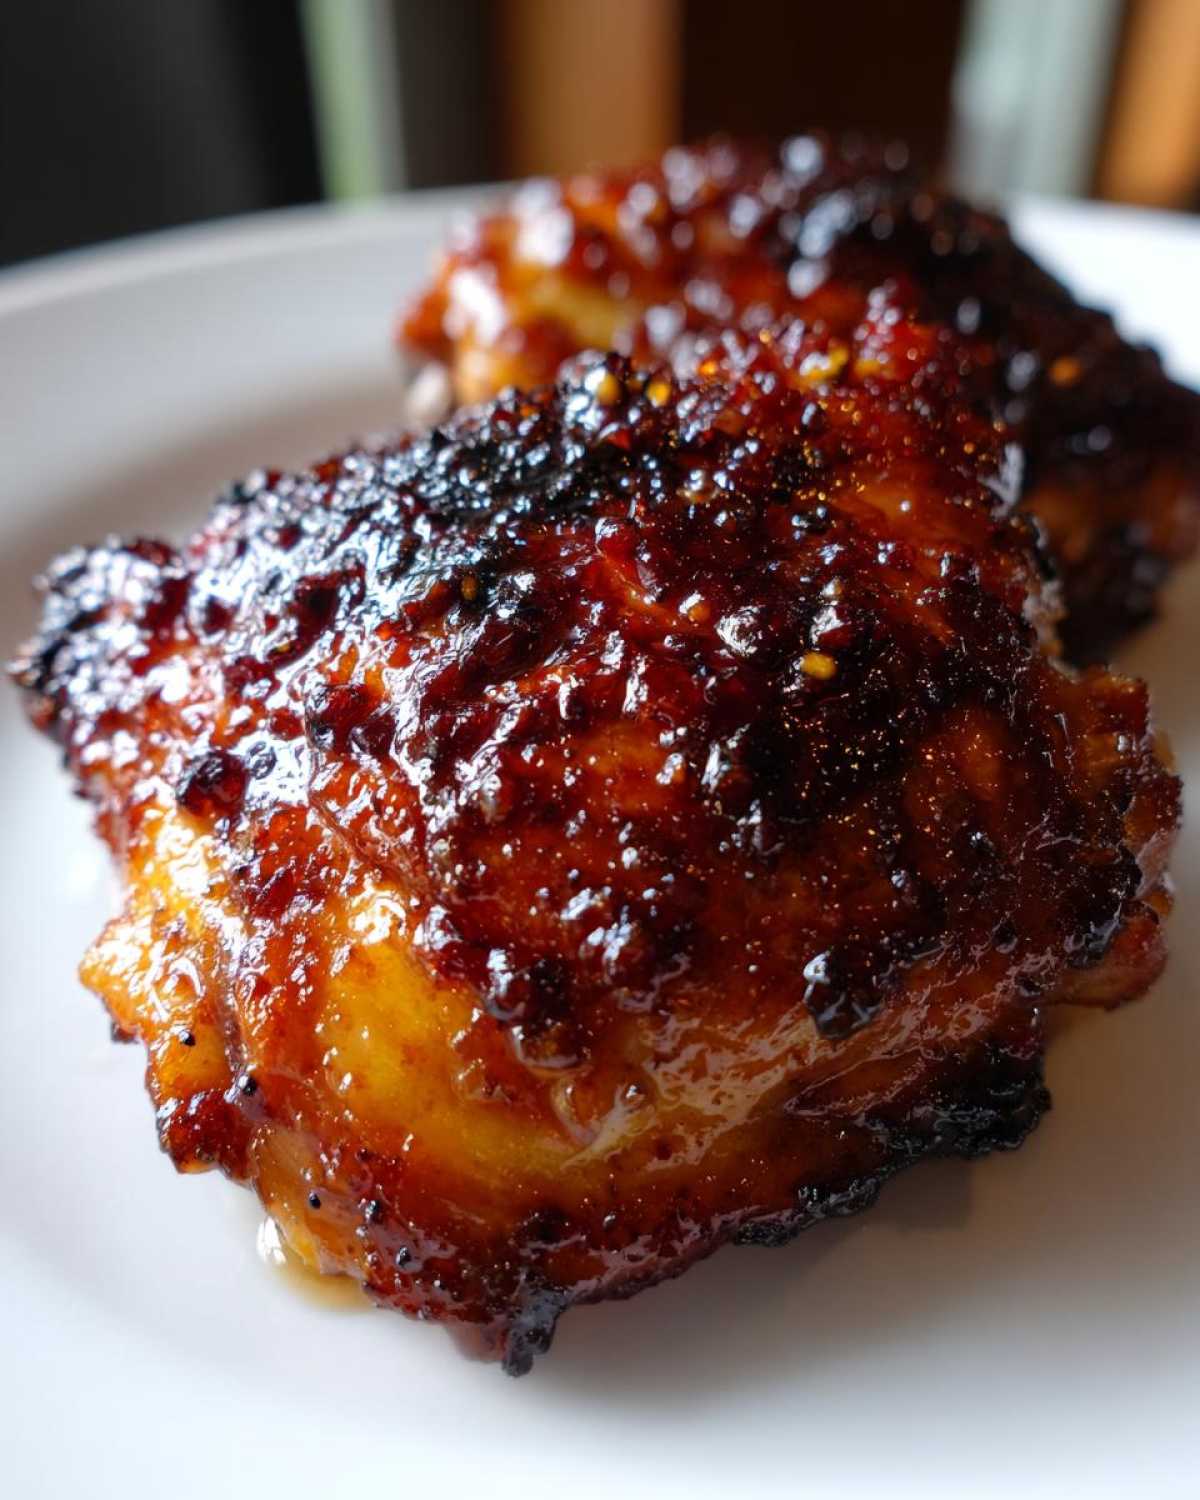
Gathering Ingredients for Honey Garlic Chicken Thighs with Crispy Skin
Okay, getting everything prepped before the oven heats up is half the battle, especially when you’re racing the clock for a decent weeknight meal. This recipe is super forgiving, but these specific amounts ensure we get that perfect sticky sauce coating everything without wasting any. I always lay everything out first—this is what my mom called ‘mise en place,’ but really, it just means less stressing later! Trust me, having your garlic breadsticks (or whatever side you choose!) ready while the chicken bakes is key.
Here’s what you’ll need gathered up before you even think about seasoning that gorgeous chicken:
- Six bone-in, skin-on chicken thighs. Yes, skin-on! That’s the whole point here.
- Just one tablespoon of olive oil for rubbing down the skin before seasoning.
- One teaspoon of salt and about half a teaspoon of black pepper. No need to get fancy; we want the honey garlic to shine.
- For the glaze, you need half a cup of honey. Use the good stuff if you have it!
- A quarter cup of soy sauce. I usually reach for the low-sodium kind, but whatever you keep stocked is fine.
- Four cloves of garlic— and I mean really mince them finely! Don’t try to use the jarred stuff here; fresh garlic makes the glaze sing.
- One tablespoon of apple cider vinegar. This gives the glaze its necessary tang, so don’t leave it out!
- And finally, just one teaspoon of freshly grated ginger. It adds such a warm background note to the whole affair.
That’s it! Simple pantry staples delivering huge flavor. Once you have these components ready to go, the actual cooking part is a total breeze.
Step-by-Step Instructions for Oven Baked Honey Garlic Chicken Thighs with Crispy Skin
Alright, here is where the magic happens! We’re going to walk through this method for oven baked chicken thighs with glaze very carefully, hitting those key timing marks. Remember, the texture battle is won before the sauce even touches the chicken. We need that initial high-heat blast to render the fat, giving us that incredible crispy skin we crave.
Preparing the Chicken and Setting Up for Maximum Crispiness
First thing’s first: get those thighs seriously dry. I mean it, pat, pat, pat until you think they can’t possibly be any drier. Then, hit them with the salt and pepper all over. Now, this next part is non-negotiable if you want crispy skin! You absolutely must place the seasoned thighs skin-side up on a wire rack set inside a rimmed baking sheet. The rack elevates the chicken so air circulates all around the skin—that airflow is your best friend for crisping!
Making the Garlicky Honey Glaze Recipe
While that chicken gets its pre-crisp bake time in the oven (400°F is the sweet spot!), whisk together your glaze ingredients in a small saucepan. We need the honey, soy sauce, that pungent minced garlic, vinegar, and ginger all mixed up. Bring that mixture to a gentle simmer on medium heat. You only need to let it bubble for about three minutes until it starts looking slightly syrupy. Pull it off the heat right away so the honey doesn’t scorch or get too thick before we’re ready to use it.
Glazing and Finishing the Honey Garlic Chicken Thighs with Crispy Skin
Bake those bare thighs for 25 minutes first. They should look nicely browned already. Then, pull them out and brush *half* of that gorgeous glaze mixture right over the top of the skin. Back into the oven they go for another 10 to 15 minutes. You must check the temperature—you’re looking for 165°F internally for safe consumption and max juiciness. Once they’re done, take them out one last time, brush on the remaining sauce while they’re piping hot, and let them chill out for five minutes before you serve them up!
Expert Tips for Juicy Chicken Thighs Recipe Success
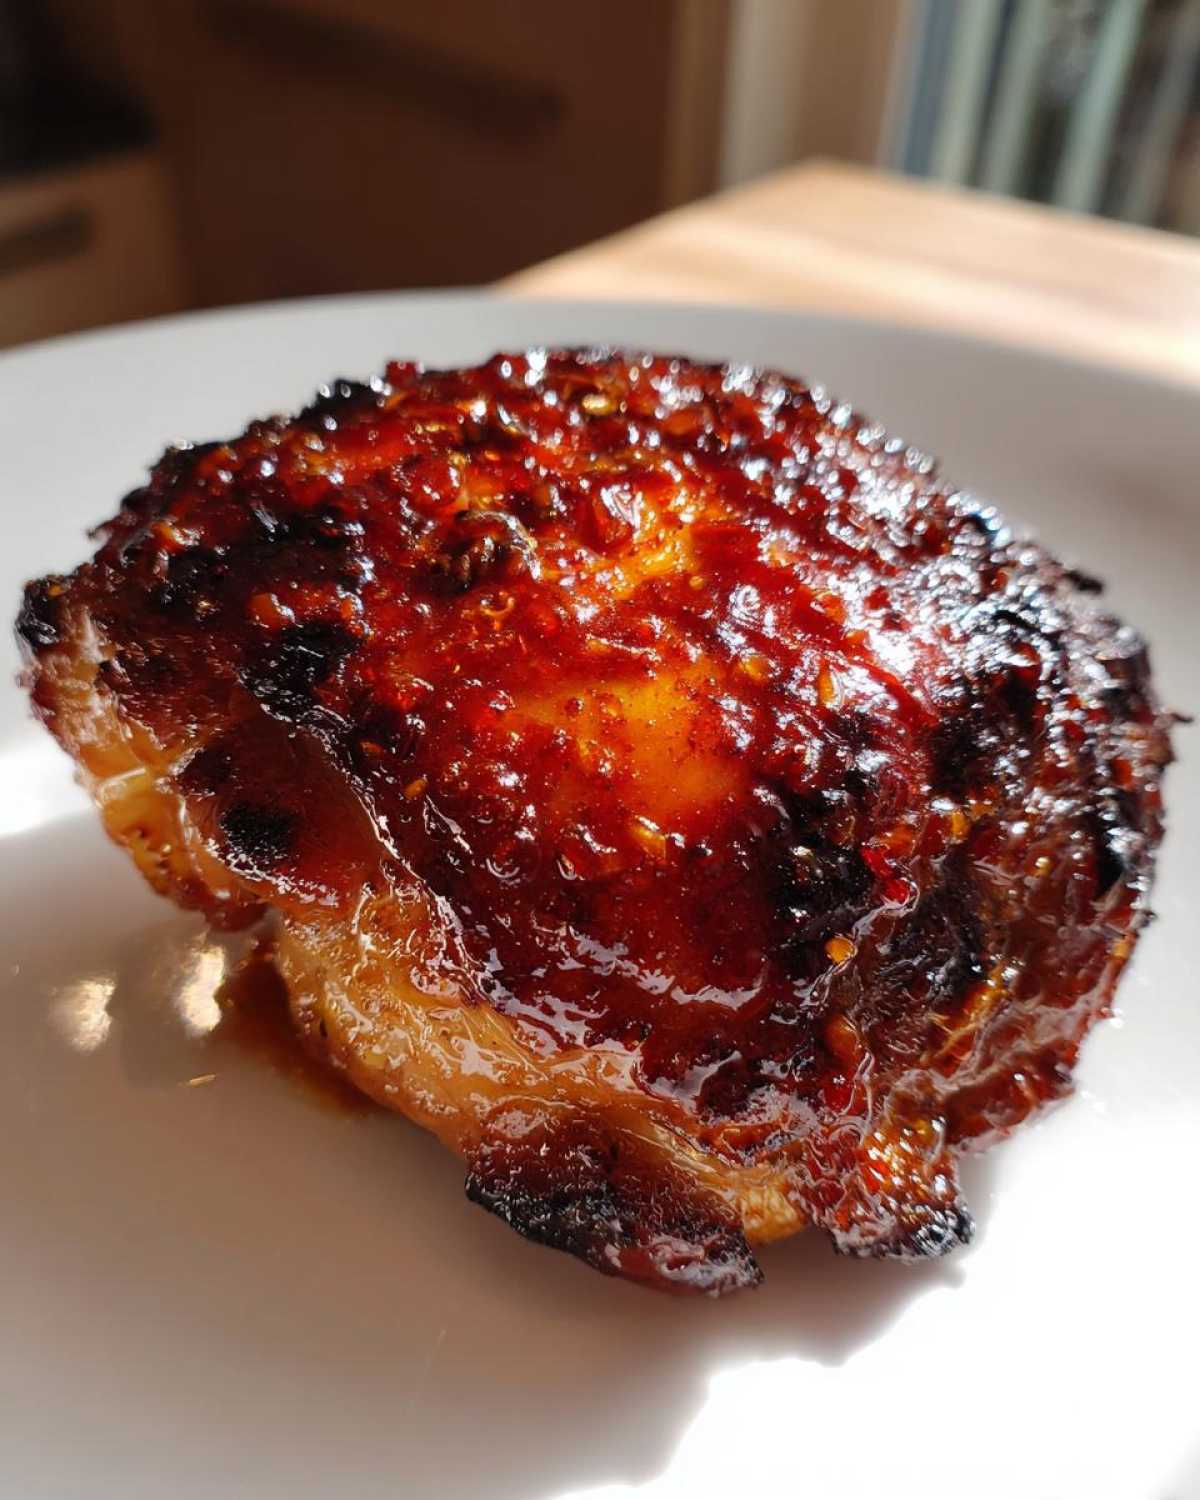
So, you’ve nailed the timing and the glaze is sticky perfection, but how do we guarantee that beautiful, melt-in-your-mouth interior every single time? It’s all about these finishing touches. Knowing how to get crispy chicken skin during the initial bake isn’t enough; you need to treat it gently once the sugars are introduced. This is my favorite part of achieving the ultimate juicy chicken thighs recipe—it’s where the real ‘chef’ knowledge sneaks in!
My absolute number one tip, which I learned when developing this roasted chicken guide years ago, is how to handle the final moments under the heat. If you pull the chicken out and the skin is looking great but maybe not *perfectly* browned, don’t panic and bake for 10 more minutes because you’ll dry out the meat!
Instead, use the broiler—but you have to be fast! Brush on that second layer of glaze and slide the tray under a preheated broiler for just 60 to 90 seconds. Keep your eye glued to the oven door because honey burns faster than anything you’ve ever cooked. You’re looking for deep mahogany color and a bubbly appearance. Then, yank it out fast!
The second crucial tip for keeping everything juicy? Resting! I know, I know, the smell is intoxicating and you want to tear into that sticky chicken right away. But just like a steak, letting the chicken rest for five minutes after it comes out of the oven allows all those wonderful juices—locked in place by the initial high heat—to redistribute throughout the meat. If you cut it immediately, all that moisture just spills onto the cutting board. Let it rest, then serve it up. That brief pause guarantees you the juiciest chicken thighs you’ve ever made!
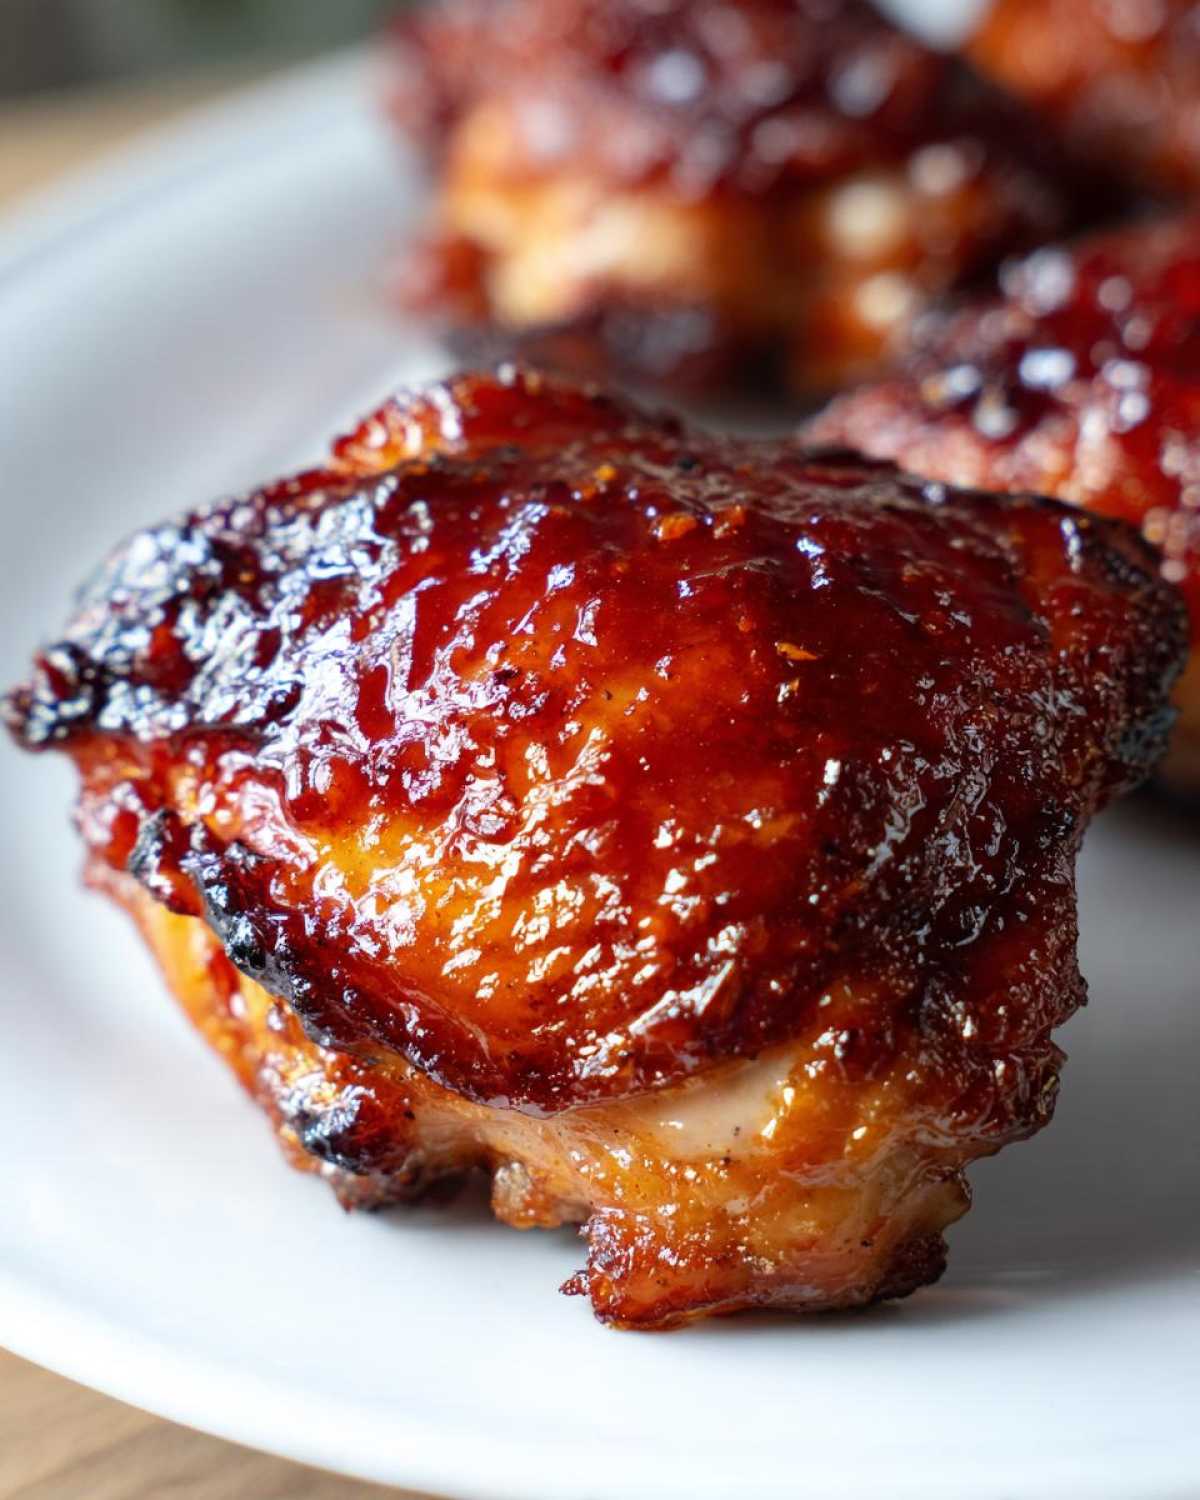
Variations on This Weeknight Chicken Thigh Ideas
While I absolutely adore this simple baked method—it keeps cleanup manageable and locks in that glorious sticky texture—I totally get it if you need new approaches for your rotation of weeknight chicken thigh ideas. Sometimes the oven is full, or maybe you just crave a different texture entirely! Luckily, this honey garlic glaze is basically magic and works its charm no matter how you cook it.
If you’re in a real rush, the stovetop is your friend. This works great if you’re making just four thighs instead of six. You’ll want to skip the rack setup entirely. Instead, start the thighs skin-side down in a cold, heavy skillet (cast iron is best!). Turn the heat to medium-low. This gentle start helps the fat render slowly, making the skin crisp up beautifully without burning before the meat is cooked. It takes about 12 to 15 minutes just for the skin side. Flip them over, give them maybe five more minutes, and then pour that pre-made glaze directly into the pan over the top. Let it bubble rapidly for just two minutes—boiling hot—and then pull it off immediately. That stovetop method gives you super dark, concentrated flavor!
Now, if you happen to own an air fryer, you’re going to love this. The air fryer is actually one of the best ways to guarantee crispy skin because it circulates hot air so intensely. You can follow the first step of the recipe—pat them dry and season them—but skip the 400°F oven entirely. Pop them in the air fryer basket (don’t overcrowd them!) at 380°F for about 18 minutes. Then, pull them out, brush with the glaze, and give them another 3 to 5 minutes until that glaze is bubbling and caramelized. The air fryer really does an amazing job of delivering true crispiness, even with that sticky sauce coating it!
No matter which route you choose—oven, stovetop, or air fryer—the foundational secret remains the same: dry skin equals crisp texture!
Serving Suggestions for Your Savory Sweet Chicken Thigh Dinner
So, you’ve pulled that glorious, sticky, crispy chicken off the rack, and now you’re standing there looking at it—what do you serve alongside this masterpiece? This honey garlic vibe is so rich and savory-sweet that it really needs something plain and absorbent to soak up all those amazing pan drippings and extra glaze that pools on the plate. Remember, this is supposed to be a relaxing savory sweet chicken thigh dinner, so let’s keep the sides quick!
My personal rotation usually involves something starchy and something green. Balance is key to making a weeknight meal feel fancy without needing an extra hour of effort!
Here are my top three pairings for practically any sticky chicken dish:
- Fluffy White Rice or Basmati: You simply cannot go wrong here. Rice is the perfect vehicle for soaking up every last drop of that honey garlic glaze. I often cook mine with a little squeeze of lime juice stirred in right at the end—it adds a tiny, unexpected freshness that brightens up the whole plate. It’s simple, cheap, and always a crowd-pleaser.
- Simple Roasted Green Beans or Broccoli: You need a slight bitterness or earthy flavor to cut through the sugariness of the sauce. Roasting is the easiest way to achieve this! Toss your green beans or broccoli florets with just a drizzle of olive oil, salt, and pepper. Roast them at 400°F until they are slightly charred at the edges. The char provides a nice smoky contrast to the sticky coating.
- Creamy, Unsweetened Mashed Potatoes: If you’re having a chilly night and want something truly comforting, skip the rice and go for potatoes. The smooth, creamy texture is incredible when you spoon the chicken and its sauce over the top. I make mine super simple—just potatoes, butter, milk, salt, and a dash of white pepper. Don’t overcomplicate them; you want them to be a backdrop, not a distraction!
Honestly, even a quick side salad of mixed greens tossed with a very light vinaigrette works wonders if you’re trying to keep things lighter. The acidity in the vinaigrette helps cleanse the palate after such a rich glaze. As long as you have something simple to balance that intense flavor, you’re golden!
Storage and Reheating Instructions for Leftover Honey Garlic Chicken Thighs with Crispy Skin
First off, if you have leftovers of this sticky sweet chicken dinner, count yourself lucky! It’s rare in my house, but when it happens, I treat those precious thighs like gold. Now, we need to talk about that crispy skin—it’s going to soften a bit once it hits the fridge, and that’s just the nature of honey and moisture mingling overnight. Don’t let that stop you, because we can bring back a lot of that texture!
The best way to store them is simple: get them into an airtight container as soon as they are completely cool. You don’t want them sitting out on the counter—that’s how you risk contamination, and nobody wants that ruining tomorrow’s lunch plans! They should be good in the fridge for about three to four days, tops. If you stacked them, try putting a little piece of parchment paper between them. It keeps them from sticking together, which is always a little messy when you try to pull them apart later.
The Best Way to Reheat for a Crispy Finish
Okay, here’s the hard truth: the microwave is your enemy if you want crispy skin. It just blasts the moisture back into that beautiful skin and turns it rubbery—we simply cannot do that to our hard-earned texture! If you must use the microwave, use it sparingly, just to warm the meat through for 30 seconds, and then you *must* follow up with one of these crisping methods.
For the best results when reheating your leftover honey garlic chicken recipe, grab either your oven or your air fryer. Both options use dry heat to encourage that skin to crisp up again.
My preference is actually the air fryer if you only have one or two thighs left. Set that basket to about 350°F (175°C) and pop them in without overcrowding. Start checking after about five minutes. You’re not really cooking them again; you’re just re-crisping the surface and warming the inside. This usually takes about 6 to 8 minutes total, depending on how cold they were to start.
If you’re doing a larger batch—say, all six thighs—the oven is handier. Preheat your oven (or even a toaster oven) to 375°F (190°C). Lay the thighs out on a small baking sheet lined with foil for an easy cleanup. Bake them for about 8 to 10 minutes. Just like when we first cooked them, using that dry heat circulation will shock the skin back into some beautiful crispness. You might even get a little extra caramelization on that sticky glaze!
If you happen to have any extra glaze stored separately, you can brush a tiny bit on before the final reheat—it really amps up the flavor again. But honestly, even reheated properly, these Honey Garlic Chicken Thighs with Crispy Skin are just as delicious the second day!
Frequently Asked Questions About Skin On Chicken Thighs Cooking Guide
I know you guys always have the best questions bubbling up after you start testing the recipes! It’s great that you’re thinking ahead about substitutions and timings. Mastering the skin on chicken thighs cooking guide takes a little practice, but once you understand why we do certain steps, it gets so much easier. Here are some of the things I get asked most often about making sure these Honey Garlic Chicken Thighs come out perfect every time.
Can I use boneless, skinless thighs for this honey garlic chicken recipe?
Oh, you absolutely *can* use boneless, skinless thighs if that’s what you have stocked up, but I have to give you a heads-up: it’s a completely different meal! If you use boneless, you lose our beautiful crispy skin finish, which is honestly half the fun of this particular recipe. Also, the cooking time changes drastically.
Since there’s no skin to worry about burning and no bone to slow down the heat transfer, boneless thighs cook much faster. You’ll probably only need about 18 to 20 minutes total at 400°F. You’ll apply the glaze earlier, maybe halfway through, because you don’t have to worry about that initial blast of dry heat for rendering fat. If you go that route, you are making a delicious *honey garlic chicken* dish, but you’re skipping the famous crispy element we worked so hard for!
What internal temperature should the chicken reach for perfect results?
This is a safety non-negotiable, friends! Chicken, especially bone-in cuts like these thighs, needs to hit 165°F (or 74°C) to be safely ready to eat. Now, here’s the little trick: because these thighs are thick and juicy, they are very forgiving off the heat. When I pull mine out of the oven, I aim for them to register about 162°F on my instant-read thermometer.
Why the three-degree difference? It’s called carryover cooking! While the chicken is resting (which you absolutely must do after taking it out), the residual heat trapped in the meat will continue to cook it up those last few degrees without drying out the fibers. If you wait until it hits 165°F *in the oven*, it’ll often be closer to 170°F by the time you sit down to eat, and that’s when they start getting a little tough. Always pull slightly early, rest for five minutes, and enjoy perfectly tender meat!
For more details on timing and checking doneness, feel free to reach out anytime via my contact page if you run into any snags!
Share Your Sticky Sweet Chicken Dinner Success
Whew! We made it through the entire process, from dry-patting to that final brush of sticky honey garlic sauce. Now that you’ve created some truly amazing Honey Garlic Chicken Thighs with Crispy Skin, I really want to hear about it! Knowing that my tried-and-true methods are working in your kitchen is the best reward for all the testing I do here.
Did my two-stage baking process give you that shatteringly crispy skin you were hoping for? Or did you try that quick broiler trick I mentioned? Please don’t keep your triumphs to yourself!
If you followed this recipe, take a quick moment to leave a rating right down below—stars really help spread the word to other home cooks who might be intimidated by cooking chicken thighs. Even better, snap a picture of that beautiful, glazed dinner and tag me on social media. I absolutely adore seeing your takes on my favorite family favorite chicken recipe.
If you ran into any hiccups or have another brilliant idea for balancing out the sweetness, drop a comment! Let’s keep this delicious conversation going!
PrintHoney Garlic Chicken Thighs with Crispy Skin

Follow this method to bake skin-on chicken thighs until they are juicy inside and feature a deeply browned, crispy skin coated in a sticky honey garlic glaze.
- Prep Time: 10 min
- Cook Time: 40 min
- Total Time: 50 min
- Yield: 6 servings
- Category: Dinner
- Method: Baking
- Cuisine: American
- Diet: Low Fat
Ingredients
- 6 bone-in, skin-on chicken thighs
- 1 tablespoon olive oil
- 1 teaspoon salt
- 1/2 teaspoon black pepper
- 1/2 cup honey
- 1/4 cup soy sauce
- 4 cloves garlic, minced
- 1 tablespoon apple cider vinegar
- 1 teaspoon grated fresh ginger
Instructions
- Pat the chicken thighs completely dry using paper towels. This step is key for crispy skin. Season both sides with salt and pepper.
- Preheat your oven to 400 degrees Fahrenheit (200 degrees Celsius).
- Place the chicken thighs skin-side up on a wire rack set inside a baking sheet. This allows air to circulate around the skin.
- Bake for 25 minutes without the glaze.
- While the chicken bakes, prepare the glaze: In a small saucepan, combine the honey, soy sauce, minced garlic, apple cider vinegar, and ginger. Bring the mixture to a simmer over medium heat, stirring until slightly thickened, about 3 minutes. Remove from heat.
- After the initial 25 minutes of baking, brush half of the honey garlic glaze generously over the chicken thighs.
- Return the chicken to the oven and bake for another 10 to 15 minutes, or until the internal temperature reaches 165 degrees Fahrenheit (74 degrees Celsius).
- Remove the chicken from the oven. Brush the remaining glaze over the hot chicken. Let the chicken rest for 5 minutes before serving.
Notes
- For extra crispiness, you can briefly place the chicken under the broiler for the last 1-2 minutes, watching closely to prevent burning the honey.
- If you prefer a thicker sauce, simmer the glaze longer until it coats the back of a spoon.
- Use low-sodium soy sauce if you are watching your salt intake.
Nutrition
- Serving Size: 1 thigh
- Calories: 380
- Sugar: 22
- Sodium: 550
- Fat: 18
- Saturated Fat: 5
- Unsaturated Fat: 13
- Trans Fat: 0
- Carbohydrates: 25
- Fiber: 0
- Protein: 30
- Cholesterol: 110