

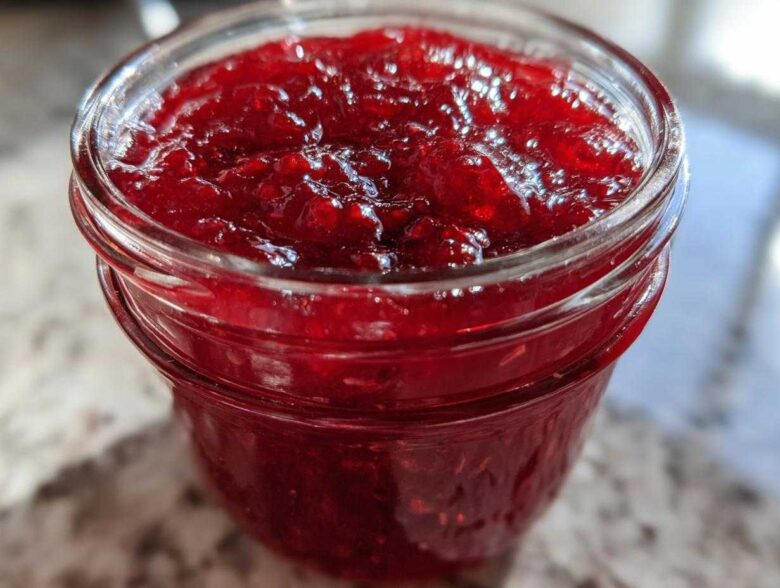
Oh, friend, you know those moments when you bite into something so bright and flavorful that it instantly transports you back to a perfect summer day? That’s what this Easy 3-Ingredient Raspberry Jam Recipe does! For us, making simple, heartfelt food is our love language here at Cookery Courier; we believe every meal should deliver comfort. That’s why this quick raspberry jam, made with just three things, embodies everything we stand for. Liam whipped this up for me when I was totally swamped, and now it’s the only way I’ll make preserves. It’s proof that you don’t need complicated steps to create something truly special.
We share the whole journey of how we got here over on our About Us page, but trust me, if you’re looking for that pure, summery taste without a ton of fuss, this is your dispatch. You’re going to love how foolproof this is!
Why This Easy Jam Recipe Makes the Best Raspberry Jam
I get it—you want the bright, vibrant flavor of summer berries, but who has time to spend all afternoon stirring a giant pot? That’s why I champion this recipe. It’s all about stripping things down to the essentials. We skip the complicated extras and focus only on what makes those raspberries sing. This isn’t just a recipe; it’s a promise that you get maximal flavor output for minimal kitchen time. This focus on simple ingredients is what makes it the best raspberry jam you’ll ever whip up!
If you’re interested in other recipes that make quick work of simple ingredients, you should check out Liam’s easy 4-ingredient soda bread—same philosophy, totally different result!
Quick Raspberry Jam: Ready in Under 30 Minutes
Seriously, this is so fast. We’re talking 30 minutes from start to finish if you’re focused. This is the perfect formula for a quick raspberry jam when you realize you’re out of topping for your morning scones. It’s fast enough that you actually feel like you’re creating something special instead of making a huge commitment.
The Magic of Raspberry Jam Without Pectin
This is where people usually get nervous, right? Do I need that box of powder? Nope! You absolutely don’t need added pectin for this raspberry jam. Raspberries naturally have a good amount of pectin hiding in them, and we coax it out. The magic ingredient that really helps is the fresh lemon juice. It provides the acidity needed to activate the berries’ natural pectin so you get that beautiful, glistening set without needing any weird additives.
Gathering Ingredients for Your Homemade Raspberry Jam
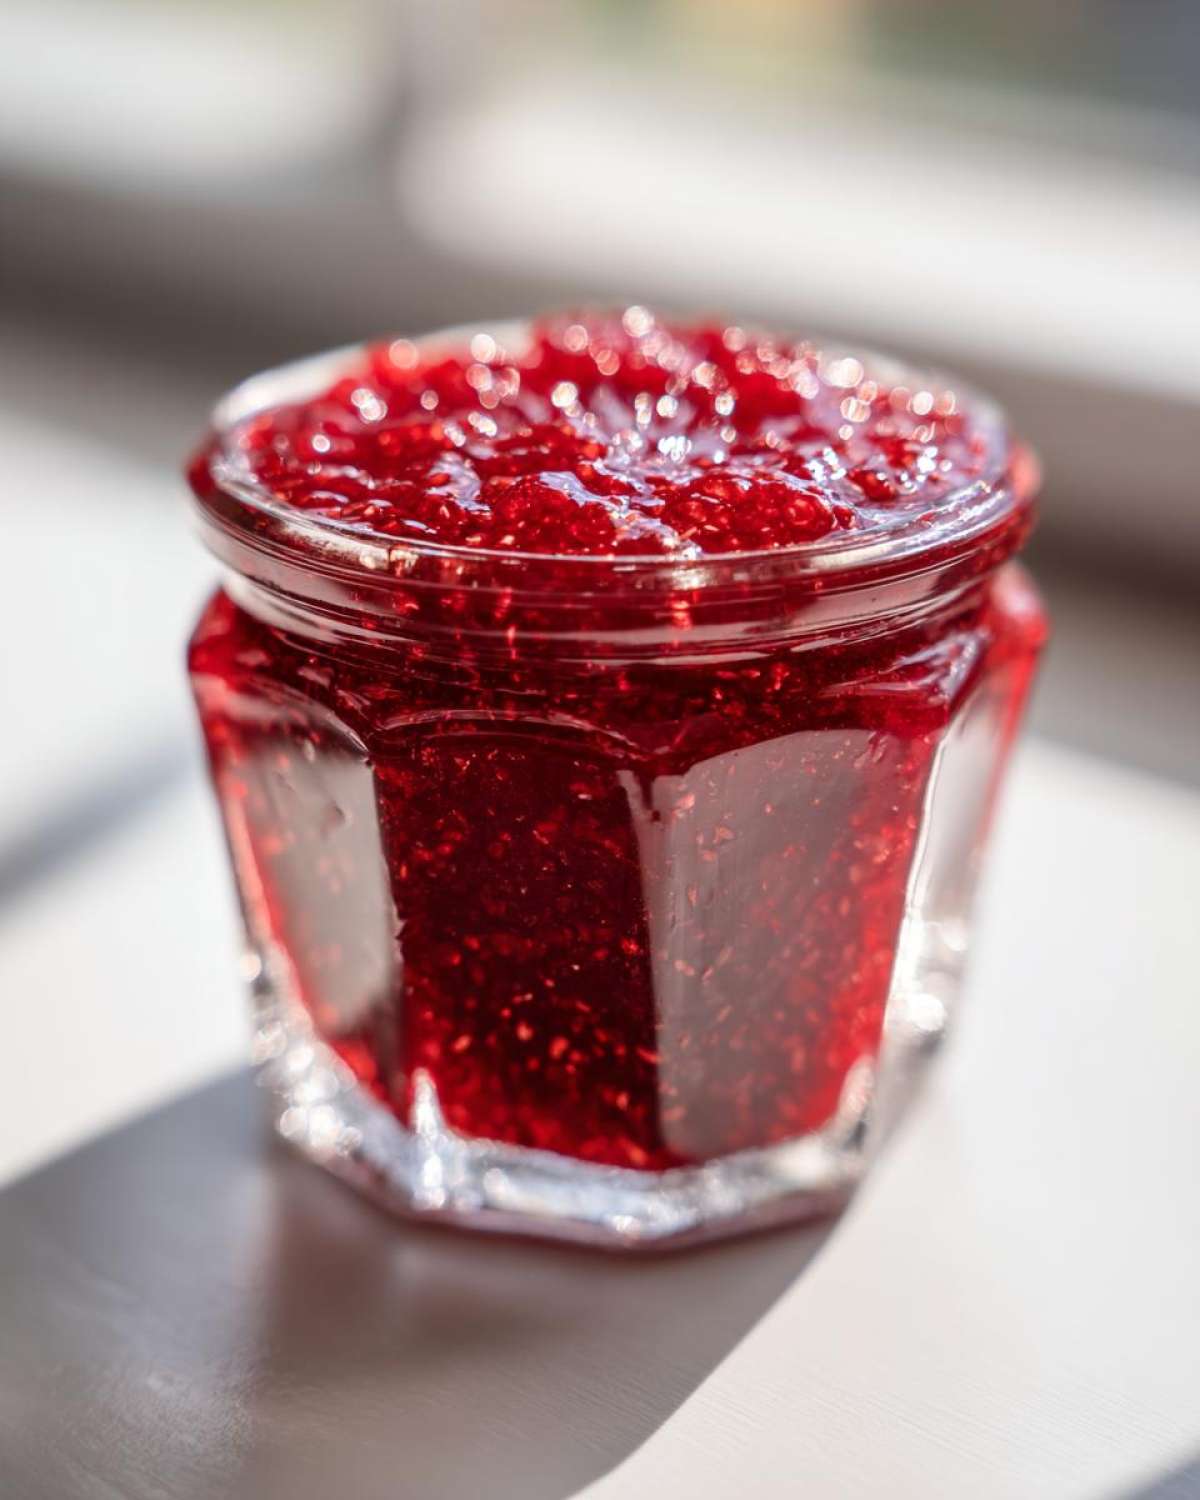
Let’s talk about what you need, because this whole recipe hinges on simplicity, proving you don’t need a packed pantry to make phenomenal raspberry jam. This is truly a beautiful small batch jam recipe, which is great because Liam and I usually eat most of it before we can even think about gifting any away! We only use three core items, which means quality matters when we pick them out.
Ingredient Notes and Substitutions for Raspberry Jam
You need just two pints of berries—and this is important—they can be either fresh or frozen! Don’t sweat if you only have frozen ones lurking in the back of the freezer; just toss them straight into the pot. Next up is the sugar—we stick to granulated sugar here—and the non-negotiable fresh lemon juice. That juice is vital! If you’re planning ahead and want that silky smooth result, you can easily make seedless raspberry jam by pushing those berries through a fine-mesh sieve right after they soften up in the pot, but *before* you add the sugar.
How to Prepare Easy Raspberry Jam: Step-by-Step Instructions
Alright, this is the fun part! We’re ditching complicated canning procedures for now and focusing on getting that beautiful texture. Remember how I said this recipe tastes like summer? It’s because we use medium heat to coax the fruit awake without burning it. Don’t worry about timing perfectly; just watch the mixture closely. This whole process is meant to be relaxed, the kind of kitchen action Liam used to do when delivering comfort meals! If you’re looking for other reliable comfort recipes, Liam’s best easy loaded potato soup recipe is another winner for quick kitchen love.
Cooking Down the Berries and Dissolving the Sugar
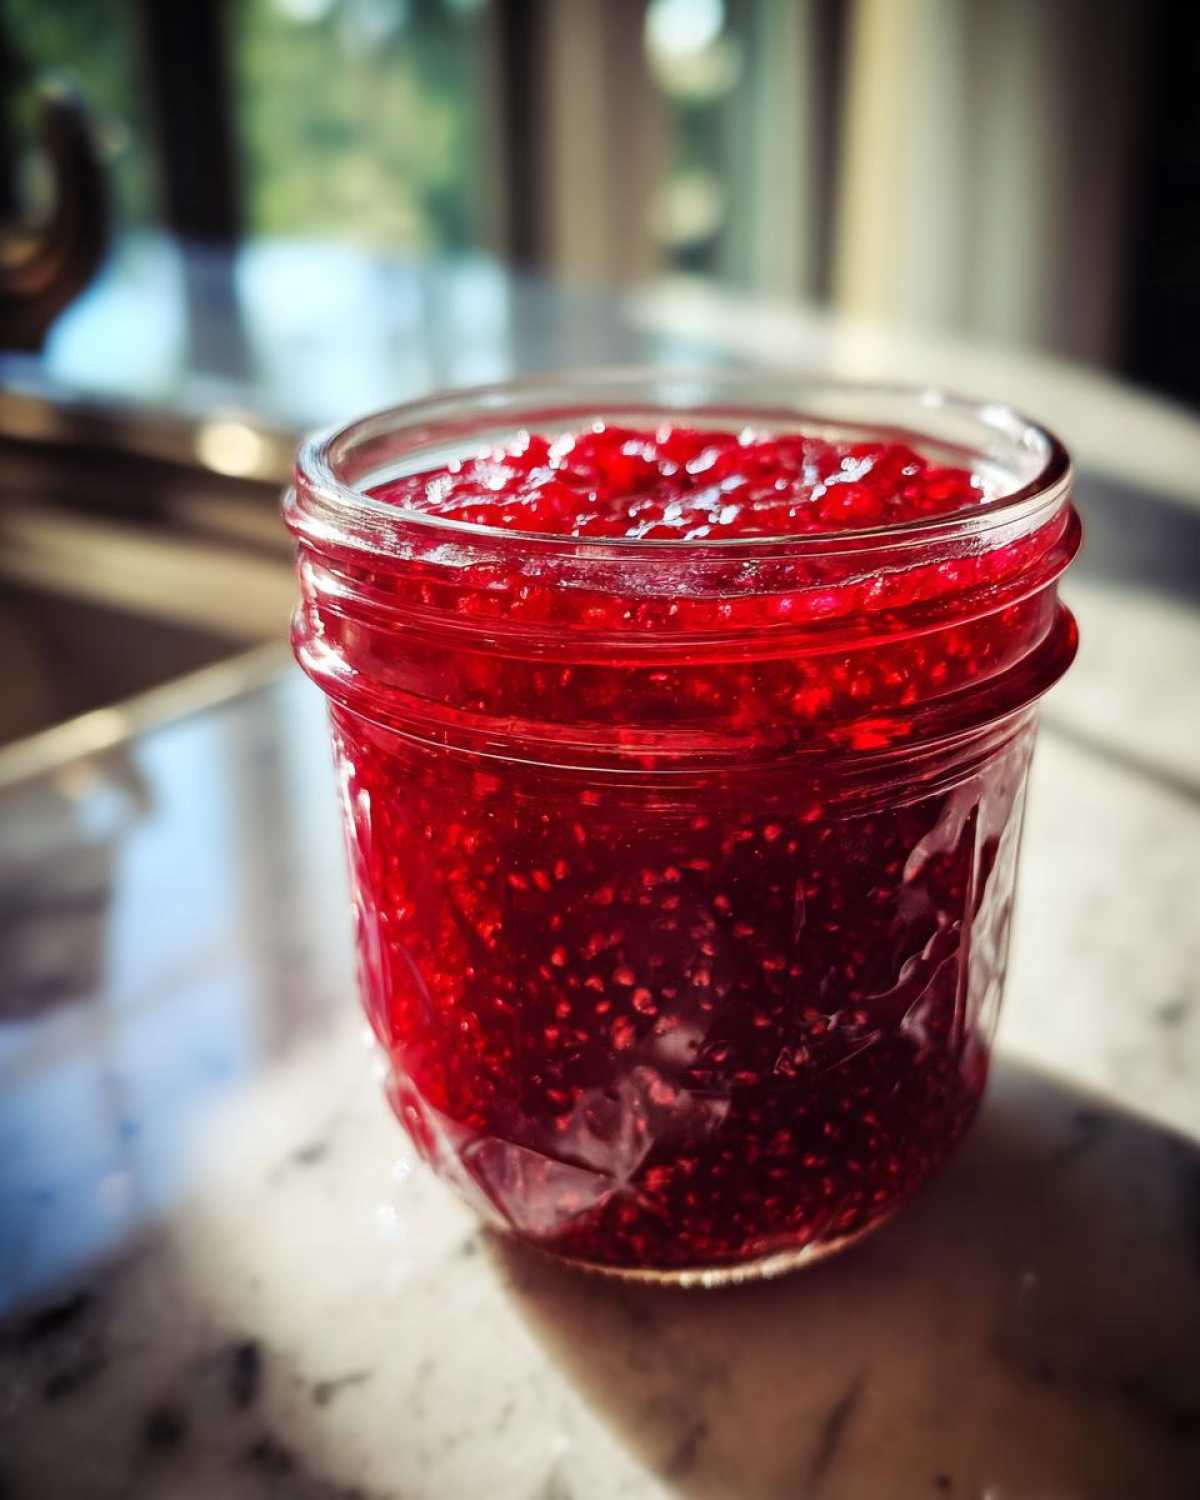
First things first, get those raspberries into a big, heavy-bottomed pot. We cook them over medium heat until they start weeping juice and falling apart—maybe 5 to 7 minutes. If you like it smoother, grab a potato masher and give them a little smash right there in the pan. Once they look soupy, dump in all that granulated sugar. You need to stir until you can’t feel any gritty sugar left against the bottom of the pot. Then, you crank the heat just a bit and bring it to a full, rolling boil. This is a boil that you absolutely cannot stir away, you know the kind? Once that happens, add your fresh lemon juice. Now, we boil hard, stirring all the time so the bottom doesn’t scorch, for about 8 to 15 minutes until it starts looking thick and glossy. That smell alone is why this raspberry jam is worth the effort.
Testing the Set Point for Perfect Raspberry Jam
Listen, this is the most important moment in making any jam without added pectin. We have to know when it’s done, or it’ll be runny soup! Before you start cooking, stick a small plate in the freezer. When you think the jam is getting thick, take the pot off the heat. Scoop just a tiny bit onto that chilled plate. Wait maybe 30 seconds. Now, gently push the jam with your finger. If the surface wrinkles up, success! You’ve hit the setting point, and your raspberry jam is going to be perfect. If it runs everywhere, pop it back on the heat for a few more minutes and try again. It takes practice, but you got this!
Preserving Your Quick Raspberry Jam: Freezer Jam Instructions vs. Canning Raspberry Jam
Okay, you’ve got your beautiful, glossy raspberry jam, and now you have a choice to make! Are you going to eat it all this week, or do you want to capture this moment of summer magic for later? Since we’re keeping things easy here, I always lean toward the instant methods, but I want you to know the shelf-stable route is totally doable too. If you are looking for other ways to keep things fresh without much fuss, check out my guide on how to make refrigerator pickles—it’s super straightforward!
Simple Steps for Refrigerator and Freezer Jam
For the absolute fastest route, this recipe is wonderful as refrigerator jam. Just let it cool down for about 20 minutes so it’s not ripping hot, then pour it into clean, sturdy jars or containers. Make sure you leave about a half-inch of space at the top—that’s your headspace rule. Cap it and pop it straight into the fridge; it’ll last about three weeks this way! If you want it to last longer, these freezer jam instructions are even easier: seal it up tight and toss it in the freezer. It will stay bright and tasty for months.
Beginner Canning Raspberry Jam for Shelf Stability
If you want that classic pantry shelf appeal, you need to go the water bath route for canning raspberry jam. Make sure those jars are hot and sterilized before you start! Ladle the hot jam in, wipe those rims clean—super important so the lids seal properly—and get your lids and bands on snugly but not too tight. Then, you process it in a rolling boil for just 10 minutes. It’s truly a beginner canning recipe because it’s low acid and cooks fast once it hits that boil. Let those jars cool undisturbed for a full day to make sure that *thwack* sound seals them perfectly.
Tips for Success Making Homemade Raspberry Jam
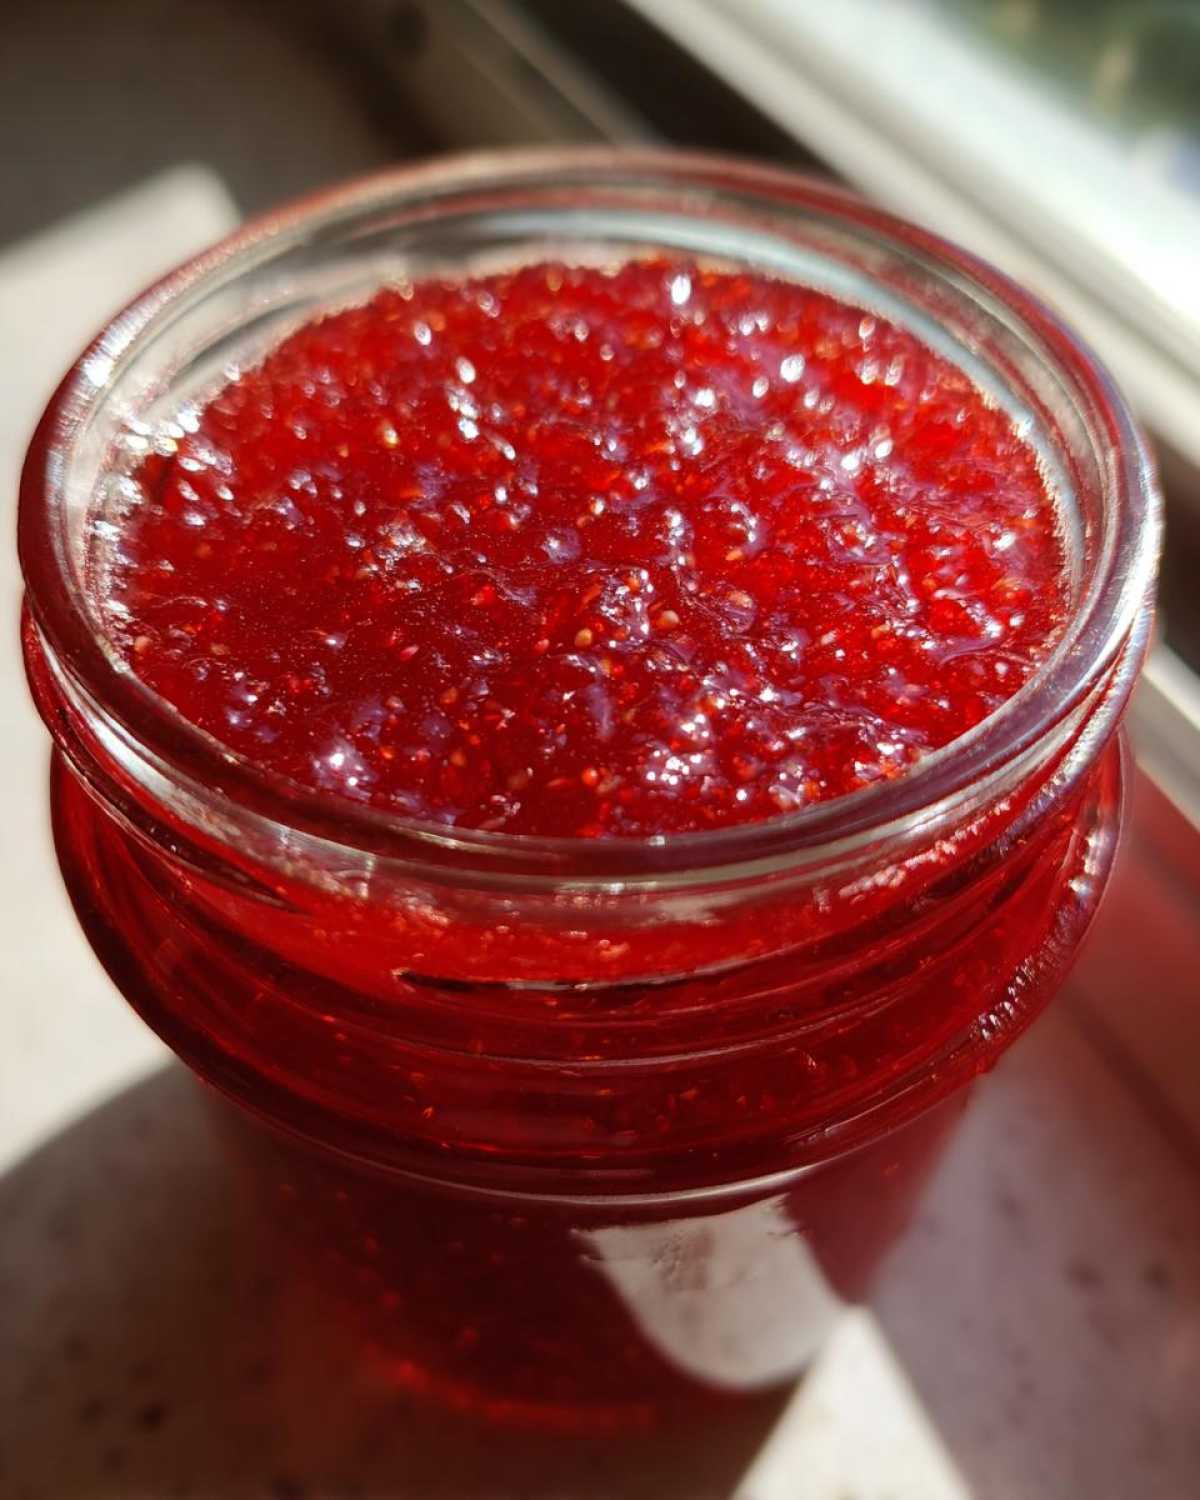
Okay, before you run off to start that beautiful boil, let me give you a couple of pointers Liam and I learned the hard way. The biggest rookie mistake people make when aiming for homemade raspberry jam is using a pot that’s too small. Trust me on this! When jam boils, it foams up like crazy—like a science experiment gone happily wrong. You need a pot that’s at least twice the volume of your ingredients so you don’t end up with sticky red lava all over your stove. I learned that lesson early on when I tried to triple a batch!
Also, if you use frozen raspberries, toss them in straight from the freezer. My biggest tip for success is always to start stirring while they are still partially frozen; this keeps the mixture from scorching while it heats up. Also, make sure that pot you use for heating your jars (if you are canning) stays hot. Keeping everything hot helps ensure a good seal on your final product. Don’t forget, this simple recipe creates the best raspberry jam when you pay attention to these little details!
If you want another great recipe for using up sweet summer fruit, Liam’s easy super moist pumpkin bread recipe is fantastic—though that one needs a bit more time to bake!
Serving Suggestions for Your Fresh Berry Preserves
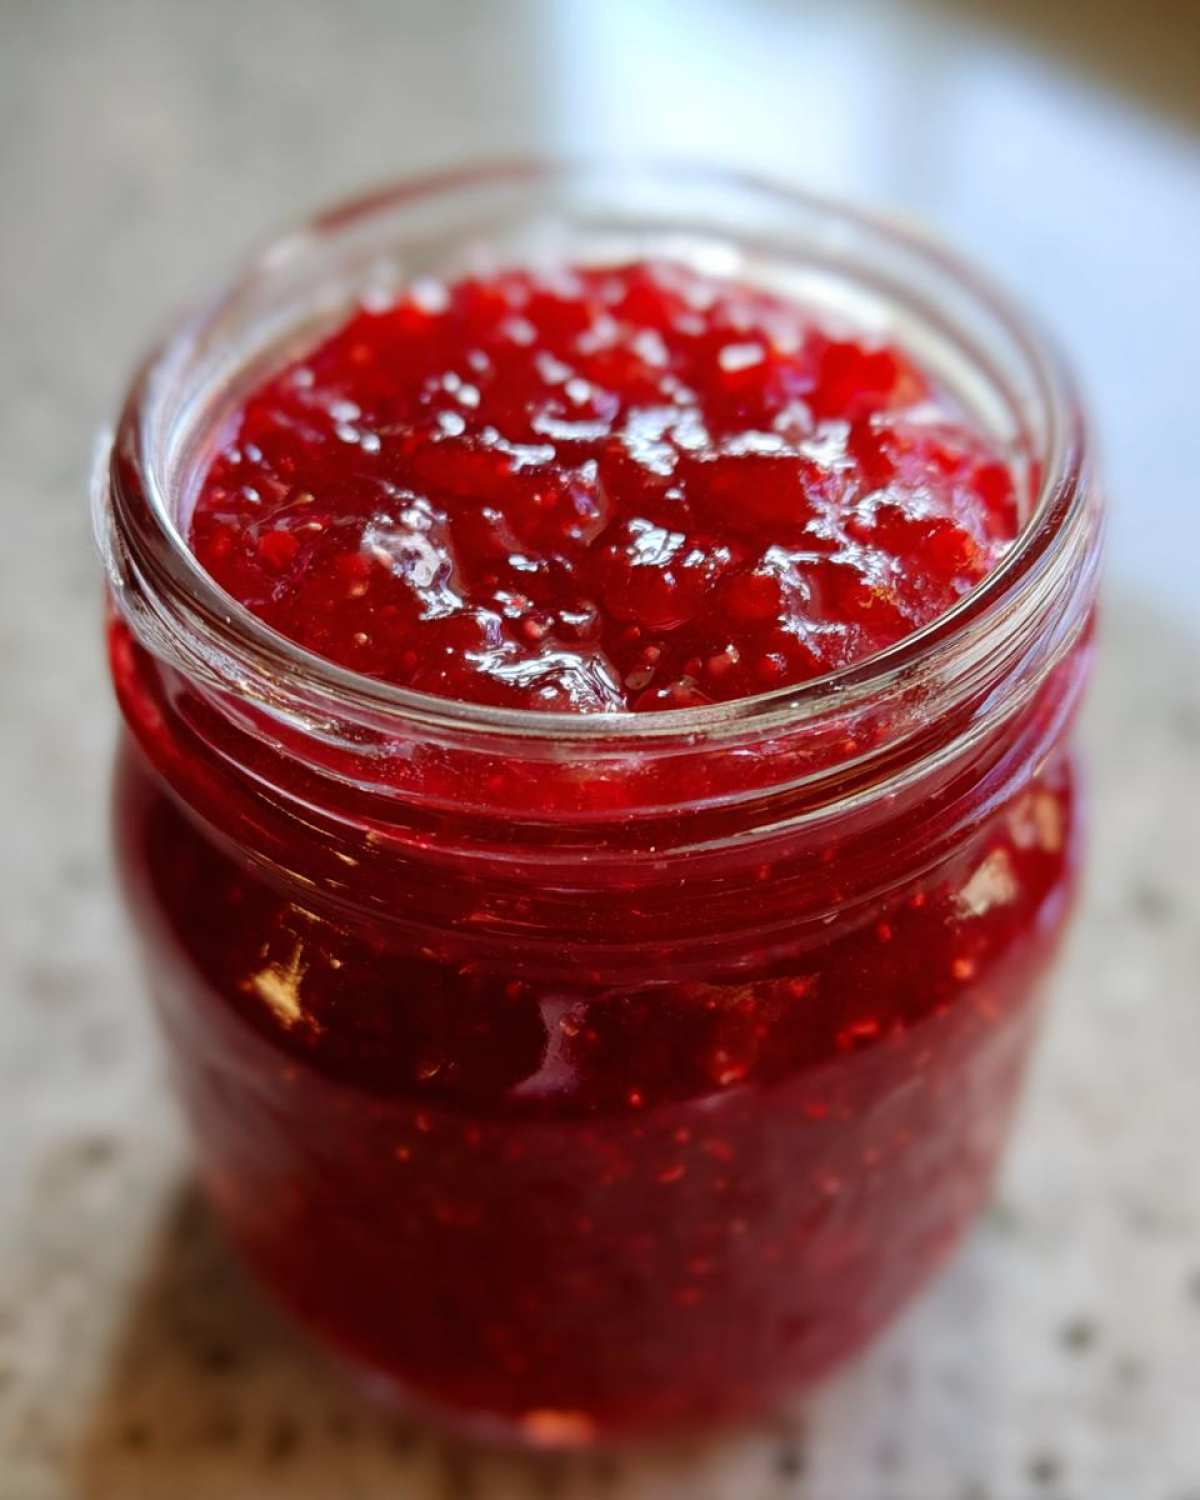
Now that you have jars of glistening, bright preserves, the real fun begins: eating it! Honestly, I’m tempted to eat this straight off the spoon, but Liam always reminds me we have to deliver the message to other things too. This jam is so flavorful because we kept the ingredients simple, meaning it tastes like pure raspberry sunshine on anything you put it near. It’s versatile, but you need some ideas on how to best deliver that comfort!
Raspberry Topping Ideas for Breakfast and Dessert
The classic choice is, of course, spreading it thick onto warm toast or crusty scones—that’s a guaranteed smile maker. But don’t stop there! Swirl a big spoonful into plain Greek yogurt to sweeten it up instantly. It’s also incredible layered into baked goods. Think of it as a filling for thumbprint cookies or perhaps even dolloped on top of vanilla ice cream right before serving. If you’re feeling ambitious, Liam sometimes uses the jam to fill his famous stuffed French toast, and it makes brunch feel like a party.
Storage and Reheating Instructions for Raspberry Jam
Figuring out how long this gorgeous raspberry jam lasts is key! If you keep it in the fridge in a sealed container, it stays bright and fresh for about three weeks, which is perfect for morning toast duty. If you tossed it in the freezer, great news—it’ll keep that summer taste perfect for up to a year! For any jars you successfully water bath canned, they should be sealed and good to go in the pantry for about 12 to 18 months. Honestly, though, I doubt it will last that long around here! You really shouldn’t reheat jam unless you are trying to thin it out for a glaze, but if you must, just stir a bit gently in a saucepan over low heat until barely warm.
Frequently Asked Questions About Making Jam at Home
It’s totally normal to have questions when you start making things from scratch, especially when you are diving into how to make jam at home without those commercial thickeners. We get so many messages asking about quantity and textures, so I wanted to put the most common ones right here so you feel totally confident before you even start heating the pot. Don’t stress if your first batch isn’t perfect; mine certainly weren’t!
Can I use less sugar in this raspberry jam recipe?
This is a tough one! Sugar does way more than just making your raspberry jam taste sweet; it’s crucial for preservation and for helping the natural pectin work its magic. If you cut the sugar too much, you risk having a runny mess or, worse, unsafe preserves. This recipe is already lower in sugar than most old-fashioned recipes because we rely on that strong boil time, but I really wouldn’t recommend skimping much more than what is listed. Keep the sugar ratio close for the best results!
How do I know if my raspberry jam has set correctly?
This is my favorite E-E-A-T teaching moment! Forget chasing temperature numbers on a candy thermometer—we use the tried-and-true chilly plate trick. If you pull your jam off the heat and drip a little onto a plate you chilled earlier, you want that dollop to wrinkle when you push it with a clean finger. If it stays liquidy, it needs a little more boiling time. That slight wrinkling tells you the simple fruit preserves have achieved the right set point. If you ever need to reach out for cooking advice, feel free to hit us up on our Contact page!
Share Your Dispatch: Tell Us About Your Raspberry Jam
Well, that’s it, my friend! You now have Liam’s foolproof, super-easy method for making the brightest, best raspberry jam straight from your own kitchen. Doesn’t that feel good? You took humble berries and transformed them into something comforting and delicious with just three ingredients. That is the whole spirit behind Cookery Courier—delivering comfort, one warm jar at a time.
Now, I absolutely need to know how your dispatch went! Did you manage to resist eating it all straight out of the pot? Did it set perfectly on the first try? Please leave us a rating down below—it helps other busy folks find these simple, life-giving recipes.
And tell me, what are you going to spread it on first? Are you keeping it simple with a bagel, or are you getting creative? I’m always looking for new ways to use up our latest batch, so share your favorite flavor pairings! Head over to our main Blog page to see what other comfort messages we’ve been sending out this week!
PrintEasy 3-Ingredient Homemade Raspberry Jam (No Pectin Needed)
You can make bright, flavorful homemade raspberry jam with just three simple ingredients. This recipe is perfect for beginners, requires no added pectin, and yields a delicious spread ideal for toast or yogurt.
- Prep Time: 5 min
- Cook Time: 25 min
- Total Time: 30 min
- Yield: About 2 half-pint jars
- Category: Preserves
- Method: Stovetop Cooking
- Cuisine: American
- Diet: Vegetarian
Ingredients
- 2 pints fresh or frozen raspberries
- 3 cups granulated sugar
- 1 tablespoon fresh lemon juice
Instructions
- Prepare your jars if you plan to can the jam, or gather your freezer-safe containers.
- Place the raspberries in a large, heavy-bottomed saucepan. Cook over medium heat, stirring occasionally, until the berries break down and release their juices, about 5 to 7 minutes. You can gently mash them with a potato masher if you prefer a smoother texture now.
- Stir in the granulated sugar until it is completely dissolved. Bring the mixture to a full, rolling boil that cannot be stirred down.
- Add the lemon juice. Continue to boil hard, stirring frequently to prevent scorching, until the jam thickens. This usually takes between 8 to 15 minutes, depending on your heat and the water content of the berries.
- Test for set: To check if the jam is ready, remove the pan from the heat. Spoon a small amount onto a chilled plate. If the jam wrinkles slightly when you push it with your finger, it has reached the setting point.
- If you are making refrigerator or freezer jam, let the jam cool slightly before pouring it into clean jars or containers, leaving 1/2 inch headspace. Seal and refrigerate or freeze immediately.
- If you are water bath canning for shelf stability, ladle the hot jam into hot, sterilized canning jars, leaving 1/4 inch headspace. Wipe the rims clean, apply the lids and bands, and process in a boiling water bath canner for 10 minutes, adjusting time for altitude.
- Remove jars and let them cool completely on a towel-lined counter without disturbing them for 12 to 24 hours to check the seal.
Notes
- For seedless raspberry jam, press the cooked berry mixture through a fine-mesh sieve before adding the sugar and continuing the cooking process.
- If you use frozen raspberries, do not thaw them first; add them directly to the saucepan.
- This recipe makes a small batch perfect for immediate use or gifting.
- If you prefer a quicker preservation method, this recipe works perfectly as refrigerator jam (lasts 3 weeks) or freezer jam (lasts up to 1 year).
Nutrition
- Serving Size: 2 tablespoons
- Calories: 105
- Sugar: 27
- Sodium: 1
- Fat: 0.1
- Saturated Fat: 0
- Unsaturated Fat: 0
- Trans Fat: 0
- Carbohydrates: 27
- Fiber: 1
- Protein: 0.3
- Cholesterol: 0