

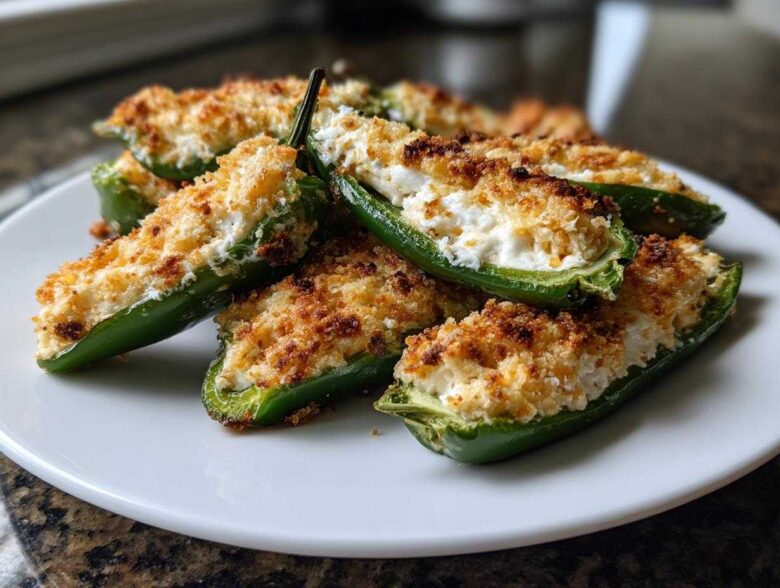
Okay, listen up, because we are about to level up your appetizer game! When the big game is on or friends are swinging by unexpectedly, you need food that says, “I care about you, and I want you to be happy,” without demanding you spend hours over a hot fryer. That’s why these jalapeño poppers are my absolute go-to. They’re cheesy, they’re ridiculously easy to make since we’re baking them, and that tiny pop of heat makes everyone come back for more. Honestly, this whole blog started because Liam used to deliver warm meals to me when I was too busy—and that’s the message these poppers send! They are the ultimate, low-stress crowd-pleaser, ready to go from prep to bubbly perfection in under an hour.
Why You Will Love These Easy Baked Jalapeño Poppers
Forget messy deep frying! Seriously, nobody wants oil splattering everywhere when they’re trying to watch the score. These baked jalapeño poppers give you all the bubbly, cheesy goodness without the headache. They are fantastic!
-
Perfect for Game Day and Parties
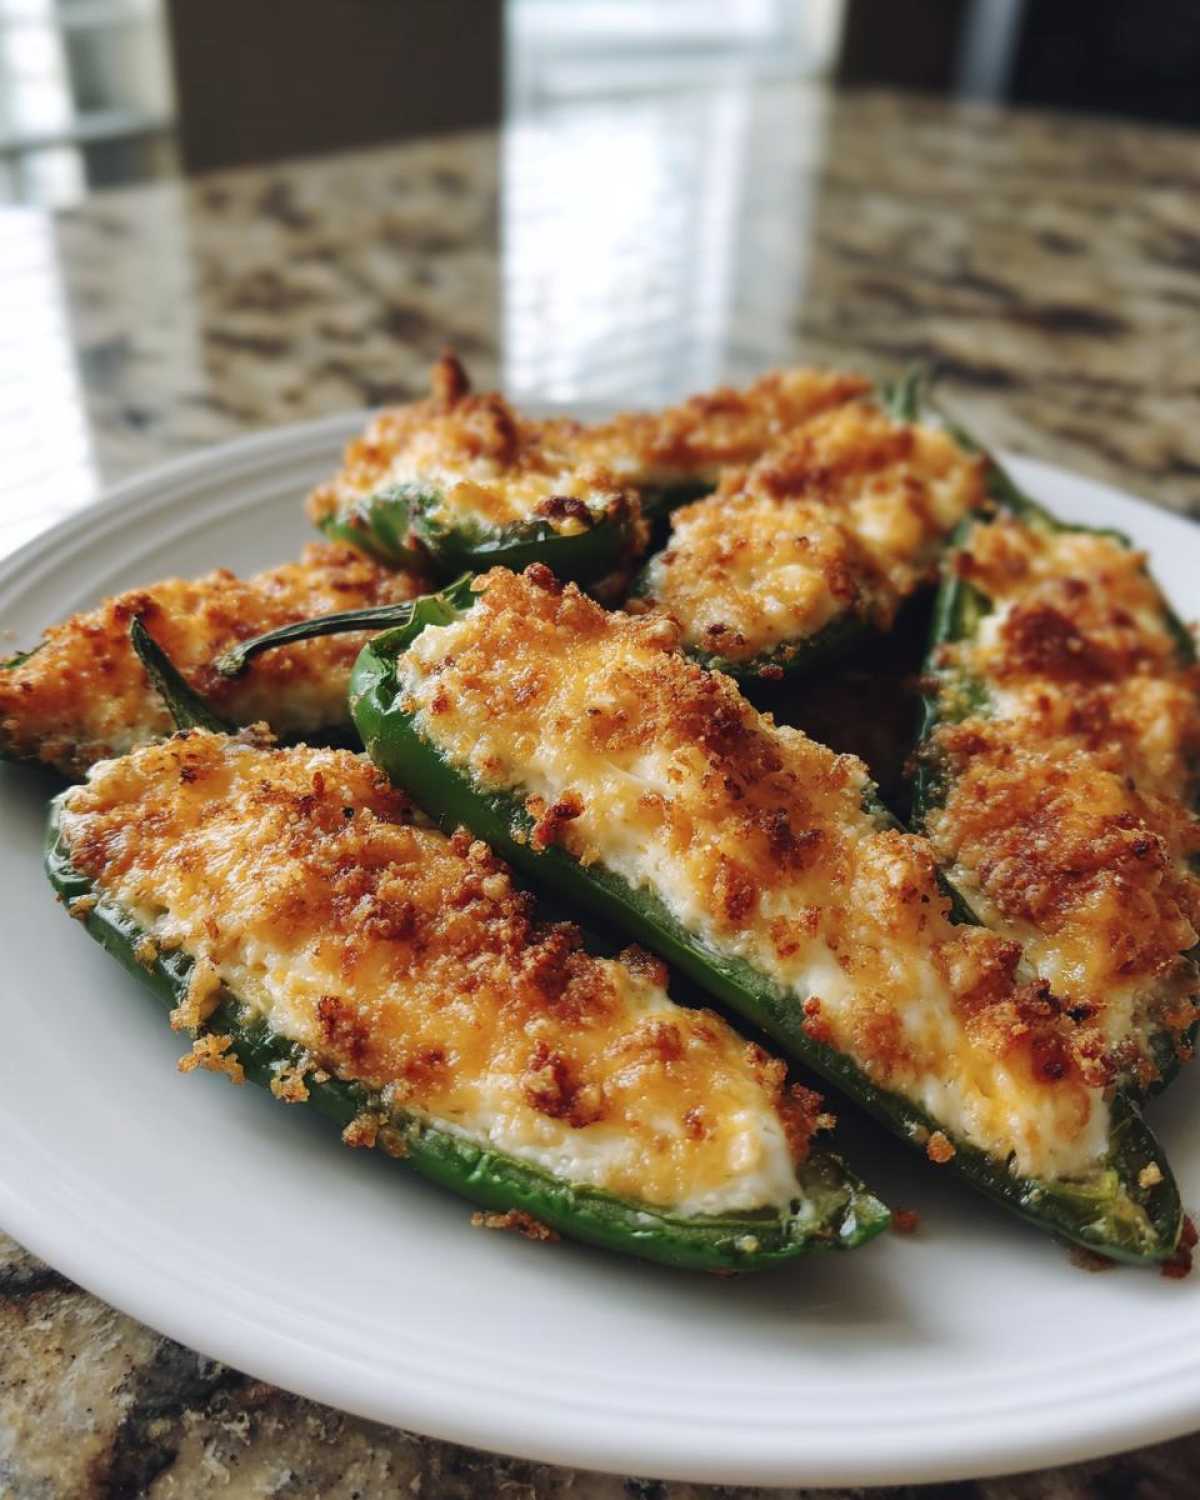
These little bites are designed to be finger food perfection. You get that perfect kick of spice, but it immediately melts away into the rich, creamy center. They disappear fast, trust me!
-
Control the Heat in Your Jalapeño Poppers
This is my favorite part: you are totally in charge of the spice level. If you want mild flavor, scoop out every single white membrane. If you’re feeling brave, leave a little bit behind. It’s empowering!
Gathering Ingredients for Your Cream Cheese Stuffed Jalapeños
Okay, Chloe here, and I promise Liam didn’t have to deliver these ingredients to my desk—they are all super easy to find! This recipe is based on using those classic components that just work every time. You need 12 fresh jalapeños, 8 ounces of cream cheese that is already soft (this is a must for easy mixing!), and a full cup of sharp cheddar cheese, shredded so it melts beautifully. Don’t forget the flavor boosters: half a teaspoon of garlic powder and a quarter teaspoon of onion powder. And for that glorious crunch topping? We need just half a cup of panko breadcrumbs mixed with 2 tablespoons of melted butter. Oh, and if you’re going the bacon route, grab those 12 thin strips!
Ingredient Notes and Substitutions for Jalapeño Poppers
A word on the cheese: please use sharp cheddar! It cuts through the richness of the cream cheese way better than mild, giving the poppers the flavor punch they deserve. And when it comes to the cream cheese, aim for full-fat, softened to room temperature. If it’s cold, your filling will be lumpy, and we want smooth sailing here.
For the breadcrumbs, trust me on the panko. It’s lighter and crisps up better than regular breadcrumbs when baking. If you do skip the bacon, make sure you mist the tops lightly with cooking spray before topping with the panko mixture. That extra bit of fat helps them brown up perfectly instead of staying pale.
Essential Equipment for Perfect Baked Jalapeño Poppers
Alright, being prepared is half the battle when you’re making something messy like stuffed peppers. You don’t need a million fancy gadgets, but having these few things ready makes the whole process feel so much smoother. It’s like getting your toolkit ready before you start that big project at home!
First, the most important thing: you absolutely must have a pair of disposable gloves. Those oils from the jalapeños? They linger in your skin, and trust me, you do not want to rub your eyes later! I learned that lesson the hard way before Liam handed me his extra gloves.
Next, you need a sturdy baking sheet, and I always use one lined with parchment paper. It saves your cleanup time drastically, and it releases so much easier. For slicing the peppers and getting those seeds out, a simple paring knife works great. You’ll also want a small spoon, maybe a teaspoon or a tiny melon baller, to scoop out that white membrane where most of the heat lives. A medium bowl for the filling and a small one for the panko topping will keep everything neat and tidy while you assemble these wonderful spicy appetizer poppers!
Step-by-Step Instructions for Making Jalapeño Poppers
Alright, this is where the magic happens! We’re using the baking method, which is so much less stressful than dealing with hot oil. Before you even touch a pepper, make sure your oven is humming along nicely at 400 degrees Fahrenheit. And line that baking sheet with parchment paper now—future you will thank me for that easy cleanup later! If you miss this step, you might end up sending a frantic text asking for emergency cleanup help, just like I used to do before Liam taught me better organization!
Preparing the Peppers and Handling the Heat
Safety first! Put those gloves on right now. Seriously, don’t skip this, or your hands will sting for hours. Take each jalapeño and slice it right down the middle, lengthwise. Now, grab that small spoon or paring knife and get ready to excavate. You need to dig out all the seeds and scrape away that white membrane inside. Remember, those little white veins hold most of the heat. If you want really mild jalapeño poppers, be ruthless! If you leave even a tiny bit of that white stuff attached, you’ll get a serious spicy kick later on.
Assembling the Cream Cheese Stuffed Jalapeños
Time for the creamy heart of the operation. In a medium bowl, just stir together your softened cream cheese, the sharp cheddar, the garlic powder, and the onion powder until it’s all perfectly smooth and blended—that’s your delicious cream cheese stuffed jalapeños filling. Spoon that mixture generously into each hollowed-out pepper half, making sure it mounds up a little bit. If you’re making the bacon wrapped poppers like we highly recommend, wrap one thin slice of bacon snugly around the filled half and maybe secure it with a toothpick if that bacon strip looks like it might slither off during baking.
Baking Your Jalapeño Poppers to Perfection
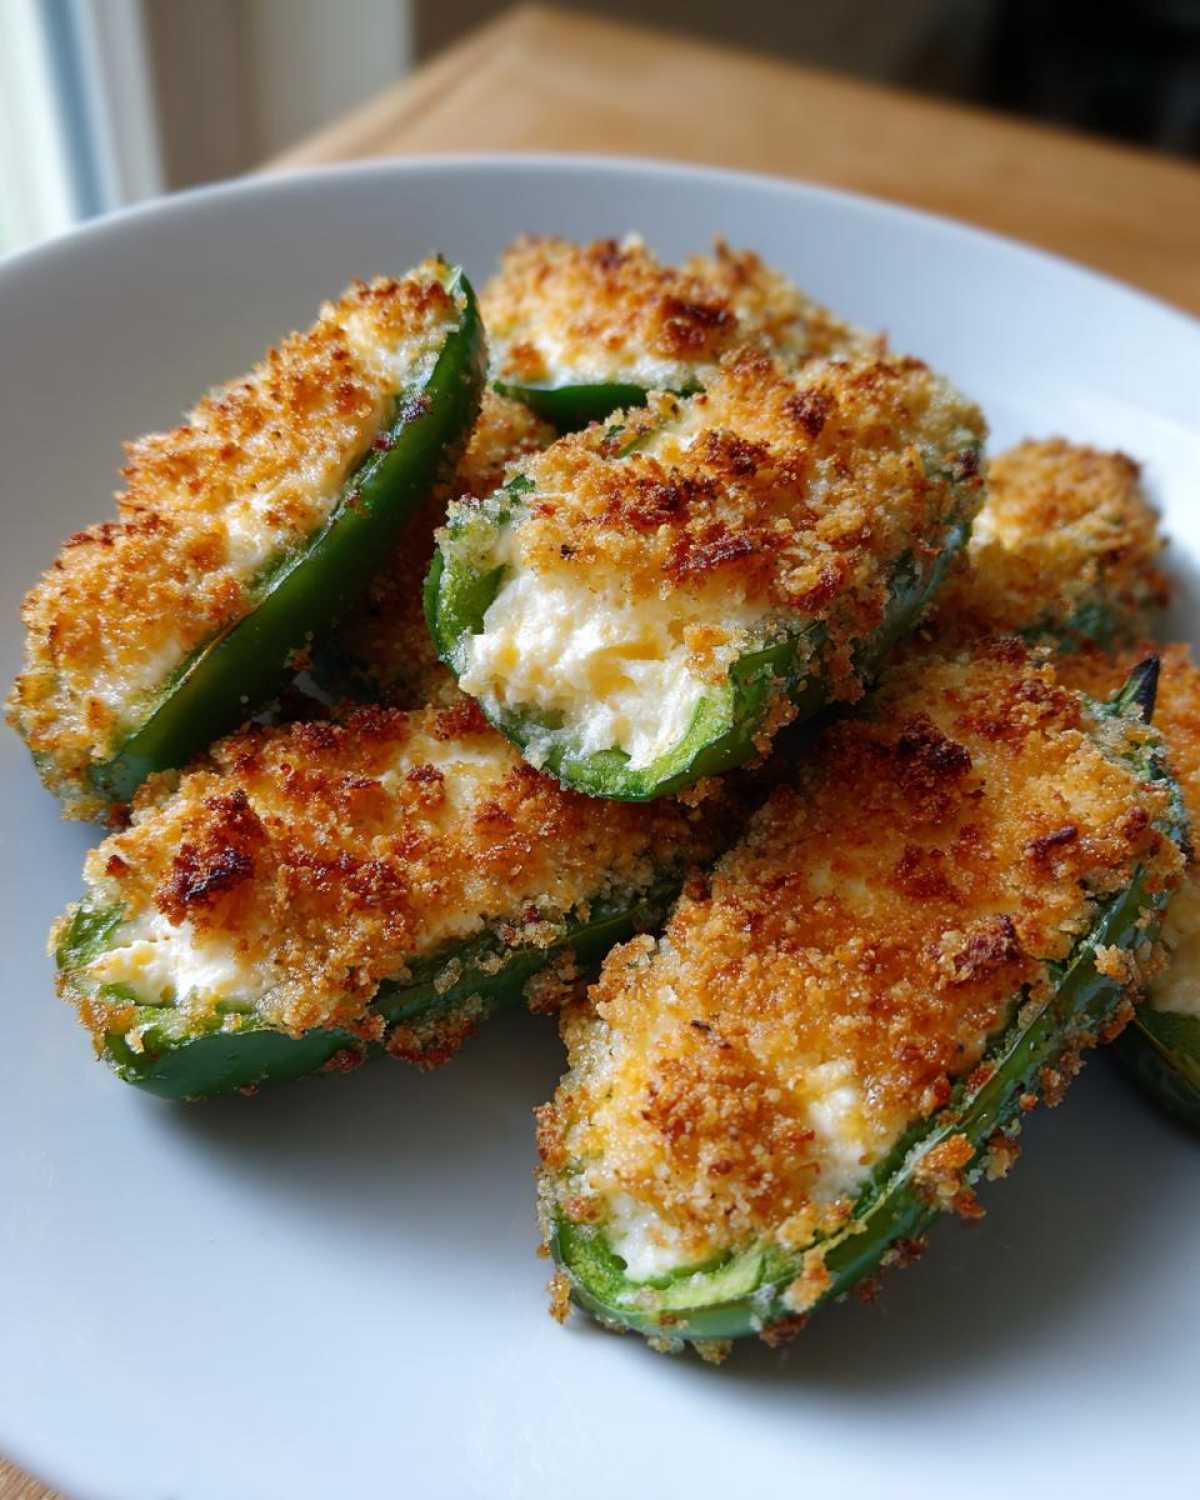
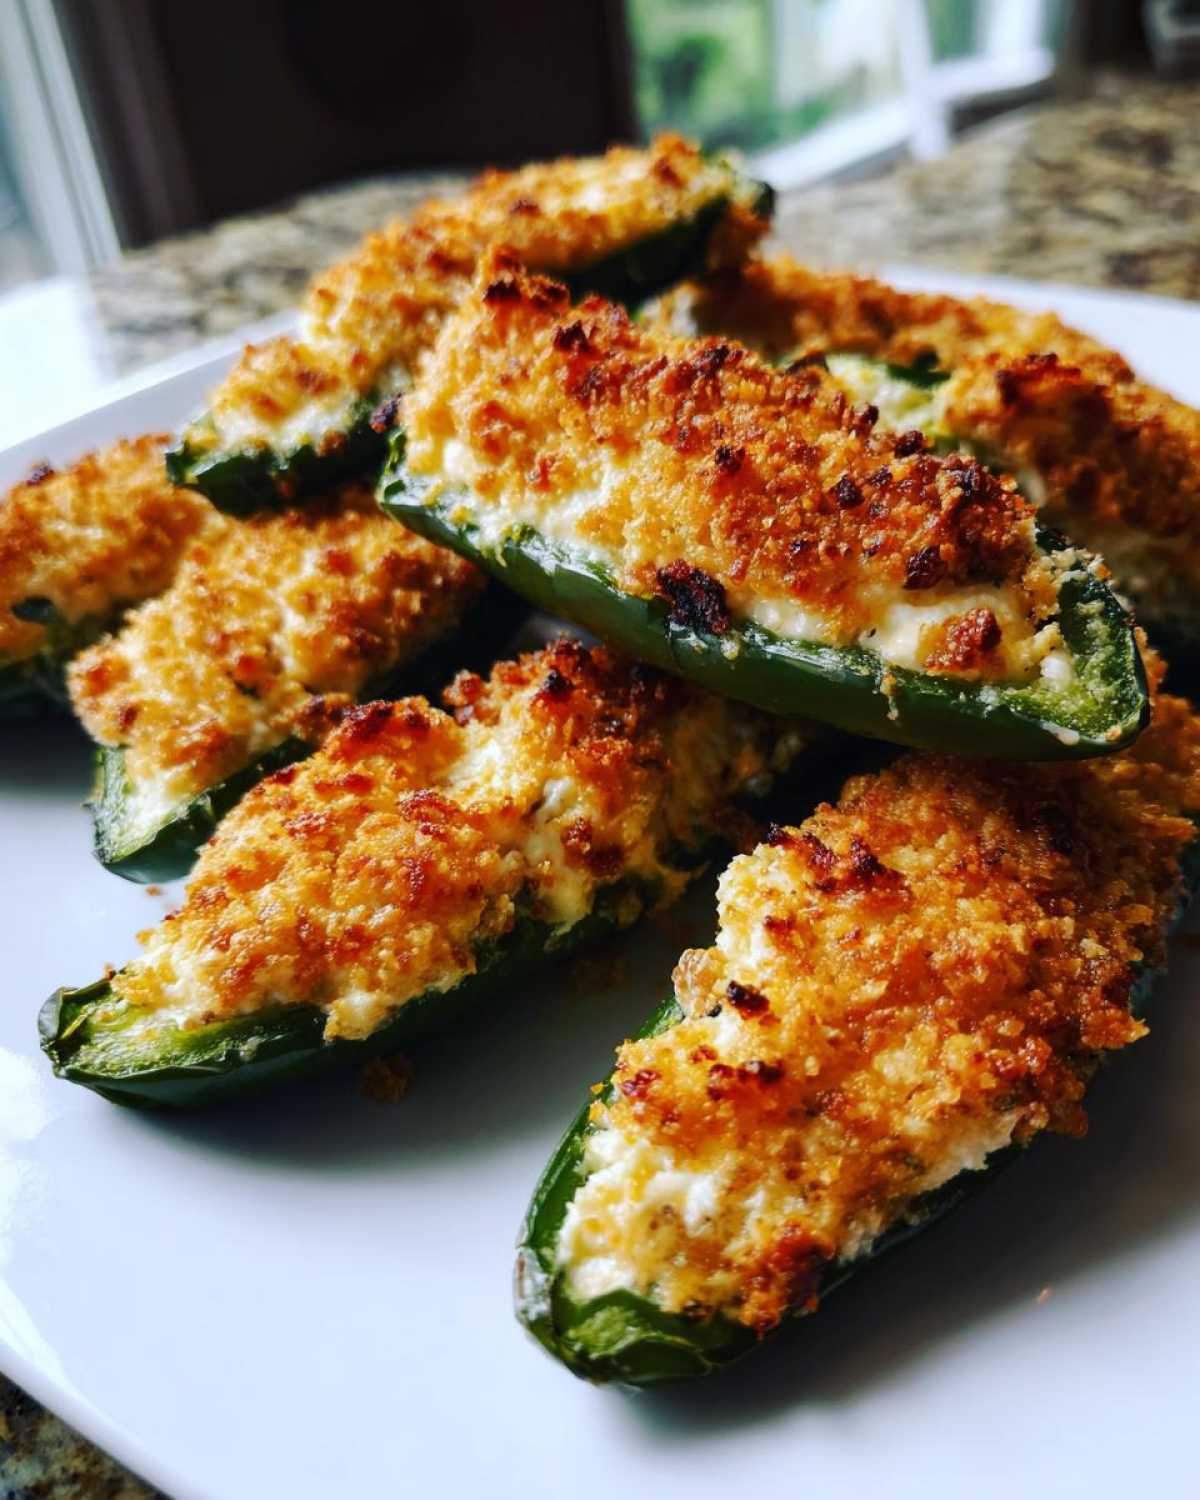
Once they are stuffed and wrapped (if applicable), it’s time for the crisp factor. Mix your panko breadcrumbs with the melted butter until they are nice and coated, and then sprinkle that buttery goodness right over the top of every single cheese mound. Place them all onto your prepared baking sheet. Bake them for about 18 to 22 minutes. You’re looking for two things: the cheese should be actively bubbling and you should see a little browning on the tops. If you used bacon, wait until that bacon looks beautifully crisp. Let them cool for just a few minutes before presenting them—hot cheese burns are no joke!
Expert Tips for the Best Bacon Wrapped Poppers
So, you decided to go for the full experience and wrap those bad boys in bacon? Love that for you! Bacon makes everything better, but getting bacon crispy in the oven—especially when you’re wrapping something that’s already full of moisture—can feel tricky. Trust me, I’ve had my share of floppy, sad bacon strips hiding precious poppers. Here are a couple of things Liam taught me that really make a difference for these bacon wrapped poppers.
First, the key is thin-cut bacon. If you use the thick-cut stuff, it’ll need so much time to crisp up that your jalapeño pepper underneath will probably turn to mush before the bacon is done. We want everything tender-crisp at the same time, so keep those strips nice and thin. It cooks faster and achieves that perfect balance of chewy and crispy.
Second, and this is huge: use a wire rack inside your baking sheet! If you’re not using one, the bacon sits right in the drippings that render out, and that steam keeps the bottom soggy. Placing the poppers on a small wire rack allows the heat to circulate all the way around the bacon, helping the fat drip away and making the underside crisp up too. Make sure the rack fits inside your parchment-lined baking sheet so cleanup is still simple, even with all that excess bacon grease!
Also, give them space! If the spicy appetizer poppers are crammed together on the tray, the steam they create will steam the bacon instead of crisping it. Give each bacon-wrapped piece a little breathing room on the rack. If you follow those three little rules—thin bacon, a wire rack, and space—your bacon will be perfectly golden and crisp right when the cheese filling is done bubbling over. It’s totally worth that extra little bit of effort!
Serving Suggestions for Spicy Appetizer Poppers
These spicy appetizer poppers are rich and zesty, right? That means when you’re planning your spread, you need things that cool things down or offer a nice, fresh contrast. Serving them warm is non-negotiable—you want that cheese gooey! But what do you serve alongside them to balance out the heat?
My favorite move is setting up a little dip station. Because these poppers are already so creamy on the inside, I love leaning into something tangy or savory on the outside for dipping. Have you ever tried my Cowboy Butter sauce? It’s surprisingly delicious alongside spicy food—the richness of the herbs and butter feels luxurious next to the pepper’s bite.
If you want something completely cooling, ranch dressing is always a winner, but try adding a tiny squeeze of lime juice to it; it brightens everything up! For a real party setup, balance the heat with some neutral, crunchy sides. Think about serving them next to a big bowl of crisp celery and carrot sticks, or even some very plain tortilla chips. They give your guests a quick break from the spice while they wait for the next batch of jalapeño poppers to come out of the oven. It’s all about building a plate that offers variety, not just heat!
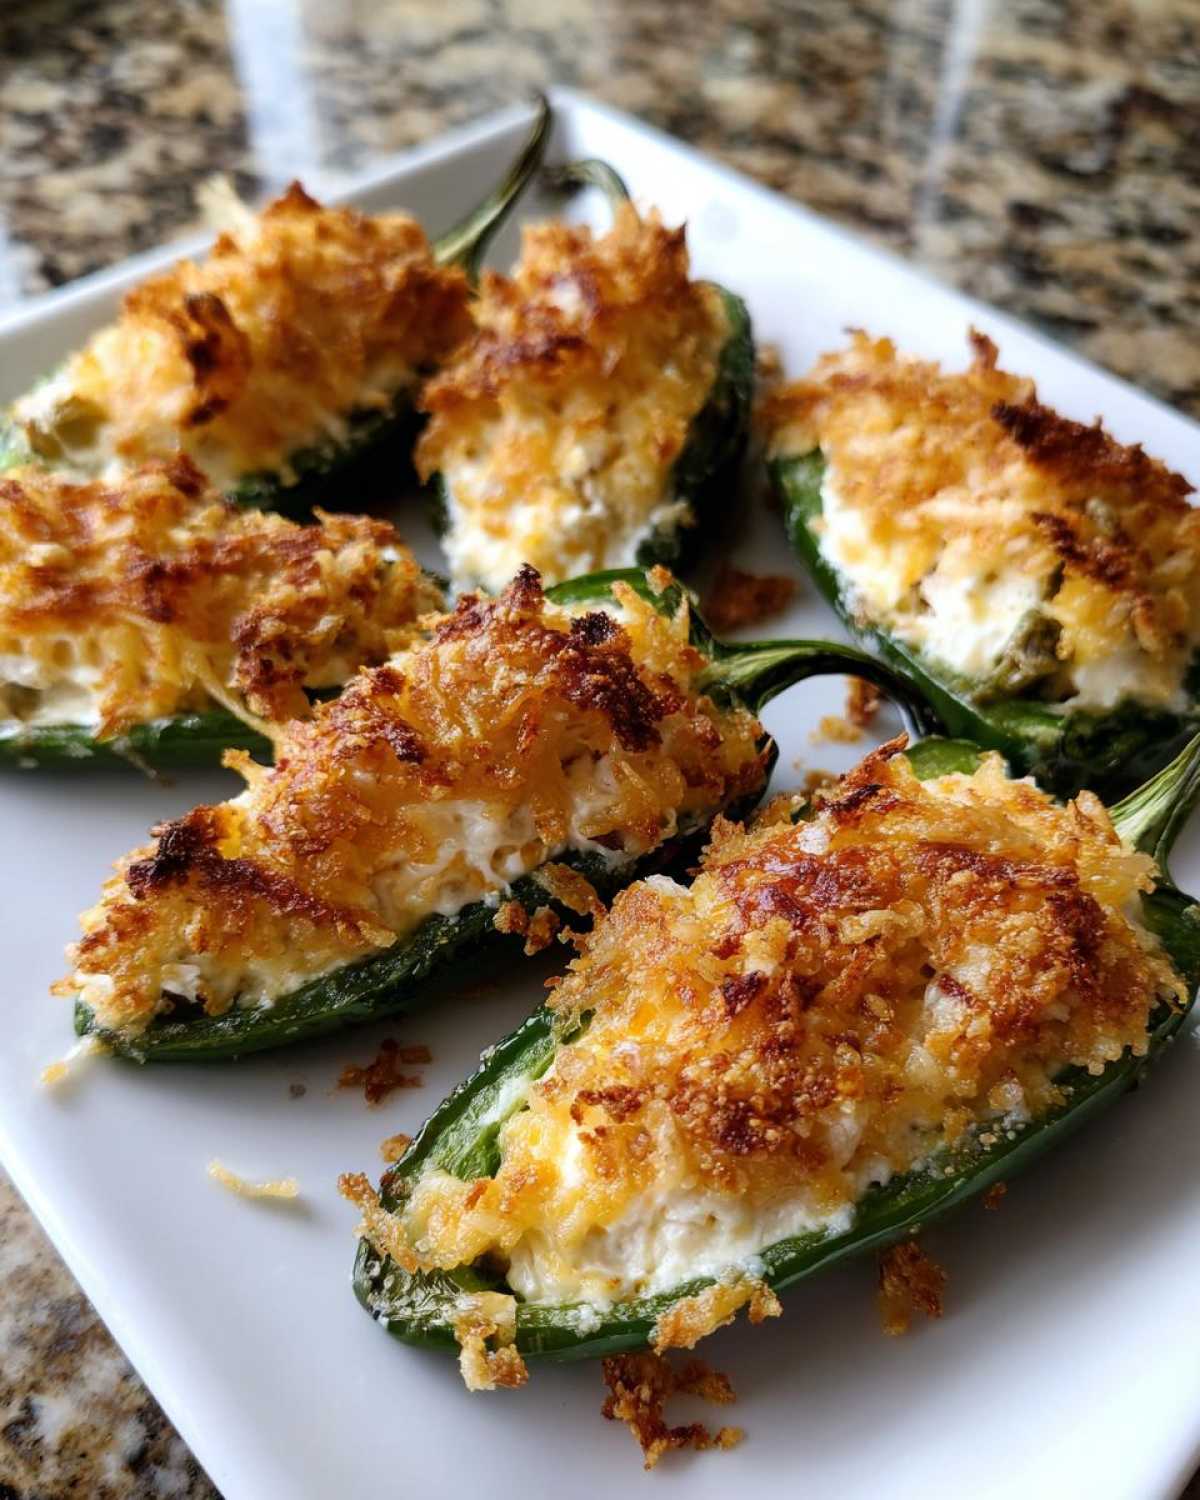
Storage and Reheating Instructions for Leftover Jalapeño Poppers
You made a ton, you served them up, and miraculously, there are a few left over! Don’t you dare throw them out! These cheesy little wonders are fantastic the next day, but only if you store and reheat them correctly. I learned the hard way that microwaving these is a one-way ticket to sad, soggy poppers, and we simply can’t send that kind of sad message back to ourselves, right?
When you have leftovers, let them cool completely to room temperature first. Once they are totally cool, pack them into an airtight container. You want to make sure they aren’t touching too much, maybe using a layer of paper towel on the bottom to soak up any stray moisture. They should last great in the fridge for about three or four days. If you’re planning on keeping them longer, you could even freeze them before they’ve fully cooled, layered between parchment paper in a freezer-safe zip-top bag. That way, you have emergency spicy appetizers ready to go!
Now, for the crucial part: reheating. Seriously, avoid the microwave unless you are desperate. The microwave heats up the moisture in the pepper and the cheese, turning that crispy panko topping into steamed bread mush. We want crunchy, bubbly poppers, not floppy ones!
Your best bet by miles is the oven or even better, an air fryer. If you use the oven, preheat it to about 350 degrees Fahrenheit. Lay the poppers out on a baking sheet—no need to grease anything extra. Pop them in for about 8 to 10 minutes. You just want them heated through and the cheese good and melty again. If you’re using an air fryer, 350 degrees for 4 or 5 minutes usually does the trick and gives you an incredible second-day crunch. It’s like getting a fresh batch without doing any of the work!
Frequently Asked Questions About Jalapeño Poppers
Can I make these jalapeño poppers ahead of time?
Oh yes, partially! Listen, I can’t do everything at the last minute, so prepping ahead is a lifesaver. You can absolutely mix up your cream cheese stuffed jalapeños filling and stuff all your peppers. Once they are stuffed, you can place them on the baking sheet, cover them tightly with plastic wrap, and pop them in the fridge for up to a day. Just make sure you still add the panko topping right before they go into the oven. If you are planning on wrapping them in bacon, I actually prefer to prep them the bacon-free way first, chill them, and then wrap them right before baking so the bacon stays nice and tight against the pepper.
How do I prevent my cream cheese stuffed jalapeños from leaking?
Leaking cheese is the worst because it just ends up burning onto the pan instead of staying in the pepper! The biggest thing here is making sure your cream cheese is blended well with the cheddar—if the cheese mix is too loose or runny, it will definitely try to escape. Make sure your filling is nice and thick and mounded slightly, not just spread thinly. And here’s a pro tip for even the best baked jalapeño poppers: when you wrap them with bacon, make sure the bacon strip covers the exposed cheese hole almost like a little lid or roof. That bacon acts like a shield holding everything secure as it melts!
What is the best way to control the heat when making baked jalapeño poppers?
This is my favorite topic because I love flavor, but I don’t always want my mouth on fire! The heat in a jalapeño lives almost exclusively in the white pith, that spongy membrane attached to the inside walls of the pepper. To manage the spice level in your baked jalapeño poppers, you must remove as much of that white membrane as possible when you cut them open. Use a small spoon, little knife, whatever works, and scrape it clean! If you remove all of it, they’re usually incredibly mild. If you leave a little bit, especially near the stem end, you’ll get a satisfying kick without overdoing it.
Can I skip the panko breadcrumbs on my jalapeño poppers?
You certainly *can* skip the panko, but honestly, why would you want to? If you skip them, you miss out on that fantastic crisp shell that contrasts perfectly with the soft pepper and gooey cheese. If you must skip them, or maybe you’re out, you need a substitute for texture. You could try crushing up about 1/4 cup of plain cornflakes very finely, or even using crushed tortilla chips! Just remember to toss whatever you use in a little bit of melted butter first so it browns up nicely in the oven when you bake them. I like the crunch too much to skip it entirely on my spicy appetizer poppers!
Sharing Your Delicious Jalapeño Poppers Dispatch
Okay, now that you have created and delivered this fantastic batch of cheesy, spicy goodness, I really, truly want to hear about it! That’s the whole point of Cookery Courier—sending out a delicious message that lands perfectly. Did your crowd devour these jalapeño poppers before the first commercial break? Did the bacon get perfectly crisp?
When you send out a recipe dispatch, we want the feedback! If you made these, please come back here and give this recipe a big 5-star rating. That five-star seal of approval is like confirmation that Liam’s cooking secret is working magic for someone else’s kitchen, too.
And don’t be shy! If you took a gorgeous photo of your tray of bubbly, baked perfection, share it on social media and tag us! Seeing your creations—whether it’s the simple panko-topped version or the epic bacon wrapped poppers—is honestly the highlight of my week. It means you cooked something wonderful for someone you love, or maybe just for yourself, and that’s the best message we could ever hope to deliver!
PrintEasy Baked Jalapeño Poppers with Cream Cheese Filling

Make these simple baked jalapeño poppers for a spicy and cheesy appetizer perfect for game night. Control the heat by removing seeds before stuffing.
- Prep Time: 20 min
- Cook Time: 22 min
- Total Time: 42 min
- Yield: 24 poppers
- Category: Appetizer
- Method: Baking
- Cuisine: American
- Diet: Vegetarian
Ingredients
- 12 fresh jalapeño peppers
- 8 ounces cream cheese, softened
- 1 cup shredded sharp cheddar cheese
- 1/2 teaspoon garlic powder
- 1/4 teaspoon onion powder
- 1/2 cup panko breadcrumbs
- 2 tablespoons melted butter
- Optional: 12 strips thin-cut bacon
Instructions
- Preheat your oven to 400 degrees Fahrenheit. Line a baking sheet with parchment paper.
- Put on gloves to protect your hands from the pepper oils. Slice the jalapeños in half lengthwise. Use a small spoon or knife to carefully scrape out the seeds and white membranes. This step controls the final heat level.
- In a medium bowl, mix the softened cream cheese, cheddar cheese, garlic powder, and onion powder until well combined. This is your cream cheese stuffed jalapeños filling.
- Spoon the cheese mixture evenly into each jalapeño half, mounding it slightly.
- If you are making bacon wrapped poppers, wrap one thin strip of bacon around each filled pepper half and secure it with a toothpick if needed.
- In a small bowl, mix the panko breadcrumbs with the melted butter. Sprinkle the breadcrumb mixture over the tops of the filled peppers.
- Place the poppers on the prepared baking sheet.
- Bake for 18 to 22 minutes, or until the cheese is bubbly and the peppers are tender. If using bacon, cook until the bacon is crisp.
- Let the baked jalapeño poppers cool for a few minutes before serving.
Notes
- Wear gloves when handling jalapeños to prevent skin irritation from the capsaicin.
- For less heat, remove all white membrane and seeds. For more heat, leave some seeds in.
- If you skip the bacon, you can lightly spray the tops with cooking spray before adding the breadcrumbs for better browning.
Nutrition
- Serving Size: 2 poppers
- Calories: 150
- Sugar: 1
- Sodium: 250
- Fat: 13
- Saturated Fat: 8
- Unsaturated Fat: 5
- Trans Fat: 0
- Carbohydrates: 4
- Fiber: 0
- Protein: 7
- Cholesterol: 35