

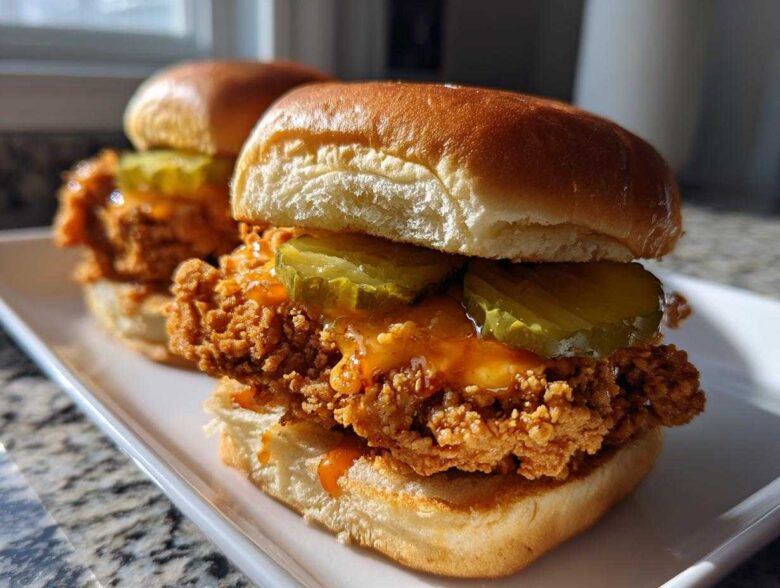
Oh wow, are you tired of sad, soggy takeout chicken sandwiches? Me too! Sometimes you just need that restaurant-quality crunch and flavor bomb delivered right to your kitchen table, you know? That’s why I’ve spent way too many weekends tinkering with chicken breasts until I found the *exact* method for the ultimate Crispy Chicken Sandwich with Honey Sauce.
I’m talking next-level texture here—the kind of crust that actually cracks when you bite into it. We achieve that using a classic buttermilk soak (genius, right?) followed by a double dredge that builds up the craggy edges we all adore. Forget those flimsy coatings; this is serious crunch territory.
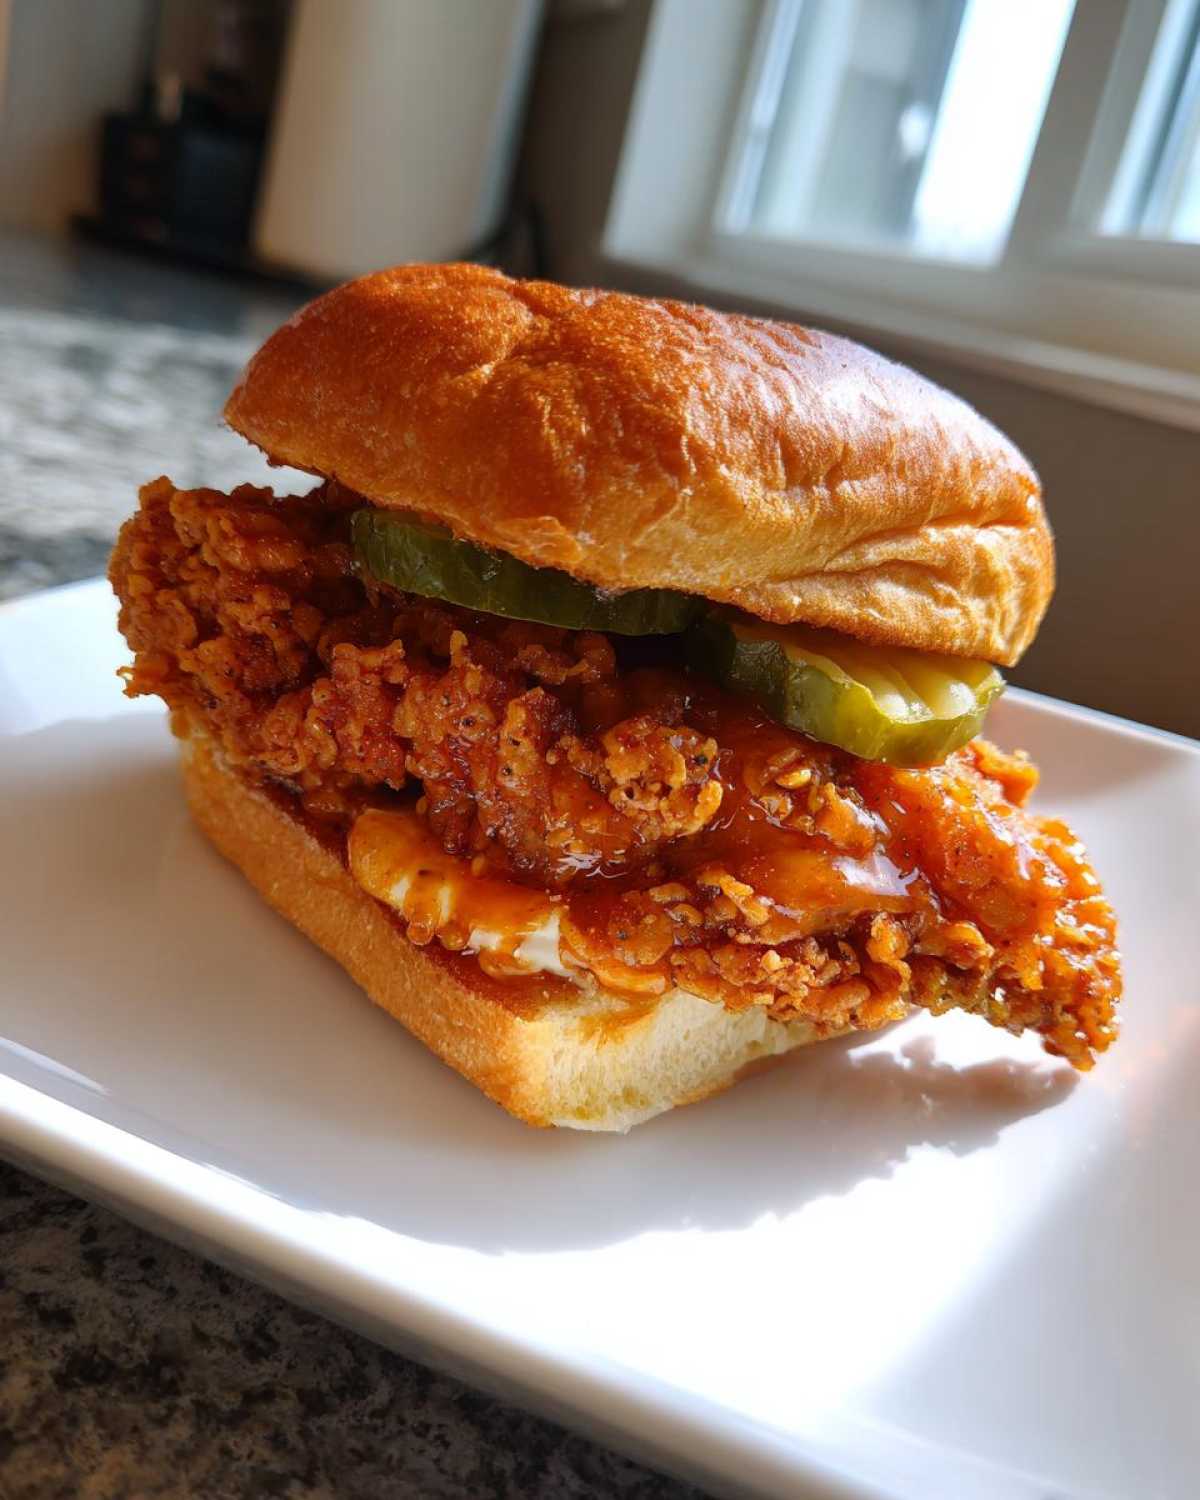
The real star, though, has to be that glaze. It’s sweet, a tiny bit tangy, and has just enough slow-building heat from the spicy honey to keep you coming back for another bite. Trust me, once you nail this technique, you won’t be ordering this sandwich out anymore. If you need extra tips on keeping your chicken juicy before you even start breading, check out my guide on the best chicken marinade techniques!
Why This Crispy Chicken Sandwich with Honey Sauce is a Game Changer
Honestly, this isn’t just *a* chicken sandwich; it’s *the* chicken sandwich. We aren’t messing around with limp breading or watery sauces here. I developed this recipe specifically to beat those fancy fast-food spots, and I think I succeeded!
Here’s why you need to make this today:
- The Crunch Factor is Real: That double dredge isn’t optional; it’s what locks in flavor and guarantees a craggy, shatteringly crisp exterior, even under the glaze.
- Perfect Sweet Heat Balance: The Spicy Honey Glaze takes the flavor over the top. It’s sweet enough for a treat but that gentle kick of heat cuts the richness beautifully.
- It’s Totally Doable at Home: While it seems intimidating, the steps are really straightforward once you understand the buttermilk soak. You can absolutely make restaurant-style food tonight!
Ingredients for the Ultimate Crispy Chicken Sandwich with Honey Sauce
Okay, let’s talk supplies! Getting ready for the best Crispy Chicken Sandwich with Honey Sauce means gathering a few key items. I’ve broken down the list to make shopping easier, but pay attention to those chicken prep instructions—they matter more than you think!
First up, the chicken itself. You’re going to need two boneless, skinless chicken breasts, and here’s crucial: slice them horizontally to make four thinner cutlets. This helps them cook fast and evenly, which is essential for keeping that crust nice and crisp.
For the wet and dry dredge, we need 2 cups of buttermilk (don’t skimp here!) and maybe a splash of hot sauce if you like a slight kick hiding in the crust. The dry mix is packed with flavor: 2 cups of flour, cornstarch for that extra crunch, plus smoked paprika, garlic powder, salt, and pepper. That paprika is my little secret for color!
Don’t forget the supporting cast: four fluffy brioche buns (the richness works so well!) and four slices of those crunchy dill pickles—they are non-negotiable for cutting through the richness. And of course, the Spicy Honey Glaze needs half a cup of good honey, apple cider vinegar, and your favorite sriracha or chili garlic sauce.
If you’re looking for more inspiration on fluffy bread bases, I have an amazing recipe for tall and flaky buttermilk biscuits that would swap beautifully into this setup!
Mastering the Buttermilk Soak for Your Crispy Chicken Sandwich with Honey Sauce
This is where most people rush, and honestly, it’s probably the most important step for developing that tender inside and ensuring the crust sticks like glue! We are moving on to Step 1, and you’ll want to dedicate some serious time to this buttermilk bath. Take your halved chicken pieces and tuck them into a bowl.
Pour over two full cups of buttermilk—that’s essential because the lactic acid in the buttermilk tenderizes the meat fibers, making the chicken super juicy later on. If you want a subtle flavor boost right in the coating, I toss in a tablespoon of hot sauce here too. It doesn’t make the final sandwich taste overtly spicy, but it adds a depth you just can’t get otherwise.
Now, cover that bowl and let it chill. At minimum, give it two hours in the fridge. But here’s the real secret for the best texture? Seriously try to let it sit overnight! That long soak means the chicken is perfectly hydrated and ready to grab onto that seasoned flour mixture when we start dredging. It’s the secret sauce before the sauce, if you know what I mean!
How to Make Crispy Fried Chicken Breast Coating
Alright, the chicken is tenderized and plump from its buttermilk spa treatment! Now comes the fun, slightly messy part: creating that signature crunchy armor for our Crispy Chicken Sandwich with Honey Sauce. This is Step 3, and it’s all about technique—specifically, the double dredge.
First, you need your dry station ready. Whisk together that flour, the cornstarch (that’s for extra crisp!), smoked paprika, garlic powder, salt, and pepper. Get it thoroughly combined because you want that seasoning distributed evenly across every surface.
Now, pull one piece of chicken out of the buttermilk—let a small amount drip off, but don’t dry it! Drop it into the flour mix. This first dredge is crucial: literally press that flour into the chicken. Don’t just toss it; use your hands to really pack it on. This creates the base layer.
Here’s the payoff for that effort: dip that floured piece *briefly* back into the remaining buttermilk—just a quick dunk!—and immediately send it back into the dry flour mixture for its second, heavier coating. Again, press hard! This double-dip method is what pulls moisture from the buttermilk into the flour, creating those amazing, craggy, crunchy bits that stick out after frying. It’s what separates restaurant style from home style.
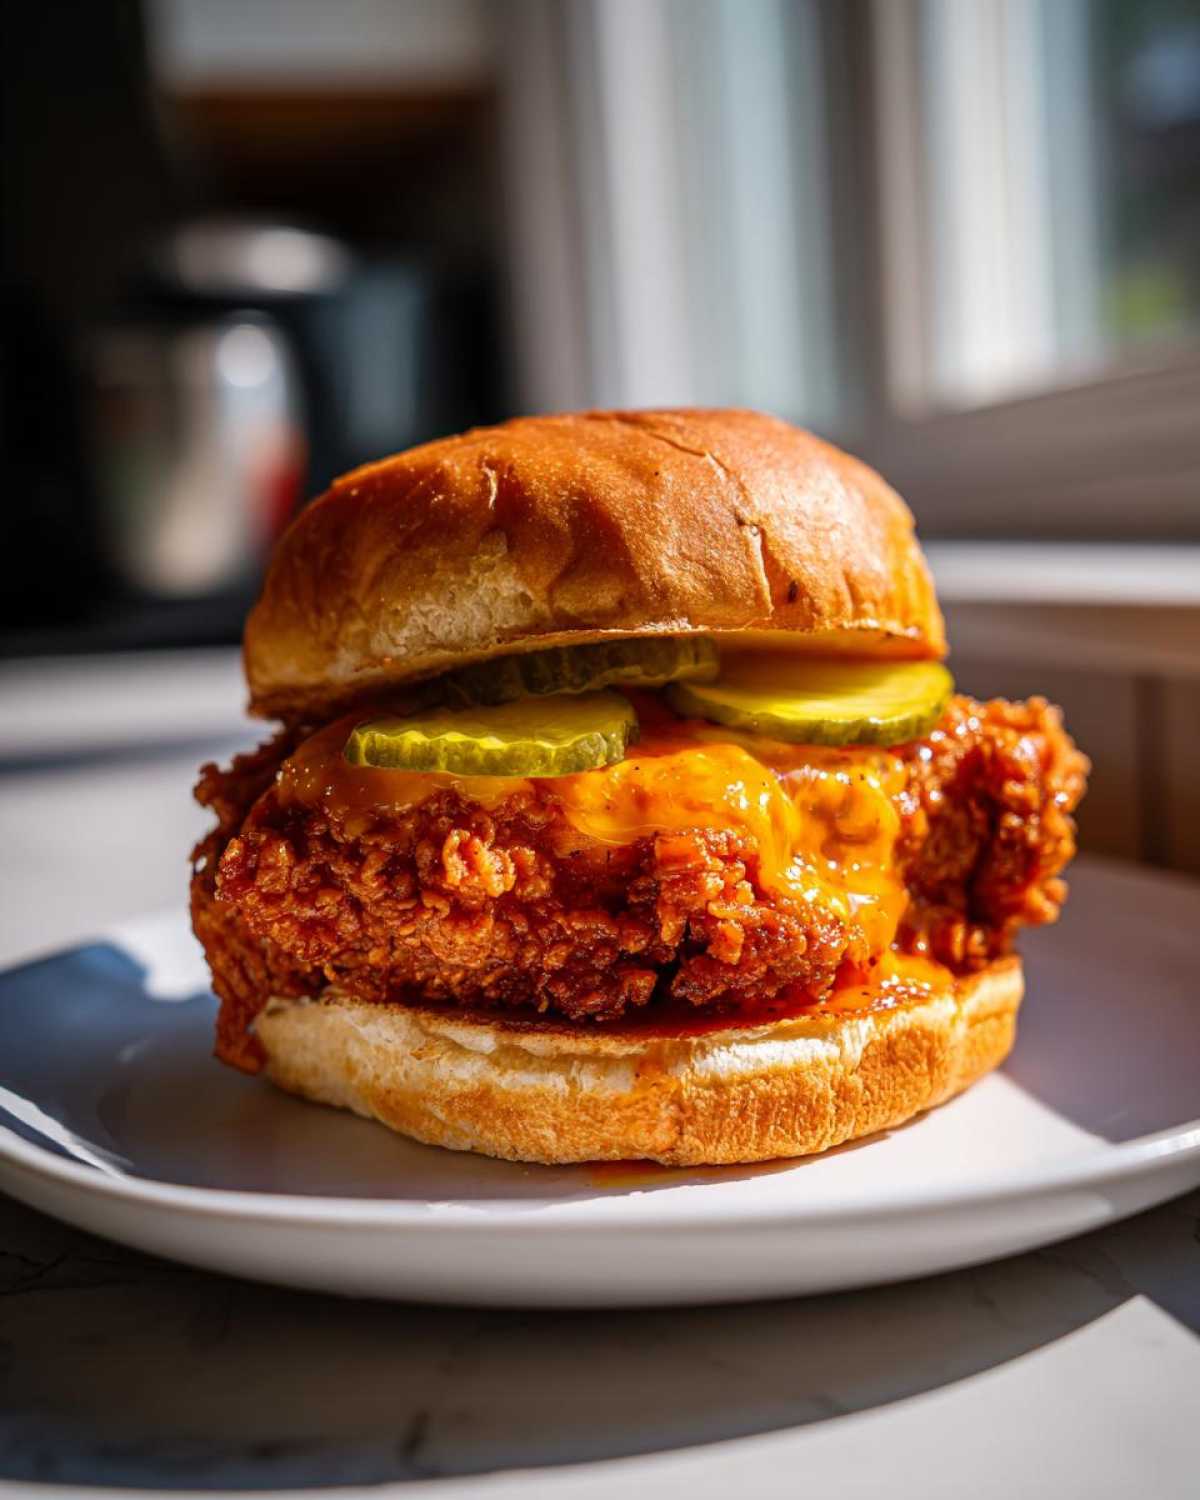
If you have the time, and I highly recommend it if you do, put those aggressively coated cutlets on a wire rack and pop them in the fridge for about 15 minutes before frying. That little chill time really helps that coating adhere properly. If you want to see another killer technique for building a sturdy crust, take a peek at my thoughts on my chicken fried steak recipe; the breading principles are strangely similar!
Frying Technique for the Perfect Crunchy Chicken Sandwich at Home
Okay, your chicken is breaded, it’s beautiful, and now we need to cook it without turning that amazing crust into a greasy disaster. This part, friends, is where temperature control is your best friend for achieving that perfect Crunchy Chicken Sandwich at Home. We’re talking about Step 4, and you need a deep pot—a Dutch oven is perfect—with about two inches of vegetable oil ready to rumble.
The magic number for that oil is 350 degrees Fahrenheit (about 175 Celsius). I cannot stress this enough: use a deep-fry or candy thermometer! If the oil is too cold, your chicken will soak it up and get soggy and dull. If it’s too hot, the outside burns before the center is cooked. Safety first, always watch that temperature!
When you carefully drop in your breaded cutlets, limit yourself to just one or two at a time. Overcrowding the pot causes the oil temperature to plummet instantly, ruining the crispiness we worked so hard to build. You want that chicken sizzling rapidly, not simmering lazily!
Let them hang out for about six to eight minutes, turning them maybe once or twice so they get golden and gorgeous across the whole surface. When they hit that magic internal temperature of 165°F (74°C), pull them out immediately. Place them on a wire rack set over a baking sheet—do not put them directly on paper towels, as that traps steam and makes the bottom soggy!
If you’re looking to skip the deep fry entirely sometimes—I get it, cleanup can be a drag—I actually have a whole breakdown on making crispy air fryer wings that uses a similar methodology. It’s fantastic for a lighter version!
Creating the Sweet and Savory Honey Glaze for Chicken
The chicken is golden, it’s draining, and now we finally get to the part that makes this the ultimate Sweet and Savory Chicken Sandwich: the glaze! This is Step 7, and honestly, it’s so simple you’ll wonder why you ever bought bottled sauce.
We are building balance here. You need the luscious sweetness from half a cup of good quality honey to balance out the richness of the fried chicken, right? But sweetness alone is boring. That’s why we introduce tang with two tablespoons of apple cider vinegar—that acid really brightens everything up. Then comes the warmth: one tablespoon of sriracha or chili garlic sauce.
Mix all three ingredients in a tiny saucepan. You only want to gently warm this combination over low heat until everything is just melted together and combined. Do not let this stuff boil! Boiling drives off the brightness and thickens it too much immediately. You want a beautiful, brushable consistency.
As soon as the chicken comes off the rack, grab your pastry brush—this is crucial when the chicken is still totally hot!—and paint that spicy honey glaze liberally over every single craggy surface. It smells incredible, I promise. If you love making your own sauces, you absolutely need to check out my recipe for easy homemade BBQ sauce; the principles of balancing sweet and acid are the same!
Assembly: Building Your Final Crispy Chicken Sandwich with Honey Sauce
We’re at the finish line, and trust me, you want to move fast here! The moment the chicken comes off the rack and gets brushed with that gorgeous spicy honey glaze, it needs to meet its bun immediately. Speed is everything if you want that perfect texture contrast.
First thing: give those brioche buns a quick toast! Even 30 seconds face-down in a dry skillet gives them enough structure to stand up to the juicy chicken and the glaze. No one wants a soggy bottom bun!
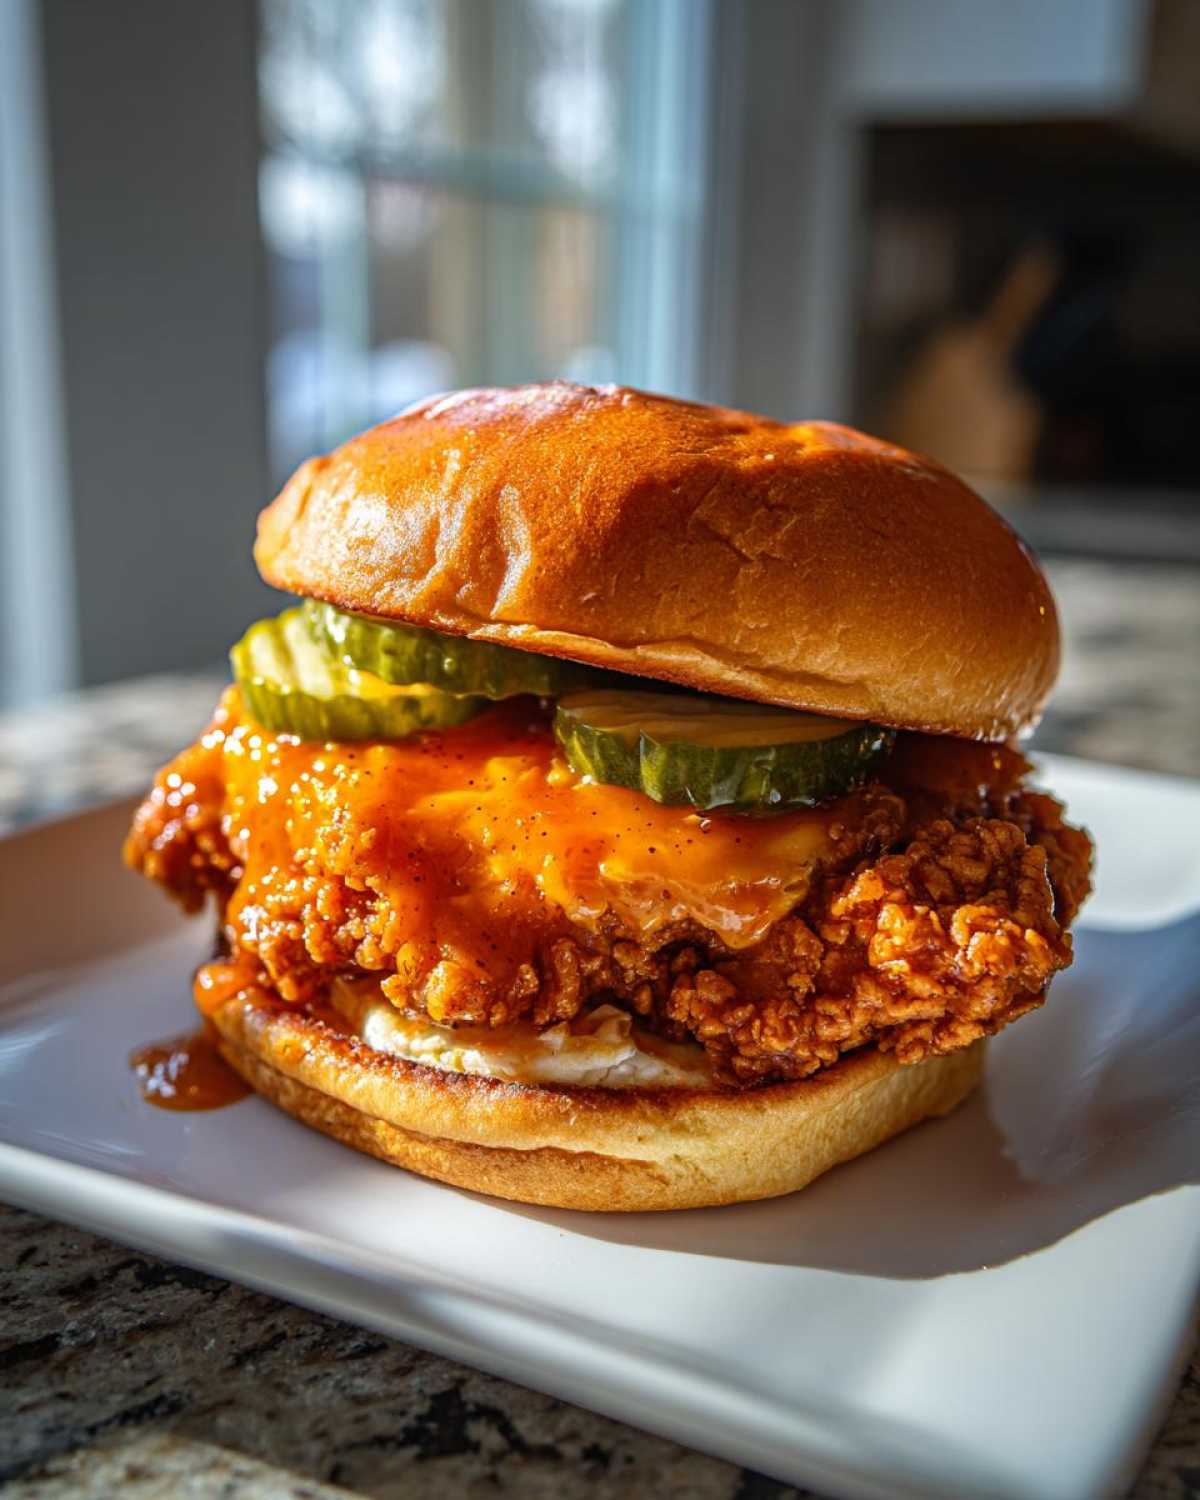
Slap that heavily glazed, hot chicken onto the bottom half. Next, lay down your pickle slices—the brine is necessary to cut through that savory crust and sweet topping. Top it off with the bun crown, and serve it immediately. This Crispy Chicken Sandwich with Honey Sauce waits for no one; enjoy that crunch while it’s fresh!
Tips and Substitutions for Your Fried Chicken Sandwich with Honey
I know that sometimes life just doesn’t allow for deep frying, and believe me, I get it! But don’t let that stop you from enjoying this incredible Fried Chicken Sandwich with Honey. Those notes scribbled on my original recipe card actually have modern fixes built in!
If you’re looking to keep things lighter, you can absolutely transition this to the air fryer—this satisfies that craving for an Air Fryer Crispy Chicken Sandwich Honey experience. After you double-dredge the chicken, spray both sides lightly with your favorite cooking spray. Then, air fry them at 380 degrees Fahrenheit for about 15 to 18 minutes, flipping halfway through. Once they are cooked, toss them right in that warm glaze!
Also, let’s talk heat adjustment. If you want a milder kick, just use one teaspoon of sriracha in the sauce instead of the full tablespoon. You still get the flavor, just less of the fire. For the crunchiest possible result, remember that 15-minute chill period after dredging is your best friend!
Frequently Asked Questions About Making a Crispy Chicken Sandwich
I know you might have a few lingering questions, especially when trying a new technique like the double dredge. Making a perfect Crispy Chicken Sandwich at home involves a few little tricks to ensure you get that fantastic texture every time. Here are the things I get asked most often!
Can I make the chicken ahead of time without losing crispiness?
That’s a great question about meal prep! You can definitely prep the components ahead, but you have to be smart about it to keep that crunch alive. You can fry the chicken completely, let it cool down to room temperature, and store it in a single layer in the fridge. Then, right before you eat, reheat those crispy pieces in a conventional oven at 375°F for about 8 to 10 minutes. Don’t microwave it, ever! The oven brings the crust back to life before you brush it with that glaze.
What is the secret to the best sauce for crispy chicken sandwiches?
The secret to the absolute best sauce, just like our Spicy Honey Glaze, is creating that perfect triangulation of flavors: sweet, acid, and heat. If you just use honey, it’s too heavy. You need the acidity from the vinegar and a little burst of heat from the sriracha to cut through the fat of the fried chicken. That balance is what prevents the sandwich from tasting one-note or overwhelming. If you’re trying other creamy sauces, I have a fantastic homemade tartar sauce recipe that uses the same acid principle!
What type of chicken cut works best for this recipe?
For this specific recipe, I highly recommend the boneless, skinless chicken breast, sliced horizontally. This gives you that classic, uniform cutlet shape, and slicing it thin ensures the meat cooks through quickly without drying out while you’re busy achieving that deep golden crust for your sandwich.
However, if you prefer a richer, slightly fattier texture, chicken thighs work beautifully too! They are actually harder to overcook than breasts, so you have a little more wiggle room there. Just watch the frying time, as thick thighs might need an extra minute or two to reach temperature.
PrintUltimate Crispy Fried Chicken Sandwich with Spicy Honey Glaze

Make a restaurant-quality crispy chicken sandwich at home using a buttermilk soak and double dredge for maximum crunch, finished with a simple spicy honey glaze.
- Prep Time: 20 min
- Cook Time: 15 min
- Total Time: 35 min
- Yield: 4 servings
- Category: Main Course
- Method: Frying
- Cuisine: American
- Diet: Low Fat
Ingredients
- 2 boneless, skinless chicken breasts, halved horizontally
- 2 cups buttermilk
- 1 tablespoon hot sauce (optional)
- 2 cups all-purpose flour
- 1/2 cup cornstarch
- 1 tablespoon smoked paprika
- 1 teaspoon garlic powder
- 1 teaspoon black pepper
- 1 teaspoon salt
- Vegetable oil, for frying
- 4 brioche buns
- 4 slices dill pickle
- For the Spicy Honey Glaze:
- 1/2 cup honey
- 2 tablespoons apple cider vinegar
- 1 tablespoon sriracha or chili garlic sauce
Instructions
- Place the chicken pieces in a bowl. Pour the buttermilk and hot sauce over the chicken. Cover and refrigerate for at least 2 hours, or preferably overnight.
- In a shallow dish, whisk together the flour, cornstarch, smoked paprika, garlic powder, salt, and pepper.
- Remove one piece of chicken from the buttermilk, letting excess drip off. Dredge thoroughly in the flour mixture, pressing the coating onto the chicken. Dip the coated chicken back into the buttermilk briefly, then immediately dredge it again in the flour mixture, ensuring a thick, craggy coating. Place on a wire rack. Repeat with remaining pieces.
- Pour about 2 inches of vegetable oil into a deep, heavy-bottomed pot or Dutch oven. Heat the oil to 350 degrees Fahrenheit (175 degrees Celsius). Use a thermometer to monitor the temperature.
- Carefully place 1 or 2 chicken pieces into the hot oil, ensuring you do not overcrowd the pot. Fry for 6 to 8 minutes, turning occasionally, until the internal temperature reaches 165 degrees Fahrenheit (74 degrees Celsius) and the crust is deep golden brown and crispy.
- Remove the chicken and place it on a clean wire rack set over a baking sheet to drain excess oil.
- While the chicken drains, prepare the glaze: In a small saucepan, combine the honey, apple cider vinegar, and sriracha. Heat over low heat until just warm and combined. Do not boil.
- Brush the hot fried chicken generously on all sides with the spicy honey glaze.
- Lightly toast the brioche buns. Place a glazed chicken breast on the bottom half of each bun. Top with pickle slices and the top bun. Serve immediately.
Notes
- For extra crispiness, chill the double-dredged chicken pieces for 15 minutes before frying.
- If you prefer a milder sauce, reduce the sriracha in the glaze to 1 teaspoon.
- You can use an air fryer for a lower-fat option; spray the coated chicken lightly with cooking spray and air fry at 380 degrees Fahrenheit (195 degrees Celsius) for 15-18 minutes, flipping halfway, then toss in the glaze.
Nutrition
- Serving Size: 1 sandwich
- Calories: 650
- Sugar: 25
- Sodium: 950
- Fat: 30
- Saturated Fat: 7
- Unsaturated Fat: 23
- Trans Fat: 0
- Carbohydrates: 65
- Fiber: 2
- Protein: 38
- Cholesterol: 110