

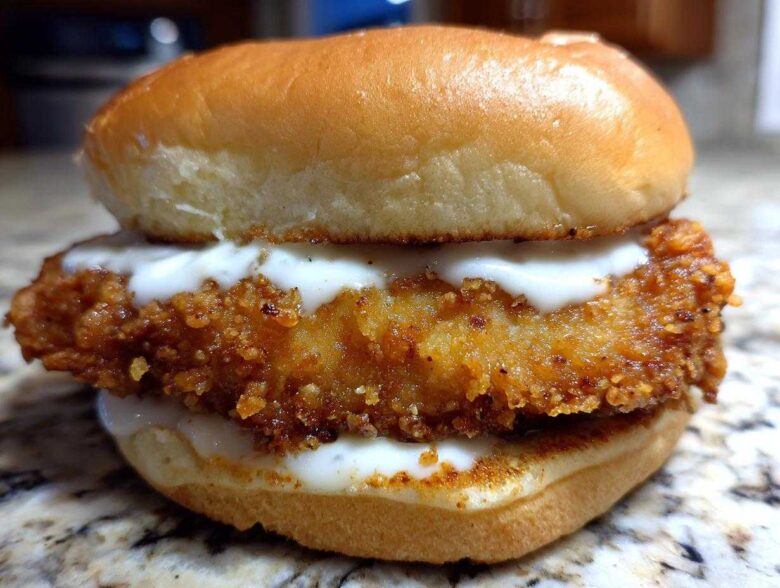
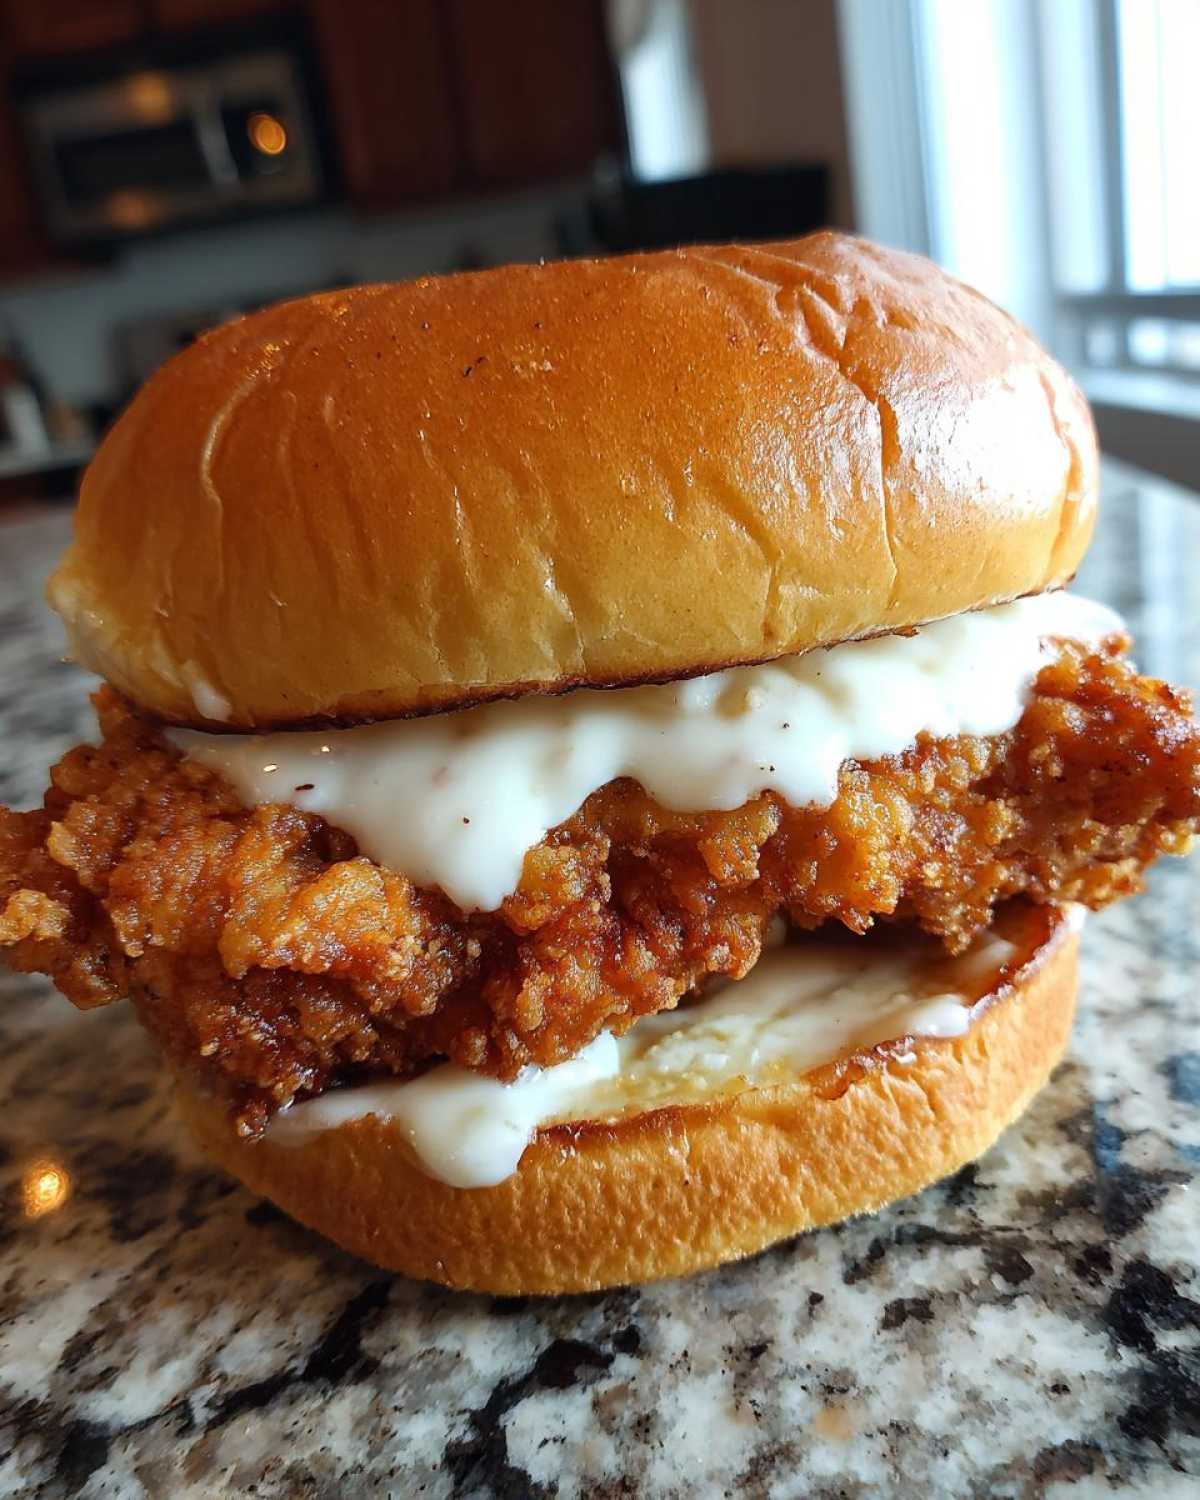
Are you tired of weak, floppy chicken patties that dissolve the moment they touch the bun? Me too! That’s why I spent months perfecting what I now proudly call the Crispy Chicken Sandwich with Garlic Sauce that beats any takeout spot. Forget soggy crusts; we are aiming for that shatteringly crisp exterior that holds up against a rich, homemade sauce. Trust me, achieving that restaurant-quality crunch at home is totally possible if you commit to the process. We’re talking about a juicy chicken fillet wrapped in armor, thanks to the magic of the double-fry technique. If you’re ready for the Ultimate Crispy Chicken Meal, let’s dive in!
If you want the secret to maximizing juiciness before you even think about breading, you absolutely need to check out my deep-dive on the best chicken marinade for juicy, flavorful results. It sets the foundation for our sandwich!
Why You Will Make the Best Crispy Chicken Sandwich with Garlic Sauce
Listen, I know there are a million recipes out there, but this one actually delivers on the promise of takeout perfection. When you break down what makes those fancy spots so good, it always comes down to two things: the crunch and the sauce. This guide makes sure you nail both without needing a restaurant deep fryer!
- This isn’t just a ‘fried chicken sandwich’; this is the Crispy Chicken Sandwich with Garlic Sauce that ruins all others for you. Seriously, you won’t want to order out anymore.
- We focus on big, bold flavor. The buttermilk marinade works hard overnight so that every fiber of the chicken is juicy and seasoned, not just the outside crust.
- It gives you that satisfying, high-end build you see on social media—it looks amazing, and it tastes even better.
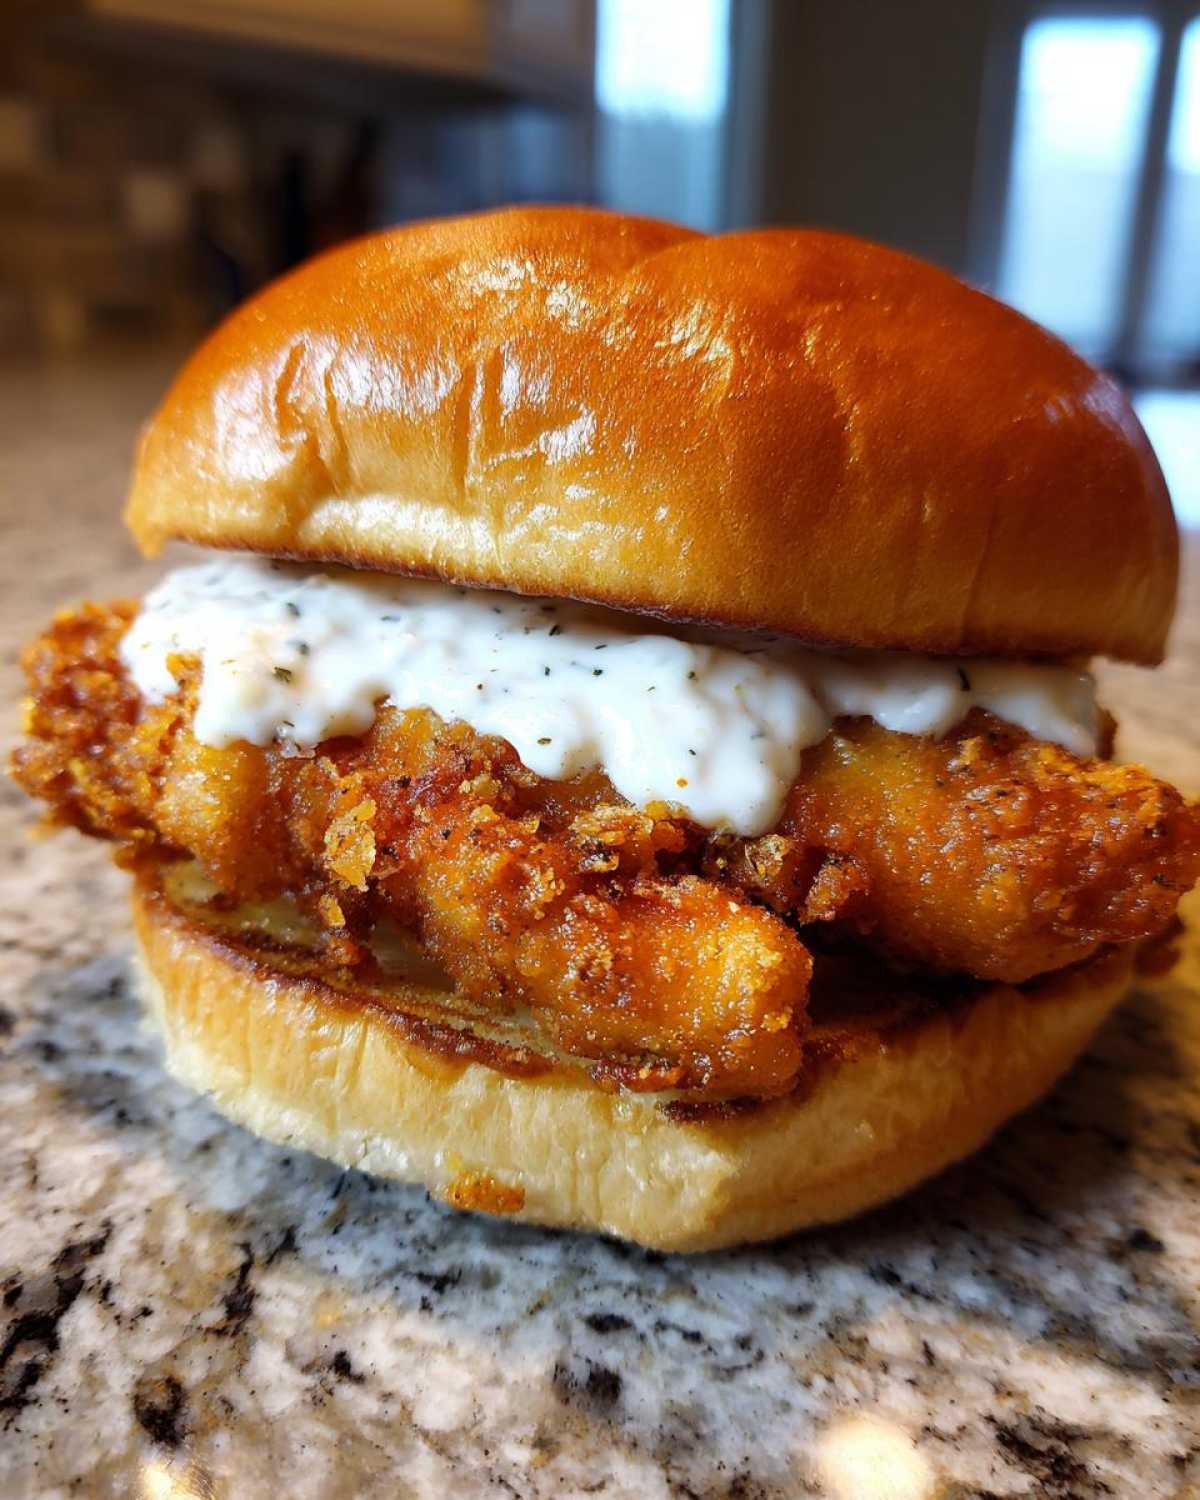
Achieving Ultimate Crispiness with the Double Fried Chicken Technique
This, right here, is non-negotiable for a Perfectly Crunchy Chicken. We fry the chicken once to cook it through gently, then we crank up that heat and fry it again. That second dip gets the crust incredibly dark, bubbly, and so crunchy that it stays that way even after you douse it in sauce. It’s a little extra work, but wow, is it worth it for that texture!
Flavorful Homemade Garlic Sauce Sandwich Spread
Store-bought sauces are fine for an emergency, but they don’t compete with this. Our homemade sauce is rich, brightened up with fresh lemon zest, and packs a serious punch from fresh garlic—it’s not that fake garlic flavor, either! This Creamy Garlic Sandwich Spread clings perfectly to the bun and coats the fillet beautifully, making every bite of your sandwich amazing.
Essential Ingredients for Your Crispy Chicken Sandwich with Garlic Sauce
Okay, listen up—the ingredients are locked in for this masterpiece. You can’t skimp on quality when you’re trying to build the Best Crispy Chicken Burger at home. I’m going to break down exactly what you need, grouped by what they’re doing. Make sure you grab everything before you start mixing; nobody wants to realize mid-dredge that they are out of cayenne!
For the Buttermilk Marinated Chicken Fillet
This is what ensures every bite is a winning bite. We need the chicken, of course—boneless, skinless breasts, but you have to halve them horizontally so they cook evenly and stay tender. Then, we drown them in buttermilk combined with just a little hot sauce. This buttermilk soak is the secret weapon for a true Juicy Chicken Fillet Recipe. Let this go for hours!
- 2 boneless, skinless chicken breasts, halved horizontally
- 2 cups buttermilk
- 1 tablespoon hot sauce
For the Crispy Breading Mixture
This is where the armor comes from! We use a mix of flour, but the cornstarch is key here. Cornstarch is what gives you that ultra-light, flaky crunch that shatters when you bite into it. Don’t forget the spices—they build a ton of flavor right into the crust, so measure these carefully!
- 3 cups all-purpose flour
- 1/2 cup cornstarch (Don’t skip this part!)
- 2 teaspoons salt
- 1 teaspoon black pepper
- 1 teaspoon paprika
- 1 teaspoon garlic powder
- 1/2 teaspoon cayenne pepper (Adjust this based on how much kick you like!)
For the Homemade Garlic Sauce (Creamy Garlic Sandwich Spread)
This sauce is so good, you might just dip your fries in it later. It’s super simple but tastes gourmet. If you want to see how to make the base, I love this method for easy homemade mayonnaise recipe if you’re feeling adventurous, but store-bought works fine in a pinch!
- 1 cup mayonnaise
- 4 cloves garlic, minced finely (Seriously, make sure it’s truly minced!)
- 1 tablespoon lemon juice
- 1 teaspoon Dijon mustard
- Pinch of salt and pepper
For Assembly and Topping
For the best experience building your Crispy Chicken Sandwich with Garlic Sauce, you absolutely need soft, slightly sweet buns. I insist on brioche because they toast up gorgeously. Plus, you need oil for frying, obviously, and a little butter to get those buns perfect.
- 4 brioche buns
- Butter, for toasting
- Vegetable oil, for frying (enough for 2 inches deep)
- Optional fixings: Maybe some crisp iceberg lettuce or those fantastic dill pickle chips.
Mastering the Buttermilk Marination for the Crispy Chicken Sandwich with Garlic Sauce
Okay, stop right there before you get to the flour dredge! The most important part for making sure your chicken stays juicy inside while the outside gets that amazing crunch is the time spent bathing in buttermilk. This isn’t just an optional step; this is crucial for transforming a plain chicken breast into a phenomenal component of a Crispy Fried Chicken Sandwich Recipe.
First, you need to even things out—pound those chicken halves to about half an inch thick. This ensures they cook fast and finish at the same time the crust gets perfectly golden. When they sit in that buttermilk bath mixed with hot sauce, they soak up moisture and tenderize beautifully. I always let mine go overnight if I can plan ahead! Seriously, the longer the Buttermilk Marinated Chicken sits, the more flavor penetrates, and the better structural support it has for holding all that crunchy coating.
Step-by-Step Instructions for the Crispy Chicken Sandwich with Garlic Sauce
Alright, time to get cooking! This is where all that marinating pays off. We need to be organized, especially when dealing with hot oil. I like to have my assembly station ready before I even turn on the stove. You want to move fast when you’re doing the Double Fried Chicken Technique, so don’t skip setting up your bowls and cooling racks first! It’s all about efficiency here.
Preparing the Chicken and Breading for Frying
Remember we pounded the chicken? Now, get your dry dredge ready—the flour, cornstarch, and all those gorgeous spices whisked together. Take the chicken straight from the buttermilk, letting the big drips fall off, but don’t pat it dry—we need that wet surface!
Dredge it thoroughly in the flour mixture. This is critical: press the breading onto the chicken hard with your hands! Really work it in there to create those craggy, messy bits, because those bits are what become the crunchiest parts when fried. Set the breaded pieces aside on a clean surface while you heat the oil. If you were making English muffins instead, I’d tell you to use my recipe here, but today, chicken is the star!
The Crucial Double Fried Chicken Technique
This is the moment of truth! Start heating your oil to 325°F (160°C). Fry the chicken in small batches—never overcrowd the pan—for about five to six minutes. They should look pale golden when you pull them out. Let them rest on a wire rack for a minute while you pop the oil heat up to 375°F (190°C).
Now, dunk them back in for the second fry! You only need two to three minutes this time. They will bubble up, get beautifully dark golden brown, and achieve that legendary crunch. Once they hit 165°F (74°C) internal temperature, pull them out immediately to drain. Patience here makes the difference between a mediocre sandwich and the one you dream about!
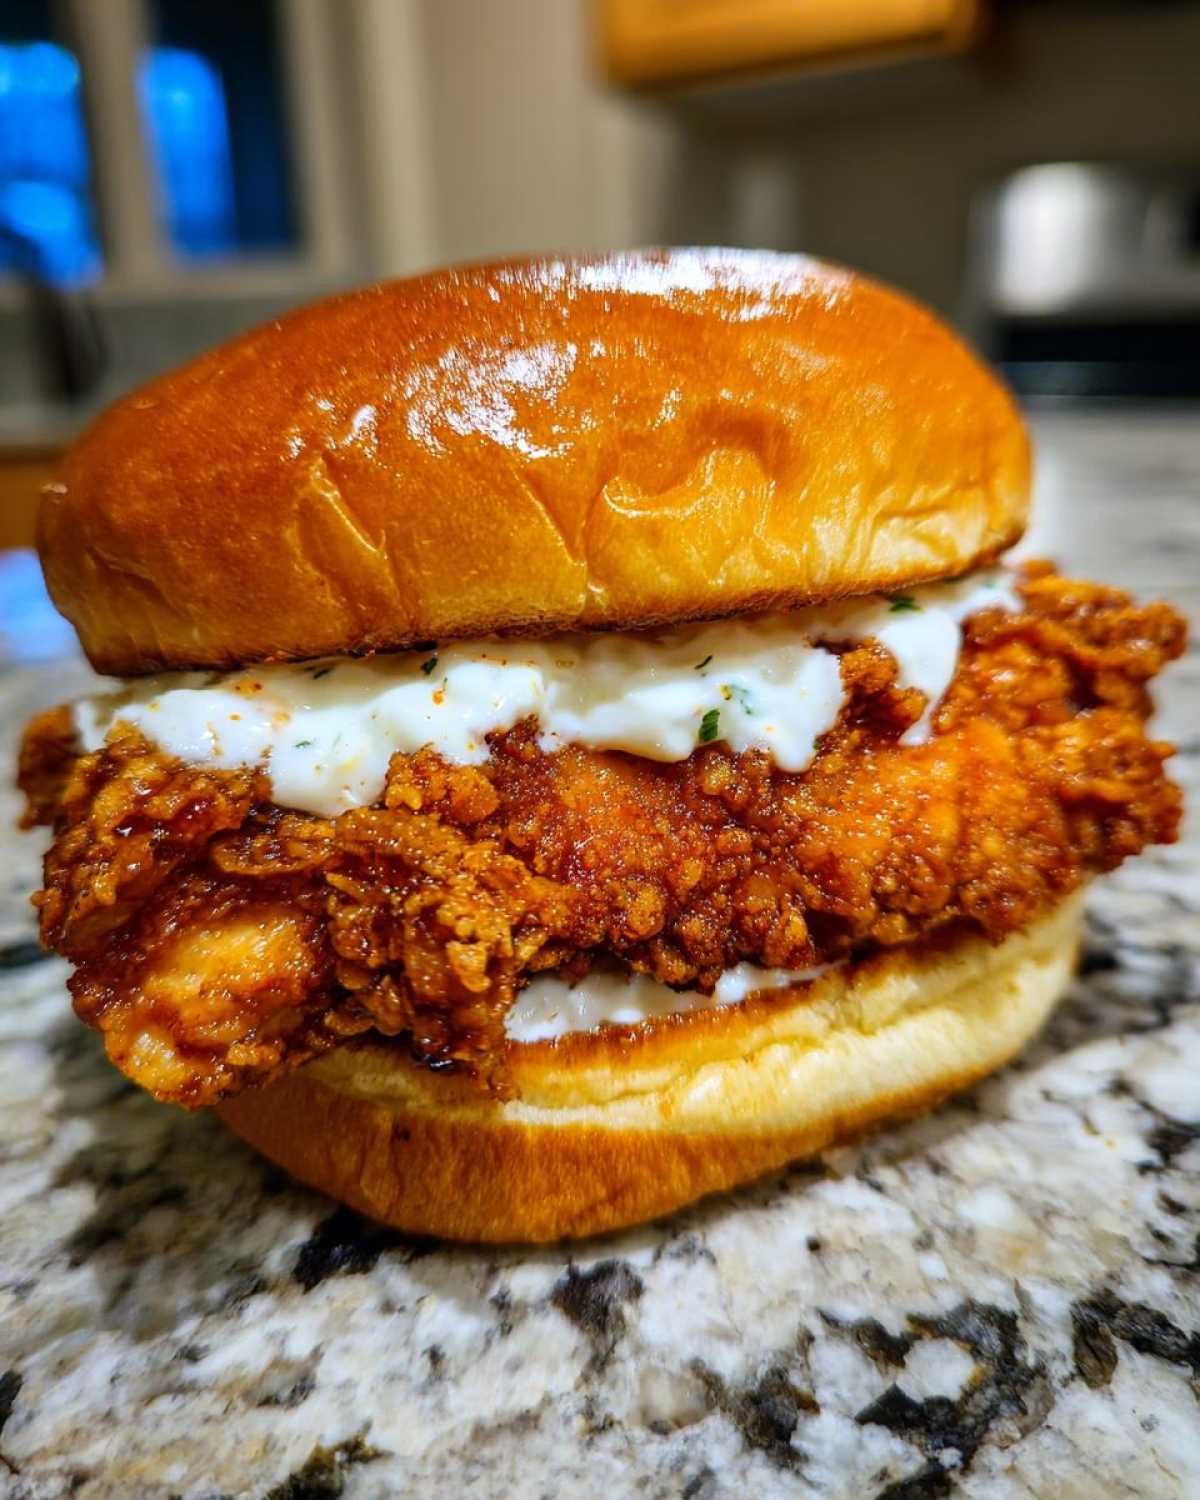
Whipping Up the Homemade Garlic Sauce
While that second fry is happening, you can easily whip up the sauce. Honestly, this is the easiest part! Just grab a small bowl and mix that mayo with the finely minced garlic, a splash of lemon for brightness, Dijon for tang, and a pinch of salt and pepper. Whisk it until it’s completely smooth. Boom! You just made a stunning Garlic Aioli Sandwich Topping. Set it aside; it’s ready when the chicken is!
Toasting Buns and Final Assembly of the Crispy Chicken Sandwich with Garlic Sauce
Butter those brioche buns, people! Toasting them cut-side down in a dry skillet until they are golden brown adds another layer of texture that stops the bun from getting soggy too fast. Now build it up:
- Spread a huge smear of that Homemade Garlic Sauce Sandwich on both the top and bottom bun. Don’t be shy!
- Place your deeply crunchy fillet right onto the bottom bun.
- Top with your favorite pickles or some clean, crisp lettuce.
- Cap it with the top bun for the perfect Brioche Bun Chicken Sandwich. Enjoy right away before the crunch softens!
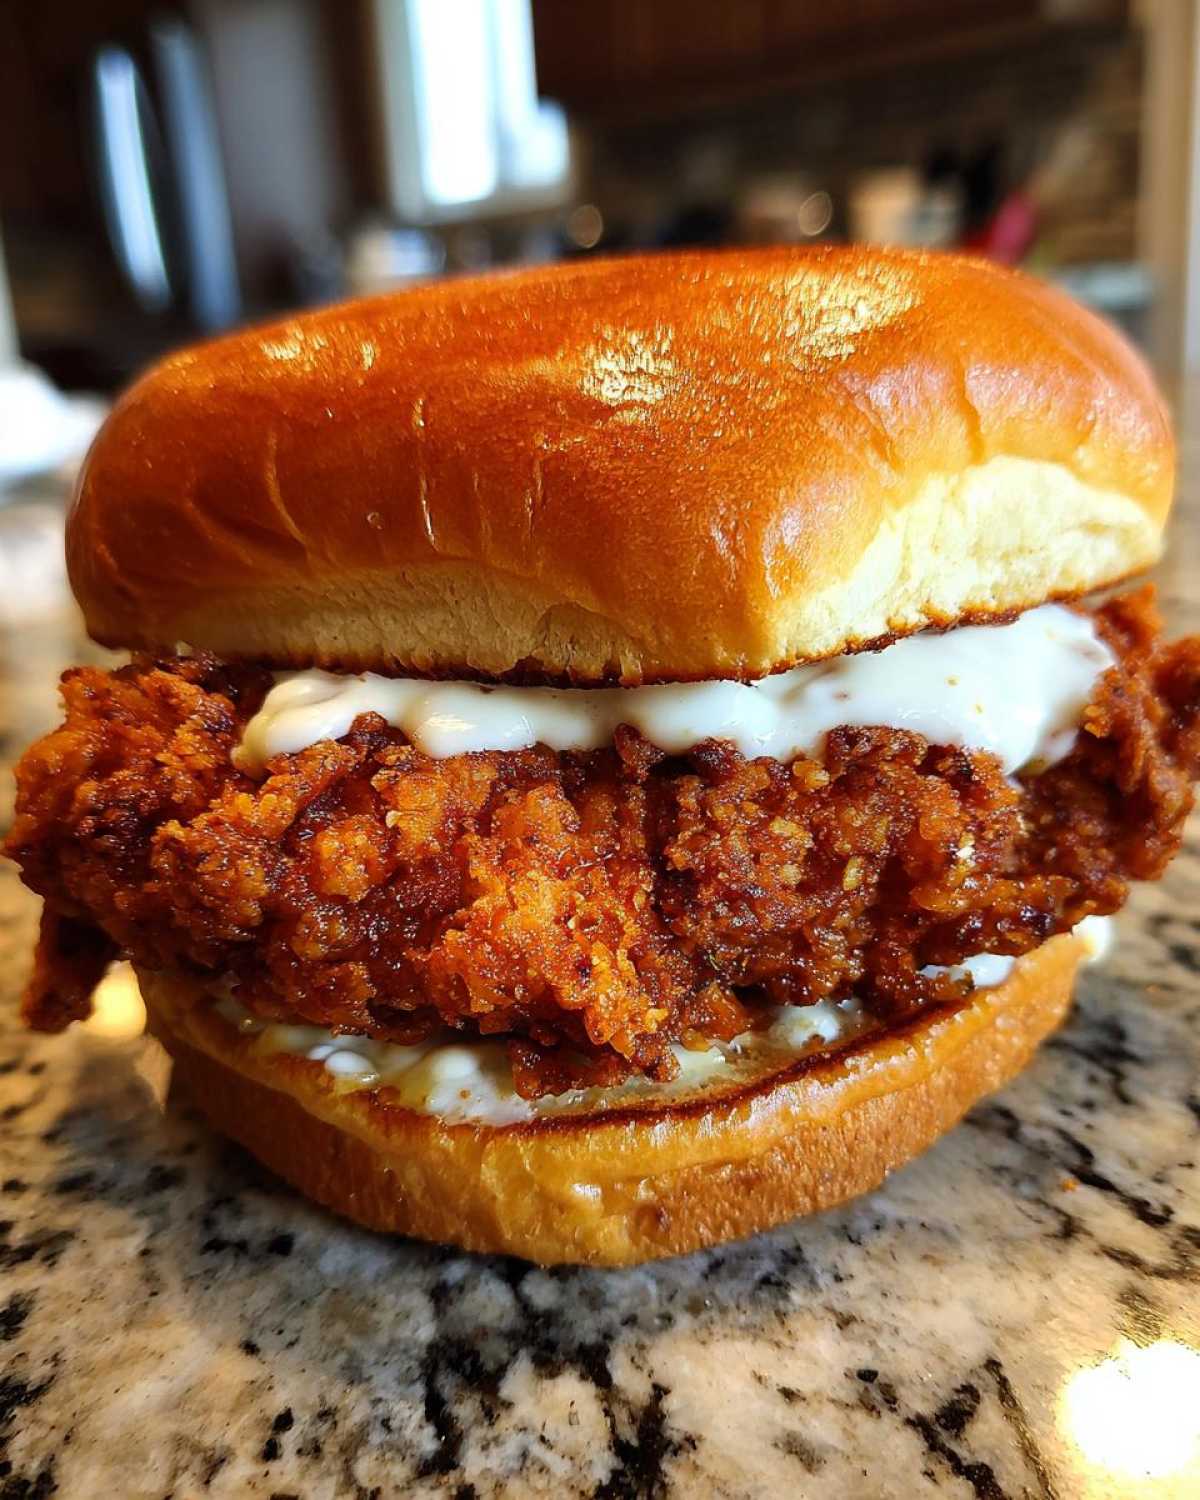
Tips for Success Making Your Restaurant Style Chicken Sandwich
I learned the hard way that even with the right ingredients, one small slip-up can ruin the texture of our beautiful Crispy Chicken Sandwich with Garlic Sauce. If you want that textbook, Restaurant Style Chicken Sandwich crunch every single time, you have to treat your frying oil like gold. Don’t just guess the temperature; use a thermometer! That first fry at 325°F is gentle cooking, and the second fry at 375°F is quick crust hardening. If your oil is too cold on the second round, the crust soaks up grease instead of crisping!
Remember when I told you to press the flour mixture onto the chicken? Do it again—press it hard! You want that uneven, craggy coating that breaks up in the fryer into crunchy little spikes. Those spikes are your crunch insurance. If it looks too neat going into the oil, it’s going to be too flat coming out!
Also, airflow is your friend when you pull the chicken out. Never put hot, oily chicken directly onto a plate or—heaven forbid—into a paper towel stack. That traps steam, and steam equals soggy crust. Always use a nice wire rack, like the one you’d use for cooling cookies. Speaking of amazing flavors, if you ever need a show-stopping dipping option for appetizers, check out this recipe for Cowboy Butter Dipping Sauce!
Finally, promise me you’ll keep the sauce and the chicken separate until the very last minute. If you pre-dress the chicken, even the best double-fried crust will start to weep under the moisture of the Homemade Garlic Sauce. We want that beautiful creaminess to hit the tongue at the exact same moment the crust shatters. That’s how you achieve perfection!
Ingredient Notes and Substitutions for Your Homemade Garlic Sauce Sandwich
I get asked all the time: “What if I don’t have buttermilk?” Don’t panic! That amazing marinade needs that acidity to work its magic on the chicken fibers, but if your fridge is empty, you can make a quick substitute. Just take regular milk—about a cup—and add a tablespoon of white vinegar or lemon juice to it. Stir it gently and let it sit for about five minutes until it looks slightly thickened and curdled. That’s your buttermilk stand-in for the Buttermilk Marinated Chicken!
Now, let’s talk about turning this into a Spicy Crispy Chicken Sandwich. If you’re feeling brave, double down on the heat in the dredge! I suggested half a teaspoon of cayenne pepper, but if you want real fire, go ahead and add a full teaspoon or even stir in a dash of your favorite chili powder along with the paprika. That spice builds right into that crunchy layer, making the whole eating experience so much more exciting.
What about the garlic sauce? Since that’s what makes this such a fantastic Homemade Garlic Sauce Sandwich, you want it perfect. If you hate chopping garlic finely (and I don’t blame you, minced garlic can be messy!), you totally have the option to use jarred minced garlic, but honestly, the fresh stuff has a cleaner bite. If you’re out of mayo, you can try using softened cream cheese mixed with a little water to thin it down for a thicker Creamy Garlic Sandwich Spread, but you’ll lose some of that classic, tangy aioli flavor. It’s a trade-off, but sometimes we just gotta cook with what we have!
Storage and Reheating Instructions for Leftover Crispy Chicken Sandwich with Garlic Sauce
Look, I hope you don’t have leftovers because this Crispy Chicken Sandwich with Garlic Sauce is almost impossible to stop eating when it’s fresh. But if you do manage to save a fillet or two, we need to treat them right. The golden rule here, my friend, is storage separation! Never, ever store the assembled sandwich together.
The enemy of crunch is moisture, and the garlic sauce is delightfully moist. You must store the crispy chicken fillet completely separate from the toasted bun and, most importantly, the Homemade Garlic Sauce Sandwich. Wrap the chicken tightly in paper towels, then place it in a zip-top bag. Keep the sauce in a small, airtight container in the fridge. It will last you three, maybe four days, max!
The Right Way to Reheat Your Crunchy Chicken
If you try to microwave this, I will absolutely track you down. Microwaves steam the crust, and you end up with warm, soggy disappointment. We need that texture back. Your best friends for reheating are the oven or—even better—the air fryer.
For the oven, preheat it nice and hot, around 400°F (200°C). Place the cold chicken directly on a wire rack set over a baking sheet—again, air circulation is key! Slide it in for about 8 to 10 minutes. This helps dry out the crust and brings the inside back to a safe heat without overcooking it.
If you have an air fryer, you’re lucky! Seriously, if you’re interested in mastering other fast reheat items, check out my guide on how to air fryer frozen shrimp without thawing—the principle is the same: high heat and speed!
Set your air fryer to 375°F (190°C) and cook the chicken for about 5 minutes, flipping halfway through. It comes out incredibly close to fresh. It’s magic, I tell you!
Reassembling Your Sandwich for the Second Best Crunch
Once your chicken fillet is piping hot from the oven or air fryer, it’s time to rebuild. Toast those brioche buns again quickly—just 30 seconds cut-side down in a dry pan will wake them up nicely. Then, generously spread your reserved Creamy Garlic Sandwich Spread on both halves, place the hot chicken on the bottom, and top it off. You’ll have successfully rescued your Perfectly Crunchy Chicken!
Frequently Asked Questions About the Crispy Chicken Sandwich with Garlic Sauce
I always get stuck on the details too until I just go for it! Here are the questions I hear most often when people are ready to tackle making their own batch of the Crispy Chicken Sandwich with Garlic Sauce at home. It’s usually about managing the frying, since that’s the trickiest part!
Can I bake or air fry the chicken instead of frying for this Crispy Fried Chicken Sandwich Recipe?
Oh, I know sometimes deep frying just isn’t an option, and I totally get that! You absolutely *can* bake or air fry this chicken. However, I have to be honest: you won’t get that shatteringly crisp texture we worked so hard for with the Double Fried Chicken Technique. Baking will result in a crispier crust than microwaving, but it won’t have the same bubble structure or hold up as well to the sauce.
If you must bake, you’ll want to spray the breaded chicken heavily with oil and bake it at 400°F (200°C) until done, maybe flipping halfway. For the air fryer, use the setting suggested in the earlier section for reheating—it’s your best bet for mimicking the crunch without the deep oil bath. It’s still going to be a yummy chicken filing, just not quite the same experience as the Ultimate Crispy Chicken Meal we perfected here.
How far in advance can I make the Homemade Garlic Sauce?
This is great news for people who like to prep ahead! The Homemade Garlic Sauce is actually better if it has time for those fresh garlic flavors to mingle with the Dijon and lemon juice. You can happily mix up the entire batch of the Creamy Garlic Sandwich Spread about 3 days before you plan to eat your sandwiches.
Keep it covered tightly in a small container in the refrigerator. When you’re ready to assemble, just give it a quick stir, and it’s ready to go! Having that ready means your assembly process is super quick once the chicken is out of the fryer. You can even check out some more great flavor bases in my blog section for spreading onto your buns!
Why do I need cornstarch for the breading anyway?
That little bit of cornstarch mixed into the flour is like a cheat code for crunch! Regular flour can sometimes get a little heavy or dense once it hits the hot oil, especially because our chicken is already so juicy from the buttermilk. The cornstarch helps keep the crust lighter and gives it those extra flaky bits that brown up perfectly during the second fry. It’s a critical part of creating that signature Perfectly Crunchy Chicken crust!
Estimated Nutritional Data for Your Ultimate Crispy Chicken Meal
Okay, let’s get real for a second. We are making a restaurant-quality, double-fried, creamy-sauced chicken sandwich. It’s going to be indulgent, and honestly, that’s why it tastes so amazing! We have to talk about the numbers, though. Keeping track of nutrition is smart, even when we’re enjoying the Ultimate Crispy Chicken Meal!
The data below is based on the exact recipe breakdown—that means one sandwich made with the brioche bun, the full amount of garlic sauce, and one piece of that glorious chicken fillet. Keep in mind, these numbers are always estimates, so they can swing a little depending on the specific brand of mayo or the size of your chicken piece.
- Serving Size: 1 sandwich
- Calories: 650
- Fat: 38g
- Saturated Fat: 7g
- Carbohydrates: 45g
- Protein: 35g
- Sugar: 8g
- Sodium: 1100mg
See that sodium? That comes largely from the marinade seasonings and the brine effect of the buttermilk, which is necessary for flavor, but it’s good to know where it’s coming from! If you want a deeper dive into all my disclaimers about recipe nutrition and why values change, you can read my full breakdown right here. We’re all about transparency when we make the best Crispy Chicken Sandwich with Garlic Sauce!
Even with those numbers, that crunch combined with the fresh garlic sauce makes every single bite worth it. Enjoy this sandwich knowing you made it perfectly from scratch!
PrintCrispy Chicken Sandwich with Garlic Sauce

Follow these steps to make a restaurant-quality crispy chicken sandwich featuring a double-fried fillet and a homemade creamy garlic sauce.
- Prep Time: 20 min
- Cook Time: 25 min
- Total Time: 4 hr 45 min
- Yield: 4 servings
- Category: Main Course
- Method: Frying
- Cuisine: American
- Diet: Low Fat
Ingredients
- 2 boneless, skinless chicken breasts, halved horizontally
- 2 cups buttermilk
- 1 tablespoon hot sauce
- 3 cups all-purpose flour
- 1/2 cup cornstarch
- 2 teaspoons salt
- 1 teaspoon black pepper
- 1 teaspoon paprika
- 1 teaspoon garlic powder
- 1/2 teaspoon cayenne pepper
- Vegetable oil, for frying
- 4 brioche buns
- Butter, for toasting
- For the Garlic Sauce:
- 1 cup mayonnaise
- 4 cloves garlic, minced finely
- 1 tablespoon lemon juice
- 1 teaspoon Dijon mustard
- Pinch of salt and pepper
Instructions
- Pound the chicken halves to an even 1/2-inch thickness. Place the chicken in a bowl, cover with buttermilk and hot sauce, and marinate in the refrigerator for at least 4 hours or overnight.
- In a shallow dish, whisk together the flour, cornstarch, salt, pepper, paprika, garlic powder, and cayenne pepper.
- Remove chicken from the marinade, letting excess drip off. Dredge each piece thoroughly in the flour mixture, pressing firmly to coat.
- Heat about 2 inches of vegetable oil in a deep skillet or Dutch oven to 325°F (160°C).
- Fry the chicken in batches for 5 to 6 minutes until lightly golden. Remove and place on a wire rack. Increase oil temperature to 375°F (190°C).
- Return the chicken to the hot oil and fry a second time for 2 to 3 minutes until deep golden brown and extremely crispy. Drain on a clean wire rack.
- While the chicken rests, prepare the sauce: Combine mayonnaise, minced garlic, lemon juice, Dijon mustard, salt, and pepper in a small bowl. Mix well.
- Lightly butter the cut sides of the brioche buns and toast them in a dry pan over medium heat until golden brown.
- Assemble the sandwich: Spread a generous amount of garlic sauce on both the top and bottom buns. Place one crispy chicken fillet on the bottom bun. Add any desired toppings like pickles or lettuce. Place the top bun on the sandwich.
Notes
- For the crispiest result, ensure the oil temperature is correct for the second fry; this cooks the crust quickly without overcooking the chicken.
- You can substitute mayonnaise with Greek yogurt for a slightly lighter garlic sauce base.
- Use a meat thermometer to check the internal temperature of the chicken; it should reach 165°F (74°C).
Nutrition
- Serving Size: 1 sandwich
- Calories: 650
- Sugar: 8
- Sodium: 1100
- Fat: 38
- Saturated Fat: 7
- Unsaturated Fat: 31
- Trans Fat: 0.5
- Carbohydrates: 45
- Fiber: 2
- Protein: 35
- Cholesterol: 120