

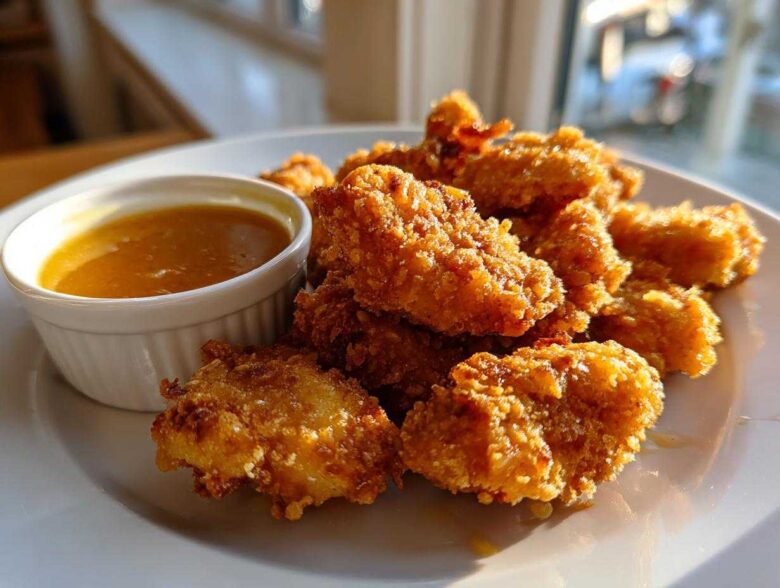
Forget those sad, frozen squares you microwaved as a kid—we are serious about crunch here! I spent way too much time perfecting the crust on these so they rival any drive-thru order, but better, fresher, and totally homemade. Trust me, achieving restaurant-quality crispiness at home isn’t some huge mystery; it’s all about mastering that breading station, and I’ll walk you through my secrets step-by-step. Once you nail this coating method, you won’t ever look back!
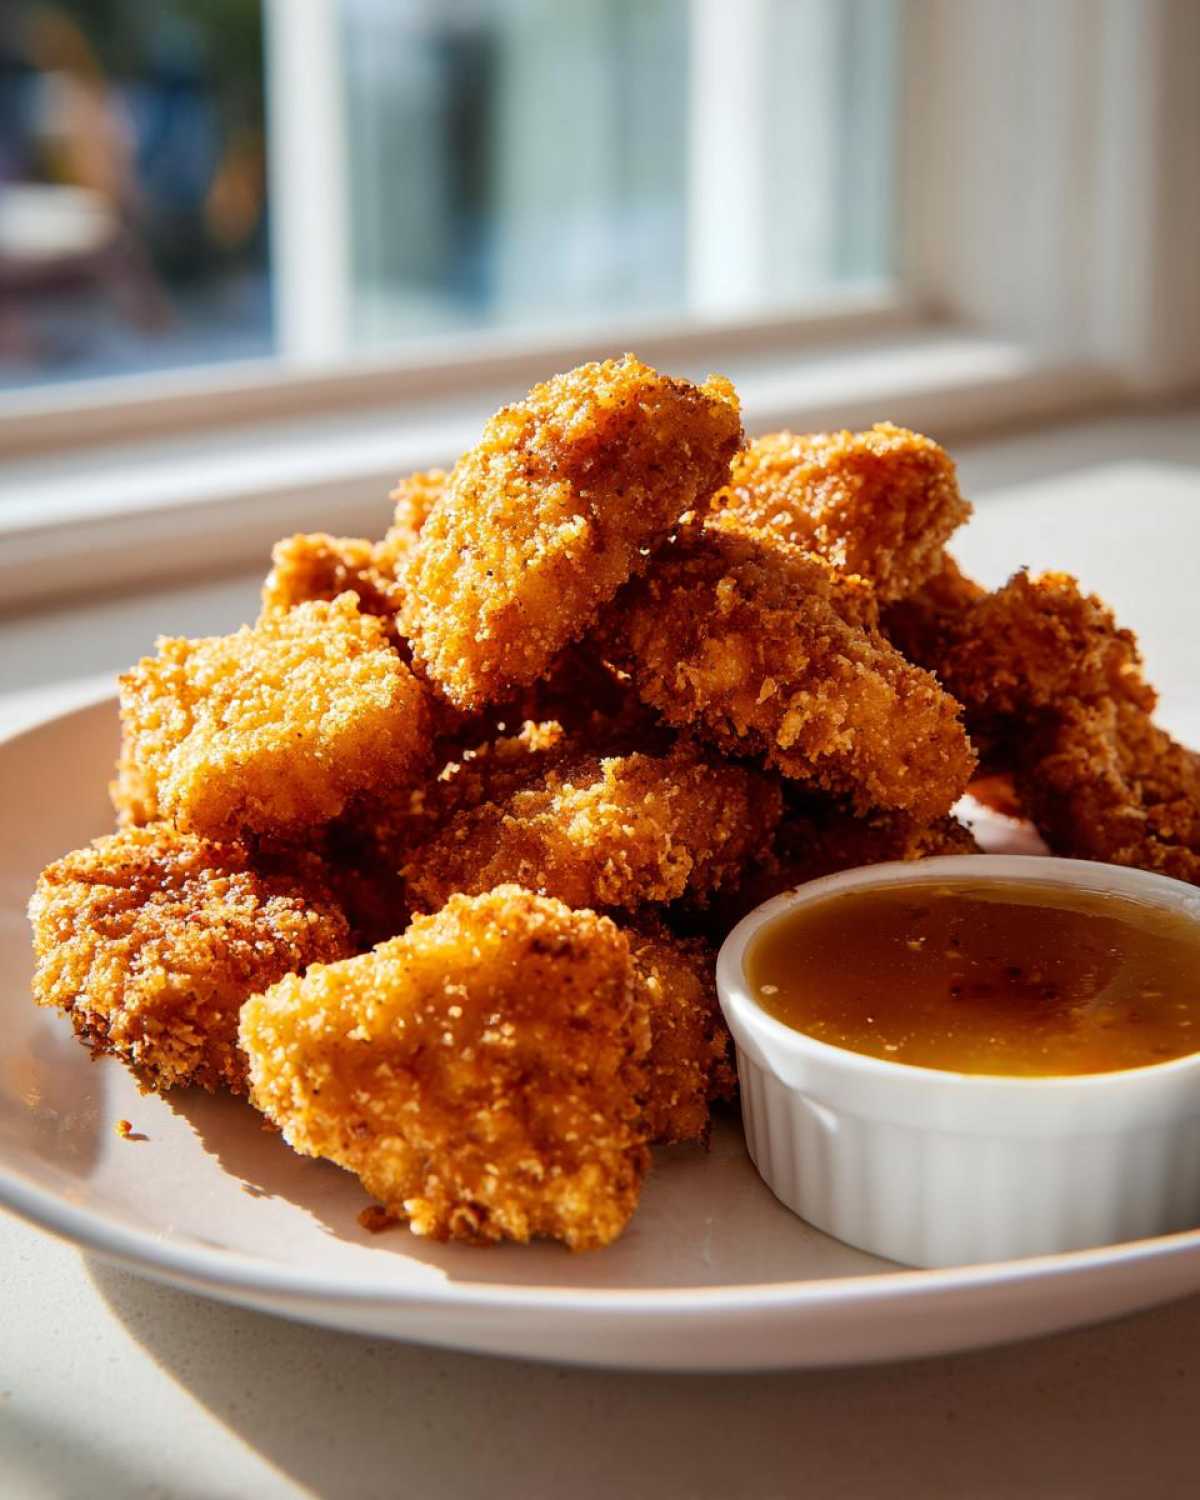
Why You Will Make These Crispy Chicken Nuggets with Honey Garlic Dip
Why bother with takeout when you can make these better right in your own kitchen? Seriously, these are a total winner. I promise you’ll be making batches weekly!
- The crunch is unbeatable—we’re talking seriously Crispy Chicken Nuggets with Honey Garlic Dip that won’t get soggy instantly.
- It’s surprisingly fast! Prep takes about 20 minutes, so it’s perfect for a quick weeknight dinner.
- That Honey Garlic Dip is pure sticky, sweet perfection that you’ll want to put on everything.
- You get to control everything—meaning they’re way healthier than the fast-food versions!
Gathering Ingredients for Crispy Chicken Nuggets with Honey Garlic Dip
Okay, before we get to the frying or air frying part—which is wild fun, by the way—we need to gather our players. This recipe is straightforward, but the ingredients are chosen very specifically for that ultimate crunch factor that makes these Homemade Chicken Nuggets Recipe shine. Don’t substitute the Panko breadcrumbs unless you absolutely have to; they are the secret weapon here!
Ingredients for the Perfectly Crispy Coating and Chicken
You’ll need about 1.5 lbs of boneless, skinless chicken breast, cut right down into nice, dippable 1-inch pieces. For our three-step breading process, grab 1 cup of all-purpose flour. Make sure you have 2 large eggs, beaten well, and then the real texture magic: 1.5 cups of panko breadcrumbs. Don’t forget to add your salt, pepper, and garlic powder right into that flour mixture!
Ingredients for the Easy Honey Garlic Sauce
This sauce comes together on the stovetop in minutes while you’re coating the chicken pieces. We need the sweetness from 1/2 cup of honey, the savory depth from 1/4 cup of soy sauce, and that essential tang from 2 tablespoons of apple cider vinegar. For the best punch of flavor, mince up 1 tablespoon of fresh garlic—it really makes a difference compared to the powder. And one last little bit of zest: 1 teaspoon of finely grated fresh ginger. That tiny bit of heat really cuts through the sweetness!
Step-by-Step Instructions for Crispy Chicken Nuggets with Honey Garlic Dip
Alright, this is where the magic happens! Making these Crispy Chicken Nuggets with Honey Garlic Dip requires three distinct phases: getting ready to coat, making that incredible sauce while the nuggets are waiting patiently, and then choosing your cooking adventure. Organization is your best friend here, so let’s dive into getting those gorgeous chicken pieces perfectly breaded.
Setting Up the Breading Stations
We need three shallow dishes ready to go. Dish one gets your seasoned flour mixture—don’t forget that salt and pepper! Dish two is just the beaten eggs. And dish three? That’s your Panko breadcrumbs; they absolutely need their own space to shine. Now, for the dredging technique: take one piece of chicken, give it a good dunk in the flour (shake off any excess—we don’t want the coating to be too thick!), then dip it into the egg, letting it drip for just a second. Finally, press it firmly into the Panko until it’s completely coated. Lay those beauties out on a wire rack when they’re done!
Creating the Sticky Honey Garlic Glaze
While you are busy dredging, throw your honey, soy sauce, vinegar, minced garlic, and ginger into a small saucepan. Put that over medium heat and just stir it occasionally. You want it to bubble up and simmer gently for about three to five minutes. You’ll see it start to look a little thicker and stickier—that’s perfection! Once it coats the back of a spoon, take it right off the heat. It’s going to thicken up even more as it cools down, and remember, you can find more dipping recipe ideas here: easy homemade garlic breadsticks recipe.
Cooking Methods to Achieve Maximum Crispiness
Now you have to choose how you want the final crunch. If you’re deep frying, heat your oil to 350°F and cook in small batches for maybe three to four minutes until they are golden brown all over and cooked through. For the Air Fryer Crispy Chicken lover in you, preheat that baby to 380°F. Give your nuggets a light spray with oil, and cook for about 10 to 12 minutes, flipping halfway through so both sides get really golden. If you’re baking at 400°F, expect that to take closer to 20 minutes, and make sure you flip them halfway through so they crisp up evenly on the baking sheet!
Tips for the Best Chicken Nugget Coating
If you ask me, the absolute biggest tragedy in home cooking is a soggy bit of fried chicken. No one wants that gummy outer layer! The key to getting that Perfectly Crispy Coating, whether you bake, fry, or air fry, starts right here in the breading line. I’ve learned that the Panko breadcrumbs are non-negotiable for this recipe. When I tried using regular fine breadcrumbs years ago, the texture just didn’t hold up; it got dense instead of flaky. Panko creates those beautiful little shards that get impossibly crisp.
Now, listen up, especially if you are going the oven or air fryer route, because this little trick saves the day. Remember that tip about lightly spraying the breaded nuggets with cooking oil? You absolutely must do this! It mimics the effect of hot oil in a fryer. It browns those Panko edges beautifully and locks in the crunch. If you’re baking at 400°F, a good, light coat of spray ensures everything cooks evenly. You can check out my go-to wing method for similar crisping secrets here: crispy air fryer chicken wings easy.
Another thing people sometimes rush is getting that coating to stick. Make sure you press that panko onto the egg-washed chicken firmly! You’re not being rough, just gently pressing so the crumbs grab hold of the egg wash before they hit the heat. A good, firm initial press means fewer lost crumbs during cooking, and a thicker, sturdier crust to protect that juicy inside!
Ingredient Notes and Substitutions for Crispy Chicken Nuggets
I get so many questions about swapping things out, and honestly, I want everyone to be able to make these! While I insist the recipe, as written, gives you the very best results, sometimes we just have to work with what’s in the fridge, right? My rule of thumb is: taste, texture, and substitution. If you can keep those three things in mind, you’ll be fine.
First off, let’s talk chicken meat. We used boneless, skinless breast because it’s lean and keeps things simple, making these a great choice for healthy chicken nugget alternatives. But if you want richer flavor and a juicier nugget—shhh, don’t tell the kids—you can totally swap in boneless, skinless chicken thighs. They have a little more fat, which keeps them tender even if you accidentally cook them a minute too long.
Now, the big one: gluten-free options! This is super easy to convert. Just swap out that all-purpose flour for your favorite gluten-free all-purpose blend. And just like we emphasized Panko for crispiness, you need to make sure you buy gluten-free Panko breadcrumbs. The gluten-free versions are out there now and they work almost identically to the regular kind. It seriously keeps this recipe accessible for everyone!
Regarding the dip, if you’re watching sugar intake, you can try using a sugar substitute mixed with honey for a lighter sweetness, or even skip the honey entirely and just use maple syrup for a different earthy flavor profile. Honestly, that soy sauce and vinegar base is what gives the dip its backbone!
Make Ahead and Storage for Your Homemade Chicken Nuggets Recipe
One of the best parts about making these at home is the sheer flexibility! I hate wasting food, and I absolutely love having ready-to-go snacks hiding in the freezer for emergencies. You can totally batch-prep these golden bites!
If you want to freeze them, you have to freeze them *before* they hit the hot oil or the air fryer. Once you’ve gone through the dredging station—flour, egg, Panko—lay those raw, breaded nuggets out on a baking sheet in a single layer. Make sure they aren’t touching. Pop that sheet into the freezer until they are rock solid, which usually takes about two hours. This creates your Make Ahead Frozen Nuggets!
Once they are solid blocks of frozen deliciousness, you can just transfer them into a heavy-duty freezer bag. When you want to cook them later, just toss them straight from the freezer into your air fryer or oven—no need to thaw! Just add about five to seven extra minutes to your cook time, depending on the method.
For leftovers, which is rare in my house because my kids devour them, you have to store them separately. Keep the leftover dipping sauce in an airtight container in the fridge; it lasts up to a week, and you can reheat it super gently on the stove or in the microwave if you like it warm. Check out my guide to freezer breakfast burritos for more freezer storage tips!
The cooked nuggets themselves are best eaten fresh, but if you have leftovers, don’t even think about the microwave! That is guaranteed sogginess. The best way to bring them back to life is to reheat them in a 375°F oven for about five minutes or pop them in the air fryer for three minutes. That little blast of heat reactivates that crunchy Panko coating!
Serving Suggestions for Crispy Chicken Nuggets with Honey Garlic Dip
Okay, we have the perfect nuggets, we have the heavenly dip, but what do we serve alongside them? These aren’t just for dipping and grabbing at a party, though they certainly are amazing for that! They make a fantastic meal centerpiece, especially when you’re cooking for hungry little humans. Believe me, these are absolute go-to Kid Friendly Dinner Ideas!
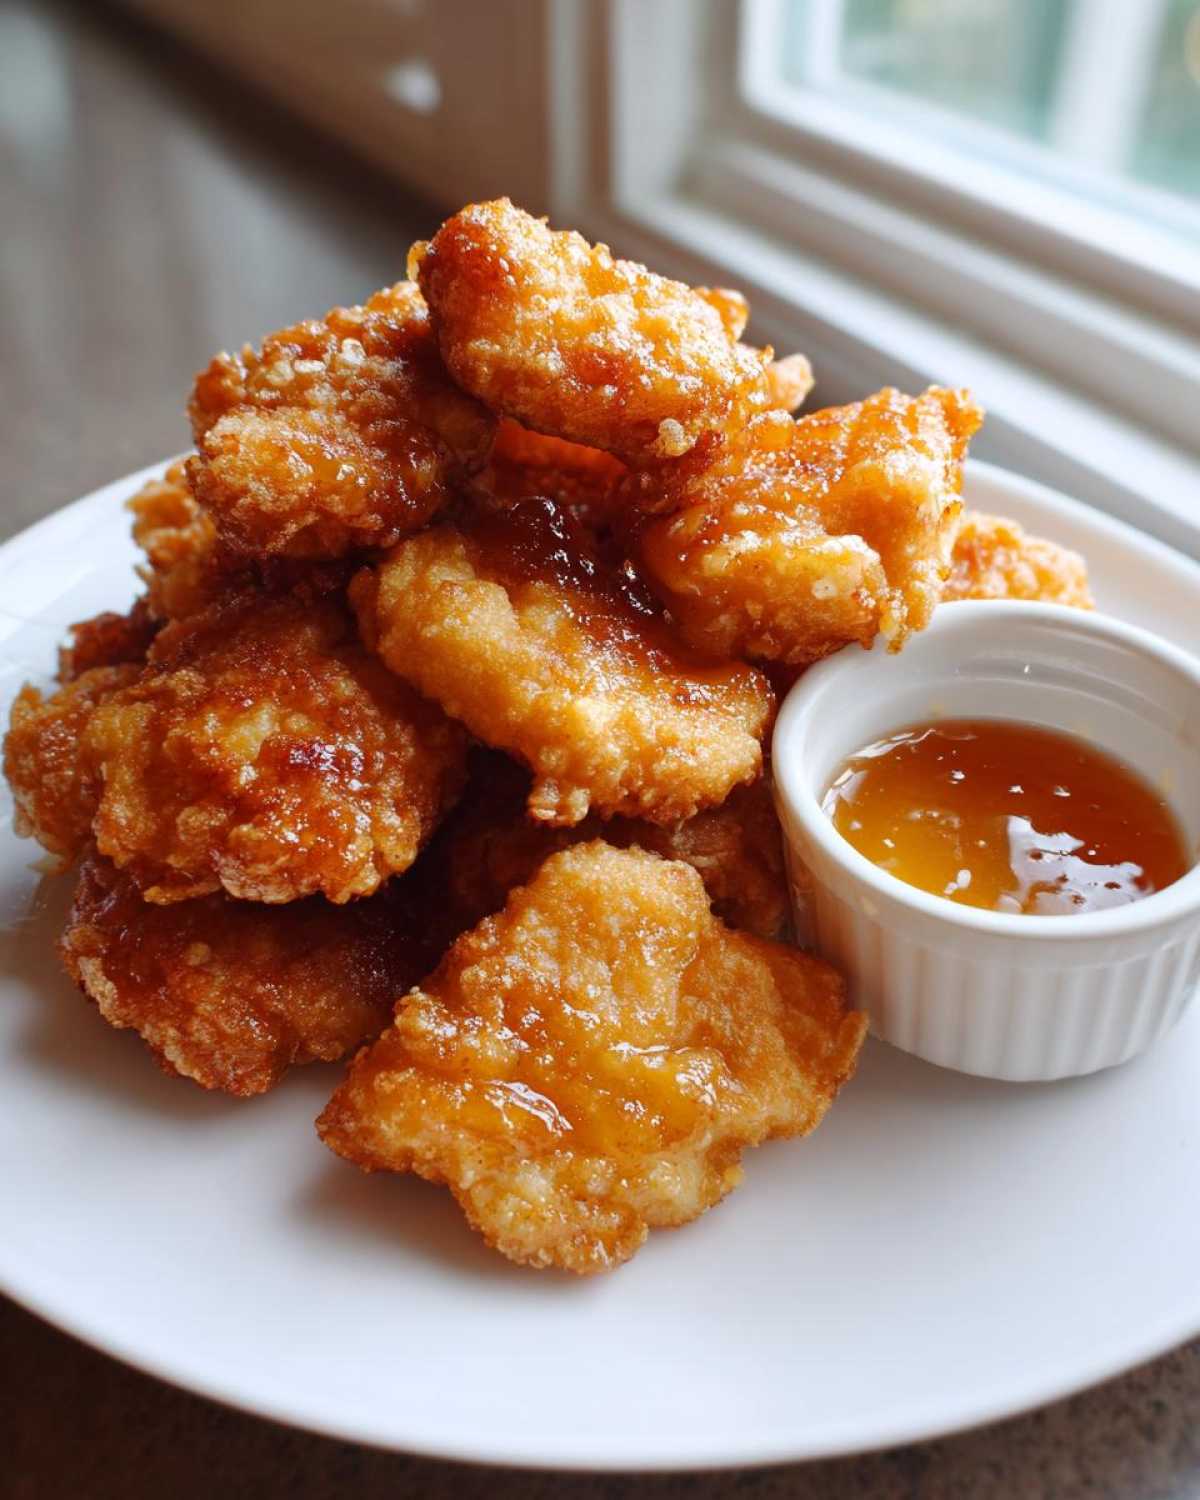
If you’re going for a full dinner plate, you need a couple of easy sides that don’t distract from the golden, crispy chicken. Fries are the obvious classic, baked or air-fried, of course! But if you want to sneak in a veggie, I highly recommend pairing these with something bright and slightly crunchy. Roasted vegetables are always my answer.
My family loves when I toss some broccoli florets with a little olive oil, salt, and garlic powder, then roast them right alongside the nuggets (or just after!). The broccoli gets these wonderful little charred edges that are almost as addictive as the nuggets themselves. You can find my favorite way to make them ultra-crispy right here: roasted broccoli garlic parmesan crispy recipe. It’s a simple side that elevates the whole plate.
For a party platter, serving these up with a few bowls of different dips is key. Of course, the honey garlic is the star, but have some creamy ranch or even a spicy sriracha mayo on the side for the adults who need a little extra kick! Pile them high on a platter, maybe garnish with some fresh parsley just for looks, and watch them disappear faster than you can fry the next batch!
Frequently Asked Questions About Crispy Chicken Nuggets
Everyone always has a few questions bubbling up when they try a new breading technique, and that’s totally normal! I’ve gathered the most common things people ask me about these nuggets and the dip below. Hopefully, this clears up whatever last-minute concerns you might have before you start cooking up this fantastic easy weeknight chicken meal!
Can I skip the egg wash entirely?
Oh, I totally understand if you’re out of eggs or dealing with an allergy! But here’s the tough love: skipping the egg is going to make things way harder for you. The egg is the glue! It’s the sticky bridge between the dry flour/Panko. If you skip it, your breading will fall right off when you fry or air fry. If you *really* can’t use an egg, you can try a slurry—mix a tablespoon of flour or cornstarch with two tablespoons of water until it’s smooth, and use that as your binder instead. It’s not quite as good as the egg, but it still helps!
How do I reheat them to keep them crispy?
This is probably my number one concern for leftovers! Never, ever, ever reheat these delicate nuggets in the microwave. It steams the breading and turns it instantly soggy. The secret to reviving that Perfectly Crispy Coating is dry heat. Use your oven—preheat it to about 375°F—and spread the cold nuggets on a wire rack over a baking sheet. Let them bake for about 5 to 7 minutes. If you have an air fryer, even better! Pop them in at 350°F for 3 minutes. That quick blast of high, dry heat works wonders to re-crisp them up!
What if I don’t have Panko breadcrumbs?
If you don’t have Panko, you’re going to miss out on that extra airy, flaky crunch that makes these taste restaurant-style. Regular fine breadcrumbs tend to pack down tighter, making the coating denser and sometimes dry. If Panko is truly unavailable, use regular breadcrumbs, but make sure you toast them lightly in a dry skillet first—this helps them crisp up better during cooking. You can also try crushing up some plain cornflakes very finely for a decent substitute crunch!
Can I use chicken thighs instead of breast meat?
Absolutely, yes! We use breast meat because it’s lean and what most people picture when they think of nuggets, but thighs are where the flavor hides, let’s be honest! If you use boneless, skinless chicken thighs, cut into 1-inch pieces, the resulting nugget will be richer, moister, and less prone to drying out, even if you cook them a little longer. They are fantastic for this recipe, so feel free to swap them out!
Can I make the Honey Garlic Dip ahead of time?
Yes, and I usually recommend it! The Easy Honey Garlic Sauce tastes fantastic when the flavors have had a chance to mingle for a few hours or overnight in the fridge. Just make sure that when you store it, it’s in an airtight container. Since it has a lot of sugar, it will thicken up quite a bit when cold. Before serving, just put it in a little saucepan over low heat and stir gently until it loosens up and becomes that beautiful, dippable glaze consistency again. It keeps wonderfully for up to a week!
Estimated Nutritional Data for Crispy Chicken Nuggets
Now, let’s talk real talk for a minute. I always try to be transparent about what we are eating when we make things from scratch like these Crispy Chicken Nuggets with Honey Garlic Dip. Since we are pan-frying these in oil—which gives us that unbeatable crunch—the fat content is higher than if you baked them plain, but wow, is it worth it for the texture!
Please remember that these numbers are just estimates, based on the ingredient amounts listed in the recipe and assuming you’re frying them up. If you stick to the air fryer settings or baking, your fat and calorie count will definitely drop down a bit! But for reference, here is what the standard serving provides:
- Serving Size: Roughly 5 nuggets served with 2 tablespoons of the dip.
- Calories: Approximately 350 per serving.
- Protein: Loads of it—around 25g!
- Fat: About 15g total, with only 3g being saturated fat.
- Carbohydrates: Right around 30g, thanks mostly to the coating and that sweet dipping sauce.
- Sugar: This is where the dip really steps in, clocking in near 25g.
- Sodium: We’re looking at about 550mg, mainly coming from the soy sauce in the glaze.
Cooking your own meals lets you see exactly where everything comes from. You can easily reduce the sodium by using low-sodium soy sauce in your dinner recipe, for instance! Enjoy every golden bite!
PrintCrispy Chicken Nuggets with Honey Garlic Dip

A recipe for making crispy homemade chicken nuggets served with a simple sweet and tangy honey garlic dipping sauce.
- Prep Time: 20 min
- Cook Time: 15 min
- Total Time: 35 min
- Yield: 4 servings
- Category: Dinner
- Method: Frying, Air Frying, or Baking
- Cuisine: American
- Diet: Low Fat
Ingredients
- 1.5 lbs boneless, skinless chicken breast, cut into 1-inch pieces
- 1 cup all-purpose flour
- 1 teaspoon salt
- 1/2 teaspoon black pepper
- 1/2 teaspoon garlic powder
- 2 large eggs, beaten
- 1.5 cups panko breadcrumbs
- 1/2 cup vegetable oil (for frying, adjust for air fryer/baking)
- For the Honey Garlic Dip:
- 1/2 cup honey
- 1/4 cup soy sauce
- 2 tablespoons apple cider vinegar
- 1 tablespoon minced garlic
- 1 teaspoon grated fresh ginger
Instructions
- Prepare the chicken: Place the flour, salt, pepper, and garlic powder in a shallow dish. Mix well.
- In a second shallow dish, place the beaten eggs.
- In a third shallow dish, place the panko breadcrumbs.
- Dredge each chicken piece first in the flour mixture, shaking off excess.
- Dip the floured chicken into the egg mixture, letting excess drip off.
- Coat the chicken thoroughly in the panko breadcrumbs, pressing gently to adhere. Place coated nuggets on a wire rack.
- Prepare the dip: Combine honey, soy sauce, apple cider vinegar, minced garlic, and ginger in a small saucepan.
- Heat the sauce over medium heat, stirring until it simmers and thickens slightly, about 3 to 5 minutes. Remove from heat.
- Cook the nuggets (Choose one method):
- Deep Fry: Heat oil to 350°F (175°C) in a deep skillet. Fry nuggets in batches for 3-4 minutes until golden brown and cooked through (internal temperature 165°F or 74°C). Drain on paper towels.
- Air Fry: Preheat air fryer to 380°F (195°C). Lightly spray nuggets with cooking spray. Air fry for 10-12 minutes, flipping halfway, until golden and crisp.
- Bake: Preheat oven to 400°F (200°C). Place nuggets on a lightly oiled baking sheet. Bake for 18-22 minutes, flipping halfway, until cooked through and crisp.
- Serve the hot nuggets immediately with the honey garlic dip.
Notes
- For extra crispiness when baking or air frying, lightly spray the breaded nuggets with cooking oil before cooking.
- If you want a gluten-free option, substitute the all-purpose flour with gluten-free flour blend and use gluten-free panko breadcrumbs.
- You can make the honey garlic dip ahead of time and store it in the refrigerator for up to one week. Reheat gently before serving.
Nutrition
- Serving Size: 5 nuggets with 2 tbsp dip
- Calories: 350
- Sugar: 25g
- Sodium: 550mg
- Fat: 15g
- Saturated Fat: 3g
- Unsaturated Fat: 12g
- Trans Fat: 0g
- Carbohydrates: 30g
- Fiber: 1g
- Protein: 25g
- Cholesterol: 80mg