

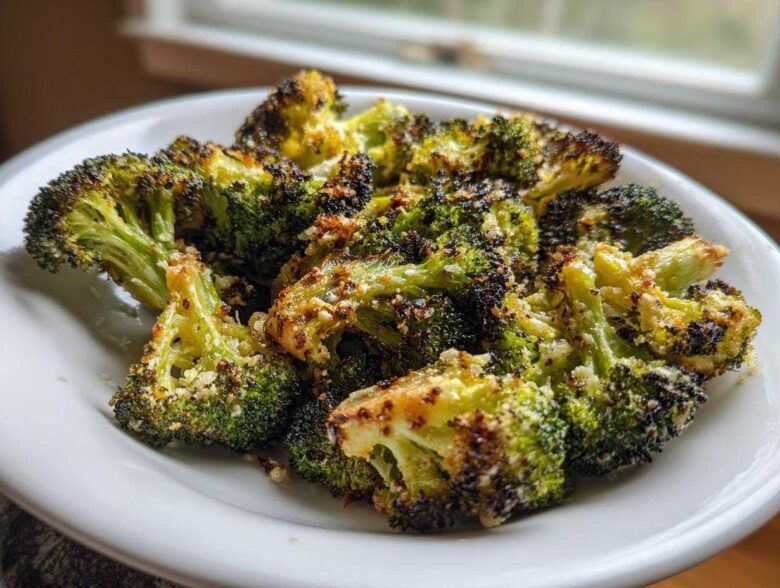
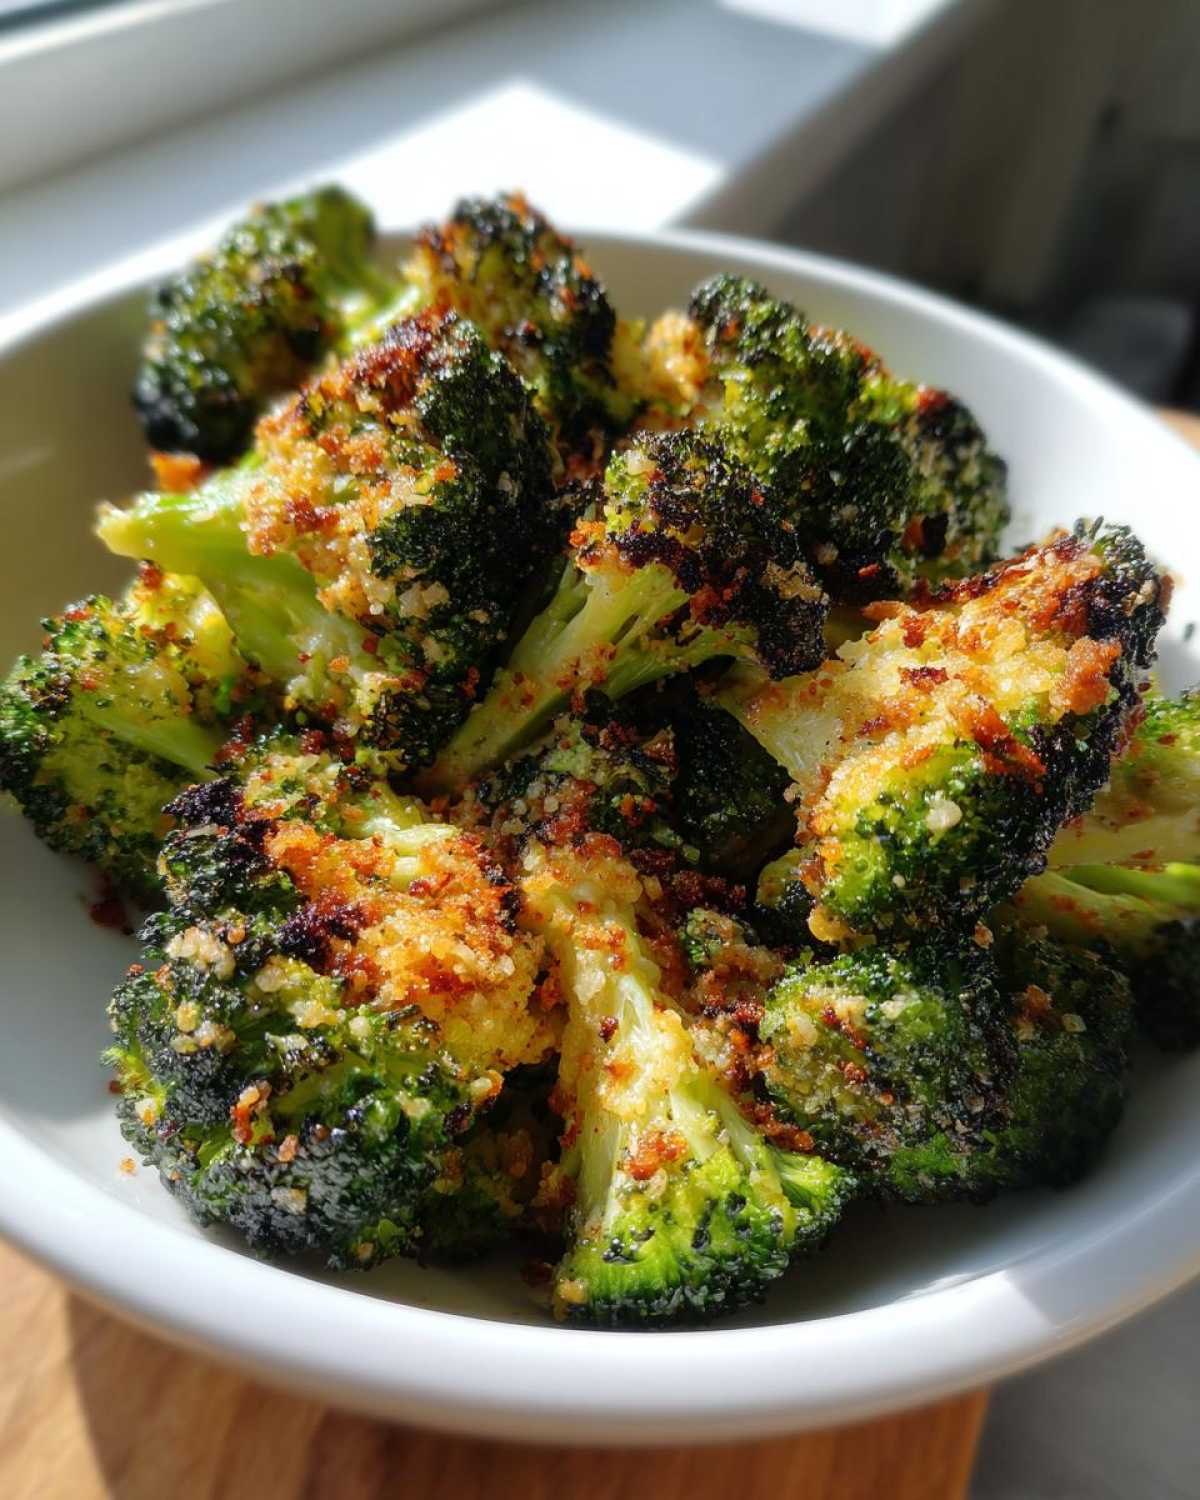
If your weeknight dinner routine involves staring blankly into the fridge wondering how vegetable side dishes can be both healthy *and* exciting, I totally get it. For the longest time, I treated cooking even a simple side like making dinner reservations—it seemed like too much effort for a guaranteed payoff. But then I found the magic of high heat, and suddenly, this roasted broccoli became the message I wanted to dispatch most often! Seriously, this recipe for The Crispiest Garlic Parmesan Roasted Broccoli hits every single mark: it’s packed with flavor, somehow perfectly crisp, and it’s genuinely ready to eat in under 30 minutes. When I was learning to cook, Liam always kept things reliable; this recipe is my adult version of that reliability. It’s so simple, I know you can deliver a perfect batch for your family tonight!
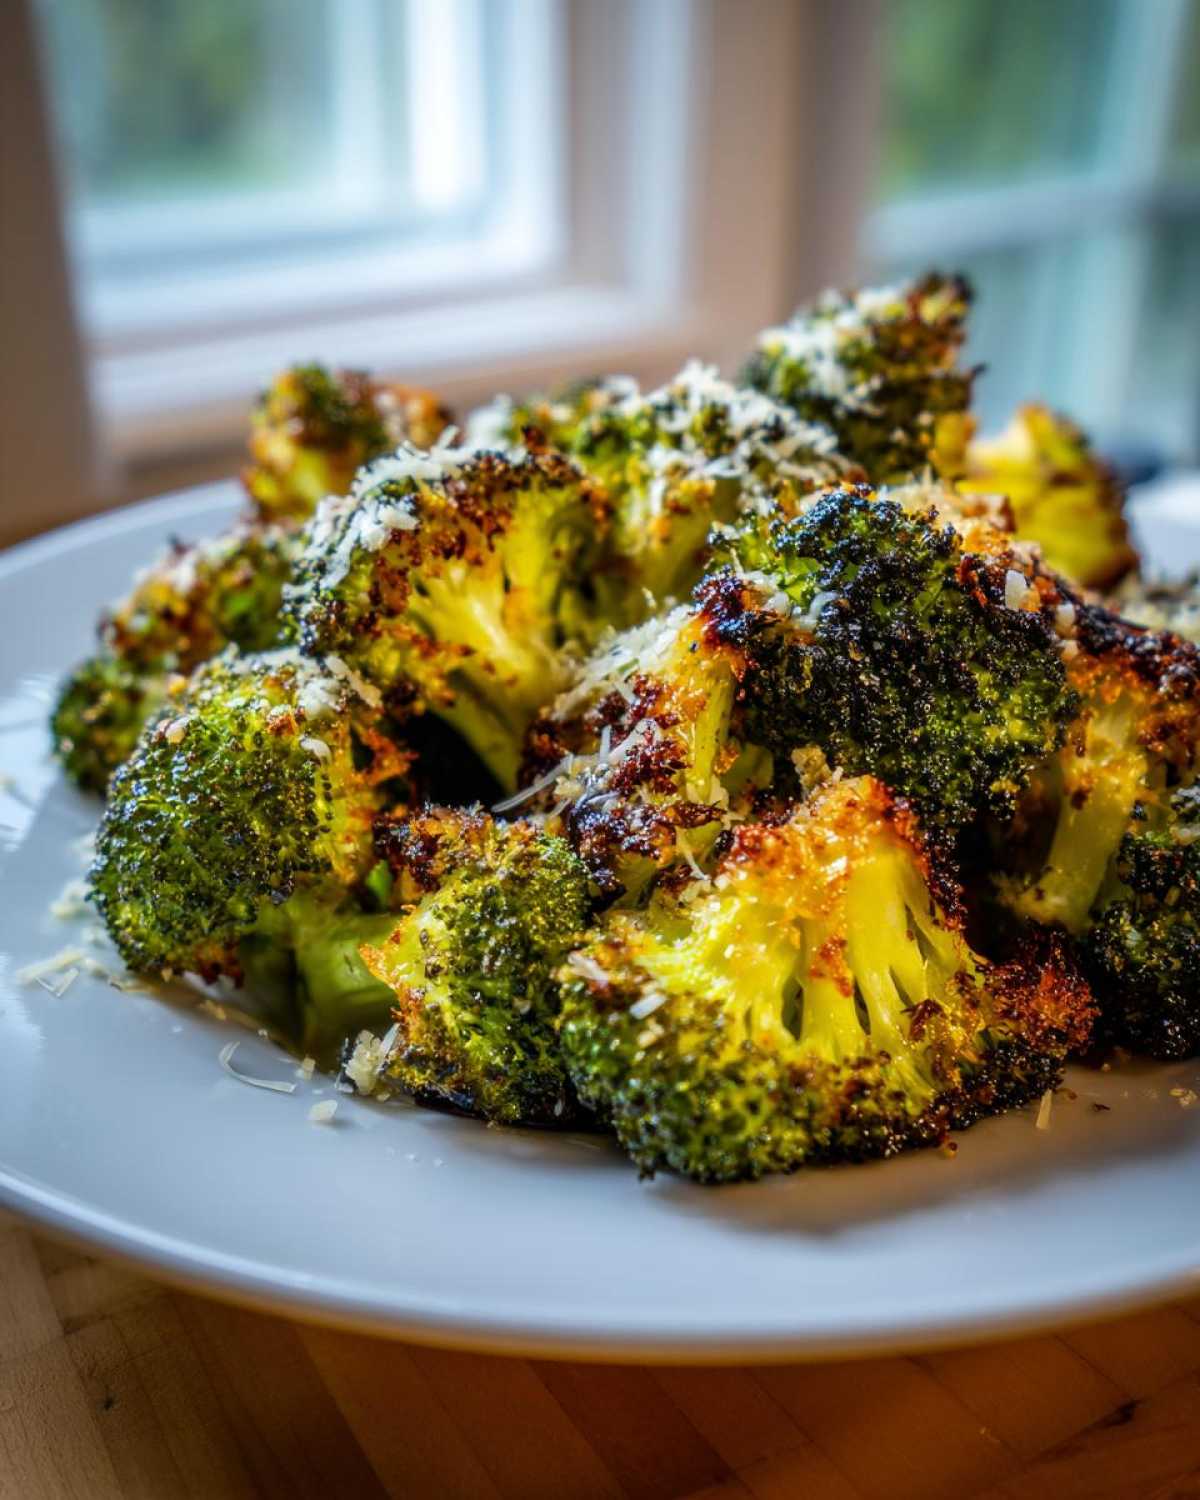
We created this site because we believe even the quickest vegetable dish should feel like a little gift, and this roasted broccoli packs a huge flavor punch without demanding your entire evening. If you want to know more about how we started sending these warm messages from our kitchen, you can always check out our story on the About Us page. Trust me, once you see those crunchy edges, you’ll never go back to steamed greenery again!
Why This Garlic Parmesan Roasted Broccoli is Your New Favorite Easy Broccoli Side Dish
When I was first trying to learn the kitchen basics, I always tripped up on timing. Things would burn on the outside before they were tender inside, or they’d get soggy waiting for the main dish to finish. That’s why this recipe for Garlic Parmesan Broccoli speaks my language as the perfect Easy Broccoli Side Dish. It’s straightforward, but it has a couple of secrets built right into the steps that guarantee success, even if you’re rushing home from work.
Liam calls it our secret weapon for making vegetables irresistible. Forget mushy broccoli forever! Here’s why this method always delivers what we want:
- It’s Actually Crispy: Truly golden, crunchy edges that put restaurant-quality sides to shame. No soggy centers here!
- Speedy Delivery: The entire process, from chopping to serving, is usually done in about 20 minutes. If you’re serving this alongside some juicy flavor-packed chicken, you’re set.
- Flavor Bomb: Garlic powder and Parmesan cheese melt together during that final roast, creating a savory, nutty crust that makes eating your greens feel like cheating.
Honestly, if you can toss something in a bowl, you can master this. It requires zero fancy technique, just high heat and patience while watching the magic happen!
Ingredients for the Crispiest Roasted Broccoli Recipe
When Liam first sent me this recipe—back when I was still unsure if I could cook raw vegetables without incinerating them—he kept the ingredient list short and simple. That’s the beauty of a truly excellent roasted broccoli recipe. You don’t need twenty things; you just need the right ones used correctly. Keep your Parmesan finely grated—that pre-grated container stuff works great here because it melts so evenly and contributes to the coating.
Make sure your broccoli heads are cut into nice, uniform florets. If some pieces are huge and others are tiny little hairs, they won’t cook at the same rate, and that ruins your crispy game! Remember, we are aiming for that perfect texture that makes this an easy broccoli side dish.
Ingredient Notes and Substitution Tips
Okay, let’s talk about moisture, because this is where most people accidentally sabotage their crunchy results. Even if you just washed your broccoli, pat those florets *really* dry with paper towels, seriously. Water creates steam, and steam means soggy, not crispy! Drying is absolutely crucial for success.
I usually stick with garlic powder because it disperses so nicely and doesn’t have a risk of burning before the broccoli browns. If you absolutely have to use fresh minced garlic, go ahead! Just hold off on adding it until the last five minutes of roasting, otherwise, it tends to turn bitter way too fast. That little bit of seasoning is what pushes this into the realm of delicious, flavorful roasting!
How to Prepare Perfectly Roasted Broccoli in the Oven
This is where the real game changes when it comes to making oven roasted broccoli. We are aiming for that sweet spot: tender on the inside and shatteringly crisp on the outside. First things first: crank that oven up! You want to preheat your oven to a solid 400 degrees Fahrenheit (that’s 200 degrees Celsius). High heat is your best friend here.
Line a big baking sheet with parchment paper—trust me, this is non-negotiable for easy cleanup later. Now, grab your large bowl and toss those dried broccoli florets with the olive oil, garlic powder, salt, and pepper. Make sure everything gets a nice, even coating. Seriously toss it like you mean it!
Next, the most important distribution step: spread that seasoned broccoli out onto your sheet pan. It *must* be in a single layer. If the pieces are crowding each other, they end up steaming instead of roasting, and we want that satisfying crunch we talked about. If you have to use two pans, please use two pans. After about 12 minutes, pull them out. Sprinkle that grated Parmesan cheese all over the top, toss it gently right there on the pan, and pop it back in for another 5 to 8 minutes. Watch it closely those last few minutes! When the edges look perfectly golden brown, take them out. If you are feeling fancy, a tiny drizzle of lemon juice right before serving brightens everything up wonderfully. You can pair this with my amazing garlic herb butter roasted chicken for an amazing weeknight dinner!
Tips for Achieving Incredibly Crispy Broccoli
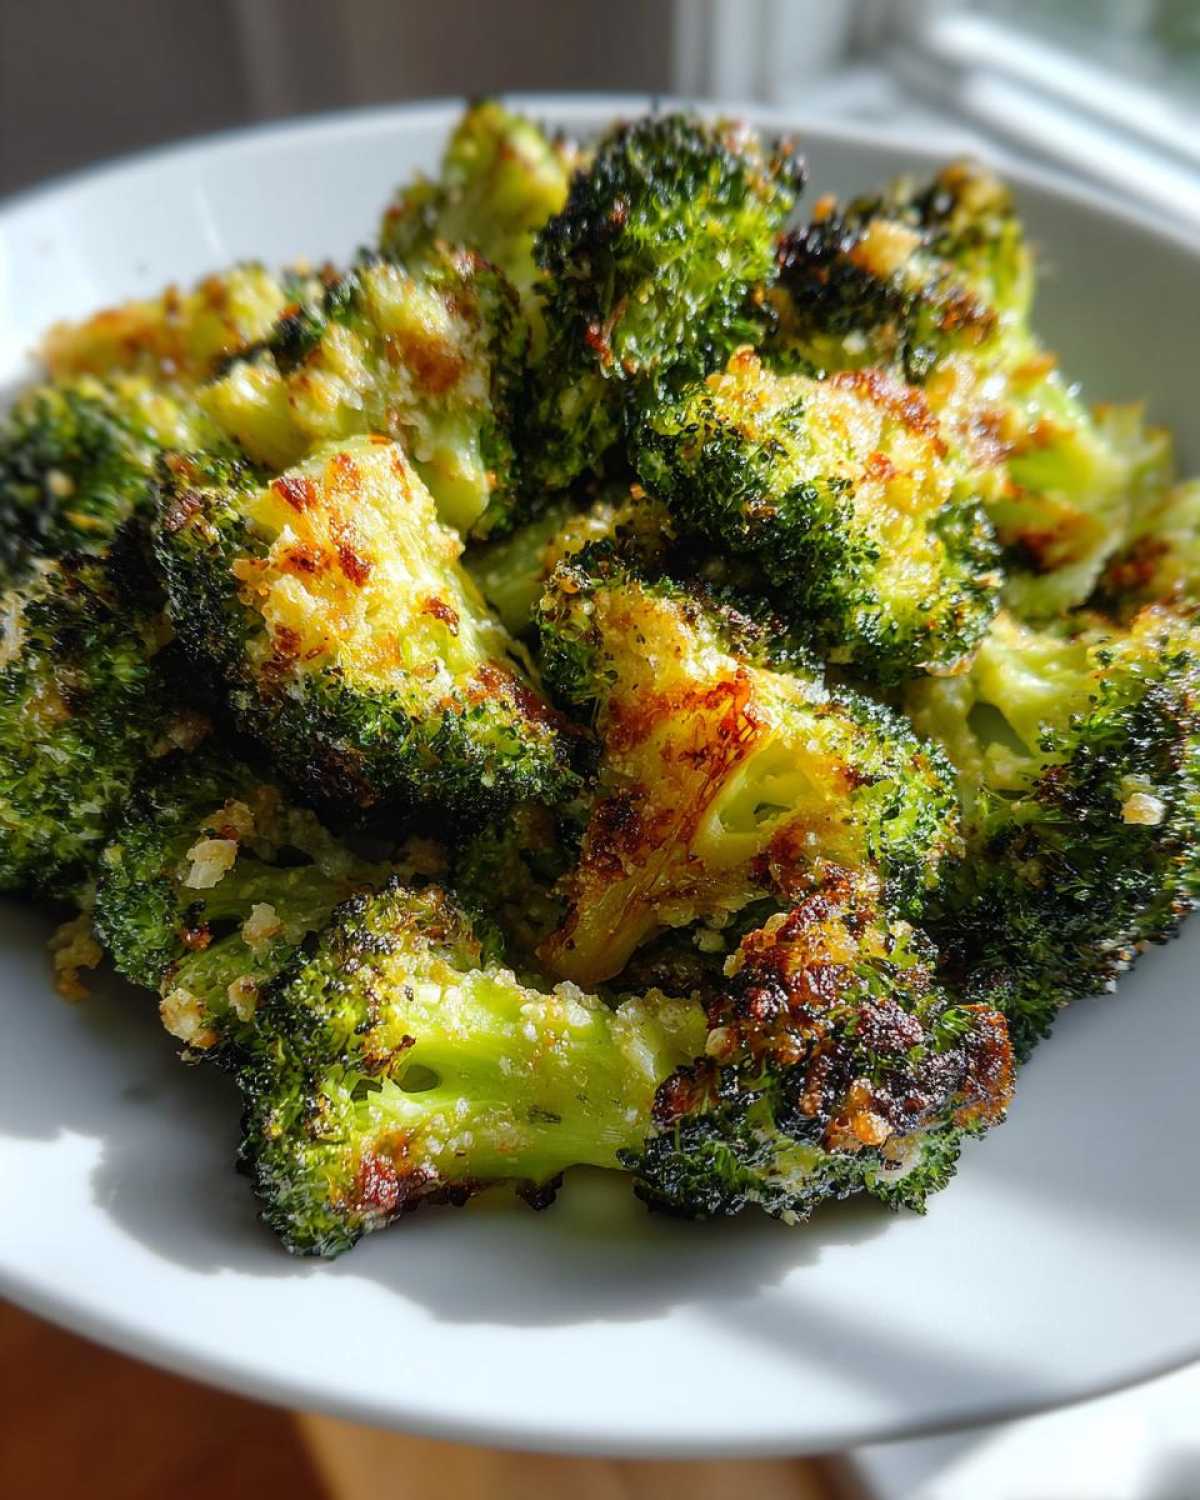
If your goal is truly incredibly crispy broccoli that your kids will fight over, you need to pay attention to these little details. It’s not complicated, but these are the steps that separate a good batch from an epic one.
First, I already mentioned drying the broccoli, but I can’t stress it enough—pat it completely dry after washing. Second, that single layer on the sheet pan is critical. It allows the hot air to circulate around every single floret, guaranteeing those crunchy bits where the edges meet the pan.
Finally, the Parmesan trick: Adding it halfway through roasting is genius. If you add it at the beginning, it burns; if you add it at the end, it doesn’t melt into that savory crust. Adding it in the last stage lets the heat turn the cheese golden brown and lightly toasted right as the broccoli finishes cooking. Follow these three rules, and you’ll have the best crispy broccoli recipe on your rotation, guaranteed.
Making Roasted Broccoli a Simple Dinner Side Dish
You know me, I’m all about efficiency in the kitchen because life gets busy fast. That’s why this recipe shines as one of my go-to Simple Dinner Sides. Since it comes together so quickly—think 10 minutes prep time—it’s perfect for busy weeknights when you absolutely need those quick roasted veggies on the table without sacrificing flavor.
Liam and I found ourselves making this constantly when we were working those crazy overtime hours. I’d throw this broccoli into the oven, and while it roasted, I could quickly sear us a piece of salmon or warm up some leftovers for him to eat. It’s practically foolproof! It pairs amazing with almost anything, from simple baked fish to something a little heartier like Salisbury steak. It takes your basic meal and immediately makes it feel like more effort was put in than actually happened. That’s the definition of a smart side dish, right?
Storage and Reheating Instructions for Your Roasted Broccoli
Even though this roasted broccoli is seriously tempting to eat all at once, it’s fantastic for leftovers! If you’re prepping ahead, this makes for the best Meal Prep Broccoli because it holds up so much better than steamed sides. Once it’s totally cool, stick any extras into a glass, airtight container. Keep it in the fridge for up to about four days. Seriously, try not to leave it longer than that for the best flavor.
Now, for reheating—this is important if you want that crispy texture back. Please, please, please avoid the microwave if you can. The microwave is the absolute enemy of crispy roasted vegetables! If you have an oven or an air fryer, use those. Just spread the broccoli on a sheet and reheat at 350°F (175°C) for about 5-7 minutes. It brings back that lovely little crunch! That way, your simple dinner side still feels fresh and delicious the next day.
Variations for Flavorful Roasted Vegetables
Once you master the basic technique for achieving super crispy roasted broccoli, the flavor possibilities feel endless! Liam always encourages me to switch things up so we don’t get bored, which is fair because we make this side dish so often. While the garlic and Parmesan combo is honestly unbeatable for a go-to, you can easily tailor this for whatever else you’re cooking.
The simplest flavor upgrade is leaning into that optional lemon juice mentioned in the ingredients list. Adding a squeeze right after it comes out of the oven brightens up the whole dish—it tastes lighter and fresher. If you like a little bit of heat, don’t hesitate to toss in about 1/4 teaspoon of red pepper flakes right along with the garlic powder at the beginning!
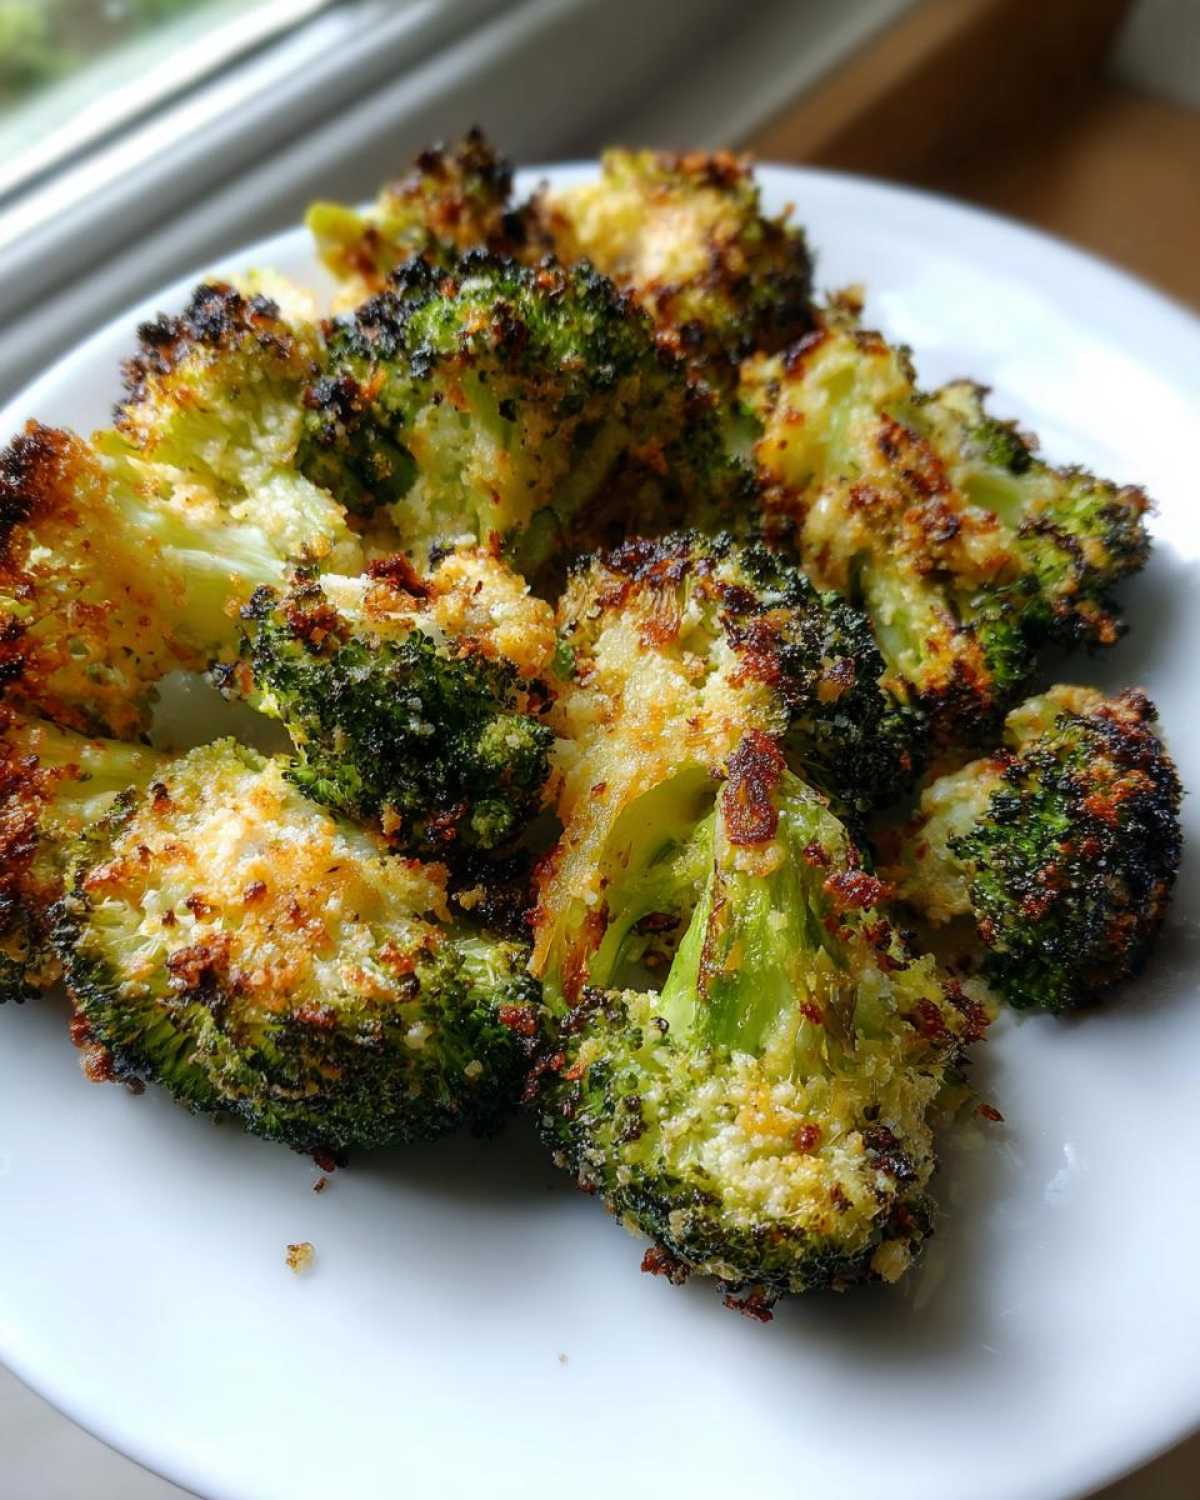
Another great idea is experimenting with fresh herbs. If you have some lovely fresh dill or maybe some chopped parsley, stir those in *after* the broccoli has cooled down a bit. It keeps the herbs vibrant green. If you want to see another one of my favorite green veggie recipes that uses this flavor base, check out my recipe for quick Broccolini with Lemon, Garlic, and Parmesan. It uses the same principles of high heat roasting, just with a slightly different texture.
Frequently Asked Questions About Oven Roasted Broccoli
Sometimes I get so into the flow of a recipe that I forget not everyone has my notes scribbled down! So, let’s cover a few speedy questions I get all the time, especially from readers who are just learning how to roast broccoli perfectly for the first time. These little details make all the difference between good, standard broccoli and the addictive, crispy stuff we’re aiming for.
Can I use fresh garlic instead of garlic powder in this roasted broccoli?
Oh, absolutely you can! Fresh garlic is wonderful, but you have to treat it gently because it has moisture and cooks faster than the powder. If you use fresh minced garlic, you should add it right in with the olive oil and spices *before* you put the sheet pan in the oven. I find that because we are roasting at such a high heat (400°F!), fresh garlic tends to brown way too quickly and can get a bitter edge before the broccoli is done. If you are worried about that, just toss the garlic in for the last 5 minutes of the *second* roasting stage. The flavor profile is slightly different, too; powder coats everything evenly, while fresh garlic gives you little pockets of intense, pungent garlic flavor!
What is the best temperature for crispy broccoli?
If you want those amazing, golden, crunchy edges, high heat is the absolute key. In this recipe, we stick firmly to 400 degrees Fahrenheit (200 degrees Celsius). Lower temperatures invite sogginess because the broccoli starts to steam rather than char. That intense heat causes the natural sugars in the vegetable to caramelize really fast—that browning process is what translates directly into flavor and crispness. Don’t be scared of the heat; just make sure your pan is lined and you watch it closely near the end!
If you have any other questions about making the best roasted broccoli or need more quick dinner ideas, feel free to browse the rest of our latest dispatches!
Nutritional Estimate for This Healthy Vegetable Side
I want you to think of this information as a helpful guideline, not a strict promise, because we all know my measuring cups aren’t calibrated in a lab! Since this is such a wonderfully healthy vegetable side and fits perfectly into a low carb broccoli side plan, I wanted to share the numbers Liam calculated for us. These estimates are based on the exact amounts listed in the recipe, divided into 4 servings.
Keep in mind that if you are super generous with the olive oil or use a heavy hand with the Parmesan (which, honestly, I usually do!), those numbers will shift a bit. But for a side dish that is packed with flavor and only clocks in right around 110 calories? That’s a delivery I am happy to make!
- Serving Size: 1 serving
- Calories: 110
- Fat: 8g
- Carbohydrates: 8g
- Protein: 5g
- Fiber: 3g
- Sodium: Approximately 250mg
It’s a great way to get fiber and vitamins without loading up on starches or heavy sauces. Enjoy knowing you’re eating something truly nourishing while getting all that fantastic roasted broccoli flavor!
Deliver Your Message: Share This Roasted Broccoli Recipe
And there you have it! You are now equipped to send the most delicious message of the week: crispy, savory, guaranteed-to-be-eaten vegetables! This roasted broccoli recipe is my personal guarantee that even the most vegetable-skeptical person at your table will ask for seconds. It’s just that good.
I truly hope you give this a try next time you need an easy broccoli side dish that tastes like it took way more effort than it actually did. We put so much love and testing into making sure this combination of garlic and Parmesan delivers results every single time.
When you make your batch, I’m dying to know how it turned out! Tell us in the comments below—how crispy did you manage to get those edges? Did you stick to the two-stage roasting or try a variation? Your feedback keeps our kitchen learning! If you have any ideas for the next great dispatch, send us a note through our contact page. Happy cooking, and enjoy delivering that delicious comfort!
PrintThe Crispiest Garlic Parmesan Roasted Broccoli

You need this simple, flavorful recipe for oven roasted broccoli that delivers incredibly crispy edges and savory garlic parmesan flavor. It is a quick, healthy vegetable side dish perfect for weeknight dinners or meal prep.
- Prep Time: 10 min
- Cook Time: 20 min
- Total Time: 30 min
- Yield: 4 servings
- Category: Side Dish
- Method: Roasting
- Cuisine: American
- Diet: Low Calorie
Ingredients
- 2 large heads of broccoli, cut into uniform florets
- 3 tablespoons olive oil
- 1 teaspoon garlic powder
- 1/2 teaspoon salt
- 1/4 teaspoon black pepper
- 1/4 cup grated Parmesan cheese
- 1 teaspoon lemon juice (optional, for brightness)
Instructions
- Preheat your oven to 400 degrees Fahrenheit (200 degrees Celsius). Line a large baking sheet with parchment paper for easier cleanup.
- In a large bowl, combine the broccoli florets with the olive oil, garlic powder, salt, and pepper. Toss everything well until the broccoli is evenly coated.
- Spread the seasoned broccoli in a single layer on the prepared baking sheet. Do not overcrowd the pan; use two sheets if necessary to promote crisping.
- Roast for 12 minutes.
- Remove the pan from the oven and sprinkle the grated Parmesan cheese evenly over the broccoli. Gently toss the florets on the pan.
- Return the pan to the oven and roast for another 5 to 8 minutes, or until the edges of the broccoli are golden brown and crispy.
- Remove from the oven. If using, drizzle with fresh lemon juice immediately. Serve this easy broccoli side dish warm.
Notes
- For the crispiest broccoli, make sure your florets are dry before tossing them with oil. Pat them with a paper towel if they are wet from washing.
- Do not skip the single-layer arrangement on the baking sheet; this is key to achieving those delicious crunchy edges.
- This recipe works well for meal prep; store cooled leftovers in an airtight container for up to 4 days.
Nutrition
- Serving Size: 1 serving
- Calories: 110
- Sugar: 2
- Sodium: 250
- Fat: 8
- Saturated Fat: 3
- Unsaturated Fat: 5
- Trans Fat: 0
- Carbohydrates: 8
- Fiber: 3
- Protein: 5
- Cholesterol: 8