

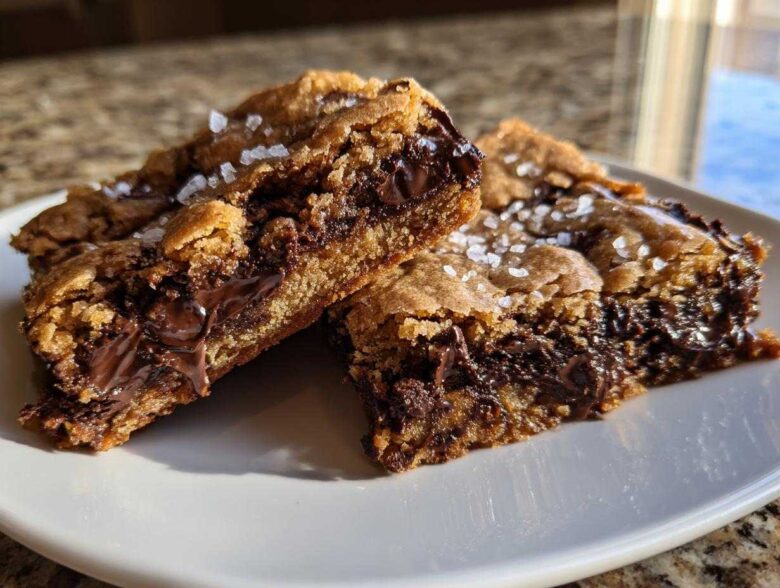
Listen, I spent *years* trying to make homemade chocolate chip cookie bars that weren’t just glorified, squat, dry cookies. They always ended up too cakey, or they were crispy sticks that snapped when you tried to take a bite. Ugh! But I cracked the code, folks. Seriously, I finally nailed the secret to the most unbelievably rich and perfectly chewy chocolate chip cookie bars you’ll ever press into a pan. This specific cookie recipe hinges on one key ingredient swap that changes everything. Forget everything you thought you knew; this is how you get that satisfying, dense, gooey center every single time.
Why This is the Best Chewy Chocolate Chip Cookie Bars Recipe
If you want truly chewy chocolate chip cookie bars, you have to stop using softened, room-temperature butter. I know, I know, it sounds scary! But this is the key to what makes this the Best Chewy Chocolate Chip Cookie Bars Recipe on the internet. We use melted butter here, and the difference is HUGE.
Melted butter coats the flour proteins differently than softened butter does. It results in a less airy, denser structure—exactly what we want for those amazing, thick, bakery-style results. If you use softened butter, you’ll just end up with a cakier bar, and we’re definitely trying to avoid that, right?
The second secret ingredient that makes these Melted Butter Chewy Bars so incredible is the sugar ratio. Notice how we use way more brown sugar than white sugar? That’s on purpose! Brown sugar contains molasses, which is naturally hygroscopic—it just holds onto moisture better than plain white sugar. More moisture locked in means a chewier bar that stays soft for days!
These aren’t your average flat squares; these are rich, robust, and deeply flavored. I just love how the melted butter really carries the flavor of the chocolate chips throughout the whole batch. Try this recipe and tell me you ever want to go back to the old way. You won’t! Don’t forget to check out my peanut butter pretzel bark for another easy pan treat.
Gathering Ingredients for Perfectly Chewy Pan Cookies
Okay, getting these amazing Thick and Chewy Cookie Bars relies completely on using the right amounts of the right stuff. When we’re aiming for that perfect density and chewiness, precision matters way more than in a standard dollop cookie. Trust me on this one—don’t eyeball the sugar amounts!
Since we’re focused on texture, every single component plays a necessary role in making sure we get the perfect, thick bar we’re after. Grab your kitchen scale if you have one, but these volume measurements are solid, too, as long as you pack that brown sugar nice and tight!
Ingredient Clarity for Chewy Chocolate Chip Cookie Bars
- 1 cup (2 sticks) unsalted butter, melted (Remember—melted, not just soft!)
- 1 cup packed light brown sugar
- 1/2 cup granulated white sugar
- 2 large eggs
- 1 tablespoon vanilla extract
- 2 1/4 cups all-purpose flour
- 1 teaspoon baking soda
- 1/2 teaspoon salt
- 1 1/2 cups semi-sweet chocolate chips
How to Make Chewy Chocolate Chip Cookie Bars: Step-by-Step
Now we put it all together! Following these steps correctly is essential for getting those fantastic, Thick and Chewy Cookie Bars that just melt in your mouth. Making these Chewy Chocolate Chip Cookie Bars is honestly so much faster than scooping hundreds of individual cookies. It’s my go-to method when I need a huge batch of gooey goodness fast!
Preparing the Pan and Oven for Chewy Chocolate Chip Cookie Bars
First things first, crank that oven up to 350 degrees Fahrenheit. You want it nice and hot when those bars go in. Here is my number one trick for easy cleanup and removal: you absolutely must line your 9×13 inch pan with parchment paper. Don’t just lay it flat, though! Ensure there’s an overhang on two sides—these act like little handles, letting you lift the entire cooled block out later. No stuck corners, ever!
Combining Wet and Dry Components for Rich Chocolate Chip Squares
Get a big bowl, and whisk that melted butter and both sugars together until they look really combined. Then, beat in your two eggs, one at a time—don’t rush that part. Follow up with the vanilla. In a separate bowl, just quickly whisk your flour, baking soda, and salt together so everything starts to distribute evenly.
Now, this is where we avoid cakey results! Gradually add those dry ingredients into the wet mixture. Mix it gently—seriously, stop mixing as soon as you don’t see any more white streaks of flour. Over-mixing develops gluten and gives you tough bars. Once you see just a few streaks left, fold in all those chocolate chips. You’re almost there!
Baking and Cooling for a Gooey Center Cookie Bars Finish
Press the dough evenly into your parchment-lined pan. Make sure you press it right to the edges, or you’ll end up with weirdly thick edges and thin centers. Bake for about 25 to 30 minutes. You aren’t looking for a completely firm bar! The edges should look set and a little golden, but the center absolutely needs to look slightly soft or even a little underdone. That slight softness transitions into that perfect, Gooey Center Cookie Bars texture once it cools.
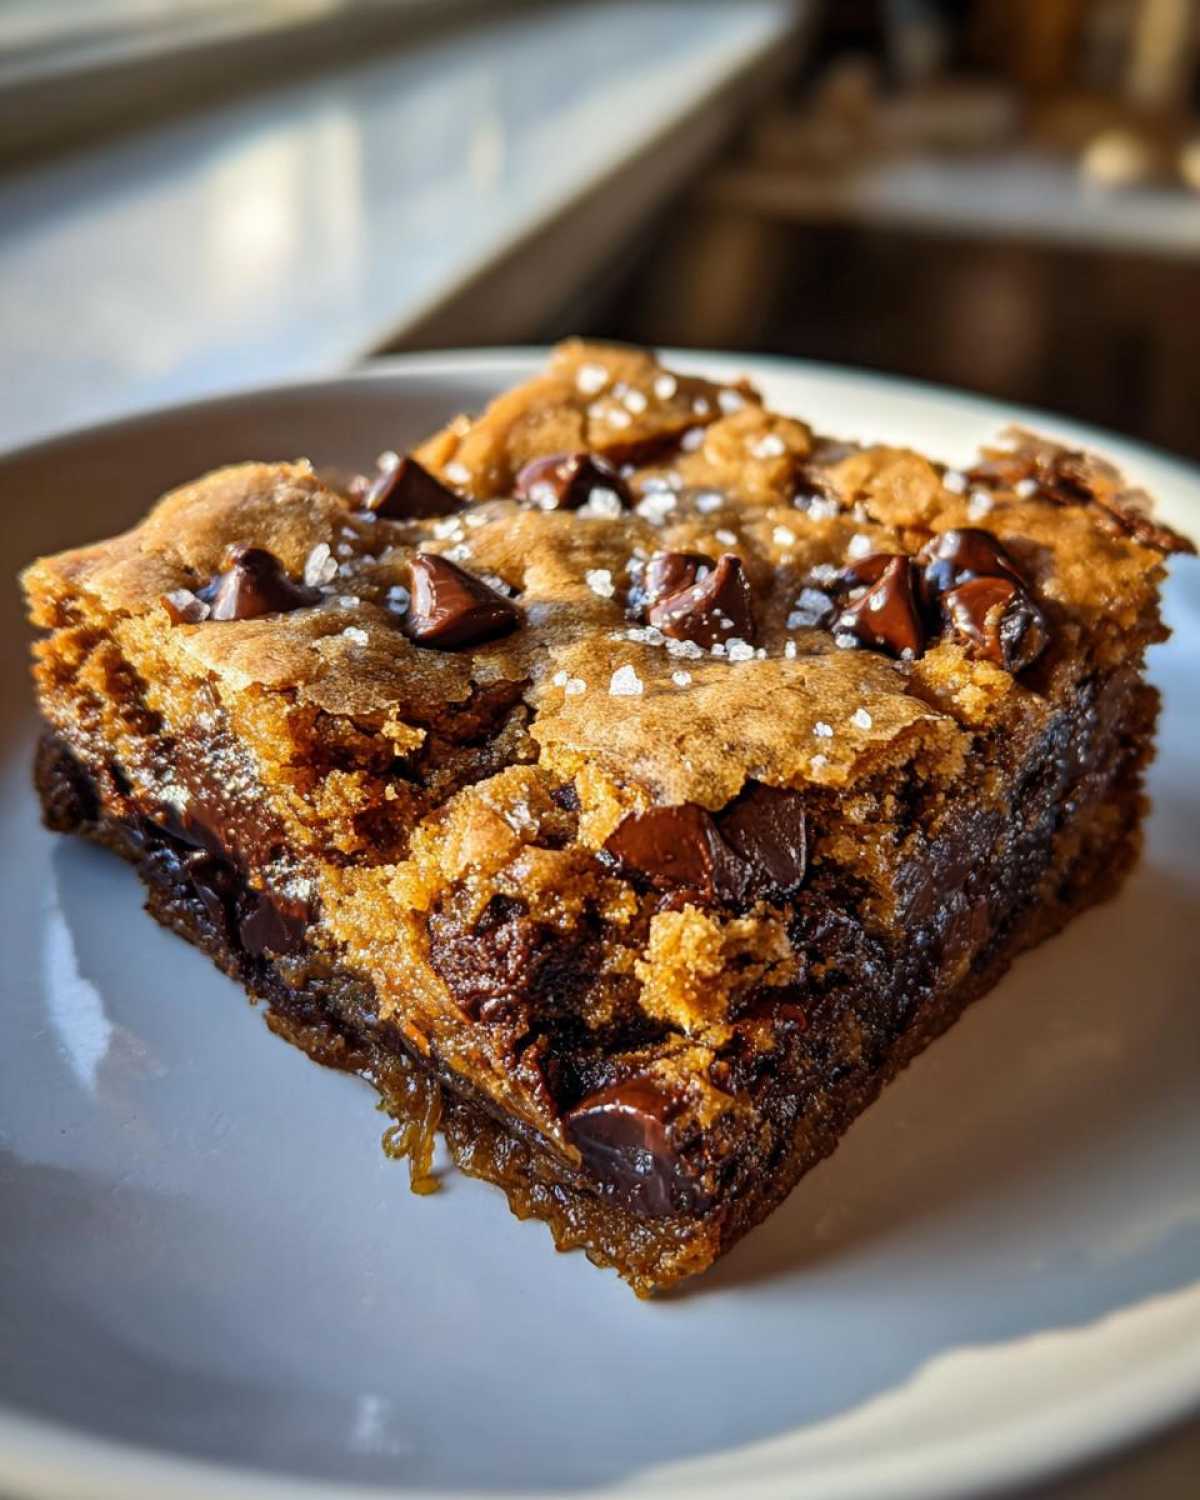
Resist the urge to cut them right away! Let them cool completely in the pan on a wire rack. If you slice them warm, they’ll just crumble and stick. Cooling is the final, crucial step in mastering How to Make Chewy Cookie Bars. Once cooled, use those parchment handles to lift the whole slab out, and slice into gorgeous squares. You can always find more baking inspiration over at my brown gravy recipe post if you need a savory break!
Expert Tips for Thick and Chewy Cookie Bars
Okay, so you’ve made the dough, and you’ve managed not to eat it all with a spoon (good job!). Now, let’s talk about those little details that elevate these from just good bars to what I consider the ultimate Thick Bakery Style Cookie Bars. These are my hard-won lessons from trial and error!
Remember what I said about the brown sugar? That’s a non-negotiable rule here. We used one cup of dark brown sugar to only a half-cup of white sugar, and that high molasses content is what keeps the structure from drying out. If you try to swap that out for all white sugar just because you don’t have enough brown on hand, you’ll get a crumbly, crispy bar instead of the chewy square you deserve. It just won’t work the same way!
If you have an extra five minutes, I highly recommend you try browning the butter before you melt it down. Browning the butter deepens the overall nutty flavor in the bars so much! You just melt the butter in a light-colored saucepan and keep swirling until those milk solids toast and turn a rich brown color and it smells amazing, like good caramel. Then, let it cool slightly before measuring out your cup for the recipe. It’s a game-changer for making these Rich Chocolate Chip Squares taste like they came from a fancy bakery.
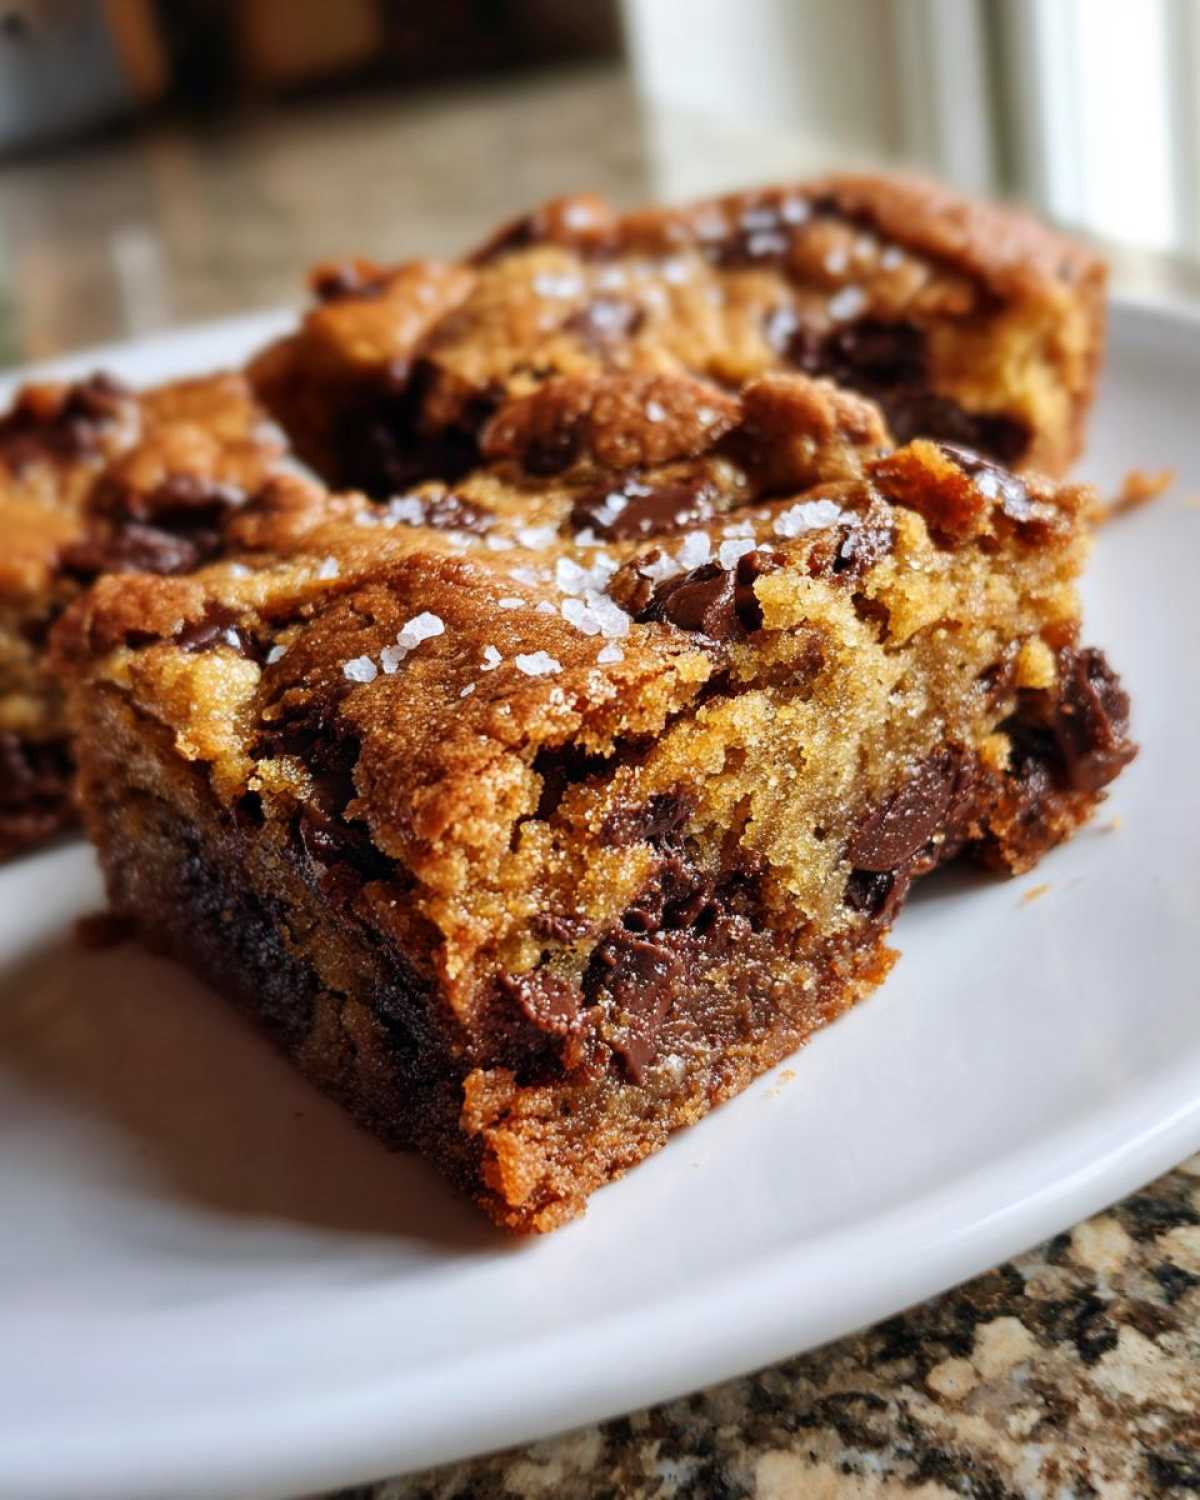
My final, super simple pro-tip for that bakery thickness: when you put the dough into the prepared pan, don’t just pour it and smooth it out. You need to press it down firmly and evenly across the bottom. Use the bottom of a measuring cup or just your clean hands (lightly greased works well!) to really compact the dough. If the dough is uneven, you get thin spots that overbake while the thick spots are still gooey. We want uniform chewiness from edge to edge, so press it flat and firm! You can find more inspiration for deep, rich flavors in my brown butter pumpkin cookies recipe.
Variations on Your Chewy Chocolate Chip Cookie Bars
The base recipe for these Chewy Chocolate Chip Cookie Bars is incredibly sturdy, which means they are just begging for you to play around with them! You’ve got your perfect chewy foundation now, so feel free to customize them to make them truly yours. This is where things get fun!
My absolute favorite thing to do, especially if I’m serving these to company, is to sprinkle flaky sea salt over the top. You have to do this right after they come out of the oven, while the chocolate is still melty and glossy. That little pop of intense saltiness cuts through the sweetness of the brown sugar and just elevates the whole experience. It makes them look so professional, too. Seriously, add the salt!
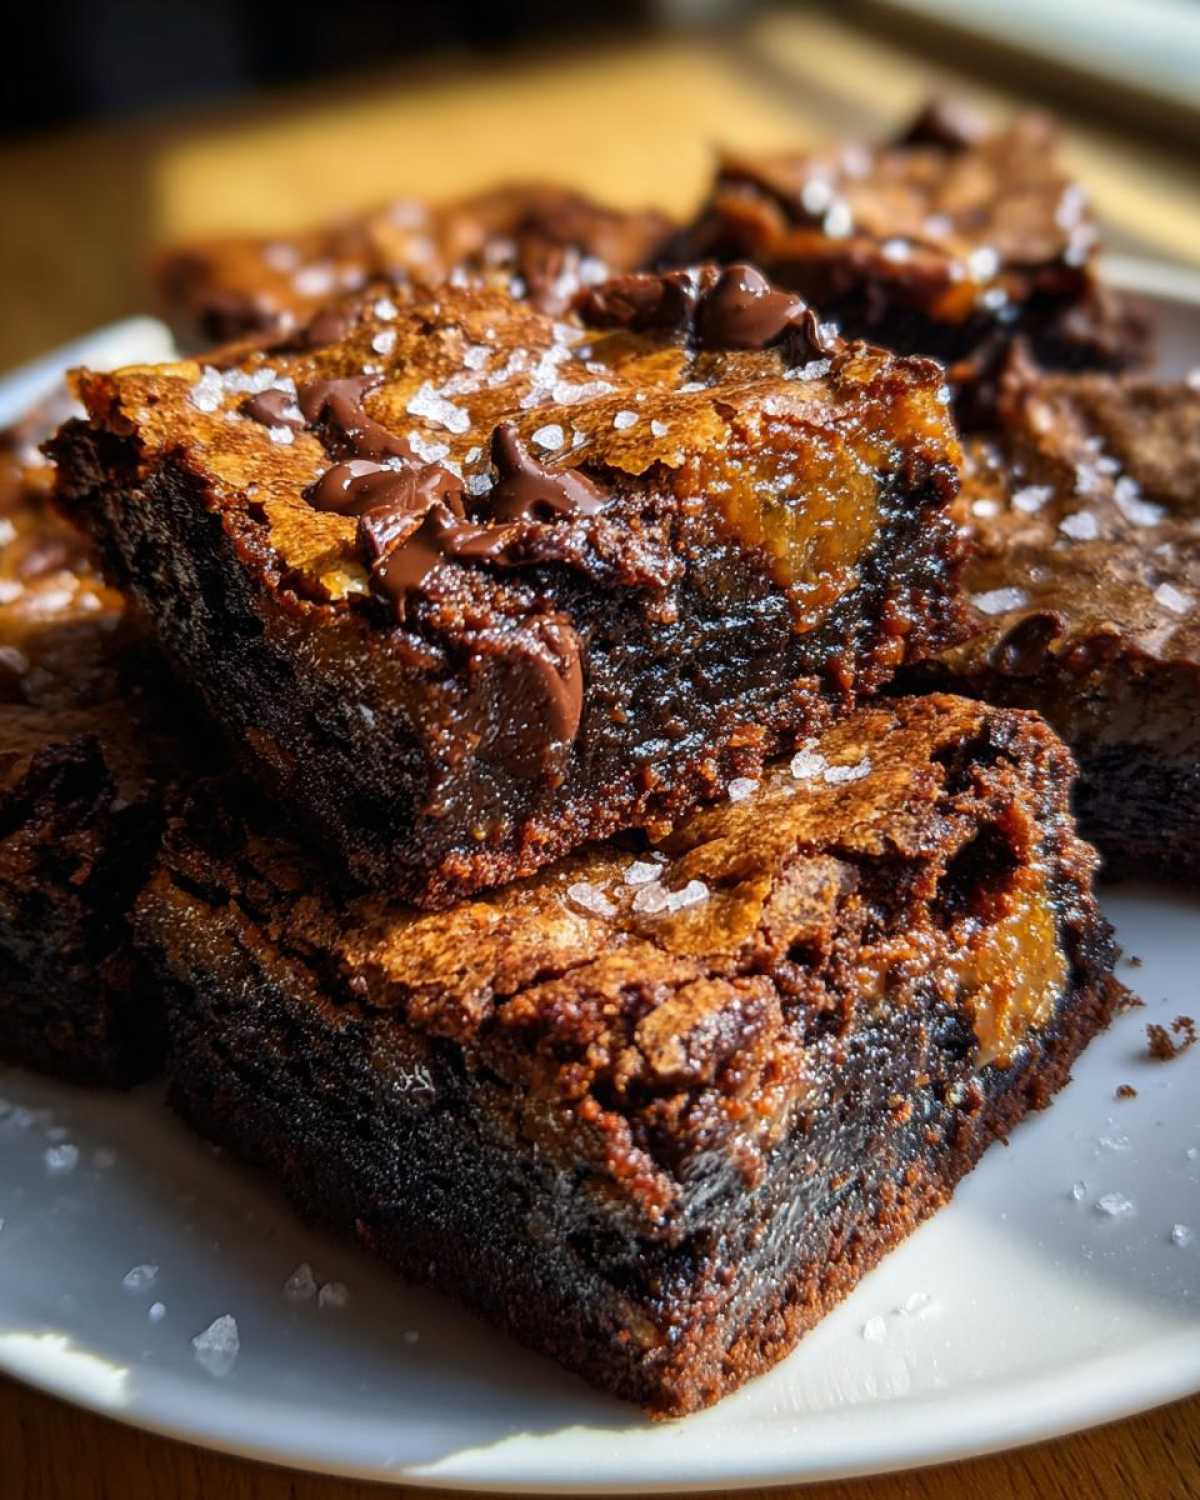
If you want to make these even more irresistible—maybe pushing them into the realm of Fudgy Cookie Bars—swap out half of your semi-sweet chips for milk chocolate chunks or even dark chocolate wafers. I sometimes throw in about a cup of chopped pecans or walnuts right along with the chocolate. Just make sure your nuts are toasted first! Toasting them brings out so much more flavor, and you don’t want to compromise that amazing melted butter base with raw nuts.
Another great idea for a different texture is to use alternating colors of chips—think milk, dark, and white chocolate chips all mixed together. It gives you a beautiful marbled look when you cut into the squares later. Mixing in some caramel bits instead of nuts is pure decadence, too. You just can’t go wrong by adding a little something extra to these perfectly chewy pan cookies!
Storage and Reheating Instructions for Chewy Chocolate Chip Cookie Bars
Since these are designed to be the chewiest bars possible, knowing how to store them correctly is almost as important as the baking itself! We want to keep that moisture locked in so they taste just as amazing on day three as they did fresh out of the oven.
The best way to keep these Chewy Chocolate Chip Cookie Bars perfect is to store them completely cooled and cut, placed in an airtight container. You can leave them right there on the counter at room temperature for about four or five days. Because of that high brown sugar content we used, they really don’t dry out quickly at all, which is wonderful!
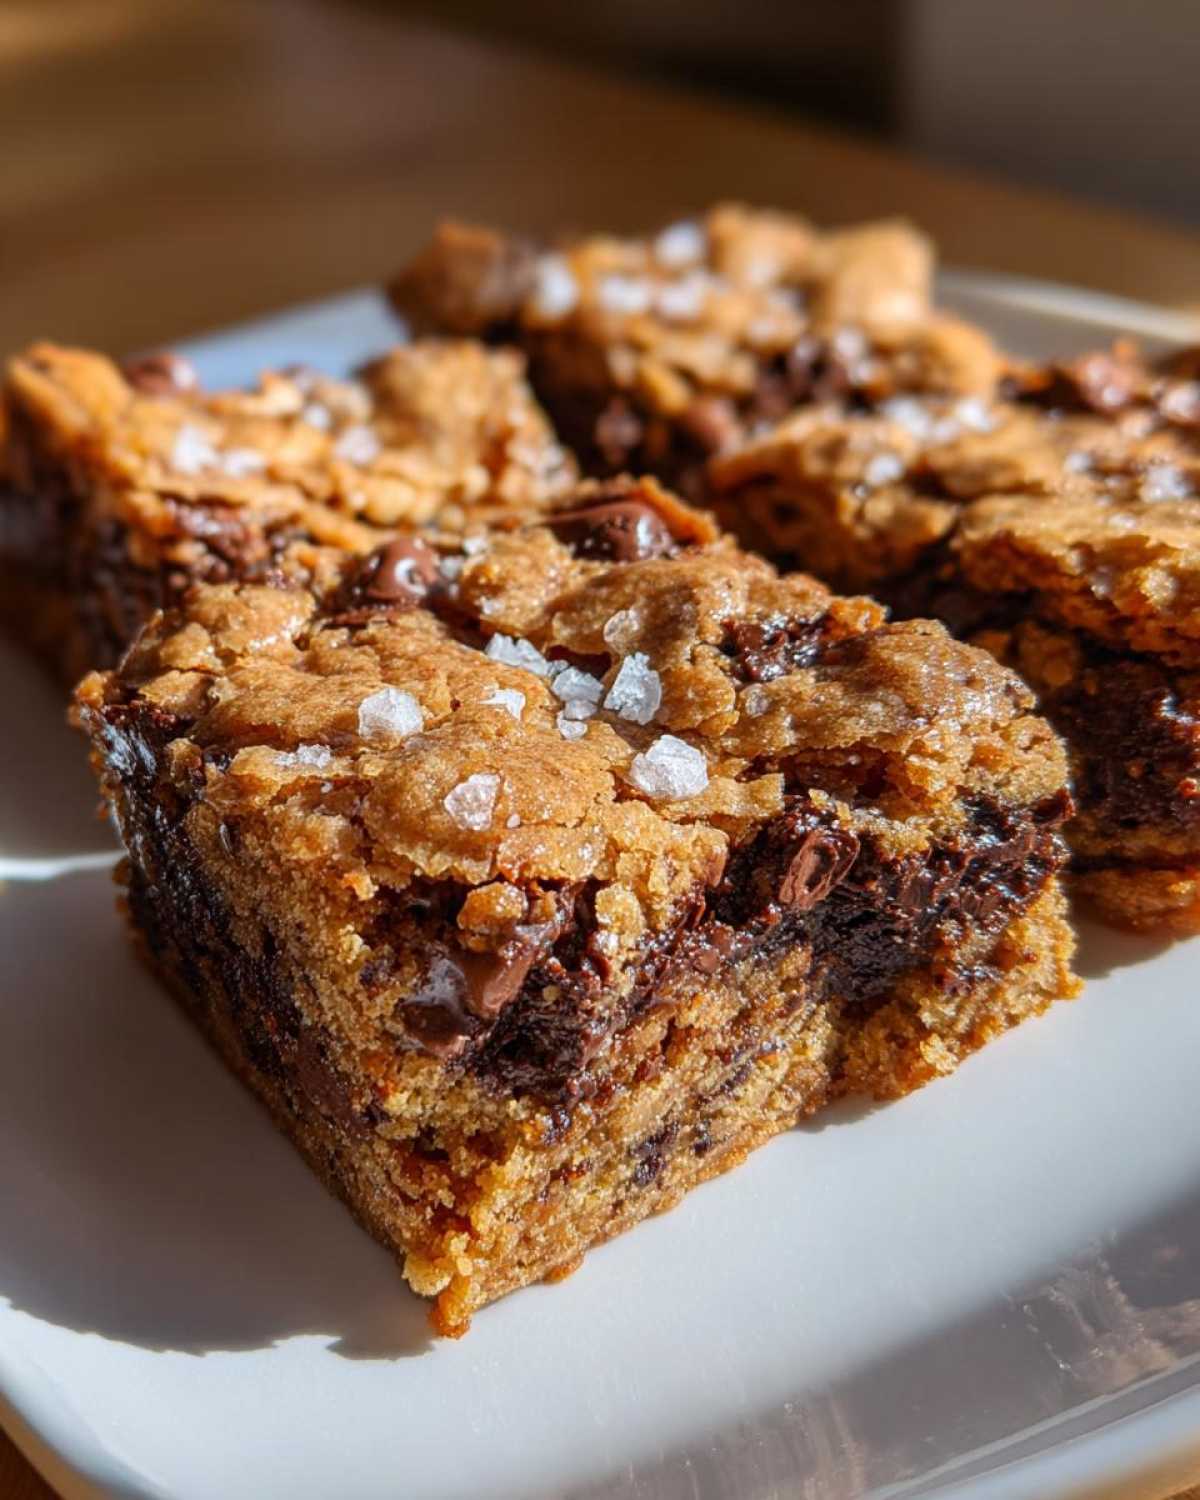
If you need them to last longer, these bars freeze like a dream. I usually cut mine into squares first, then layer them with small sheets of wax paper between the layers—this stops them from sticking together in a giant block. Pop the whole stack into a heavy-duty freezer bag, squeeze out as much air as you can, and they’ll be perfect for up to three months.
Reheating is optional, but if you want that fresh-ooey moment back? Place one square on a microwave-safe plate and hit it for about ten to fifteen seconds. It shouldn’t be piping hot, just warmed through enough to make the chocolate soft again. These are great little grab-and-go desserts, but don’t forget to check out my no-bake Oreo balls if you’re looking for something you don’t even have to turn the oven on for!
Frequently Asked Questions About Chewy Chocolate Chip Cookie Bars
I always get questions about texture because getting that true chewiness just right can be tricky! Here are the things folks ask me most often when they’re making their first batch of Chewy Chocolate Chip Cookie Bars.
Why did my Chewy Chocolate Chip Cookie Bars turn out cakey?
Oh, this is the classic bar baking panic! If your bars came out cakey, I can almost guarantee you did one of two things. First, you probably overmixed the flour. Once that flour hits the wet ingredients, you just mix until it disappears. Overmixing builds gluten, and gluten gives you lift and structure—that means cake, not chewy bars!
Second, and this is perhaps more likely if you were in a rush, you might have used softened butter instead of the melted butter required in this recipe. Softened butter traps air when you cream it, which causes the bars to puff up. Melted butter gives you that dense, rich, fudgy texture we are aiming for. It’s less airy, more settled, and wonderfully chewy.
Can I use softened butter instead of melted butter in this Chocolate Chip Cookie Bar Recipe?
You absolutely *can* use softened butter, but you are going to change the entire structure of the dessert, and you won’t end up with the gooey center that makes this Chocolate Chip Cookie Bar Recipe so special. Softened butter creates volume, lightens the batter, and fights that dense, satisfying chewiness. If you use softened butter, you’re going to end up with something much closer to a thick, slightly underbaked cake rather than the fantastic Gooey Center Cookie Bars we targeted!
If you see a recipe calling for softened butter, it’s usually designed to be a puffier cookie. For *our* specific goals—achieving that rich moisture and chew—melted butter is the only way to go. Don’t skip that step; it’s the backbone of the whole texture!
What is the best way to cut these bars cleanly?
This is probably the question I get after “how do I make them chewy?” Cutting them cleanly requires patience, which is honestly the hardest part of baking when something smells this good! You cannot cut them when they are warm from the oven.
It’s crucial, and I mean absolutely crucial, that you let the bars cool completely in the 9×13 pan. I usually let them sit on the counter for at least two hours, sometimes more if my kitchen is warm. The structure needs time to set up after baking. Once they are fully cooled, use those parchment overhangs to gently lift the entire block onto a cutting board. Then, take a big, sharp knife, wipe it clean between each cut, and slice them into beautiful squares. If you try to cut them early, they will just drag and tear, and all that gooey center goodness will smear all over your knife!
If you’re trying to find even more great foundational recipes, feel free to browse my entire collection of baking notes here!
Nutritional Estimates for Your Homemade Chocolate Chip Bars
Alright, let’s talk about the details that might matter to some of you! Since these are rich, buttery, chocolatey squares, they are definitely a treat, not an everyday health food. But I believe in knowing what you’re eating, so here’s a rough breakdown of what those 16 generous squares look like nutritionally.
I used standard ingredient databases to calculate these, but remember, I’m working from my pantry, not a lab! If you use really high-fat dark chocolate or a different type of flour, these numbers will shift a little bit. These estimates are a good ballpark for these Chewy Chocolate Chip Cookie Bars.
I used the yield of 16 squares for these calculations, so if you cut yours into smaller, more manageable portions (who am I kidding? cutting them smaller seems impossible!), your per-square numbers will change.
- Serving Size: 1 bar
- Calories: 280
- Sugar: 25g (See? All that brown sugar pays off in flavor!)
- Sodium: 150mg
- Fat: 16g
- Saturated Fat: 10g
- Unsaturated Fat: 6g
- Trans Fat: 0g
- Carbohydrates: 33g
- Fiber: 1g
- Protein: 3g
- Cholesterol: 55mg
The main takeaway here is that the sugar and fat are what give us those incredible chewy results we worked so hard for! Don’t let the sugar content scare you off—it’s essential for that signature texture. Enjoy them as the wonderful treat they are!
Share Your Perfectly Chewy Pan Cookies
Alright, bakers! You’ve made it through the whole process, and now you should have a pan full of the absolute best Chewy Chocolate Chip Cookie Bars the world has ever seen. I’m dying to know how they turned out for you! Seriously, this is the part where I love hearing from you all.
Did that melted butter work its magic? Did you manage to resist cutting them while they were still warm? I want to see those thick, glorious squares!
If you made a batch, please head over and give this recipe a rating down below. Five stars for ultimate chewiness, right? Pop a picture up on your favorite social media and tag me in it! I love seeing your results, especially when you share photos of those gooey centers. It makes all the recipe testing worth it when I see proof that you’re enjoying these Perfectly Chewy Pan Cookies.
If you have any lingering questions after making them, or maybe you want to share your own secret variation, don’t hesitate to reach out! You can always find my contact page right here. Happy baking, everyone!
PrintChewy Chocolate Chip Cookie Bars
A recipe for thick, chewy chocolate chip cookie bars using melted butter for a rich texture.
- Prep Time: 15 min
- Cook Time: 30 min
- Total Time: 45 min
- Yield: 16 squares
- Category: Dessert
- Method: Baking
- Cuisine: American
- Diet: Vegetarian
Ingredients
- 1 cup (2 sticks) unsalted butter, melted
- 1 cup packed light brown sugar
- 1/2 cup granulated white sugar
- 2 large eggs
- 1 tablespoon vanilla extract
- 2 1/4 cups all-purpose flour
- 1 teaspoon baking soda
- 1/2 teaspoon salt
- 1 1/2 cups semi-sweet chocolate chips
Instructions
- Preheat your oven to 350 degrees Fahrenheit. Line a 9×13 inch baking pan with parchment paper, leaving an overhang on the sides for easy removal.
- In a large bowl, whisk the melted butter, brown sugar, and white sugar together until fully combined.
- Beat in the eggs one at a time, then stir in the vanilla extract.
- In a separate medium bowl, whisk together the flour, baking soda, and salt.
- Gradually add the dry ingredients to the wet ingredients, mixing until just combined. Do not overmix.
- Fold in the chocolate chips.
- Press the dough evenly into the prepared baking pan.
- Bake for 25 to 30 minutes. The edges should look set, and the center should still look slightly soft.
- Let the bars cool completely in the pan on a wire rack before lifting them out using the parchment paper overhang.
- Cut into squares.
Notes
- Using more brown sugar than white sugar helps create a chewier texture due to its molasses content.
- For extra flavor, you can brown the butter before melting it completely.
- Sprinkle flaky sea salt over the top immediately after removing the bars from the oven for a bakery style finish.
Nutrition
- Serving Size: 1 bar
- Calories: 280
- Sugar: 25
- Sodium: 150
- Fat: 16
- Saturated Fat: 10
- Unsaturated Fat: 6
- Trans Fat: 0
- Carbohydrates: 33
- Fiber: 1
- Protein: 3
- Cholesterol: 55