

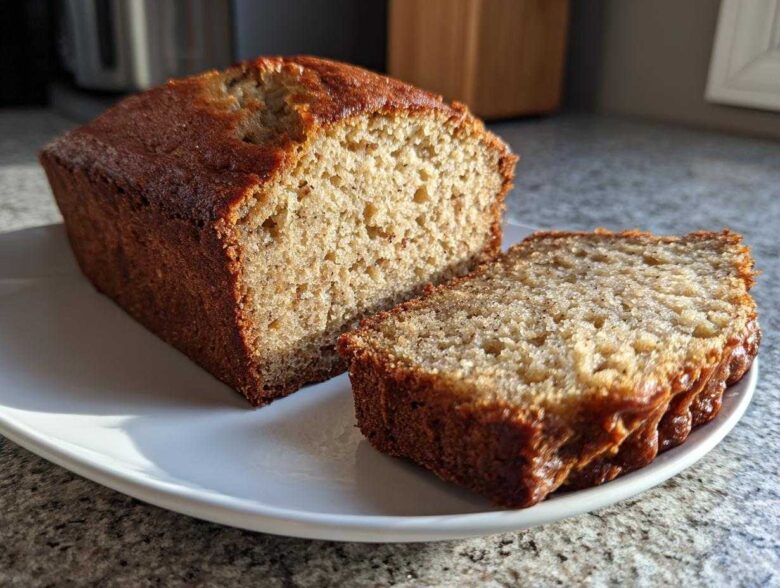
Friends, we all have that one bowl of bananas sitting on the counter, looking sadder and sadder each day. If they’re turning black, don’t you dare toss them! That dark peel is pure gold, promising the absolute best flavor for our signature moist banana bread. I’ve been making this specific loaf since I was knee-high to a kitchen stool. Trust me when I say this isn’t just *a* recipe; it’s *the* recipe. We’re talking rich, tender, classic comfort in a single slice. If you’re new to baking or just tired of dry loaves, stick with me—this quick sweet bread instructions set will give you bakery style banana bread every single time.
Why This Is the Best Banana Bread Recipe (Quick Tips)
Okay, so you need to know why this specific version of banana bread beats all the others. It’s ridiculously easy—I mean, quick banana bread for beginners easy—but it delivers huge on flavor and that signature melt-in-your-mouth moisture. I never get compliments on my baking unless I make this one!
- Unbeatable Moisture: We use melted butter, which keeps the crumb tender without weighing it down.
- Incredible Flavor: Those almost black bananas do ALL the heavy lifting, meaning you don’t need a ton of sugar for taste.
- It’s Forgiving: This recipe is honestly solid. Even if the mixing isn’t perfect, you usually end up with something delicious.
Key Details for Your Banana Bread
Here’s the quick rundown so you can plan your snack attack:
- Prep Time: 15 minutes
- Cook Time: About 60 minutes
- Yield: 1 satisfying loaf
Ingredients Needed for Classic Moist Banana Bread
I want you to gather these ingredients and feel confident about what you’re using! The beauty of this homemade banana bread guide is its simplicity—no weird flours or expensive items needed. Get your bananas *really* ripe; they should look dreadful, honestly. We need three large ones, mashed smooth with a fork. Make sure your butter is fully melted, but let it cool just a touch before you add it to the wet mix so we don’t accidentally scramble our egg!
You’ll need 3/4 cup of regular white sugar—yes, sugar is necessary for that lovely caramelization we get during baking. The structure comes from 1 1/2 cups of all-purpose flour, and we rely on just one teaspoon of baking soda and 1/4 teaspoon of salt for the lift and balance.
Ingredient Notes and Substitutions for Banana Bread
Listen, the only thing Grandma absolutely forbade substituting was the banana quality. Those heavily spotted, almost black bananas are essential. They have the highest sugar content, which means incredible flavor without making the whole thing taste like a candy bar. Keep that brown sugar note in mind, though, because it really amps up the richness!
Now, about the good stuff: if you want to fold in things like chopped walnuts or those wonderful chocolate chips, go for it! Stick to about 1/4 cup total, though. If you add too much of that stuff, it starts to weigh the batter down, and we want that light, perfect texture banana bread. These little additions are great for variety, but the foundation is always about those ripe bananas and simple pantry items.
How to Make Banana Bread from Scratch: Easy Banana Bread Tutorial
Alright, time to get messy! This is where our simple sweet bread instructions really shine. First things first, heat that oven up—we want it hovering right around 350°F (175°C). Grab your trusty 9×5 inch loaf pan. Don’t skip greasing and flouring it well! This is a sticky situation if you don’t prep the pan right. Trust me, pulling out a half-stuck loaf is the fastest way to ruin your baking mood.
Now for the wet part. Get your mashed bananas, that melted butter, the sugar, egg, and vanilla extract into a big bowl. Whisk this gently until everything looks happy and combined. Don’t beat it to death; we just want marriage, not a total merger, at this stage. In a separate, smaller bowl—this keeps things neat—whisk your baking soda and salt together. Dry ingredients meeting dry ingredients first keeps things even.
Mixing Wet and Dry Components for Perfect Banana Bread
This is the single most important technique for achieving that perfect texture banana bread. Add the dry mix (the soda and salt) into the wet banana mix. Now, take a spatula and fold. That’s right, fold! Mix it just until you don’t see any more streaks of flour popping up. If you stir too much, you develop gluten, and suddenly you have a dense, rubbery brick instead of the **banana bread** of your dreams. We are aiming for a slightly lumpy batter. If you’re nervous about under-mixing beginners, I have a great guide just for nervous bakers!
Pour that glorious batter into your prepared pan. Give it a little gentle shake to settle it flat. You can sprinkle on a tiny bit of sugar right now if you want that gorgeous, crackly crust—totally optional but so good!
Baking and Cooling Your Banana Bread Loaf
Slide that pan into the center rack of that 350°F oven. The timing on this classic loaf baking job is usually 50 to 60 minutes. Seriously, rely on the skewer test rather than the clock after the 50-minute mark. Insert a wooden skewer or toothpick right into the very center. If it slides out clean, or maybe with just a few moist crumbs clinging on, you’re done! If it’s wet batter, give it five more minutes. This is our no-fail banana bread technique in action!
Here’s the hardest part: patience! Let the loaf sit right there in the hot pan for a solid 10 minutes. This allows it to firm up enough so it doesn’t immediately collapse when you try to move it. After those ten minutes, gently turn it out onto a wire cooling rack. I always sneak a tiny nibble while it’s still warm. Don’t forget to check out my recipe for rich date-nut bread for another cozy bake!
Tips and Tricks for Achieving Moist Banana Bread Secrets
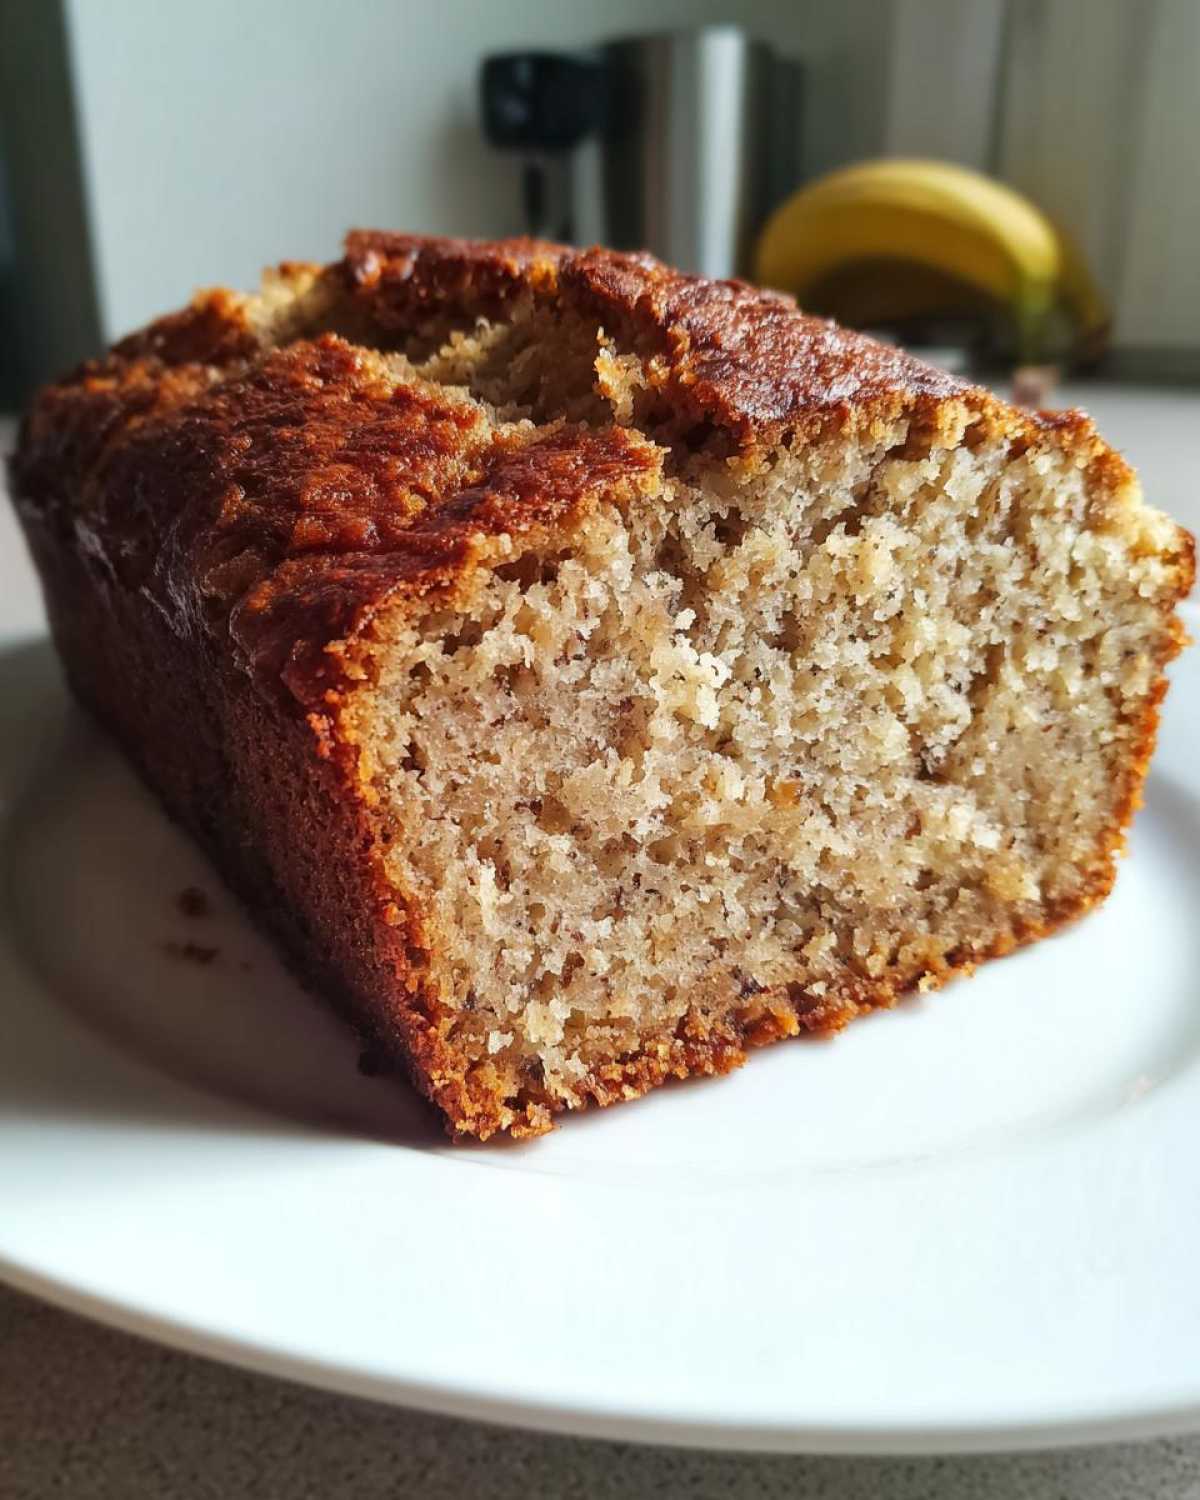
Making delicious **banana bread** is one thing, but making it *moist* banana bread secrets-level moist is another entirely! My biggest advice, which I learned the hard way, is about the temperature of everything. Make sure your eggs—even though we only use one—are at room temperature. Cold eggs can cause the batter to seize up the melted butter, leading to a slightly tougher final product.
Also, don’t be afraid of the dark bananas! I know they look awful sitting there, but the darker they are, the more natural sugar and moisture they hold. If you have bananas that are perfectly yellow, just let them sit a day or two longer. That little bit of extra patience pays off huge in flavor and tenderness for your loaf.
Another thing that really separates the good from the legendary is the resting time for the batter. If you have an extra ten minutes, mix your wet ingredients, mix your dry ingredients, and then just let both bowls sit on the counter while the oven preheats. This lets the flour hydrate just a tiny bit before the wet hits the dry, leading to a much smoother mix. If you want more rustic, cozy baking ideas, you have to check out my recipe for moist cinnamon swirl apple bread!
Variations on Classic Banana Bread
While I swear by this classic loaf for its simple, pure flavor, sometimes you just need a little pizzazz in your sweet bread collection, right? It’s so easy to jazz this up without compromising the core moist texture. If you’re looking for something a little more exciting than just plain comfort baking recipes, you have options!
My absolute favorite twist is adding chocolate chips. You can fold in about a cup of semi-sweet ones right before baking. For those who prefer a little crunch, a half-cup of chopped walnuts is divine! I actually have a dedicated chocolate chip banana bread recipe if you want to double down on that goodness.
If you happen to have some lovely ripe blueberries hanging around, swapping them in works wonders too. It gives the loaf a beautiful, slightly tart surprise in every bite. You can see how I do that over in my blueberry banana bread recipe! Give one of these easy tweaks a try next time you bake!
Storage and Freezing Instructions for Homemade Banana Bread Guide
So, you made the perfect **banana bread**, but you can’t possibly eat the whole thing in one sitting (though I’ve tried!). Don’t stress about leftovers! Storing homemade banana bread is super simple. For just a few days on the counter, wrap the cooled loaf tightly in plastic wrap, then slip it into an airtight container. We want to keep that moisture locked in!
If you need longer shelf life, this loaf is fantastic for freezing since it stays so moist. Wrap the cooled bread (either whole or in individual slices—which is genius for quick breakfasts!) tightly in plastic wrap first. Then, always wrap it again in foil or toss it into a freezer-safe bag. This double layer protects against freezer burn. You can find more great tips on other freezer friendly baked goods around here, but this is my go-to method for keeping the banana bread fresh for up to three months!
Frequently Asked Questions About Banana Bread
I get so many questions whenever I post this recipe on social media! It seems like everyone struggles with a few of the same things when trying to nail that perfect texture. Here are the answers to the most common baking hurdles that pop up when trying to make a classic loaf.
Can I use yellow bananas instead of overripe ones for Banana Bread?
Oh, honey, you *can*, but you really shouldn’t if you want the **best banana bread recipe** we’ve got here. Yellow bananas just haven’t converted all their starches into sugar yet. If you use yellow bananas, your bread will be less sweet, and honestly, it loses a huge chunk of the moisture factor. Stick to ones that are spotty, brown, or nearly black. That’s where all the magic is hiding!
What is the secret to a crack-free top on my loaf?
This is such a great question that gets asked a lot when people are looking for simple loaf baking instructions! The crack on top is usually caused by the outside setting too quickly before the middle has a chance to rise. To stop this, I have two tricks. First, make sure your oven thermometer is accurate; if it’s too hot, it happens immediately. Second, if you see a crack forming too early—say, around the 30-minute mark—gently tent a little piece of aluminum foil over the top of the loaf. It diffuses the direct heat, letting the center bake through without burning or cracking the surface. It really helps achieve that smooth, even look!
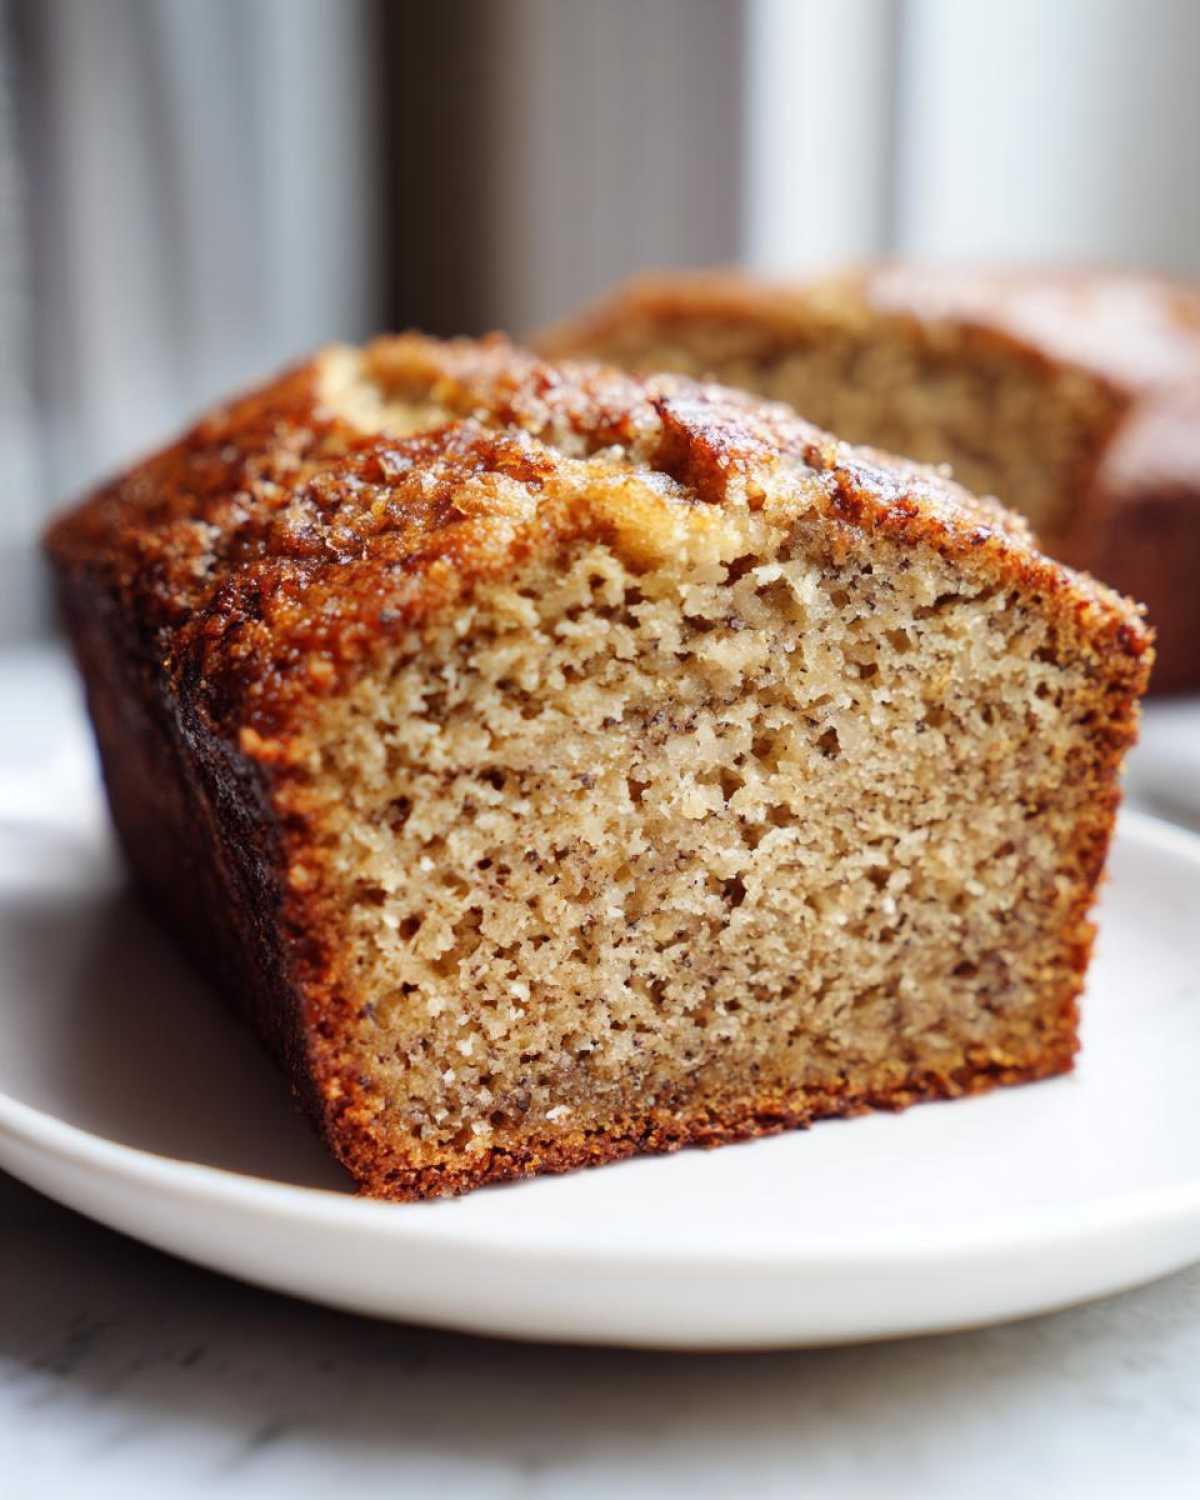
If you are ever looking for another easy loaf to master, you should really take a look at my recipe for zucchini bread; it uses a similar moisture-trapping technique!
Estimated Nutrition for Your Banana Bread
Now, I know most of us aren’t baking this classic loaf thinking about macros, but since you asked, here is the breakdown! Since this is based on a simple recipe using standard sugar and butter, keep in mind that homemade baked goods are always variable. These numbers should give you a pretty good idea of what you’re working with per slice.
This nutrition chart is just an estimate based on the ingredients we used in the main recipe. If you start adding a ton of walnuts or swapping in applesauce for butter, those numbers are going to change significantly! But for our standard, perfect texture banana bread, this is what we’re looking at. If you’re looking for a higher protein version, check out my banana protein muffins!
- Serving Size: 1 slice
- Calories: Around 240
- Sugar: About 15g
- Fat: Roughly 10g (with 6g saturated)
- Carbohydrates: About 37g
- Protein: Around 3g
Share Your Perfect Banana Bread Results
Well, we did it! You followed the quick sweet bread instructions, you waited patiently through the cooling process, and now you have the best **banana bread** imaginable sitting on your counter. I hope you’re as proud as I am when I pull mine out!
Now, this is where you become part of the family story! I absolutely LOVE seeing your bakes. If you made this recipe, please head down to the comments section right now and tell me what you thought! Did you stick with the classic loaf, or did you try adding pecans?
If you snapped a picture of that beautiful brown crust or that perfectly moist slice, tag me on social media! Seeing your bakes reminds me why I keep sharing these tried-and-true favorites. Let me know how this easy banana bread tutorial worked for you. Happy baking, and I’ll see you soon for the next project over at the main blog!
PrintClassic Moist Banana Bread
A simple recipe for making moist, classic banana bread using ripe bananas.
- Prep Time: 15 min
- Cook Time: 60 min
- Total Time: 75 min
- Yield: 1 loaf (about 10 slices)
- Category: Dessert
- Method: Baking
- Cuisine: American
- Diet: Vegetarian
Ingredients
- 3 large overripe bananas, mashed
- 1/2 cup unsalted butter, melted
- 3/4 cup granulated sugar
- 1 large egg, lightly beaten
- 1 teaspoon vanilla extract
- 1 teaspoon baking soda
- 1/4 teaspoon salt
- 1 1/2 cups all-purpose flour
Instructions
- Preheat your oven to 350°F (175°C). Grease and flour a standard 9×5 inch loaf pan.
- In a large bowl, mix the mashed bananas, melted butter, sugar, egg, and vanilla extract until combined.
- In a separate small bowl, whisk together the baking soda and salt.
- Add the dry ingredients to the wet ingredients. Mix until just combined; do not overmix.
- Pour the batter into the prepared loaf pan.
- Bake for 50 to 60 minutes, or until a wooden skewer inserted into the center comes out clean.
- Let the bread cool in the pan for 10 minutes before removing it to a wire rack to cool completely.
Notes
- Use bananas that are heavily spotted or almost black for the best flavor and moisture.
- For a slightly crispier top, sprinkle a tablespoon of sugar over the batter before baking.
- You can substitute 1/4 cup of chopped walnuts or chocolate chips for some of the flour if desired.
Nutrition
- Serving Size: 1 slice
- Calories: 240
- Sugar: 15
- Sodium: 150
- Fat: 10
- Saturated Fat: 6
- Unsaturated Fat: 4
- Trans Fat: 0
- Carbohydrates: 37
- Fiber: 2
- Protein: 3
- Cholesterol: 35