

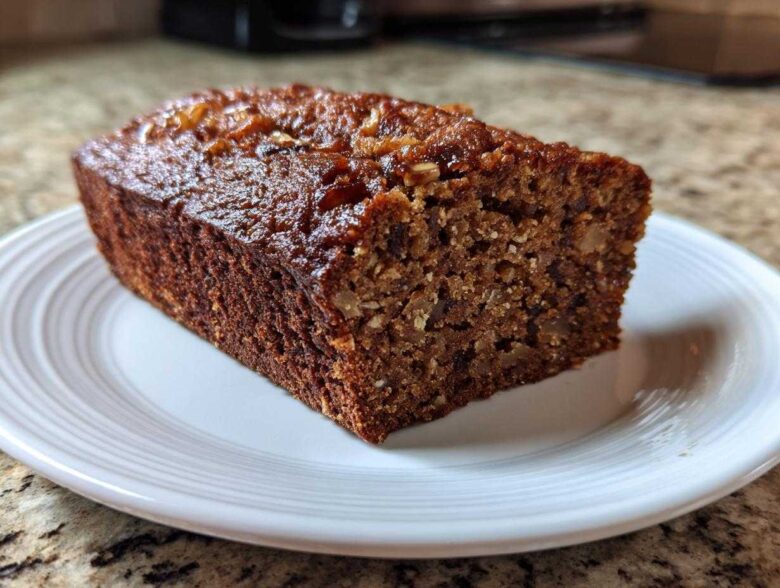
When the world feels too loud, nothing calms the noise like the smell of something baking slowly, right? That’s pure comfort, and it’s exactly what Liam used to deliver to me before I learned to bake myself. This recipe for our Old-Fashioned, Ultra-Moist Date Nut Bread Recipe is the real deal. It’s the absolute best date nut bread you’ll ever try because we’ve tested it until it came out perfectly moist, every single time. Forget dry, crumbly loaves; this dispatch is a reliable message of pure, sweet comfort, ready for you to bake and share (or just keep for yourself—I won’t tell!).
Why This Old-Fashioned Date Nut Bread Recipe Delivers Moisture
I cannot tell you how many times people tell me their quick breads turn out dry. It’s heartbreaking! But this recipe, this truly Moist Date Nut Bread Recipe, has a built-in defense system against dryness. We aren’t relying on luck here; we are relying on chemistry, which makes this just as good as any Classic Loaf Cake my mother-in-law makes.
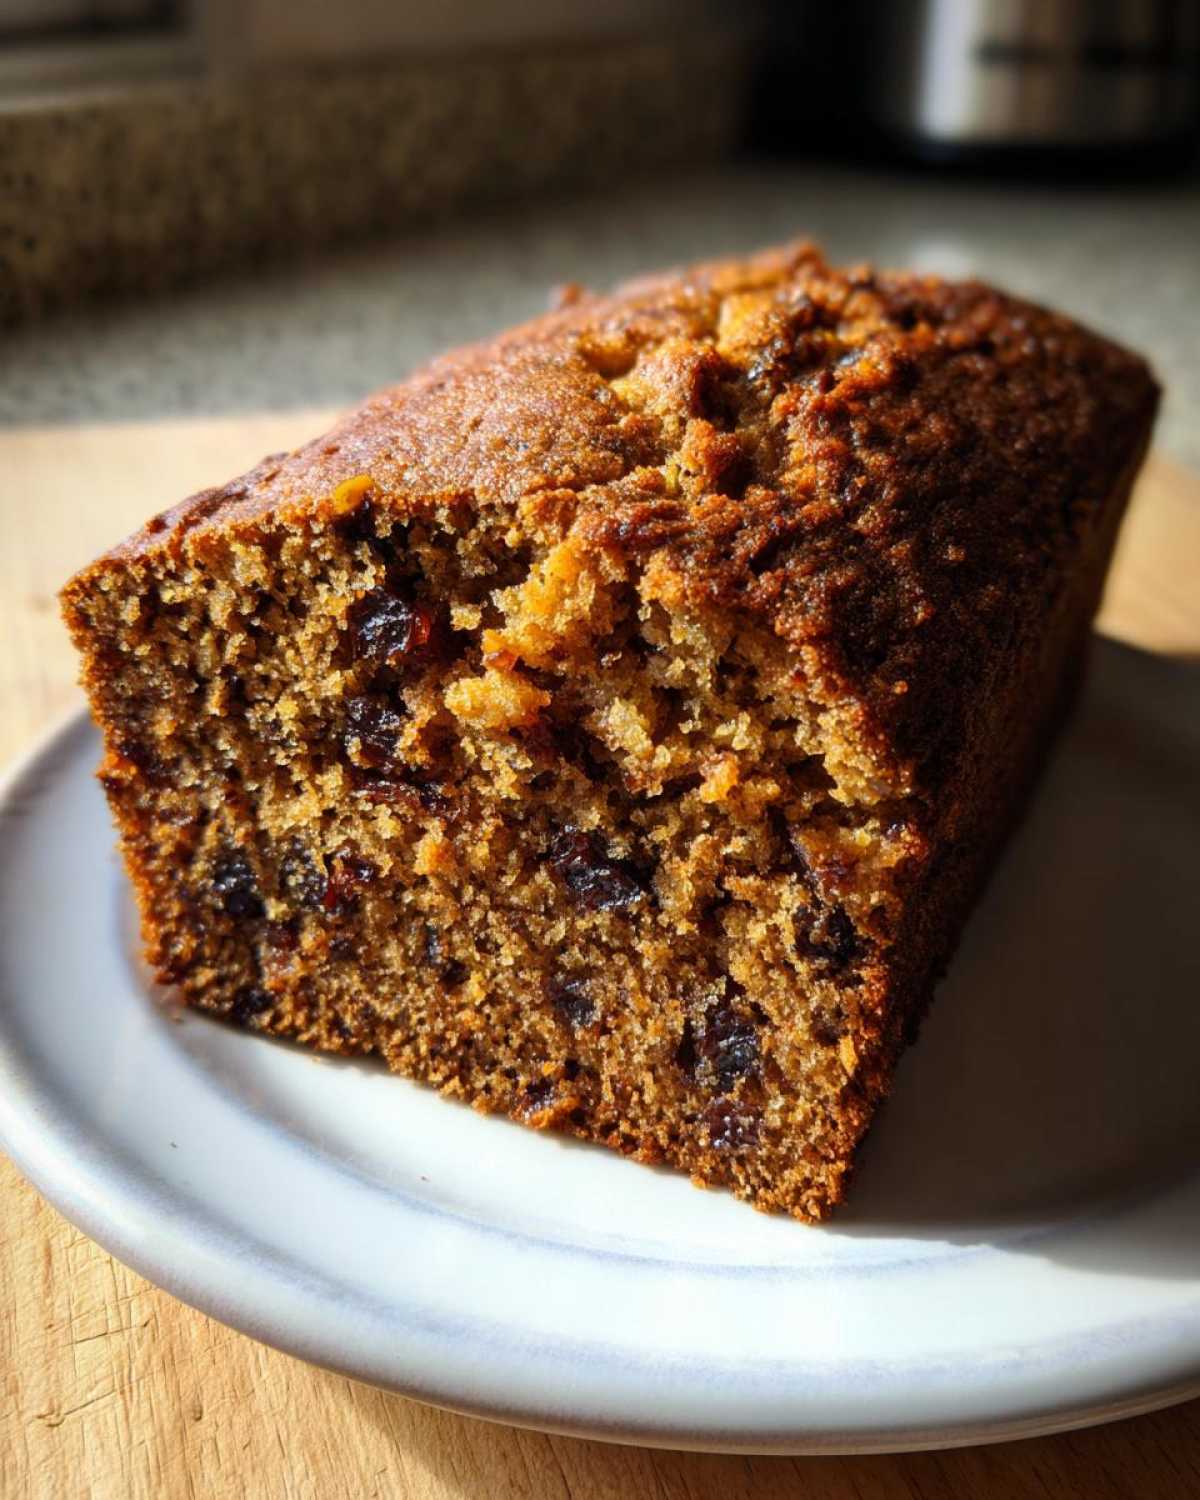
The main secret, the one that stops the dates from just drying out in the heat, is the initial soak. We aren’t just softening them; we are creating a date slurry that gets completely incorporated into the batter. Trust me, don’t skip pouring that boiling water right over those chopped dates and setting them aside!
The Secret to a Tender Crumb in Your Date Nut Bread
When you add baking soda directly to that hot, date-soaked mixture, you start a little chemical explosion there. It’s all about getting the leavening process moving early and allowing the dates to liquify slightly. This reaction ensures that the date pulp blends perfectly into the flour, preventing any dry, hard pockets of date from forming. This gentle process keeps the entire loaf tender!
Gathering Ingredients for Your Date Nut Bread
Okay, time to grab your apron! One of the loveliest things about this recipe is that it falls right into that wonderful category of Easy Quick Bread Baking. We aren’t whisking egg whites or hunting down strange extract bottles. Everything here is simple comfort food stuff, easily sourced.
The ingredients list looks straightforward, but a couple of steps need your attention *before* you start mixing. First, the dates need to be chopped—don’t waste time, just rough chop them! Second, the butter needs to be nice and softened. I mean, room temperature soft, not melted out of laziness! And those walnuts? Chop them up, but save a tablespoon or so if you want to sprinkle some extra crunchy bits right on top before it goes into the oven. That little detail really makes it look professional!
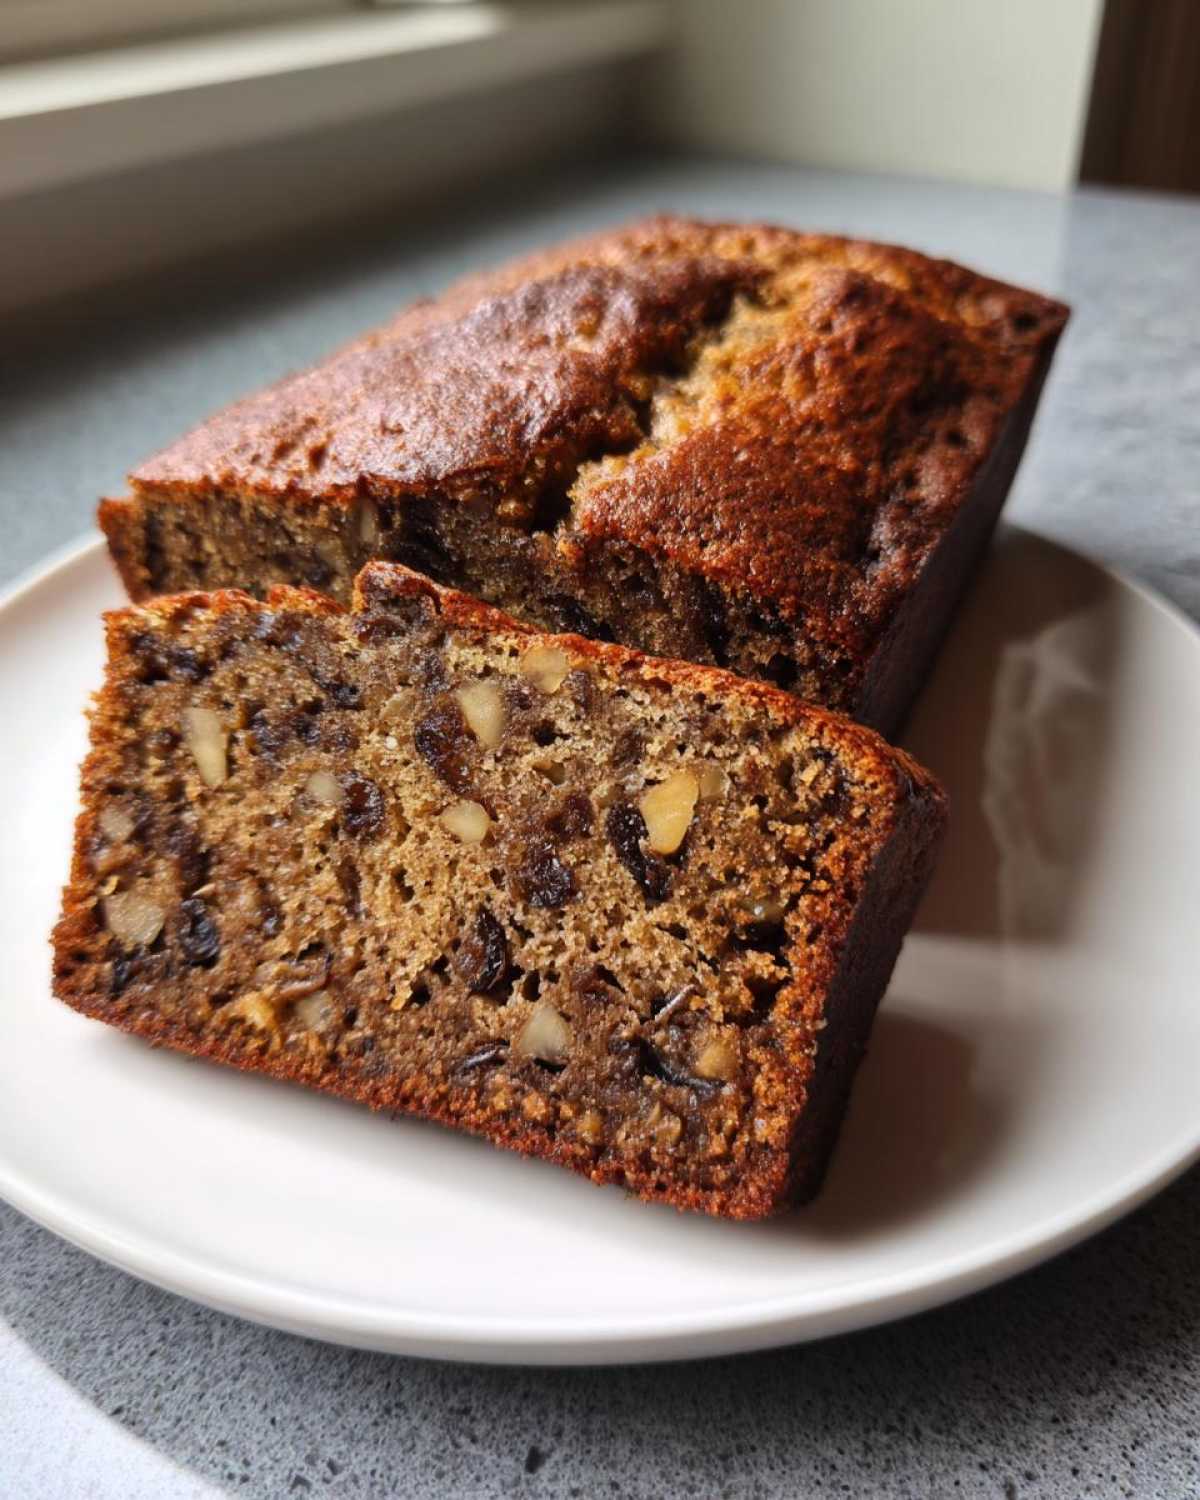
Ingredient Notes and Simple Substitutions for Date Nut Bread
If you’re out of walnuts, don’t panic; pecans make a beautiful swap in this Nut and Date Cake Recipe, they just lend a slightly different buttery flavor. Now, if you’re trying to make this a bit healthier, you can swap out about a quarter of that all-purpose flour for whole wheat, but honestly, for the absolute *moistest* result, stick to white flour. Also, if you like a little warmth, this is the perfect time to add half a teaspoon of cinnamon for a lovely Spiced Date Bread flavor profile. See? Totally flexible comfort baking!
Step-by-Step Instructions for Perfect Date Nut Bread
Alright, Chloe translating Liam’s magic into foolproof instructions—this is where we turn those ingredients into something truly spectacular. If you’re looking for Simple Baking Recipes that require more patience than skill, you’ve hit the jackpot. We’re going to walk through this slowly, especially the parts where timing matters most, like that initial soak and the final rest.
First things first: get that oven warmed up to 350°F (175°C) and grease/flour your 9×5 pan. Nobody wants stuck bread! Then we move straight to what makes this recipe trustworthy.
Preparing the Dates and Soaking Technique for Date Nut Bread
This is step two, and honestly, it’s the most important part for achieving that famous gooey texture in your Homemade Date Bread. You need to pour that cup of boiling water right over your chopped dates and stir in the baking soda immediately. Let this sit undisturbed for a full 15 minutes. You’ll see it turn into this chunky, dark paste. That reaction between the hot water and the soda is critical; it starts opening up those dates so they integrate beautifully into the batter later on.
Mixing the Batter and Achieving the Best Date Nut Loaf
Once the dates are ready, it’s time to cream that softened butter and sugar until it looks pale and fluffy—this traps the air we need for lift. Beat in the eggs one by one, slowly. Then, start alternating the dry flour mix with the wet date slurry. Stop mixing as soon as you don’t see white streaks of flour anymore. Overmixing is the kiss of death for quick breads! We are aiming for the Best Date Nut Loaf, which means gentle handling here. Finally, fold in those walnuts and pour it all into your prepped pan.
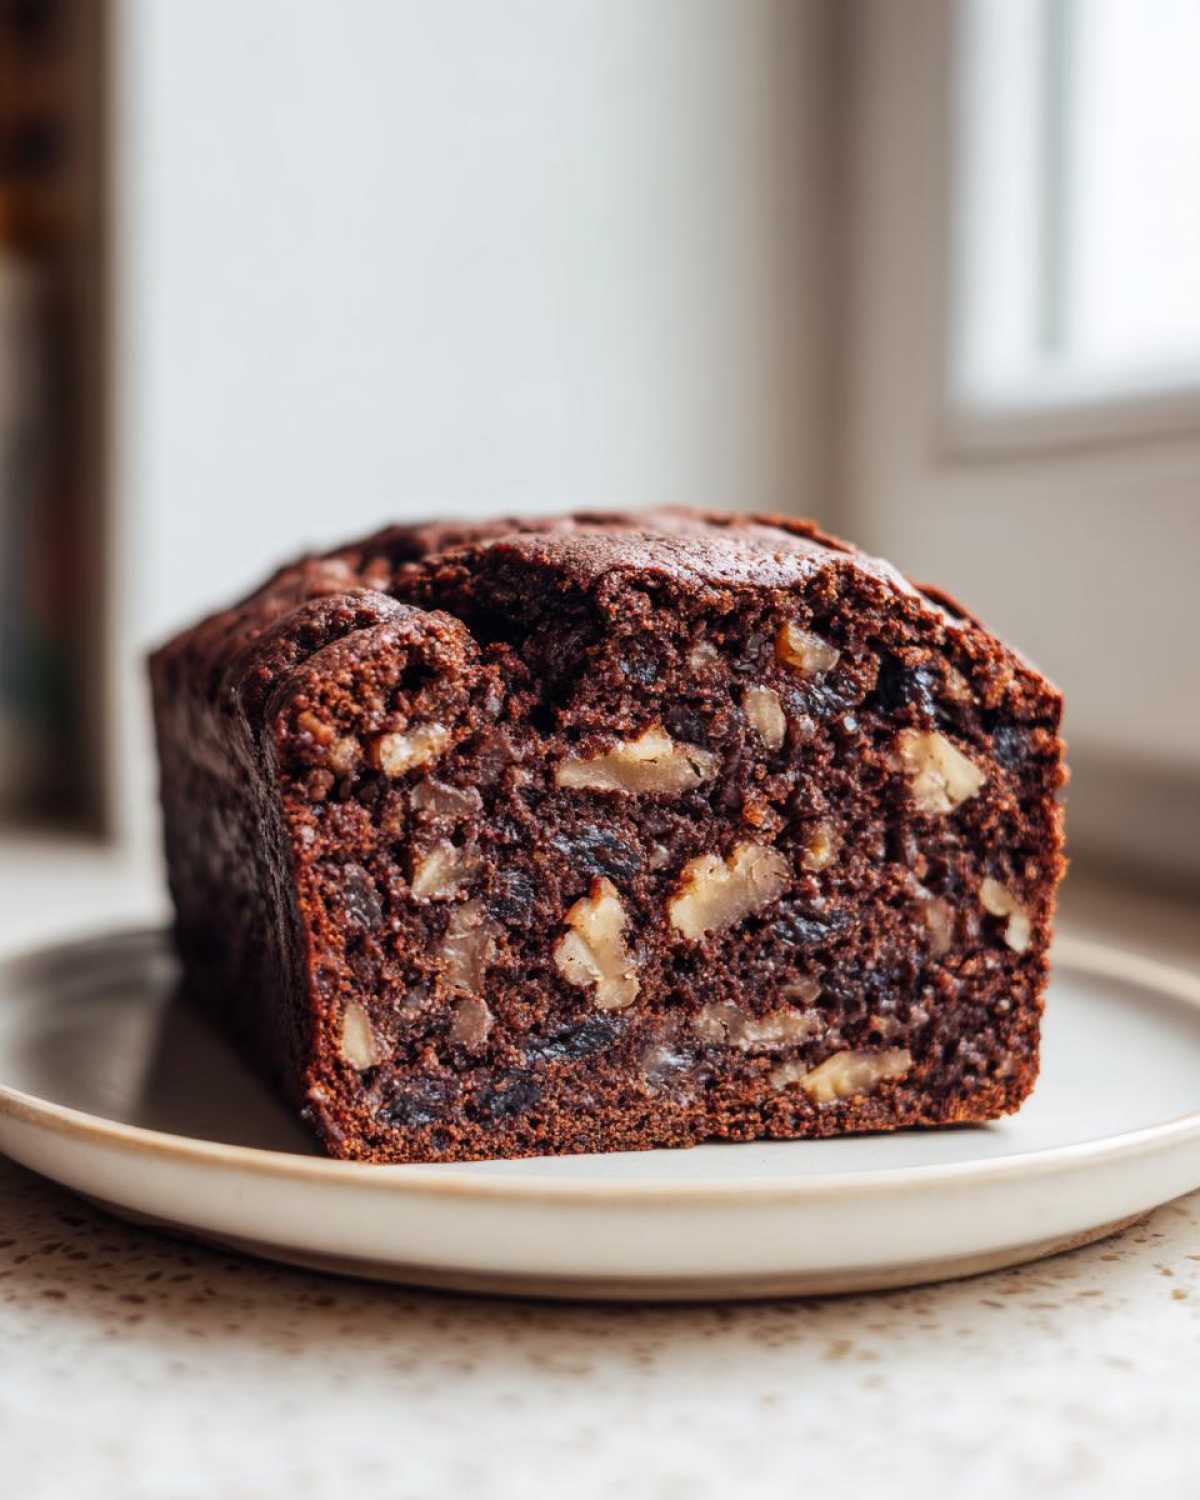
Pop it in the oven and forget about it for about 55 to 65 minutes. Remember that key timing: let it rest in the pan for 10 minutes before running a knife around the edge and letting it cool completely on the rack. That’s the secret to getting it out in one piece!
For more guidance on timing and different stages of baking, check out our main recipe walkthroughs!
Baking Tips for Your Old Fashioned Quick Bread
Getting the bake right is just as important as mixing it correctly, especially when you’re aiming for that guaranteed moist center. We want this delicious loaf to come out looking, smelling, and tasting exactly like the kind of Old Fashioned Quick Bread your grandma used to make. That means no sudden sinking in the middle!
Your oven needs to be at 350°F (175°C). When you check for doneness, ditch the quick glance! A wooden skewer or even a thin piece of dry spaghetti works perfectly for that center test. Stick it in deep; if it comes out clean, you’re golden. If you see wet batter, give it five more minutes. Remember what Liam always says: it’s better to have a loaf that bakes a couple of minutes too long than one that collapses when you go to slice it!
Also, don’t try to rush that 10-minute cool-down period in the pan. It seems fussy, but just like a pie crust setting up, the bread needs that little bit of time to firm up its structure before you manhandle it onto the cooling rack. If you’re struggling with pans sticking, you might want to check out some of the tricks others use when baking this exact bread, like these tips from other bakers!
Serving Suggestions for Your Date Nut Bread
Now that you have this amazing, fragrant loaf, the only thing left to do is decide how to savor it! Honestly, the way our recipe notes suggest—served warm—is superior. Don’t be afraid to slice off a thick piece when it’s still just slightly warm and slather it with a generous amount of softened butter.
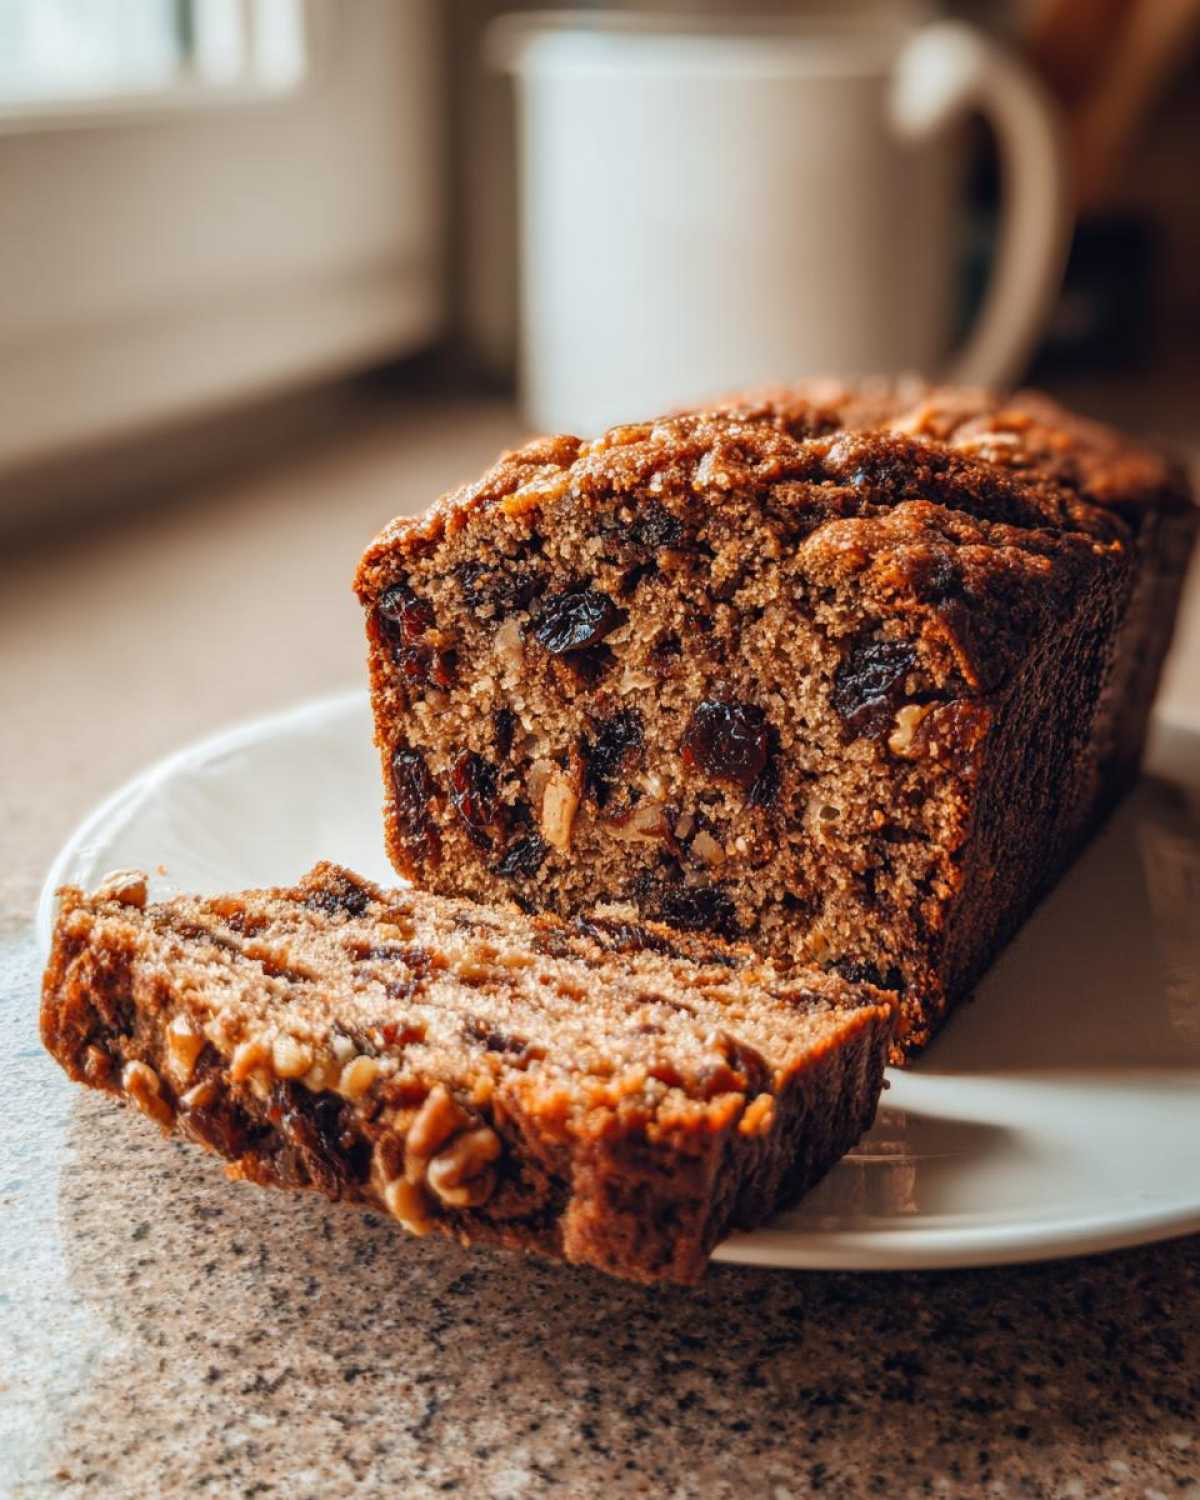
The richness of the butter melting into the sweet, sticky parts of the bread is just heavenly. This loaf is perfect as a weekend treat alongside your morning coffee or tea. It’s substantial enough to count as a proper Quick Bread for Breakfast when you’re short on time but still want that comforting, homemade feeling. Honestly, that’s my preferred delivery method for this bread!
Storage and Make Ahead Bread Instructions for Date Nut Bread
The greatest part about any good quick bread, and absolutely true for this Date Nut Bread, is that it’s a fantastic Make Ahead Bread option! This isn’t like a fluffy yeast bread that gets stale overnight; that moisture we worked so hard to achieve keeps it tasting great for days. The absolute most important first step, though, is letting it cool almost completely. If you wrap it while it’s even slightly warm, you’re just trapping steam, and we definitely don’t want that mushy texture.
Once it’s completely cool—and I mean stone cold—wrap that loaf up tight. First layer plastic wrap that really hugs the loaf, and then a second layer of aluminum foil is my trick. That double wrapping keeps the air and any fridge odors out. It stays perfectly good on the counter for about three days if you keep it wrapped up well. If you know you won’t finish it, pop it in the freezer! It freezes surprisingly beautifully for up to three months.
Common Questions About Making Date Nut Bread
We always get questions about this loaf because people want to make sure they aren’t messing up Liam’s perfect technique! Here are a few things that pop up frequently from folks sending out their first few batches. If you ever have a question that isn’t covered here, don’t hesitate to get in touch via our contact page!
Can I make a Banana Date Nut Bread Variation?
Oh, absolutely! People love blending their favorite quick breads, and the great news is that banana pairs wonderfully with dates and walnuts. If you want to try a Banana Date Nut Bread Variation, take about half a cup of that mashed banana, and you can reduce your initial date soak liquid slightly, maybe by ¼ cup, or even swap out the stick of butter for the banana puree. Just be generous with stir-ins! I think a little less sugar works well when you add the banana, too, since they add natural sweetness.
How long does this moist date nut bread stay fresh?
This is the best part! Because this recipe is so wonderfully moist, it lasts way longer than a standard cake. If you keep it well-wrapped—plastic wrap first, then foil—it stays fantastic on the counter for three to four solid days. Now, if you wrap it really tightly, you can definitely toss it in the fridge for up to ten days. I almost prefer it after two days; the flavors just get deeper and everything settles in nicely. You can always slice a cold piece and warm it in the microwave for ten seconds to bring that buttery texture right back!
Estimated Nutritional Snapshot
Now, I know we bake this because it tastes like a warm hug from the inside, but Liam is the one obsessed with the details, so he always insists on giving a little snapshot of what you’re consuming. Remember, these numbers are just estimates—they change depending on exactly how much butter you used or if you chose pecans over walnuts for your Nut and Date Cake Recipe. We always take the manufacturer’s standard measurements when creating these charts.
This information is for one slice, based on yielding ten servings from the loaf. We aren’t counting macros obsessively here, but it’s nice to know you’re getting a wholesome snack!
- Serving Size: 1 slice
- Calories: Approximately 285
- Fat: About 12g (with 5g saturated)
- Carbohydrates: Roughly 43g, with 2g of that being fiber
- Protein: Around 5g
- Cholesterol: About 55mg
We aim for comforting, delicious food here at Cookery Courier, not dietary perfection, so enjoy every bite! That sweetness comes from the dates doing most of the heavy lifting, which is always a win in my book when we’re talking Sweet Loaf Recipes.
Share Your Homemade Date Bread Experience
Now that you know all the secrets for making this unbelievably moist loaf, I genuinely want to hear about it! Sending out a delicious message means sharing the results, right? Whether this was a special treat for your busy partner, a lovely addition to a Sunday brunch, or just a perfect mid-week snack for yourself—I want to know how it landed.
If you made this date nut bread, please click those stars below and leave a rating! Five stars if it tasted like home, of course! Even better, drop a comment telling me what you thought. Did you add a sprinkle of cinnamon? Did you serve it warm with butter? Your feedback doesn’t just help other bakers who might be nervous about trying a new quick bread; it keeps our mission alive.
Every successful loaf shared means one more warm message delivered into the world. Don’t forget, if you have questions about substitutions or storage, you can check out our official disclaimer page, but for specific recipe tweaks, drop me a line in the comments! Happy baking, and thank you for helping us deliver comfort!
PrintOld-Fashioned, Ultra-Moist Date Nut Bread Recipe
Bake a classic, comforting date nut bread loaf that stays incredibly moist. This easy quick bread recipe uses simple ingredients for a reliable, flavorful result perfect for breakfast or snacking.
- Prep Time: 20 min
- Cook Time: 60 min
- Total Time: 80 min
- Yield: 1 loaf (about 10 servings)
- Category: Quick Bread
- Method: Baking
- Cuisine: American
- Diet: Vegetarian
Ingredients
- 1 cup boiling water
- 1 cup packed pitted dates, chopped
- 1 teaspoon baking soda
- 1/2 cup (1 stick) unsalted butter, softened
- 1 cup granulated sugar
- 2 large eggs
- 1 teaspoon vanilla extract
- 1 3/4 cups all-purpose flour
- 1 teaspoon baking powder
- 1/2 teaspoon salt
- 1 cup chopped walnuts (plus extra for topping, optional)
Instructions
- Preheat your oven to 350°F (175°C). Grease and flour a standard 9×5 inch loaf pan.
- Place the chopped dates in a small bowl and pour 1 cup of boiling water over them. Stir in the baking soda and set aside to soak for 15 minutes. The mixture will look like a thick paste.
- In a large bowl, cream together the softened butter and granulated sugar until light and fluffy. Beat in the eggs one at a time, mixing well after each addition. Stir in the vanilla extract.
- In a separate medium bowl, whisk together the flour, baking powder, and salt.
- Gradually add the dry ingredients to the wet ingredients, mixing on low speed until just combined. Do not overmix.
- Stir the date mixture (including any remaining liquid) and the chopped walnuts into the batter until evenly distributed.
- Pour the batter into the prepared loaf pan. Sprinkle a few extra chopped walnuts over the top if you like.
- Bake for 55 to 65 minutes, or until a wooden skewer inserted into the center comes out clean.
- Let the bread cool in the pan for 10 minutes before turning it out onto a wire rack to cool completely.
Notes
- For an extra moist loaf, serve this date nut bread warm with softened butter spread on top.
- You can substitute pecans for walnuts if you prefer.
- This loaf freezes well. Wrap tightly in plastic wrap and then foil once completely cool.
- If you want a slightly spiced flavor, add 1/2 teaspoon of ground cinnamon to the dry ingredients.
Nutrition
- Serving Size: 1 slice
- Calories: 285
- Sugar: 25
- Sodium: 180
- Fat: 12
- Saturated Fat: 5
- Unsaturated Fat: 7
- Trans Fat: 0
- Carbohydrates: 43
- Fiber: 2
- Protein: 5
- Cholesterol: 55