

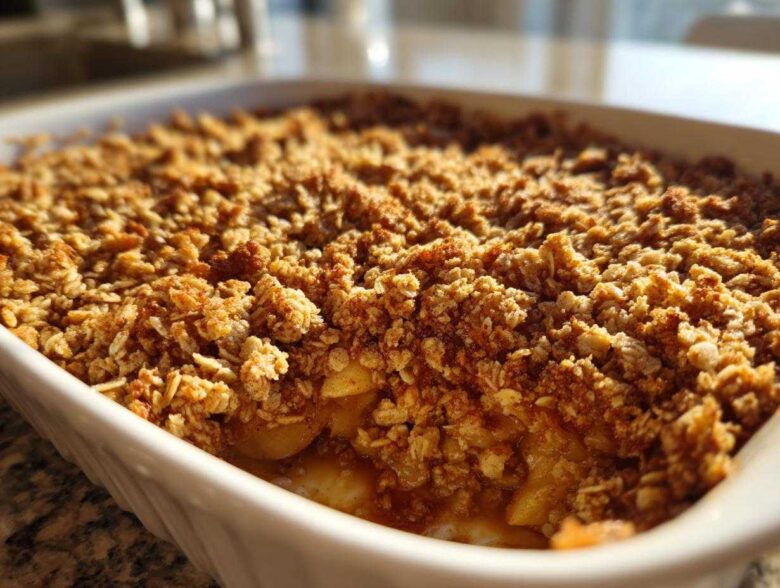
When the air gets that crisp, cool edge promising cozy evenings, you absolutely need a rescue dessert waiting for you. For me, nothing says “message delivered warm” quite like a bubbling dish of baked apples. Forget complicated pies; I’m handing you what I genuinely believe is the best apple crisp recipe out there. It’s totally easy, relies on simple ingredients, and the crunchy topping? Oh, wow, it’s perfection. Liam loves when I make this for us after a long week; it’s the kind of comforting food that just washes the day away. If you want to know more about our whole mission of delivering comfort, you can check out our story here. Trust me, this simple fruit crisp recipe is about to become your go-to fall baking idea.
Why This Easy Apple Crisp Recipe is Your New Favorite Autumn Apple Desserts Staple
Liam and I have tried a lot of fall baking ideas, but this apple crisp recipe always wins because it’s foolproof. If you’re looking for an Easy Apple Crisp Dessert that doesn’t require fussing with pie crusts but still delivers big on that cozy, seasonal flavor, you’ve found it. We rely on this one because it’s just so reliable—it’s the epitome of real, honest Autumn Apple Desserts. It’s my version of a simple message: “Take a break, you deserve this comforting treat.” I’ve even got a great pumpkin bread recipe if you need another simple fall bake! Trust me, this simple fruit crisp recipe is about to become your go-to fall baking idea.
The Perfect Balance: Tender Apples and Buttery Crumble Topping
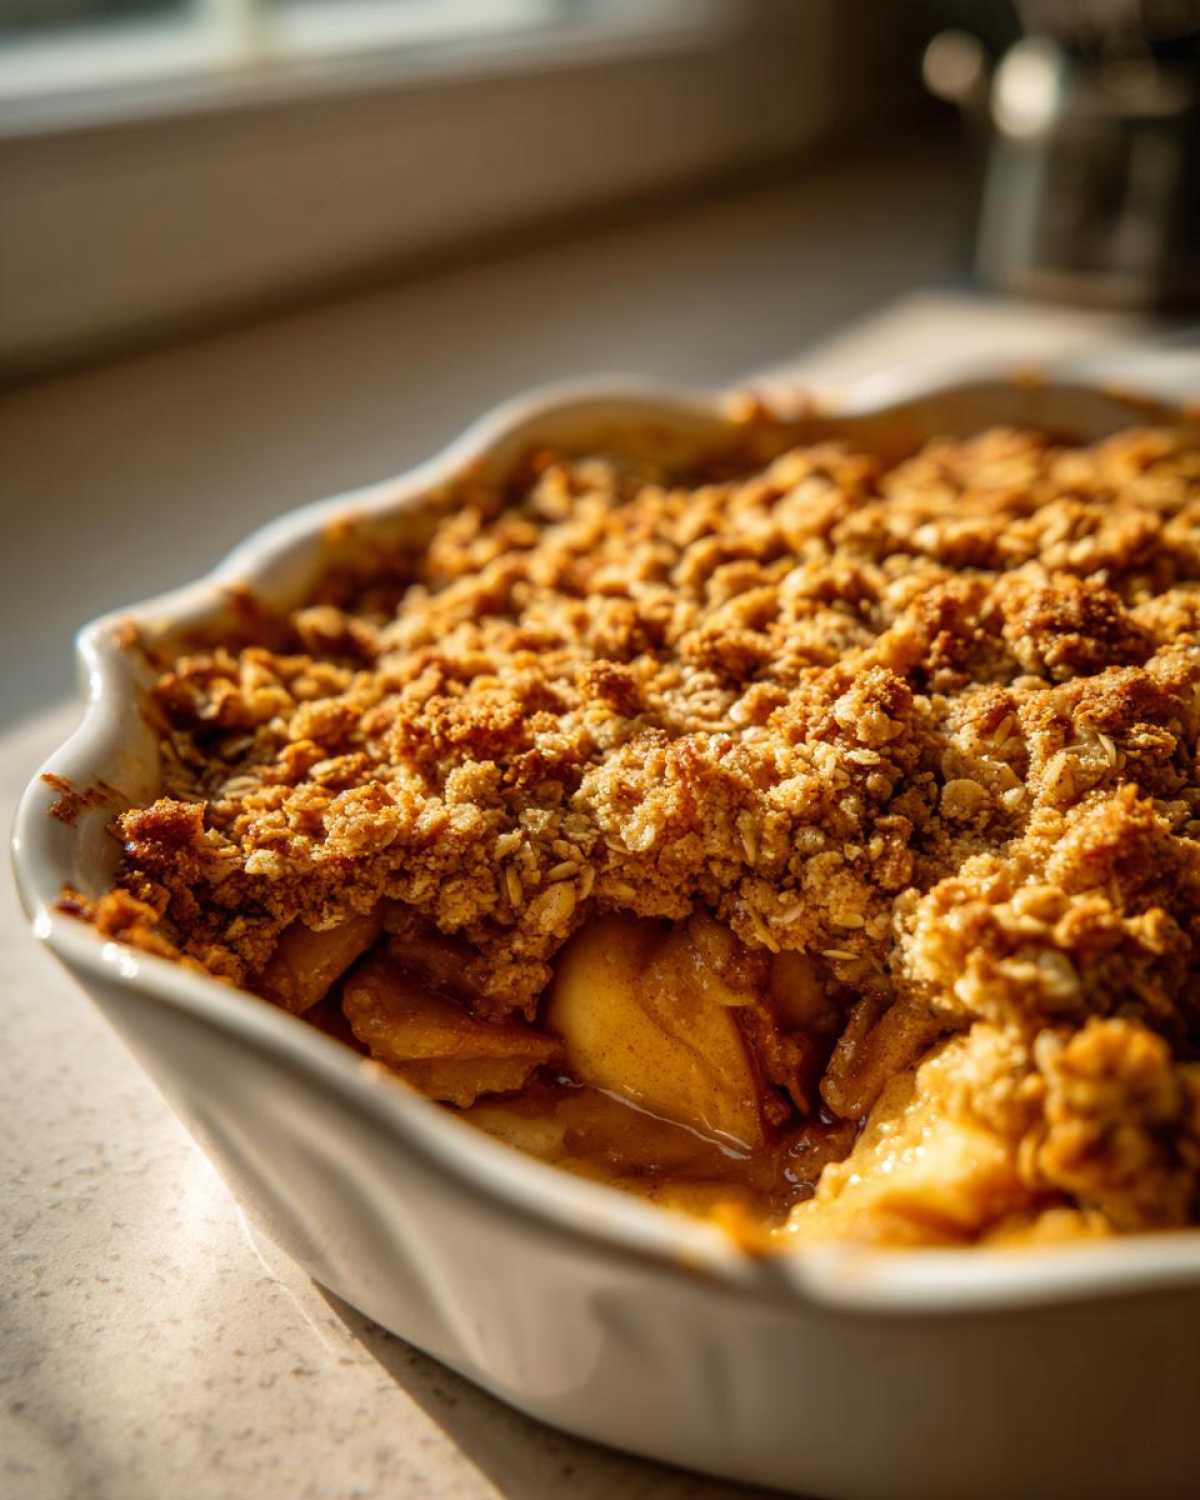
The magic here isn’t just in the spices; it’s the texture contrast, honestly. You want your apples to completely transform in the oven until they are unbelievably tender and juicy, almost like a thick sauce underneath it all. Then, you have the topping! My goal is always a topping that is incredibly buttery and manages to stay genuinely crunchy, not soggy, after it comes out.
Gathering Ingredients for Your Classic Apple Crisp Recipe
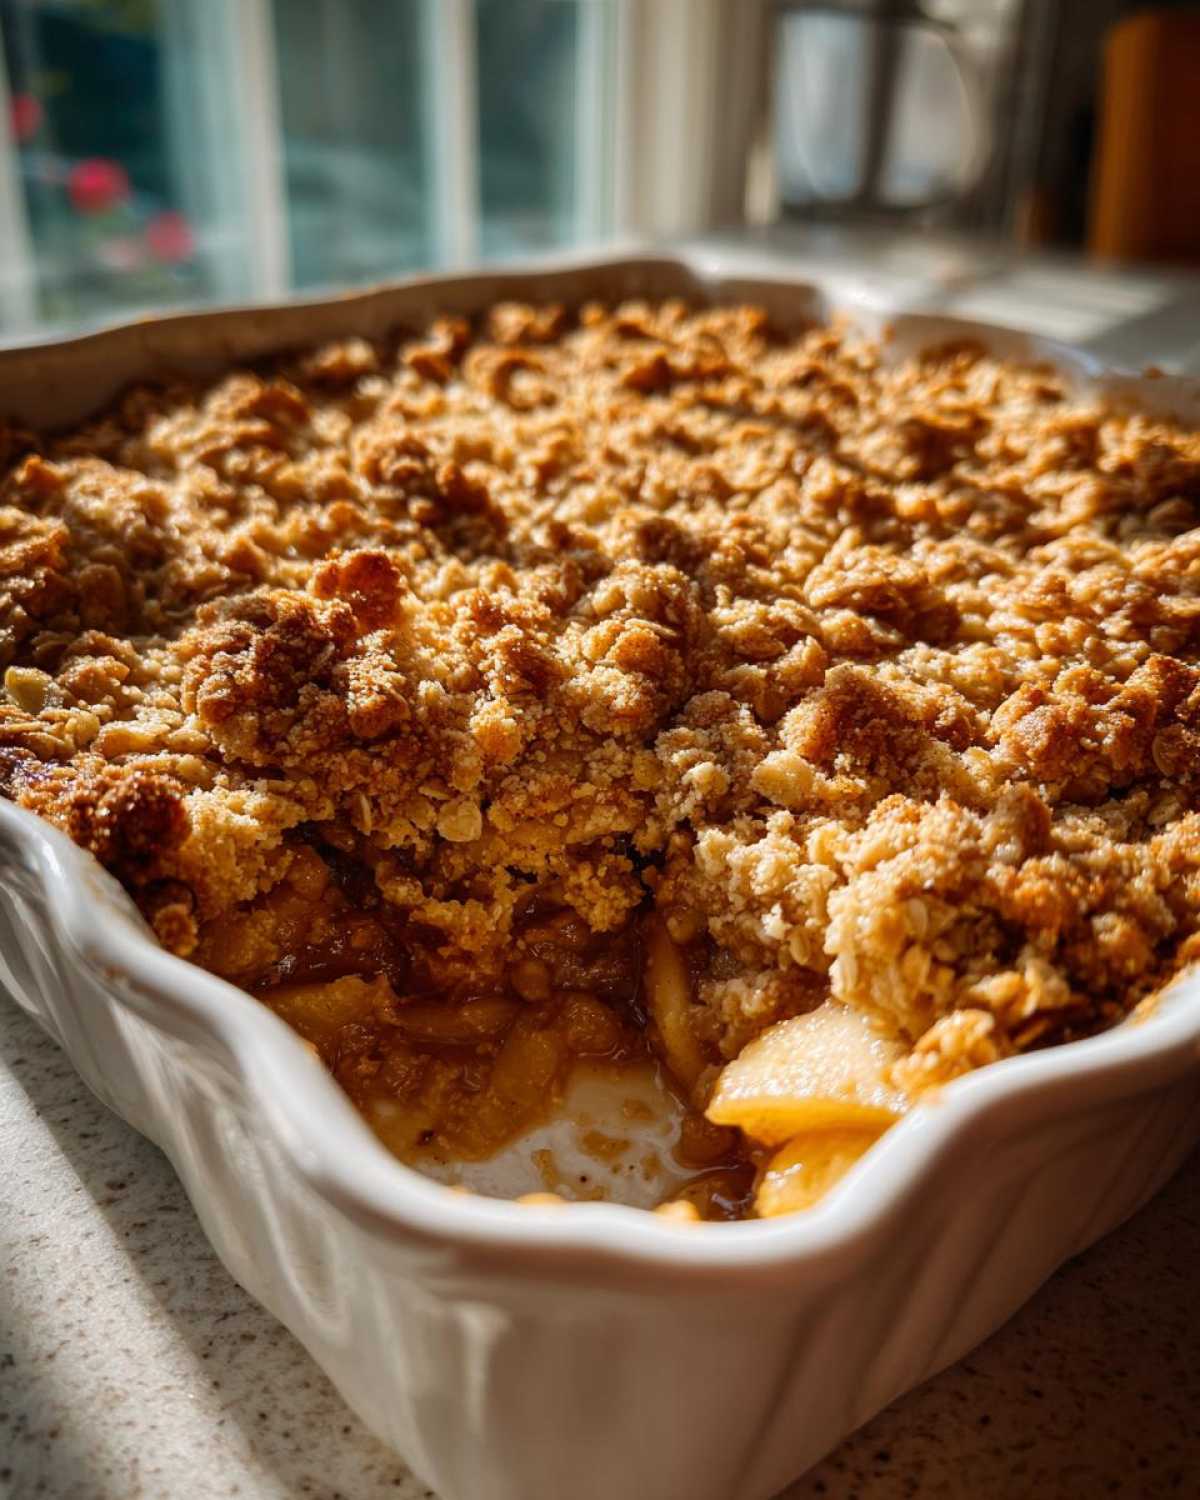
When it comes to ingredients, this is definitely territory Liam oversees—he insists that focusing on simple, quality components is half the battle for any great **apple crisp recipe**. For the filling, you absolutely must have six large baking apples, peeled, cored, and sliced thin, about 1/4 inch thick is what we aim for. Don’t forget that little splash of lemon juice to keep them bright!
For the Perfect Baked Apple Filling
We need about six big apples, and you want to toss those slices with lemon juice first, which is important. Then, coat them with 1/4 cup of granulated sugar, one teaspoon of cinnamon, a tiny pinch of nutmeg, and make sure to add 1/4 cup of all-purpose flour for the filling. That little bit of flour thickens the juices perfectly for that Perfect Baked Apple Filling.
Creating the Buttery Crumble Topping for this Apple Crisp Recipe
The topping is where the crunch comes from! You’ll mix up one cup of old-fashioned rolled oats, a good 3/4 cup of packed light brown sugar, 1/2 cup of all-purpose flour for the topping, and an extra 1/2 teaspoon of cinnamon, plus a pinch of salt. But here is the crucial part for that fantastic Buttery Crumble Topping: use 1/2 cup of cold unsalted butter, cut it into tiny cubes, and rub it in!
How to Make Apple Crisp From Scratch: Step-by-Step Instructions
Okay, let’s get down to business. This is where we prove how easy an old fashioned apple crisp can be! My main goal here is making sure you feel confident making this from scratch, which is why I’ve broken down every little bit. First thing, and don’t you forget this part: you need to preheat your oven to 375°F (190°C) and go ahead and lightly grease that 8×8 baking dish we talked about. If you love apples baked under a perfect topping, you might also want to check out our apple tart recipe sometime too!
Preparing the Apple Base for the Apple Crisp Recipe
Now grab that big bowl with your coated apples. You’re just going to spread them out carefully and evenly into that prepared dish. Make sure they’re settled in there nicely. We want a nice, flat layer so they bake up perfectly—this is what guarantees that Perfect Baked Apple Filling we are aiming for. If you see any little juices pooled at the bottom of the bowl, just drizzle those right over the top; more flavor for us!
Mixing the Warm Apple Crisp with Oat Topping
It is time for the best part! Take your dry topping ingredients and give them a quick whisk in a separate bowl—just make sure everything is married together before the butter goes in. Now, this is critical for getting that amazing crunch: take your cold butter cubes and work them into that oat mixture. You can use your fingertips or a pastry blender. You want to work quickly so the butter stays cold. Stop mixing when it looks like coarse crumbs, with some pea-sized butter chunks still visible. Those chunks melt into pure deliciousness while baking, giving you that ideal Warm Apple Crisp with Oat Topping!
Baking and Resting the Apple Crisp Recipe
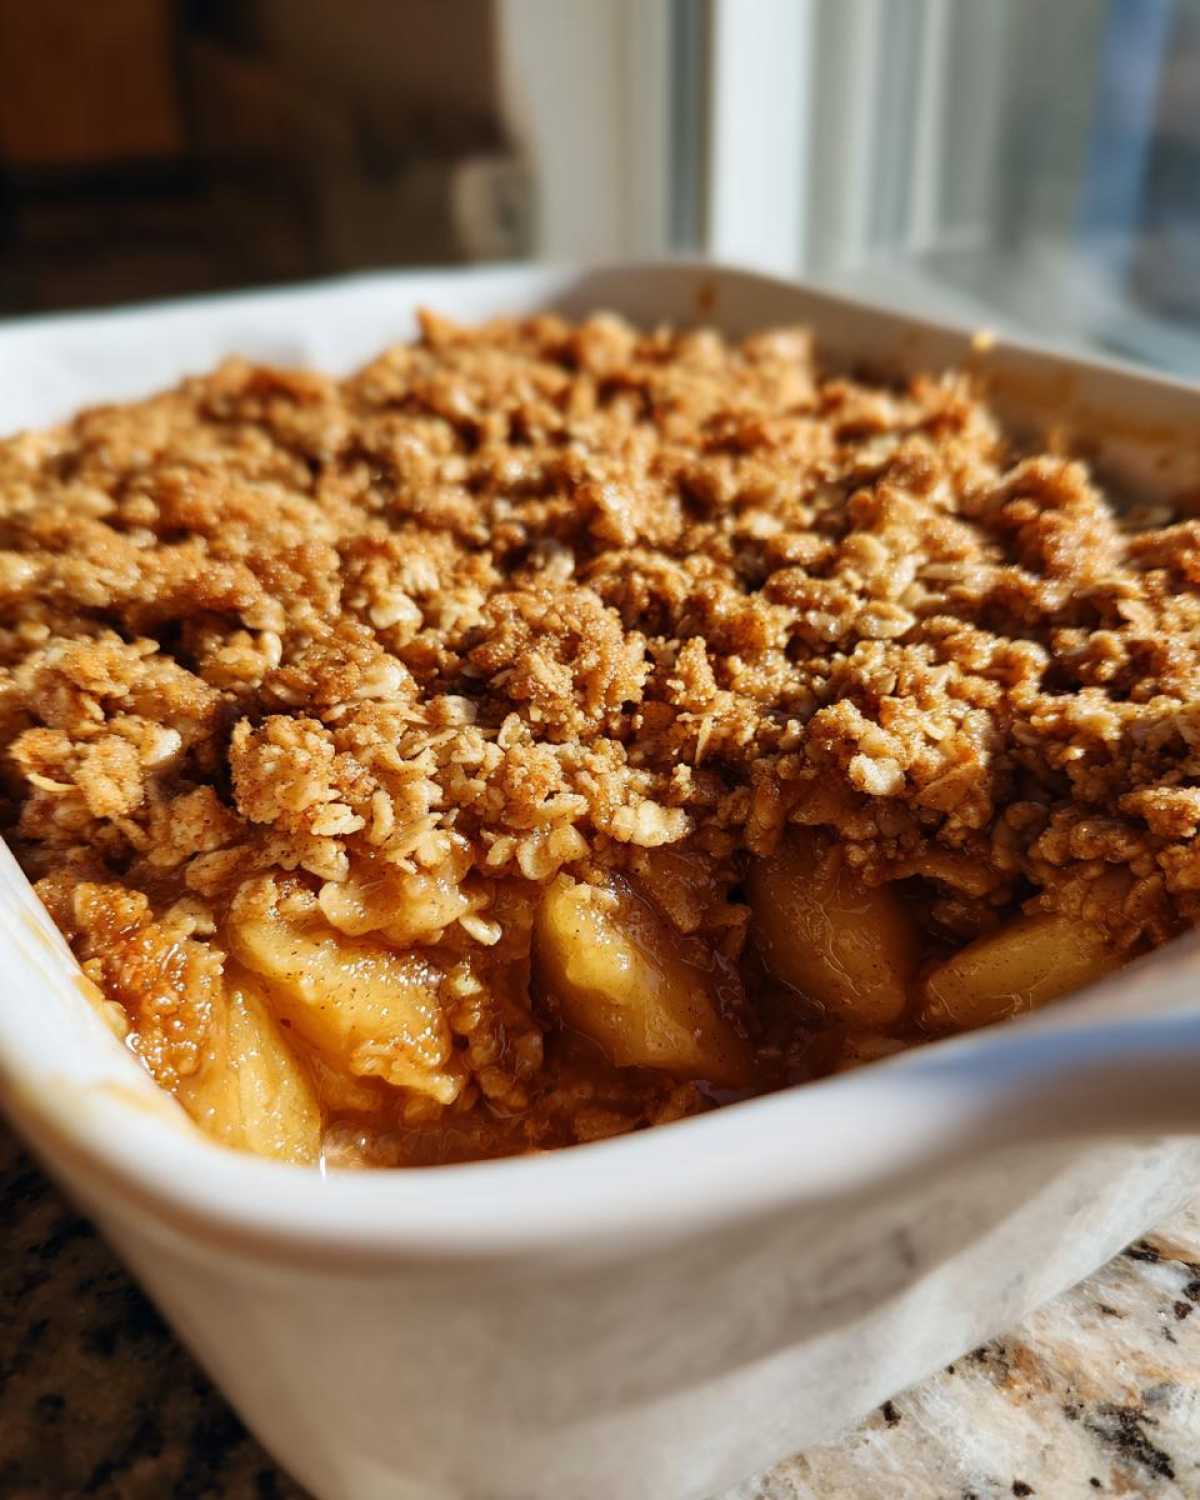
Sprinkle that glorious topping evenly across the apples. Pop it into your preheated oven and let it bake for about 35 to 45 minutes. You’ll know it’s done when that topping is golden brown and you see the apple filling bubbling happily around the edges. Don’t rush this next bit! You absolutely *must* remove it from the oven and let it rest for at least 15 minutes before digging in. This resting time lets the juices set up. I actually watched a great video on this very apple crisp recipe over at Natasha’s Kitchen that shows you exactly what the bubbles should look like here if you want a visual!
Tips for Success with Your Apple Crisp Recipe
I know you want this to be the ultimate Comfort Food Baking success story, and it can be! The little secrets that make this apple crisp recipe sing really come down to ingredient strategy. It’s not that the process is hard, but knowing *what* to choose makes all the difference between a good crisp and a legendary one. We’re aiming for legendary, right? If you want to see how others achieve this perfection, I love checking out suggestions over at The Meal Journal.
Choosing the Right Apples for this Apple Crisp Recipe
Don’t just grab any apple lying around! If you use only super sweet apples, your filling will turn into sugary mush. That’s why I live by the mix-and-match rule. If I use Granny Smith for tartness and great structural integrity, I’ll toss in some Honeycrisp or Fuji because they are naturally sweeter. This balances the flavor profile beautifully and ensures your apple layer bakes up tender but still holds its shape. We want texture, not soup!
Serving Suggestions for Your Warm Apple Crisp with Oat Topping
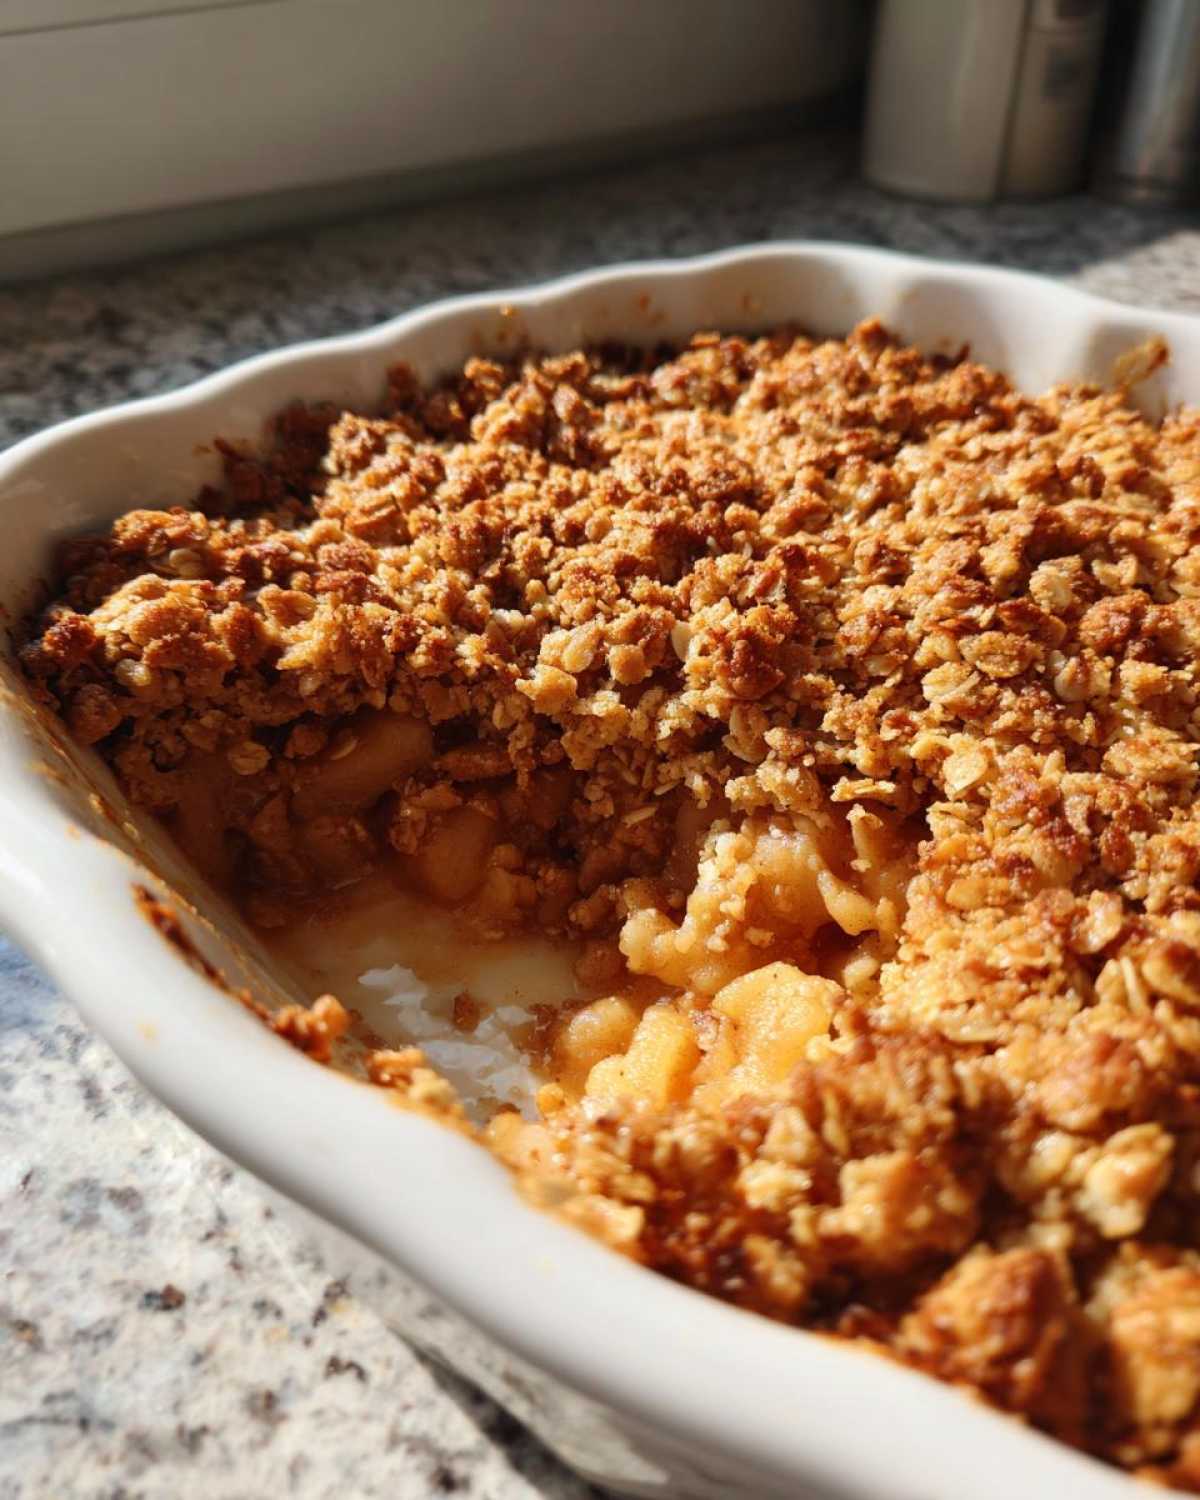
Honestly, this whole apple crisp recipe is designed around one glorious moment: serving it fresh from the oven. Remember my whole ‘Cookery Courier’ thing? Liam used to bring me comfort food—this crisp is my way of doing that back for him. There is simply no comparison to eating a scoop of cold, creamy vanilla ice cream melting right over this steaming Warm Apple Crisp with Oat Topping. That contrast of hot and cold, soft and crunchy? That’s the message I want to send!
If you’re feeling fancy, a drizzle of good caramel sauce is amazing, too. But the real MVP is definitely the ice cream. If you’re looking to make your own topping that pairs perfectly, check out my recipe for cottage cheese ice cream—it’s surprisingly good!
This makes for the ultimate Apple Dessert with Vanilla Ice Cream experience, which is really what fall baking should be about.
Storage and Reheating Instructions for Leftover Apple Crisp Recipe
Okay, let’s be real—we rarely have leftovers of this easy apple crisp dessert, but when we do, you need to know how to treat them right so the crunch stays crunchy! Store any extras tightly covered; I usually just use foil or plastic wrap right over the dish. You can keep it on the counter at room temperature for about half a day because of all that sugar, but if you need it to last longer, pop it in the fridge for up to three days.
Reheating is the real secret here. If you just nuke it in the microwave, that beautiful oat topping turns sadly soft. Don’t do that to yourself! Pop individual servings or the whole dish into a small 350°F oven for about 7 to 10 minutes. That dry heat is what brings the crispiness right back to life. It’s like a little time machine for your crust!
Restoring the Crispness for Reheating
Seriously, put away the microwave! Oven reheating is non-negotiable if you want that **buttery crumble topping** to shine again. A quick blast in the oven or even an air fryer at 350°F will crisp everything up beautifully. Make sure you let it heat all the way through so the apple filling is piping hot before serving it again with that essential melt of vanilla ice cream.
Variations on the Classic Apple Crisp Recipe
While this classic **apple crisp recipe** is what Liam asks for every time, I love switching things up when I’m feeling creative! Sometimes I treat this as a springboard for other great fall baking ideas. You can easily transform this into what some folks call a Cinnamon Apple Crumble just by skipping the rolled oats if you want a denser, finer texture on top, though I prefer the oats myself.
For a little extra something, try folding in a handful of chopped pecans or walnuts right into that oat mixture before you cut in the butter. If you’re looking for a deeper spice profile beyond cinnamon and nutmeg, a small pinch of cardamom or even a tiny scrape of fresh ginger into the apple filling makes everything sing! If you enjoyed this, you should absolutely try my recipe for a moist spice cake next. For more traditional inspiration, sometimes I look at how Martha does her old-fashioned apple crisp.
Frequently Asked Questions About This Apple Crisp Recipe
Since this is such a popular request—our apple crisp recipe pops up constantly when people search for comfort food baking—I figured I’d tackle a few quick questions you might have before you head to the oven. I want to make sure your dish comes out perfect right away. I keep all my cooking adventures cataloged on my blog page, in case you need troubleshooting later!
Can I use different fruit in this apple crisp recipe?
Absolutely, you totally can! This is an incredibly versatile Simple Fruit Crisp Recipe. Pears work beautifully mixed with apples, or you can swap apples out entirely for firm stone fruits like plums or even firm peaches. If you’re using berries, like blackberries or blueberries, just be mindful of the cooking time; softer fruits might release more liquid, so I usually add an extra tablespoon of flour to the filling just to keep things from getting too soupy underneath the amazing topping.
How do I make this apple crisp recipe gluten-free?
That’s an easy fix, and you won’t lose much texture at all! The main two spots you need to swap are the flour and the oats. For the flour, just use a good quality 1-to-1 gluten-free all-purpose blend in both the filling and the topping. For the oats, make sure you grab oats that are specifically certified gluten-free, as regular oats often get contaminated during processing. Once you make those swaps, you’ll have a beautiful, cozy easy apple crisp dessert that everyone can enjoy. Perfection!
Do I have to use brown sugar in the topping?
Oh, you really should! Brown sugar brings that rich, molasses flavor that just screams autumn. While you *could* swap it for granulated sugar, it won’t give you that deep, caramelized flavor that pairs so perfectly with the cinnamon. The brown sugar helps create that satisfyingly chewy base layer right under the crisp bits. It’s part of what makes this an old fashioned apple crisp favorite!
Nutritional Estimates for This Apple Crisp Recipe
Now, I’m not a nutritionist—Liam handles that when I’m too busy making a second batch—but I do want to give you a general idea of what’s in one serving of this absolutely delicious apple crisp recipe. Because we are using simple ingredients and real butter, it’s definitely a treat, but it’s packed with fruit!
Keep in mind that these numbers are just estimates based on the ingredients listed and assuming this recipe yields 6 servings. Your exact totals might vary slightly depending on the apples you choose. But here’s the snapshot for one serving of that warm, comforting goodness:
- Serving Size: 1 serving
- Calories: 380
- Sugar: 35g
- Sodium: 120mg
- Fat: 20g
- Saturated Fat: 12g
- Carbohydrates: 50g
- Fiber: 4g
- Protein: 4g
See? Lots of fruit, which means some fiber to balance out that glorious buttery crumble topping. It’s the perfect balance for a truly satisfying comfort food baking experience!
Send Your Message: Share Your Apple Crisp Recipe Experience
Okay, you’ve baked it, the kitchen smells incredible, and that warm apple crisp is calling your name! Now that you’ve made this recipe, I truly want to know how it turned out for you. Remember, here at Cookery Courier, every dish is a message, and I want to hear what message you sent with this one—did you deliver it to a tired friend? Was it just for you and Liam for a cozy Friday night?
Please take a minute to click the star rating right up top and let me know how the apple crisp recipe treated you! If you ran into any snags or had a brilliant little tweak, drop it in the comments below. Hearing your recipes stories is honestly my favorite part of this whole adventure, and I promise to read every single one.
If you’re looking for more inspiration on what to bake next, check out some of the amazing tips other home cooks are sharing when they make their own versions, like these great ideas I saw over at The Recipefy. Your feedback helps us make sure every dispatch we send out is perfect!
PrintThe Best Classic Apple Crisp Recipe with a Buttery, Crunchy Oat Topping

This easy apple crisp recipe delivers tender, juicy apples under a perfect buttery oat topping. It is the ultimate warm comfort food dessert for any autumn evening.
- Prep Time: 15 min
- Cook Time: 40 min
- Total Time: 55 min
- Yield: 6 servings
- Category: Dessert
- Method: Baking
- Cuisine: American
- Diet: Vegetarian
Ingredients
- 6 large baking apples (like Granny Smith or Honeycrisp), peeled, cored, and sliced about 1/4 inch thick
- 1 tablespoon lemon juice
- 1/4 cup granulated sugar
- 1 teaspoon ground cinnamon
- 1/4 teaspoon ground nutmeg
- 1/4 cup all-purpose flour (for filling)
- 1 cup old-fashioned rolled oats
- 3/4 cup packed light brown sugar
- 1/2 cup all-purpose flour (for topping)
- 1/2 teaspoon ground cinnamon (for topping)
- 1/4 teaspoon salt
- 1/2 cup (1 stick) cold unsalted butter, cut into small cubes
Instructions
- Preheat your oven to 375°F (190°C). Lightly grease an 8×8 inch baking dish or a 9-inch pie plate.
- In a large bowl, combine the sliced apples, lemon juice, 1/4 cup granulated sugar, 1 teaspoon cinnamon, 1/4 teaspoon nutmeg, and 1/4 cup flour. Toss gently until the apples are evenly coated.
- Spread the apple mixture evenly into the prepared baking dish. This creates your tender, juicy apple base.
- Prepare the topping: In a separate medium bowl, whisk together the oats, brown sugar, 1/2 cup flour, 1/2 teaspoon cinnamon, and salt.
- Cut the cold butter into the dry topping mixture using a pastry blender or your fingertips. Work quickly until the mixture resembles coarse crumbs with some pea-sized pieces of butter remaining. This is key for a buttery crumble topping.
- Sprinkle the oat mixture evenly over the apples, covering them completely.
- Bake for 35 to 45 minutes, or until the topping is golden brown and crisp, and the apple filling is bubbling around the edges.
- Remove from the oven and let it cool for at least 15 minutes before serving warm. Serve with vanilla ice cream for the best experience.
Notes
- For the best flavor, use a mix of tart and sweet apples.
- If you prefer a softer topping, you can mix the topping ingredients with a fork instead of your hands to keep the butter colder longer.
- This dessert is excellent served warm, which is why it is a favorite comfort food baking item.
Nutrition
- Serving Size: 1 serving
- Calories: 380
- Sugar: 35
- Sodium: 120
- Fat: 20
- Saturated Fat: 12
- Unsaturated Fat: 8
- Trans Fat: 0
- Carbohydrates: 50
- Fiber: 4
- Protein: 4
- Cholesterol: 48