

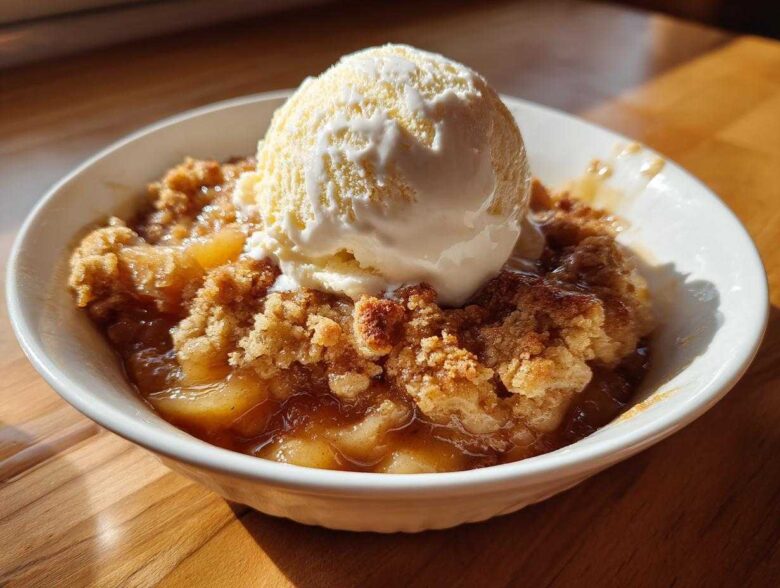
When you think of true comfort food, what comes to mind? Is it the slow, steady warmth of something baked just for you? For me, when I first started learning to cook, my comfort came straight from Liam’s kitchen—delivered warm, fresh from his oven right to my desk. That’s how our whole messy, wonderful story started! You can read a little more about how we got going over at our story.
Now, I get to deliver that warmth to you. Forget fiddly pies or complicated bakery orders. This is truly the ultimate, easy apple cobbler recipe you’ll ever need. It’s simple enough for beginners but tastes so rich, it feels like a special gift. At Cookery Courier, we believe every dish is a message, and trust me, this sweet and simple cobbler sends a clear message of love and care.
Why This is the Best Apple Cobbler Recipe You Will Make
I know, I know. Everyone claims they have the Best Apple Cobbler Recipe, but seriously, ours is different. Liam perfected this because he wanted something simple enough for me to make after a crazy day, but comforting enough to count as proper Comfort Food Desserts. It beats every store-bought option, and it’s faster than pie, which is a huge win! We have so many quick oven treats here, like our easy Southern peach cobbler.
What really shines here is the balance. We skip the fussy lattice work of a pie and go straight for that easy, golden blanket of biscuits. Plus, it cooks up fast—you get that incredible aroma filling your house in under an hour. It’s honestly the secret handshake for delivering effortless love on a plate.
Achieving the Perfect Tender Apple Filling
You want apples that are soft and yielding, not crunchy little cubes, right? The trick here is the mix of sugars combined with just a tiny bit of flour. That flour grabs onto the juices the apples release, thickening them into a luscious sauce instead of leaving a watery mess at the bottom of your dish. Don’t skip the lemon juice, either! A squeeze brightens up all that rich cinnamon spice and stops the apples from turning too dull while they bake in this apple cobbler recipe.
The Secret to a Buttery Cobbler Topping
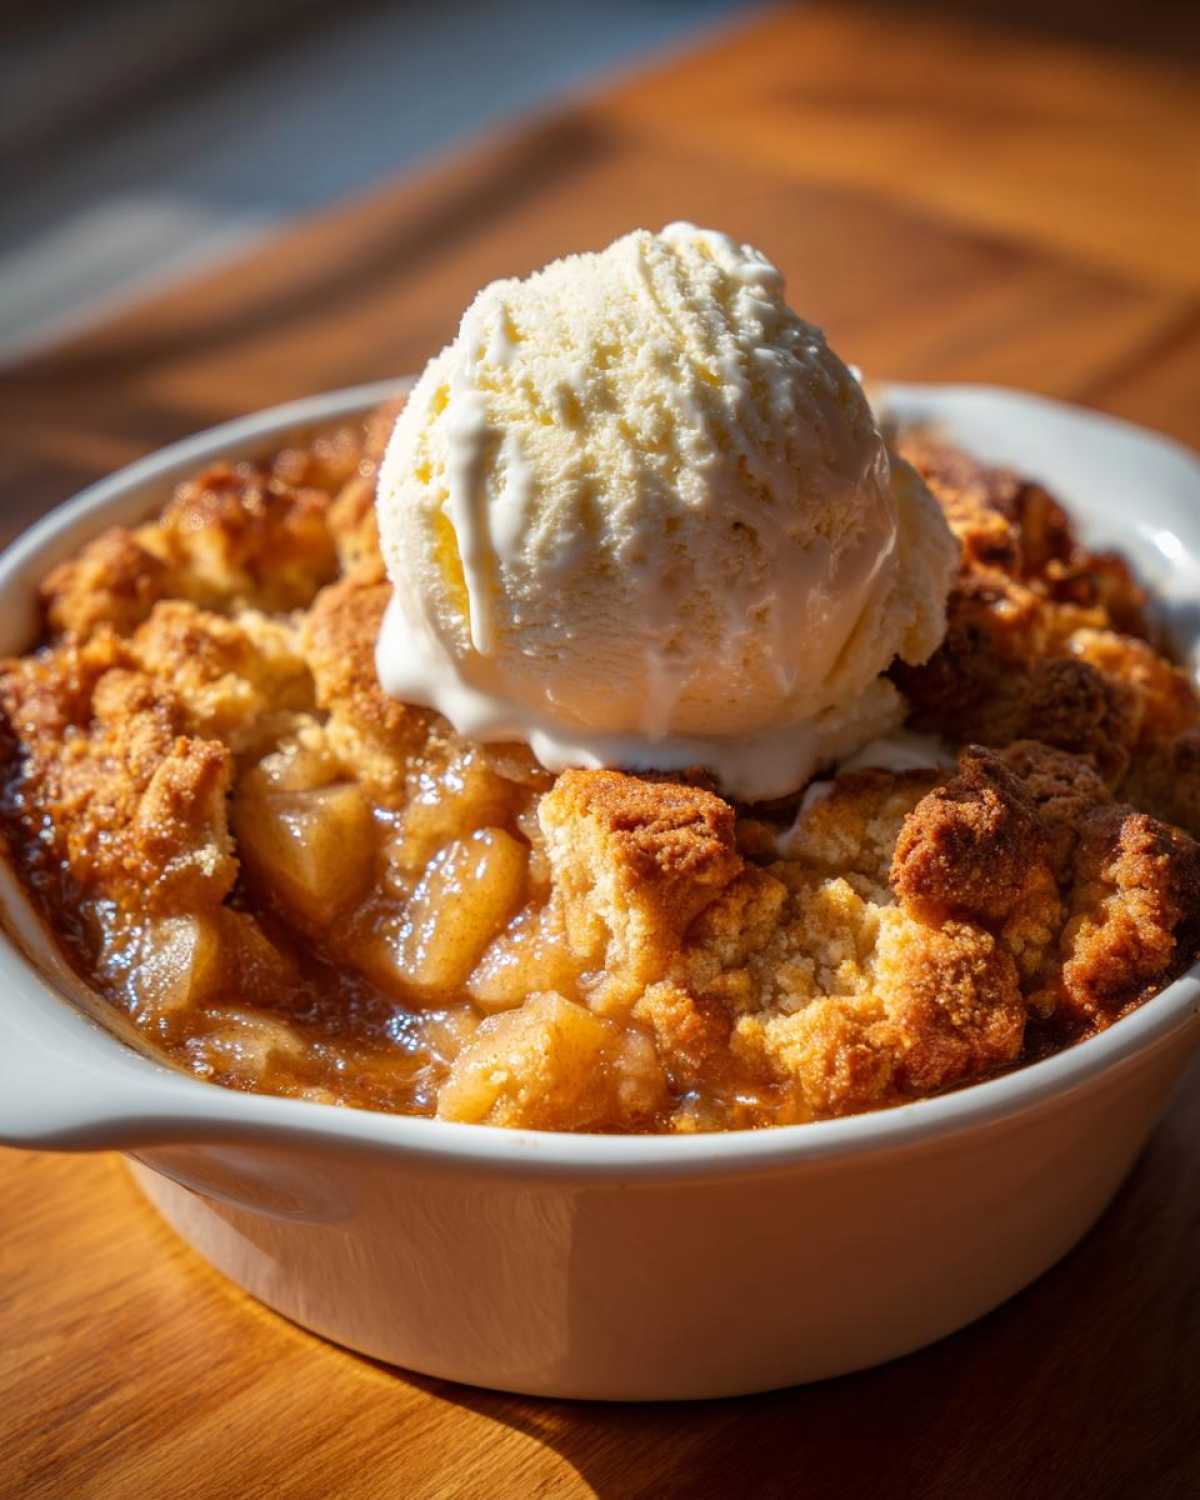
This isn’t some doughy lid; this is a proper biscuit! The whole point of a great apple cobbler recipe is that pillowy, golden crust that soaks up the apple juices. We use cold butter and buttermilk, and the key is how Liam insists you handle the dough. You stir it just until it *barely* comes together. Those bits of unmelted butter create steam pockets, which leads to that gorgeous, flaky texture. It’s pure magic, and so much better than a simple crumble topping.
Gathering Ingredients for Your Apple Cobbler Recipe
Okay, let’s get the real talk out of the way: this apple cobbler recipe doesn’t need specialty items, which is why I love it so much for last-minute baking. Everything here is standard, pantry-friendly stuff—except maybe the buttermilk, but I promise it’s worth having on hand! We’re making this from scratch, and the payoff is huge. Remember, keeping ingredients cold for the topping is the secret handshake to that incredible texture. Everything needs to be laid out before we start mixing anything, just like preparing for takeoff!
For the Tender Apple Filling
You’ll need a good sturdy apple for this filling so they don’t turn to mush when they bake. I always reach for Granny Smith or Honeycrisp; they hold their shape beautifully and give us that perfect tart balance we need against all that sweet spice. Make sure you slice these up about 1/4 inch thick; anything too thin disappears!
- 6 medium apples (like Granny Smith or Honeycrisp), peeled, cored, and sliced 1/4 inch thick
- 1/2 cup granulated sugar
- 1/4 cup packed light brown sugar
- 1 tablespoon all-purpose flour
- 1 teaspoon ground cinnamon
- 1/4 teaspoon ground nutmeg
- 1 tablespoon lemon juice
- 2 tablespoons unsalted butter, cut into small pieces
For the Buttermilk Cobbler Topping
This is where we build that incredible, light biscuit that sits atop our tender apples. The absolute MUST here is making sure that butter is *cold*—like, straight-out-of-the-fridge cold and cut into those little cubes. This step is what guarantees that wonderful texture and helps us achieve that beautiful, flaky, golden crust dessert look we’re aiming for. Don’t rush this part!
- 1 1/2 cups all-purpose flour
- 2 tablespoons granulated sugar
- 1 tablespoon baking powder
- 1/2 teaspoon salt
- 1/2 cup (1 stick) cold unsalted butter, cut into small cubes
- 1/2 cup buttermilk
- 1 large egg, beaten (for egg wash)
- 1 teaspoon coarse sugar (for sprinkling)
Step-by-Step Instructions for the Easy Apple Cobbler
Okay, you’ve got your ingredients gathered—you’re halfway there! This is where the real fun begins. I promise you, following these steps for this apple cobbler recipe is straightforward. Liam always says that as long as you don’t panic when the oven gets hot, you’ll nail it. Think of this as assembling layers of comfort rather than tackling some massive baking project. We’ve broken this down so you can move confidently from prepping the fruit to getting that gorgeous golden crust on top. We even have an easy soda bread recipe if you want to practice your mixing technique soon! Check out our soda bread if you need another quick win.
Preparing the Apple Base for the Apple Cobbler Recipe
First things first, get that oven humming! Preheat it to 375 degrees Fahrenheit and make sure you lightly grease whatever 9-inch square dish you’re using. Now run over to the bowl with your coated apples. Make sure they are tossed well so that brown sugar, cinnamon, and flour cling to every slice. Once they’re nicely coated, dump them into your prepared dish and spread them out evenly. This is a small detail, but super important: dot the top of those apples with those 2 tablespoons of butter pieces we set aside. That fat melts down and adds richness straight into the fruit layer.
Mixing and Dropping the Buttery Cobbler Topping
Time to work fast for the topping! Grab a separate bowl and whisk together all your dry topping ingredients—the flour, sugar, baking powder, and salt. Now, you need that cold, cubed butter. Use your fingertips or a pastry blender (if you want to be fancy!) and cut that butter in until it looks crumbly, like coarse sand with a few pea-sized chunks still hiding in there. Remember what I said about the texture? Don’t overwork it! Pour in the buttermilk and stir *just* until the dough barely holds together. If you mix too much, you’ll lose the biscuit effect, and we don’t want that dense result!
Baking and Resting Your Homemade Apple Cobbler
Now we assemble! Scoop spoonfuls of that shaggy topping over the apples. Don’t try to make it look perfect; leave little gaps so you can see the apples bubbling up underneath! Brush those dough mounds gently with your beaten egg wash and sprinkle with that coarse sugar for a nice crunch. Slide it into the oven for about 40 to 45 minutes. You’re looking for that golden brown topping and bubbly sides. Lastly, and this is hard, let your Homemade Apple Cobbler rest for 15 minutes. It needs just a little time to settle before you serve it warm!
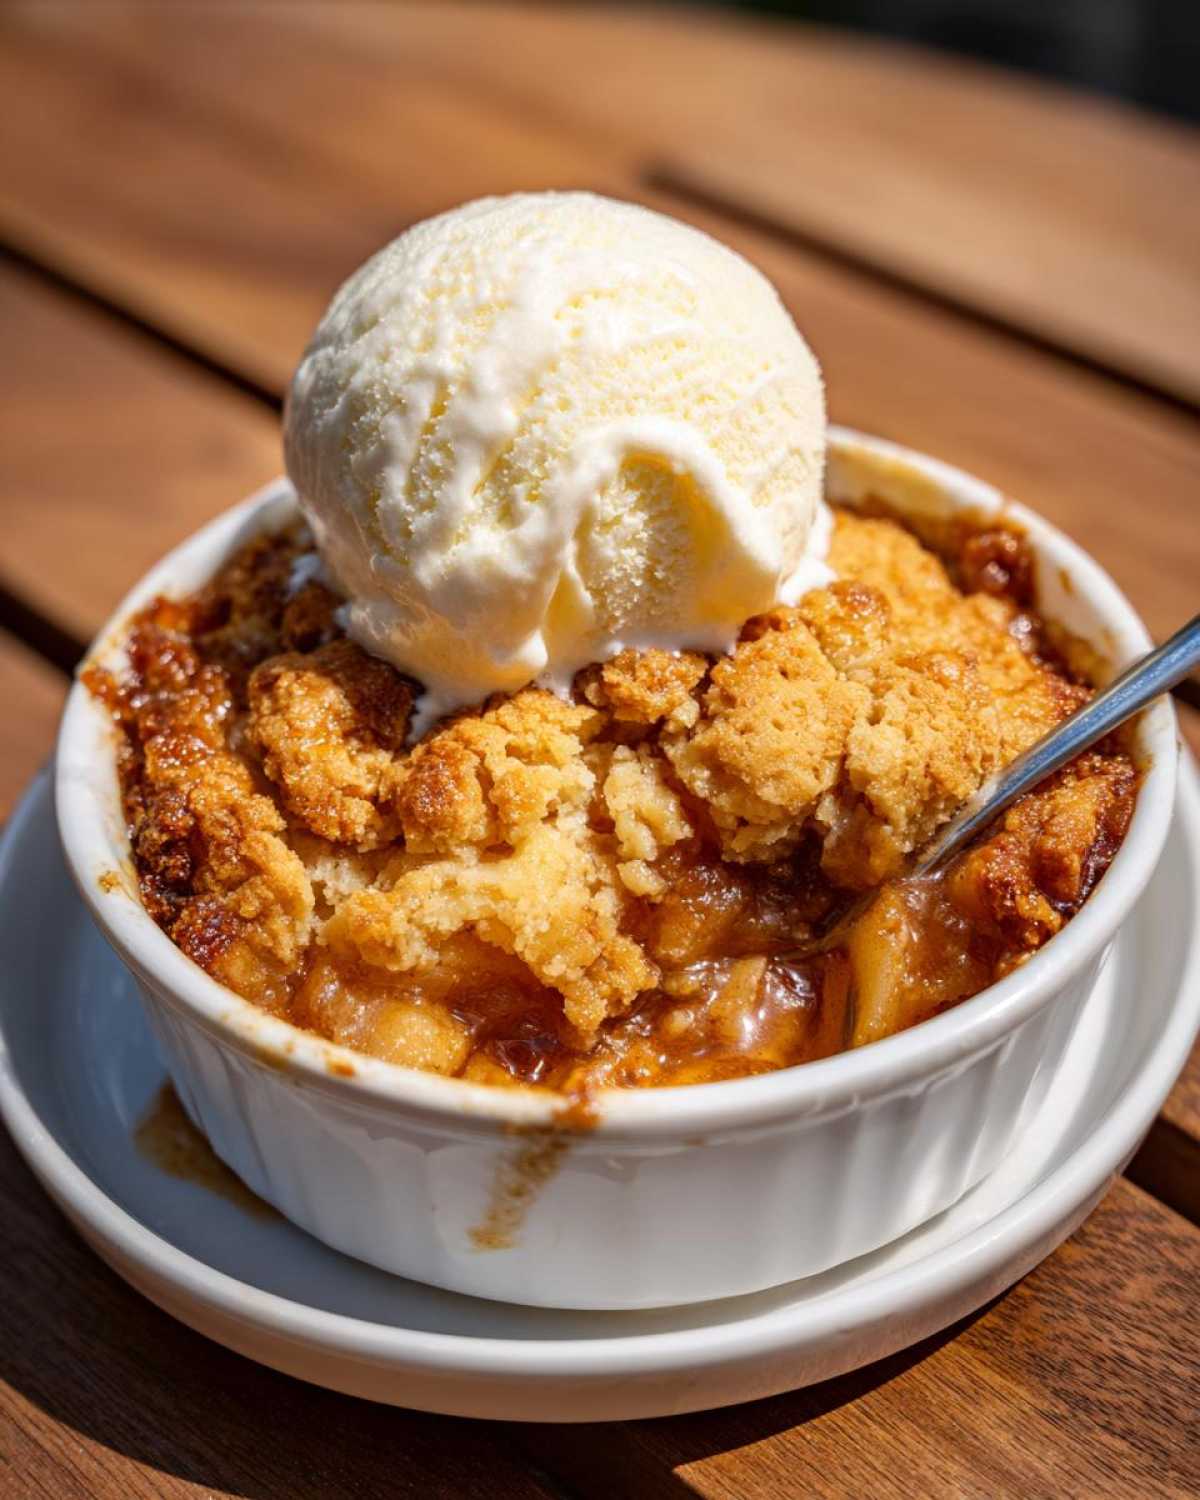
Tips for a Perfect Cinnamon Apple Cobbler Every Time
We’ve already made this our favorite comfort food dessert because it’s so quick and easy, but when you’re aiming for that truly ‘wow’ factor—the kind that makes people ask for the recipe after every bite—a few little tips really help. Baking this kind of Old Fashioned Apple Dessert is all about understanding your ingredients. These aren’t hard rules; they’re just the little secrets Liam picked up over the years to make sure this Simple Fall Baking project always turns out perfectly.
Apple Selection for the Best Apple Cobbler Recipe
This is probably the most important thing! If you want that amazing texture where the apples are tender but still have some body—not mush—you have to choose wisely. Granny Smith apples are my go-to because they are tart and hold their structure beautifully under heat. They balance the sweetness of the sugars and spices perfectly. Honeycrisp is another winner if you like things slightly sweeter.
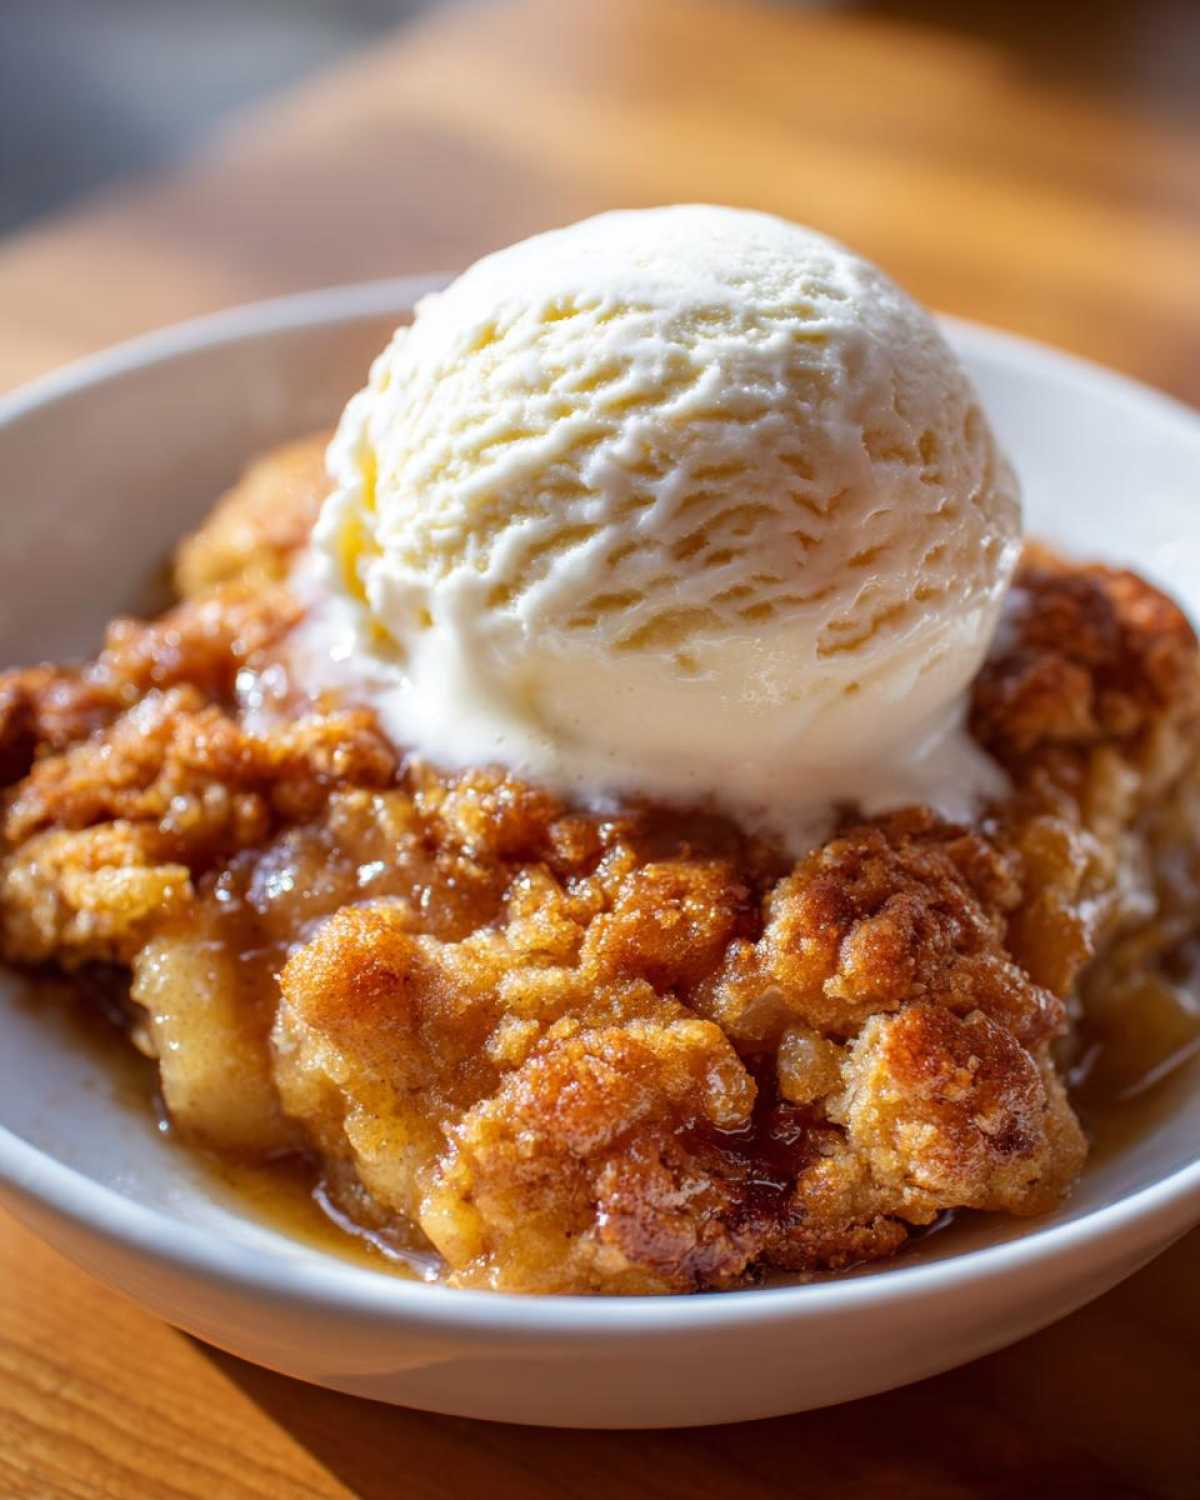
But please, try to avoid those super soft apples that practically fall apart if you look at them funny. We need apples that can handle the heat of the oven! Using the right apple is the first major step toward crafting the Best Apple Cobbler Recipe your friends have ever tasted.
Troubleshooting Common Issues with Your Apple Cobbler Recipe
Oh, the dreaded soggy bottom! It happens, usually because the apples released a ton of liquid at the beginning of the bake time. A good trick Liam taught me, especially if you feel your filling is very juicy, is to start the cobbler on a slightly lower rack for the first 20 minutes. This lets the direct heat hit the bottom of the dish quicker, helping that bottom layer cook through before it gets swampy.
If your topping is browning way too fast but the apples underneath aren’t bubbly yet, don’t panic! Just grab a piece of aluminum foil and lightly tent it over the top. This shields the biscuit from direct heat while letting the inside continue to cook. This simple adjustment ensures you get that perfectly golden crust without sacrificing the tender fruit below. It’s all about adjusting the message slightly as it travels!
If you’re looking for more tips on timing and temperature for our various baking projects, you might want to check out our guide to super moist pumpkin bread—the moisture handling is similar!
Serving Suggestions for Your Warm Apple Dessert
Okay, once that beautiful, bubbly apple cobbler recipe comes out of the oven and has rested just a bit—the absolute best part is figuring out what to serve it with! Eating this Warm Apple Dessert right out of the pan is heavenly enough, but adding a little something extra takes it from great to legendary.
Forget eating it plain! The magic truly happens when you pair that warm spice and buttery topping with something cold and creamy. The number one suggestion, forever and always, is a big scoop of high-quality vanilla ice cream. The contrast between the hot cobbler and the melting ice cream is just unbeatable. It’s the reason we call these essential Cozy Night In Recipes!
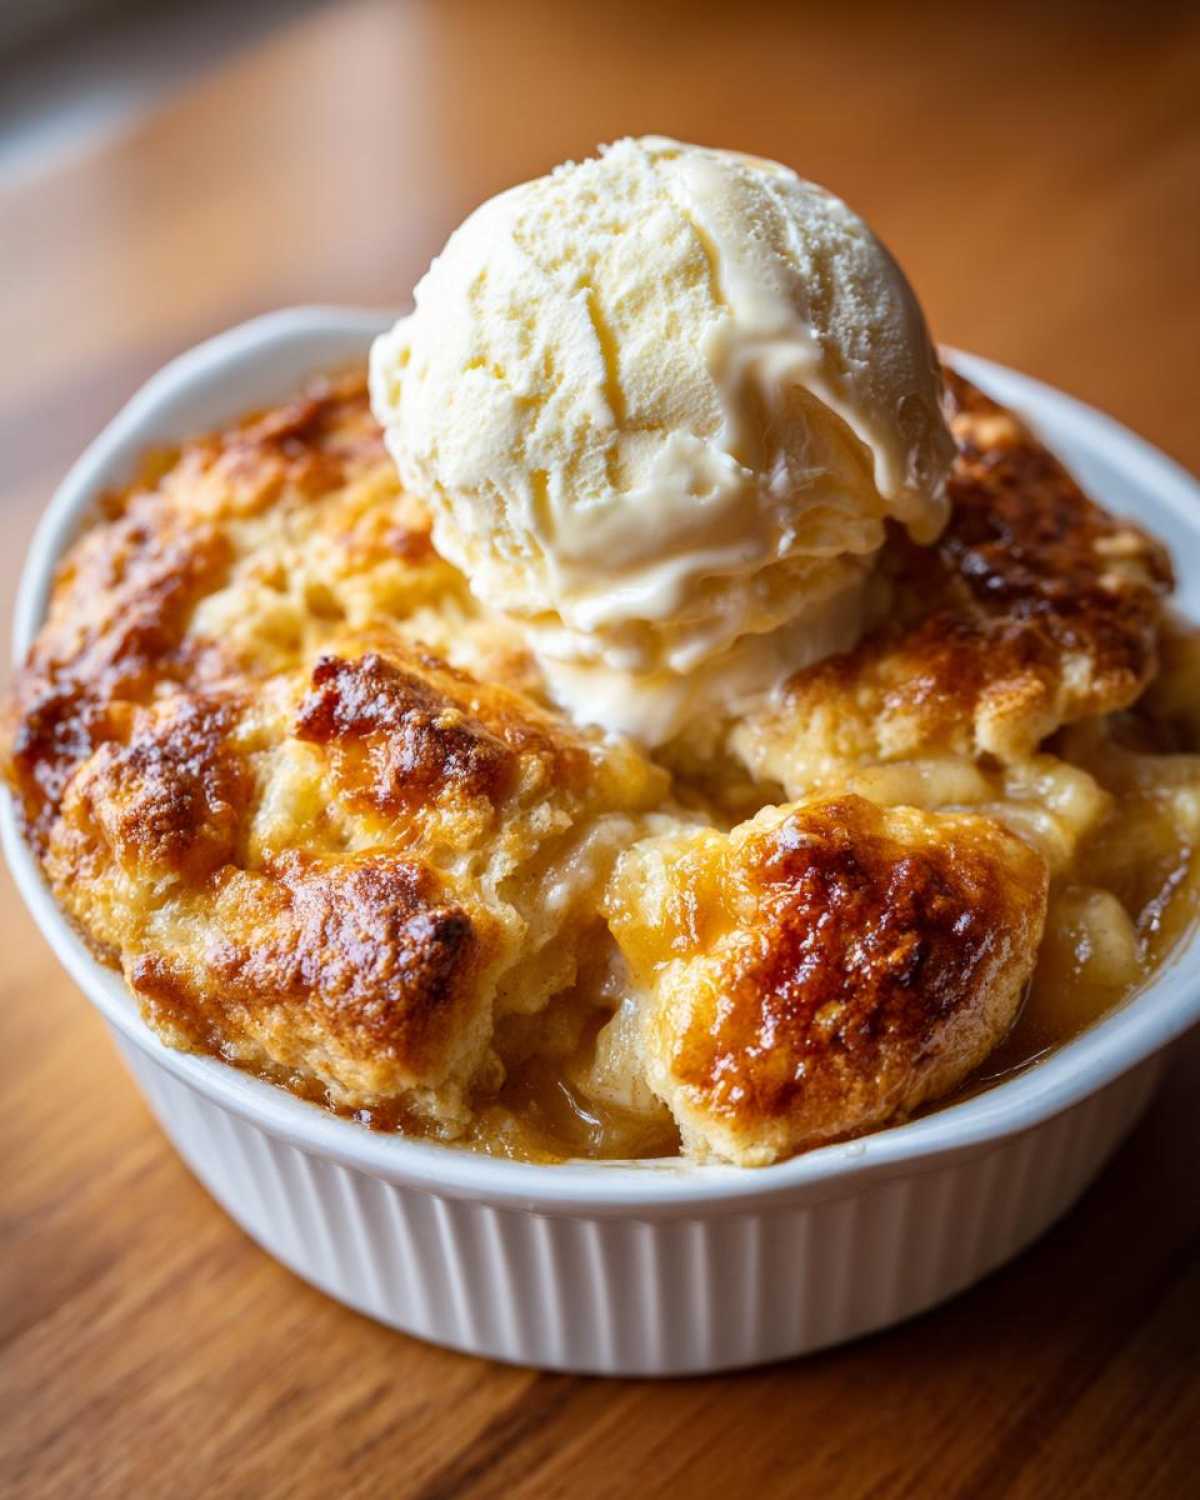
If ice cream isn’t your thing, don’t worry. A dollop of freshly whipped cream is always elegant. We also love drizzling just a little caramel sauce over the top—especially if you have some leftover from your vanilla cupcake making! Remember, this isn’t just food; it’s a final message of care, so dress it up a little when you serve it. A nice little dollop lets the person eating know you put in that extra bit of effort.
Storage and Reheating the Apple Cobbler Recipe
Even though this apple cobbler recipe is almost always devoured in one sitting (it’s just that good!), sometimes you get lucky enough to have leftovers. And when you do, you want to make sure that reheating brings back the magic, not just a sad, soggy mess. We want that Golden Crust Dessert texture to be as close to fresh-from-the-oven as possible!
First, storage: If you have any leftover, cover the baking dish tightly with plastic wrap or foil and pop it into the fridge. It should stay perfectly fine for about three to four days. Honestly, I rarely get past day two before I’m already sneaking a cold spoonful from the fridge, but it holds up well!
Now, for the reheating part—this is critical if you want that buttery topping to crisp up again. Don’t even think about the microwave for this! The microwave turns that lovely biscuit topping into something rubbery in seconds. The best method is using the oven or an air fryer.
To reheat in the oven, place a serving (or the whole dish if you plan on eating it all that day!) back into a 350 degree oven for about 10 to 15 minutes, or until it’s piping hot all the way through. If you’re reheating just a single slice, a toaster oven works wonders and saves on preheating time. You’re basically giving it a quick second bake, which brings the crispness right back. Trust me on this one; serving it warm with that slightly crisp top layer makes all the difference.
Frequently Asked Questions About This Apple Cobbler Recipe
Can I use pie crust instead of the biscuit topping in this apple cobbler recipe?
You absolutely *can*, and I totally get why you might want to if you have some leftover pie crust sitting around! But here is my honest feedback: this is an apple cobbler recipe designed around that tender, drop-biscuit topping. Pie crust will bake up flatter and crisper, more like a lid over the apples. Our buttermilk biscuit topping is airy, fluffy, and slightly chewy where it soaks up the juice, which is what gives us that true homemade feel. If you use pie crust, you’ll end up with something closer to an apple pie with a single crust—delicious, but not quite the texture we worked so hard to achieve here!
How far in advance can I prep the apple filling for this easy apple cobbler?
This is a great question for anyone planning ahead, especially around the holidays! For the absolute best flavor and color, I’d say you can prep the apple filling up to about four hours ahead of time. Toss it really well with that sugar, flour, and spice mixture, spread it into your baking dish, and cover it tightly. Store it in the fridge during that time.
If you prep it much earlier than that, the fruit might start breaking down a little too much, or you might risk some browning, even with the lemon juice. If you do store it overnight, I’d recommend adding a tiny extra squeeze of lemon juice right before you top it with the biscuit dough. That little insurance policy helps keep your fruit bright and vibrant for this easy apple cobbler.
What makes this recipe a great Cozy Night In Recipes option?
Oh, this is the definition of the perfect Cozy Night In Recipes material! It’s all about that speed and minimal effort for maximum comfort. First, the prep time is super quick—we nailed that down to about 20 minutes because we skip all the fiddly rolling and crimping involved in making a traditional pie. Second, the whole apple cobbler recipe is done in under an hour total from start to finish. You can have hot, bubbling cinnamon apples with a golden biscuit crust coming out of the oven right when you settle in for a movie. It fills the entire house with the most incredible spice smell—it’s instant relaxation, delivered warm, straight from your oven!
If you’re looking for more recipes that fit that vibe—simple, warming, and comforting—definitely browse all our latest dispatches!
Nutritional Estimates for Your Apple Cobbler Recipe
Now, I have to give you the standard disclaimer because Liam and I are about delivering love with food, not counting macros! These numbers are just an estimate based on the standard ingredients we used in this delicious apple cobbler recipe and calculated assuming we get exactly six servings out of the dish. If you sneak an extra spoonful before serving, well, those numbers will be slightly higher!
The main thing to remember when looking at Comfort Food Desserts like this, is that it’s made with real butter and real sugar, which means it’s rich! This is a treat meant for sharing or for a special, cozy night in, not an everyday staple. But for what it is—a perfect, homemade, warm apple delight—it’s worth every single calorie.
- Serving Size: 1 serving
- Calories: 410
- Sugar: 35g
- Sodium: 320mg
- Fat: 21g
- Saturated Fat: 13g
- Carbohydrates: 55g
- Protein: 5g
So, there you have it! Don’t let the sugar scare you off—that’s the cost of having the best-tasting, most comforting Homemade Apple Cobbler on the block. Enjoy every bite!
Send Your Message: Share Your Apple Cobbler Success
Well, that’s it! You’ve done the work, filled your house with the best baking smells, and now you have this incredible, warm, homemade apple cobbler sitting right in front of you. I truly hope this recipe delivers the comforting message you needed today, whether you baked it for yourself or for someone special.
Here at Cookery Courier, we thrive on hearing how our dispatches landed! Did the buttery topping come out golden? Were your apples perfectly tender? Seriously, I need to know the details!
Please, take a moment after you’ve enjoyed your first warm scoop (definitely with ice cream!) to leave a comment down below. Rating the **apple cobbler recipe** helps other busy folks know they can trust this simple recipe to deliver comfort right when they need it. We read every single one!
If you snapped a picture of your beautiful result, tag us on social media! Seeing your creations is the absolute best part of running this blog. It proves that anyone—even someone who used to just order takeout—can learn to send delicious messages from their own kitchen. If you need to get in touch for any other reason, our contact page is always open for your messages!
Happy baking, and thank you for letting us share the warmth with you!
PrintThe Ultimate Easy, Buttery Apple Cobbler Recipe with Cinnamon Biscuit Topping
Follow this simple recipe for a homemade apple cobbler filled with tender, cinnamon-spiced apples and topped with a rich, buttery biscuit crust. It is easier than pie and perfect for a cozy night in.
- Prep Time: 20 min
- Cook Time: 45 min
- Total Time: 65 min
- Yield: 6 servings
- Category: Dessert
- Method: Baking
- Cuisine: American
- Diet: Vegetarian
Ingredients
- 6 medium apples (like Granny Smith or Honeycrisp), peeled, cored, and sliced 1/4 inch thick
- 1/2 cup granulated sugar
- 1/4 cup packed light brown sugar
- 1 tablespoon all-purpose flour
- 1 teaspoon ground cinnamon
- 1/4 teaspoon ground nutmeg
- 1 tablespoon lemon juice
- 2 tablespoons unsalted butter, cut into small pieces
- For the Topping:
- 1 1/2 cups all-purpose flour
- 2 tablespoons granulated sugar
- 1 tablespoon baking powder
- 1/2 teaspoon salt
- 1/2 cup (1 stick) cold unsalted butter, cut into small cubes
- 1/2 cup buttermilk
- 1 large egg, beaten (for egg wash)
- 1 teaspoon coarse sugar (for sprinkling)
Instructions
- Preheat your oven to 375 degrees Fahrenheit. Lightly grease a 9-inch square baking dish or a similar-sized oven-safe dish.
- In a large bowl, combine the sliced apples, granulated sugar, brown sugar, flour, cinnamon, nutmeg, and lemon juice. Toss gently until the apples are evenly coated.
- Pour the apple mixture into the prepared baking dish and spread it into an even layer. Dot the top of the apples with the 2 tablespoons of cut butter pieces.
- Prepare the topping: In a separate medium bowl, whisk together the flour, 2 tablespoons of sugar, baking powder, and salt.
- Cut in the cold, cubed butter using a pastry blender or your fingertips until the mixture resembles coarse crumbs with some pea-sized pieces of butter remaining.
- Pour in the buttermilk and stir just until the dough comes together. Do not overmix; a slightly shaggy dough is fine.
- Drop spoonfuls of the biscuit topping evenly over the apple filling, leaving small gaps between the mounds so the apples can bubble up.
- Brush the tops of the biscuit mounds lightly with the beaten egg wash and sprinkle with coarse sugar.
- Bake for 40 to 45 minutes, or until the topping is golden brown and the apple filling is bubbly and tender when pierced with a fork.
- Let the apple cobbler cool on a wire rack for at least 15 minutes before serving warm. Serve with vanilla ice cream.
Notes
- For the best texture, use firm, slightly tart apples like Granny Smith.
- If you do not have buttermilk, you can make a substitute by mixing 1/2 cup of regular milk with 1/2 teaspoon of white vinegar or lemon juice and letting it sit for 5 minutes before using.
- This dessert pairs perfectly with a scoop of vanilla ice cream or a drizzle of caramel sauce.
Nutrition
- Serving Size: 1 serving
- Calories: 410
- Sugar: 35
- Sodium: 320
- Fat: 21
- Saturated Fat: 13
- Unsaturated Fat: 8
- Trans Fat: 0.5
- Carbohydrates: 55
- Fiber: 3
- Protein: 5
- Cholesterol: 55