

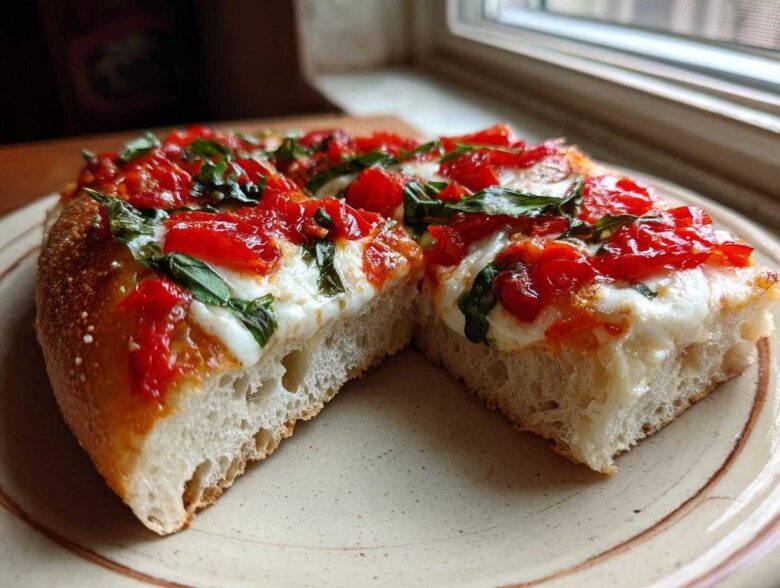
Oh, let’s be honest, making a truly great Gluten-Free Margherita Pizza at home used to feel like a culinary unicorn hunt. Right? Most times, you end up with something that tastes suspiciously like a cracker or turns into a gummy mess right in the middle. I spent *years* trying to perfect a crust that didn’t crumble if you looked at it wrong. I tried every flour blend, every aging trick, but nothing worked until I stopped trying to mimic wheat dough entirely and started focusing on structure first.
This recipe is the result of that obsession. It’s my go-to for a crispy bottom and a soft, manageable interior that holds up beautifully to those bright, simple Margherita toppings. Trust me, once you nail this base, you’ll start making homemade Italian food every weekend, just like I do! You can check out some of my other GF baking adventures, like these almond flour pancakes, if you need a little breakfast inspiration!
Why This Gluten-Free Margherita Pizza Dough Works (Best Gluten Free Pizza Dough)
The main nightmare with any gluten-free pizza recipe is usually the texture, right? It either collapses under the weight of the tomato sauce or it’s so dense it feels like you’re eating a frisbee. The secret to this being the best Gluten Free Pizza Dough isn’t just mixing; it’s hydration and patience. Because we don’t have gluten strands to trap the gas, we need liquid to create structure. That’s why this dough ends up sticky—don’t panic! That stickiness is what gives you a beautiful, airy interior instead of a brick.
Also, you absolutely need that rest time. Letting the dough sit for 45 minutes allows the starches in the GF flour blend to fully hydrate. This really helps everything gel together so when you eventually shape it, it doesn’t just fall apart. When you look at recipes for easy bread recipes, you see resting times are key, and pizza is no different!
The Importance of the Right Flour Blend for Your Gluten Free Pizza Recipe
This is non-negotiable for success making your Gluten Free Pizza Recipe. I found that using a high-quality gluten-free all-purpose blend that already includes xanthan gum is the easiest way forward. Xanthan gum is what steps in to mimic the elasticity that wheat flour provides. Without it, your dough is just flour and water, and it will spread right off the parchment paper.
If your blend doesn’t have it, you have to add it separately, and you can’t skip it! It’s the glue holding our simple tomato basil pizza masterpiece together.
Gathering Ingredients for Your Authentic Margherita Pizza Gluten Free
To make this truly amazing, we need to treat our ingredients with respect! Remember, for the Authentic Margherita Pizza Gluten Free, less is actually more. You just need a few really good things. Keep your water temperature right—between 105 and 115 degrees is crucial so you don’t shock your yeast. That’s how we get that lovely puff!
Make sure you are using fresh mozzarella; the low-moisture bricks just don’t melt right for this style. And please, use good quality olive oil for drizzling at the end. You can find a great recipe for using that fresh mozzarella over here if you want more inspiration on fresh mozzarella pizza recipes!
Ingredient Spotlight: San Marzano Tomatoes for Authentic Flavor
Tomatoes are the soul of a Margherita pizza, and you cannot substitute cheap canned sauce here. San Marzano tomatoes have a lower seed count and a naturally sweeter, less acidic profile. When you crush them by hand, you get the *perfect* chunky, velvety sauce consistency right there in your bowl.
This simple step is what elevates our Gluten-Free Margherita Pizza from good to ‘I can’t believe this is GF!’ They truly make a difference in that bright, fresh flavor we’re aiming for.
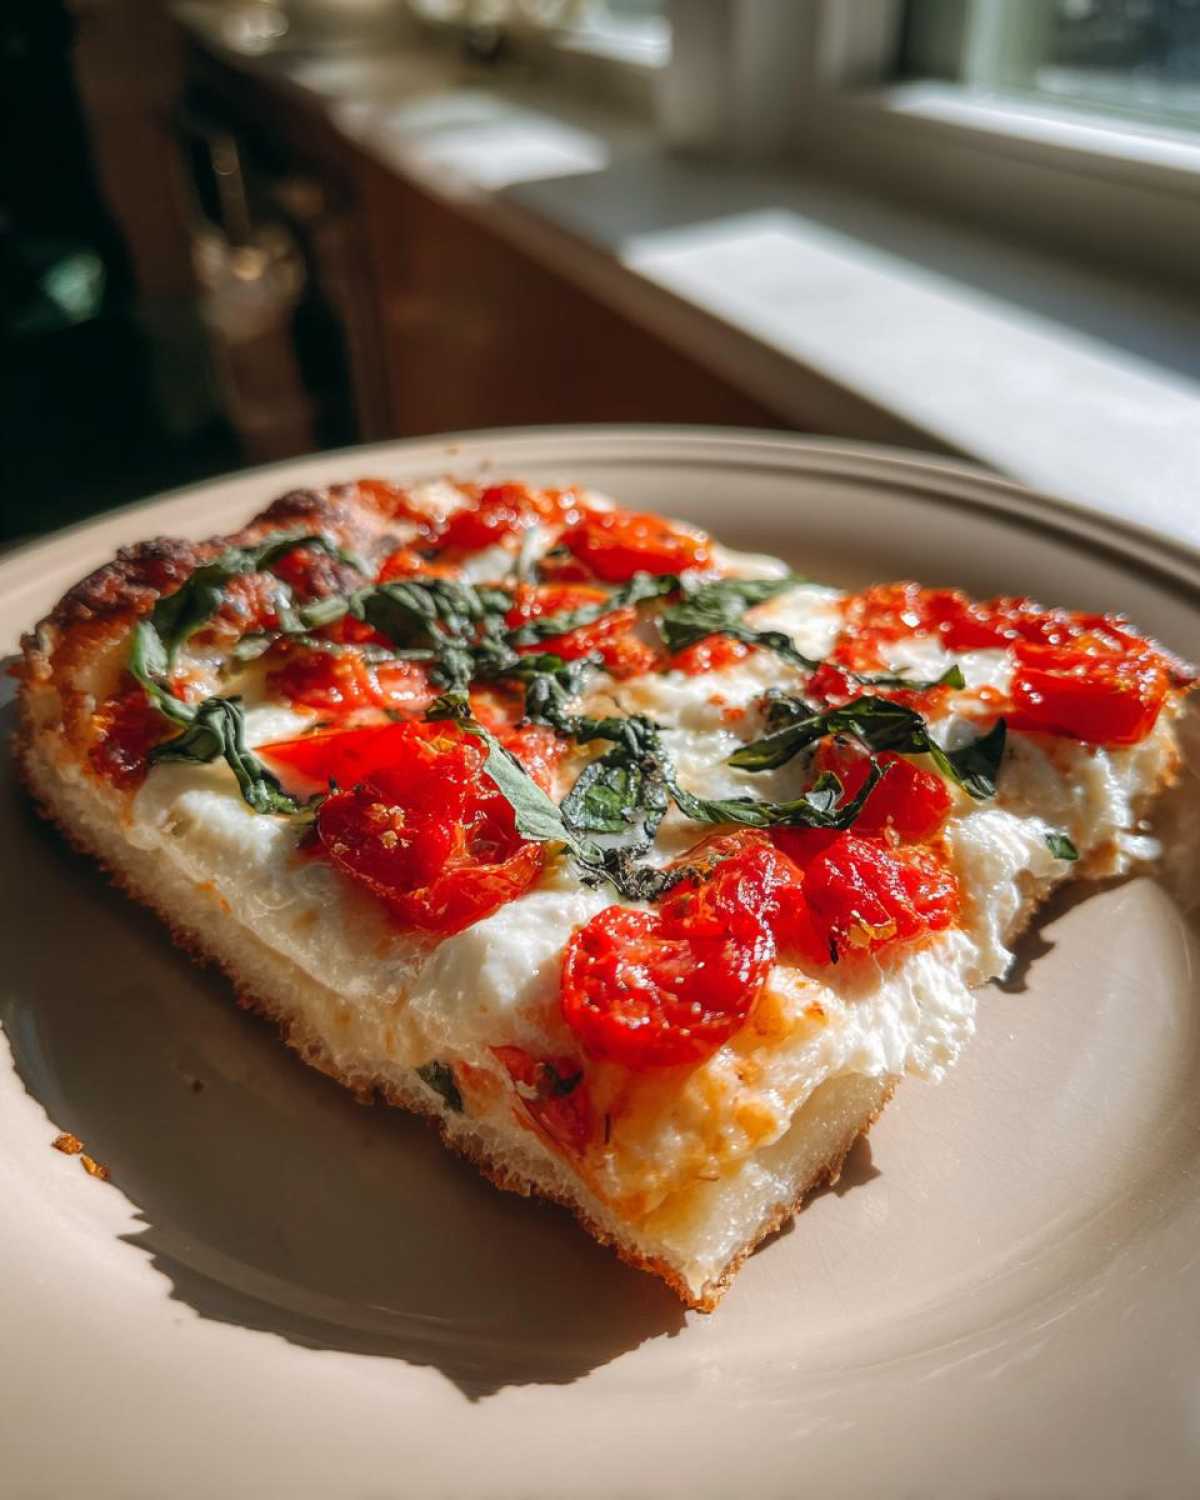
Step-by-Step Instructions for the Best Gluten Free Pizza Dough
Okay, now for the fun part—making the dough! Remember, we aren’t kneading this like traditional dough; we are just encouraging it to come together. Step one is waking up your yeast. Take your warm water—and I mean *perfectly* warm, not scorching hot—and dissolve the sugar in it, then sprinkle the yeast on top.
You need to let that sit for about ten minutes until it looks foamy and smells faintly yeasty. If it doesn’t foam, toss it and start again! We’ve wasted good ingredients on dead yeast before, trust me.
While that’s happening, grab your big bowl and whisk the GF flour blend and salt together really well. When the yeast is ready, pour the yeast mixture and your initial 2 tablespoons of olive oil right into the dry ingredients. Mix this with a strong spoon or your stand mixer until you get a very sticky batter. Seriously, it will look too wet; that’s fine for this Gluten Free Pizza Recipe!
Once it’s mixed—and I mean *just* combined, don’t churn the heck out of it—cover that bowl up tightly. Now, we wait. Pop it somewhere warm for 45 minutes up to an hour. This resting period is essential for building structure in our Easy Gluten Free Pizza Crust. This time is perfect for prepping your toppings, or you can sneak a peek at my recipe for homemade garlic breadsticks while you wait!
Achieving the Crispy Gluten Free Pizza Bottom: Baking Techniques
Okay, baking is where we make or break that perfect Crispy Gluten Free Pizza Bottom. You can’t rush this part, trust me! You need to get your pizza stone or steel into the oven and let it preheat at 500°F for a full 30 to 45 minutes. If it’s not screaming hot, the dough will steam instead of crisping up immediately. We want instant searing action on the bottom!
Shape your dough gently onto parchment paper—that paper is your best friend here! Once assembled, slide the whole thing—parchment and all—onto that scorching hot stone. Here’s a trick my friend who lives in Naples taught me: After about five minutes, when the crust is starting to set, carefully pull the parchment paper out from underneath the pizza base and let the crust finish baking directly on the stone. Wow, that makes a difference!
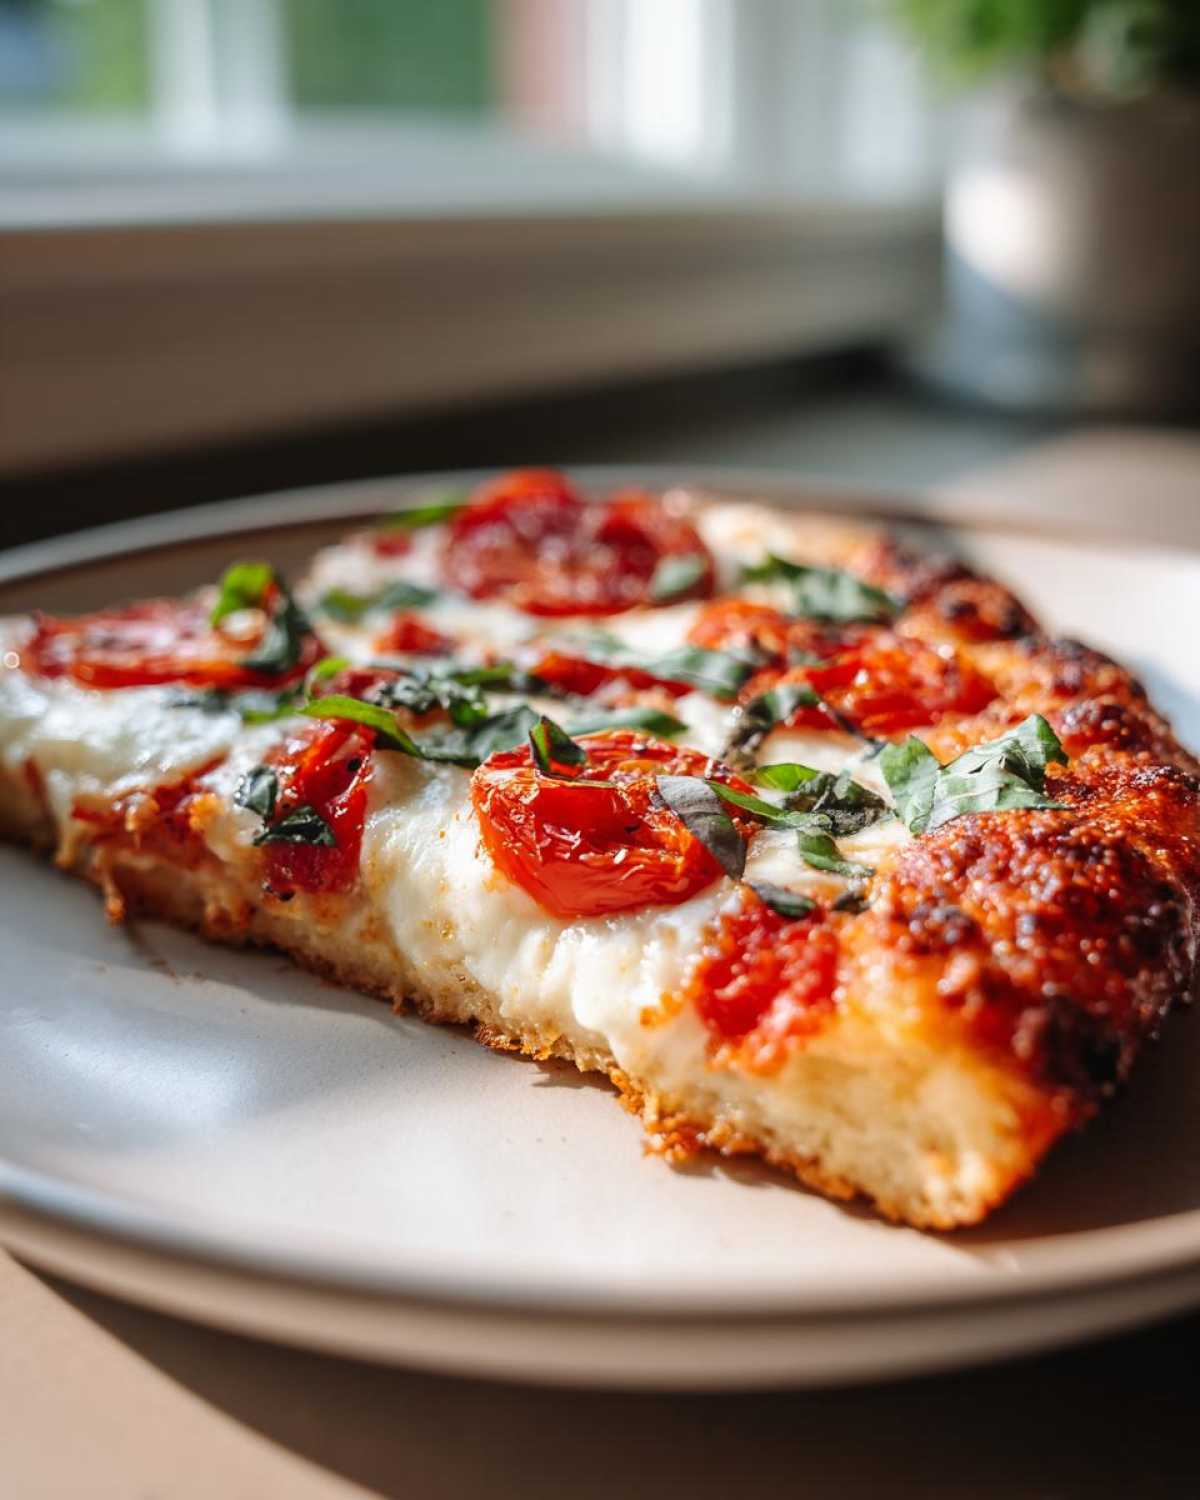
Shaping and Topping Your Gluten-Free Margherita Pizza
When you’re dealing with this dough, forget everything you know about stretching wheat crusts; GF dough doesn’t have that give! Just use lightly floured hands and gently press it out on the parchment until you get about a 12-inch circle. It’s better to have a slightly thicker, manageable crust than a giant, floppy one.
Layering is simple: sauce first, leave that clean border, then the fresh mozzarella slices. Try not to overload it! Finish it off with that final drizzle of olive oil after it comes out of the oven. Don’t waste time checking out those pizza pasta bakes until your perfect Gluten-Free Margherita Pizza is served!
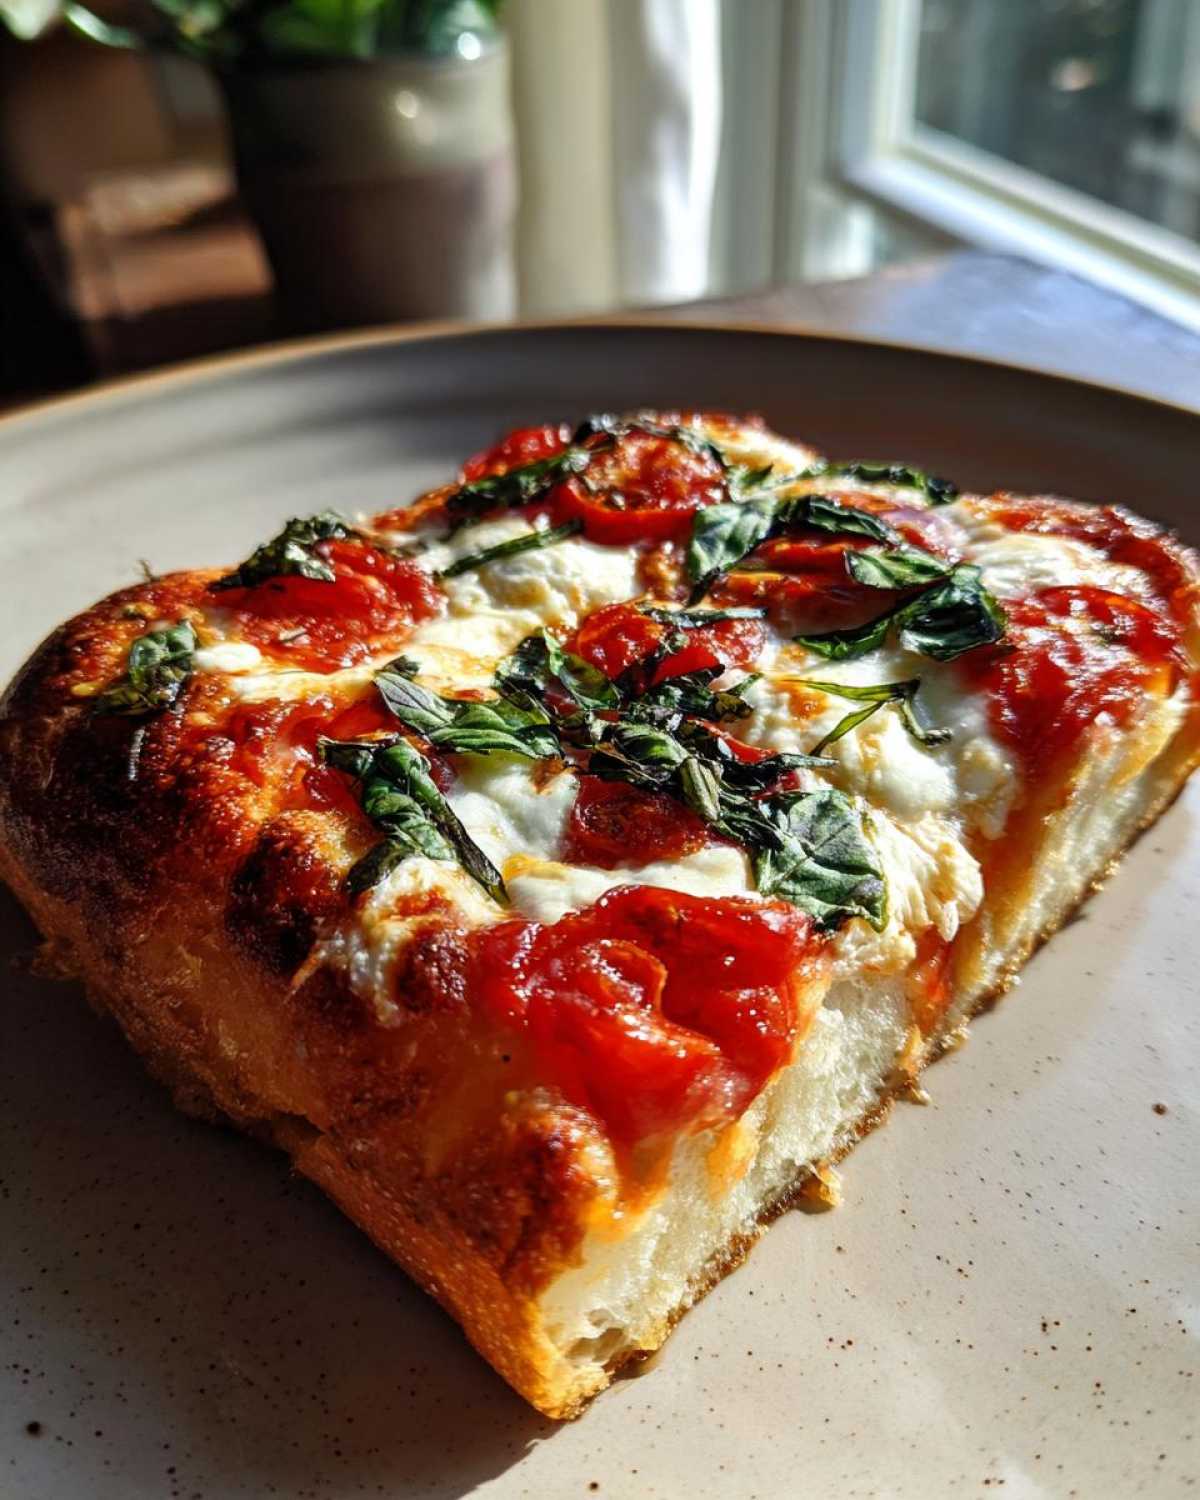
Tips for Success When Making Homemade Gluten Free Italian Food
When you’re cooking for friends or family who deal with sensitivities, little details make such a huge difference in making them feel comfortable and cared for. Since this is a strict Gluten-Free Margherita Pizza, cross-contamination is something we have to think about, even if we aren’t celiac ourselves.
Here’s what I always do: before I even touch the dough, I take a clean cloth dampened with warm water and wipe down my pizza stone and my workstation. It’s a quick step, but it offers so much peace of mind!
Also, remember that yeast step? Using a cheap kitchen thermometer to verify that 110°F temperature is much better than guessing. If you kill your yeast with water that’s too hot or too cold, the whole Easy Gluten Free Pizza Crust flops before it even hits the oven. It’s about precision where it counts!
If you’re looking for other simple homemade Italian fare that stays naturally gluten-free, you should check out my recipe for homemade brown gravy from scratch—it pairs surprisingly well with roasted potatoes if you switch up the toppings next time!
Variations: Making a Dairy Free Margherita Pizza Option
I get asked all the time about making our Gluten-Free Margherita Pizza completely dairy-free. It’s super easy to swap out that cheese! You want to look for a high-quality vegan mozzarella that melts nicely. Not all of them are created equal; some just turn into oily puddles.
I suggest trying cultured cashew-based mozzarellas if you can find them, as they have a better tang. Just remember the fresh basil and great San Marzano tomatoes are still the stars here when you make a Dairy Free Margherita Pizza. It keeps that beautiful Neapolitan style intact!
Storing and Reheating Your Gluten Free Pizza Recipe
You’ve made an amazing Gluten Free Pizza Recipe, and you shouldn’t have to eat all of it in one sitting! If you have leftovers—which is rare in my house, by the way—you need to store them flat. Wrap slices tightly in foil or plastic wrap and tuck them in the fridge for up to three days. Don’t use one of those plastic containers where they stack on top of each other; you’ll ruin the texture!
When it comes to reheating, listen to me: absolutely NO microwave! The microwave turns any Easy Gluten Free Pizza Crust into rubber. Pull out your pizza stone, heat the oven back up to 400°F, and place the slice directly on the stone for about 5 to 7 minutes. It crisps right back up, just like magic. You can check out what I do with great leftovers, like our turkey soup, but for pizza, the oven is the only way!
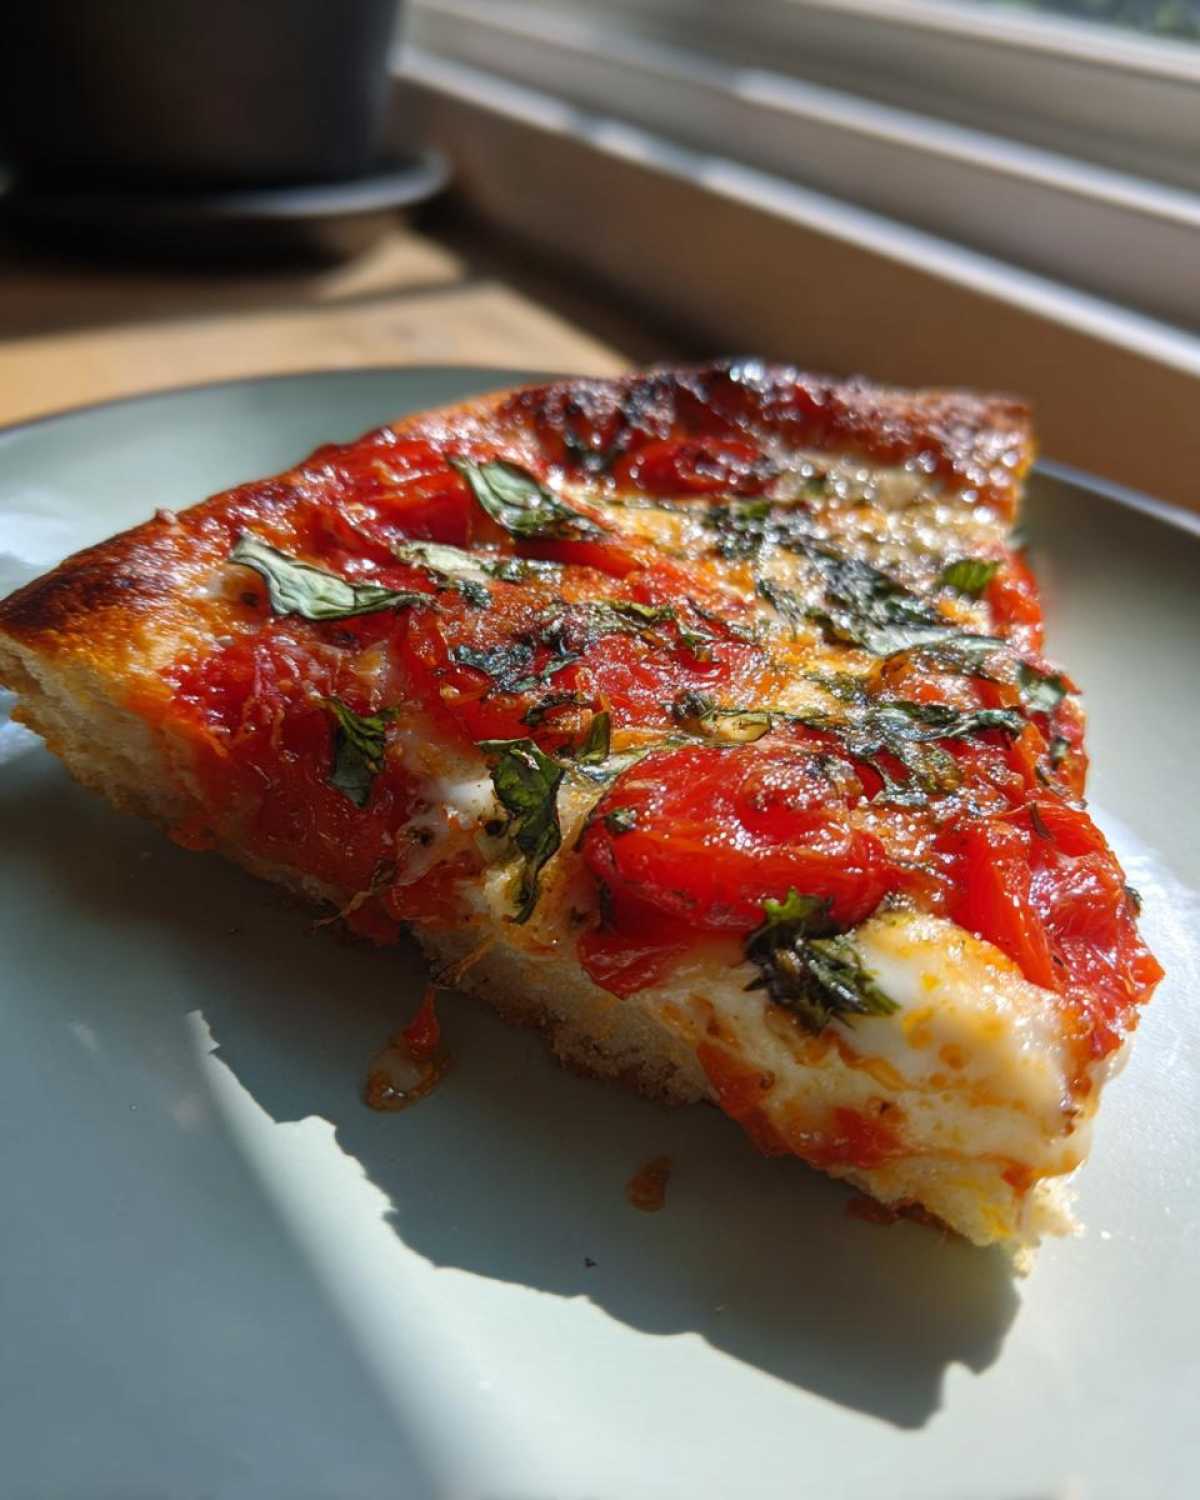
Frequently Asked Questions About Gluten-Free Margherita Pizza
I always get hit up with questions after people try this recipe for the first time! That’s great, it just means you’re serious about your pizza, and I love that! Here are the most common things folks ask me about getting this right.
Can I use a different GF flour blend for this Gluten Free Pizza Recipe?
You can certainly *try* another blend, but you absolutely must pay attention to the xanthan gum. If your preferred Gluten Free Pizza Recipe blend doesn’t already have it mixed in, you need to add about one teaspoon per cup of flour to give the dough the structure it needs to hold up. If you skip that, you’re just making seasoned flour soup, not a usable dough!
Can I make the dough ahead of time?
Oh yes, you totally can! I sometimes make a double batch just so I can have pizza ready mid-week. Cover the slightly puffy dough ball tightly with plastic wrap and pop it in the fridge for up to 24 hours. When you pull it out, let it sit on the counter for about 45 minutes to take the chill off before shaping. If you want to freeze it, wrap it super tightly after that first rise, and it keeps great for a month. Let it thaw in the fridge overnight before bringing it to temperature to shape.
If you want to know more about the team behind these recipes, check out our little About Us section—we’re just a bunch of food lovers trying to make good food accessible!
Nutritional Estimates for This Gluten-Free Margherita Pizza
Now, listen up: these numbers are just ballpark figures, okay? I’m not a nutritionist, and the final calorie count depends heavily on how thick you roll your crust and what brand of fresh mozzarella you use! We’re estimating based on the ingredients listed above, serving one large pizza into four slices. If you want to see the full breakdown and my standard disclaimer, you can check out the policy linked here: my standard disclaimer, but generally, this Gluten-Free Margherita Pizza comes in around 350 calories per slice.
- Calories: 350
- Fat: 15g
- Carbohydrates: 40g
- Protein: 16g
It’s surprisingly high in protein thanks to the cheese! We’re keeping the sugar low because we aren’t adding any extra sweetener to that beautiful tomato sauce!
PrintGluten-Free Margherita Pizza
Make a classic Margherita pizza using a reliable gluten-free dough recipe. This method produces a crust that is crispy on the bottom and holds toppings well.
- Prep Time: 20 min
- Cook Time: 14 min
- Total Time: 1 hour 24 min
- Yield: 1 large pizza (4 servings)
- Category: Dinner
- Method: Baking
- Cuisine: Italian
- Diet: Gluten Free
Ingredients
- 1 1/2 cups warm water (105-115°F)
- 1 teaspoon sugar
- 2 1/4 teaspoons active dry yeast
- 3 cups gluten-free all-purpose flour blend (with xanthan gum)
- 1 teaspoon salt
- 2 tablespoons olive oil, plus more for drizzling
- 1 (14.5 ounce) can whole peeled San Marzano tomatoes, crushed by hand
- 8 ounces fresh mozzarella cheese, sliced or torn
- 1/4 cup fresh basil leaves
- 1 tablespoon extra virgin olive oil (for finishing)
Instructions
- Activate the yeast: In a small bowl, combine the warm water, sugar, and yeast. Let stand for 5 to 10 minutes until foamy.
- Mix dry ingredients: In a large bowl, whisk together the gluten-free flour blend and salt.
- Combine: Pour the yeast mixture and 2 tablespoons of olive oil into the dry ingredients. Mix with a sturdy spoon or stand mixer until a sticky dough forms. Do not overmix.
- First rise: Cover the bowl with plastic wrap and let the dough rest in a warm place for 45 minutes to 1 hour, or until slightly puffy.
- Preheat oven and stone: Place a pizza stone or steel on the middle rack and preheat your oven to 500°F (260°C) for at least 30 minutes.
- Shape the dough: Lightly dust a piece of parchment paper with gluten-free flour. Gently press or spread the dough onto the parchment paper into a 12-inch circle. The dough will not stretch like wheat dough.
- Assemble pizza: Spread the crushed San Marzano tomatoes evenly over the dough, leaving a 1-inch border. Top with the mozzarella pieces.
- Bake: Carefully slide the parchment paper and pizza onto the preheated stone. Bake for 10 to 14 minutes, or until the crust is golden brown and the cheese is melted and bubbly.
- Finish: Remove the pizza from the oven. Immediately scatter fresh basil leaves over the top and drizzle with the finishing extra virgin olive oil. Slice and serve hot.
Notes
- Use a gluten-free flour blend that already contains xanthan gum for the best dough structure.
- For a crispier bottom, place the pizza directly onto the hot stone after the first 5 minutes of baking by sliding the parchment out from under it.
- If you are highly sensitive, wipe down your pizza stone and work surface with a damp cloth before starting to prevent cross-contamination.
Nutrition
- Serving Size: 1 slice
- Calories: 350
- Sugar: 4
- Sodium: 450
- Fat: 15
- Saturated Fat: 7
- Unsaturated Fat: 8
- Trans Fat: 0
- Carbohydrates: 40
- Fiber: 3
- Protein: 16
- Cholesterol: 30