

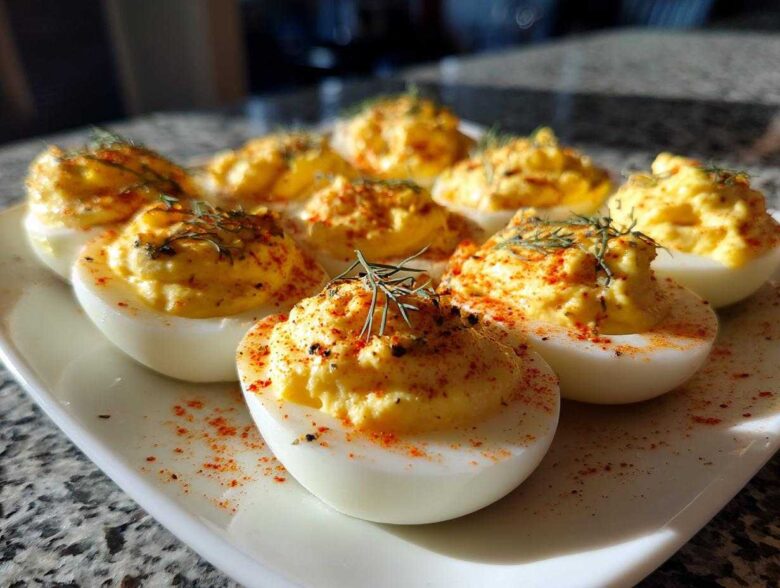
Oh, deviled eggs! I swear, they are the unofficial mascot of every great picnic, holiday spread, and backyard barbecue I’ve ever been to. If you leave a platter of these out, they disappear faster than secrets at a family reunion, trust me. My version always stands out because I bake a little bit of tangy brightness right into the filling. We are making Classic Deviled Eggs with Dill Pickle Relish today, and it’s going to change how you think about this appetizer forever!
The trick here isn’t just adding the relish; it’s achieving that unbelievably creamy yolk base first before giving it that signature zip. We’re talking silky smooth, never crumbly, and perfectly balanced so the pickle flavor pops without overpowering the classic taste. If you’re looking for the best creamy egg salad vibe, but in appetizer form, you’ve found your winner.
Why You Will Love These Classic Deviled Eggs with Dill Pickle Relish
Look, I bake a lot of things, but nothing gets gobbled up quicker than the classic egg platter, and adding that secret tang just pushes these over the top. Seriously, why serve just plain old deviled eggs when you can have this glorious flavor bomb?
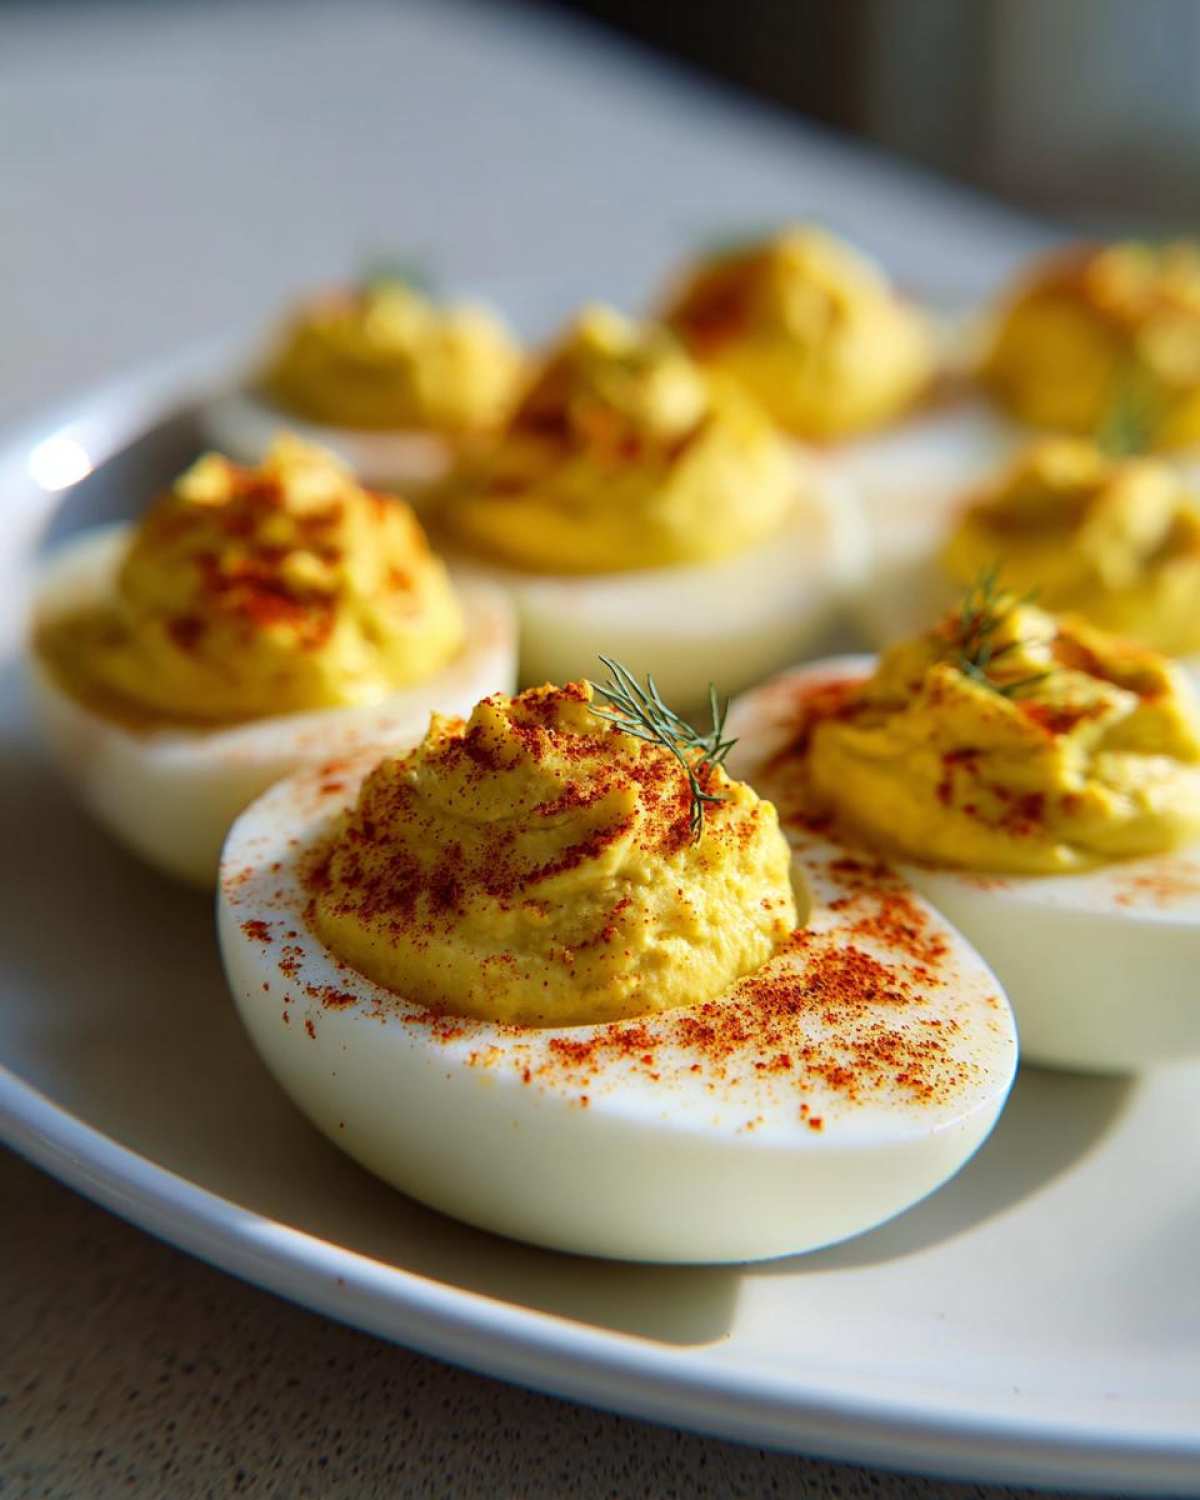
- They hit that absolute perfect balance: wonderfully creamy filling mixed with the sharp tang of dill pickle relish. It’s the Deviled Eggs with Pickle Flavor everyone asks about later!
- This recipe is truly reliable—if you follow my hard-boiling instructions, you get beautiful, bright yellow yolks every single time, which is critical for that classic presentation.
- They move straight to the top tier of Party Snack Recipes because they look fancy but take almost no real effort.
- This is the ultimate Creamy Egg Appetizer; the filling is velvety smooth thanks to really working those yolks before adding anything else in.
- They are completely portable! These are fantastic Picnic Food Ideas because they hold their shape nicely once they’ve chilled.
- You can easily make them a day ahead, which is a lifesaver when you’re juggling appetizers for a big get-together.
I actually found a great tip about turning these into a full salad if you have leftovers, which you probably won’t, but just in case! Check out my recipe for Deviled Egg Pasta Salad if you get curious.
Ingredients for Perfect Classic Deviled Eggs with Dill Pickle Relish
Okay, let’s talk supplies! Getting the ratios right here is what separates a decent deviled egg from an absolute showstopper. Don’t worry about finding weird ingredients; we are working with simple pantry staples, but precision makes all the difference. You just need twelve beautiful large eggs to get started on this recipe.
- 12 large eggs
- 1/2 cup mayonnaise (Use your favorite really good brand—I sometimes use my homemade stuff, yum!)
- 2 tablespoons dill pickle relish, drained incredibly well
- 1 teaspoon yellow mustard
- 1 teaspoon white vinegar
- 1/4 teaspoon salt
- 1/8 teaspoon black pepper
- Paprika, for garnish (don’t skip this!)
- Optional: Finely chopped fresh dill, for garnish
Ingredient Notes and Substitution Tips
Listen, every item in this list works hard, but the relish needs some special attention. You absolutely need to drain that pickle relish! I lay the two tablespoons onto a paper towel and gently pat it dry. If you don’t, your filling will turn into soup, and we need that classic, firm shape, right?
We always use large eggs. Anything smaller and you lose too much of that beautiful, creamy surface area for filling! Also, that teaspoon of white vinegar? That little bit of acid, paired with the tang from the mustard, cuts through the richness of the mayo perfectly. If you are out of white vinegar, using a teaspoon of the actual pickle juice is a fantastic swap that amps up the flavor even more. It’s all about that sweet-tangy science working together!
The Best Way to Hard-Boil Eggs for Classic Deviled Eggs with Dill Pickle Relish
Honestly, if you mess up the boiling step, the whole appetizer falls apart, so pay attention here. This is how to make perfect deviled eggs every single time, especially if you want those yolks that mash up beautifully smooth. Don’t start them in hot water; that just stresses the eggs out! Pop your dozen eggs into a saucepan and cover them with cold water, making sure the water sits about an inch above the eggs themselves.
The key is the steep time. Bring that water to a roaring, rolling boil over high heat. The second it hits that full boil—and I mean the *second*—pull the whole pan off the burner immediately, slap a lid on it tight, and set your timer for exactly 12 minutes. Don’t peek! If you’re interested in another way to treat an egg, check out my guide on perfect poached eggs sometime.
When the timer buzzes, you need speed. Use a slotted spoon to transfer those hot eggs straight into a big bowl of icy cold water—your ice bath. This stops the cooking process instantly and shocks them, which is the secret to super easy peeling later. Let them hang out in the ice water for a good ten minutes to cool completely before you even attempt to crack the shell.
If peeling is usually your nightmare, check the notes for tips! Cracking them gently all over and peeling them under cool, running water works like magic. You want flawless white halves ready for that tangy filling!
Step-by-Step Instructions for Creamy Filling Technique in Classic Deviled Eggs with Dill Pickle Relish
Now that we have perfectly cooked, easy-to-peel eggs, it’s time for the fun part—creating that unbelievable filling! This is where the magic happens, and nailing this Creamy Filling Technique ensures your appetizer melts in your mouth. We need to break this down so we don’t end up with gritty yolks or runny mess. Don’t worry, this is super straightforward once you see how I do it. If you’re looking for tips on getting the fluffiest base texture, you might want to check out my guide on best creamy fluffy scrambled eggs!
Preparing the Yolks and Mixing the Filling
First things first: slice every single cooled egg in half lengthwise and carefully scoop those golden yolks into a trusty medium bowl. I mean it—mash them completely with a fork until they look like fine, pale yellow sand. You cannot add anything until those yolks are totally lump-free. If you skip this, you’ll end up with chunks!
Once mashed, it’s time to introduce the binders: the mayonnaise, the mustard, and the vinegar. Mix those in until it’s smooth as ice cream. Finally, fold in your well-drained dill pickle relish. Taste it right there! This is your chance to adjust. Does it need a tiny bit more salt? Maybe a dash more pepper? Get it exactly how you love it before it hits the egg whites.
Piping or Spooning the Classic Deviled Eggs with Dill Pickle Relish
We have to get this delicious mixture into those empty whites! If you’re feeling fancy, scoop the filling into a piping bag fitted with a star tip—that gives you those gorgeous ridges that look so professional. If you don’t have a bag (and honestly, most days I don’t bother either!), just use a small spoon to mound the filling nicely into the hollows. Don’t be shy; pile it high!
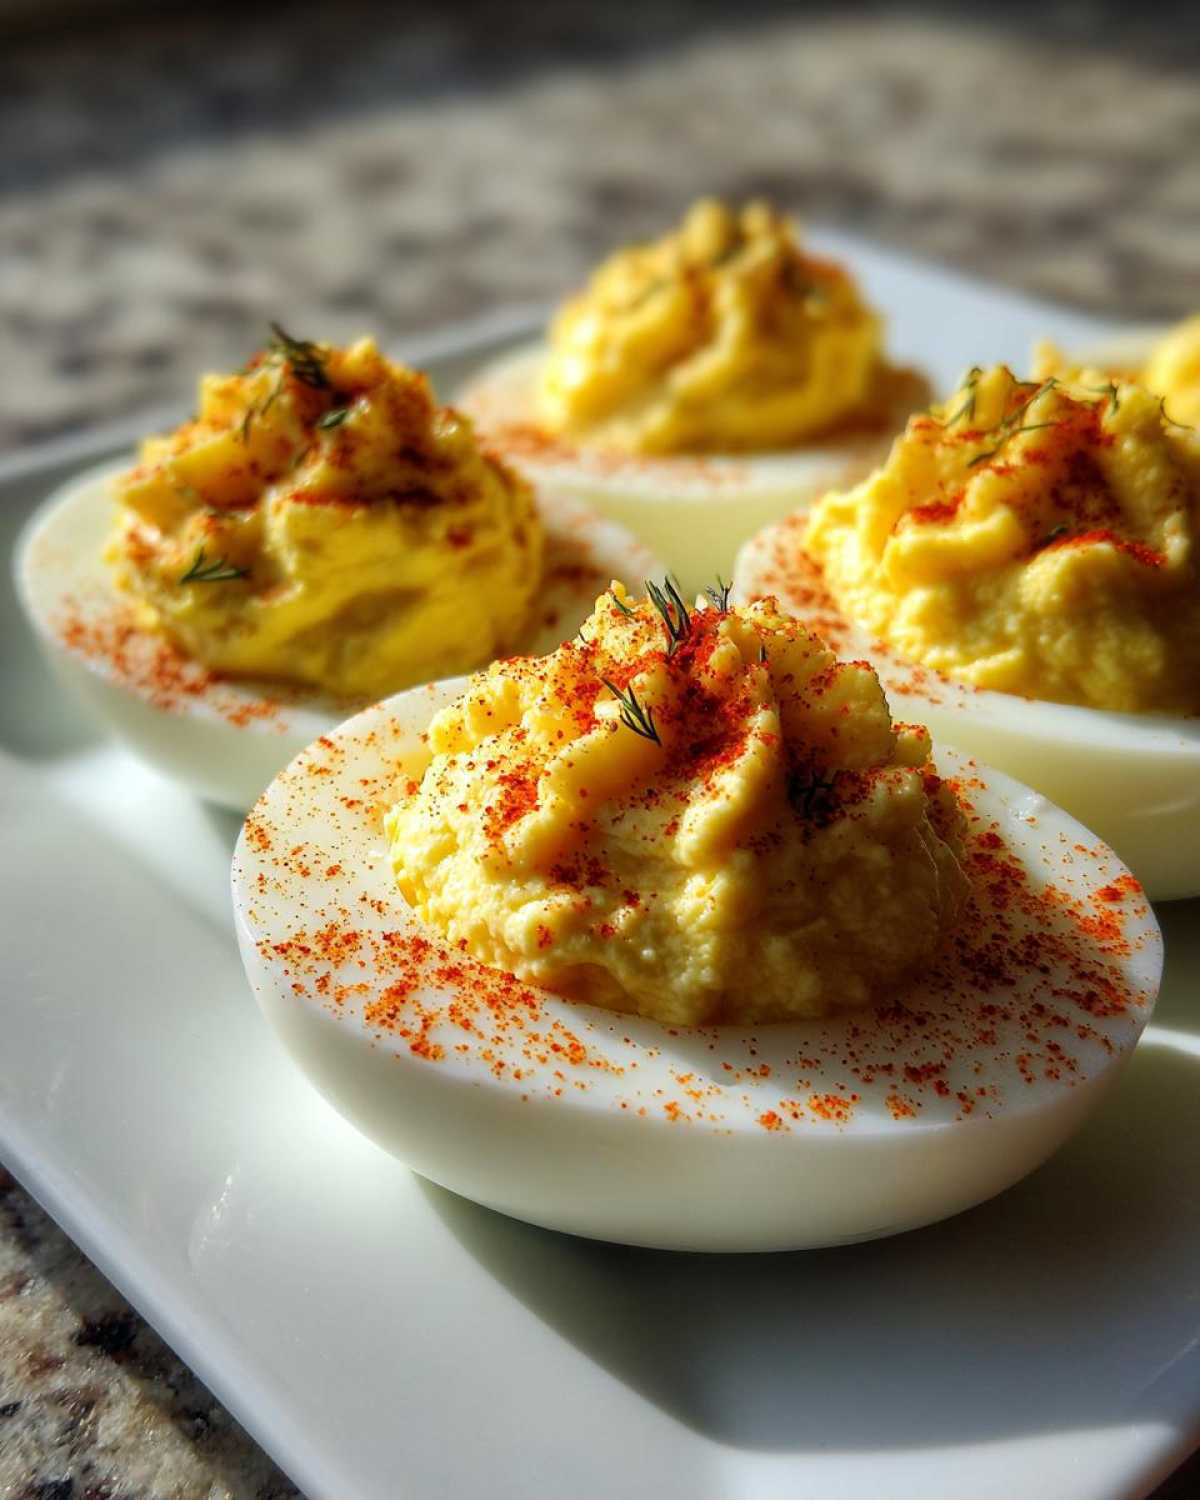
Before you even think about serving these beauties, you must chill them. I know it’s hard, but cover the platter loosely with plastic wrap and pop them into the fridge for at least half an hour. This chilling time is essential—it lets the pickle flavor deepen and helps the filling firm up so they aren’t sliding around everywhere when people pick them up. Seriously, that thirty minutes makes a huge difference!
Expert Tips for Next-Level Classic Deviled Eggs with Dill Pickle Relish
Okay, so you’ve got the creamy filling, you’ve got that perfect tangy kick from the relish—now we elevate these from great to legendary. Presentation is huge, especially when you are making Southern Style Deviled Eggs for a crowd. Here are a few little secrets I’ve picked up over the years to make sure your platter wins the appetizer award every time!
First, let’s talk about preventing those sad, wet whites. If you notice your egg white bottoms are kind of… weeping, sometimes that’s due to residual moisture from peeling or washing. After you slice the eggs and scoop the yolks out, gently blot the inside of the egg white halves with a clean paper towel. It seems fussy, but it creates a dry “landing pad” for the filling and stops any sogginess from developing.
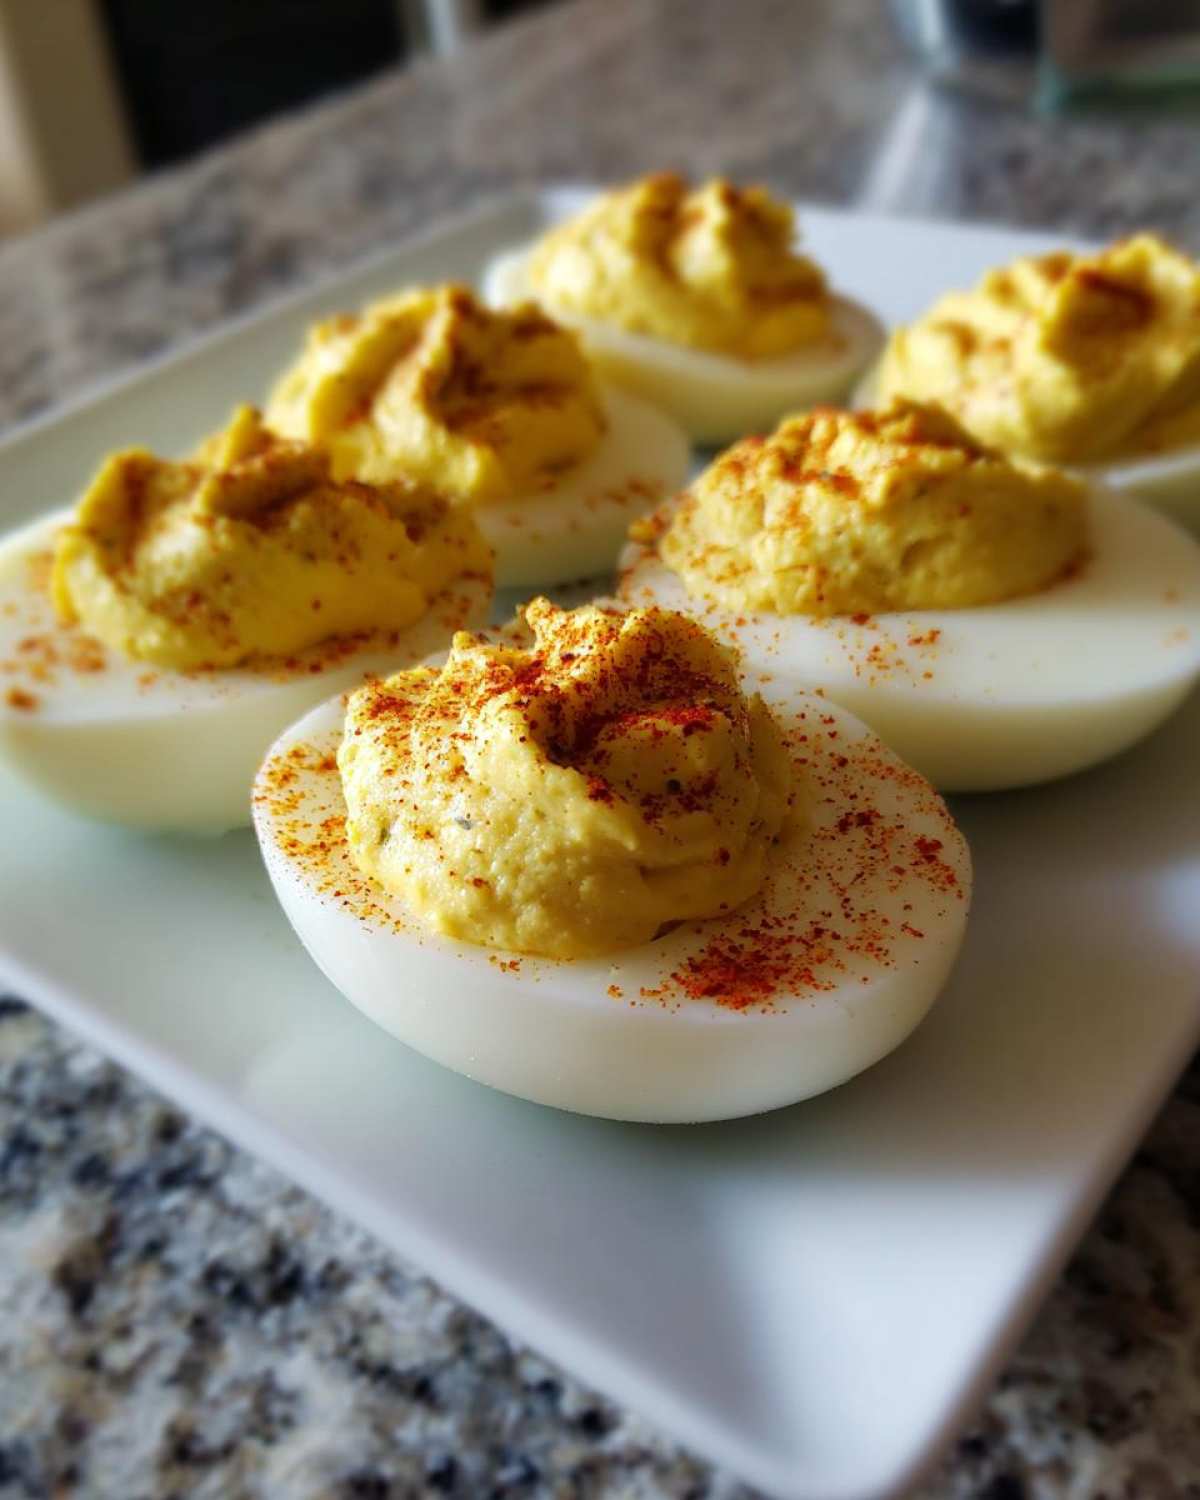
For garnish, paprika is non-negotiable, but don’t just dust it on top! Try using a fine-mesh sieve and dust the paprika lightly over the whole platter—it gives this beautiful, overall rosy hue. My favorite trick, though, is using the relish itself. Remember how we drained it? Take just a tiny pinch of that dry relish and place one or two tiny pieces right on the very top center of the filling mound before you dust it with paprika. It cues people in immediately about the flavor they are about to enjoy!
And here’s a real game-changer for visual appeal: add some green! Finely minced fresh dill or even thinly sliced chives sprinkled around the edging of the filling, or tracing the side of the filled hollow, just makes them pop. If you are looking for other ways to incorporate those bright, briny flavors into a different dish, you should really check out my recipe for homemade tartar sauce!
Finally, always bring these directly from the fridge to the serving area. Don’t let them sit out on the counter getting warm while you’re still finishing up the main course. Cold deviled eggs taste cleaner and hold their texture—which means all your hard work on that creamy filling stays perfect until the last one is eaten!
Serving Suggestions and Event Suitability
These tangy deviled eggs are so versatile; frankly, they show up wherever good food is being served! They are an absolute must-have for outdoor gatherings because they handle the transition from kitchen to cooler like a champ. They are truly top-tier Picnic Food Ideas because they have enough acid and binding ingredients to keep them tasting fresh even after a little time spent mingling outdoors.
When it comes to holidays, forget the sad, bland veggie tray—these are the bright, yellow stars of the show! For Easter, Thanksgiving, or Christmas, these make the perfect bite-sized start to the meal while everyone is standing around mingling and catching up. They look so festive with the paprika dusting, making them quintessential Holiday Egg Appetizers.
I love making a giant platter of these when we have cookouts. They pair so beautifully with heavier fare. Imagine cutting into a smoky pulled pork sandwich or maybe some juicy grilled chicken—a couple of these tangy, cool bites right alongside it? Perfection! They cut through all that richness so nicely.
If you’re setting up a big appetizer spread for New Year’s or a Super Bowl party, make sure these eggs have pride of place near something hearty, like a big dip. Speaking of dips, if you need another crowd-pleasing potluck star, you absolutely have to try my recipe for Cowboy Caviar—it’s perfect right next to these eggs!
Basically, if there’s a potluck involved, you can bet your bottom dollar these little flavor bombs are going to be the first thing gone. They just meet that sweet spot between comforting classic and surprising zing!
Storage and Make Ahead Appetizers for Classic Deviled Eggs with Dill Pickle Relish
One of my favorite things about this recipe is that they are fantastic Make Ahead Appetizers! You can totally get ahead of the holiday stress by prepping these in stages. Food safety is key here, especially when dealing with mayonnaise, so keep everything chilled until the absolute last minute, okay?
Here’s the timeline I always follow when I need to get ahead. You can boil the eggs up to three days ahead of time. Once they are completely cold from the ice bath, just store them, unpeeled, in a zip-top bag in the fridge. Unpeeled shells act like built-in protection!
The yolk filling is even easier. Mix up the entire filling—relish, mayo, mustard, everything—and store it in an airtight container. It holds its wonderful creamy texture and flavor for about two days in the fridge. The crucial thing is that you *don’t* fill the eggs until you are ready to serve, or at the very latest, an hour before the party starts.
When you are ready to assemble, just peel the pre-boiled eggs, mix up the filling one last time to make sure it hasn’t settled, and then fill those whites. Garnish right before putting them on the serving tray. If you’re ever curious about freezing things to save time, I have some tips on my post about freezer breakfast burritos, though I would never freeze a finished deviled egg!
Once assembled and garnished, try to serve them within a few hours, and never let them sit out at room temperature for more than two hours total. Better safe than sorry when you’re serving up something this delicious!
Frequently Asked Questions About Relish Deviled Eggs
I get so many questions every time I serve these tangy little guys at a party! It’s funny, people always want to know the secret behind the flavor, or how I get that filling so perfectly fluffy. Here are the most common things folks ask me about whipping up these fantastic Relish Deviled Eggs.
Can I use sweet pickle relish instead of dill pickle relish?
Yes, you totally can, but be warned—it changes the whole vibe! Dill relish gives us that classic, sharp, savory tang that balances the richness of the mayo. Sweet relish brings a totally different, much sweeter profile. If you choose sweet relish, you might want to skip that teaspoon of white vinegar entirely, or maybe even swap the yellow mustard for a spicy brown mustard just to bring some of that necessary savory backbone back into the mix. It’s a different egg, but still tasty if you love sweet flavors!
How long can I store the finished Classic Deviled Eggs with Dill Pickle Relish?
Because we use mayonnaise in the filling, we absolutely need to keep food safety in mind. I usually tell people to aim to serve them the day they are made, but they hold up really well in the fridge for up to two days. Keep them covered tightly on a serving platter in the coldest part of your refrigerator. If you’re making them ahead, remember the filling will taste better if it marinates with the relish for a few hours, but they look prettiest when filled within 12 hours of serving. Don’t let them sit out at room temperature for longer than two hours!
What is the secret to getting the filling perfectly smooth?
This is the million-dollar question, and it all comes down to the very beginning of the mixing process! The secret to that flawless, Creamy Filling Technique is simple: mash those cooked yolks until they are dust before you introduce anything else. Seriously, get a fork and push them until they are completely fine crumbs. Once the yolks are smooth, then add the wet ingredients like the mayo and mustard. If you dump everything in at once, you’ll end up with grainy filling every time. Take your time with the mashing—the extra minute really pays off in texture!
If you’re looking for more ways to elevate simple comfort foods, check out my famous Salisbury Steak recipe. Sometimes the simplest dishes just need that one little expert touch, just like these eggs!
Nutritional Estimates for This Creamy Egg Appetizer
Now, I know we aren’t exactly making these deviled eggs for their superpowers as diet food, right? They are rich, they are creamy, and they are meant to be a celebratory little bite! But just so you know what you’re grabbing when you sneak one (or three) off the platter, here are the estimated nutritional facts.
Remember, these numbers are based on serving size of two halves, assuming you use standard large eggs and the ingredients listed exactly as specified. If you decide to use low-fat mayo or add extra relish, the numbers will shift, of course. But as a baseline for this delicious, classic appetizer…
- Serving Size: 2 halves
- Calories: 90
- Fat: 8g
- Saturated Fat: 2g
- Carbohydrates: 1g
- Protein: 3g
- Sodium: 120mg
- Cholesterol: 95mg
See? Not as heavy as you might think when you stick to just two pieces! They are still a little high in sodium, which is just the price we pay for all that delicious flavor goodness from the relish and seasoning. If you want to see how other great comfort foods stack up, you might be interested in the macros for my quick cottage cheese ice cream!
PrintClassic Deviled Eggs with Dill Pickle Relish
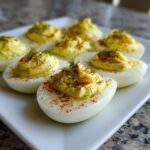
Make classic deviled eggs with a bright, tangy flavor boost from dill pickle relish. This recipe yields creamy filling and perfect presentation for any gathering.
- Prep Time: 20 min
- Cook Time: 12 min
- Total Time: 42 min
- Yield: 24 halves
- Category: Appetizer
- Method: Boiling and Mixing
- Cuisine: American
- Diet: Vegetarian
Ingredients
- 12 large eggs
- 1/2 cup mayonnaise
- 2 tablespoons dill pickle relish, drained well
- 1 teaspoon yellow mustard
- 1 teaspoon white vinegar
- 1/4 teaspoon salt
- 1/8 teaspoon black pepper
- Paprika, for garnish
- Optional: Finely chopped fresh dill, for garnish
Instructions
- Place eggs in a single layer in a saucepan. Cover eggs with cold water by about one inch. Bring the water to a full, rolling boil over high heat.
- Once boiling, immediately remove the pan from the heat, cover it, and let the eggs stand for exactly 12 minutes.
- Prepare an ice bath by filling a large bowl with ice and cold water.
- After 12 minutes, carefully transfer the eggs to the ice bath using a slotted spoon. Let them cool completely, about 10 minutes.
- Peel the cooled eggs. Slice each egg in half lengthwise. Gently scoop the yolks into a medium bowl. Place the empty egg white halves on a serving platter.
- Mash the yolks thoroughly with a fork until fine crumbs form.
- Add the mayonnaise, drained dill pickle relish, mustard, white vinegar, salt, and pepper to the mashed yolks.
- Mix all ingredients until the filling is completely smooth and creamy. Taste and adjust salt or pepper if needed.
- Spoon or pipe the yolk mixture back into the hollows of the egg white halves.
- Garnish each deviled egg with a light dusting of paprika and a sprinkle of fresh dill, if using.
- Chill the deviled eggs for at least 30 minutes before serving for the best flavor.
Notes
- For easy peeling, crack the cooled eggs lightly all over and peel them under running cool water.
- If you do not have a piping bag, use a small spoon to fill the egg whites neatly.
- Drain the pickle relish thoroughly; excess liquid will make your filling runny.
Nutrition
- Serving Size: 2 halves
- Calories: 90
- Sugar: 1
- Sodium: 120
- Fat: 8
- Saturated Fat: 2
- Unsaturated Fat: 6
- Trans Fat: 0
- Carbohydrates: 1
- Fiber: 0
- Protein: 3
- Cholesterol: 95