

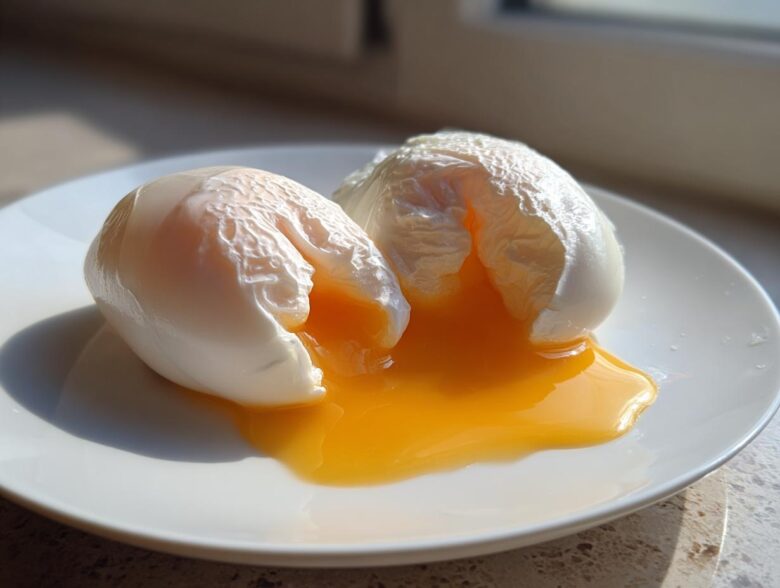
Oh, the infamous battle with the egg white! If you’ve ever tried to make homemade poached eggs only to end up with cloudy, stringy wisps floating sadly in your water, trust me, you are not alone. I spent years battling sad, messy whites that just refused to cooperate. But I finally cracked the code, and boy, does it feel good to achieve that perfect result! This guide isn’t just about instructions; it’s my personal, foolproof journey to guaranteeing runny yolk perfect whites every single time. Seriously, master these simple steps, and you’ll have culinary skills egg mastery in no time. Let’s get those gorgeous poached eggs on your plate!
Why This is the Best Poached Egg Technique for Beginners
When you’re just starting out, poaching eggs seems terrifying, I get it! That’s why I’m starting you off with the classic water poaching method. Honestly, this technique offers the most control, which is everything when you are striving for those elusive runny yolk perfect whites. Forget the complicated gadgets; we are focusing on simplicity and effectiveness here. This is absolutely the best poached egg technique because it lets you see exactly what’s happening, so you can adjust the heat immediately. You learn to listen to the water, and that’s half the battle!
When you nail this method, you get an egg that looks like it came straight out of a fancy brunch cafe, but you made it right there on your stove. It’s perfect for beginners because you only need a pot and a slotted spoon!
The Secret to Beautifully Formed Poached Eggs
The biggest secret, which I learned the hard way stirring cloudy messes for years, is twofold: freshness and stillness. You absolutely must use the freshest eggs you can find. Older eggs have watery whites that just spread out everywhere when they hit the water. Also, keep that heat gentle! We aren’t boiling these beautiful things; we want a very soft simmer—tiny, lazy bubbles popping occasionally. This gentle setting process keeps the whites snugly wrapped around that precious yolk.
Gathering Your Supplies for Perfect Poached Eggs
Before anything starts boiling, let’s make sure you have your tools ready to go. Trust me, scrambling to find supplies while your water is threatening to boil over is not the move here! For the best poached eggs, you just need simple stuff, which is another reason I love this technique for beginners.
You’ll want a medium saucepan—nothing too huge or deep—and definitely a small bowl or ramekin for cracking your eggs out of first. Don’t forget a good slotted spoon for removing them later. Having everything lined up makes this whole process super smooth!
Essential Ingredients for Perfect Poached Eggs
Okay, let’s run down what you need for this magic to happen. The beauty of making poached eggs is that the ingredient list is practically nothing! You just need super fresh ingredients to get that perfect texture. We’re talking about 2 large eggs; please, crack these into separate little bowls or ramekins first—never straight into the pot! That’s crucial.
You’ll need about 4 cups of water, and just a little pinch of salt for flavor. Now, here’s the bit I know people ask about: white vinegar. If you want to try making poached eggs without vinegar, you totally can! It just means you have to be extra vigilant about keeping that water at the perfect simmer. If you use it, just add one teaspoon; it helps those whites grab onto each other faster!
Step-by-Step Instructions: The Easy Egg Poaching Method for Poached Eggs
Time for the main event! If you follow these steps exactly, you are going to nail this easy egg poaching method. First, get your water heating up in the saucepan—we said about 3 inches deep works perfectly. Watch it closely! While it’s heating, take that small bowl holding your egg and get ready.
Once the water has those little bubbles—not raging, but just happy and simmering—it’s time for the fun part: the swirl! Use a spoon, maybe a whisk if you want, and stir the water in one direction to create a gentle whirlpool right in the center of the pot. Don’t overdo it; you don’t want a tidal wave!
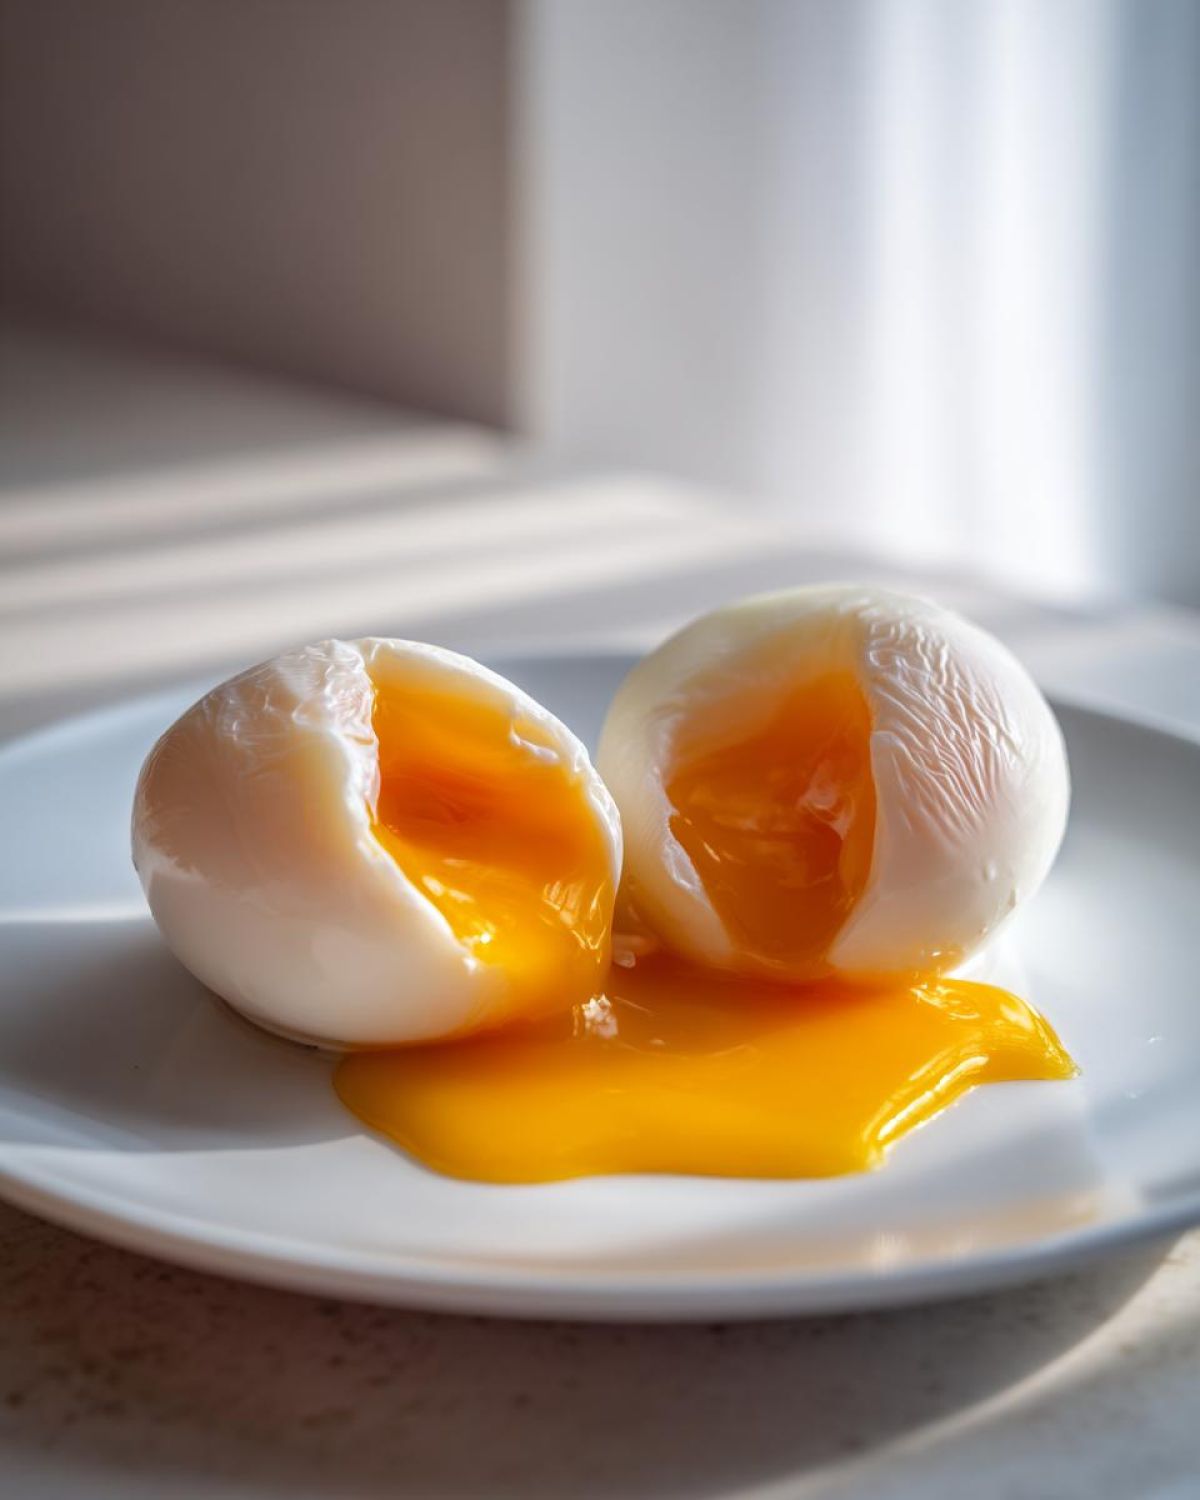
Now, slide your egg *gently* right into the middle of that swirling water. The motion is what really helps the white hug tight around the yolk. Let it cook for 3 to 4 minutes if you want that gorgeous runny yolk perfect whites situation we talked about. Anything longer and you risk overcooking the center, which we definitely don’t want!
When the time is up, use your slotted spoon to lift it out carefully. Give it a little shake to let the water drip off, and maybe blot the bottom on a paper towel just to make sure it’s not soaking wet. Go ahead and repeat for the second egg!
Achieving the Ideal Poaching Water Temperature
This is my non-negotiable tip for beautiful nests of egg white. A rolling boil is your enemy; it will tear up your delicate whites immediately! You want a gentle simmer. That means the surface of the water is just barely moving, with only small, lazy bubbles rising up. This slow, steady warmth sets the white firmly without letting the drag of turbulent water pull it apart. If you maintain that perfect simmer, you guarantee those runny yolk perfect whites!
Expert Tips for Foolproof Poached Eggs Mastery
I swear, learning the importance of egg freshness was the moment my poached eggs went from tragic messes to masterpieces. Before I wised up, I’d get totally runny whites spreading all over the pot—it was embarrassing! Now I know, if the egg is older, the white is thinner, and it just doesn’t hold its shape. That’s the secret to true culinary skills egg mastery! Always blot that finished egg gently on a paper towel, too. It sounds small, but getting rid of that excess water prevents any watery surprises when you cut into that perfect yolk.
When you have multiple eggs to cook, remember my trick: crack them one by one into separate little bowls first. This way, if one egg decides to be defiant, it doesn’t ruin the batch you are working on! I keep all my best personal discoveries over on my About Us page!
Alternative Methods: Oven Poached Eggs Tutorial and Microwave Poached Egg Hack
Now, I’m all about the water method, but listen, sometimes you need speed or you just don’t want to deal with swirling water! If that’s you, I have a quick oven poached eggs tutorial for you. You just put the eggs into lightly oiled ramekins, cover them up with foil, and pop them in a 350-degree oven for about 12 to 15 minutes. They come out super uniform—definitely a great backup strategy when you’re making brunch for a crowd.
And for those days when you *need* one single perfect egg in two minutes flat? The microwave poached egg hack is surprisingly decent. Just use a splash of water in a mug, crack the egg in, cover it loosely, and zap it in short bursts. It’s fast, though the texture isn’t quite as silky as the stovetop versions. Still, it totally works in a pinch!
Serving Suggestions for Your Perfect Poached Eggs
Okay, you did it! You have these gorgeous, gleaming poached eggs sitting perfectly on your counter. Now what? You can’t just eat them plain, right? Well, you *could*, but why waste such an achievement? These are perfect for any of my homemade Eggs Benedict components when you’re feeling extra fancy for brunch dates.
But honestly, my go-to is always a thick slice of toasted sourdough, piled high with smashed avocado—I actually love loading mine up with chili flakes! You can find my favorite way to make that over on my poached eggs avocado toast topping guide. That drizzle of yolk over the green is just dreamy. They are also fantastic crumbled over a simple salad for a healthy low-carb egg ideas boost during lunch. Seriously, once you master this, you’ll find yourself topping everything with poached eggs for breakfast.
Storage and Reheating Instructions for Poached Eggs
So, maybe you made a huge batch because you were practicing your culinary skills egg mastery, or maybe you just had leftovers, which happens! Don’t toss those beautiful eggs!
You can store cooked poached eggs, but you have to treat them gently so they don’t overcook. The best way to hold them is submerged in a bowl of ice water in the fridge—this stops the cooking process right away. They are good like this for a day or maybe two. When you’re ready to bring them back to life, transfer them back into near-boiling water for just 30 seconds. That warm-up is just enough to heat them through without hardening that perfect runny yolk!
Frequently Asked Questions About Poached Eggs
I know even with the best tips, questions pop up when you’re trying something new! I’ve gathered the ones I hear most often about making poached eggs, especially from fellow beginners.
Why do my poached eggs fall apart in the water?
This is the number one issue, and usually, it boils down to freshness! If the egg white is watery—which happens as eggs age—it spreads out thin before it can set around the yolk. Always use the freshest eggs you can find for any kind of beginner egg recipes. Also, check your water! If it’s boiling too hard instead of gently simmering, the turbulence basically shreds the egg before it even sets.
Can I really make poached eggs without vinegar?
Yes, you totally can skip the vinegar if you’d prefer making poached eggs without vinegar! The vinegar is just a little insurance policy to help the white coagulate quickly. If you skip it, you must focus intensely on that gentle simmer mentioned above. Make sure you’re swirling to create that initial vortex *before* you drop the egg in. That swirl is your best friend when you aren’t using vinegar!
How long do perfectly poached eggs last in the fridge?
For the best taste and texture, I recommend eating them the same day you make them. However, if you cook your poached eggs and cool them quickly in ice water right after, they’ll keep nicely for about 1 to 2 days in an airtight container in the fridge. Just remember they need that quick warm-up dip back into hot water before serving on your avocado toast!
What’s the difference between poaching and soft boiling?
That’s a great question for understanding your building culinary skills egg mastery! Soft boiled eggs cook *in* their shell, usually in boiling water, resulting in a soft yolk and set white that you have to peel. Poached eggs cook *outside* the shell directly in hot water. The texture is usually smoother and more delicate on the outside when you poach them.
Nutritional Snapshot of Poached Eggs
Now that you’ve mastered the technique, let’s see what’s in these amazing little orbs! Remember, these numbers are just estimates based on the recipe using one large egg. We aren’t focused on exact diet tracking here, but it’s nice to know you’ve got a satisfying, low-carb protein boost on your hands for your daily breakfast.
- Serving Size: 1 egg
- Calories: 72
- Fat: 4.8g
- Protein: 6.3g
- Carbohydrates: 0.6g
- Cholesterol: 186mg
Keep in mind these figures can shift a bit depending on the size of your eggs! This is just a general idea of how healthy these beautiful poached eggs are for your morning routine.
PrintFoolproof Guide: Perfect Poached Eggs Every Time
Learn the simple technique to make poached eggs with firm whites and runny yolks using the water poaching method. This guide provides clear steps for consistent results.
- Prep Time: 5 min
- Cook Time: 8 min
- Total Time: 13 min
- Yield: 2 servings
- Category: Breakfast
- Method: Water Poaching
- Cuisine: General
- Diet: Low Fat
Ingredients
- 2 large eggs
- 4 cups water
- 1 teaspoon white vinegar (optional)
- Pinch of salt
Instructions
- Fill a medium saucepan with about 3 inches of water and bring it to a gentle simmer over medium heat. The water should have small, steady bubbles, not a rolling boil.
- If using, add the vinegar to the water. This helps the egg white set quickly.
- Crack one egg into a small bowl or ramekin. Do not crack directly into the water.
- Use a spoon to create a gentle whirlpool in the simmering water.
- Carefully slide the egg from the bowl into the center of the whirlpool. The swirling motion helps gather the white around the yolk.
- Cook the egg for 3 to 4 minutes for a runny yolk. Adjust time for desired doneness (2 minutes for very soft, 5 minutes for medium).
- Use a slotted spoon to carefully remove the egg from the water.
- Gently blot the bottom of the spoon on a paper towel to remove excess water before serving.
- Repeat the process for the second egg, ensuring the water returns to a simmer between batches.
Notes
- For the neatest results, use the freshest eggs possible; older eggs have thinner whites that spread more easily.
- If you prefer not to use vinegar, ensure your water is simmering very gently.
- For multiple eggs, crack them into separate small bowls first, then gently add them to the water one at a time, giving each egg space.
- For oven poaching, place eggs in lightly oiled ramekins, cover with foil, and bake at 350°F (175°C) for about 12-15 minutes.
Nutrition
- Serving Size: 1 egg
- Calories: 72
- Sugar: 0.6
- Sodium: 71
- Fat: 4.8
- Saturated Fat: 1.6
- Unsaturated Fat: 2.5
- Trans Fat: 0.0
- Carbohydrates: 0.6
- Fiber: 0.0
- Protein: 6.3
- Cholesterol: 186