

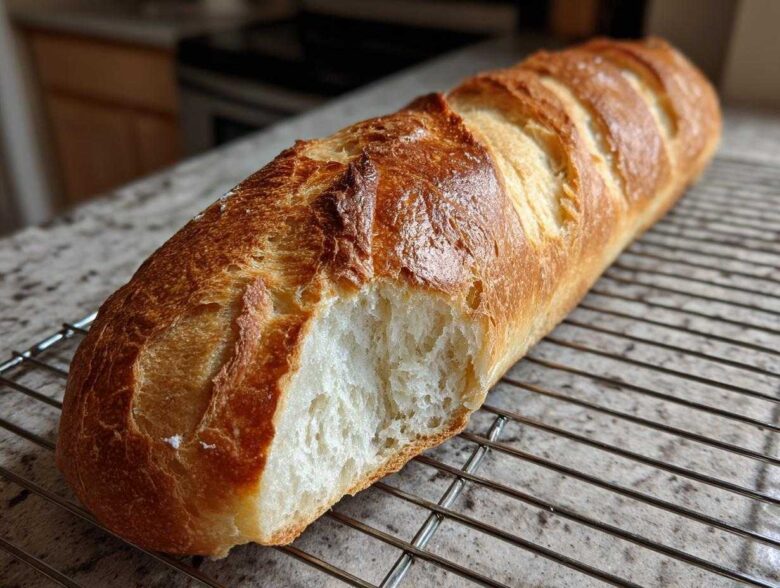
Oh, friends, there is absolutely nothing that compares to the scent of freshly baked food filling your kitchen. It’s instantly comforting, right? For me, that amazing, warm aroma signals that a perfect message of comfort is on its way out the door. Liam used to send me food when I was stuck at work, but now I get to send that same feeling back to him. That’s why I’m so excited to share this french bread recipe with you today. Forget those sad, chewy grocery store loaves! We are making bakery style bread at home that is beautifully crusty and airy inside, all in under two hours. Seriously, this recipe is my absolute favorite dispatch for a weeknight. If you want to know more about why delivering a warm message is our whole thing here at Cookery Courier, check out our About Us page!
Why This Homemade French Bread Recipe Delivers Bakery Style Bread at Home
I get asked all the time how we manage to get that gorgeous, shatteringly crisp shell on our loaves when we’re making this french bread so quickly. The secret is cheating that slow, old-world bake time by using a little high-heat engineering! This recipe isn’t just about speed; it’s specifically designed to give you that authentic bakery style bread at home experience, even if you only have a couple of hours to spare before dinner.
Achieving the Perfect Crusty Bread Tutorial
Listen, if you want that perfect, crackly exterior, you have to trick your oven into thinking it’s a professional setup. The key ingredient here isn’t even in the dough—it’s steam! That blast of moisture at the beginning of the bake keeps the outside of the dough soft just long enough to expand fully before setting. For the ultimate crusty bread tutorial winner, remember that trick from the notes: spritz the loaves with a little water mist every five minutes for the initial 15 minutes of baking. Wow, does that make a difference!
Tips for Soft and Fluffy French Bread Texture
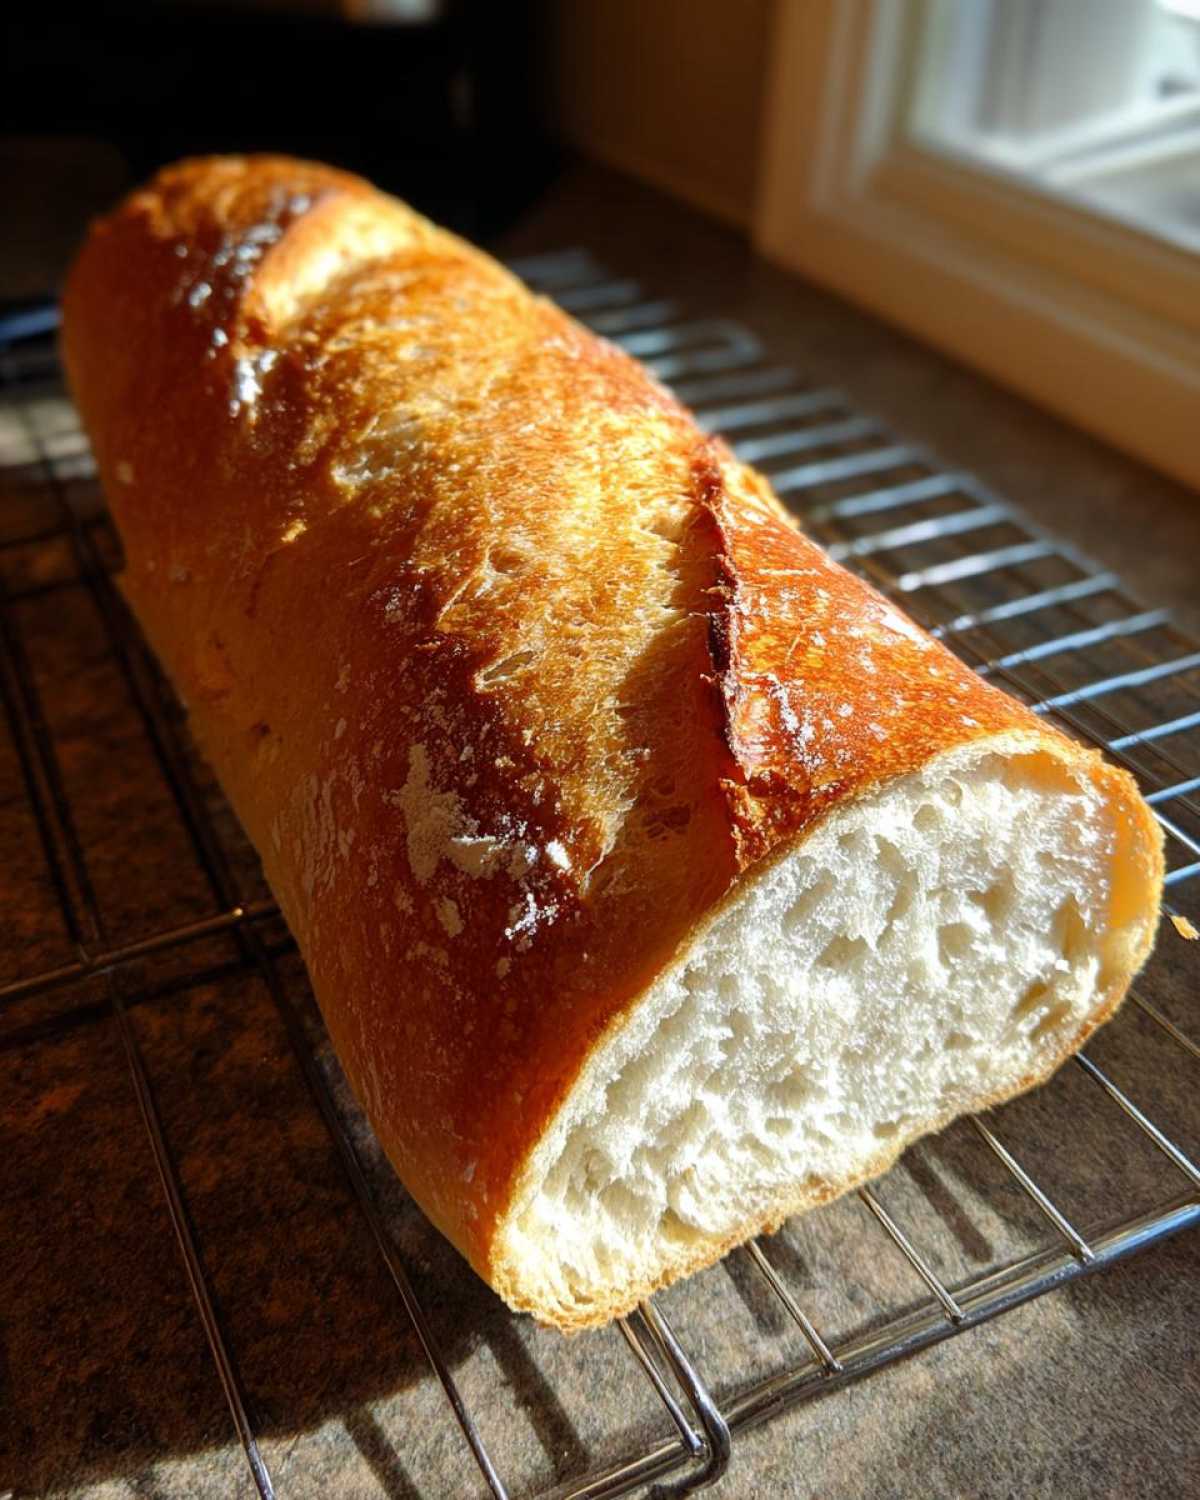
But what if you want a softer loaf, maybe for dipping in soup later? That’s the beauty of this french bread recipe—it’s wonderfully adaptable! If you skip the steam entirely, that crust won’t set as fiercely, and you’ll end up with delightful soft and fluffy french bread all around. It’s all about what texture you’re trying to deliver for your meal that night!
Gathering Ingredients for Your Quick French Bread Recipe
Okay, this is the best part about this french bread recipe—it’s a superstar made from basic building blocks. Seriously, you probably have most of this waiting in your pantry right now! We are keeping this super simple because this is a simple yeasted bread foundation, not some complicated sourdough project. You’ll need warm water—and I mean reliably warm, between 105°F and 115°F, or you’ll upset the yeast crew. Grab your all-purpose flour, salt, and only a tiny bit of sugar to make those yeasties wake up faster!
- 3 teaspoons active dry yeast
- 1 1/2 cups warm water (about 105-115°F)
- 3 1/2 cups all-purpose flour
- 2 teaspoons salt
- 1 teaspoon sugar (optional, for faster rise)
Step-by-Step Instructions for Easy French Bread for Beginners
Alright, let’s stop messing around and get down to the mixing! I promise, even if you’re still getting used to yeast, this process is straightforward. Remember, we’re aiming for that perfect, rustic result, and these steps are the roadmap to delivering a truly fantastic french bread loaf. Keep your timings in mind, especially around the rest periods, because that’s how we sneak in that quick bake time! If you’ve been playing around with my garlic breadsticks recipe, you’ll recognize how crucial that yeast activation step is.
Activating Yeast and Mixing the Simple Yeasted Bread Dough
First things first: we need that yeast happy and bubbly. Get your warm water—remember, not too hot, or you’ll kill those beautiful yeast colonies—and gently stir in your yeast and that optional teaspoon of sugar. Watch it; in about five to ten minutes, it should look foamy, like the head on a good beer. That’s your signal! Now, dump in your salt and flour. Mix it with a sturdy wooden spoon until you can’t stir anymore and you’ve got what I call a “shaggy dough.” Don’t worry if it looks messy; that’s exactly where it should be.
Kneading and the 45-Minute First Rise for Your French Bread
Time to get personal with the dough! Turn that shaggy mess out onto a lightly floured counter and knead it. Don’t be shy—you want to work it for a solid five to seven minutes until it smooths out. It’s going to feel a little tacky, maybe slightly sticky—that’s totally normal for this kind of french bread. Pop that smooth ball into a lightly oiled bowl, cover it up, and find a warm spot. We’re only letting this rise for 45 minutes for our quick method. Forty-five minutes to double in size! Can you believe it?
Shaping and the Final Proof for Perfect French Bread Loaves
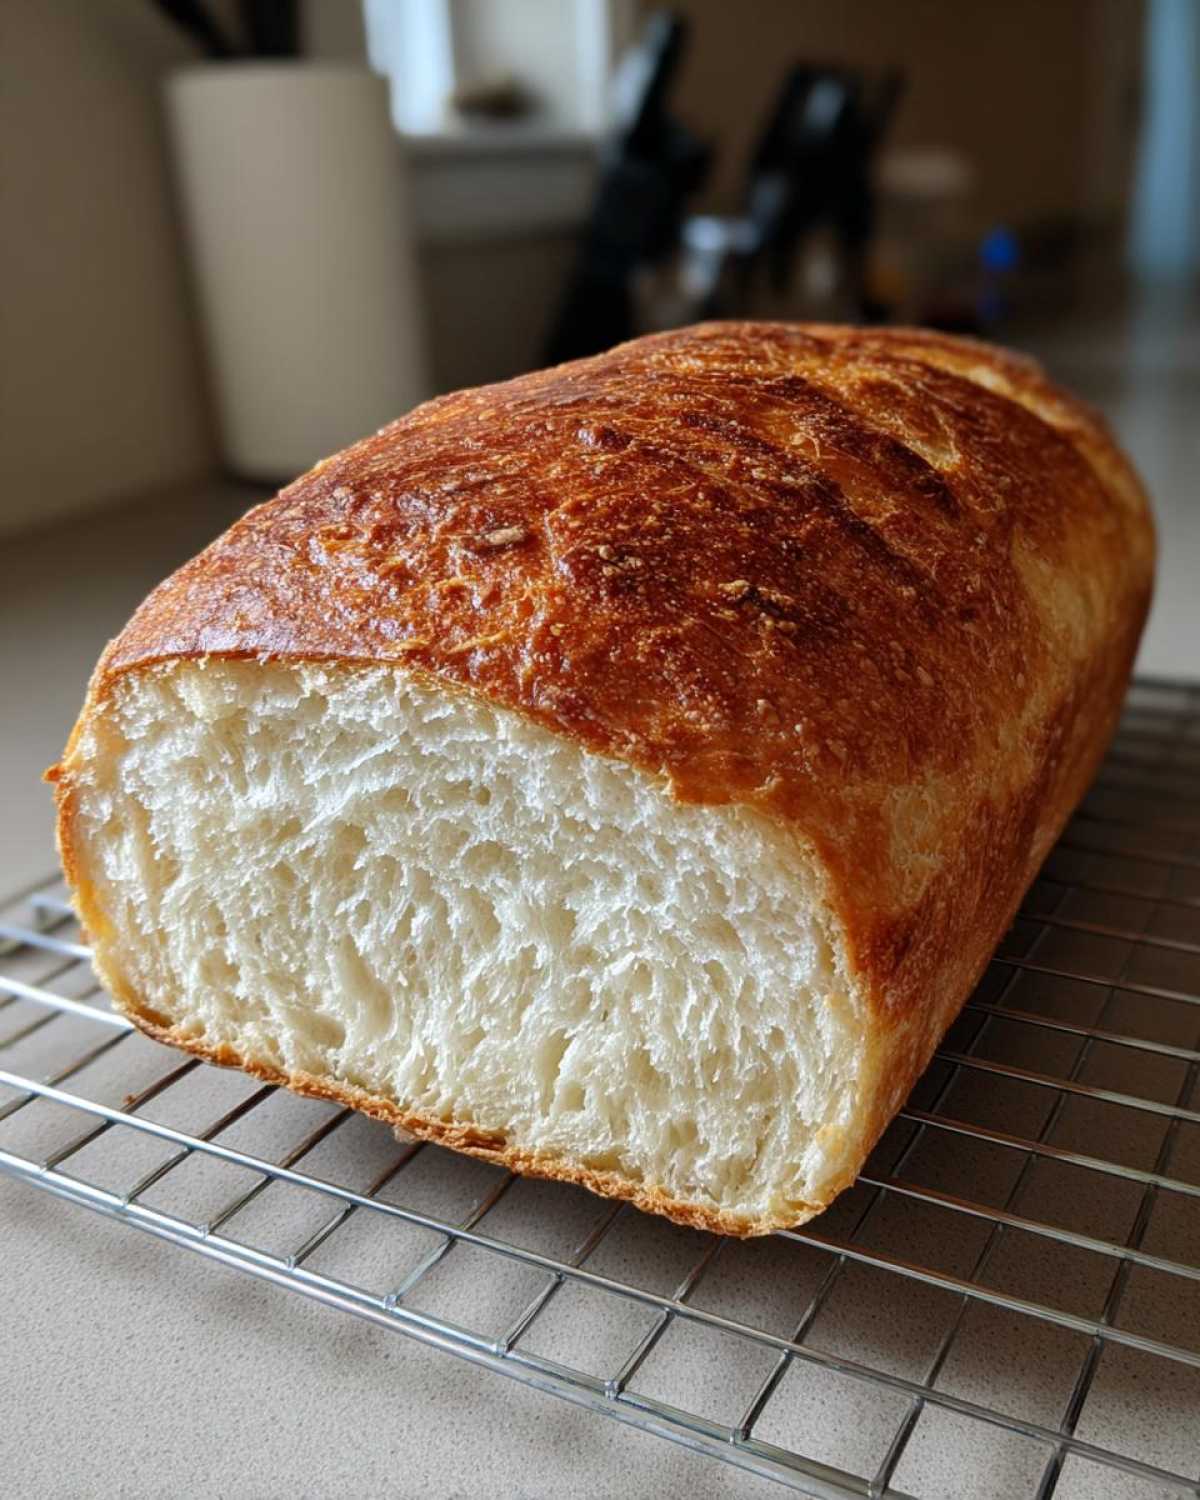
Once it’s doubled, gently punch the air out—that’s satisfying! Divide that puffy dough right down the middle. Now, take one half and gently stretch and roll it until you have a nice oblong shape ready for baking. You’re aiming for a shape like a skinny baguette. Place your two shaped loaves onto a parchment-lined baking sheet, cover them loosely again, and let them rest for 20 more minutes. This final short proof really helps your french bread get those lovely air pockets at home.
Baking Techniques: Creating Steam for a Crispy Crust
This is where the magic happens to get that crispy exterior! About 15 minutes before that final proof is up, you need to get serious about heat. Place a shallow metal pan on the bottom rack of your oven and preheat everything to 425°F (220°C). When it’s time to load the loaves, carefully pour about a cup of very hot water into that bottom pan—watch out for the steam! Quickly score the top of each loaf—three nice slashes works best—and slide the loaves onto the middle rack. Bake it for 20 to 25 minutes until that crust is deep golden brown!
Making This Quick French Bread Recipe Under 2 Hours a Reality
I know, I know—baking bread usually means you have to plan your entire day around it, right? Not with this recipe! We are delivering that incredibly satisfying, crusty bread tutorial result in about 1 hour and 50 minutes total. Think about that! That’s way faster than making a reservation and waiting for a table. This truly is a quick french bread recipe under 2 hours miracle for when you need a fresh loaf fast. You can certainly find other quick guides out there, like this one I saw for another easy 90-minute french bread recipe, but ours gets you that perfect interior texture while still being absolutely foolproof for newcomers. It’s my go-to french bread dispatch!
Tips for Success: Mastering Your Artisan Bread Baking
Even though this is our speedy version, treating this loaf with a little respect during the process will really elevate it to true artisan bread baking status. We want everyone to feel like they pulled this straight out of a Parisian oven, you know? Pay close attention to the bake, because that’s where you can customize the final delivery!
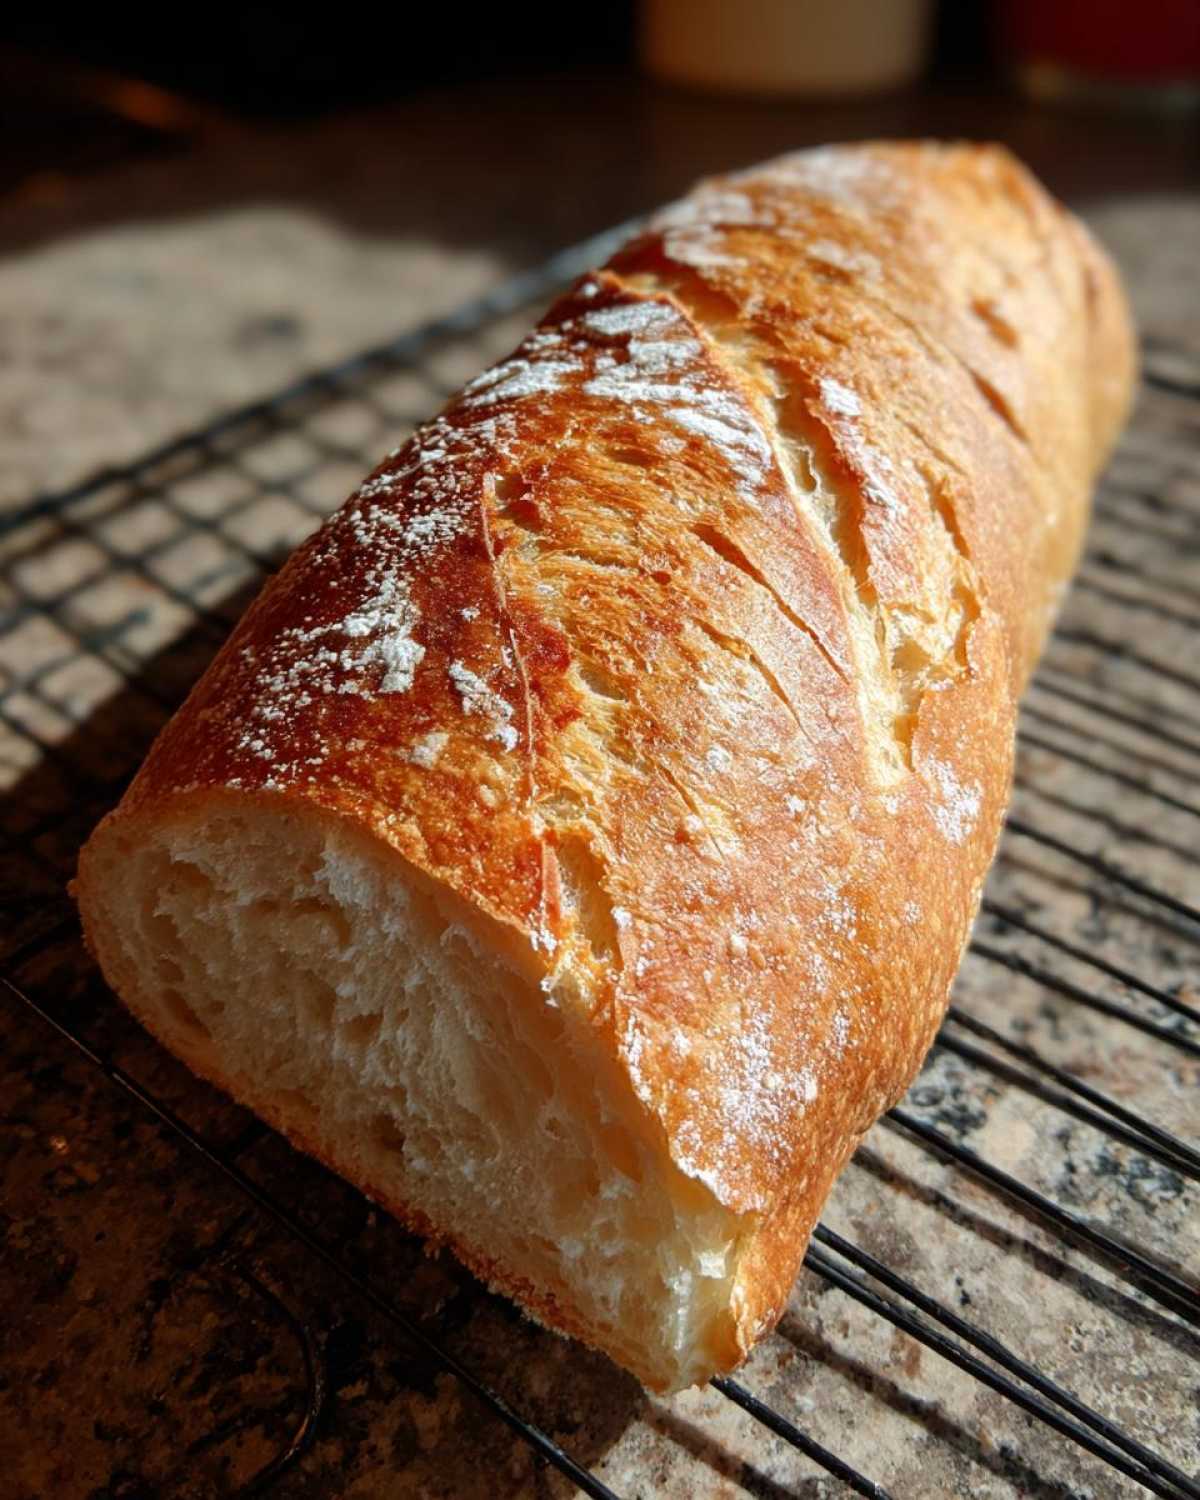
Remember the note I shared about making them softer? If you are skipping the steam pan—maybe your oven is small, or you just prefer a bread that’s easier to slice for sandwiches—you absolutely must use the buttery finish. As soon as those loaves hit the cooling rack, brush the tops lightly with melted butter. It seals in a bit of moisture and keeps that crust tender. This is great if you plan on making sandwiches the next day, or if you’re preparing them to go with something saucy, like my famous soup recipe.
Another thing I learned when I was first trying to nail this: water temperature is everything. If the water is even a tiny bit too hot when you activate the yeast, you lose all that rising power, and you end up with dense bricks instead of fluffy loaves, which is the opposite of what we want with this french bread. I use my digital thermometer every time just to be sure. Better safe than sorry when sending out a message of comfort!
And finally, don’t be afraid of color! That deep golden brown isn’t burning; that’s flavor building up on the crust. If you are looking for tips on keeping loaves nicely shaped for slicing later—like for sandwiches—you should take a peek at how I manage my sourdough sandwich bread. The principles for getting that even structure carry right over!
Serving Suggestions for Your Classic French Baking Creation
Now that you’ve delivered such a gorgeous, oven-fresh loaf, what are you going to do with it? Honestly, this versatile french bread can be anything you need it to be! If you manage to have any leftovers after the first day (which I highly doubt, Liam usually devours the whole loaf), it’s perfect for toasting the next morning with some butter and jam. Talk about a royal breakfast!
But for dinner tonight? You absolutely need a robust bowl of soup ready to go. This crunchy exterior is begging to soak up whatever deliciousness you whip up. Seriously, you must try dipping this into my favorite old-fashioned hamburger soup—it’s the perfect textural contrast!
If you made the soft-crust version, this is your ultimate sandwich bread. Slice it thick for hearty layers piled high with roast beef and sharp cheese. Even if you went full baguette mode, just slicing it thinly and serving it with olive oil and balsamic vinegar is a beautiful, classic starter for any meal. It truly elevates even the simplest dinner into something special!
Storage & Reheating Instructions for Leftover French Bread
Don’t you hate it when that amazing crust goes soft overnight? It happens to everyone, even with the best french bread! My go-to storage method is simple: never refrigerate your loaf, please! Seriously, the fridge kills the texture faster than anything. Keep your leftover french bread wrapped loosely in a paper bag at room temperature for up to two days.
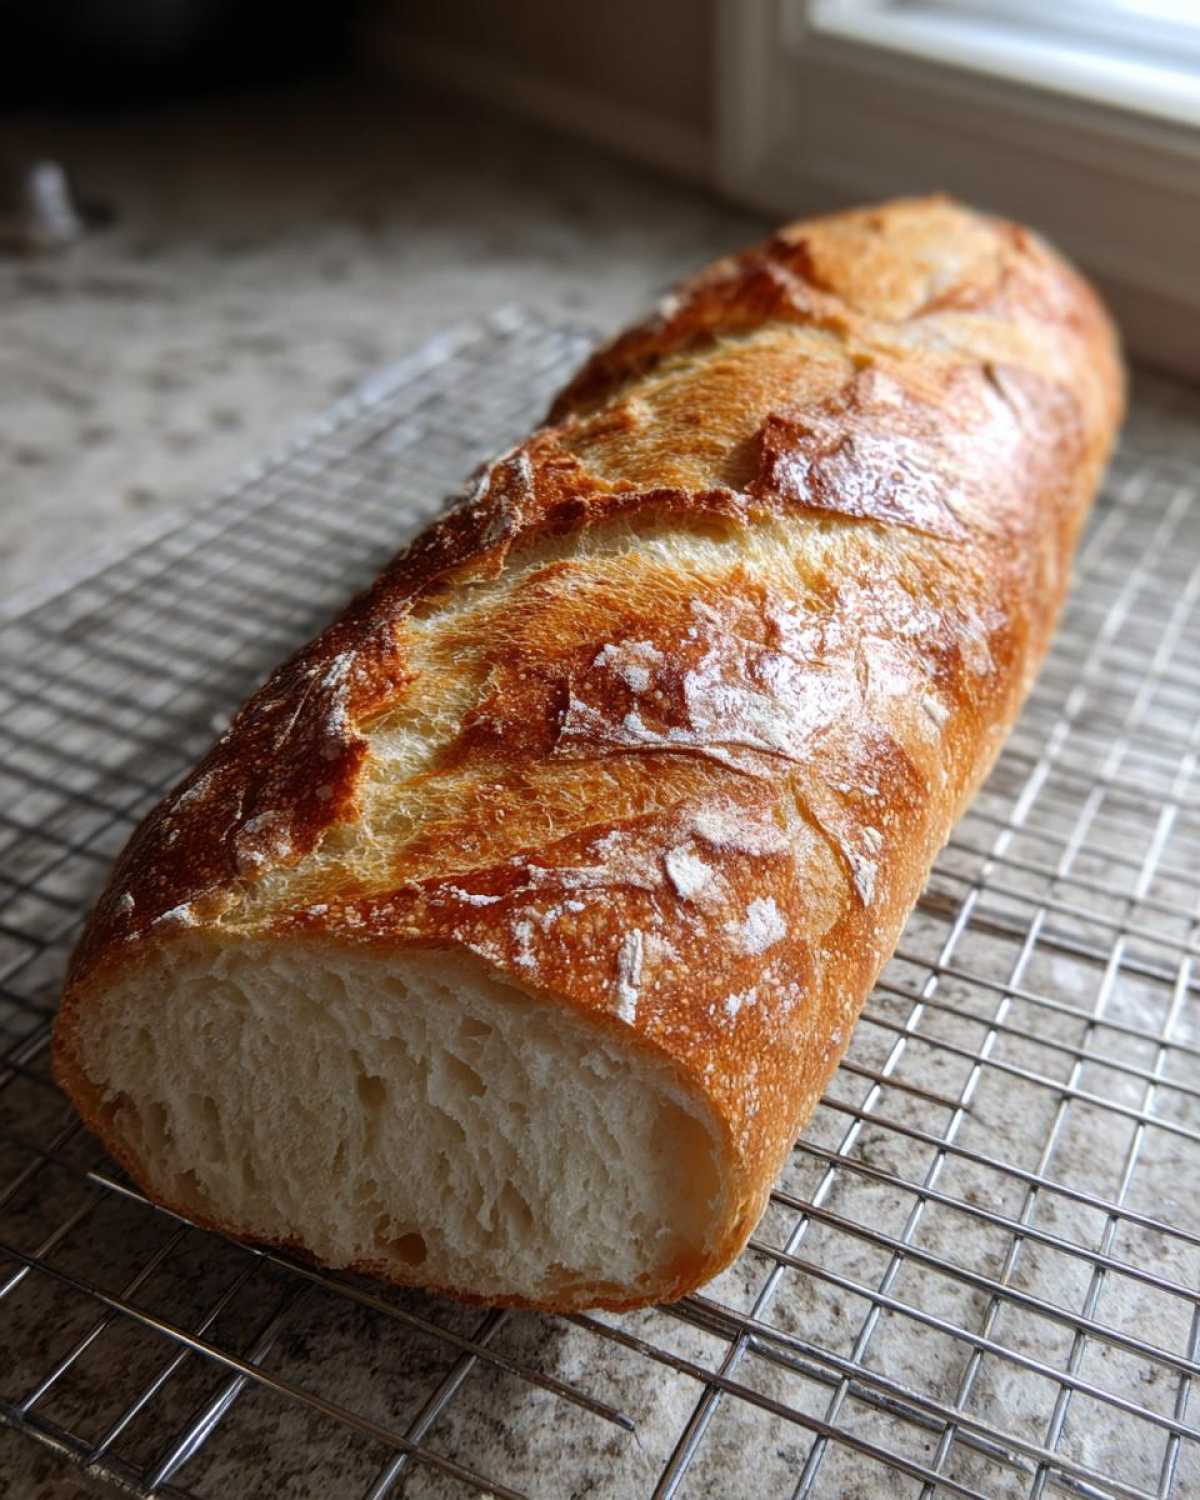
If you really want to bring that crust back to life—and you do!—just spritz the exterior lightly with water and pop it into a 350°F oven for about five minutes. It warms through, and that beautiful crust snaps right back into action. It’s like it just came out of the oven!
Frequently Asked Questions About Making French Bread
Can I skip the steam step in the oven?
You certainly can skip the steam, but you are missing out on that signature crackle! The steam is entirely responsible for that wonderful crusty bread tutorial effect. If you skip it, you are going to get a loaf that is much closer to the soft fluffy french bread recipe style. It won’t be bad at all, but it won’t be that authentic baguette crunch we were aiming for!
What is the best way to turn this into Dinner Rolls Ideas Homemade?
Oh, I love this question because it makes a perfect quick dispatch for someone unexpected! Yes, you can totally adapt this. Instead of shaping the dough into long loaves for your french bread, you just divide the dough into little balls—about 2 ounces each should work great. Let those little mounds get their final proof, and bake them right on the sheet. They’ll be light, airy, and perfect little rolls ready for butter in the same amount of time. They make wonderful dinner rolls ideas homemade!
What flour works best for this Easy French Bread for Beginners?
For this particular quick recipe, all-purpose flour is absolutely great. Like I mentioned, we’re keeping this an easy french bread for beginners project, and AP flour is reliable. If you want to seriously upgrade and try out more artisan bread baking techniques later, you could experiment with bread flour or even some Type 55 flour if you find it. But honestly, stick with AP for your first few tries; it works perfectly with the short rise time!
How long does this Homemade French Bread Recipe stay fresh?
Because this homemade french bread recipe is designed for speed, it doesn’t have all the extra stabilizers that store-bought bread does. It’s best eaten the day you bake it! If you have leftovers, wrap them loosely and eat the next day. If they feel stale, definitely use that reheat tip I gave you earlier to revive that crisp crust. For longer storage, freezing whole loaves wrapped tightly is your best bet!
Can I make this dough ahead of time and use it later?
This dough really thrives on the quick timeline we use here, so I wouldn’t advise letting the first rise go too long, especially if you want to keep the results true to the quick french bread recipe promise. If you have extra dough after shaping, you could put those shaped loaves in the fridge for up to 12 hours—that’s a cold proof! Just let them warm up on the counter for 30 minutes before baking. For the beginners out there, I’d just recommend making my English muffins recipe if you want something you can prep ahead!
Share Your Homemade French Bread Success
Well, that’s it! You’ve officially sent your message. You now have amazing, bakery quality french bread sitting right on your cooling rack. I sincerely hope the smell brought as much comfort to your kitchen as it always does to mine when Liam walks in the door!
I absolutely live for hearing about your baking adventures. Did you go for the ultra-crispy crust, or did you choose the softer, pull-apart approach? Did you serve it with butter, or did you manage to sneak it alongside a big bowl of soup?
Please, please leave a comment down below and let me know how your homemade french bread recipe turned out! A rating helps other busy people decide that they should try this quick dispatch, too. And if you snapped a photo of your beautiful loaves—especially those gorgeous slashes on top—tag us on social media! I love collecting everyone’s success stories over on the main Cookery Courier feed. Happy baking, my friends!
PrintEasy 90-Minute Crusty Homemade French Bread
Learn to bake bakery-style French bread at home with this simple recipe. You get a loaf with a wonderfully crisp crust and a soft, airy interior in under two hours. This is the reliable message of comfort you can deliver for any meal.
- Prep Time: 20 min
- Cook Time: 25 min
- Total Time: 1 hour 50 min
- Yield: 2 loaves
- Category: Baking
- Method: Baking
- Cuisine: French
- Diet: Vegetarian
Ingredients
- 3 teaspoons active dry yeast
- 1 1/2 cups warm water (about 105-115°F)
- 3 1/2 cups all-purpose flour
- 2 teaspoons salt
- 1 teaspoon sugar (optional, for faster rise)
Instructions
- Activate the yeast: In a large bowl, dissolve the yeast and sugar (if using) in the warm water. Let it stand for 5 to 10 minutes until foamy.
- Mix the dough: Add the flour and salt to the yeast mixture. Mix with a wooden spoon until a shaggy dough forms.
- Knead: Turn the dough out onto a lightly floured surface. Knead for 5 to 7 minutes until the dough is smooth and elastic. It will be slightly sticky.
- First Rise (Quick Method): Place the dough in a lightly oiled bowl, turning to coat. Cover the bowl with plastic wrap or a clean kitchen towel. Let it rise in a warm spot for 45 minutes, or until doubled in size.
- Shape the loaves: Gently punch down the dough. Divide it into two equal pieces. Shape each piece into a long, narrow loaf, similar to a baguette.
- Second Rise: Place the shaped loaves on a baking sheet lined with parchment paper, leaving space between them. Cover loosely and let them rise for another 20 minutes.
- Preheat and Prepare for Steam: About 15 minutes before baking, place a shallow metal pan on the bottom rack of your oven. Preheat the oven to 425°F (220°C).
- Create Steam: Just before placing the bread in the oven, pour 1 cup of hot water into the preheated pan on the bottom rack to create steam. This helps develop the crust.
- Score and Bake: Using a sharp knife or razor blade, make three diagonal slashes across the top of each loaf. Carefully slide the loaves onto the middle rack.
- Bake: Bake for 20 to 25 minutes, or until the crust is deep golden brown.
- Cool: Transfer the baked French bread to a wire rack to cool completely before slicing. Enjoy this bakery style bread at home!
Notes
- For an even crispier crust, you can lightly spritz the loaves with water every five minutes during the first 15 minutes of baking.
- If you prefer a softer crust loaf, omit the water pan for steam and brush the tops lightly with melted butter immediately after removing them from the oven.
- This recipe is a great base for an artisan bread baking project.
Nutrition
- Serving Size: 1 slice
- Calories: 150
- Sugar: 0.5
- Sodium: 250
- Fat: 0.5
- Saturated Fat: 0.1
- Unsaturated Fat: 0.4
- Trans Fat: 0
- Carbohydrates: 31
- Fiber: 1.5
- Protein: 5
- Cholesterol: 0