

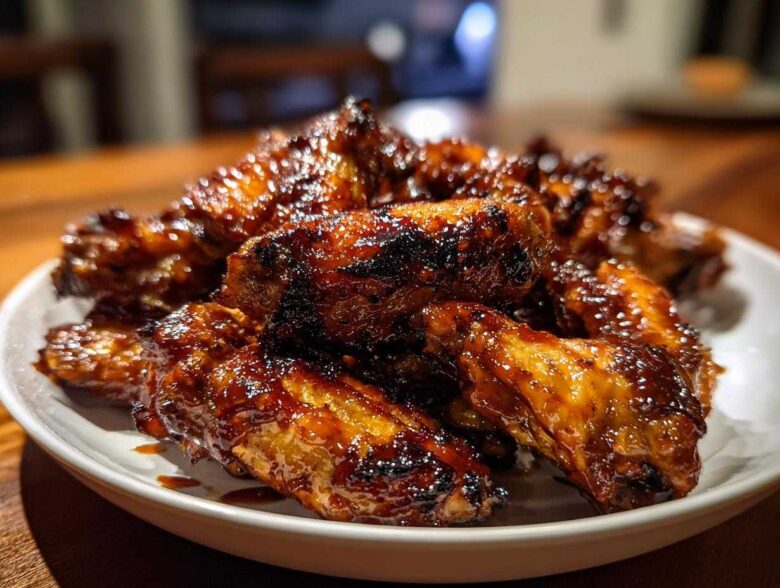
Anyone who has tried to bake chicken wings knows the struggle: you bake them forever trying to get that delightful crisp, but the second you toss them in sauce, they turn instantly soggy. It’s frustrating! We’ve all been there—we try frying, we try air frying, but sometimes you just want to keep it simple and use the oven. I spent years trying to crack the code so I wouldn’t have to deal with all that oil splatter. But folks, I finally figured it out! This recipe for Sticky BBQ Chicken Wings Crispy Oven Style is the real deal. These wings come out unbelievably crispy straight from the oven, and they hold that crunch even under a thick, decadent layer of glaze. If you’ve been searching for a way to get that perfect texture without breaking out the deep fryer, you must see my guide on Crispy Baked Chicken Wings When You Don’t Want to Fry. Trust me; this technique is a game-changer for **Baked BBQ Wings No Fry** night.
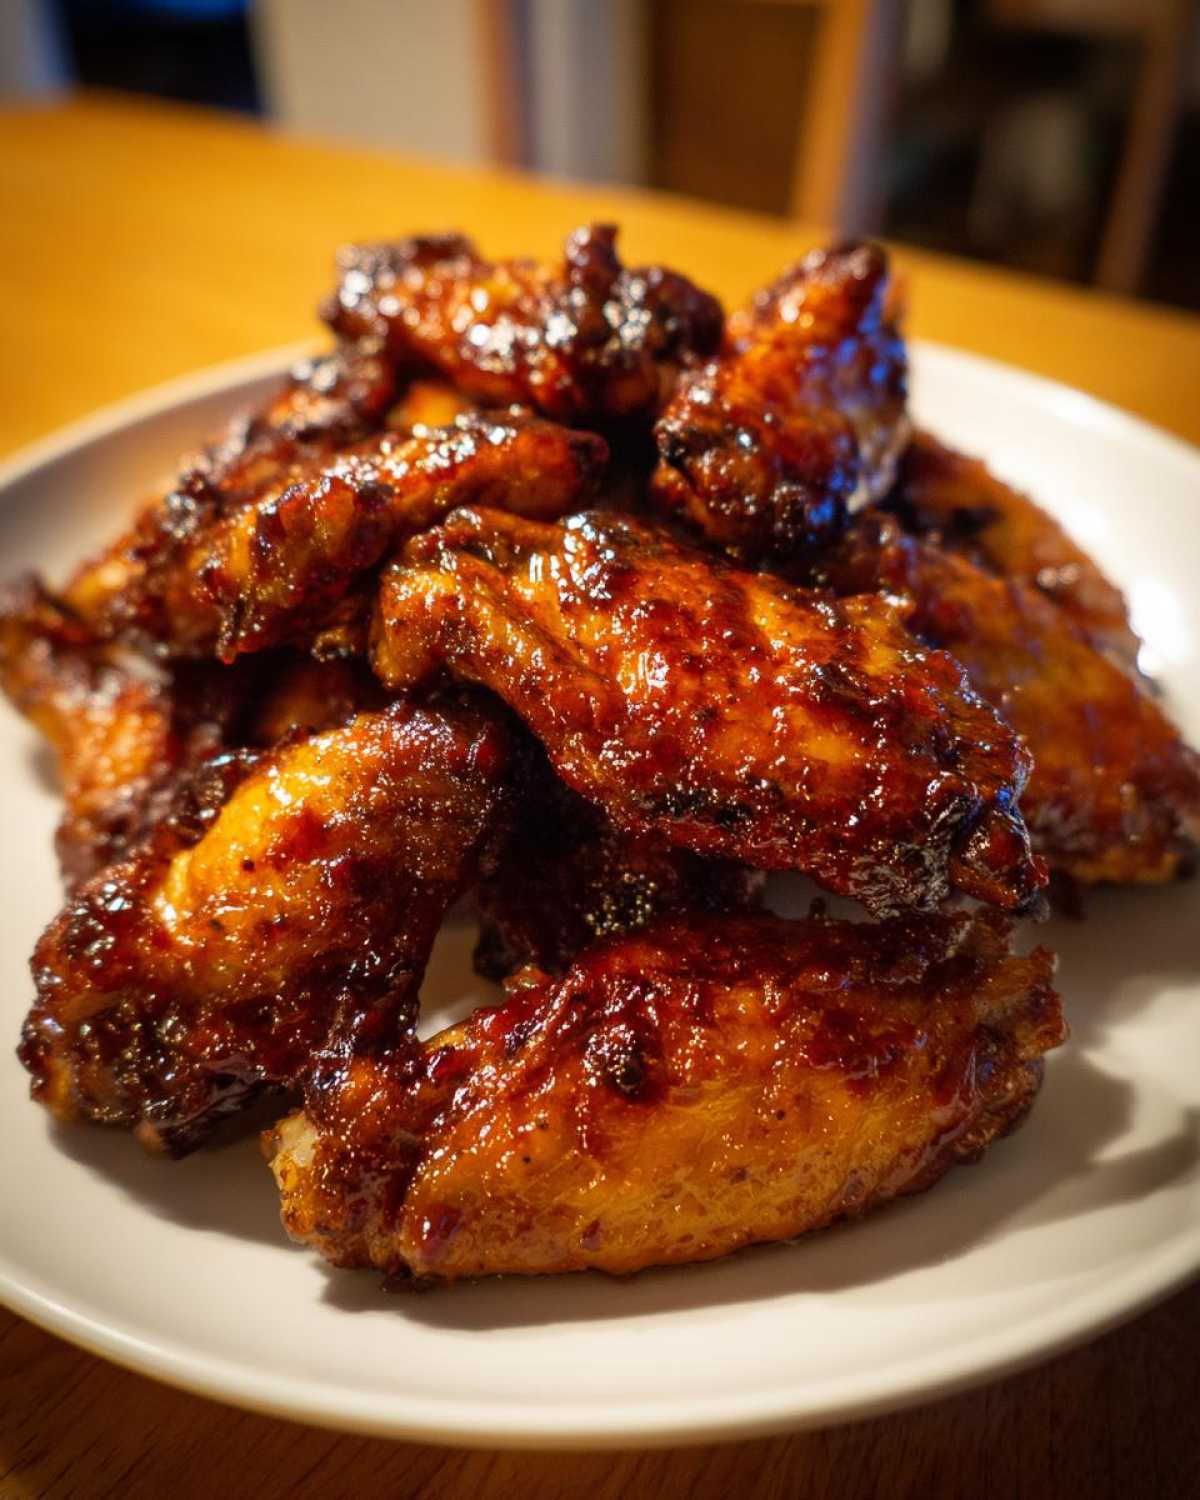
Why This Sticky BBQ Chicken Wings Crispy Oven Style Recipe Works (The Science of Crisp)
The biggest hurdle with oven wings is moisture, right? You want that crackle, but water content in the skin fights you every step of the way. Well, the **secret to crispy oven wings** isn’t just temperature; it’s chemistry! We use baking powder, magic stuff, not baking soda—don’t mix them up! Baking powder subtly raises the pH level on the chicken skin, which helps the proteins break down faster and allows more moisture to escape during baking. That’s what creates that super dry, crackly exterior.
But it’s not just the powder. We need air circulation. That means getting those wings off the baking sheet and onto a wire rack. It allows the heat to surround every side, essentially giving you an all-around bake instead of steaming the bottom half. When you combine high heat with the abrasive effect of the baking powder, you get an almost fried texture, ready to absorb a killer glaze. Check out my guide on the best chicken marinade for juicy, flavorful wings if you want to customize the flavor underneath the skin!
The Essential Ingredients for Sticky BBQ Chicken Wings Crispy Oven Style
For this method, you need to stick mostly to the simple stuff—we aren’t drowning these in marinade! First, you need two pounds of wings, and you must separate them into flats and drumettes. Keep those pesky wing tips aside for stock, unless you’re making a massive batch!
The absolute key player here is one tablespoon of baking powder—make sure it’s the powder and not the soda, I’m serious about that! Then we just need simple seasonings: one teaspoon of salt and half a teaspoon of pepper mixed right in with that powder. Finally, for the sticky factor, grab about a cup of your trusted thick BBQ sauce. If you want them extra sticky—like ‘you need three napkins’ sticky—toss in two tablespoons of honey or brown sugar with that sauce later on.
Gathering Supplies: Equipment for Sticky BBQ Chicken Wings Crispy Oven Style
Okay, moving on from the science, let’s talk gear. You don’t need a smoker or any fancy gadgets for these **Crispy Oven Baked Chicken Wings**, which is what makes this recipe so perfect for a weeknight or a huge game day crowd!
The first thing you absolutely cannot skip is the wire rack. I cannot stress this enough! If you try to bake these directly on foil or a pan, the bottoms will steam and stay pale and rubbery. We need air flow all around them to get those perfect **Oven Fried Crispy Chicken Wings**. So, grab a standard rimmed baking sheet—foil on the bottom is a suggestion for cleanup, not crisping!
Beyond that, you just need mixing essentials. A large bowl for coating those wings in our magic baking powder mixture is crucial. Then, you’ll need a small saucepan for warming up that gorgeous BBQ sauce before tossing. That’s it! Simple setup for what ends up being truly gourmet-tasting wings.
Step-by-Step: **How to Make Crispy Wings in Oven**
Alright, time to get serious about achieving crispy perfection! This isn’t complicated, but you have to follow the steps exactly, especially when it comes to heat management. We’re going to essentially give these wings a little sauna treatment followed by a quick blast of high heat. Pay close attention to the timing and temperature shifts—that’s the secret sauce for this **Sticky BBQ Wings Recipe**!
Prepping the Wings for Maximum Crisp
Before anything else, you have to make sure those wings are bone dry. Grab a paper towel and blot them until you think they can’t grab any more moisture, and then blot them one more time! Seriously, wet wings = rubbery wings. Once they are totally dry, toss them immediately in that bowl with your baking powder, salt, and pepper mixture. Make sure every little nook and cranny has a light dusting. This is your insurance policy for incredible texture!
The Dual-Temperature Bake for **Perfect Crispy Chicken Wings Baking**
Set your oven to a solid 425 degrees F. Get those seasoned wings arranged on top of your wire rack, keeping space between every single piece. We’re talking single layer only—no overcrowding allowed! Bake them for 20 minutes, then take them out, flip every single wing carefully, and put them back in for another 20 minutes. Now for the big jump: crank the heat up to 450 degrees F and let them go for a final 10 to 15 minutes. You’re looking for deep golden color and skin that looks tight and shriveled up like perfectly roasted bacon. If you are interested in diving deeper into oven techniques, check out my guide on Crispy Air Fryer Chicken Wings for comparison!
Creating the Sticky Glaze for Your **Easy Sticky Chicken Wings**
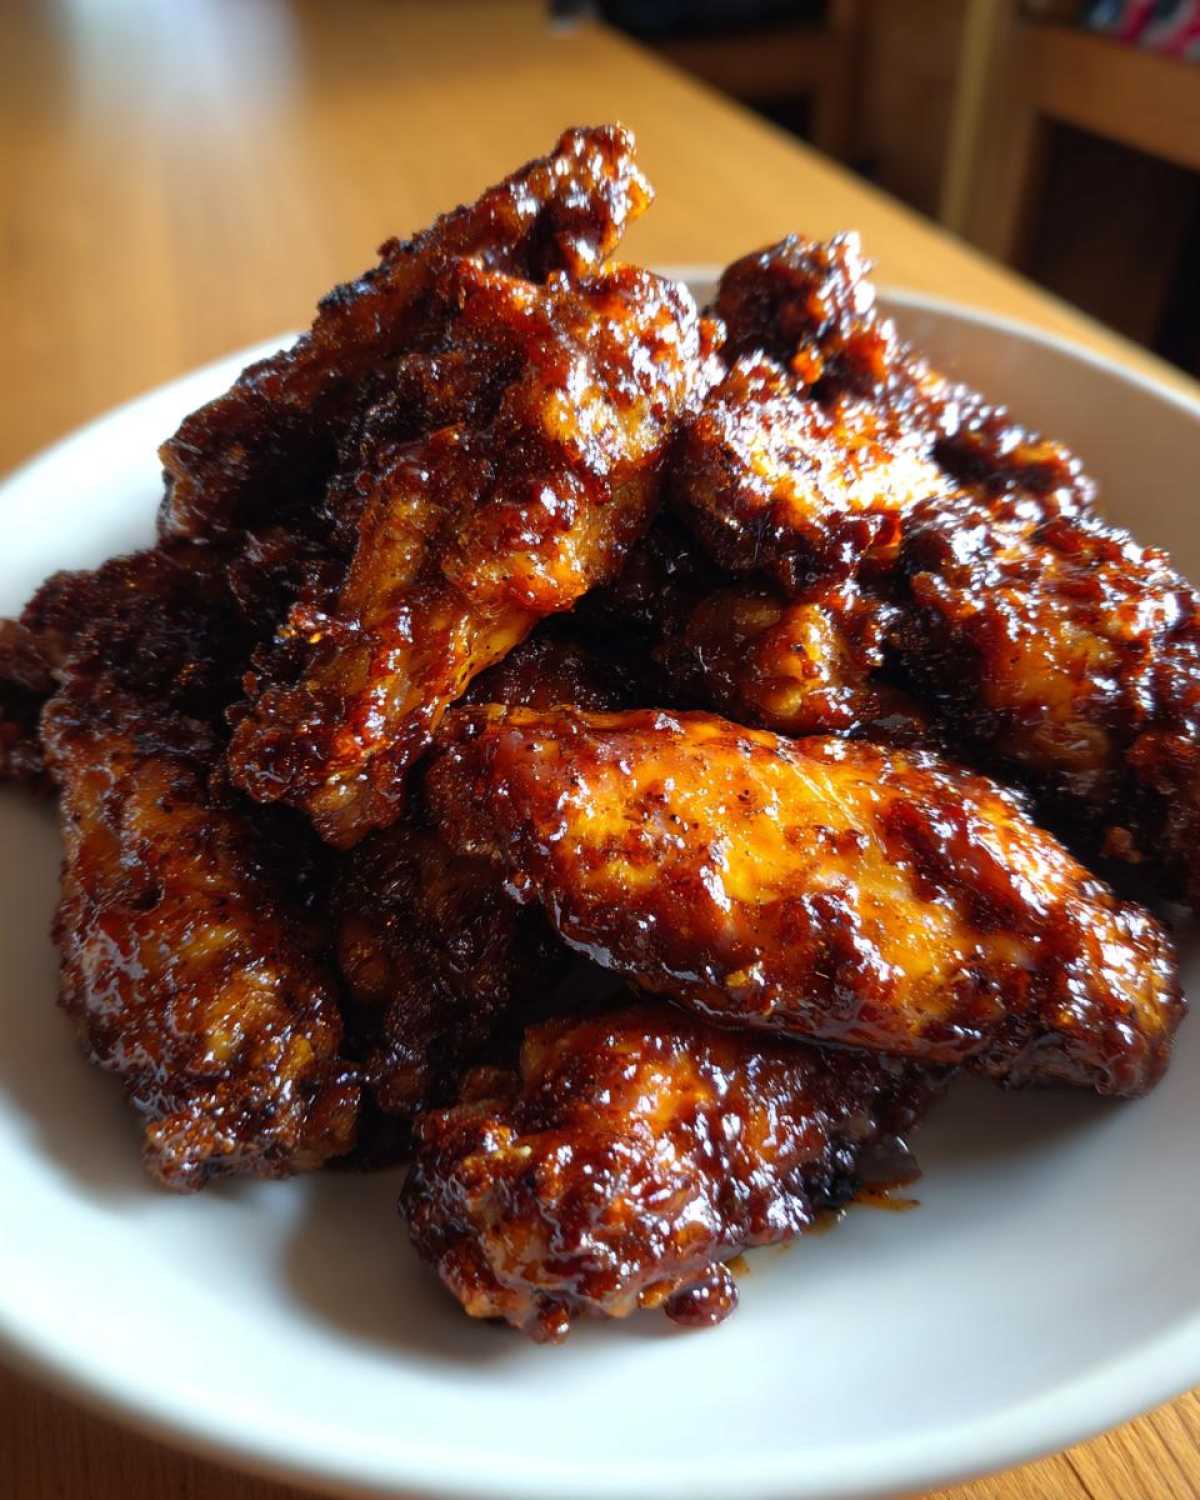
While the wings are getting that final blast of heat, make your glaze. Combine your favorite thick BBQ sauce in a saucepan. If you opted for the extra sweetness, add your honey or brown sugar right in there. Warm it up over medium heat, just until it’s nicely liquid and beautifully combined. Don’t let this sauce boil, though, or it’ll seize up on you! We just want it warm and ready to cling perfectly to those hot wings.
The Final Toss: Glazing Your Sticky BBQ Chicken Wings Crispy Oven Style
The moment of truth! Once those wings come out of the 450-degree heat and look perfectly textured, you have to move fast. Immediately transfer all those crispy beauties from the wire rack right into that big bowl where your warm sauce is waiting. Don’t mess around waiting for them to cool!
Pour that luscious, warmed-up BBQ sauce right over the top. Then, grab serving spoons or tongs and toss everything vigorously until every single browned surface is coated in that thick, shining glaze. Speed is key here; the residual heat helps the glaze adhere beautifully without letting the skin sit and steam. Serve these **Sticky BBQ Chicken Wings Crispy Oven Style** immediately—that’s when they shine!
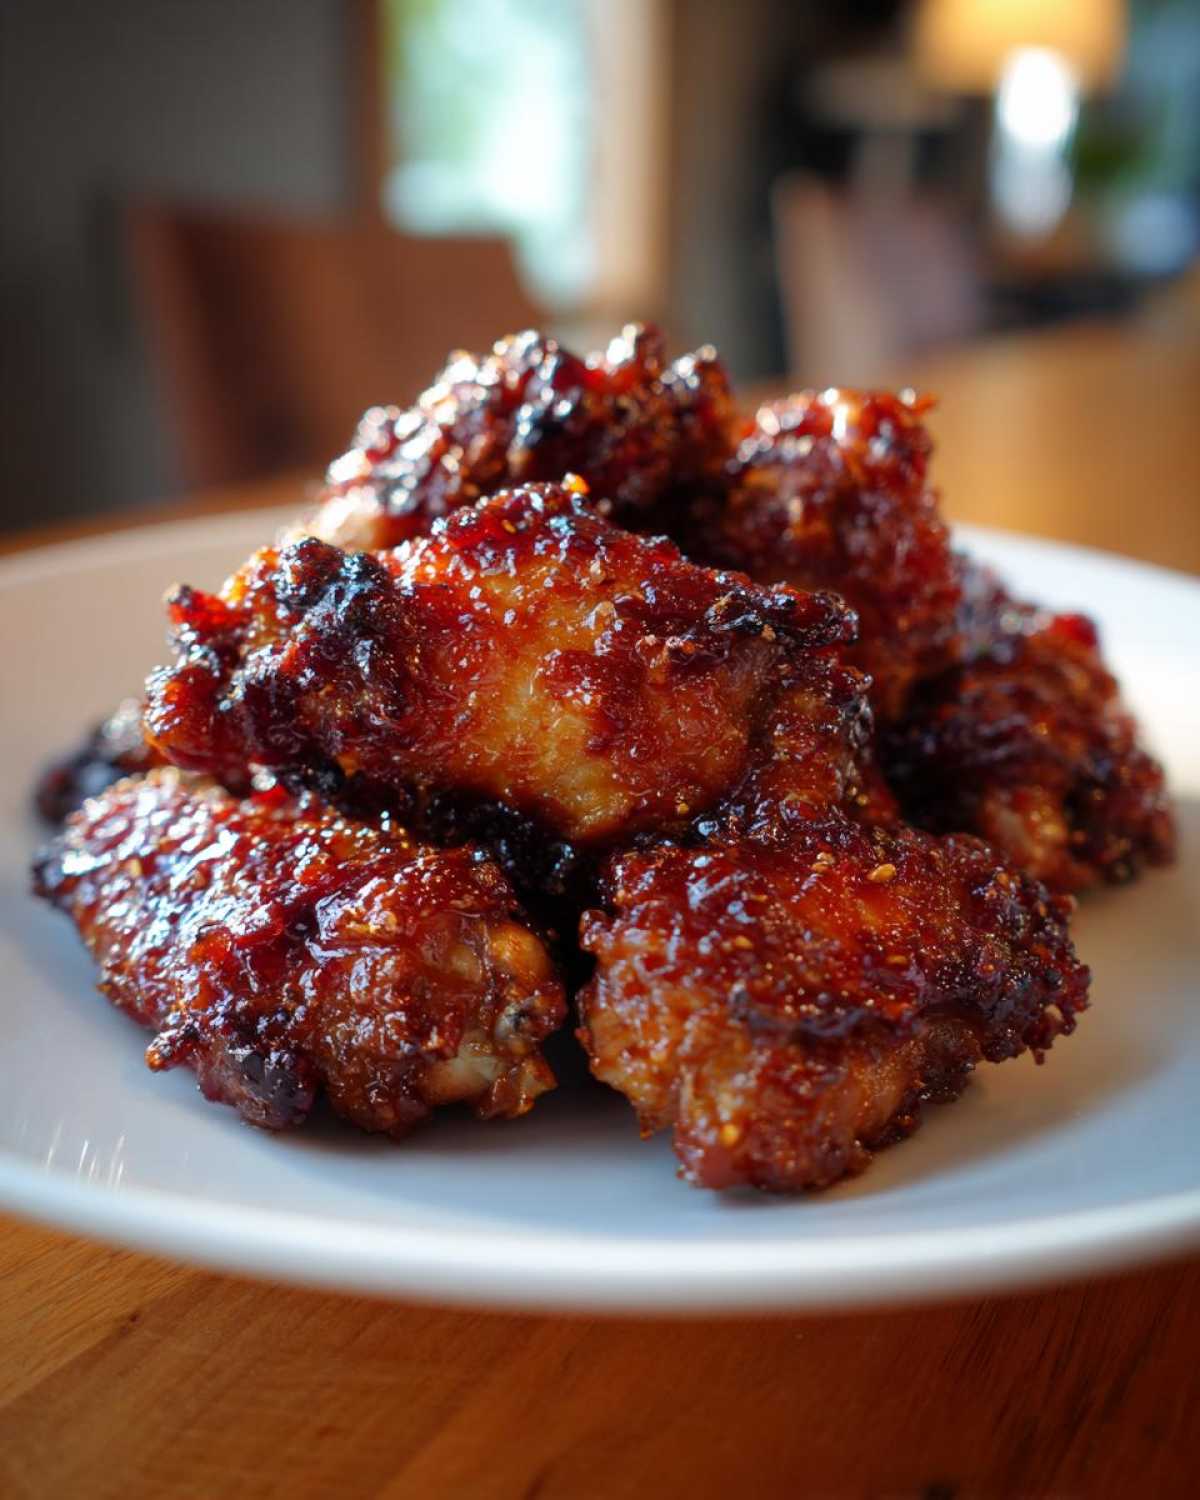
Tips for Achieving **Best Crispy BBQ Wings Recipe** Results Every Time
You’ve already nailed the baking powder trick and the dual-temperature bake, but let’s talk about keeping that crispiness lasting through the glaze. Remember my biggest rule: that baking surface needs air circulation! If you didn’t use a wire rack for your Best Crispy BBQ Wings Recipe, you’ve essentially steamed the bottom half, and no amount of sauce tossing will save it.
And please, please make sure you are patting those wings dry. I’m talking about an excessive amount of blotting with paper towels. Excess moisture is the sworn enemy of crisp texture, even before the sauce hits!
Now for my personal addition to the classic method, something I learned from experimenting way too much. The type of BBQ sauce really matters when you’re glazing baked wings. If your sauce is too thin or too vinegary, it soaks in rather than clinging. I strongly suggest using a thicker, molasses-based sauce—or even better, thin out your favorite store-bought sauce slightly just to get it warm, but boost the caramelization potential by adding a touch more sugar or using a recipe like my Easy Homemade BBQ Sauce Recipe which concentrates the sugars nicely. That extra thickness guarantees you get that perfect sticky shell rather than soggy skin underneath!
Storage and Reheating **Baked BBQ Wings No Fry** Leftovers
Look, it’s highly unlikely you’ll have any of these glorious wings left over, but if you do, proper storage is key to saving that crispiness. Don’t just throw them in a container while they’re sauced! Let them cool down almost completely first, then place them in a single layer in an airtight container before chilling them in the fridge. This stops them from steaming themselves.
When you go to reheat them, forget the microwave—that’s guaranteed sogginess! The best way to bring these back to life is a quick trip back into a hot oven. Set your oven to about 375 degrees F and spread them on a fresh wire rack (yes, use that rack again!) for maybe 8 to 10 minutes. You’ll watch that sticky glaze tighten up, and the exterior skin will be snappy again. That method keeps them tasting almost as good as fresh!
Serving Suggestions for Your **Game Day Chicken Wings Oven Style**
These **Sticky BBQ Chicken Wings Crispy Oven Style** are rich, savory, and totally satisfying, so we need lighter sides to balance things out on game day! Skip the heavy stuff and keep those napkins handy.
I always serve mine alongside a bowl of crisp, cool veggies—celery and carrot sticks are mandatory. But my real favorite pairing is a bright, vinegary slaw. It cuts through the richness perfectly! Try my recipe for Easy Crunchy Vinaigrette Cabbage Salad; it’s the ultimate palate cleanser for sticky, flavorful wings.
Frequently Asked Questions About Crispy Oven Wings
I know you probably have a few last questions buzzing in your head—that’s totally normal when you’re trying a new technique, especially one promising crispy wings without frying! I’ve compiled the questions I get asked most often about mastering these **Appetizer Chicken Wings Crispy** treats. I hope this helps you feel totally confident before you preheat that oven!
Can I use baking soda instead of baking powder forGlazed Crispy Wings Recipe?
Oh, honey, please don’t! This is one spot where you need to stick to the recipe exactly. Baking powder and baking soda are not interchangeable in this process. Baking powder already contains the acid it needs to react, and it’s designed to create a lighter lift and tenderize the skin just enough. Baking soda, on the other hand, is pure base, or alkaline. Using it solo will leave you with a weird, metallic aftertaste on your otherwise delicious wings, and they won’t get that perfect dry crisp we’re aiming for.
What is the best way to get a thick Homemade Sticky Glazed Wings coating?
If you follow the recipe, you’ll already be using a good, thick BBQ sauce, which helps tremendously. But if your sauce is a little runnier than you’d like, you should definitely simmer it! Take your sauce (and any sweetener you’re adding) and put it in that little saucepan over medium heat. Gently let it bubble around the edges for about 5 to 7 minutes. Watch it carefully! As the water evaporates, the sugars concentrate, and the sauce gets thick and glossy. Once it coats the back of a spoon nicely, pull it off the heat—it will thicken even more as it cools slightly, making it the perfect blanket for your crunchy wings. For more snack ideas, take a peek at my general Snacks Category for inspiration!
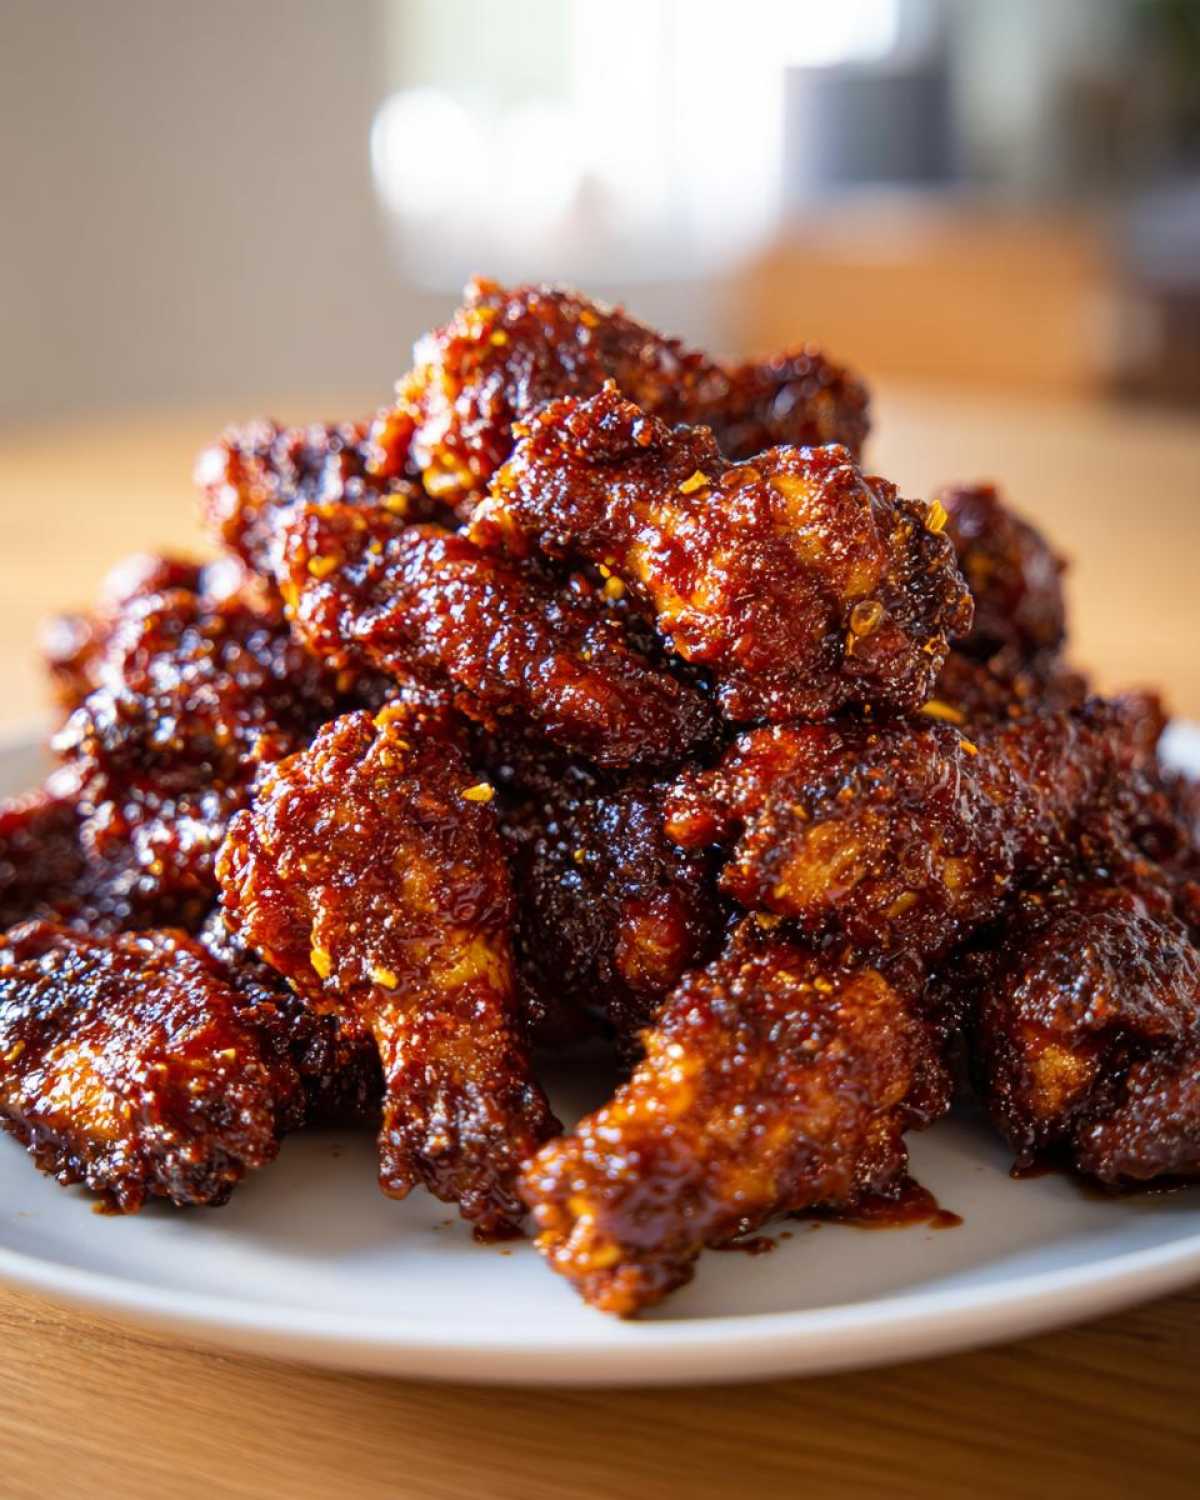
Another great trick, especially if you are worried about a thin glaze, is to use a sauce that naturally has a high amount of molasses or tomato paste in the ingredients list. Those components react wonderfully to the heat when you toss them with the hot wings, ensuring they set up nice and sticky!
Nutritional Estimate for Sticky BBQ Wings Recipe
Listen, these are crispy, flavorful, saucy wings, so they aren’t exactly a salad, but you might be surprised how decent they look when baked instead of fried! I always like to give a general idea of what you’re working with when you make a batch of this **Sticky BBQ Chicken Wings Crispy Oven Style** recipe. Remember, these numbers are just starting points based on generally accepted ingredient values and the 4-wing serving size listed.
The actual totals depend heavily on two things: how much sauce you use in the final toss, and what kind of BBQ sauce you pick out! Molasses-heavy sauces can nudge the sugar count up faster than a vinegar-based one, so keep that in mind.
- Calories: About 350 per serving (4 wings)
- Total Fat: Roughly 20g
- Protein: A solid 25g, thanks to all that chicken!
- Total Carbohydrates: Around 15g
- Sugar: Approximately 18g (this is mostly coming from that delicious glaze, so enjoy it!)
- Sodium: Around 550mg
I always say, don’t stress the exact count when you’re making something this fun for the **Game Day Chicken Wings Oven Style**! Just know that by baking them and using that baking powder trick, you’ve cut out a ton of submerged frying oil, which is a win in my book. If you are watching your carbs, you can always make a low-carb BBQ sauce to reduce that sugar number a bit!
PrintSticky BBQ Chicken Wings Crispy Oven Style
Follow these steps to make chicken wings that are crispy from baking in the oven and coated in a thick, sticky BBQ sauce.
- Prep Time: 10 min
- Cook Time: 50 min
- Total Time: 60 min
- Yield: 4 servings
- Category: Appetizer
- Method: Baking
- Cuisine: American
- Diet: Low Calorie
Ingredients
- 2 lbs chicken wings, separated into flats and drumettes
- 1 tablespoon baking powder (not baking soda)
- 1 teaspoon salt
- 1/2 teaspoon black pepper
- 1 cup your favorite thick BBQ sauce
- 2 tablespoons honey or brown sugar (optional, for extra stickiness)
Instructions
- Preheat your oven to 425 degrees Fahrenheit (220 degrees Celsius). Line a baking sheet with foil for easy cleanup. Place a wire rack on top of the baking sheet.
- Pat the chicken wings completely dry using paper towels. This step is important for crispiness.
- In a large bowl, toss the dry wings with the baking powder, salt, and pepper until evenly coated.
- Arrange the wings in a single layer on the wire rack, ensuring there is space between each piece. Do not let them touch.
- Bake for 20 minutes.
- Flip the wings over and bake for another 20 minutes.
- Increase the oven temperature to 450 degrees Fahrenheit (230 degrees Celsius). Bake for a final 10 to 15 minutes, or until the skin is deeply golden brown and very crispy.
- While the wings finish baking, combine the BBQ sauce and honey or brown sugar (if using) in a small saucepan over medium heat. Warm the sauce slightly, stirring until combined. Do not boil.
- Remove the crispy wings from the oven and immediately transfer them to a large bowl.
- Pour the warm BBQ sauce over the wings. Toss well until every wing is fully coated in the sticky glaze.
- Serve immediately while hot.
Notes
- Using a wire rack allows air to circulate completely around the wings, which helps the skin crisp up evenly on all sides.
- Do not skip drying the wings thoroughly before seasoning; excess moisture prevents crisping.
- If your BBQ sauce is thin, simmering it for a few minutes before adding it to the wings will help it thicken and stick better.
Nutrition
- Serving Size: 4 wings
- Calories: 350
- Sugar: 18
- Sodium: 550
- Fat: 20
- Saturated Fat: 6
- Unsaturated Fat: 14
- Trans Fat: 0
- Carbohydrates: 15
- Fiber: 1
- Protein: 25
- Cholesterol: 100