

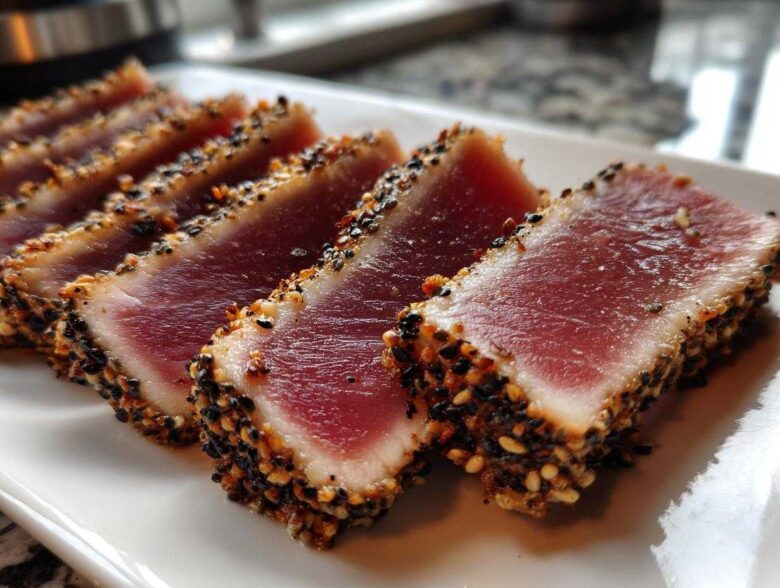
You know those nights when you want something truly special, something that tastes like a five-star restaurant but requires less time than ordering takeout? That was me constantly when I was buried in spreadsheets. Then Liam started his little ‘delivery service’ just for me, and the first thing he brought over that made me truly stop working was his **Seared Ahi Tuna**. Honestly, it changed everything!
I thought searing fish perfectly—getting that beautiful crust while keeping the center cool and perfect—was professional magic, reserved for chefs. But Liam showed me how simple, high-quality ingredients and super-fast cooking turn this gorgeous yellowfin tuna into an incredible, healthy dinner in under ten minutes. It reminded me of the quiet care he showed when I first read about him on our history page. Trust me, if I can turn my kitchen from a museum piece into a working lab for this recipe, you definitely can too. It’s just that straightforward!
Why This Seared Ahi Tuna Recipe Delivers Gourmet Results
When you use ingredients this good, the cooking part really takes care of itself! This isn’t just another fish recipe; it’s a demonstration of technique that pays off instantly. We focus on technique over complicated sauces because the beautiful color of the **Seared Ahi Tuna** speaks for itself.
- It’s incredibly fast—perfect for busy weeknights when you need comfort food, pronto.
- The minimal ingredients let that high-quality fish shine through every bite.
- It naturally hits that sweet spot between light and deeply satisfying.
Quick Cooking Time for Perfect Texture
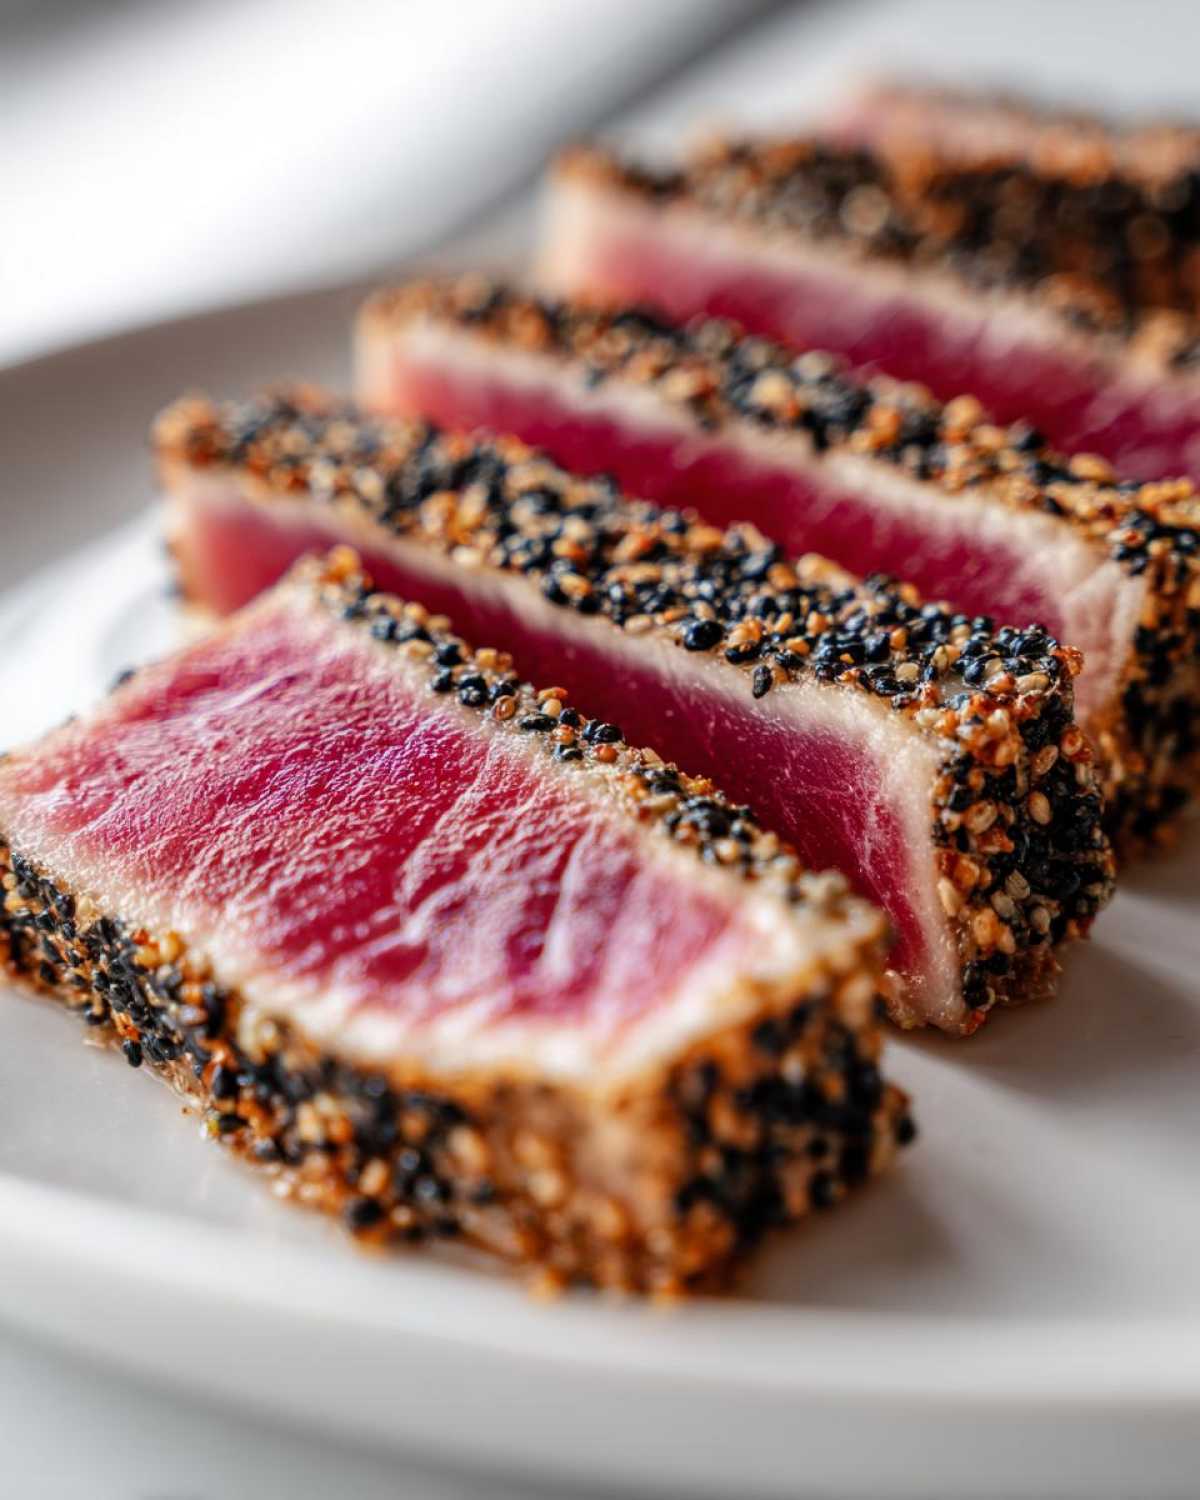
Seriously, this whole thing takes about eight minutes start to finish. The magic is that short blast of heat. You aren’t trying to cook it through! We just want to kiss the edges with heat so that when you slice it, you get that beautiful, cool, deep-red center. It’s the fastest **quick seafood recipe** I know!
Achieving the Best Crust on Your Seared Ahi Tuna
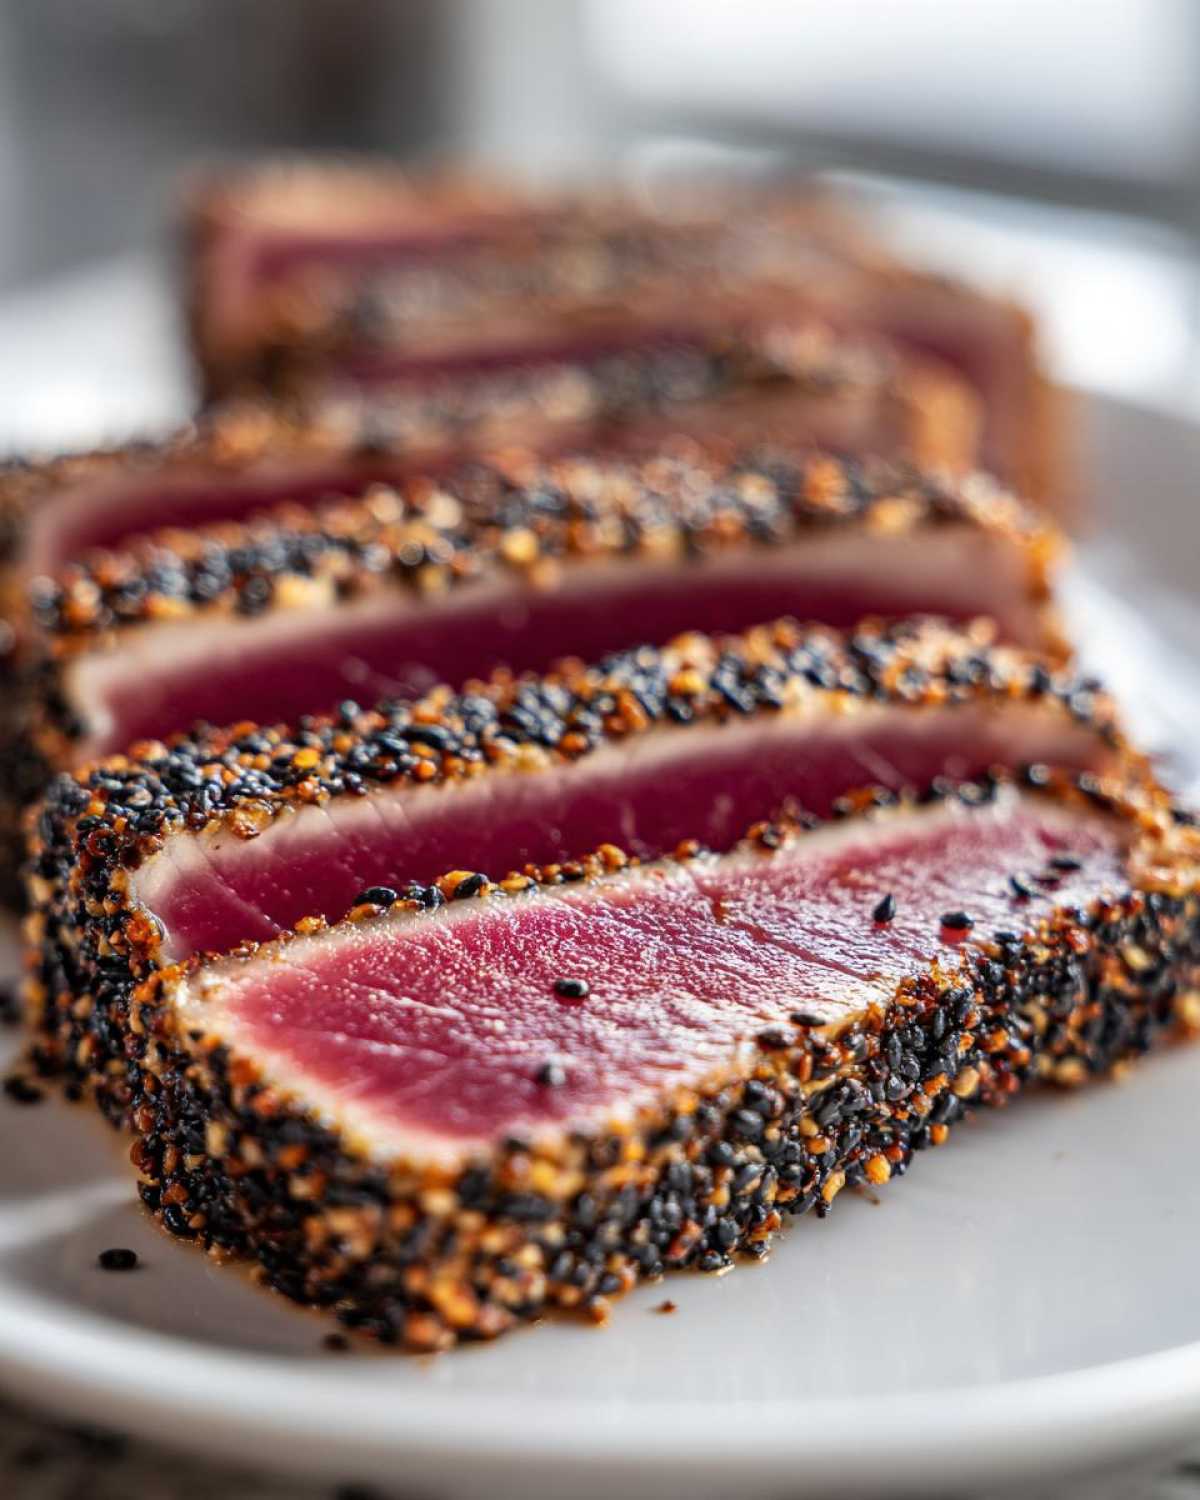
This is where a lot of people go wrong, but it’s honestly just two simple rules: make sure that fish is bone dry, and make sure your pan is screaming hot. That extreme heat instantly sets the sesame seeds we coat the **Seared Ahi Tuna** in. Steam is the enemy here; we want crust, not poaching!
Essential Ingredients for Perfect Seared Ahi Tuna
When you’re cooking something this simple, the quality has to be top shelf. Period. If you skimp here, you’re just going to get lukewarm fish, not the brilliant **Seared Ahi Tuna** experience we’re aiming for. We only need a handful of things, but we have to respect them. That means nothing less than the best **sushi grade tuna** you can find for this quick seafood recipe.
For our base, we need those two beautiful tuna steaks, plus oils that can handle real heat—sesame and olive work together perfectly. Don’t skip measuring out those black and white sesame seeds; the visual contrast is half the fun of serving this gourmet tuna!
Ingredient Notes and Substitutions
This is critical, so listen up! You absolutely must look for fish marked as “sushi grade” or “sashimi grade,” especially since we are intentionally leaving the middle raw. That designation means it’s been handled under strict safety guidelines, making it safe for this light sear—it’s how we guarantee a safe, delicious experience, even if it costs a tiny bit more.
If you can’t find both black and white sesame seeds, don’t panic! Just use whatever color you have, perhaps doubling up on one. You will also want a decent quality coarse sea salt for when it comes off the heat. That flaky texture is just better for seasoning the crust.
Step-by-Step Instructions for Seared Ahi Tuna
Okay, this is the part where we turn that beautiful, cold fish into the perfect warm bite. Don’t feel intimidated; this is all about moving quickly and trusting your high heat! Remember when Liam first started cooking for me? I remember worrying about timing everything perfectly for that first great meal, but he just kept telling me, “It’s fast, Chloe, just keep it moving.” Pay close attention to drying the fish—that’s the secret handshake for success here.
Once you get the hang of the timing, you’ll see why this is the best **Seared Ahi Tuna** you’ve ever made at home. If you get nervous about this timing, you can always check out Liam’s recipe for a spicy tuna tartare later, which uses similar quality fish but requires no searing! You can find that recipe right here.
Preparation: Drying and Coating the yellowfin tuna
Step one is the most boring but most critical part: grab those paper towels and pat your tuna steaks completely dry! If there is any moisture left, the fish will steam instead of sear, and we will lose that gorgeous crust. Seriously, press until you think they can’t get any drier, and then press one more time!
Next, mix up your black and white sesame seeds in a shallow bowl. Gently press all sides of the dry tuna into the seeds, making sure you get a nice, even coverage everywhere. We want a solid layer of seeds to protect the fish and give us that crunch.
The Searing Technique for Seared Ahi Tuna
Time to bring the heat! Put both oils (sesame and olive) into your skillet—cast iron is best if you have it—and crank up the heat until that oil is shimmering, maybe even just starting to smoke a tiny bit. That’s when you know it’s ready for the **Seared Ahi Tuna**.
Carefully set the sesame-crusted steaks into the hot pan. This is where you watch the clock! For that perfect rare center, you’re looking at 60 to 90 seconds per side, depending on how thick those gorgeous **yellowfin tuna** steaks are. Remove them immediately when the time is up! Let them rest for exactly three minutes before you slice them thick.
Tips for Success with Your Asian tuna recipe
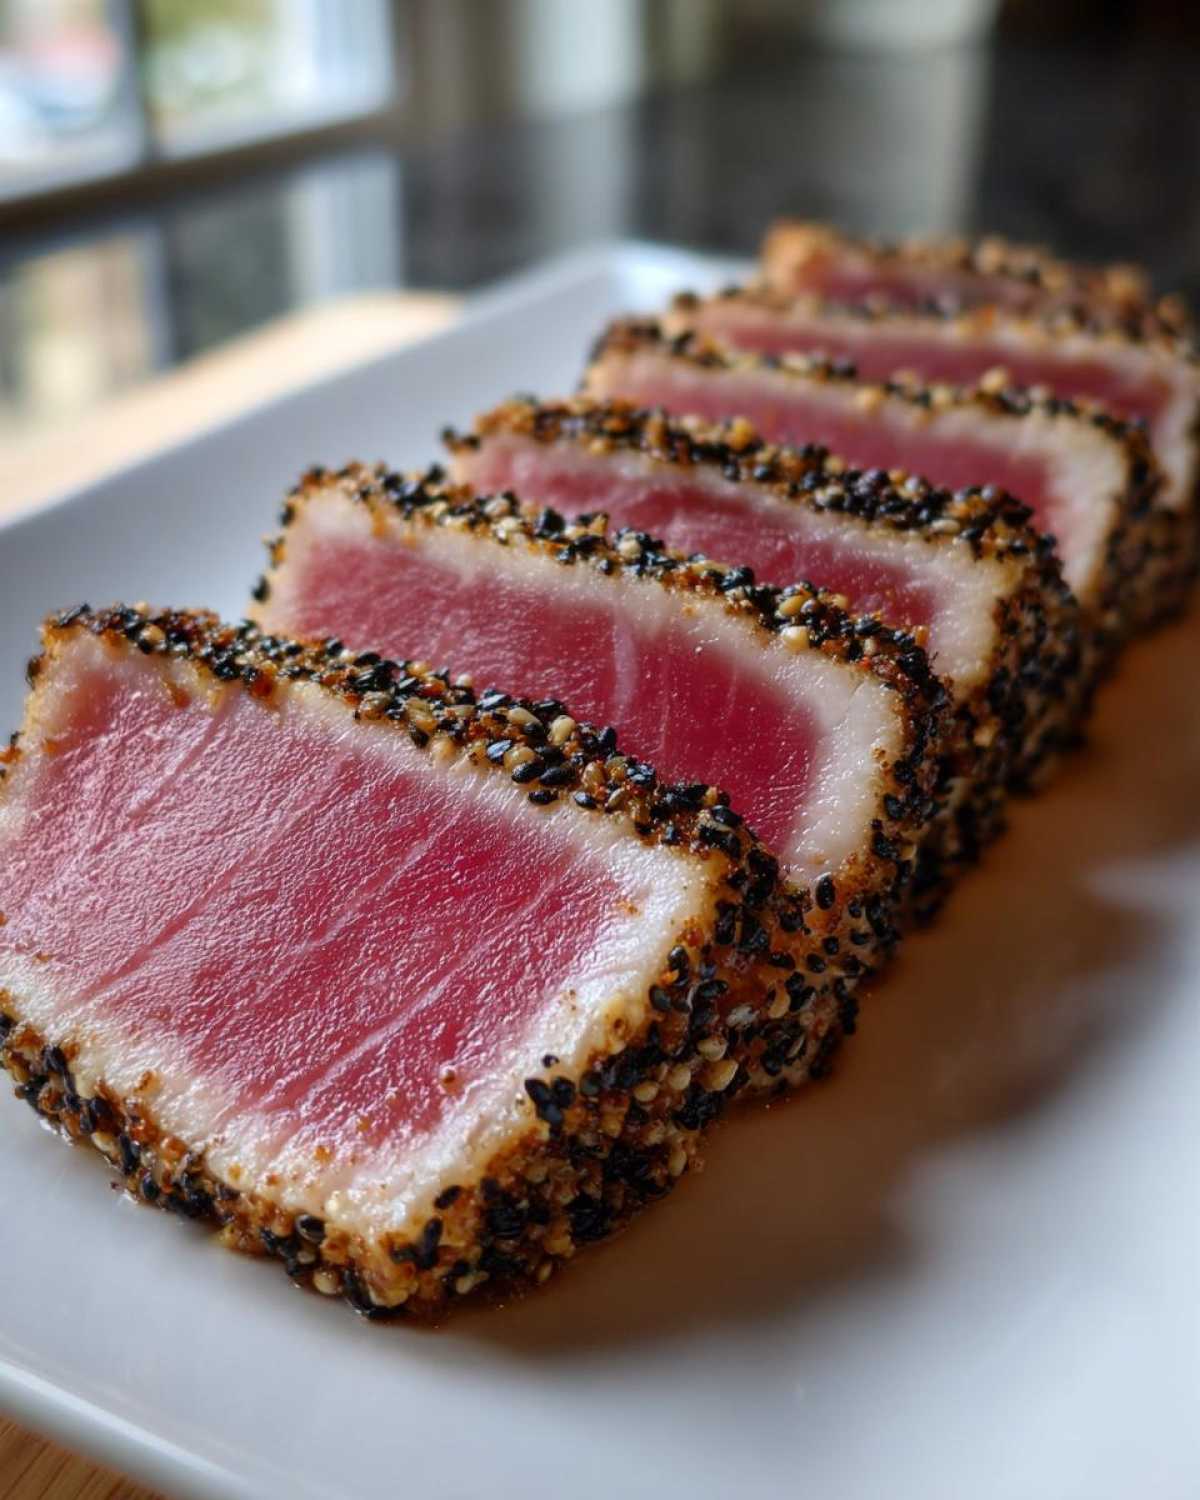
It feels fast, I know, but the biggest pitfall when making **Seared Ahi Tuna** is panicking and cooking it too long. If you leave those beautiful steaks in for even an extra minute, you go from melt-in-your-mouth perfection to chewy sadness in about thirty seconds. Remember, we are looking for a deep sear crust but a cool, mostly raw center—that’s the goal!
Another pro tip Liam insisted I share involves boosting that Asian tuna recipe flavor profile. Don’t just serve it plain! While the tuna is resting, take a moment to whisk together soy sauce with a little fresh grated ginger. This makes a fantastic, light dipping sauce. It adds a salty, pungent layer that just brings the whole dish together. If you’re looking for other quick-and-flavorful weeknight dishes, check out our honey garlic stir-fry—it uses that same speedy cooking logic!
Serving Suggestions for a Healthy Dinner
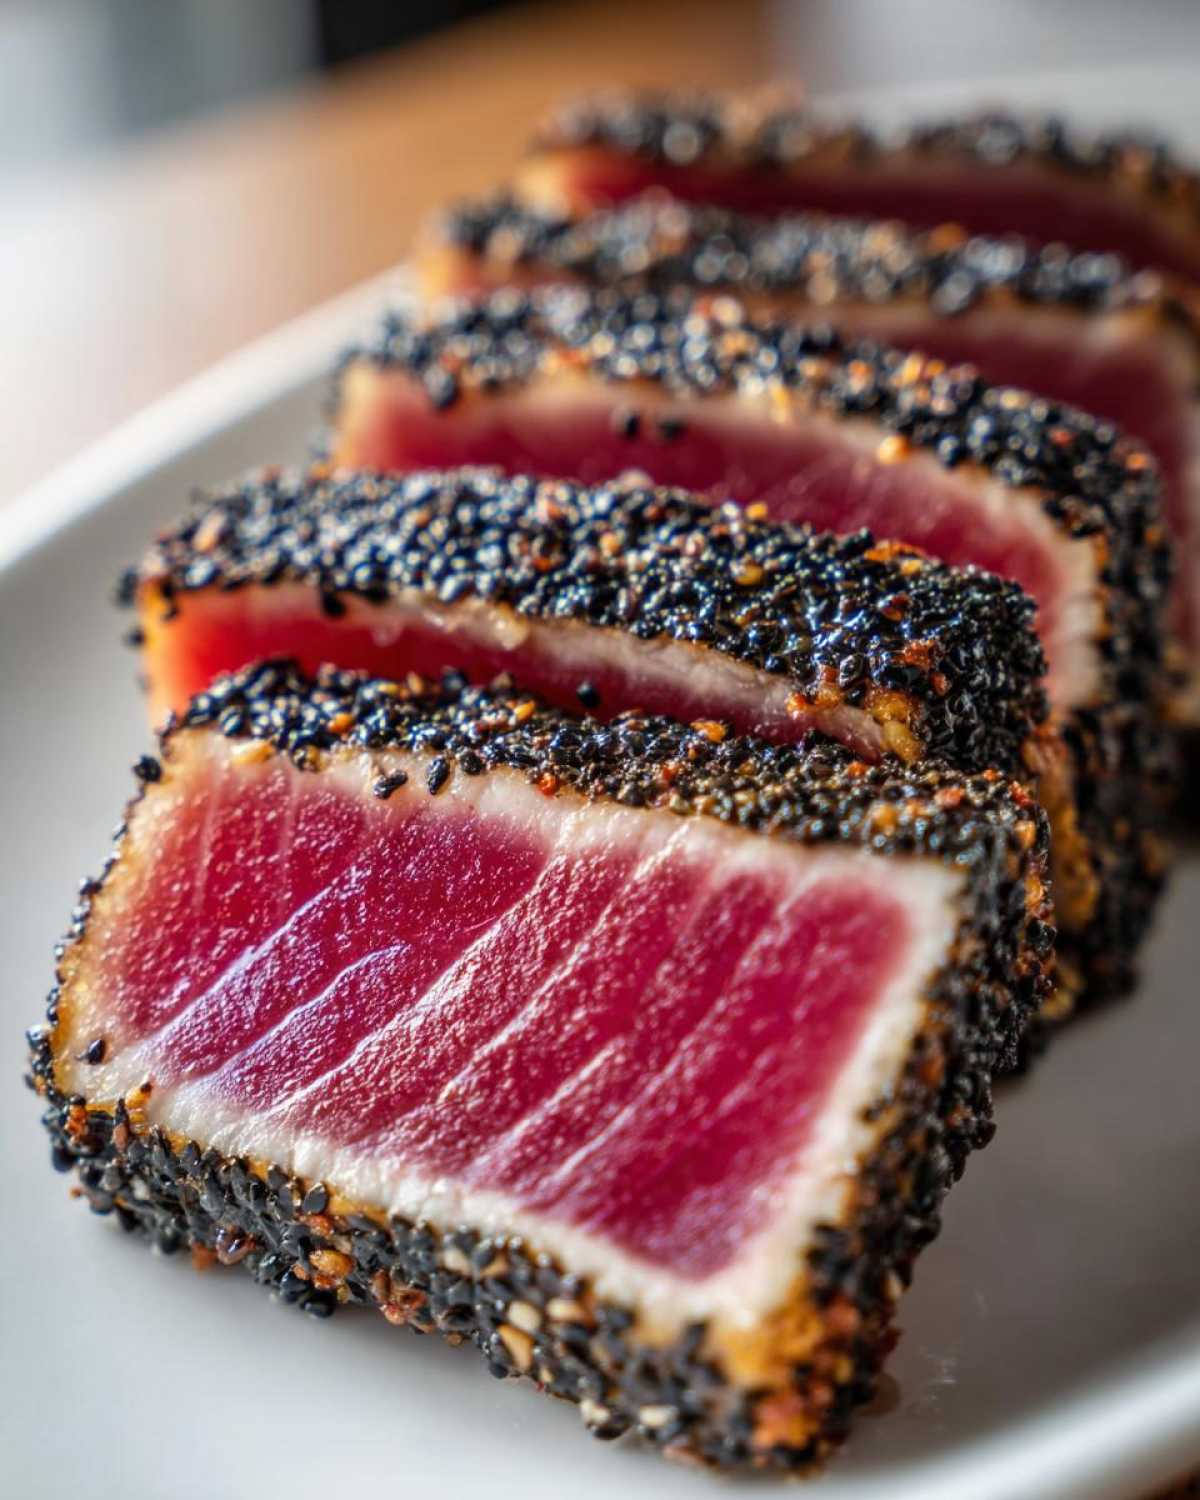
We’ve made this incredible, light, almost impossibly fast dinner, but now we have to make sure we don’t ruin the moment by smothering it in heavy sides! Since the **Seared Ahi Tuna** is naturally so lean and protein-packed, it pairs best with simple, bright flavors. Think clean lines on the plate.
I usually aim for a vegetable that steams quickly or something that can soak up any extra soy drizzle we might add. A light touch is the key to keeping this a truly healthy meal. You want the tuna to be the star, not the supporting cast!
My go-to pairing lately has been thinly sliced cucumbers tossed with a tiny bit of rice vinegar and maybe some scallions. It’s crunchy, refreshing, and keeps the whole plate feeling vibrant. But if you need a carb on the side, you have to try Liam’s amazing butter rice recipe—it sounds fancy, but it’s super easy. You can find the link to his French Onion Butter Rice right here!
Even just serving it over a bed of quickly wilted baby spinach tossed with a squeeze of fresh lime works wonders. The point is to complement the richness of the fish without weighing down your plate. This is satisfying comfort food that still feels incredibly light!
Storing Leftovers of Seared Ahi Tuna
This is the part where I have to give you the tough love, because as amazing as this **Seared Ahi Tuna** is fresh out of the skillet, it’s a little fussy as a leftover. Remember how aggressive we were with the high heat? That crust is delicate, and that rare center is meant to be enjoyed right away.
If you happen to have any left—which, honestly, rarely happens in our house unless I hide it from Liam—you cannot, I repeat, *cannot* try to reheat it fully. If you put that beautiful, crusty **Seared Ahi Tuna** back in the pan, you’re just going to end up with tough, medium-well fish, completely losing that gorgeous texture contrast we worked so hard to achieve!
Your best bet is simple storage. Wrap any sliced pieces tightly in plastic wrap and keep them in the fridge. When you pull them out to eat later, just let them sit on the counter for about fifteen to twenty minutes to come up closer to room temperature. You want that coolness, but not fridge-cold stiffness.
If you absolutely must warm it up—maybe it’s a chilly morning and you want to add it to a salad—you can technically flash warm it. Place the slices in a completely dry skillet over medium-high heat for literally five seconds per side, just enough to warm the outside layer but guaranteeing the center stays cool. It’s a tight window, but worth it if you crave that **gourmet tuna** flavor later in the day!
Frequently Asked Questions About Gourmet Tuna
I get so many questions about this recipe—and honestly, they are all good ones! It’s because we are dealing with a really high-quality product here, the **sushi grade tuna**, and a fast cooking method. I totally get why people want to double-check the details before they start. Here are a few things Chloe and I hear most often about making this a truly **gourmet tuna** experience.
What defines ‘sushi grade tuna’ for this recipe?
This is probably the most important question, especially since we aren’t cooking the middle all the way through! When you see “sushi grade,” it doesn’t mean it’s completely unregulated, but it does mean the **yellowfin tuna** was handled with extreme care immediately after it was caught. Crucially, it usually means it has been flash-frozen to very specific temperatures to kill any potential parasites. That safety step is what allows us to enjoy that beautiful, cool center without worry.
If you are buying this cut for searing, you need to talk to your fishmonger. Ask them directly: “Is this safe to eat raw or very rare?” If they hesitate, trust me, find a different source. For this **Asian tuna recipe**, quality is everything!
Can I use frozen tuna steaks for Seared Ahi Tuna?
Yes, you absolutely can, but you have to respect the thawing process. Never, ever try to sear it straight from frozen, obviously! If you use frozen steaks, you need to thaw them very slowly in the refrigerator overnight. Rushing the thaw under warm water can actually start cooking the edges prematurely, which ruins the sear later on.
Once fully thawed in the fridge, you still need to follow my most critical step: patting them completely dry with paper towels! Even if they look dry, they need that final wipe down before coating them in seeds. A slower thaw can sometimes leave more surface moisture, so don’t skip that drying step if you start with frozen.
For more great ideas on simple but satisfying meals, you can always browse our entire dinner category for inspiration!
Nutritional Snapshot of This Quick Seafood Recipe
I always feel a little goofy putting numbers on something that tastes this amazing, but it’s true—this dish is fantastic for you! Based on the ingredients used for two servings when prepared as written, this is an approximate breakdown per steak. See? A wonderful, high-protein, low-carb option for a healthy dinner that’s ready almost instantly. It’s proof Liam’s cooking is both comforting *and* unbelievably nourishing!
- Calories: Around 250
- Protein: A whopping 33g!
- Total Fat: About 12g (mostly good fats)
- Carbohydrates: Less than 1g
Share Your Perfect Seared Ahi Tuna Experience
I really, truly hope that when you tried this, you felt a little thrill watching that sesame seed crust form! That moment is what makes cooking fun—seeing instant, amazing results from a simple technique. Now that you’ve mastered the quick sear, I want to hear all about it!
Did you get the perfect rare center? Did those 90 seconds feel like forever on the clock? Tell me how your **Seared Ahi Tuna** turned out! Leaving a rating below helps other folks who think cooking **gourmet tuna** is too hard to try it out. We built this kitchen diary to be honest and supportive, so don’t be shy!
If you snap a picture of your beautiful slices—especially if you use that dipping sauce we talked about—please tag us on social media. Seeing your successful dishes really is the best affirmation for Liam and me. It proves that anyone, even the formerly takeout-obsessed Chloe, can deliver a beautiful message on a plate. Happy cooking, and keep sending those delicious dispatches!
If you’re looking for more simple, wonderful recipes to practice your searing skills on later, you can always browse our main blog page for new ideas to try out this week!
PrintPerfectly Seared Ahi Tuna Steaks
Learn how to sear sushi grade yellowfin tuna quickly for a delicious, healthy dinner with an Asian-inspired flavor.
- Prep Time: 5 min
- Cook Time: 3 min
- Total Time: 8 min
- Yield: 2 servings
- Category: Seafood
- Method: Pan Searing
- Cuisine: Asian-Inspired
- Diet: Low Fat
Ingredients
- 2 (6 ounce) sushi grade Ahi tuna steaks
- 1 tablespoon sesame oil
- 1 tablespoon olive oil
- 1 teaspoon black sesame seeds
- 1 teaspoon white sesame seeds
- 1/2 teaspoon coarse sea salt
- 1/4 teaspoon black pepper
Instructions
- Pat the Ahi tuna steaks completely dry using paper towels. This step helps achieve a good sear.
- In a small bowl, mix together the black and white sesame seeds.
- Lightly press all sides of the tuna steaks into the sesame seed mixture until coated evenly.
- Heat the sesame oil and olive oil in a heavy-bottomed skillet, such as cast iron, over medium-high heat until the oil shimmers.
- Carefully place the coated tuna steaks into the hot skillet.
- Sear the tuna for 60 to 90 seconds per side for rare to medium-rare, depending on the thickness of your steak. You want a nice crust but a cool center.
- Remove the tuna from the skillet immediately.
- Sprinkle the steaks with sea salt and black pepper.
- Let the tuna rest for 3 minutes before slicing against the grain into half-inch thick pieces.
Notes
- For an Asian tuna recipe flavor boost, you can whisk together 1 tablespoon soy sauce and 1 teaspoon grated fresh ginger to use as a light dipping sauce.
- If you prefer your tuna cooked slightly more, increase the searing time by 15 seconds per side.
- Use only high-quality, sushi grade yellowfin tuna for the best results when searing.
Nutrition
- Serving Size: 1 steak
- Calories: 250
- Sugar: 0
- Sodium: 350
- Fat: 12
- Saturated Fat: 2
- Unsaturated Fat: 10
- Trans Fat: 0
- Carbohydrates: 1
- Fiber: 0
- Protein: 33
- Cholesterol: 75