

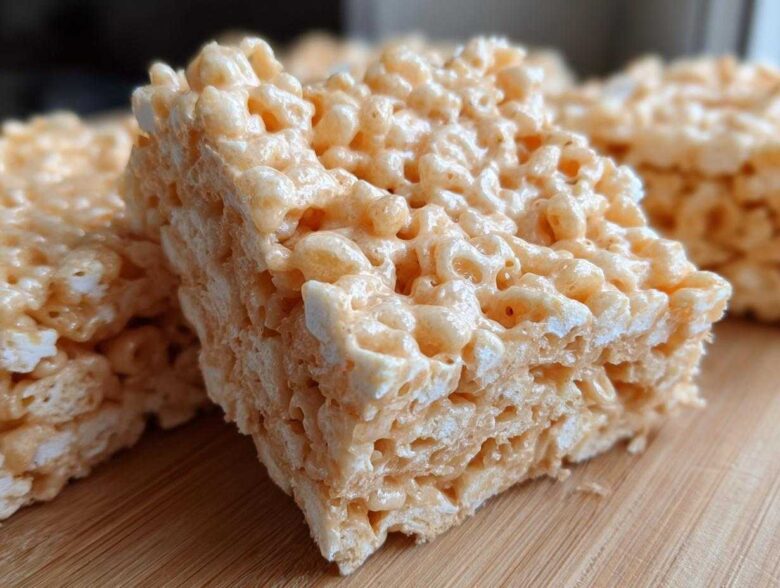
Oh man, is there anything better than that satisfying, slightly sticky texture of a classic cereal bar? Seriously, I grew up surviving off of these things during summer break! But let’s be honest, the plain version is good, but the addition of peanut butter makes it absolutely legendary. I spent way too many afternoons tweaking my ratios until I nailed the ultimate gooey peanut butter rice krispie treats recipe.
We’re talking creamy, chewy, perfectly salty-sweet squares that set up fast. My main goal here was maximizing that wonderful flavor without making them rock hard like some grocery store versions. Trust me, after trying this method—which is practically foolproof—you won’t ever bother with anyone else’s recipe. They come together in less than 15 minutes, making them the perfect quick dessert or after-school snack.
I learned early on that the secret to that amazing chewiness is patience when mixing and keeping everything warm but not scorching hot. If you’re ready for the best no-bake peanut butter squares you’ve ever made, grab your biggest pot!
Why You Will Love These Peanut Butter Rice Krispie Treats
Look, I’m busy, and I bet you are too! These bars just hit every single good mark when it comes to a super fast, super satisfying dessert. Forget turning on the oven; these are made entirely on the stovetop, and cleanup is shockingly easy. You need these in your life if you want to hit that sweet craving without the commitment.
- They deliver that beautiful, nostalgic flavor profile we all crave, but richer thanks to the peanut butter kick. Think of them as a serious upgrade to the classic.
- Total time from messy pot to cuttable squares is under 20 minutes if you rush the cooling! That makes them perfect for surprising guests or whipping up some last-minute quick peanut butter snacks.
- We’re aiming for gooey—not hard! My process guarantees you end up with the absolute best chewy peanut butter krispies recipe, the kind that sticks slightly to your fingers in the best way possible.
- Seriously minimal ingredients! You have the butter, the marshmallows, the cereal, and the peanut butter. Four main players creating so much magic—what’s not to love about that simple chemistry?
Essential Ingredients for Gooey Peanut Butter Rice Krispie Treats
When we’re making something this simple, every single ingredient has to pull its weight, right? There’s no room to hide a lackluster flavor when you only have four main components! For these Peanut Butter Rice Krispie Squares to achieve that ultimate gooey texture, you absolutely need the right type of peanut butter. Don’t overthink it, but fresh marshmallows make a huge difference—stale ones won’t melt quite right. Oh, and if you want to boost that flavor even more, grab some vanilla extract for a little hidden depth!
Ingredient List for Peanut Butter Rice Krispie Squares
- 6 cups puffed rice cereal
- 1 (10 ounce) package marshmallows
- 3 tablespoons butter
- 1 cup creamy peanut butter
Equipment Needed for Perfect Peanut Butter Rice Krispie Treats
Okay, confession time: I tried making these in a giant mixing bowl once when the oven wasn’t in use and it was a total disaster. You really need the right tools! This recipe is so no-fuss, but having the right pots and pans makes the difference between a quick win and a sticky kitchen nightmare. Don’t worry, you probably have all this stuff already hanging around your cabinets!
Here’s what you need to have ready before you even turn on the stove. Laying this stuff out first is my little trick to keep things moving fast once the marshmallows start melting!
- A really big, heavy-bottomed saucepan or stockpot. You absolutely need space to fold in all that cereal without it flying everywhere. If your pot is too small, you’ll end up wearing half your dessert!
- A medium-sized rubber or silicone spatula. This is crucial for scraping down the sides and folding everything together evenly.
- Your 9×13 inch baking pan. This gives you those perfect, thick bars. If you want them extra thick, go for an 8×8, but you’ll need to adjust the cutting time because they’ll be denser.
- Some wax paper or a little extra softened butter. You’ll need this for pressing the mixture down gently—it keeps the goo from sticking to your hands or your spatula!
Step-by-Step Instructions for the Best Peanut Butter Rice Krispie Treats
Now for the fun part! Seriously, watching this simple mixture turn into delicious, chewy bars always feels like magic to me. It really is the easiest process ever, but the timing on a couple of those steps makes all the difference between a perfect, gooey treat and one that tastes a little too chewy or heavy. We need to handle these ingredients gently, especially once the cereal goes in. I always have everything measured out and ready to go, because once the heat is cut, things move fast! If you need a quick visual refresher on how we handle snacks in general, check out what else we’ve been whipping up over in my snacks category; but for now, let’s focus on these incredible peanut butter bars.
Preparing the Pan and Melting Base for Peanut Butter Cereal Treats
First things first, we need to get organized so nothing sticks later. You’ve got two options for that 9×13 pan: either grease it lightly with butter or oil, or, my personal favorite, line it with parchment paper so you have little handles to lift the whole slab out later. Once that’s ready, head over to the stove. We are using low heat—and I mean *low*! Toss in your butter and let it melt completely until it’s just liquid, then add in all those fluffy marshmallows. Stir constantly until they are totally melted down into smooth, glossy liquid. Don’t walk away during this part; marshmallows can go from gorgeous to burned really quickly!
Combining Marshmallows, Butter, and Peanut Butter for Gooey Peanut Butter Cereal Desserts
This is where the peanut butter flavor gets locked in, so listen up! As soon as the marshmallows are smooth, yank that saucepan right off the burner. Seriously, take it off the heat source. We want the mixture warm enough to blend beautifully, but if it gets too hot, the peanut butter texture can seize up and ruin that wonderful stretch. Now, stir in your full cup of creamy peanut butter until you have one unified, beautifully beige mixture. Make sure there are zero streaks of pure white marshmallow or giant clumps of peanut butter remaining. It should look homogeneous before we move on.
Mixing Cereal and Pressing Peanut Butter Rice Krispie Bars
Time for the cereal! Gently dump in all six cups of your puffed rice cereal. Use that spatula and fold everything together slowly. I repeat, *gently* fold! We are not trying to crush those little grains; we want them coated so they can stay light and airy. Once everything is coated, scrape the entire sticky mess into your prepared pan. This is the most important part for texture: do NOT pack it down hard with the bottom of a glass. Just use a lightly buttered spatula or a piece of wax paper and press down just enough until the mixture is evenly spread in the pan. If you press too firmly, you compress all the air out, and then you end up with hard bricks instead of soft squares. Let it cool totally—about an hour—and then you can slice up those amazing homemade peanut butter krispie bars!
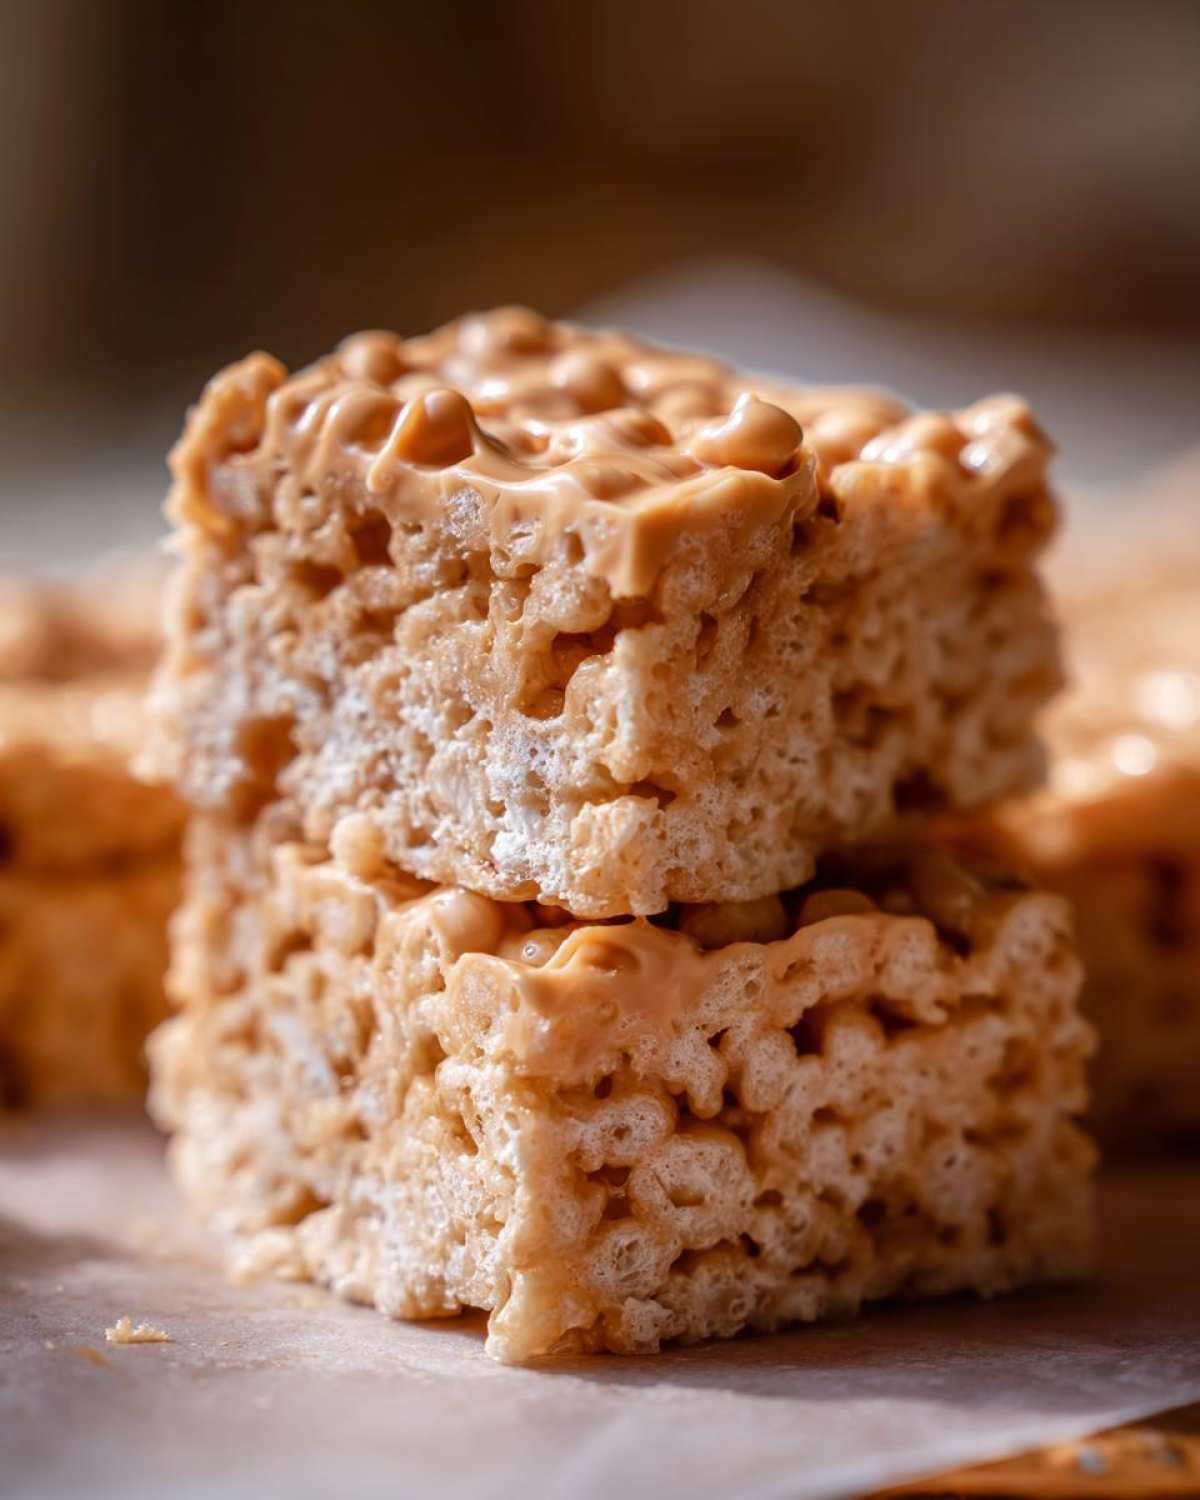
Expert Tips for Making Chewy Peanut Butter Krispies Recipe
I’ve learned a few things the hard way over the years making these treats, mostly involving stale marshmallows turning into sad, rubbery clumps! For the absolute best results—and I’m talking about that signature stretchiness that defines a great chewy peanut butter krispies recipe—you have a couple of non-negotiables.
First, always check your marshmallow freshness. If they are hard and brittle in the bag, toss them! Soft, pillowy marshmallows melt into that smooth, luxurious binder we need. Second, peanut butter temperature matters. If you keep your PB in the fridge (I know some people do!), pull it out for about 30 minutes before starting.
That slightly softer peanut butter mixes seamlessly into the warm marshmallow goo, ensuring you get nice, even swirls throughout. Lastly, remember what I said about pressing: be gentle! You want them set enough to hold their shape, but you don’t want to press the air out of the cereal. That airy pocket is what keeps them delightfully chewy.
Variations: Chocolate Topped Peanut Butter Rice Krispies
Okay, deep breath, because while the plain peanut butter version is perfection itself, sometimes you just need a little chocolate in your life, right? If you’re feeling fancy, or maybe you have some chocolate chips staring at you from the pantry, this variation is a must-try. We’re talking about the glorious upgrade: Chocolate Topped Peanut Butter Rice Krispies. This takes them from an afternoon snack to a true, decadent dessert!
The key here is keeping the chocolate layer thin and glossy, not thick and hard. Melting it correctly is everything. You don’t want to burn the chocolate, and you definitely don’t want it to look grainy when it sets. We are using a technique that keeps things smooth and pourable.
You’ll need about a cup of your favorite chocolate chips—milk, semi-sweet, whatever makes your heart sing! And here’s the little secret from my baking cheat sheet: add just one tiny teaspoon of coconut oil to the chips before melting. That small amount of oil helps the chocolate stay soft and prevents that weird white streaking that happens when chocolate chills too fast.
Put your chips and coconut oil in a microwave-safe bowl. Microwave them in short bursts, maybe 15 seconds at a time, stirring vigorously between each burst. You might think the chips look solid after 30 seconds, but keep stirring and microwaving until it’s just melted and smooth enough to pour easily over your cooled bars. Once you smooth that chocolate thin layer over the top, you can sprinkle on a few extra sea salt flakes if you’re feeling bold. Then back into the fridge for maybe 20 minutes, just until that chocolate layer is firm enough not to smudge when you cut them!
Storage and Keeping Your Peanut Butter Rice Krispie Treats Fresh
One of the absolute best things about these bars—besides how fast they come together—is that you don’t serve them immediately! Unlike a cake that needs to be eaten right away, these are actually *better* the next day once they’ve had time to fully set up and the flavors have settled in. You don’t need to worry about turning on the oven, and thankfully, you don’t have to worry about reheating them either, since they are already soft and gooey at room temperature!
The enemy of a perfect bar is usually air. If you leave them out on the cutting board, they’ll dry out and get hard quicker than you can imagine. So, storage is key to keeping that wonderful, chewy texture intact. I usually cut mine into squares first unless I’m gifting the whole batch at once, which just makes serving easier!
For long-term freshness, you need an airtight container. Don’t grab a flimsy Ziploc bag; those always let the air creep in. I use one of my plastic food storage bins, making sure to layer them properly. If you’re stacking them, put a piece of wax paper or parchment paper between the layers so they don’t all glue themselves together into one giant sticky brick overnight. That little piece of paper is a lifesaver!
They are perfectly fine sitting right out on the counter at room temperature for a few days—I’d say up to three days, provided your kitchen isn’t super hot or humid. If you are having a huge gathering or made two batches (which, let’s face it, I always do), you can keep them sealed up tight in the fridge for nearly a week. They might get a *tiny* bit firmer straight out of the fridge, but honestly, they are still delicious cold! If you do chill them, just let them sit on the counter for about 15 minutes before serving, and they’ll soften right back up to that perfect, gooey consistency you worked so hard to achieve.
Frequently Asked Questions About Peanut Butter Rice Krispie Treats
I get so many messages asking about slight tweaks or substitutions, which I totally get—sometimes you’re missing an ingredient or just curious about texture! These treats are so forgiving, but knowing a few tricks can turn a good batch into an *amazing* batch of Easy Peanut Butter Marshmallow Bars.
Since this recipe is so straightforward, most questions come down to managing the gooey factor. I’ve gathered up the top things people ask me about making sure their Simple 4 Ingredient Peanut Butter Treats come out just right for their taste!
How can I make these peanut butter rice krispie treats firmer?
Oh, so you like a brick instead of a gooey bar? I can respect that! If you want them sturdier, you have two main levers to pull, and you should probably try just one at a time. First, you can gently reduce the peanut butter. If you cut it from one full cup down to about 3/4 cup, the marshmallow glaze won’t be quite as liquidy when you press it in, which results in a firmer set. Second, and this is counterintuitive because I told you not to, you can press them harder into the pan! Use the back of a buttered spatula and really put your weight into smoothing them out. Just be careful—if you press too much, they stop being chewy and start being downright hard, so use caution!
Can I use crunchy peanut butter instead of creamy for these No Bake Peanut Butter Cereal Treats?
Yes, you totally can! I stick to creamy because I love that silky smooth texture in the marshmallow base, but crunchy peanut butter works just fine for these No Bake Peanut Butter Cereal Treats. The biggest change you’ll notice is the texture of the bars. Instead of that smooth, stretchy mouthfeel, you’re going to get little nutty bursts in every bite where the peanut chunks are. It’s delicious, but it does add quite a bit of extra crunch, which might make them feel a little less “gooey” overall, even if the marshmallow ratios are the same. If you love texture, go for it!
Can I double the recipe for a bigger crowd?
Absolutely! I do this all the time for parties. The only change I always make is using a larger straight-sided pot on the stove. You can’t just dump everything into a bigger pot; you’ll notice things don’t melt as evenly, and the marshmallow can end up partially burned on the bottom. If you double up the ingredients, you should really double up your cooking time slightly, ensuring you keep the heat very low and stir those marshmallows constantly. And whatever you do, don’t try to press double the mixture into the same 9×13 pan—use two pans so the bars aren’t stacked too high, or they won’t set properly in the middle!
Reader Feedback and Next Steps for Your Peanut Butter Rice Krispie Treats
I poured my heart and all those sticky kitchen lessons into this recipe so you could have the absolute best batch of peanut butter rice krispie treats—seriously, these are my gold standard! But baking is always a conversation, isn’t it? I really want to know how they turned out for you and if you stuck exactly to my ratios or if you added something fun!
Did you manage to find that perfect balance of gooey without packing them down too hard? Maybe you went the extra mile and added that chocolate topping I mentioned, or perhaps you used honey instead of a tiny bit of vanilla for some reason I haven’t thought of!
Please, please drop a comment below and let me know! Rate these marvelous squares out of five stars so others know this recipe is a winner. If you took a picture of your beautiful, chewy bars, tag me on social media so I can see your amazing work! I’m always looking for new tricks, so feel free to tell me your secret ingredient for the best homemade peanut butter krispie bars!
Go whip up a batch right now—you know you want to!
PrintGooey Peanut Butter Rice Krispie Treats
Make simple, chewy peanut butter cereal treats using only a few ingredients. This no-bake recipe sets quickly.
- Prep Time: 10 min
- Cook Time: 5 min
- Total Time: 15 min
- Yield: 12 servings
- Category: Dessert
- Method: No Bake
- Cuisine: American
- Diet: Vegetarian
Ingredients
- 6 cups puffed rice cereal
- 1 (10 ounce) package marshmallows
- 3 tablespoons butter
- 1 cup creamy peanut butter
Instructions
- Lightly grease a 9×13 inch baking pan or line it with parchment paper.
- In a large saucepan over low heat, melt the butter.
- Add the marshmallows to the melted butter and stir constantly until completely melted and smooth. Remove the pan from the heat.
- Stir in the peanut butter until it is fully combined with the marshmallow mixture.
- Add the puffed rice cereal to the marshmallow mixture. Stir gently until the cereal is evenly coated.
- Transfer the mixture to the prepared pan. Press the mixture down evenly using a buttered spatula or wax paper. Do not pack too tightly, or the treats will be hard.
- Let the treats cool completely before cutting into squares, about 1 hour.
Notes
- For extra flavor, you can add 1 teaspoon of vanilla extract when you mix in the peanut butter.
- If you prefer a firmer treat, reduce the amount of peanut butter to 3/4 cup.
- To make chocolate topped bars, melt 1 cup of chocolate chips with 1 teaspoon of coconut oil and spread over the cooled bars before cutting.
Nutrition
- Serving Size: 1 square
- Calories: 205
- Sugar: 15
- Sodium: 150
- Fat: 9
- Saturated Fat: 3
- Unsaturated Fat: 6
- Trans Fat: 0
- Carbohydrates: 30
- Fiber: 1
- Protein: 5
- Cholesterol: 10