

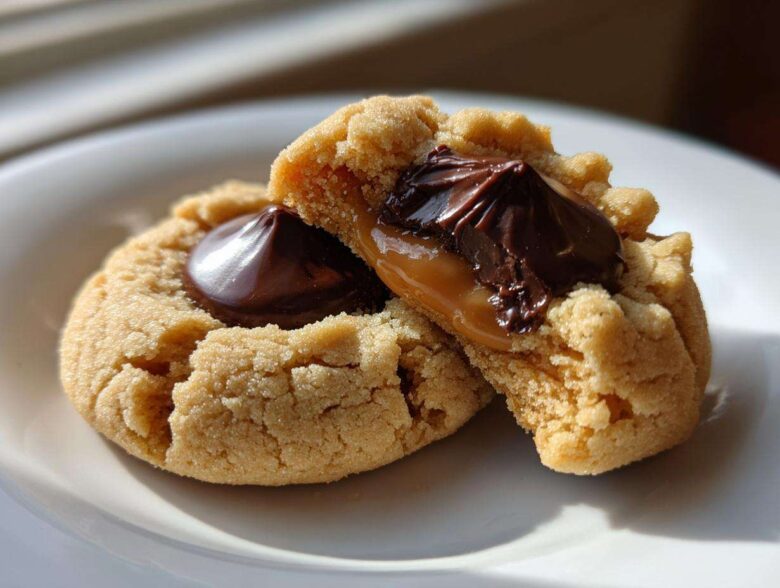
Oh, you know that smell? That glorious, nostalgic scent that just screams ‘home’ and ‘holidays’? For me, that scent is always the humble, perfect Peanut Butter Blossom Cookie. Forget those fancy layered desserts for a minute; these ones are the true stars of any cookie platter, especially when we’re talking about Christmas Cookie Classics.
I’ve tried dozens of versions over the years, always tweaking, always wondering how to get that perfect crackle on the base without letting the sweet chocolate kiss melt into a puddle. Well, friend, I finally cracked the code! This recipe is my absolute go-to because it balances that soft, chewy peanut butter base with a chocolate center that stays just right. Trust me, once you use this recipe for your Peanut Butter Blossom Cookies, you won’t look at another one twice. It’s foolproof, quick, and if you want to see my ultimate soft and chewy version, check out my deep dive post! It’s foolproof, quick, and always brings the biggest smiles!
Why This is the Best Peanut Butter Blossom Cookies Recipe
When you’re making Peanut Butter Blossom Cookies, you aren’t just mixing up dough; you’re aiming for that perfect contrast. That’s what sets this recipe apart from the rest. We want robust peanut butter flavor and a soft texture that doesn’t crumble.
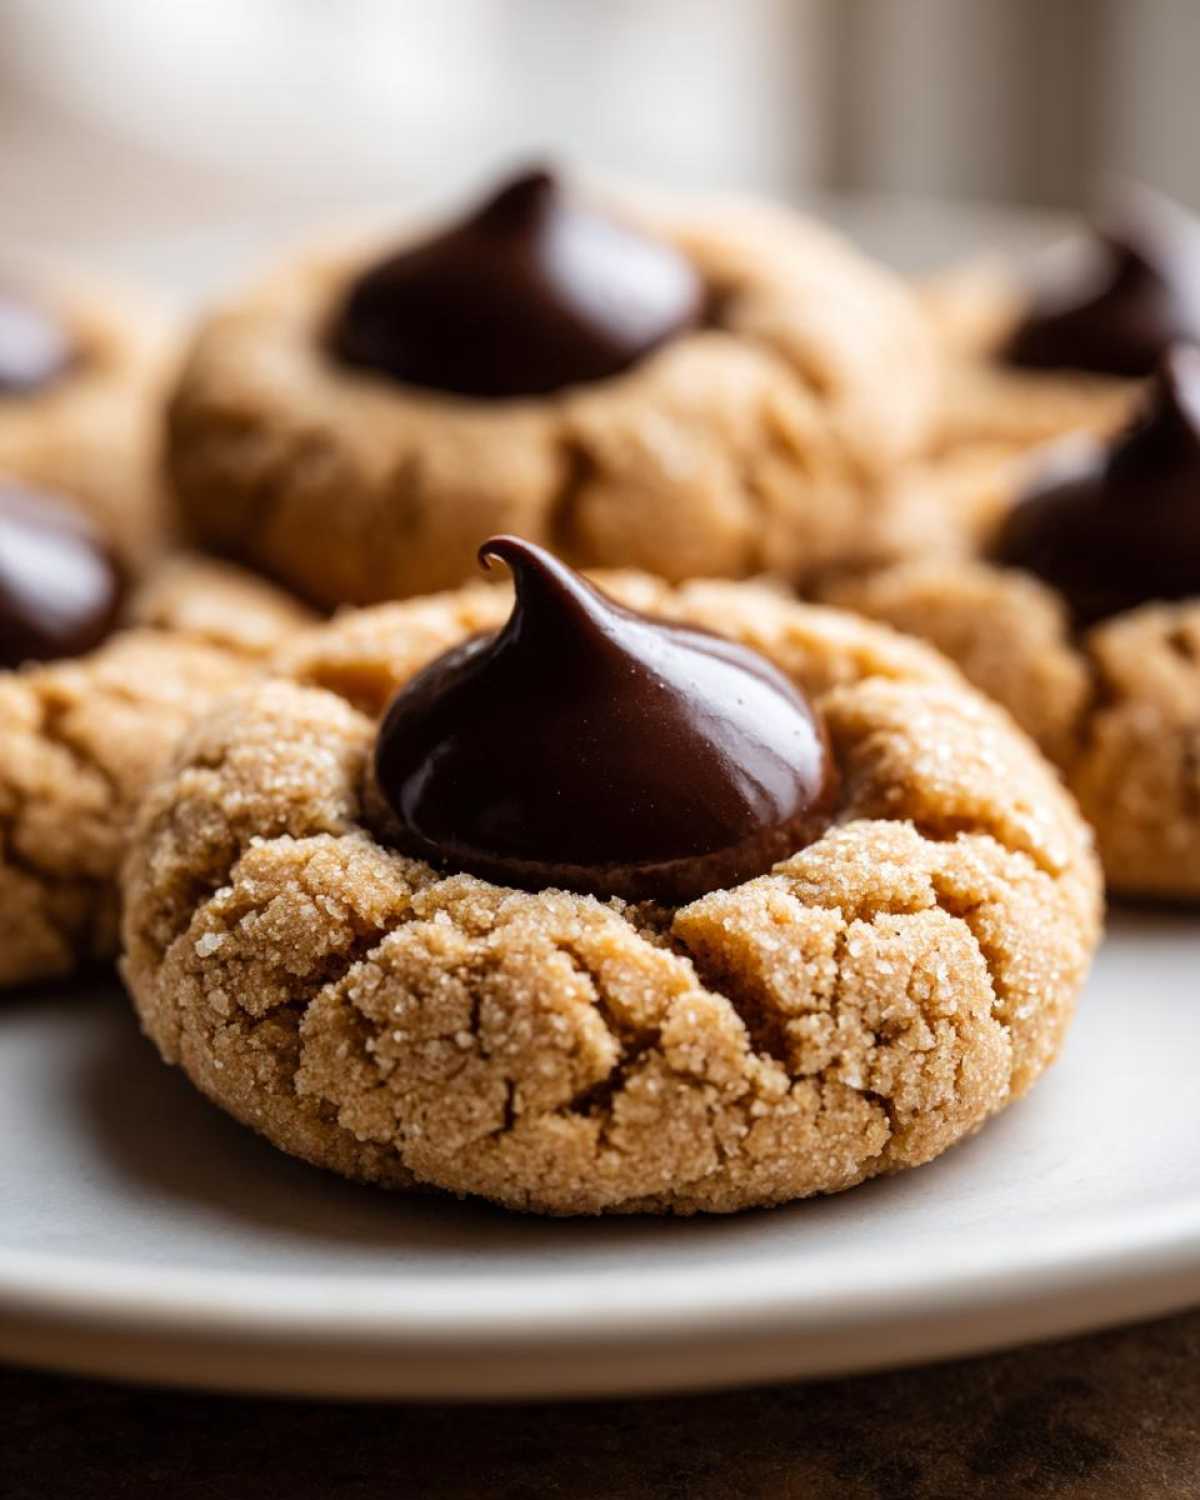
- The base stays tender, never dry or crumbly.
- We get that beautiful crackle right before we add the chocolate!
- It yields about 3 dozen, so you have plenty for everyone (or just me!).
- It’s perfect for pairing with my other favorite Kiss cookie variations!
Achieving the Perfect Soft Peanut Butter Cookie Base
The secret really lies in technique, not complicated ingredients! We make sure to cream that butter and both sugars together until they’re truly light and fluffy—that adds essential air for a softer final texture. Also, we only mix the flour in until it *just* comes together. If you overmix, that perfect peanut butter cookie base gets tough fast. We’re aiming for soft and chewy, every single time you bite into one of those delicious cookies!
Gathering Ingredients for Classic Peanut Butter Blossom Cookies
Okay, grab your apron because we need to take inventory! For these Classic Peanut Butter Cookies, precision matters, but don’t let that scare you—it just means no guessing games. We’re making about three dozen of these beauties, and they whip up fast: about 20 minutes of prep time and only 10 minutes of baking time. That’s why they’re perfect for last-minute Holiday Cookie Baking Ideas!
You’ll need one full stick (that’s 1 cup, two sticks total laid out together!) of good quality, softened unsalted butter, which is non-negotiable for the right texture. Make sure you pull out 1 cup of granulated sugar and 1 cup packed light brown sugar for that lovely depth of flavor. Don’t forget two large eggs and a teaspoon of vanilla extract to round out the wet ingredients. If you’re ever looking for something fun and crunchy to go alongside these, try my peanut butter pretzel bark!
For the star flavor, get 1 cup of creamy peanut butter—yes, creamy is usually better here! The dry side calls for 2 3/4 cups of all-purpose flour, 1 teaspoon of baking soda, a half teaspoon of baking powder, and a pinch of salt. And of course, you absolutely must have that bag of unwrapped Hershey’s Kisses ready to go for the crowning jewel on these Easy Peanut Butter Cookie Recipes!
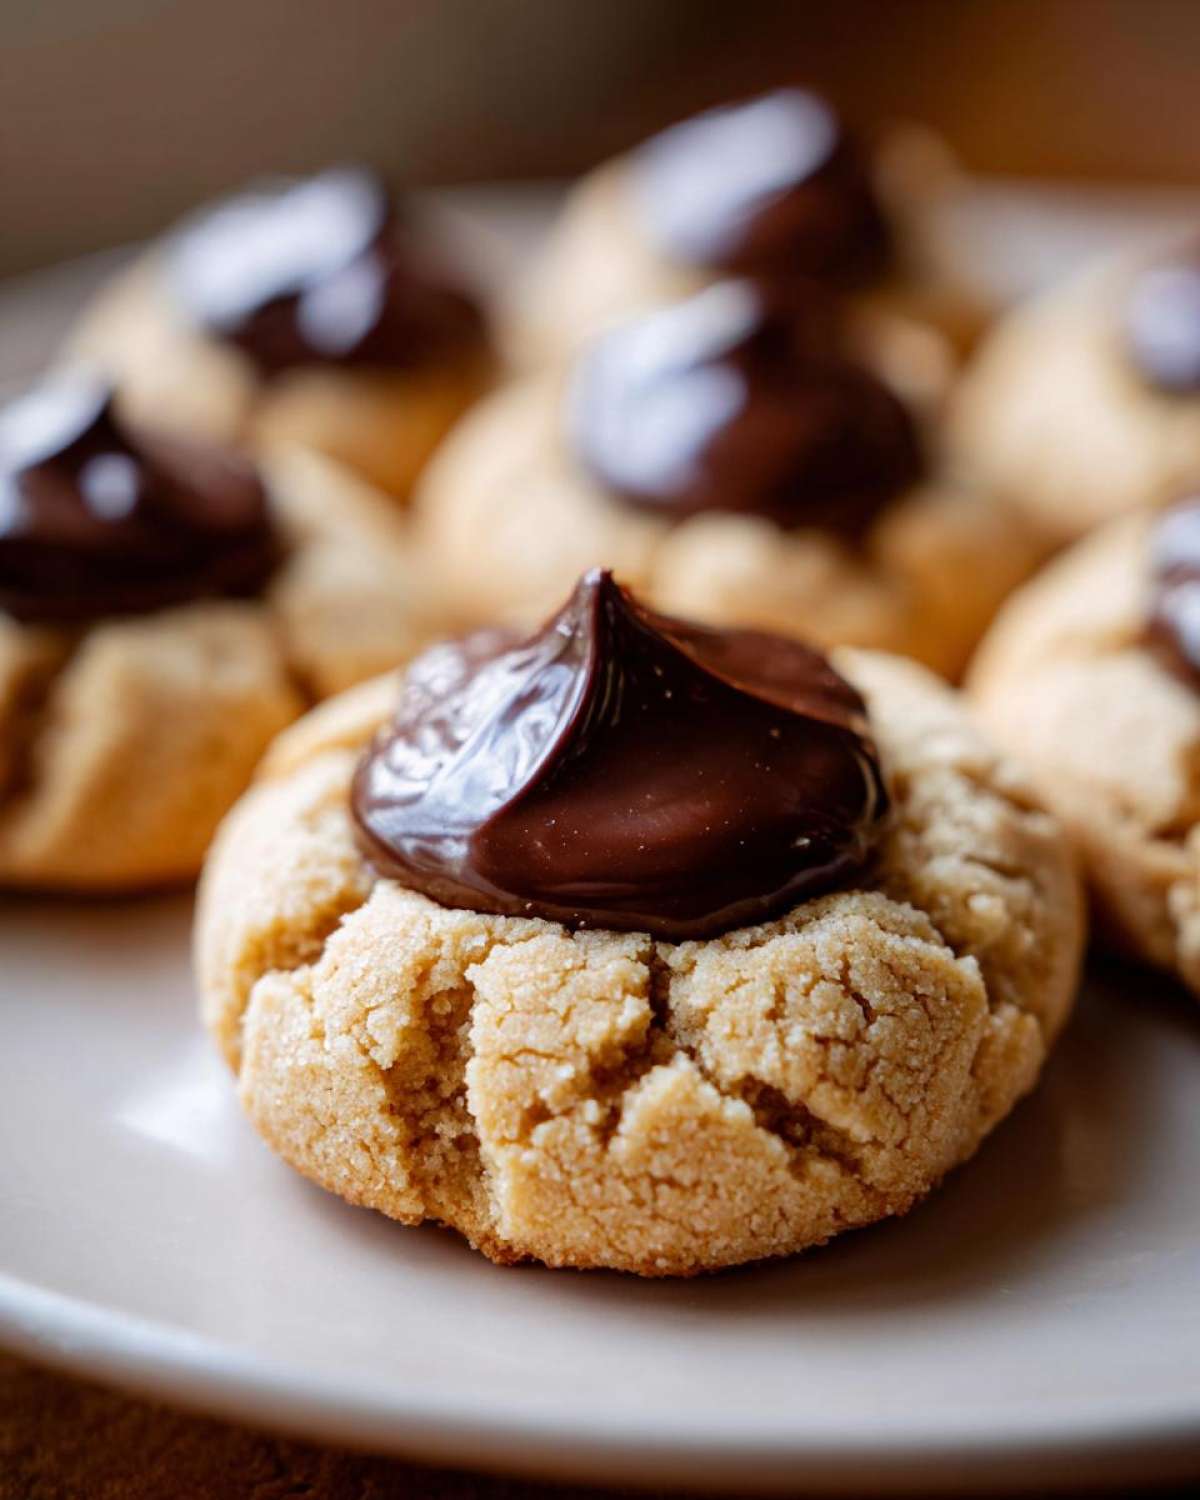
Ingredient Notes and Substitutions for Peanut Butter Blossom Cookies
Listen closely, because this is where we separate the good cookies from the *great* ones. That butter? It HAS to be softened—not melted! If it’s too warm, your creaming process, which creates air pockets for our Soft Peanut Butter Cookies with Hershey Kiss, won’t work right. I always leave mine on the counter for at least an hour before I even think about starting.
When choosing peanut butter, I stick to creamy brands like Jif or Skippy for this classic recipe. Natural peanut butter can sometimes be too oily or runny, which messes with the balance. If you try crunchy, it’s fine, but the base texture changes completely, and the cookie won’t spread quite the same way. Stick to the tried-and-true route for the Best Blossom Cookie Recipe!
Step-by-Step Instructions: How to Make Peanut Butter Blossom Cookies
Alright, let’s get baking! This is where the real fun starts for making Peanut Butter Blossom Cookies. First thing’s first: get that oven humming at 375 degrees F, and line those baking sheets with parchment paper. I swear by parchment paper, especially when I’m trying to move them quickly later.
The dough preparation is straightforward, but take your time during the creaming phase; it makes all the difference in the world for these beautiful cookies. We bake them fast—just 8 to 10 minutes—because we want those centers soft and ready to accept our chocolate prize!
Mixing the Dough for Perfect Peanut Butter Blossom Cookies
You’re starting by whipping softened butter, granulated sugar, and brown sugar together until they look fluffy and pale—this takes a minute or two with an electric mixer, and it’s how we incorporate air. Then, one by one, add those two eggs, followed by the vanilla and the peanut butter. Make sure those are fully combined before moving on!
In a separate spot, whisk your flour, baking soda, baking powder, and salt together. Now, add the dry stuff to the wet stuff slowly, mixing on low just until you see no more dry streaks. Seriously, stop right there! If you overmix, your dough gets tight, and we want these to be tender, not tough. Remember, no overmixing!
The Crucial Step: Adding the Chocolate Kiss to Your Peanut Butter Blossom Cookies
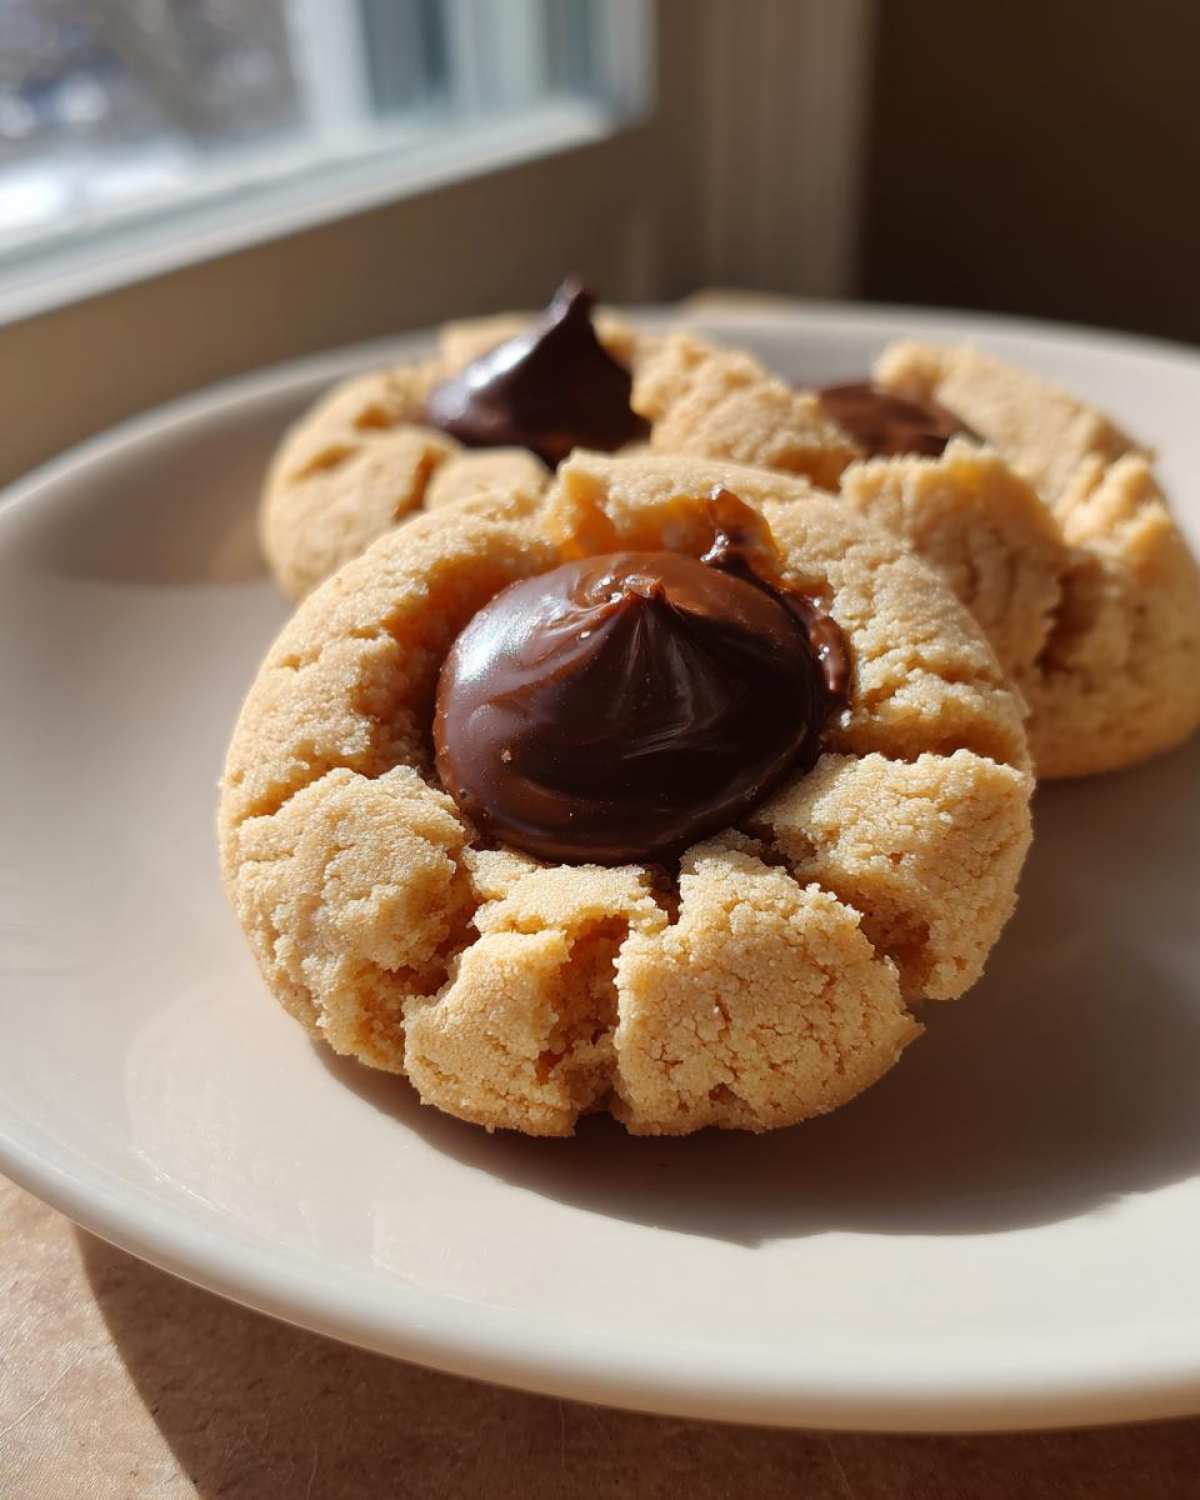
This part is non-negotiable for authentic Chocolate Kiss Cookies Recipe success! As soon as the cookies come out of the oven—and I mean *immediately*—you take one unwrapped Hershey’s Kiss and gently, but firmly, press it right into the center of the warm cookie. The residual heat is what melts the bottom just enough so the chocolate adheres perfectly.
If you wait too long, the cookie firms up, and the Kiss won’t sink in, leaving you with a chocolate candy sitting on top of a hard cookie. If you press too soon or too hard, the cookie cracks wide open and the chocolate oozes out everywhere, which is beautiful in its own way, but not what we are aiming for here!
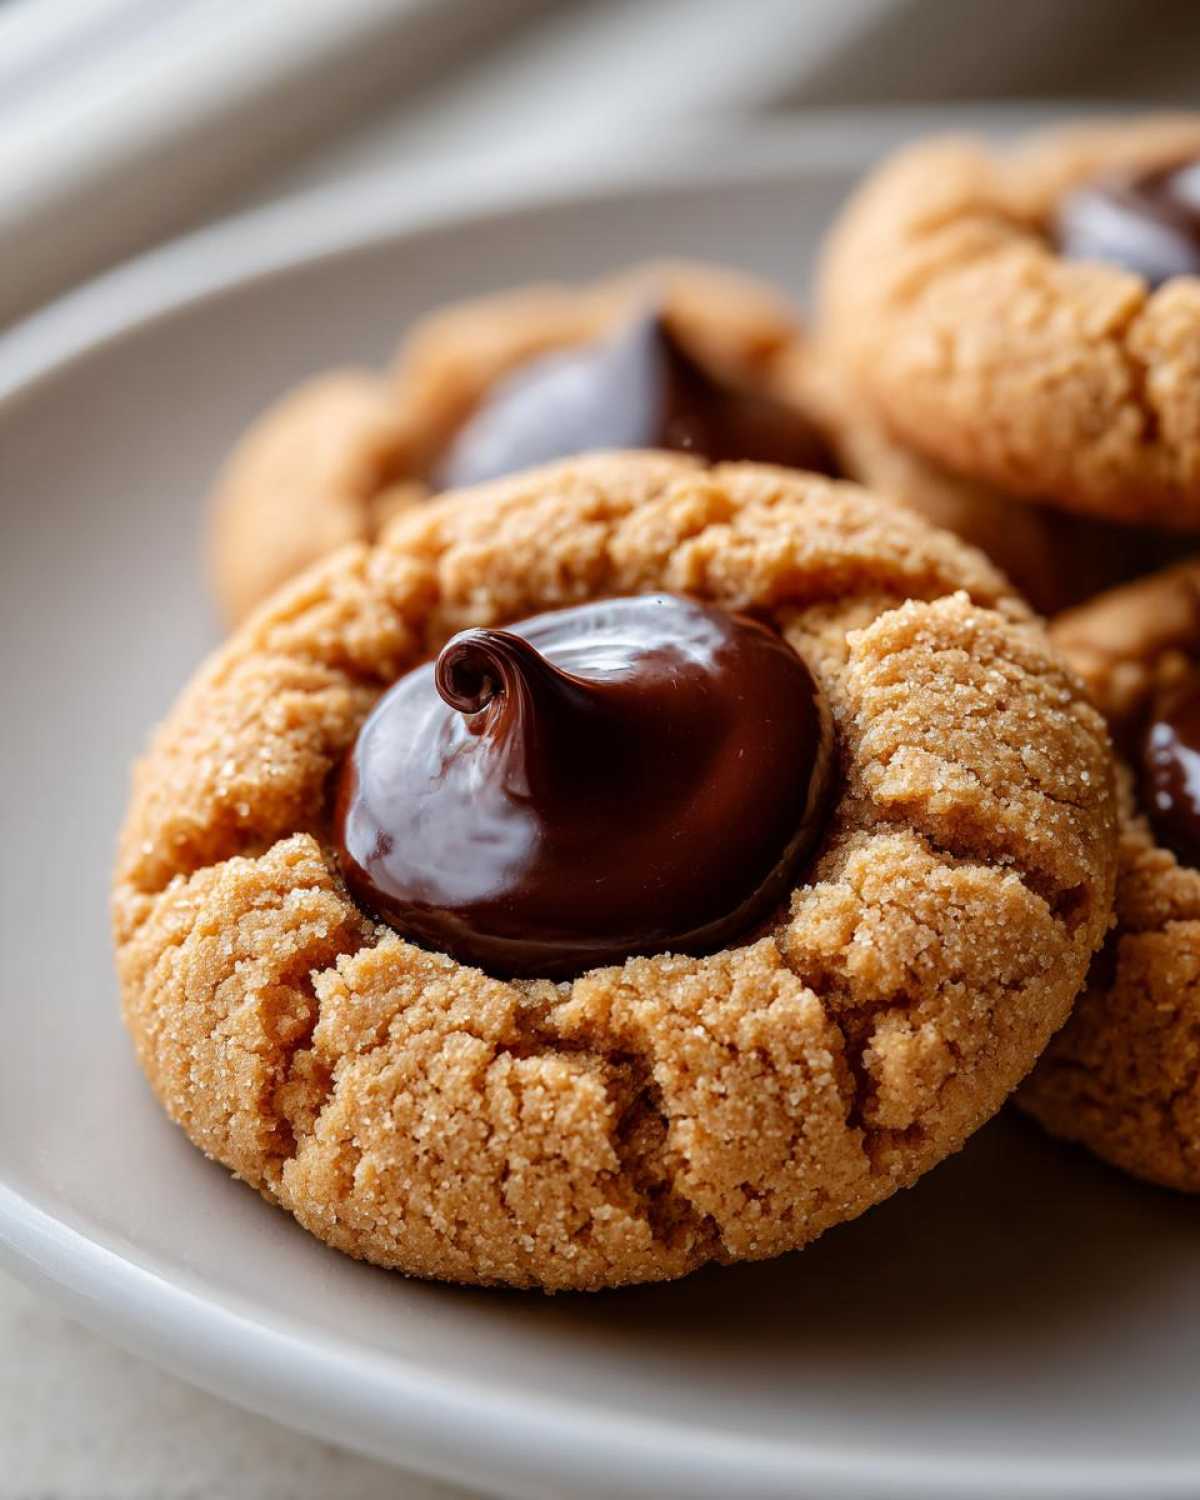
I learned an extra trick from my Aunt Rose: after they come out, I let them sit on the hot pan for just about two minutes before I move them to the cooling rack. This gives the Kiss time to soften *just* enough without turning into goo. If you want my full breakdown on avoiding the dreaded chocolate meltdown, I talk more about it over here, referencing my other baking tips!
Tips for the Ultimate Peanut Butter Blossom Cookies Success
We’ve got the dough mixed, and the kisses are unwrapped, but let’s talk about nailing that texture so these become legendary Holiday Cookie Baking Ideas!
If you want cookies that are super soft, you need to slightly underbake them—and I mean slightly! Pull them out when the edges look set, but the middle still looks a little bit pale and soft. That residual heat trapped in the cookie while it rests on the hot pan is actually what finishes baking the center tenderly. They firm up perfectly as they cool. If you bake them until they look completely done on the sheet, you’ll end up with something tougher later on.
For an extra touch of classic goodness from these Vintage Cookie Recipes, try rolling those dough balls in extra granulated sugar before baking. It gives you that wonderful little crackly crust that contrasts so beautifully with the smooth peanut butter inside. If you’re looking for other super gooey treats, you have to check out my gooey butter cookies next!
Variations on Classic Peanut Butter Blossom Cookies
Just because this is the classic recipe doesn’t mean you can’t play in the sandpit a little! When everyone expects the standard, mixing things up just slightly keeps things exciting. For that great peanut butter flavor, I mentioned creamy is best, but if you only have natural peanut butter on hand, remember to stir excess oil back in thoroughly—otherwise, your dough will be greasy.
Instead of the traditional milk chocolate Kiss, try using dark chocolate Kisses for a less sweet, richer contrast. Or, if you aren’t a fan of the flat Kiss shape, use peanut butter cups—just chop them up roughly and gently press the bits in right when they come out of the oven. A little extra spice always brightens things up, too! Try adding a tiny pinch of cloves or even a dash of espresso powder to the dry mix for a deeper, more complex flavor profile. Speaking of delicious variations, you absolutely have to try my chocolate chip cheesecake cookies soon!
Storage and Reheating: Keeping Your Peanut Butter Blossom Cookies Fresh
These cookies are so good you’ll want them to last all week, and guess what? They can! The very best way to keep your Peanut Butter Blossom Cookies happy is locking them up in an airtight container right once they are totally cool. They hold up wonderfully at room temperature for about a week; don’t even think about the fridge, it’ll just dry them out super fast!
If it’s been a few days and they’ve firmed up just a smidge, I have a little trick. Pop just one or two cookies on a microwave-safe plate for about 8 to 10 seconds. That little bit of heat brings back that wonderful soft texture right away! It’s the perfect way to enjoy them with a warm cup of coffee. For more easy make-ahead treats, check out these no-bake Oreo balls!
Frequently Asked Questions About Peanut Butter Blossom Cookies
It’s totally normal to have questions, especially when you’re perfecting a holiday favorite! I’ve gathered the ones I get asked the most about How to Make Peanut Butter Blossoms so you can get them right on the first try. These are the secrets to making sure your batch is included in everyone’s list of the best Easy Christmas Cookies!
Can I use crunchy peanut butter in my Peanut Butter Blossom Cookies?
You absolutely can, but be prepared for a textural change! Crunchy peanut butter will give your cookie base a little bit more bite and chunkiness. Because the recipe relies on that wonderfully smooth base to contrast with the soft chocolate, using crunchy sometimes makes the cookie feel a little less cohesive, but hey, if you love nuts, go for it! It’s just not the traditional texture.
What is the best way to store these for Holiday Cookie Baking?
When you’re done with your Holiday Cookie Baking frenzy, storage is key to keeping a soft cookie soft! Keep them layered gently between sheets of wax paper in a completely airtight container at room temperature. I find that if I add a plain slice of white bread to the container—don’t worry, the cookies don’t absorb the bread taste—it keeps the moisture level perfect for up to a week.
If you want even more great tips on making your holidays sweeter, I’ve got tons of ideas over on my main page for easy Christmas cookies!
Estimated Nutritional Snapshot for Peanut Butter Blossom Cookies
Now, I’m definitely not a nutritionist—I’m a baker who loves butter! But for those curious about what goes into these delicious treats, here’s a quick look at what you can expect per cookie. Since we’re using butter, sugar, and peanut butter, they are definitely an indulgence, which is why they are perfect for special occasions!
Keep in mind these are estimates based on the ingredients listed. If you use less sugar or use a lighter peanut butter, your numbers will shift. I usually bake these knowing they are for treating ourselves, not for everyday snacking!
- Calories: About 180
- Total Fat: 10g
- Carbohydrates: 22g
- Protein: 4g
- Sugar: 15g
For anyone looking for healthier meals to balance out the cookie baking, I highly recommend checking out my recipe for juicy chicken marinade!
Share Your Perfect Peanut Butter Blossom Cookies
Now that you’ve got that glorious stack of warm, chocolate-topped cookies cooling, the best part is sharing the joy! Or, you know, keeping them all for yourself—I won’t tell anyone!
I would absolutely LOVE for you to let me know how they turned out! Did you get that perfect little crackle in the peanut butter? Did the Kiss stay centered? Drop a comment down below and tell me how they went for you. It helps me so much, and I love hearing your baking adventures!
And if you snapped a picture (and I know you did!), tag me on social media! Seeing these Peanut Butter Blossom Cookies popping up in your kitchens makes my day. It feels so good knowing this classic recipe is still getting made and enjoyed. Come share your bakes and catch up on all my latest culinary chaos over at the main blog page!
PrintClassic Peanut Butter Blossom Cookies
A recipe for traditional peanut butter cookies topped with a chocolate kiss center.
- Prep Time: 20 min
- Cook Time: 10 min
- Total Time: 30 min
- Yield: About 3 dozen cookies
- Category: Dessert
- Method: Baking
- Cuisine: American
- Diet: Vegetarian
Ingredients
- 1 cup (2 sticks) unsalted butter, softened
- 1 cup granulated sugar
- 1 cup packed light brown sugar
- 2 large eggs
- 1 teaspoon vanilla extract
- 1 cup creamy peanut butter
- 2 3/4 cups all-purpose flour
- 1 teaspoon baking soda
- 1/2 teaspoon baking powder
- 1/2 teaspoon salt
- About 1 bag (12 ounces) Hershey’s Kisses, unwrapped
Instructions
- Preheat your oven to 375 degrees F. Line baking sheets with parchment paper.
- In a large bowl, beat the softened butter, granulated sugar, and brown sugar with an electric mixer until light and fluffy.
- Beat in the eggs one at a time, then mix in the vanilla extract and peanut butter until combined.
- In a separate medium bowl, whisk together the flour, baking soda, baking powder, and salt.
- Gradually add the dry ingredients to the wet ingredients, mixing on low speed until just combined. Do not overmix.
- Roll the dough into 1-inch balls. Roll each ball in granulated sugar (optional, for coating).
- Place the dough balls about 2 inches apart on the prepared baking sheets.
- Bake for 8 to 10 minutes, or until the edges are lightly set but the centers are still soft.
- Immediately after removing the cookies from the oven, gently press one unwrapped chocolate kiss into the center of each warm cookie. The residual heat will soften the chocolate.
- Let the cookies cool on the baking sheet for 5 minutes before transferring them to a wire rack to cool completely.
Notes
- For a softer cookie, slightly underbake them. The chocolate kiss will set as the cookie cools.
- Use creamy peanut butter for the best texture in the cookie base.
- If you want to prevent the chocolate from melting too much, wait about 2 minutes after removing the cookies from the oven before pressing the kiss in.
- Store cookies in an airtight container at room temperature for up to one week.
Nutrition
- Serving Size: 1 cookie
- Calories: 180
- Sugar: 15
- Sodium: 90
- Fat: 10
- Saturated Fat: 4
- Unsaturated Fat: 6
- Trans Fat: 0
- Carbohydrates: 22
- Fiber: 1
- Protein: 4
- Cholesterol: 20