

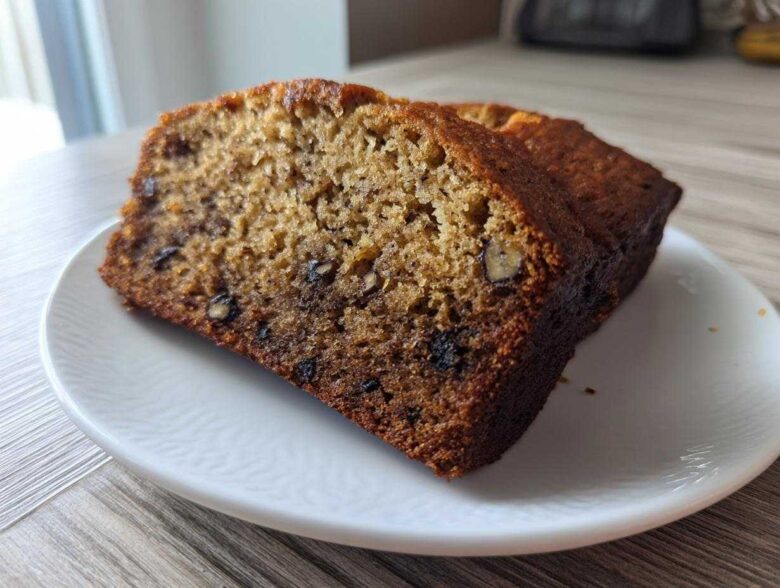
Oh, the tragedy of a good loaf of banana bread turning out dry! I swear, I’ve thrown out more disappointing, crumbly quick breads than I care to admit in my early baking days. It’s heartbreaking when you use those perfectly black, sweet bananas and still end up with something that tastes like sawdust. Well, you can stop worrying right now! I finally cracked the code, and I’m sharing my absolute favorite, time-tested formula for the **Moist Banana Bread** you’ve been dreaming about. This isn’t just guesswork; this recipe is built on tried-and-true ratios that guarantee a tender, melt-in-your-mouth loaf every single time. You will never settle for dry bread again after trying this one. Trust me on this, you want this recipe in your rotation, and you can check out my other favorites, like this super moist pumpkin bread, too!
Why This is the Best Banana Bread Recipe for Moisture
Listen, making truly **Moist Banana Bread** isn’t magic; it’s just understanding what the ingredients are doing! I’ve tried recipes that rely only on bananas, and they still ended up tough. But this combination? It’s what separates the sad, crumbly loaves from the beautiful, bakery-style results. I’ve linked to my banana bread brownies in case you want a chocolate fix next, but for the classic loaf, these factors are non-negotiable.
- The Riper, The Better: You must use those bananas that look sad and spotted—nearly black is perfect!
- The Fat & Tang Factor: We use a proper amount of butter, but the secret weapon is adding sour cream.
- Don’t Touch That Batter: We mix just enough, and I mean just enough, once the flour goes in.
The Role of Overripe Bananas in Moist Banana Bread
Seriously, don’t even look at a yellow banana for this recipe. When the peel turns dark brown or black, the starches have fully converted into deep, sweet sugars. Those natural sugars attract and hold moisture beautifully during baking. This means your bread tastes sweeter and stays tender longer—it’s the ultimate **secret for moisture**!
Ingredient Balance for Perfect Texture Banana Bread
We don’t skimp on the good stuff here. The combination of softened butter and the acid in the sour cream works together to tenderize the gluten strands in the flour. This ratio ensures you get that soft, cloud-like crumb that never dries out. It’s all about balancing the fat content to create that **Moist Banana Bread** result.
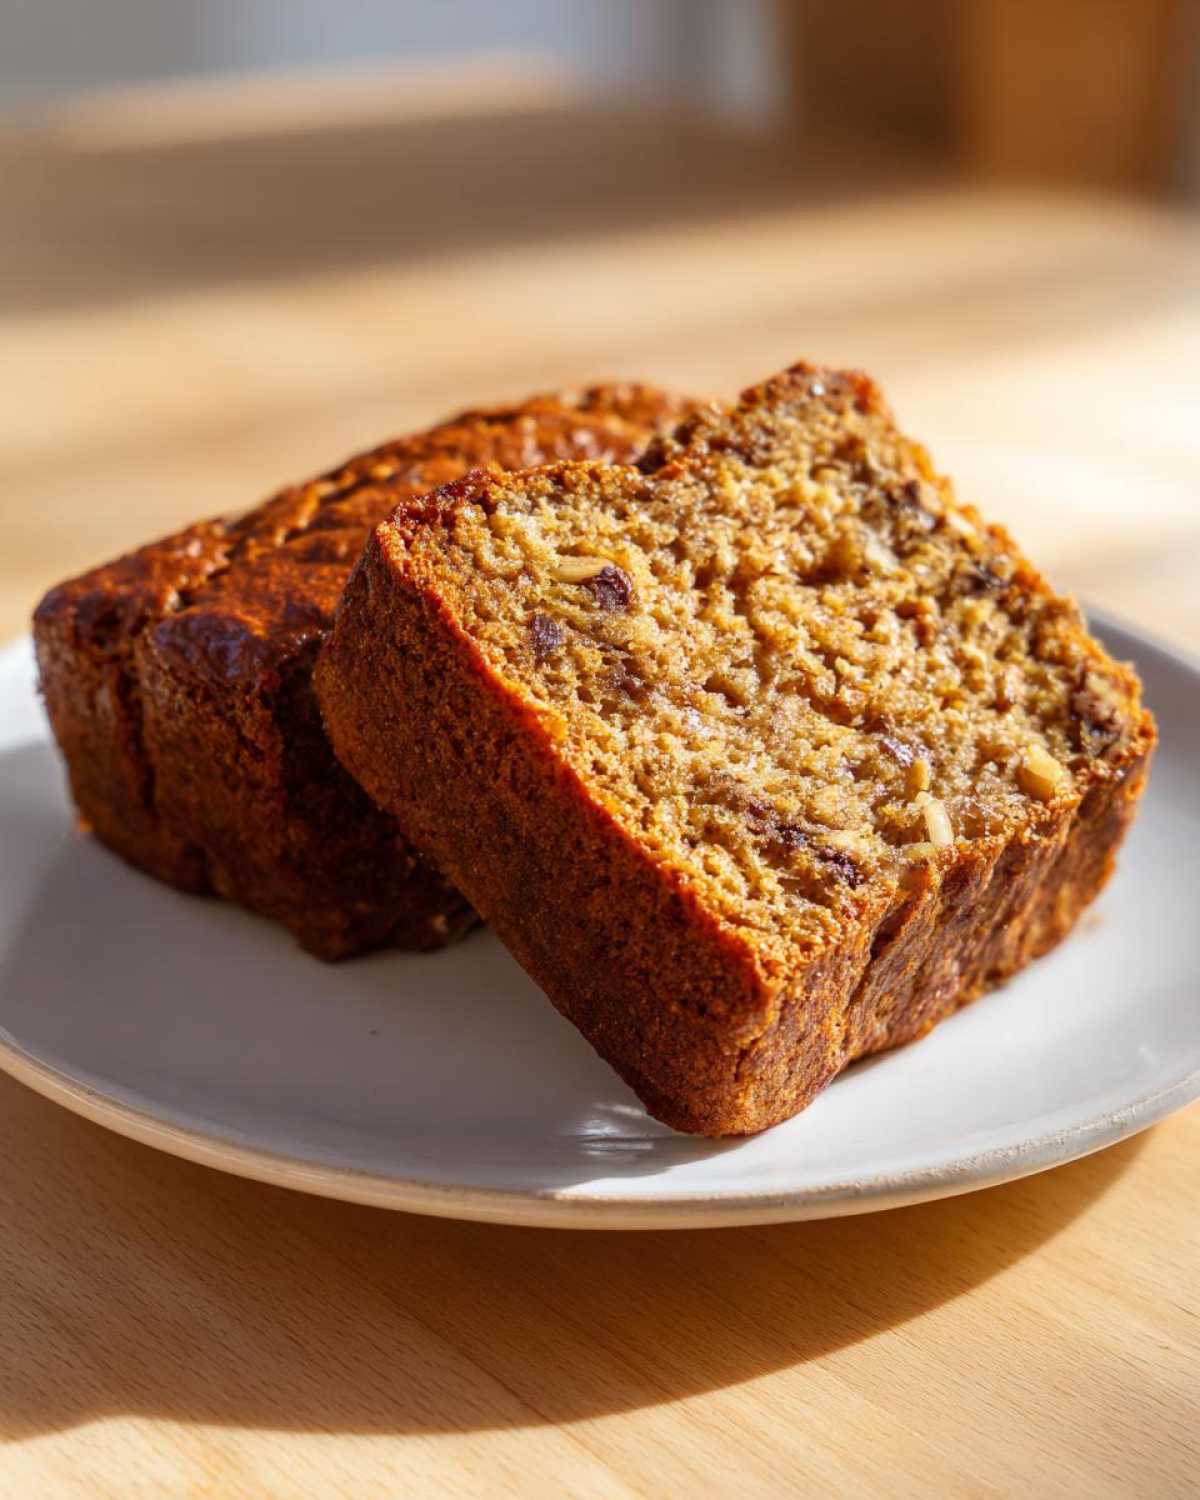
Gathering Ingredients for Your Moist Banana Bread
Okay, gathering your supplies is simple, but pay attention to how I list things—precision matters for that **Moist Banana Bread** texture! You’ll want the bananas looking rough; the riper, the better for this recipe. If you love coffee cake, you really need to check out my sour cream coffee cake next, since we borrow some magic from that method here! Before you start creaming anything, have these laid out:
- 1 3/4 cups all-purpose flour
- 1 teaspoon baking soda
- 1/2 teaspoon salt
- 1 teaspoon ground cinnamon
- 1/2 cup unsalted butter, softened (must be softened!)
- 3/4 cup granulated sugar
- 2 large eggs
- 1 teaspoon vanilla extract
- 1 cup mashed very ripe bananas (about 3 medium ones)
- 1/4 cup sour cream or plain yogurt
- 1/2 cup chopped walnuts or chocolate chips (my favorite is chocolate chips, honestly!)
Simple Quick Bread Recipe: Step-by-Step Instructions
This is where we bring it all together! Remember, this whole process is surprisingly fast once you have your ingredients measured out—it’s what makes it such an amazing quick bread recipe. First thing, get your oven warmed up to 350 degrees F (175 degrees C) and get that 9×5 inch loaf pan greased and floured. Make sure you have a medium bowl ready for the dry stuff, and a big bowl for creaming the butter!
Whisk your flour, baking soda, salt, and cinnamon together and set that aside. Now for the action: cream that softened butter with your sugar until it looks fluffy—seriously, whip it good! Beat the eggs in one at a time, then swirl in the vanilla. Mash those dark bananas up and knock in the sour cream. Mix ’em until they just barely combine. Now, for the most important part of making **Moist Banana Bread**…
Mixing Techniques for Maximum Moisture in Moist Banana Bread
When you add those dry ingredients, stop mixing the second you see the last streak of flour disappear. I mean it! If you keep going, you start developing gluten, and gluten is the enemy of tenderness. Overmixing is the #1 reason people end up with banana bread that feels tough instead of achieving that **perfect texture banana bread** promised here. Just fold gently until it looks uniform, and don’t worry if it looks a little lumpy.
Baking and Checking Your Incredibly Moist Loaf Cake
Pour the batter into your prepared pan and slide it into the oven. It’ll bake for about 55 to 65 minutes. If you notice the top getting dark around the 45-minute mark, go ahead and loosely tent a piece of aluminum foil over it. That stops the outside from burning before the center is done! When you check it with a skewer, you want moist crumbs, not wet batter. Let it chill out in the pan for 10 minutes before turning it out onto a rack to cool completely. Patience during cooling helps solidify that **incredibly moist loaf cake** structure!
Tips for Success: Achieving Bakery Style Moist Banana Bread
Getting that **bakery style moist banana bread** texture isn’t just about the ingredients—it’s about a few simple things you do right before and during the bake. I learned these tricks over years of fighting dryness, and they make a huge difference! If you’re heading to a potluck, these steps will ensure your loaf gets rave reviews for its texture. You can use these tips whether you’re adding chocolate chips or walnuts to create your favorite delicious banana nut bread recipe.
- Forget yellow bananas! I cannot stress this enough: seriously use bananas that are practically black. They are exponentially sweeter and hold way more liquid, guaranteeing a better texture.
- Don’t mess with your oven door! Resist the urge to peek, especially during the first 40 minutes. Opening it lets heat rush out and can cause your beautiful loaf to deflate in the center.
- If you accidentally over-sweetened? Try my moist spice cake frosting idea—a little tangy top cuts through sweetness perfectly.
- Always plan to tent with foil if the top is darkening too fast. It protects the crust while giving the center the time it needs to finish cooking through.
Ingredient Notes and Substitutions for Moist Banana Bread
Part of making this the **best banana bread recipe** for *your* kitchen is knowing what you can swap around without sacrificing that essential moisture. I know everyone keeps different things stocked, so let’s chat about the tricky bits! For instance, if you’re looking to cut down on sugar, you can certainly check out my thoughts on sugar-free banana bread, but remember that sugar plays a huge role in moisture retention!
That sour cream or yogurt is golden. If you run out, don’t panic. You can substitute the 1/4 cup with buttermilk, or even use an equal amount of full-fat Greek yogurt. The acidity is what helps activate the baking soda and tenderize the bread, so stick to the full-fat versions for the best texture!
As for the mix-ins? Yes, absolutely use whatever you like! If walnuts feel too traditional, swapping them out for mini chocolate chips or even shredded coconut works great. Just make sure you don’t add too much—sticking to that 1/2 cup maximum so you don’t weigh down the batter and risk getting **banana bread without dry results**!
Can I Use Frozen Bananas for Moist Banana Bread?
Oh, yes! If you’re smart and always keep those spotty rejects in the freezer, you are gold. When you thaw frozen bananas, they release a TON of liquid because the freezing process breaks down their cell walls. You have two options here. Option one is to thaw them fully, put them in a strainer over a bowl, and let some of that excess liquid drip off before mashing.
Option two, which I sometimes use when I’m in a huge rush and want to make **moist homemade banana bread** right now, is to throw the frozen bananas right into the mixing bowl. However, if you do this, you MUST reduce the liquid in the recipe by maybe 1-2 tablespoons, or just stop when you are mixing in the mashed bananas. It’s a slight adjustment, but it keeps the final texture perfect!
Storage and Reheating Instructions for Moist Banana Bread
Keeping this **Moist Banana Bread** tasting fresh is the final hurdle, but it’s so easy! Since this recipe has so much moisture, wrapping it properly is key. Once the loaf is totally cool—and I mean no residual warmth—wrap it tightly in plastic wrap first. Then, I usually slide that wrapped loaf into a zip-top freezer bag. This double wrap keeps the air out and traps all that lovely humidity inside so you don’t get dry ends!
It keeps beautifully on the counter like this for about three days. If you want it to last longer, say up to three months, the freezer is your friend. Just pop the frozen loaf in the microwave for about 30 seconds when you want a slice, or reheat individual slices wrapped in a damp paper towel for 15 seconds. Speaking of long-lasting moisture, you might also adore this moist date nut bread recipe for variety on your counter!
Serving Suggestions for Your Delicious Banana Nut Bread Recipe
So, you have finally pulled that perfect, steaming loaf out of the oven. Congrats! Now, how do you serve this masterpiece of moisture? Honestly, this **delicious banana nut bread recipe** is almost too good to mess with. A thick slice, still slightly warm, slathered with good quality, slightly salted butter? That’s heaven right there. It melts right into the crumb!
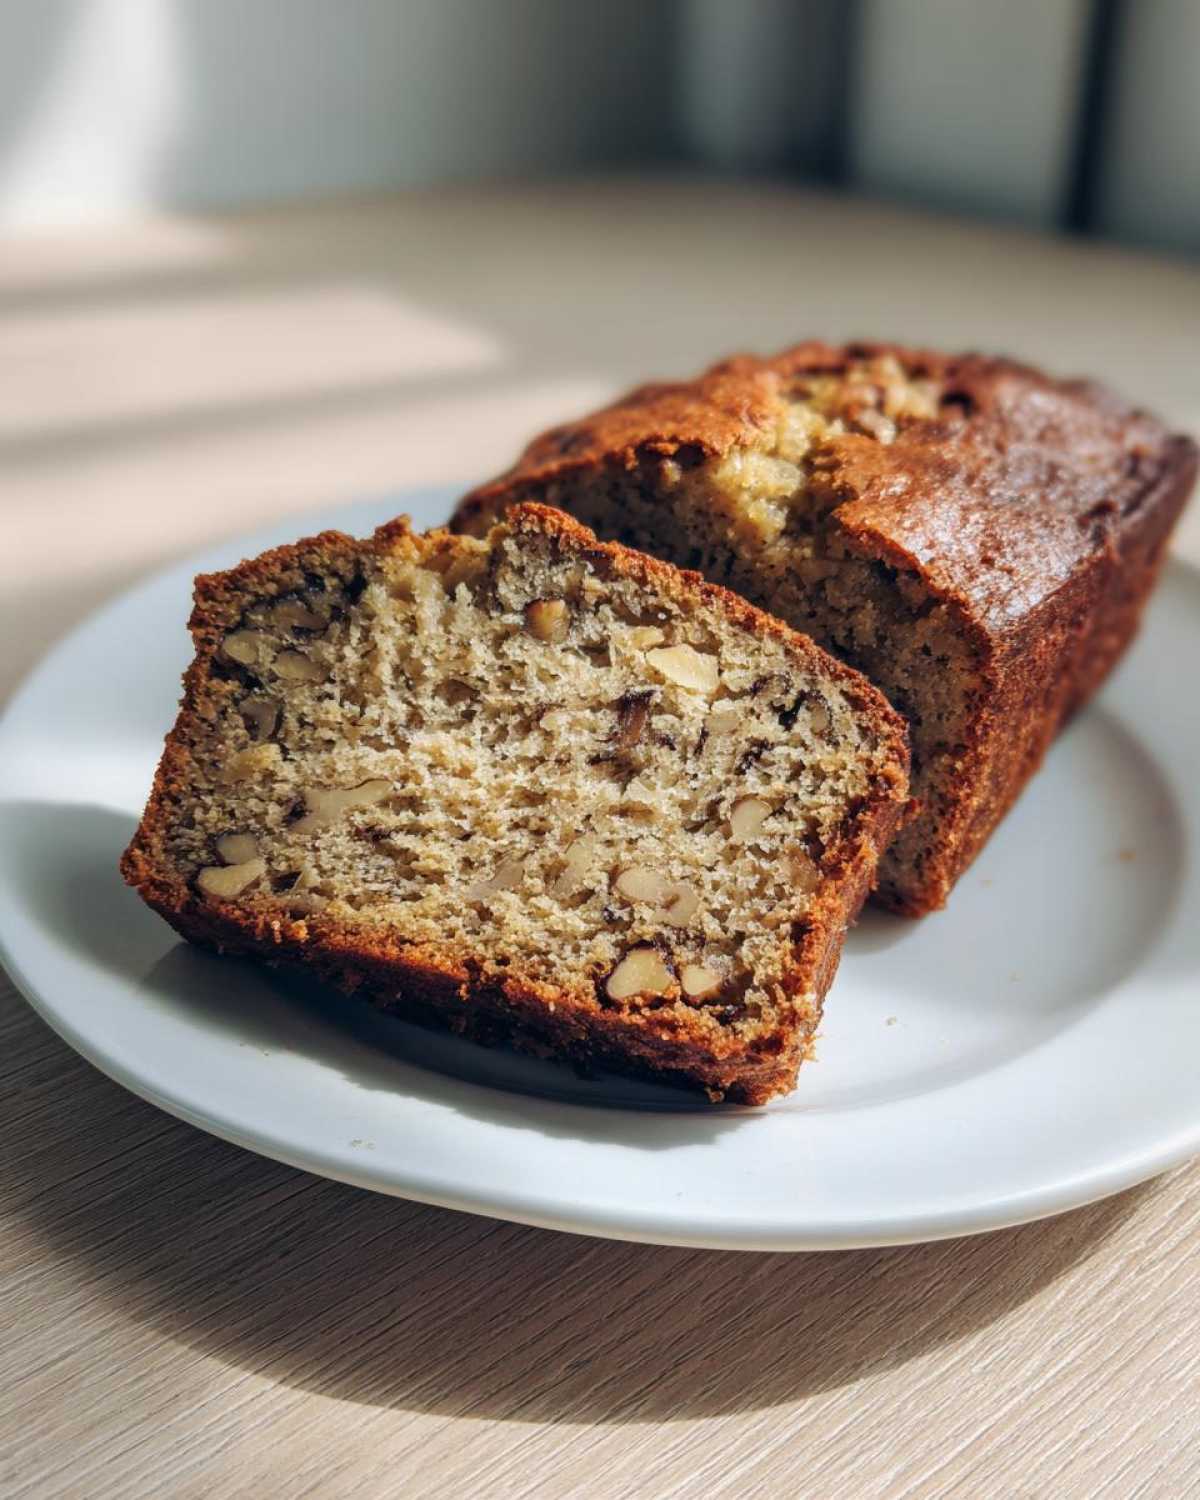
But if you want to elevate it just a tiny bit, especially if you didn’t add chocolate chips and used nuts instead, a smear of homemade cream cheese spread is fantastic. You know, just cream cheese, a tiny bit of powdered sugar, and a drop of vanilla—it adds a little tang that complements the sweetness of the banana.
And let’s be real, this quick bread is the perfect companion. It needs a nice, dark cup of coffee in the morning or a hot chai latte in the afternoon. If you’re looking for something completely different for dessert, you should really check out my apple tart recipe; it’s light, crisp, and amazing with vanilla ice cream!
Common Questions About How to Make Moist Quick Bread
I get asked about this recipe constantly, probably because everyone is trying to finally achieve that legendary **moist homemade banana bread**! Dealing with quick breads can be frustrating if you keep ending up with dry results, so let’s tackle the common hurdles. If you’ve been struggling to get that **tried and true banana bread** texture, these answers should help clear things up! Before we wrap up, if you ever need a cake fix, my recipe for moist chocolate cake is just as reliable.
Why Did My Banana Bread Sink in the Middle?
Oh, the sunken loaf! That’s usually one of two things happening. Most often, it means your bread wasn’t actually done in the middle when you pulled it out. If the outside looks golden but the inside is gooey, it collapses as it cools because the structure hasn’t set yet. Second cause? Opening the oven door too early! Resist that urge until you’re past the 45-minute mark. Heat loss makes the fragile structure fall before the starches have time to solidify.
Can I Make This Recipe into Muffins?
Yes, yes, and yes! Converting this to muffins is super easy, but you have to adjust the baking time because you’re going from one big loaf to many small ones. I usually bump the oven temperature up slightly, maybe to 375 degrees F (190 degrees C), for the first 5 minutes just to set the dome. Then, I drop it back down to 350 degrees F later if necessary. They bake much faster—usually 20 to 25 minutes tops. Keep an eye on them, and test with a toothpick right at the 20-minute mark!
How Can I Tell If I’ve Overmixed My Batter?
This is the secret to avoiding **banana bread without dry results**! Once you add the flour mixture, you should switch from using an electric mixer to a rubber spatula. Only fold until you can *barely* see any streaks of dry flour left. Seriously, if you see a tiny white streak or two, stop! Those little bits will hydrate in the oven, and folding them in further just leads to chewy, tough bread instead of that **perfect texture banana bread** we want.
Nutritional Estimates for This Quick Bread
Now, I’m not a nutritionist—I’m a baker who loves butter! But since so many of you ask about the numbers for this **Moist Banana Bread**, I ran the basic ingredients through a calculator. Just remember, these figures are rough estimates based on the recipe breakdown provided, especially if you decide to add hefty handfuls of nuts or chocolate chips! I included a link to my general blog index if you ever want to browse other recipes while keeping track of macros.
This basic loaf, split into 8 slices and assuming no optional mix-ins, breaks down something like this. It shows you just how rich and satisfying this **incredibly moist loaf cake** truly is!
- Serving Size: 1 slice
- Calories: Around 280
- Sugar: About 25g (those ripe bananas are sweet!)
- Fat: About 14g (hello, butter and eggs!)
- Carbohydrates: Roughly 36g
- Protein: About 4g
If you are watching sodium or cholesterol, those numbers are listed in the recipe details too. But honestly, when it tastes this good, a little bit of indulgence is totally worth it. Enjoy every single flavorful, moist bite!
PrintIncredibly Moist Banana Bread
This recipe produces a consistently moist banana bread loaf using overripe bananas and simple techniques for a perfect texture every time.
- Prep Time: 15 min
- Cook Time: 60 min
- Total Time: 75 min
- Yield: 1 loaf (8 servings)
- Category: Dessert
- Method: Baking
- Cuisine: American
- Diet: Vegetarian
Ingredients
- 1 3/4 cups all-purpose flour
- 1 teaspoon baking soda
- 1/2 teaspoon salt
- 1 teaspoon ground cinnamon
- 1/2 cup unsalted butter, softened
- 3/4 cup granulated sugar
- 2 large eggs
- 1 teaspoon vanilla extract
- 1 cup mashed very ripe bananas (about 3 medium)
- 1/4 cup sour cream or plain yogurt
- 1/2 cup chopped walnuts or chocolate chips (optional)
Instructions
- Preheat your oven to 350 degrees F (175 degrees C). Grease and flour a 9×5 inch loaf pan.
- In a medium bowl, whisk together the flour, baking soda, salt, and cinnamon. Set aside.
- In a large bowl, cream together the softened butter and sugar until light and fluffy.
- Beat in the eggs one at a time, mixing well after each addition. Stir in the vanilla extract.
- Mix in the mashed bananas and sour cream until just combined. Do not overmix.
- Gradually add the dry ingredients to the wet ingredients, mixing only until the flour streaks disappear. Fold in any optional nuts or chips.
- Pour the batter into the prepared loaf pan.
- Bake for 55 to 65 minutes, or until a wooden skewer inserted into the center comes out clean.
- Let the bread cool in the pan for 10 minutes before turning it out onto a wire rack to cool completely.
Notes
- Use bananas that are heavily spotted or almost black for the best flavor and moisture.
- Do not overmix the batter after adding the flour; this develops gluten and causes dryness.
- If the top browns too quickly, loosely tent the loaf with aluminum foil for the last 15 minutes of baking.
Nutrition
- Serving Size: 1 slice
- Calories: 280
- Sugar: 25
- Sodium: 250
- Fat: 14
- Saturated Fat: 5
- Unsaturated Fat: 9
- Trans Fat: 0
- Carbohydrates: 36
- Fiber: 2
- Protein: 4
- Cholesterol: 55