

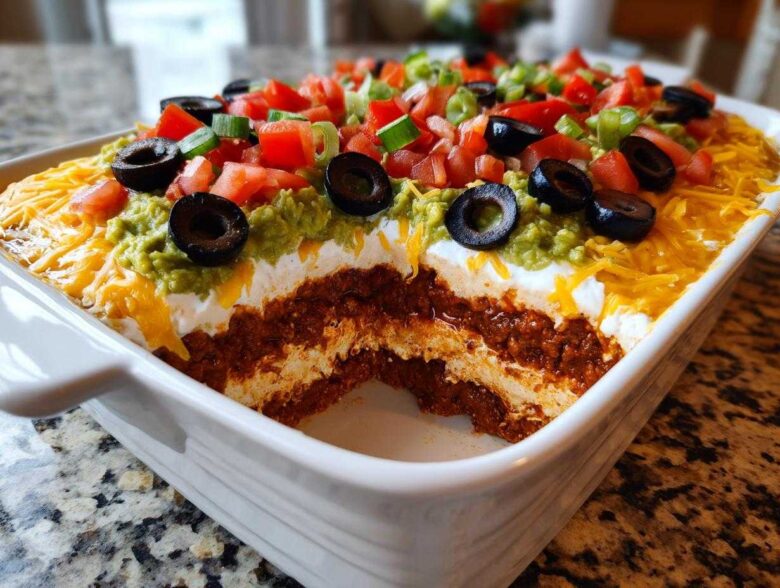
Oh, party planning. That feeling when you realize you need a show-stopping appetizer but you only have about 20 minutes before everyone arrives? Been there! When Liam and I started sharing our kitchen, I learned quickly that game days needed food that was big on flavor but tiny on effort. That’s when I perfected this Classic Seven Layer Dip. Seriously, this Tex-Mex masterpiece is my secret weapon when I need a showstopper that disappears the second I set it down.
It’s reliable, it’s vibrant, and it’s the definition of an easy-to-deliver comfort message to anyone who loves a good snack. Cooking used to feel stressful, but recipes like this simple layer dip proved to me that good food, even for crowds, doesn’t have to be complicated. You can read more about why we started sharing our kitchen adventures over on our About Us page! Trust me, after you make this once, it’s going straight onto your favorite recipe roster.
Why This Layered Dip Recipe is Your New Party Staple (Easy Party Dip)
I’m telling you, you need this in your party rotation. This Layered Dip Recipe is the definition of a set-it-and-forget-it amazing appetizer. It’s completely no-bake, which saves precious oven space for mains, and the best part? It takes maybe 20 minutes to assemble before it heads to the fridge.
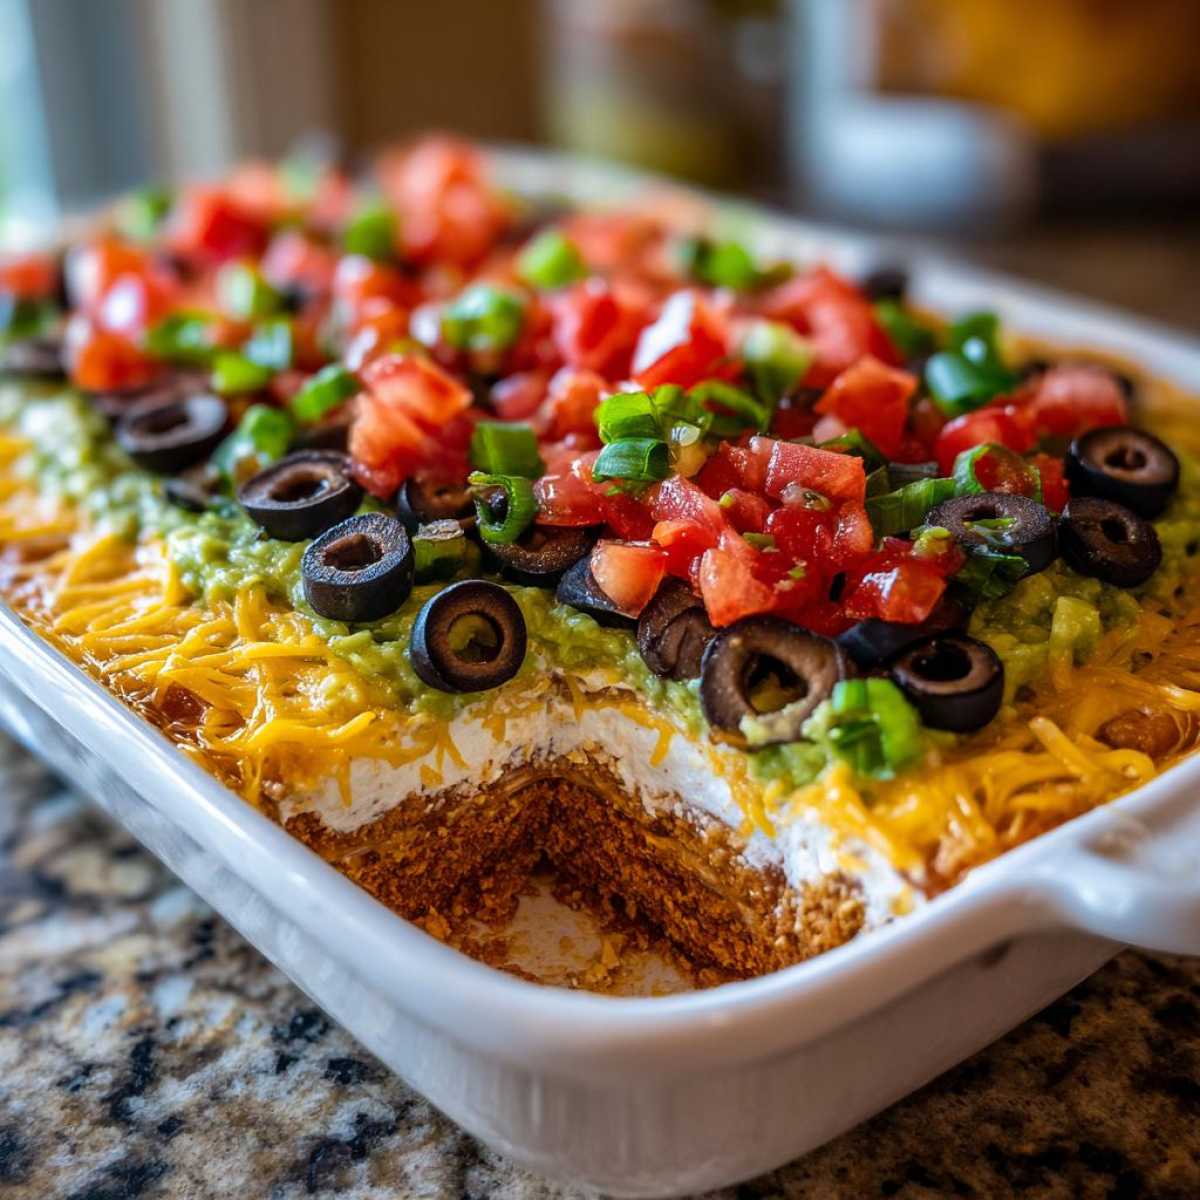
It’s visually stunning, too! All those distinct colors—the green, the red, the white—it just screams, “I put effort into this!” even though you didn’t have to break a sweat. It really is the perfect Easy Party Dip.
- Totally No-Bake, ready fast!
- Looks incredibly complex while being delightfully simple.
- It’s a classic cold dip that always gets raves.
Quick Assembly for Any Appetizer for Gatherings
When I was rushing around cooking for friends, I needed Quick Party Food that looked gourmet. This dip is it! You’re essentially just opening cans and spreading ingredients, building structure layer by layer. The color contrast makes this Tex Mex Dip look like you spent hours curating it, when really, you were probably setting out chips and folding laundry while it chilled.
Gathering the Components for Your Seven Layer Mexican Dip
Okay, gathering the troops! The great thing about this Seven Layer Mexican Dip is that everything feels like pantry staples. You aren’t hunting specialty items, which keeps this firmly in the realm of Simple Dip Ideas. I’ve linked my favorite recipe for that amazing Neiman Marcus Dip if you need another reliable option for a party, but stick with these core ingredients for the classic.
The Creamy Base: Seasoned Cream Cheese Layer
First up, we tackle the creamy foundation. You absolutely must make sure that cream cheese is softened—I mean *really* soft—or you’ll bust out the hand mixer trying to blend it! We mix that softened block with the sour cream and the whole packet of taco seasoning. That’s your luscious first layer for this incredible layer dip.
Building the Tex-Mex Layers of This Layered Nacho Dip
For the rest of the build, precision matters! Grab the refried beans—and please, for the love of appetizers, make sure they are *not* heated. Next, your guacamole. Then, the salsa—this is key for presentation—you need to drain it slightly, otherwise, you get a soupy mess! We finish with the shredded cheese, chopped black olives, and if you’re feeling fancy, a light scatter of chopped fresh tomatoes and green onions.
Step-by-Step Assembly of the Best Seven Layer Dip
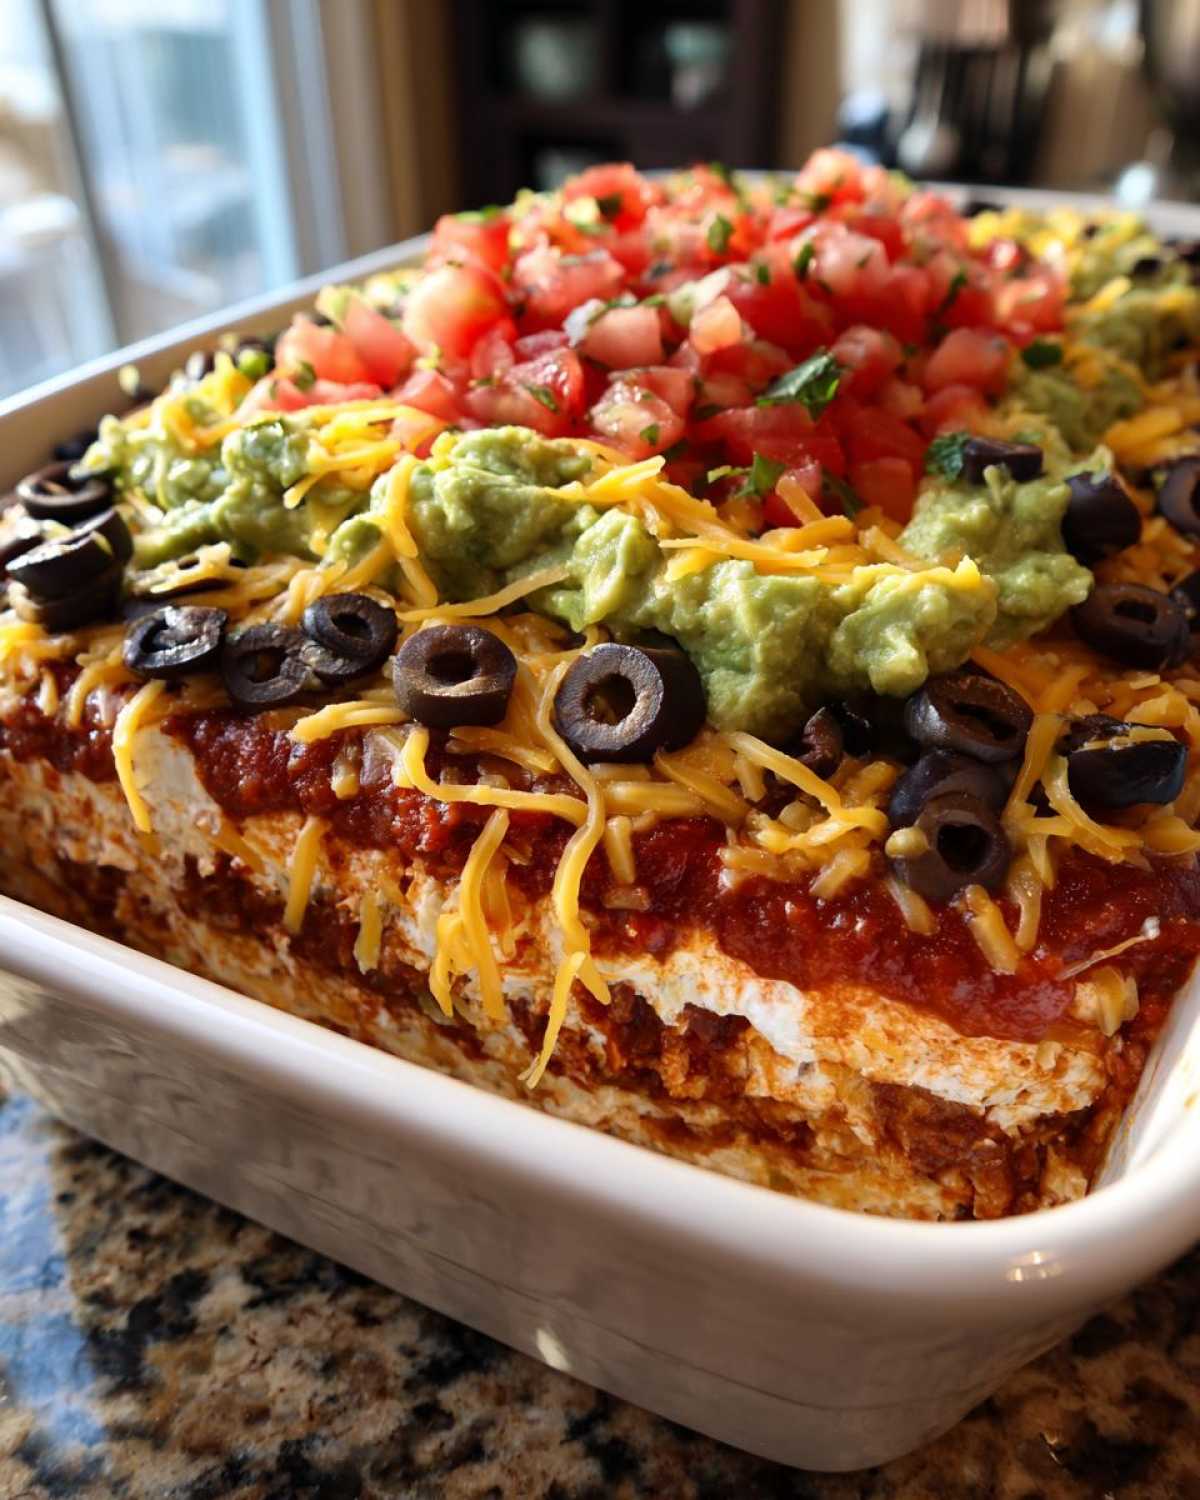
Okay, this is the fun part where the food starts looking like the beautiful picture you want to post on Pinterest! We are building this magnificent layer dip structure one by one. If you’ve already mixed your creamy layer, you’re ready to go. If you’re looking for inspiration for another great make-ahead appetizer, check out my sausage cheese dip recipe – it’s totally different but just as reliable!
Creating the Creamy Layer and Spreading the Layered Bean Dip
First things first: remember that seasoned cream cheese mixture we made? You need to beat that until it is perfectly smooth. I mean cloud-like. Then, grab your serving dish—I use my 9×13, but a clear glass pie plate shows off the layers beautifully! Spread the cold, unheated refried beans right across the bottom. Don’t press too hard! Then, gently dollop that seasoned cream cheese mixture right on top of the beans. Use an offset spatula to spread it evenly to the edges. This forms a perfect, sturdy base for the rest of our delicious Layered Bean Dip.
The Final Toppings and Setting the Cold Layer Dip
Now we move into the fresh territory. You want to spread your guacamole right over that white layer—go gently! The key here is slow, even pressure so you don’t drag the sour cream up into the green. Next, spoon on that slightly drained salsa. Again, be gentle; we want distinct stripes of color! Finish it off with the shredded cheese and the olives. This is crucial: cover the whole thing tightly with plastic wrap, and let this Cold Layer Dip chill for at least an hour. That rest time is non-negotiable; it lets those layers set up so they don’t slide into each other when you finally grab a chip. That chilling time really makes this an amazing layer dip!
Tips for the Perfect Crowd Pleaser Dip Presentation
Look, this layer dip is going to vanish anyway, but we eat with our eyes first, right? My biggest pro tip for keeping those beautiful separation lines distinct and sharp is drainage, drainage, drainage! Seriously, if your salsa is watery or your guacamole is suspiciously wet, those colors start bleeding together, and suddenly, it’s just brown dip.
Before you spread the salsa, dab it quickly with a paper towel. And make sure your olives are well drained too. When spreading the layers—especially that avocado and salsa—use the back of a spoon and work from the center out in slow, patient circles. Don’t mash it down! This gentle touch ensures your finished Crowd Pleaser Dip looks like the gorgeous, colorful masterpiece it is when you serve it up. If you love presentation hacks for appetizers, you might want to check out my post on making caramelized onion dip look incredibly fancy with zero extra work!
Making Your Layer Dip Ahead of Time (Make Ahead Dip)
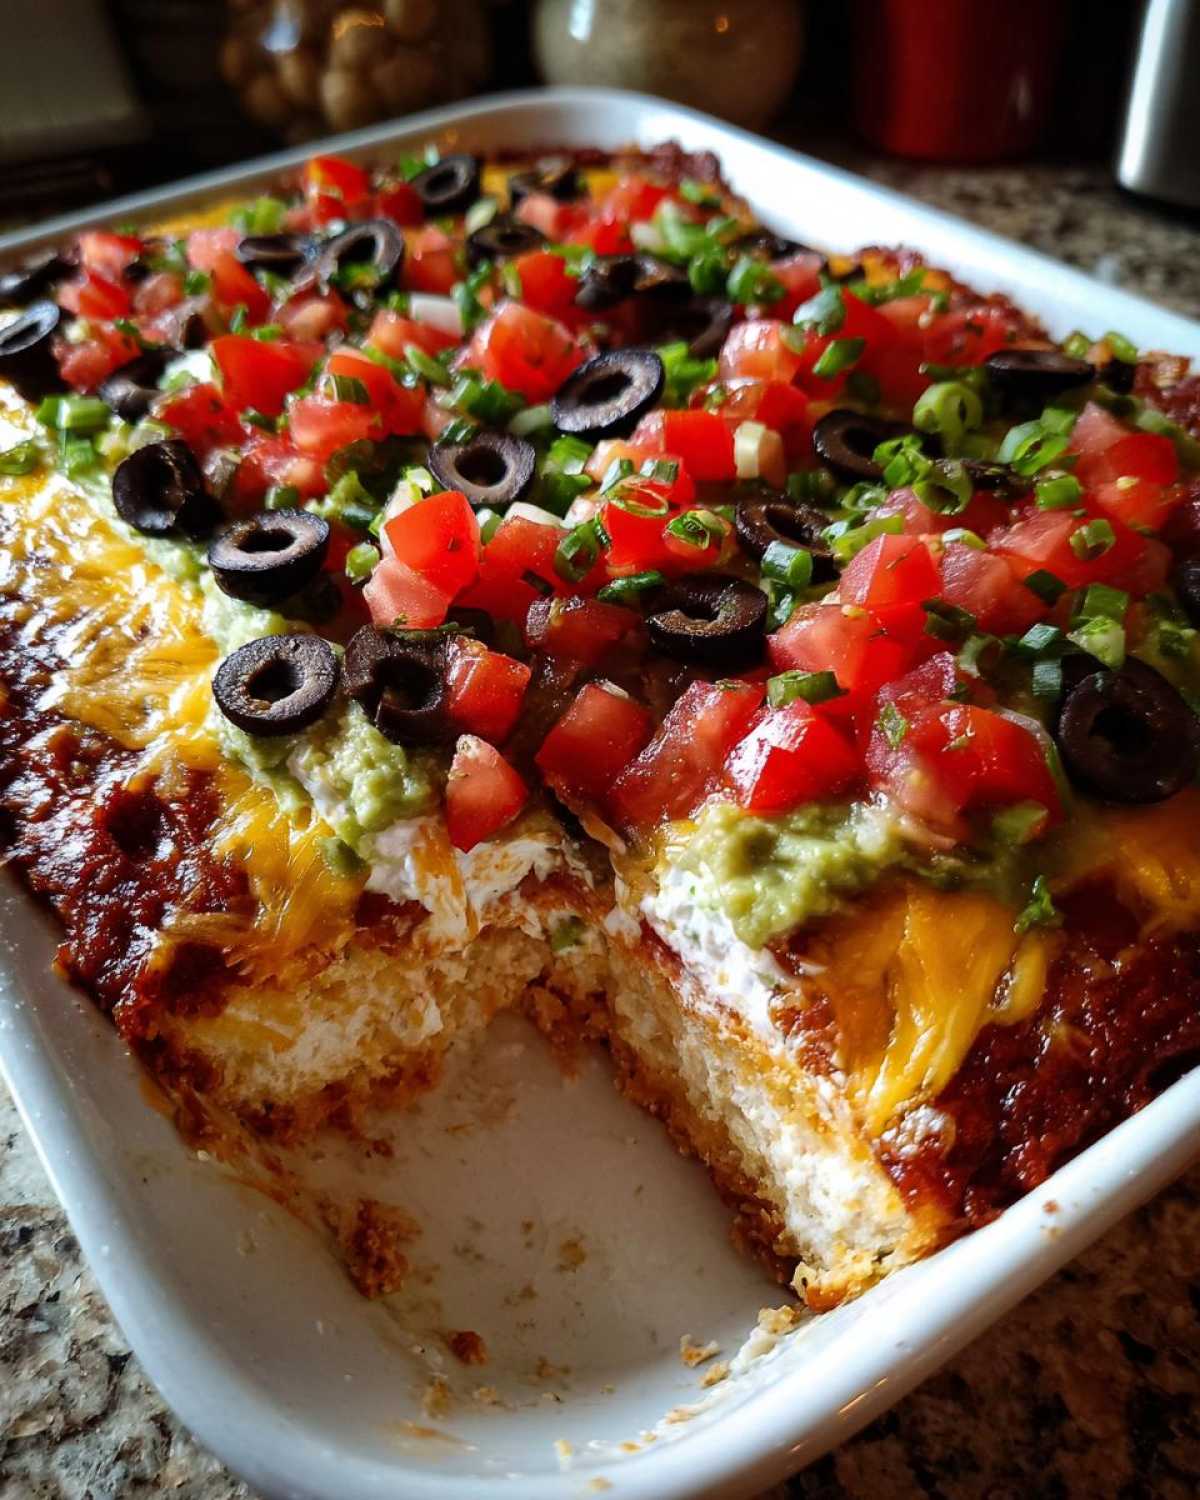
This is maybe the best news you’ll get all week: This layer dip is a champion Make Ahead Dip! Seriously, I love getting party food done the day before. It means I’m not scrambling when the doorbell rings. You can actually get this whole thing assembled—layers, toppings, and all—up to 24 hours before you plan to serve it.
The catch, and it’s a small one, is how you cover it. You must cover it tightly with plastic wrap. I mean, wrap it like you’re hiding the last cookie in the jar! This prevents any fridge smells from creeping in and keeps the top layers from drying out, especially since the guacamole can sometimes get a little funky looking.
When you are ready to serve, take it out about 20 minutes beforehand. Letting it sit on the counter just takes the chill off, which makes the refried beans and the cream cheese layer a tad softer and much easier to scoop. If you’re curious about other quick dips Liam loves to make, check out my creamy smoked salmon dip—it’s quick, but it needs to be made closer to serving time!
Seven Layer Dip Variations and Making a Classic Taco Dip
One thing I absolutely adore about a good fundamental recipe, like this amazing layer dip, is that it’s just begging for you to play around with it! This is where you can really turn it into your signature dish for any Appetizer for Gatherings. We have the basic recipe nailed down, but sometimes you want to switch things up, right?
The biggest popular variation is definitely turning it into a Classic Taco Dip. Instead of sticking solely with the refried beans as your first layer, you can swap them out entirely, or mix them in. Liam prefers using about a pound of ground beef, browned up and seasoned perfectly with taco seasoning until all the liquid cooks off. It’s heavier, creamier, and much more substantial. Just make sure that meat layer is nice and cool before you put the cream cheese mix on top!
If you want to keep things vegetarian, which is how the recipe stands, it’s perfect for that! If you’re looking for another Tex-Mex idea for your next shindig, check out my chicken enchilada dip recipe—it’s warm, but just as crowd-pleasing! You can also swap out the black olives for chopped jalapeños if you like a bit more heat layered in there!
Serving Suggestions for This Tex Mex Dip
So, you’ve got this gorgeous, perfectly chilled layer dip ready to go. Now, how do you present this masterpiece? The dish you choose really makes a huge difference, especially when you’ve taken the time to create those distinct layers! Liam insists that if you can’t see the layers, you haven’t done your job right.
That’s why my favorite vessel for this Tex Mex Dip is a clear glass pie plate or a clear 9×13 dish. Watching people scoop down through the colors is half the fun! It immediately signals to everyone that this isn’t just some mushy dip; this is structure, this is organization!
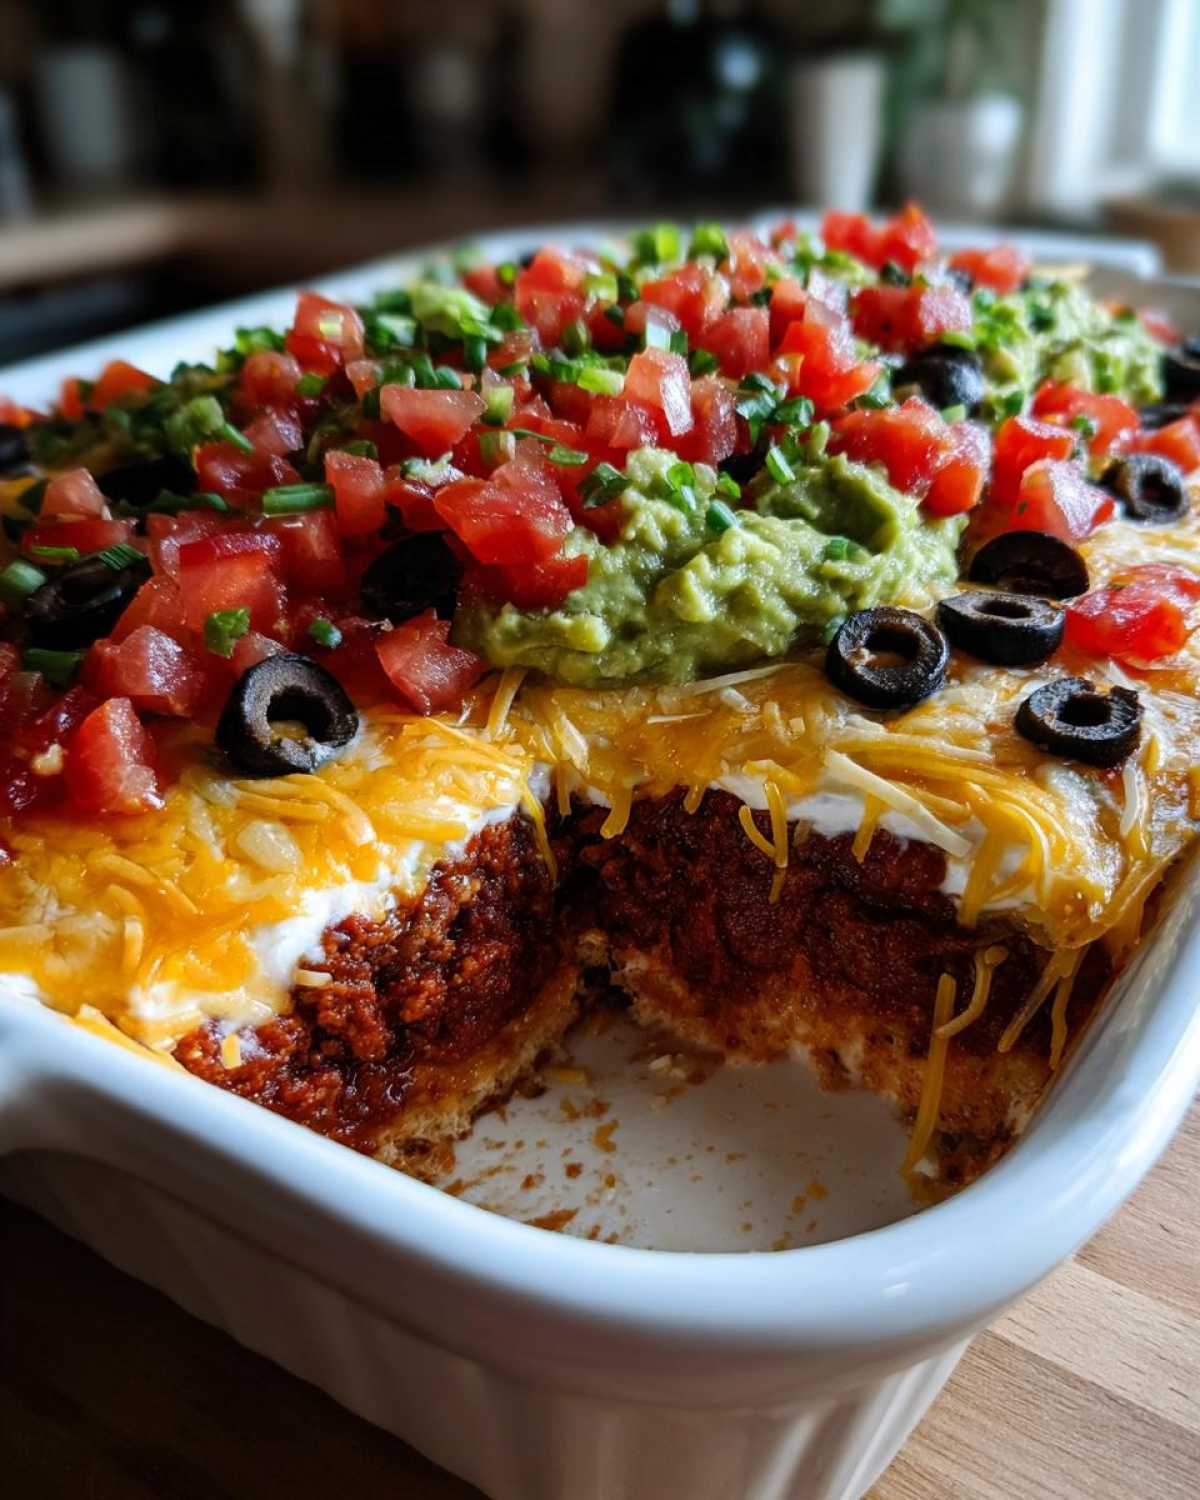
Of course, you need the right scooping tools. Tortilla chips are the classic companion for any Game Day Appetizer, so grab the sturdy ones—the heavy-duty kind that won’t buckle under the weight of all that lovely bean and cream cheese goodness. But don’t stop there!
I always put out a tray of fresh veggies right next to the chips. Thinly sliced bell pepper strips (especially red and yellow ones for color contrast!) are fantastic dippers. Celery sticks and even sturdy crackers work great too. If you’re looking for something warm and buttery to go alongside, I recently posted an incredible recipe for Cowboy Butter Dipping Sauce that would be a fun, unexpected twist for the brave souls at your party!
Frequently Asked Questions About This Layered Dip Recipe
I notice that once people commit to making this dip for the first time, they always have the same couple of questions popping up! It’s totally normal; we want our layer dip to be perfect for the first scoop, especially when guests are waiting!
How can I make this dip spicier?
That’s an easy fix! Since the recipe is vegetarian and mild by default, you can crank up the heat easily. The best way, in my opinion, is to swap out the standard salsa for a hot salsa or a jar of fire-roasted diced tomatoes with green chiles. Also, you can mix a teaspoon or two of your favorite hot sauce directly into the seasoned cream cheese layer. Trust me, that little bit of hidden heat makes a difference!
What’s the best size dish to use for this Seven Layer Dip?
I always default to a 9×13 inch serving dish because it gives you maximum surface area for scooping and keeps all the layers nice and thin, which is what you want for a balanced bite. If you use a square 8×8 dish, the layers will be much thicker, and you might run out of toppings before you run out of space. If you only have a deep bowl, just know that it’s going to feel more like a **Layered Bean Dip** casserole—still delicious, but less visually impressive!
Can I skip chilling the dip?
Oh, friend, please don’t skip the chill time! I know we love Quick Party Food, but chilling isn’t just about making it cold; it’s essential for structure. If you serve this immediately, the warm refried beans will melt right into the cream cheese, and you won’t have defined layers. At least an hour in the fridge lets everything firm up so you get that clean scoop every time. If you need more recipe ideas for quick delivery, check out all our latest dispatches on the Cookery Courier blog!
Is it okay to use store-bought guacamole?
Absolutely! I use store-bought guacamole all the time when I’m playing short on time. Liam swears by the stuff in the little refrigerated tub rather than the shelf-stable jars. The texture holds up better for layering, and it saves you the mess of peeling avocados before the guests arrive!
Estimated Nutritional Data for Your Layer Dip
Okay, I know sometimes we just want to know what we’re getting into when we eat enough of this incredible layer dip to feed a small army! Since this is such a rich, happy snack, I always tell people to plan for smaller portions because everyone goes back for seconds.
Here’s what the breakdown looks like based on the recipe we use. Remember, Liam reminds me constantly, this is just an estimate, you know? Different brands of sour cream or cheese can nudge these numbers around. For our full transparency policy regarding recipe nutrition, you can check out our disclaimer page right here on the blog.
- Serving Size: 1/10 of dip
- Calories: About 250
- Fat: Roughly 20g (Watch out for that cheese and cream cheese!)
- Carbohydrates: About 12g
- Protein: A solid 8g, thanks to the dairy and beans!
- Sodium: This comes in around 550mg—that’s the taco seasoning talking!
It’s definitely a treat, not a diet food, but it’s worth every single creamy, savory bite for a game day! Enjoy!
PrintClassic Seven Layer Dip: The Ultimate Crowd Pleaser
Make this easy, no-bake Seven Layer Dip for your next gathering. It features distinct, flavorful Tex-Mex layers that always disappear fast.
- Prep Time: 20 min
- Cook Time: 0 min
- Total Time: 20 min
- Yield: 10 servings
- Category: Appetizer
- Method: No Bake
- Cuisine: Tex-Mex
- Diet: Vegetarian
Ingredients
- 1 (16 ounce) package cream cheese, softened
- 1 cup sour cream
- 1 packet (1 ounce) taco seasoning mix
- 1 (16 ounce) can refried beans, not heated
- 1 cup prepared guacamole
- 1 cup salsa, drained slightly
- 1 cup shredded Mexican blend cheese
- 1 cup chopped black olives, drained
- 1/2 cup chopped fresh tomatoes (optional layer)
- 1/4 cup chopped green onions (optional garnish)
Instructions
- In a medium bowl, combine the softened cream cheese, sour cream, and taco seasoning mix. Beat with a mixer until smooth and creamy. This is your seasoned cream cheese layer.
- Spread the refried beans evenly over the bottom of a 9×13 inch serving dish or pie plate.
- Carefully spread the seasoned cream cheese mixture over the bean layer.
- Spread the prepared guacamole evenly over the cream cheese layer.
- Spoon the drained salsa over the guacamole layer.
- Sprinkle the shredded cheese evenly over the salsa.
- Top with the chopped black olives. If using, sprinkle the chopped tomatoes and green onions over the top.
- Cover the dish and chill in the refrigerator for at least 1 hour before serving. This helps the layers set.
- Serve your **Layered Dip Recipe** cold with tortilla chips, crackers, or vegetable sticks.
Notes
- You can make this **Make Ahead Dip** up to 24 hours in advance. Keep it tightly covered in the refrigerator.
- For a slightly different flavor, you can substitute the refried beans with an equal amount of seasoned ground beef (cooked and drained). This makes it a **Classic Taco Dip**.
- If you want a thinner salsa layer, press a paper towel gently over the salsa to remove excess liquid before spreading.
- This recipe is naturally **Vegetarian** if you skip any meat additions.
Nutrition
- Serving Size: 1/10 of dip
- Calories: 250
- Sugar: 4
- Sodium: 550
- Fat: 20
- Saturated Fat: 10
- Unsaturated Fat: 10
- Trans Fat: 0.5
- Carbohydrates: 12
- Fiber: 3
- Protein: 8
- Cholesterol: 45