

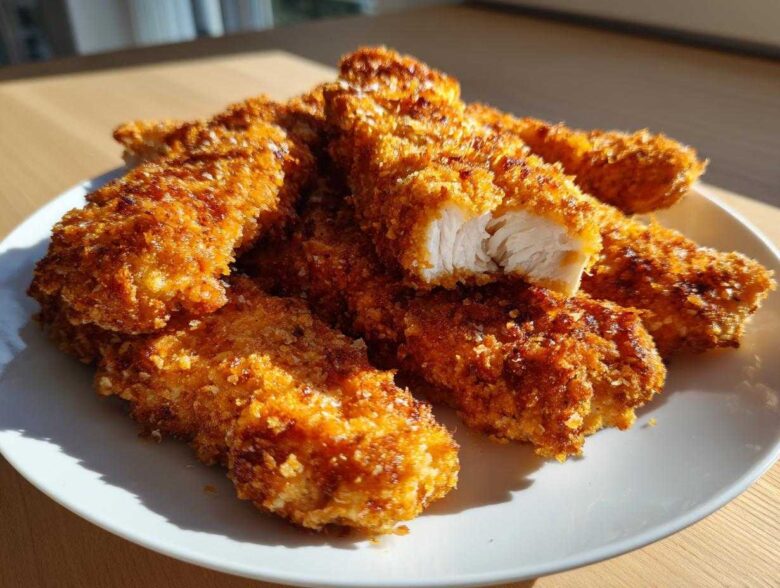
Oh, I know the pain! You pull those chicken tenders out of the oven, expecting that beautiful, golden crunch, and instead, you get… sad, floppy chicken resting in a puddle of its own juices. Soggy bottoms are the enemy of everyone trying to eat healthy and skip the deep fryer! Don’t worry, though. I spent way too many nights testing racks and sprays so you don’t have to.
I finally cracked the code, and I promise you, this method delivers **Crispy Oven Baked Chicken Tenders Extra Juicy** every single time. We’re talking shattering crunch on the outside and meat so perfectly tender inside it practically melts. Mastering the oven isn’t about luck; it’s about using a few critical pieces of equipment and stacking the breading correctly. Trust me, once you try this, you’ll never look back. If you want flavor help first, check out my guide to the best chicken marinade for juicy, flavorful results before you even start breading!
The Secret to Crispy Oven Baked Chicken Tenders Extra Juicy
Listen, the biggest tragedy in oven cooking is steam! If the air can’t circulate, your crust turns gummy, no matter how much Panko you use. To nail these **Crispy Oven Baked Chicken Tenders Extra Juicy**, we focus on two non-negotiables: elevation and fat simulation. We use a wire rack religiously, and we give those tenders a good spray right before they hit the heat. That little bit of oil mimics frying, giving you that gold standard crunch.
Why the Wire Rack is Non-Negotiable for Crispy Coating Oven Baking
This is probably the most important trick for any decent **Healthy Chicken Tenders Recipe** made in the oven. Think about it: when you place breaded chicken directly on parchment paper, the bottom side steams right there in the moisture it releases. The wire rack lifts the tenders up, letting that hot oven air hit the bottom just as well as the top. This circulation means no soggy bottoms, ever. It’s the key to getting truly crunchy chicken breast strips without turning on the fryer!
Gathering Ingredients for Crispy Oven Baked Chicken Tenders Extra Juicy
Okay, getting the right stuff ready is half the battle! You can’t beat the texture if your foundation isn’t solid. For this recipe—which makes enough for about four hungry people—you’ll need 1.5 pounds of boneless, skinless chicken breasts, cut into nice 1-inch strips. Make sure they are uniform so they cook evenly! If you’re looking for other coating ideas, you might want to check out my Parmesan-crusted chicken recipe for inspiration.
The real stars here are the breading components. We aren’t messing around with standard crumbs; we need that airy crunch that only Panko provides. You’ll need about a cup and a half of Panko, plus the standard trio: flour, eggs, and seasonings. Don’t forget that cooking spray—it’s our little trick to get that amazing **Crispy Oven Baked Chicken Tenders Extra Juicy** finish!
Ingredient Clarity: Chicken and Breading Components
Let’s nail down those measurements because precision matters when baking! For the meat, it has to be fresh chicken breasts sliced into roughly 1-inch thick strips. If they are too thin, they dry out fast. The binding agents are simple: a cup of all-purpose flour for the initial dry coat, and two large eggs whisked with a tablespoon of water for the liquid wash.
The crunch component? One and a half cups of Panko breadcrumbs! I cannot stress this enough—Panko is lighter and stays crispier in the oven than regular breadcrumbs. Then, we just season the Panko dish perfectly with salt, pepper, garlic powder, and paprika. That’s it! Simple ingredients making legendary results.
Mastering the Breading Station for Panko Chicken Tenders Baked
This station is where the magic happens, setting up your **Panko Chicken Tenders Baked** for ultimate success! You need three shallow dishes set up in a row, just like a professional line. First up is the flour—that’s your drying agent. It helps wick away surface moisture from the raw chicken so the wet binder can stick properly.
Next is the egg wash, which is just two eggs beaten with a splash of water. This acts like the glue! Finally, dish three holds your seasoned Panko. When you dredge the strips, you need to be firm—really press those crumbs onto the chicken. Don’t just gently place them in the Panko; make sure you’re compacting that crunchy coating onto the surface for maximum impact when baking. This setup is the secret weapon for **Crispy Oven Baked Chicken Tenders Extra Juicy**!
Expert Tip: Achieving Maximum Adhesion with Double Dipping
Now, if you are serious about that crunch, or if you are making these ahead of time, you absolutely have to try the double-dip method. After you coat the tender the *first* time in the Panko, shake off the excess, and then immediately dip it back into the egg wash, coating it again. Then, press it back into the Panko one last time.
Wow! That creates a thick, invincible armor. I only bother doing this when I’m prepping them a few hours early for a party because that extra layer really locks in the moisture and makes the final product unbelievably sturdy and perfectly textured for that amazing **Crispy Coating Oven Baking** effect.
Step-by-Step Instructions for Oven Fried Chicken Strips
Alright, everything is breaded, sitting pretty and spaced out on that wire rack, and now it’s time to cook. We need serious heat to crisp these up fast without drying the insides out. Go ahead and get that oven cranked up to 425 degrees Fahrenheit! It needs to be screaming hot when those tenders go in.
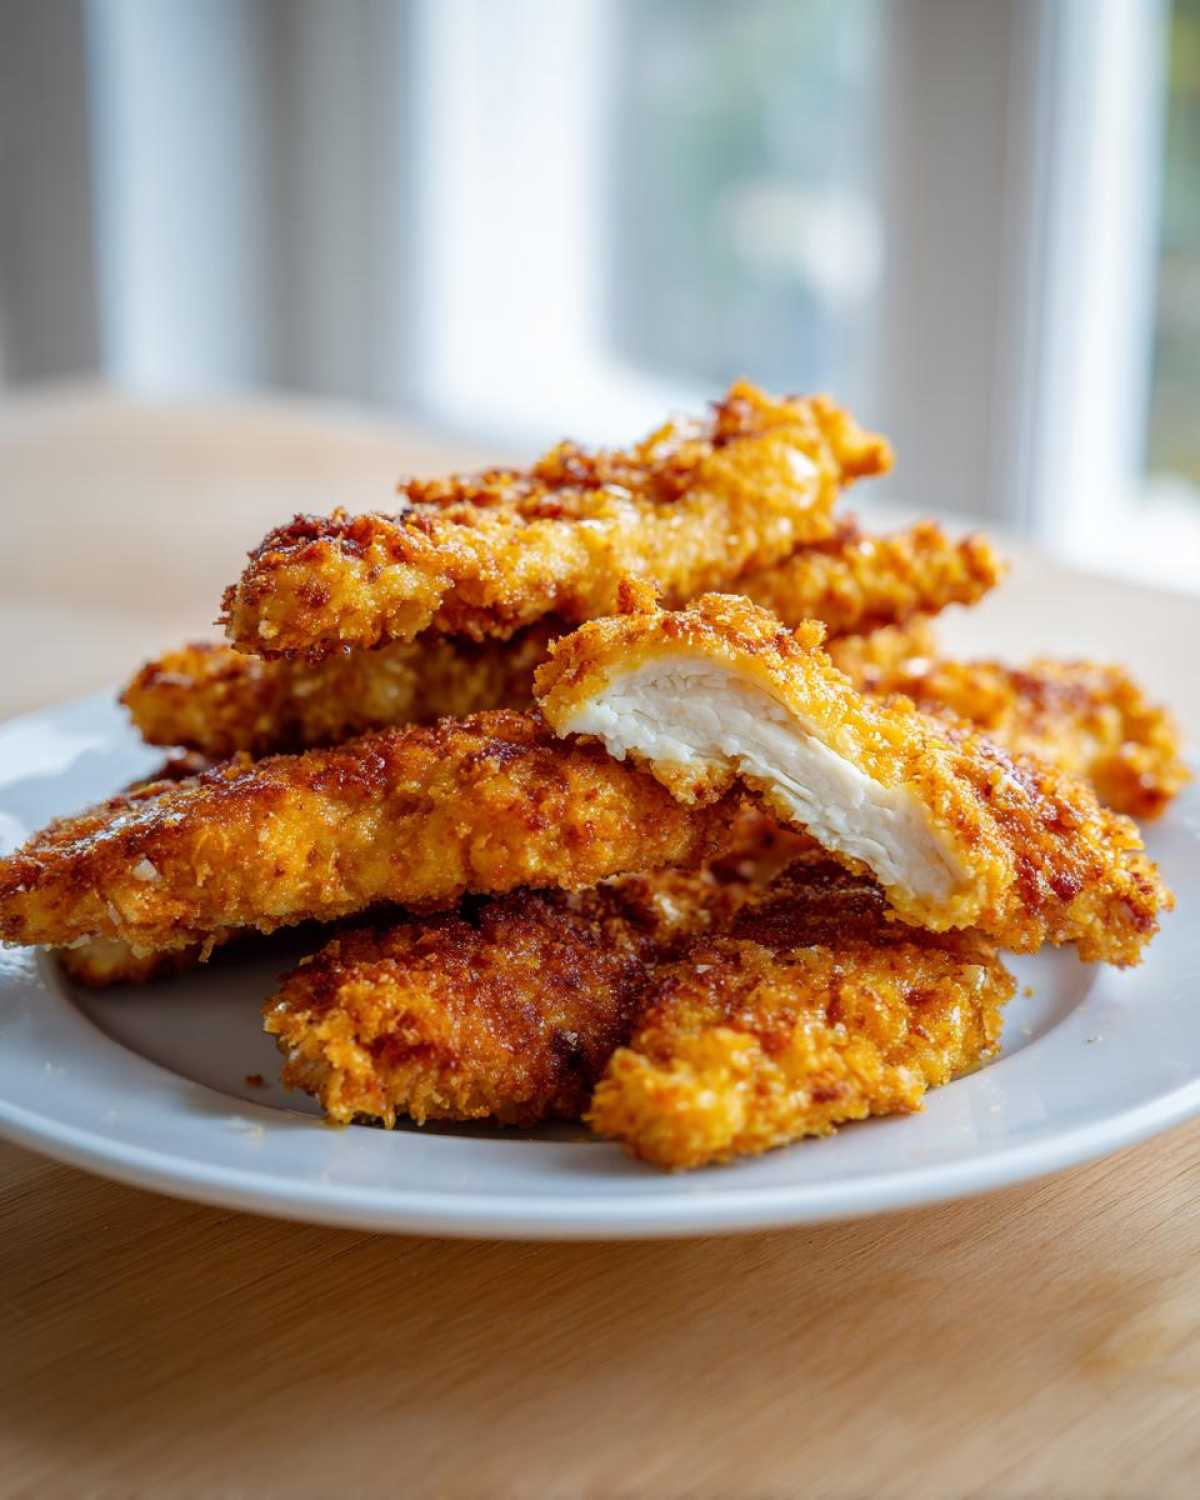
Remember that rack setup? That’s step one for perfect **Oven Fried Chicken Strips**. Next, we need to mimic that fat we skipped from deep frying. Grab your cooking spray—make sure it’s an oil-based one—and spray the tops of those breaded strips until they look nice and dewy. This step is crucial for that golden-brown finish! Once they are coated, slide that sheet pan right into the hot oven for exactly 10 minutes. You gotta trust the process here!
If you’re looking for ways to serve this, I have a fantastic recipe for easy homemade garlic breadsticks that go perfectly alongside them!
The Crucial Baking Phases for Juicy Chicken Tenders Technique
That first 10 minutes gets the bottom side nice and set. Now, carefully pull the tray out—watch your hands! Flip every single tender over. This is key for even cooking. Once they’re flipped, give the second side a light little spritz of cooking spray. They don’t need as much as the first side, but this ensures the crunch covers the whole strip.
Back in they go! This second phase is shorter, usually between 8 and 12 minutes. You are looking for that deep golden color, but the real test for that **Juicy Chicken Tenders Technique** is the temperature. Grab your meat thermometer and check the thickest piece—you need it right at 165 degrees Fahrenheit internally. Pull them out right then, and I swear, they’ll be the **Crispy Oven Baked Chicken Tenders Extra Juicy** you’ve always dreamt of!
Tips for the Best Baked Chicken Tenders Every Time
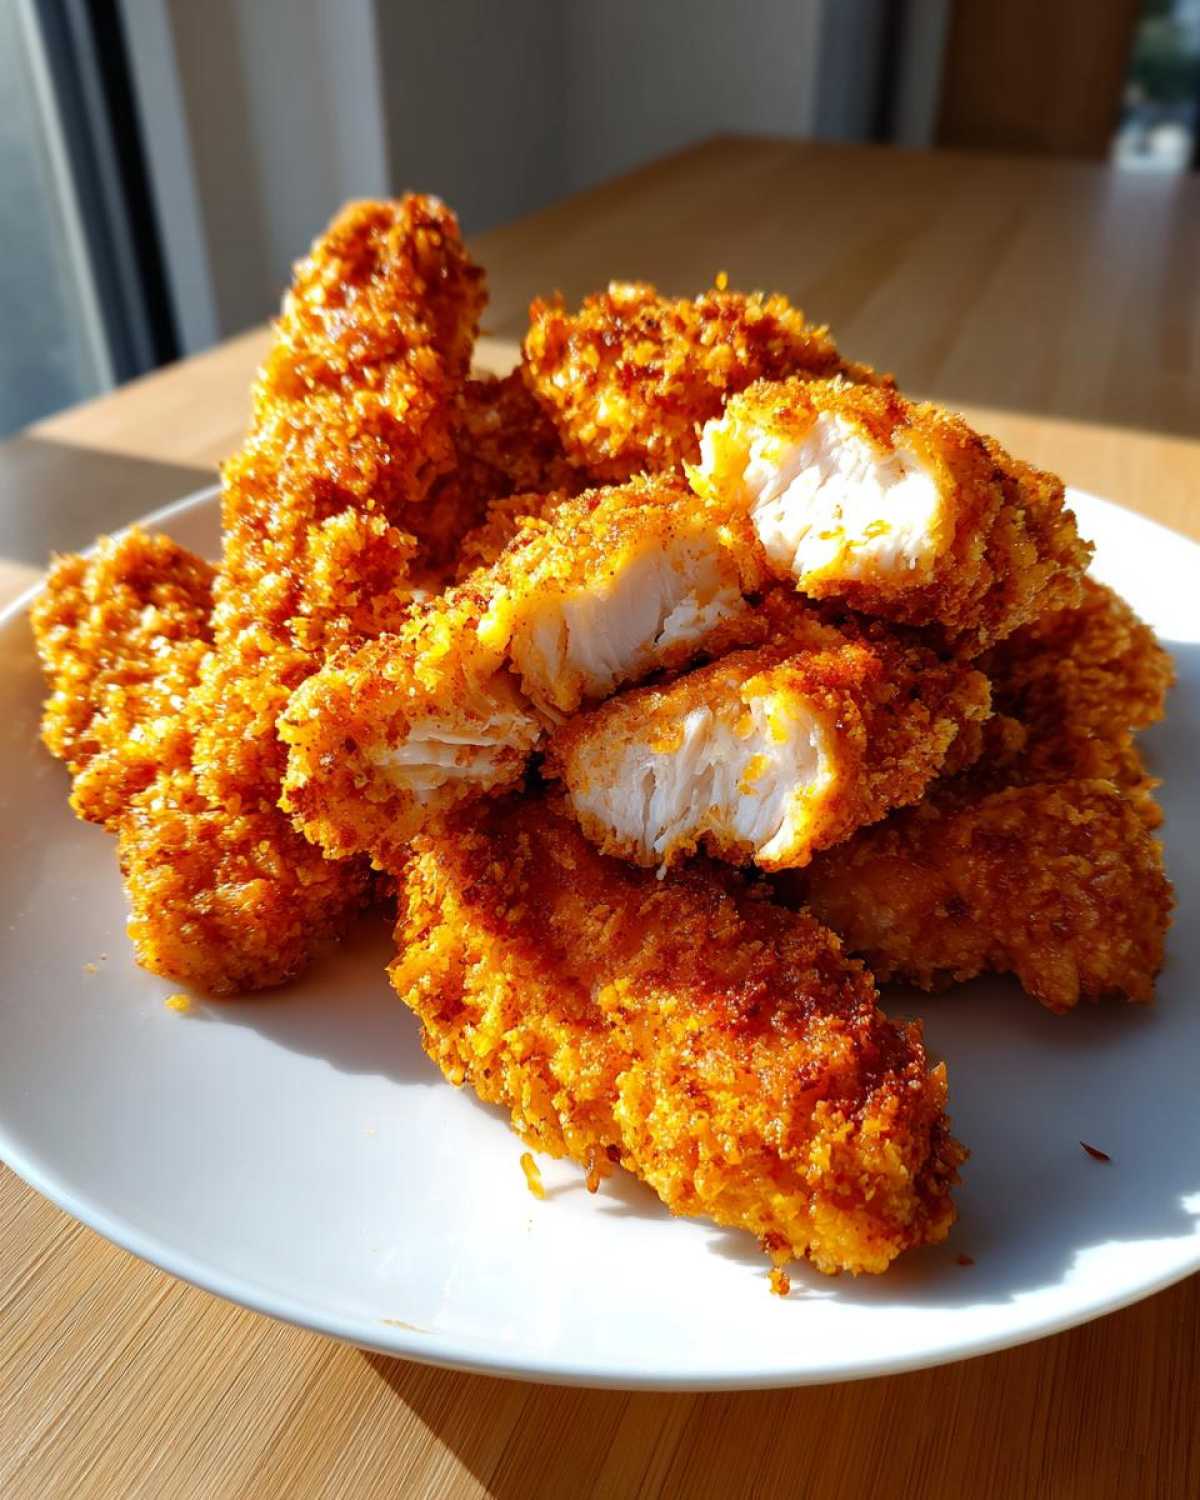
Achieving that perfect crunch repeatedly takes just a few small habits, but once you adopt them, you’ll always have the **Best Baked Chicken Tenders**. The number one rule, like I mentioned before, is spacing! You cannot overcrowd the pan when you’re aiming for crispy coating oven baking. If the tenders are touching, they steam again, and all that hard work goes out the window. If you have to cook in two batches, do it! Your patience will be rewarded with amazing texture.
Also, don’t skimp on that cooking spray! We are trying to simulate frying here, right? If you just mist it lightly, you miss out. I go pretty generously with the spray on both sides right before they go in and right when I flip them. Think of it like painting the crust with oil.
Here’s my extra tip, and this comes from years of trial and error. If you are using *any* seasoning in your flour dredge—like a little extra salt or pepper—make sure it’s totally mixed in before you start dipping. Any dry clumps that don’t stick to the chicken just burn on the parchment paper and make your kitchen smell weird. For some great side dish ideas that keep things light, take a peek at my easy super moist pumpkin bread recipe—though maybe save that for dessert!
Flavor Variations for Crispy Oven Baked Chicken Tenders
While the basic recipe is already amazing, sometimes you just need to shake things up a little, right? That Panko coating is the perfect canvas for a little experimentation while you are making those **Crispy Oven Baked Chicken Tenders**! You don’t need to change the baking technique at all—just swap out some of what you mix into the breadcrumb dish. It’s so fun to switch things up for the kids without sacrificing that beloved crunch!
Here are three super easy swaps you can make right now. If you’re feeling bold, you can even pair these with my honey garlic chicken stir fry sauce for dipping!
- Parmesan Crunch: Add 1/4 cup of finely grated Parmesan cheese directly into your seasoned Panko. It melts beautifully and adds a salty, sharp note that makes these feel totally gourmet.
- Spicy Kick: If your family likes a little heat, mix in 1/2 teaspoon of cayenne pepper or a pinch of red pepper flakes into that Panko mixture. It’s just enough warmth without overwhelming the chicken flavor.
- Herbal Delight: For a brighter taste, toss in one teaspoon of dried thyme or Italian seasoning blend into the crumbs. This works especially well if you’re serving them with a lemon-based dipping sauce.
Serving Suggestions for Your Healthy Chicken Tenders Recipe
Since these tenders are a fantastic, lower-fat way to enjoy chicken, we should pair them with things that keep the meal light and bright! We worked so hard getting that crunch without frying, so let’s not cover them in heavy sauces. I usually go for something green and crunchy to balance out the breading!
For a truly **Healthy Chicken Tenders Recipe**, try these simple sides. If you are looking for an amazing green side, I highly recommend making my easy broccolini with lemon, garlic, and Parmesan—it bakes right alongside your chicken if you time it correctly!
- Quick Slaw: Toss shredded cabbage and carrots with a homemade vinaigrette made of apple cider vinegar, a touch of honey, and Dijon mustard. It’s crisp and tanginess cuts right through the richness.
- Roasted Asparagus: A little olive oil, salt, pepper, and 15 minutes in the same hot oven as the chicken breasts! Easy clean-up and perfectly tender-crisp vegetables.
- Simple Side Salad: Keep it straightforward with mixed greens, cherry tomatoes, and maybe some cucumber slices. A light lemon dressing keeps the whole plate feeling fresh and homemade.
Storage and Reheating Crunchy Chicken Breast Strips
Even the best batch of **Crunchy Chicken Breast Strips** is often too good to eat all at once, which is great because leftovers are definitely a thing here! If you have any crispy friends left over, make sure they cool completely first. Then, tuck them into a truly airtight container and get them into the fridge. They keep wonderfully for about three to four days, but honestly, they are best eaten within 48 hours for peak crunch.
Now, for reheating—don’t you dare reach for the microwave! That’s the fastest way to turn your crispy coating into wet cardboard. To bring back that magic crunch, you need dry heat. Pop those tenders on a small baking sheet and put them back in the 350°F oven for about 8 to 10 minutes. If you want them unbelievably crisp, you can even use your toaster oven! If you need ideas for what to do with leftover mashed potatoes, I have a great recipe for crispy leftover mashed potato cakes that I think you will love!
Frequently Asked Questions About Crispy Oven Baked Chicken Tenders Extra Juicy
Whenever I share this recipe, people always have a few burning questions—usually revolving around how to guarantee ultimate crispiness! It’s totally understandable; we’re fighting science here to make **Crispy Oven Baked Chicken Tenders Extra Juicy** without frying oil. Here are the common things I hear, hopefully clearing everything up for your next batch!
If you’re wondering about alternatives to the oven, I have an awesome post on air fryer frozen shrimp that might spark some other easy cooking ideas!
Can I use regular breadcrumbs instead of Panko for this Crispy Chicken Fingers No Fry recipe?
Oh, you certainly can! If Panko is totally out of stock, standard breadcrumbs will work for these **Crispy Chicken Fingers No Fry** efforts. However, I have to warn you, the final texture won’t be quite as airy and light. Regular crumbs absorb a bit more moisture, so they can feel denser. If you substitute, I usually suggest using about 25% less volume than the recipe calls for, just because they pack down more tightly than the fluffy Panko.
How do I prevent my Crispy Oven Baked Chicken Tenders Extra Juicy from sticking to the rack?
This happens if you forget that final little step of preparation for the rack. If you’re using a metal cooling rack placed directly on the baking sheet, you need to give that rack a good, generous misting with your cooking spray *before* you arrange the breaded tenders on it. It doesn’t take much! If you skip this, the little bits of Panko that fall through during spraying or baking will fuse right to the metal, making flipping a total nightmare and ruining your perfectly cooked **Crispy Oven Baked Chicken Tenders Extra Juicy**!
Will this recipe work if I start with frozen chicken?
I usually don’t recommend it for the absolute best results, especially when chasing that super juicy texture. Thawed chicken strips are the best because you can properly dry the surface before flouring. Frozen chicken will release a lot of water early in the cooking process, which immediately leads to steaming and sogginess rather than crisping.
What’s the best dipping sauce for these Juicy Chicken Tenders Technique winners?
For dipping, you need something bright to cut through the richness of the coating! Honestly, my go-to for these **Juicy Chicken Tenders Technique** masterpieces is a simple honey-mustard mixed with a tiny squirt of lemon juice. It’s easy, it’s tangy, and it lets that amazing crisp coating shine through without drowning the flavor!
PrintCrispy Oven Baked Chicken Tenders Extra Juicy

Follow this method to bake chicken tenders in the oven that develop an extra crispy coating while keeping the meat inside very juicy.
- Prep Time: 15 min
- Cook Time: 20 min
- Total Time: 35 min
- Yield: 4 servings
- Category: Dinner
- Method: Baking
- Cuisine: American
- Diet: Low Fat
Ingredients
- 1.5 lbs boneless, skinless chicken breasts, cut into 1-inch strips
- 1 cup all-purpose flour
- 2 large eggs, beaten
- 1 tablespoon water
- 1.5 cups Panko breadcrumbs
- 1 teaspoon salt
- 0.5 teaspoon black pepper
- 0.5 teaspoon garlic powder
- 0.5 teaspoon paprika
- Cooking spray (high heat oil based)
Instructions
- Preheat your oven to 425 degrees Fahrenheit. Line a baking sheet with parchment paper and place a wire rack on top of the sheet. This allows air to circulate under the tenders.
- Set up a standard breading station with three shallow dishes. Place the flour in the first dish.
- In the second dish, whisk the eggs and water together until combined.
- In the third dish, mix the Panko breadcrumbs, salt, pepper, garlic powder, and paprika.
- Take one chicken strip and dredge it thoroughly in the flour, shaking off any excess.
- Dip the floured strip into the egg mixture, letting excess drip off.
- Press the strip firmly into the Panko mixture, ensuring the entire surface is coated. Press the crumbs on to help them adhere.
- Place the coated tenders on the wire rack, ensuring they do not touch each other.
- Spray the tops of the coated tenders generously with cooking spray. This mimics the fat needed for frying crispness.
- Bake for 10 minutes.
- Remove the sheet from the oven, flip each tender carefully, and spray the second side lightly with cooking spray.
- Return to the oven and bake for another 8 to 12 minutes, or until the internal temperature reaches 165 degrees Fahrenheit and the coating is golden brown and crisp.
- Serve immediately.
Notes
- For extra crispiness, you can double-dip: after the first breading, dip the tender back into the egg mixture and then into the Panko again before baking.
- Using a wire rack is essential for achieving crispiness on the bottom of the tenders.
- Do not overcrowd the baking sheet; cook in batches if necessary.
Nutrition
- Serving Size: 4 tenders
- Calories: 310
- Sugar: 1
- Sodium: 450
- Fat: 7
- Saturated Fat: 1.5
- Unsaturated Fat: 5.5
- Trans Fat: 0
- Carbohydrates: 20
- Fiber: 1
- Protein: 40
- Cholesterol: 110