

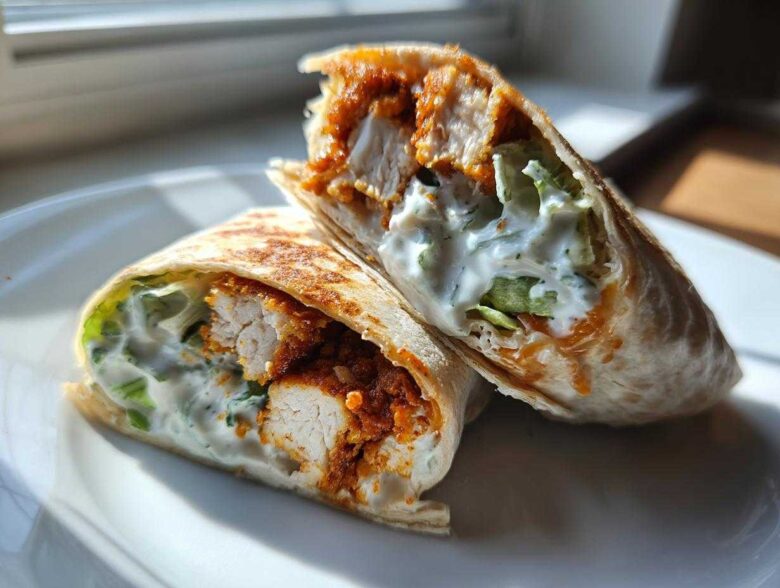
Oh my gosh, if you are anything like me, you crave that perfect marriage of texture and flavor when you sit down for dinner. We aren’t talking about sad, floppy chicken here! We are talking about that amazing crunch that just sings when you bite into it, followed by a creamy punch that ties everything together. Trust me when I say I spent *weeks* perfecting the technique for this, and I finally nailed the ultimate Crispy Chicken Wrap with Creamy Garlic Sauce. This isn’t just a lunch idea; it’s a full-blown dinner event, and I promise you, once you use my dredging secrets, you’ll never look back! You can see more of my favorite kitchen deep dives over on the main blog page, too.
Why This Crispy Chicken Wrap with Creamy Garlic Sauce Stands Out
I know there are a million wrap recipes out there, but this one is different, I promise! I’ve honed these steps over so many attempts, and the result is spectacular. You get that satisfying crunch without the chicken feeling greasy, and the sauce is simply restaurant-quality. It’s truly the Best Crispy Chicken Wrap Recipe because it focuses on texture first.
- Guaranteed Crispiness: We use Panko and the right heat—no soggy messes here!
- Zero Store-Bought Compromises: That sauce is made from scratch in minutes.
- Perfect Balance: You get salty, creamy, crunchy, and a little acidic tang all in one perfect bite.
Achieving Maximum Chicken Crispiness
Listen, the secret weapon is undeniably the breading station. We’re using Panko breadcrumbs; they just soak up less oil and give you those spiky, light shards of crunch that regular flour can’t touch. You are absolutely going to dredge the chicken twice—once in the spiced flour, then the egg, then back into the *flour* before the final Panko bath. I seriously get my vegetable oil heated up to a firm 350°F (175°C). That specific temperature means the crust sets fast and seals in the moisture before the chicken really cooks through. It’s cooking science, but easy science!
The Secret to Homemade Creamy Garlic Sauce for Wraps
Forget that jarred stuff in the fridge—it tastes processed, and we deserve better in our incredible wraps! Making the Homemade Creamy Garlic Sauce for Wraps takes literally three minutes, and it totally elevates the whole experience. We use fresh garlic here; don’t even try to substitute the dried powder if you can help it. The fresh zing combined with just a tiny bit of lemon juice cuts through the richness of the fried chicken perfectly. It’s the backbone of this whole show, really.
Gathering Ingredients for Your Crispy Chicken Wrap with Creamy Garlic Sauce
Okay, shopping list time! Since this recipe relies on that great texture contrast, you need to be precise with what you grab. We need two large boneless, skinless chicken breasts, but make sure you slice those immediately into one-inch strips—they need to be uniform for even cooking. For the breading, we rely on Panko, flour, paprika, and garlic powder for that savory base. You’ll also need two eggs, just beaten lightly.
The sauce is where we shine! You’ll need half a cup of mayonnaise, two cloves of garlic that you must mince finely, some lemon juice, Dijon mustard, and salt. If you want to dive deep into making your own incredible mayo base, I have a fantastic recipe for that right here, but store-bought works too if you’re in a rush!
For assembly, grab those large burrito-sized flour tortillas—they handle being stuffed better. Then pile on the fresh stuff: shredded lettuce, thinly sliced red onion, and my favorite addition, the dill pickles! Seriously, don’t skip the pickles; they add the necessary acidic crunch.
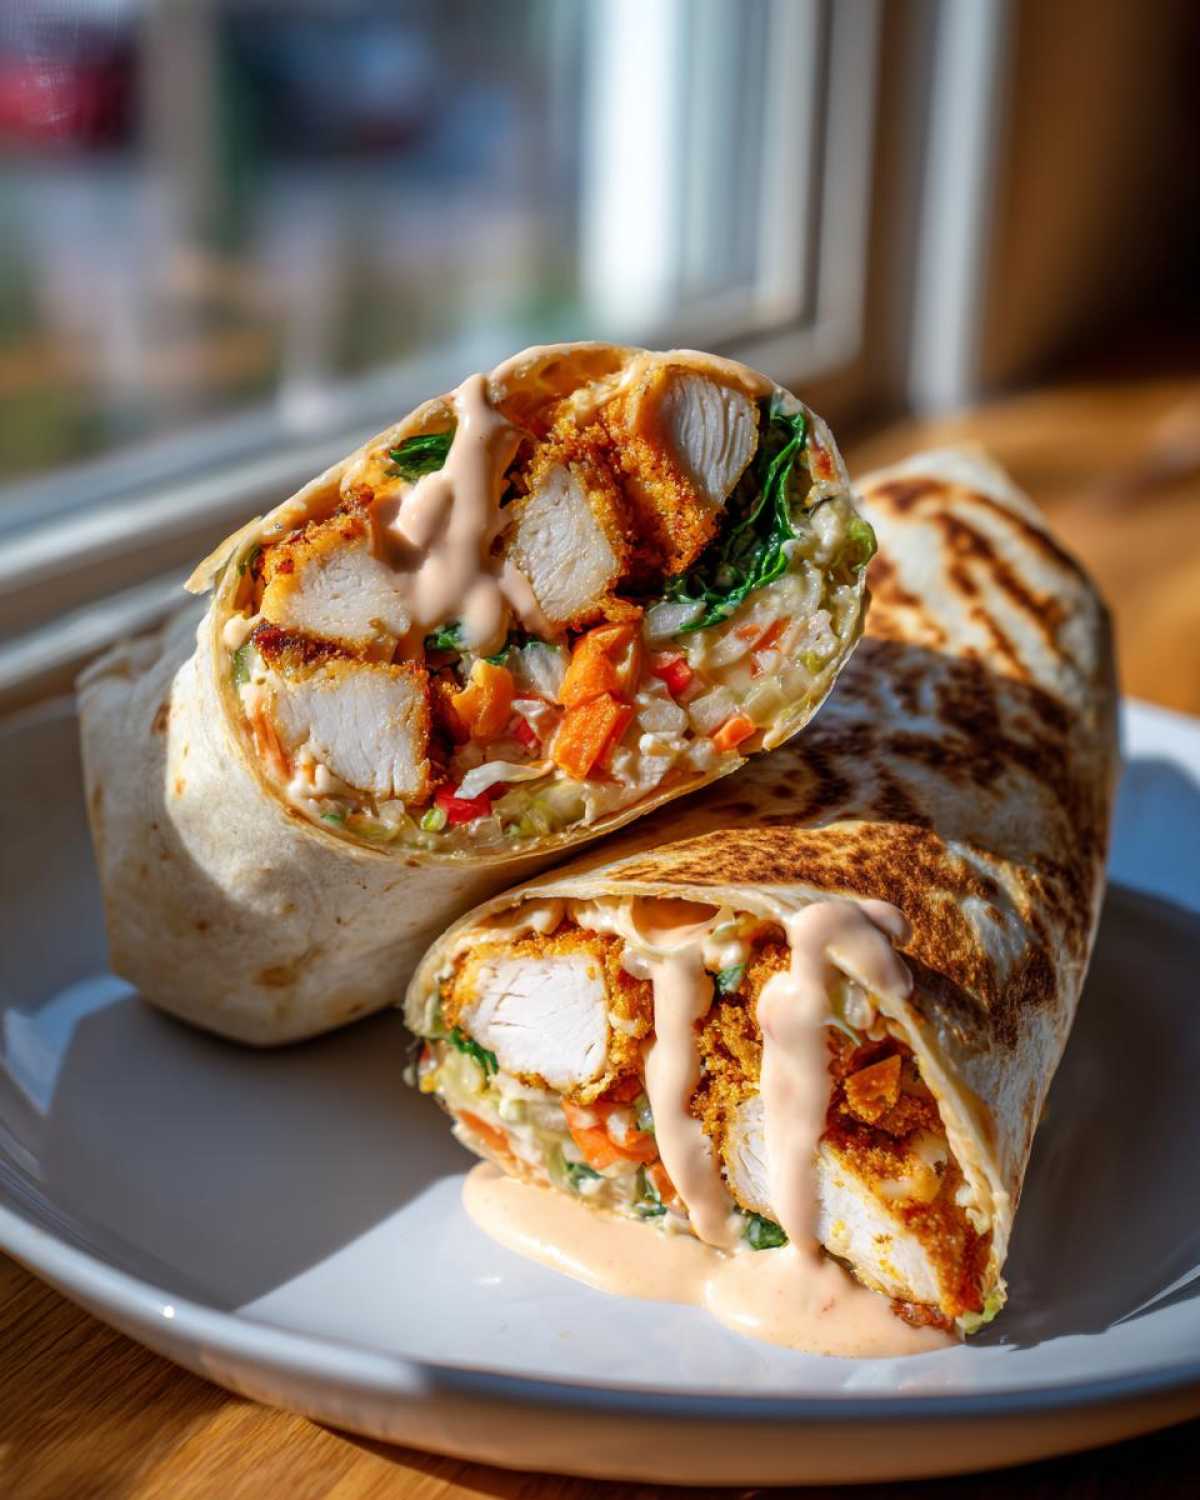
Step-by-Step Guide: How to Prepare the Crispy Chicken Wrap with Creamy Garlic Sauce
Alright, grab your apron! This is where the magic happens, but we need to move efficiently because we want that wrap assembled while the chicken is still piping hot. Remember, we are moving from raw chicken strips to a finished, rolled wrap. If you’re looking for the deep-dive instructions on maximizing that gorgeous fried crunch, I have a whole post about it specifically on getting fried chicken perfect for sandwiches and wraps. But here are the quick hits!
Setting Up the Breading Station for Ultimate Crunch
First things first: three shallow dishes, nice and ready. Dish one gets your seasoned flour—don’t be shy with that paprika and garlic powder! Dish two is your egg wash. Dish three should be piled high with those amazing Panko breadcrumbs. You absolutely must dredge the chicken strip first in the flour, shake off the excess—seriously, shake it hard—dip it in the egg, and then, this is key, press it firmly into the Panko. You want that Panko stuck on there like glue. Don’t just lightly sprinkle; press it firmly onto the chicken strips so your final product is wonderfully crunchy!
Frying Technique for Perfect Crispy Chicken Strips
Now, get that vegetable oil warm. We are aiming for exactly 350°F (175°C). If your oil is too cool, the Panko gets soggy fast, and we can’t have that happen. Carefully lower the breaded strips in—only a few at a time, please! Overcrowding drops the temperature instantly. Let them sizzle for about 4 to 6 minutes, turning them until they hit that beautiful golden-brown color. When they come out, use a slotted spoon and place them immediately on a wire rack lined with paper towels. That rack keeps the bottom from steaming and losing its crunch, which is a major expert tip!
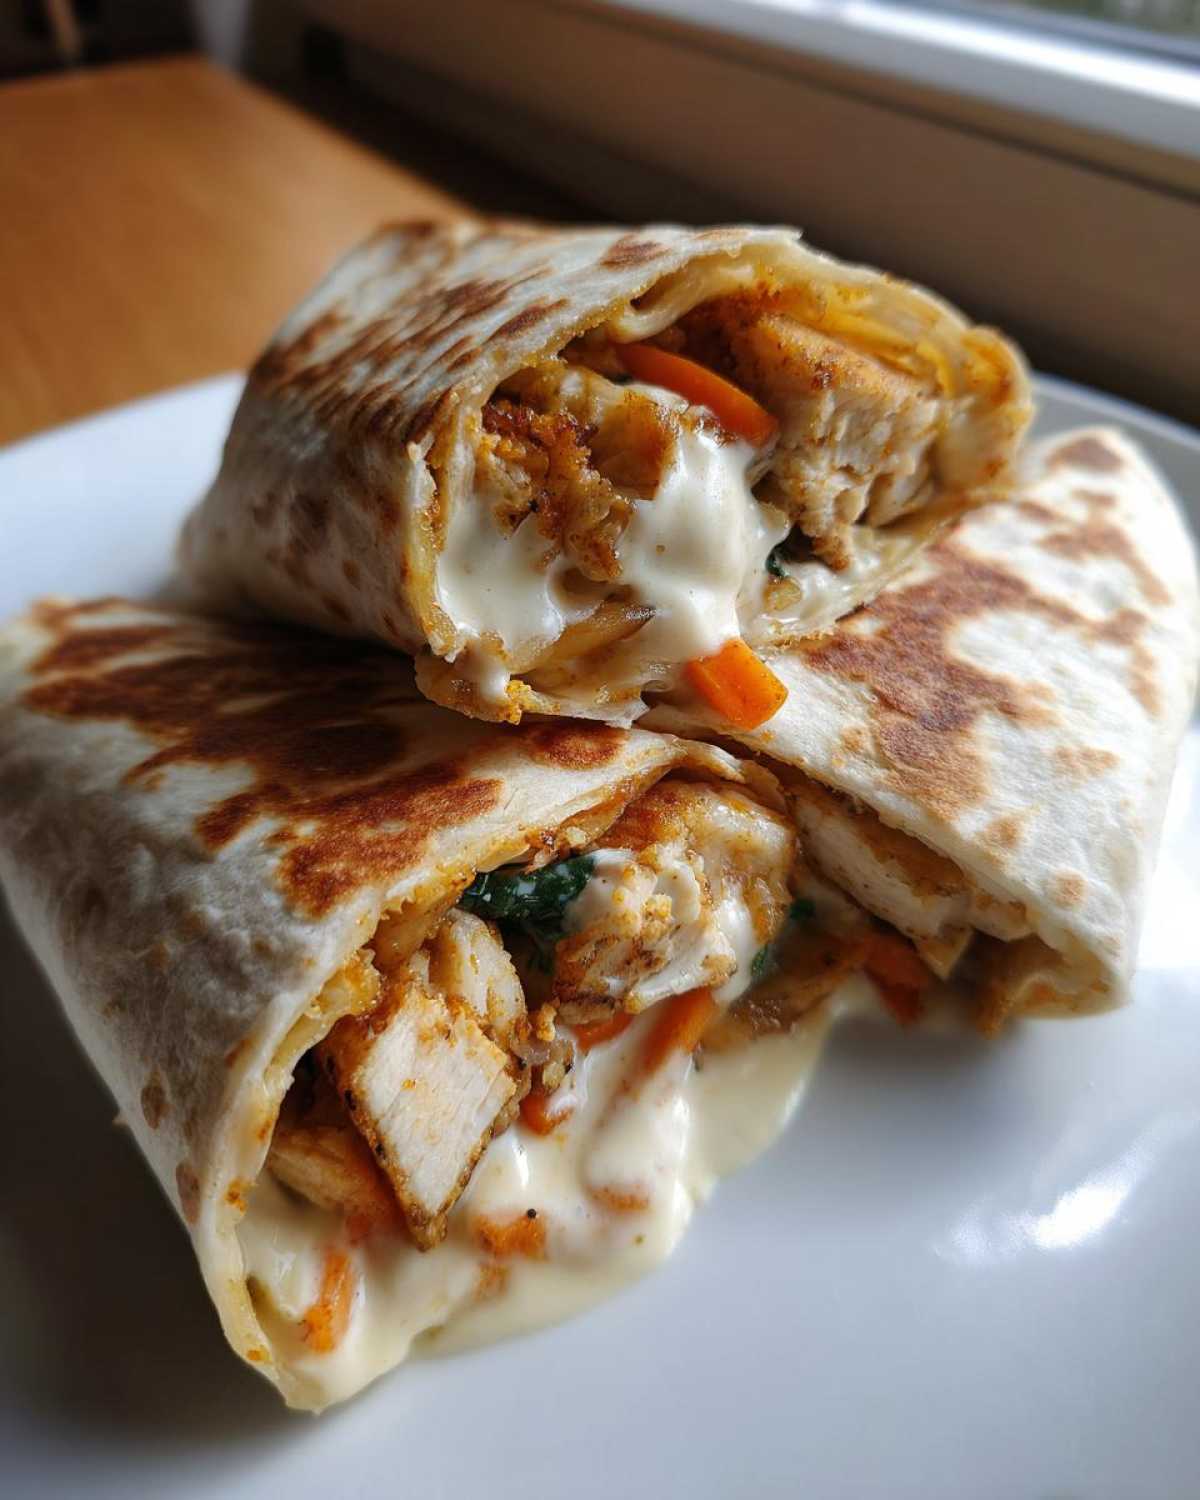
Assembling Your Savory Garlic Chicken Wrap
Time to build! Warm your big flour tortillas up—a quick toss in a dry hot pan makes them so much easier to roll. Lay it flat. Now, to combat sogginess, we build a barrier layer first: spread that gorgeous creamy garlic sauce down the middle, and then layer on the lettuce and red onion right on top of the sauce. The lettuce acts like a gentle buffer! Next, pile those hot, crispy chicken strips on top of the veggies, add those pickle slices, and then you roll it tight. Fold the sides in first, and then roll the bottom edge up and over, pressing firmly as you go to seal it up.
Tips for the Best Crispy Chicken Wrap Recipe
Even though frying gives you that unbeatable crunch, I know some of you are looking for lighter options, and that’s totally fine! If you’re skipping the oil, I highly recommend using the air fryer method. You still want to spray the breaded chicken lightly with cooking spray, pop them in at 400°F (200°C) for about 12 to 15 minutes, flipping halfway through. You still get fantastic crispness, just less mess! If you’ve never tried my air fryer wings recipe, you should check out those tips for crisping things up over at my dedicated air fryer guide, as those principles apply here too. This is probably the Best Crispy Chicken Wrap Recipe because it’s so adaptable.
Also, remember that substitution I mentioned for the sauce? If you want to lighten up that creamy garlic sauce without losing richness, substitute the mayo with plain Greek yogurt. It gives it a little extra tang, which is wonderful against the spice of the chicken. It’s one of those small changes that makes a huge difference when you’re making this Ultimate Weeknight Chicken Wrap repeatedly.
For anyone wondering about making the chicken ahead, you can bread it completely and keep it on a tray in the fridge for a few hours, but you absolutely must fry it right before assembly to keep that outer shell perfect!
Ingredient Notes and Substitutions for Your Wrap Filling
Choosing the right components here is why this recipe moves from ‘pretty good’ to ‘oh my gosh, I need this every Tuesday.’ Let’s talk tortillas first. You really want the large, burrito-sized flour tortillas. Anything smaller, and you’re going to have filling explosion city, trust me! They have enough surface area to roll tightly around all that crispy chicken and creamy garlic sauce. I walk through my favorite brands and how to warm them perfectly over at my guide on the best tortillas for filling wraps.
Now back to the crunch—Panko versus regular breadcrumbs. Please, please use the Panko! Standard breadcrumbs are too dense and tend to absorb oil, making your final product squishy faster. Panko are those light, airy flakes that shatter when you bite them. That’s the sound of success right there!
If you are looking to lighten up the creamy side of things, remember that Greek yogurt swap I mentioned for the mayonnaise in the sauce? It gives a lovely, slightly tart edge to the Creamy Sauce Recipes for Chicken, and it keeps the fat content down significantly. If you want to punch up the vegetable volume, adding some finely shredded green cabbage or even a little crunchy coleslaw mix alongside the lettuce gives you another layer of great texture.
Make Ahead Crispy Chicken Wrap Strategies
I get it—sometimes you just can’t fry chicken on the spot when you need an Ultimate Weeknight Chicken Wrap! The good news is you can absolutely prep components for your Make Ahead Crispy Chicken Wrap. The creamy garlic sauce? Mix that up entirely, stick it in an airtight container, and it’s good in the fridge for days. That’s a huge win!
Also, you can slice all your onions and shred your lettuce ahead of time. Keeping things cool and dry is your priority there. Seriously though, the chicken *has* to be cooked right before serving. If you fry it, store the cooked strips by themselves in a paper-towel-lined container, and store that in the fridge. When you’re ready to eat, warm those strips in a 400°F oven for about five minutes to bring back that external crunch before you roll!
For some ideas on prepping components in advance for busy mornings, I have a great guide on freezer prepping strategies you might find useful, even if it’s for lunch wraps!
Serving Suggestions for This Ultimate Weeknight Chicken Wrap
Okay, once you have this powerhouse of a chicken wrap assembled, you need something on the side. Since the Crispy Chicken Wrap with Creamy Garlic Sauce is so rich and satisfying, you really don’t want anything complicated taking up your oven space. We want simple sides that complement the savory, garlicky flavor.
For me, I usually go for something with a bit of brightness to cut through the fat from the frying and the creaminess of the sauce. A simple side salad tossed with a bright vinaigrette—maybe lemon and herbs—is fantastic. It keeps the whole meal feeling fresh and not too heavy.
But if you’re craving something a little more substantial for your Ultimate Weeknight Chicken Wrap, sweet potato fries are the absolute perfect companion. The sweetness plays so nicely with the saltiness of the chicken and the garlic in the sauce. I have a recipe where I bake them—they turn out almost like crispy donuts—available if you want to check that out! Alternatively, a crisp, vinegar-based coleslaw is a genius pairing because the vinegar mimics the acidity from the lemon juice we put in the sauce, tying it all together.
Storage and Reheating Instructions
Sharing leftovers from this masterpiece is tough because that crispiness doesn’t love being stored assembled! Seriously, if you wrap it all up before you eat it, tomorrow’s lunch will be floppy and sad. So, for the best leftovers, you need to separate things out immediately.
Store the remaining crispy chicken strips in an airtight container—maybe line it with a paper towel first. Keep the creamy garlic sauce tightly sealed in the fridge too. When you’re ready to eat, the chicken absolutely needs a quick reheat in the oven or air fryer for about five minutes to wake up that crunch. Then, you build a fresh wrap using a new tortilla and fresh lettuce. That’s the only way to guarantee it holds up as your favorite Crispy Chicken Wrap with Creamy Garlic Sauce!
Frequently Asked Questions About Your Crispy Chicken Wrap
Can I bake the chicken instead of frying it for the Crispy Chicken Wrap with Creamy Garlic Sauce?
You absolutely can, and I totally get it if you’re looking for lighter Quick Lunch Wrap Ideas! Like I mentioned, frying gives you that absolute best shatter of crunch, but the air fryer is a champion substitute. If you go that route, make sure you’re spraying the breaded chicken strips really well—don’t miss any spots, or it’ll dry out. Cook them at 400°F (200°C) and flip halfway through, just like the note says. You won’t get the exact same texture as deep-frying, but it’s so close, and it’s a fantastic option when you need an Easy Chicken Wrap Dinner Idea!
How do I make the Creamy Garlic Sauce thicker or thinner?
This is easy to adjust because we’re starting with mayonnaise as the base for our Garlic Aioli Wrap Filling! If you want that sauce to be nice and thick—almost like a paste—add a spoonful of extra mayonnaise or even some plain Greek yogurt. That yogurt is a great trick for texture adjustments. If, on the other hand, you feel like your sauce is way too stiff and won’t spread nicely, just whisk in a tiny splash of water or, better yet, a teaspoon of that lemon juice from the recipe. A little acidity loosens it up beautifully without thinning out the flavor too much.
What is the best way to keep the wrap from getting soggy?
This is my biggest tip for any wrap, truly! The key is creating a moisture barrier. You see how I told you to spread the sauce on first? That’s only half the battle! The real hero here is the lettuce. Make sure you place a nice, dry layer of shredded lettuce—or even better, some shredded cabbage—directly against the tortilla on top of the sauce. This acts as a shield between the wet sauce and the wrap itself. Then, pile the hot chicken on top of the lettuce. If you keep the wettest ingredients buffered from the tortilla, you can enjoy your Gourmet Chicken Sandwich Wrap way longer!
If you’re looking for more great lunch ideas that are ready in a flash, you can browse all my quick meal guides over in the Lunch Category!
PrintCrispy Chicken Wrap with Creamy Garlic Sauce
Follow these steps to make a satisfying wrap featuring extra crispy breaded chicken and a rich, homemade creamy garlic sauce.
- Prep Time: 20 min
- Cook Time: 15 min
- Total Time: 35 min
- Yield: 4 servings
- Category: Lunch
- Method: Frying
- Cuisine: American
- Diet: Low Fat
Ingredients
- 2 large boneless, skinless chicken breasts, cut into 1-inch strips
- 1 cup all-purpose flour
- 1 teaspoon salt
- 1/2 teaspoon black pepper
- 1/2 teaspoon paprika
- 1/4 teaspoon garlic powder
- 2 large eggs, beaten
- 1 cup panko breadcrumbs
- Vegetable oil, for frying (about 2 inches deep)
- 4 large flour tortillas (burrito size)
- 1/2 cup shredded lettuce
- 1/2 cup thinly sliced red onion
- 1/4 cup sliced dill pickles
- For the Creamy Garlic Sauce: 1/2 cup mayonnaise, 2 cloves garlic minced, 1 tablespoon lemon juice, 1 teaspoon Dijon mustard, 1/4 teaspoon salt
Instructions
- Prepare the chicken breading station: In one shallow dish, mix the flour, salt, pepper, paprika, and garlic powder. In a second dish, place the beaten eggs. In a third dish, place the panko breadcrumbs.
- Dredge each chicken strip first in the flour mixture, shaking off excess. Dip completely into the egg. Finally, press firmly into the panko breadcrumbs to coat thoroughly. Place coated chicken on a plate.
- Heat the vegetable oil in a deep skillet or pot to 350°F (175°C). Carefully add the chicken strips in batches, ensuring not to overcrowd the pan. Fry for 4 to 6 minutes, turning occasionally, until golden brown and cooked through (internal temperature reaches 165°F or 74°C).
- Remove the cooked chicken with a slotted spoon and place it on a wire rack lined with paper towels to drain excess oil.
- Make the sauce: In a small bowl, combine the mayonnaise, minced garlic, lemon juice, Dijon mustard, and salt. Mix well until smooth.
- Warm the tortillas briefly in a dry skillet or microwave to make them pliable.
- Assemble the wraps: Lay a warm tortilla flat. Spread a generous amount of the creamy garlic sauce down the center. Layer with lettuce, red onion, pickles, and the crispy chicken strips.
- Fold the sides of the tortilla inward, then tightly roll the bottom edge up and over the filling. Continue rolling until the wrap is sealed. Slice in half if desired and serve immediately.
Notes
- For an air fryer method, spray the breaded chicken lightly with cooking spray and cook at 400°F (200°C) for 12 to 15 minutes, flipping halfway, until crispy.
- To prevent sogginess, place the lettuce and onions directly on the tortilla before adding the warm chicken and sauce.
- You can substitute mayonnaise with plain Greek yogurt for a lighter sauce.
Nutrition
- Serving Size: 1 wrap
- Calories: 650
- Sugar: 6
- Sodium: 950
- Fat: 35
- Saturated Fat: 6
- Unsaturated Fat: 29
- Trans Fat: 0
- Carbohydrates: 45
- Fiber: 3
- Protein: 38
- Cholesterol: 110