

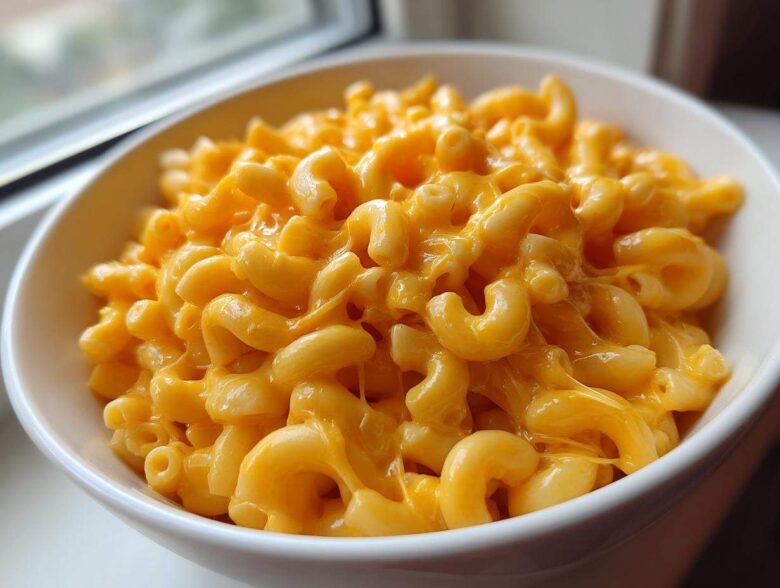
Oh my goodness, is there anything on this earth that screams comfort louder than a giant bowl of Mac and Cheese? I swear, the smell alone fixes a bad day. When I was first learning to cook, my cheese sauce used to turn into this grainy, sad mess. I thought I’d never master it! But folks, after probably burning through half a block of butter perfecting the timing, I cracked the code. This recipe I’m sharing today is my absolute go-to, the Creamy Stovetop Three Cheese Mac and Cheese you need in your life.
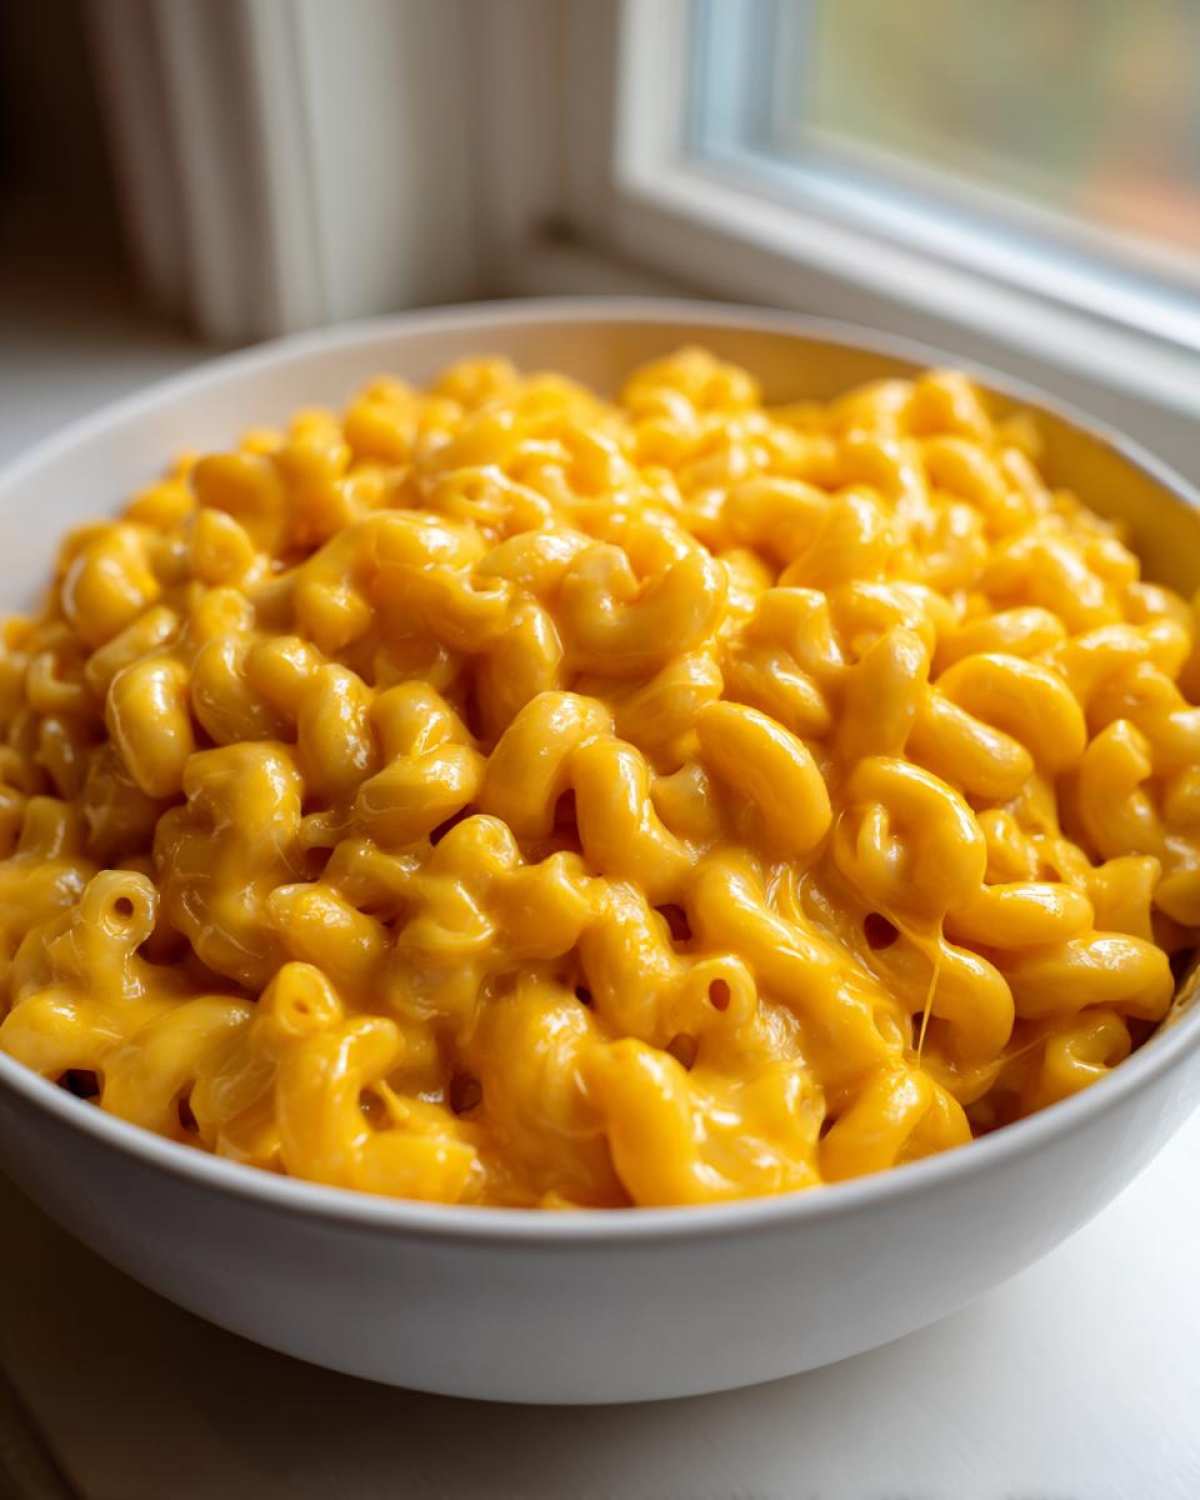
It’s ridiculously fast—we’re talking half an hour, tops—and it stays perfectly velvety right on the stove. The secret, I learned, is all in that humble little roux base. We aren’t bothering with an oven here; this is pure, unadulterated, thick-and-creamy magic in a saucepan. If you’re thinking about making the ultimate comfort food without waiting forever, stick with me. You can upgrade this gorgeous dish later with my baked mac and cheese version, but tonight? Tonight is about the swirl!
Why This Creamy Stovetop Mac and Cheese Recipe Works
This stovetop method is the ultimate champion for weeknights, but don’t let the speed fool you—the flavor is gourmet level! It beats the canned stuff by a country mile. We get that luxurious thickness without worrying about drying out in the oven, giving you the best classic Mac and Cheese experience possible.
-
Quick Preparation for Weeknight Mac and Cheese
Seriously, you’re looking at about 30 minutes total! This is the perfect solution when you need satisfying ‘Weeknight Macaroni Dishes’ on the table ASAP.
-
Achieving the Ultimate Smooth Cheese Sauce for Pasta
By mastering the roux and using slightly warmed milk, we skip the lumps completely. That’s my number one trick for a silky, non-grainy cheese sauce every single time. You can learn more about making that perfect sauce here, but the steps below are all you need!
Gathering Ingredients for Your Three Cheese Mac and Cheese
Okay, getting ready to cook is almost as fun as eating, especially when you know the ingredients are top-notch! For this recipe, we are using a killer trio of cheeses. But listen to me: this is the most important word of advice for excellent Mac and Cheese: You absolutely must shred your own cheese from a block. Don’t grab the pre-shredded bags!
Those bags have anti-caking garbage in them that makes your gorgeous sauce turn gritty faster than you can say ‘smooth cheese sauce.’ Trust your gut on this one; getting that cheese block is a guaranteed win. I’ve got more thoughts on the best cheese combinations here, but this specific blend truly knocks it out of the park.
Pasta and Base Ingredients for Mac and Cheese
You need your building blocks ready to go. Make sure your milk is slightly warmed up before you even think about using it—this avoids lumps when we add it to the roux, which is something I learned the hard way!
- 1 pound elbow macaroni
- 4 tablespoons unsalted butter
- 4 tablespoons all-purpose flour
- 3 cups whole milk, warmed
- 1 teaspoon salt
- 1/2 teaspoon black pepper
- 1/4 teaspoon nutmeg (Yes, nutmeg! It’s just a little background warmth!)
The Best Cheeses for Melting Pasta in Mac and Cheese
This combination gives us sharpness, nuttiness, and that lovely pull. Measure these out before you start cooking, so you can focus purely on your stirring technique when it’s time to melt!
- 8 ounces sharp cheddar cheese, shredded
- 4 ounces Gruyere cheese, shredded
- 4 ounces Monterey Jack cheese, shredded
How to Make Smooth Cheese Sauce for Pasta: The Roux Basics
Alright, this is where we earn our stripes! If you can master the roux, you can make any gravy, any sauce, and certainly, the best cheese sauce for this Mac and Cheese. This is the foundation of silky richness, and honestly, it’s so simple once you know the secret handshake. We’re diving deep into the Flour and Butter Roux Basics right now, so listen up!
Creating the Perfect Flour and Butter Roux
First things first, get a big saucepan—the same one you plan to serve from, if you can—over medium heat. Drop in your four tablespoons of butter and let it melt until it’s happily sputtering. Now, immediately whisk in those four tablespoons of flour. You need to stir this constantly for exactly one minute. That’s the magic time! We want it cooked just enough so it doesn’t taste like raw flour, but you are absolutely NOT going for brown here. Pale blonde is perfect. When it smells slightly nutty, stop whisking immediately!
Thick and Creamy Pasta Topping Development
Now for the milk, and remember, it’s warm! Take your pan off the direct heat for just a second while you start pouring that warm milk in *gradually*. Whisk like your life depends on it after every small addition—we can’t have lumps forming! Once all the milk is in and you’ve whisked out any grainy bits, put it back on medium heat.
Let this simmer gently, stirring often. This is going to take about five to seven minutes. You’ll know it’s ready when you dip a spoon in and the sauce sticks to the back of it thick enough that if you run your finger across it, the line holds. That’s the Nappé stage! The big warning here? Do not, under any circumstances, let this boil. A big boil ruins the texture we worked so hard to build. If you need more on this technique, check out this guide on how to make smooth cheese sauce.
Finishing Your Stovetop Mac and Cheese: Cheese Incorporation
We have achieved beautiful silkiness in our sauce base—the velouté is ready! Now you might be tempted to just dump all that gorgeous shredded cheese in at once. Don’t do it! That is recipe failure waiting to happen, leading straight to the dreaded grainy texture that ruins great Mac and Cheese. This final step is crucial for getting that perfect, stretchy, uniform topping we all dream about.
Adding Cheese Off the Heat for Smooth Mac and Cheese
The absolute secret to creamy cheese sauce is temperature control when you add the cheese. You must take the saucepan completely off the direct heat source. If the sauce is too hot when the cheese hits it, the milk proteins seize up, and you get oily bits instead of smooth velvet. So, pull it away!
Now, take your seasonings—the salt, pepper, and that tiny pinch of nutmeg—and stir those into the warm sauce first. Then, start adding your shredded cheddar, Gruyere, and Jack cheeses. But here’s the rule: one small handful at a time. Whisk gently until that handful is completely melted and incorporated into the sauce before you even *think* about adding the next one. It might take a minute or two longer this way, but I promise you, this slow dance with the cheese guarantees the smoothest, dreamiest coating for your pasta. Stir until it looks like liquid gold!
Assembling and Serving Your Creamy Homestyle Macaroni and Cheese
The moment of truth has finally arrived! You’ve got your beautiful, velvety cheese sauce, and sitting right next to it are our perfectly cooked, al dente macaroni noodles. They’ve been drained—make sure they are well-drained, nobody wants watery Mac and Cheese!
Now, gently pour those drained elbows right into the saucepan holding the cheese sauce. We don’t want to dump them and shock the sauce; we want them to mingle. Use a sturdy wooden spoon or spatula and gently fold everything together. You want every single piece of macaroni coated in that rich topping. Keep folding until you can see no white spots of pasta peeking through—it should be a sea of glorious, cheesy orange goodness.
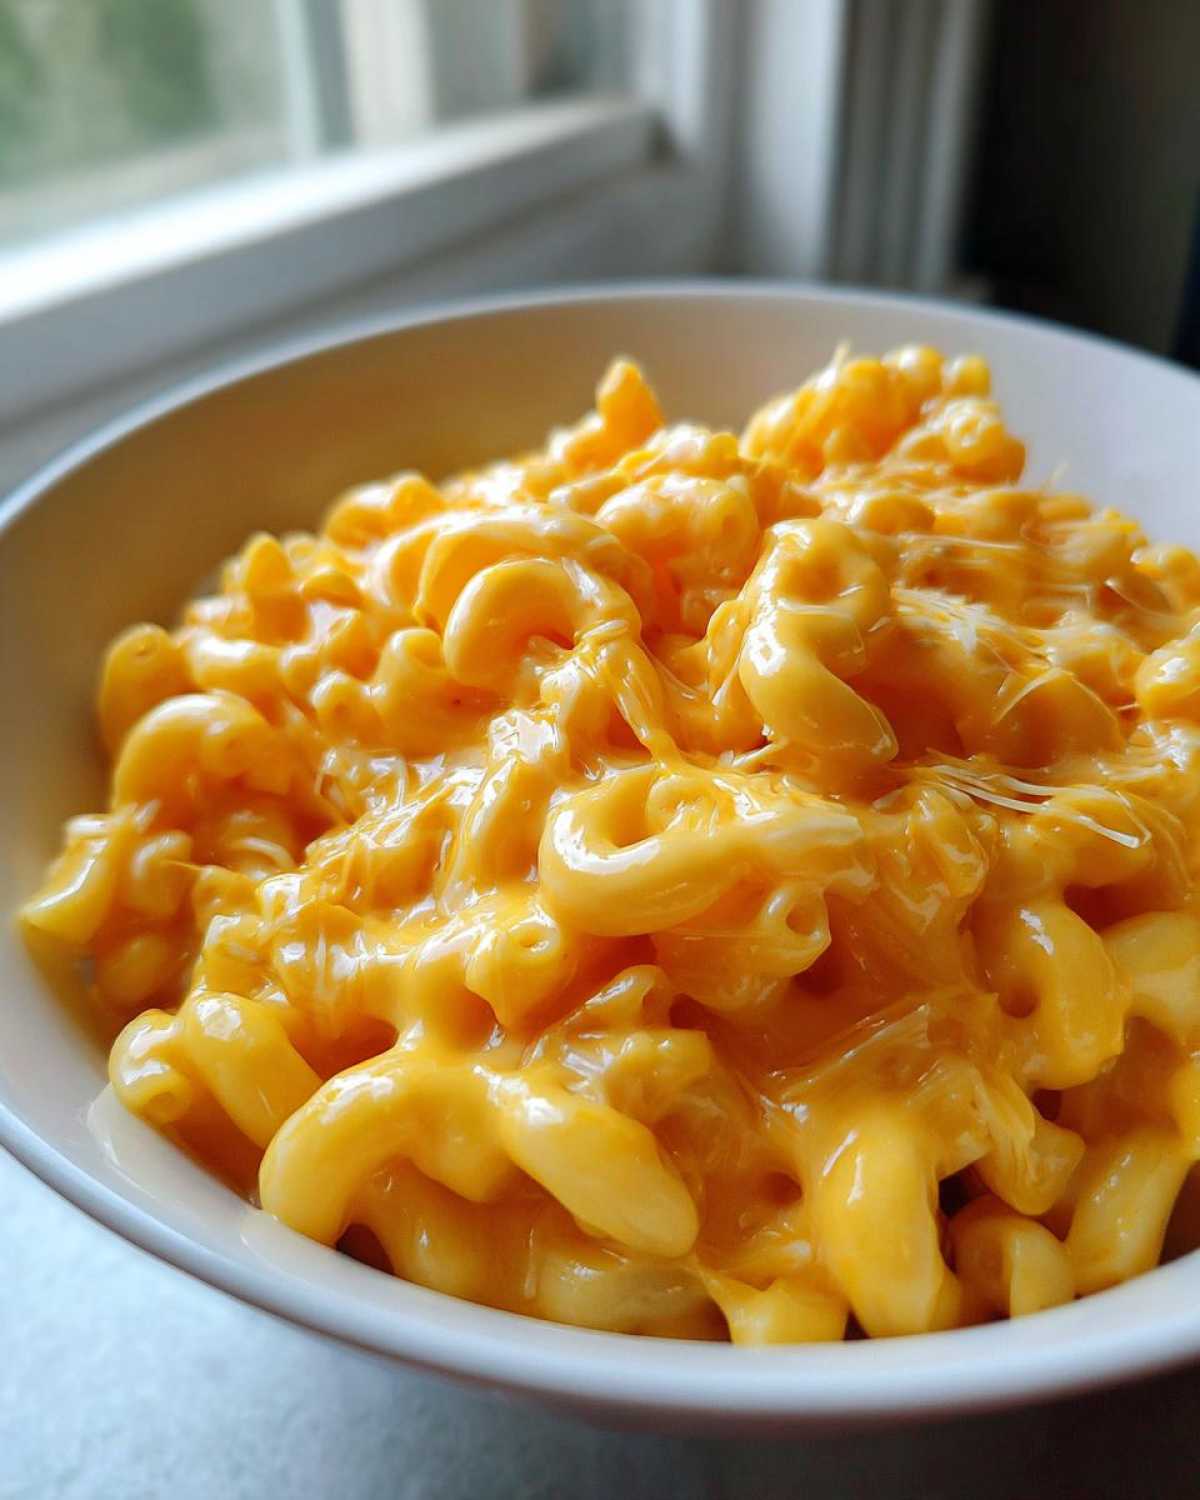
This specific preparation makes for the ultimate Creamy Homestyle Macaroni and Cheese experience. Why? Because we didn’t bake it! It’s designed to be eaten immediately while it’s at its peak creaminess. Scoop generous portions into bowls right away. If you’re planning to have any leftovers, make sure everyone gets a big serving first, because stovetop sauce firms up faster than any other kind!
If you wanted a little color on top for serving right now, I sometimes hit it with just a tiny sprinkle of paprika or some fresh chives, but honestly, it’s perfect naked. If you feel like this dish needs a hearty partner, my recipe for easy Salisbury steak with mushroom gravy pairs shockingly well with this richness!
Tips for Success with From Scratch Mac and Cheese
We just made this amazing Mac and Cheese completely from scratch, and I want to make sure you have the best success possible when you make it later. It’s all about catching those little details you might skip over in a hurry. Remember those three key notes I included in the recipe card? They aren’t just filler; they are the ancient secrets to keeping your sauce ultra-smooth and preventing any sad, grainy moments later on. Let’s review these quick checks!
Pasta Cooking and Cheese Preparation Checks
First rule: Don’t overcook your pasta! I can’t stress this enough. Cook your elbows until they are just *al dente*. Pasta continues to soften once it hits that super-hot cheese sauce, so if it’s soft out of the pot, it’s going to be mushy by the time you eat it. Aim for just a little bit of bite left.
And we circle back again to the cheese—I know I keep harping on it, but it’s that crucial! If you use pre-shredded cheese, you are fighting against your own dinner. Those anti-caking powders make the sauce separate and seize up on you. Please, take five extra minutes to shred that cheddar block. It’s your insurance policy against disaster. If you love cheesy sides, I also have some great tips for my creamy cheesy scalloped potatoes that relies on this same principle!
Temperature Control for the Best Mac and Cheese
Temperature is your greatest friend when making any cheese sauce. Remember when we gently whisked in the milk? That milk *must* be warm. If you pour cold milk into a hot roux, you shock the mixture, and it leads straight to lumps faster than you can grab a whisk. Warm it up slightly on the side first.
The second temperature warning comes right at the end, just before we add the cheese. You have to pull that pan off the burner! If the base is boiling hot when the cheese hits, the fat separates from the protein, and that’s how you get that oily slick on top of dry cheese curds. Keep things gentle, keep them warm but not strictly boiling, and that sauce will stay perfectly suspended.
Variations and Cheesy Pasta Upgrades
Okay, so you’ve nailed the perfect creamy stovetop Mac and Cheese—congratulations! It’s spectacular on its own, but maybe tonight you want to dress it up a little, right? This recipe is such a stellar base; it’s crying out for a little extra something fancy. Think about how easy it is to turn this weeknight staple into something worthy of a holiday table or a special date night!
Since we’re using such sharp, beautiful cheeses already, taking this recipe into gourmet territory is super simple. You just need one or two extra elements to elevate that basic cheese sauce for pasta to a whole new level. If you are looking for other ways to upgrade pasta, check out this lovely creamy mushroom pasta recipe!
Adding Protein Mix-ins
For me, texture is everything, and sometimes you just need something smoky or salty to cut through all that richness. This is where protein comes in! Before you fold the pasta into the cheese sauce—or even better, sprinkle it right on top before serving—toss in some additions.
- Crispy bacon bits are always a winner. Seriously, a little salty crunch with that creamy base? Divine.
- If you want something heartier, pre-cooked smoked sausage diced small is amazing. It infuses a nice little smoky BBQ lift into every bite.
- For something a bit lighter, try stirring in some small steamed broccoli florets when you add the pasta back in!
Incorporating Gourmet Cheese Sauce for Pasta Flavors
If you don’t want to mess with texture but want a flavor punch, the secret is spices and oils that amplify the existing cheese notes! You only need a tiny bit.
- My favorite trick is adding just a few drops—and I mean a few!—of real truffle oil right at the end when everything is mixed. It instantly screams ‘restaurant quality.’
- Smoked paprika is fantastic if you want that smoky depth without adding meat. It blends right into the sauce with zero texture change.
- For a bit of heat, stir in a teaspoon of finely minced chipotle in adobo sauce, or even just a dash of your favorite hot sauce with fruity notes.
Storing and Reheating Your Leftover Macaroni and Cheese
Okay, if you somehow manage to have leftovers of this amazing stovetop wonder, you need to know how to store it properly. Stovetop versions, because they don’t have that thick, bready baked crust to hold everything together, tend to get much sticker and firmer once they chill out in the fridge. That’s just the nature of super creamy sauce!
Don’t panic if it looks like a brick the next day—we can totally bring it back to life. But you need to treat it gently during storage to give yourself the best chance at success later on. If you happen to have leftover crispy potatoes from another batch, they make a fantastic addition to the reheat process—I love throwing them in the air fryer and sprinkling them over top for crunch, just like I detail with the mashed potato cakes recipe!
Best Practices for Refrigeration
The moment you finish eating, get those leftovers into an airtight container. Don’t just cover the bowl with foil and walk away; you want to seal it tight. This prevents the residual moisture from escaping too quickly in the usually dry environment of the fridge. Generally, this stovetop wonder stays tasty for about three to four days. Any longer than that, and you start risking texture issues, even with good storage.
Reheating Tips to Restore Creaminess
This is the critical part. Do *not* just microwave straight pieces of cold Mac and Cheese. It will turn into dense, dry clumps because the sauce has set solid. Whether you use the microwave or the stovetop to reheat, you absolutely must add a little liquid back in!
For the stovetop, put what you want to eat in a small saucepan over low heat, and stir in a splash—maybe a tablespoon or two—of whole milk or heavy cream for every cup of leftovers. Stir constantly until the sauce loosens up again. If you’re using the microwave, do it in short 30-second bursts, stirring well and adding that splash of milk between each burst. It might feel weird adding liquid to leftovers, but trust me, it rehydrates that sauce beautifully, making it creamy again like magic.
Frequently Asked Questions About Making Mac and Cheese
Whenever I share this recipe, a flood of great questions always comes my way. It makes sense! Everyone wants their bowl of cheesy goodness to be perfect. I’ve gathered the most common ones down here to make sure your experience making this stovetop dinner is flawless. You’ve got this!
Can I turn this stovetop Mac and Cheese into a baked casserole?
You absolutely can! If you wake up one morning and decide you really need that crispy top layer, this stovetop sauce is strong enough to hold up in the oven. Just gently fold your pasta and sauce together like we did, pour it into a greased 8×8 or 9×13 dish. Top it with panko breadcrumbs mixed with a little melted butter for crunch. Bake at 375°F (190°C) for about 15 to 20 minutes, until it’s bubbly and golden brown. If you want a recipe already designed for baking, you should definitely check out my instructions for the easy pizza pasta bake, which uses a similar sauce foundation!
What is the secret to a perfectly smooth cheese sauce?
If you take away only one thing from this whole guide, let it be this: Heat is your enemy when melting cheese! The two biggest secrets are keeping your sauce base (the béchamel) off the direct heat when adding the cheese, and making sure you add that shredded cheese handful by painful handful. If you add it all at once, the temperature drops too fast, and the cheese melts unevenly, which causes graininess. Oh, and I’ll say it one last time: freshly grated cheese only! It makes all the difference in keeping that sauce beautifully uniform.
What are the best cheeses for melting in pasta dishes?
In this recipe, we use Cheddar, Gruyere, and Jack for balance, but if you want to experiment, stick to cheeses that have a good moisture content and aren’t aged too long. Older cheeses get oily! Fontina is honestly the king of meltiness—it’s creamy and nutty. Gouda is another spectacular option, especially that smoked variety for a deeper flavor profile. If you are reaching for something really sharp, make sure you balance it out with a mellow melter like Monterey Jack so you get that soft texture we love so much!
Share Your Creamy Macaroni Dishes Success
So there you have it! My absolute favorite, no-fuss, incredibly creamy stovetop Mac and Cheese recipe. I swear by this method, and I hope you just made the best bowl of your entire life. Now that you’ve tried the three-cheese blend, I am dying to hear what you think!
Did you stick to the script, or did you add your own little twist? Did you sneak in some smoked paprika, or maybe try adding some crispy bacon on top like I suggested? Don’t keep all that cheesy inspiration to yourself!
Head down to the comments below and let me know how fast you got this on the table, how the roux turned out for you, and what delicious upgrades you made to customize your own bowl. I love reading your stories and I always pop over to the blog to catch up on everyone’s latest kitchen adventures. Happy eating, and please come back soon for more comfort food magic!
PrintCreamy Stovetop Three Cheese Mac and Cheese

A simple recipe for making rich, creamy macaroni and cheese on the stovetop using a classic roux base and three types of cheese.
- Prep Time: 10 min
- Cook Time: 20 min
- Total Time: 30 min
- Yield: 6 servings
- Category: Main Dish
- Method: Stovetop
- Cuisine: American
- Diet: Vegetarian
Ingredients
- 1 pound elbow macaroni
- 4 tablespoons unsalted butter
- 4 tablespoons all-purpose flour
- 3 cups whole milk, warmed
- 1 teaspoon salt
- 1/2 teaspoon black pepper
- 1/4 teaspoon nutmeg
- 8 ounces sharp cheddar cheese, shredded
- 4 ounces Gruyere cheese, shredded
- 4 ounces Monterey Jack cheese, shredded
Instructions
- Cook the macaroni according to package directions until al dente. Drain well and set aside.
- While the pasta cooks, prepare the sauce. In a large saucepan, melt the butter over medium heat.
- Whisk in the flour and cook, stirring constantly, for 1 minute to create a roux. Do not let it brown.
- Gradually whisk in the warm milk until the mixture is smooth.
- Continue to cook over medium heat, stirring often, until the sauce thickens enough to coat the back of a spoon, about 5 to 7 minutes. Do not boil.
- Remove the saucepan from the heat. Stir in the salt, pepper, and nutmeg.
- Add the shredded cheeses one handful at a time, stirring until each addition is completely melted and smooth before adding the next. Stir until the sauce is uniform and creamy.
- Add the drained, cooked macaroni to the cheese sauce. Stir gently until the pasta is fully coated.
- Serve immediately for a creamy texture.
Notes
- Shred your own cheese from a block; pre-shredded cheese contains anti-caking agents that can make the sauce grainy.
- Warm the milk slightly before adding it to the roux; cold milk can cause lumps.
- For a sharper flavor, increase the amount of sharp cheddar cheese.
Nutrition
- Serving Size: 1 serving
- Calories: 550
- Sugar: 6
- Sodium: 650
- Fat: 30
- Saturated Fat: 18
- Unsaturated Fat: 12
- Trans Fat: 1
- Carbohydrates: 50
- Fiber: 3
- Protein: 25
- Cholesterol: 90