

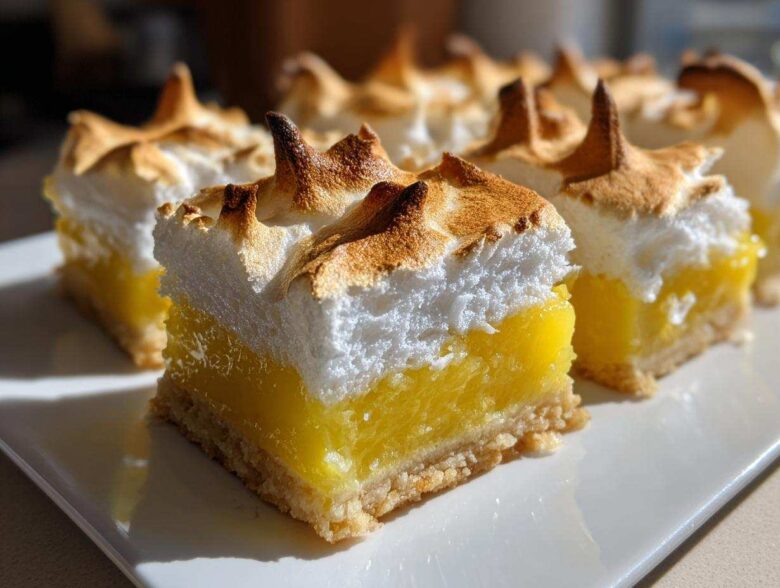
Oh, let’s be honest—sometimes a full, floppy, round pie is just too much work, right? Between getting those perfect slices and trying to keep the filling from oozing everywhere, it can be stressful. That’s why bar desserts are my secret weapon for parties! You get all the amazing flavor without any of the fuss. And when it comes to my absolute favorite tangy treat, nothing beats transforming the classic into portable, easy-to-serve Lemon Meringue Pie Bars. I used to dread bringing a messy pie to potlucks, but these bars changed everything for me. They look gorgeous cut into neat squares, and they travel like a dream. Trust me, I’ve worked out all the kinks so you don’t have to worry about weeping or shrinking meringue. This recipe delivers that sharp, zesty punch balanced perfectly by a sweet, golden crust.
Why This Ultimate Lemon Meringue Pie Bars Recipe Works
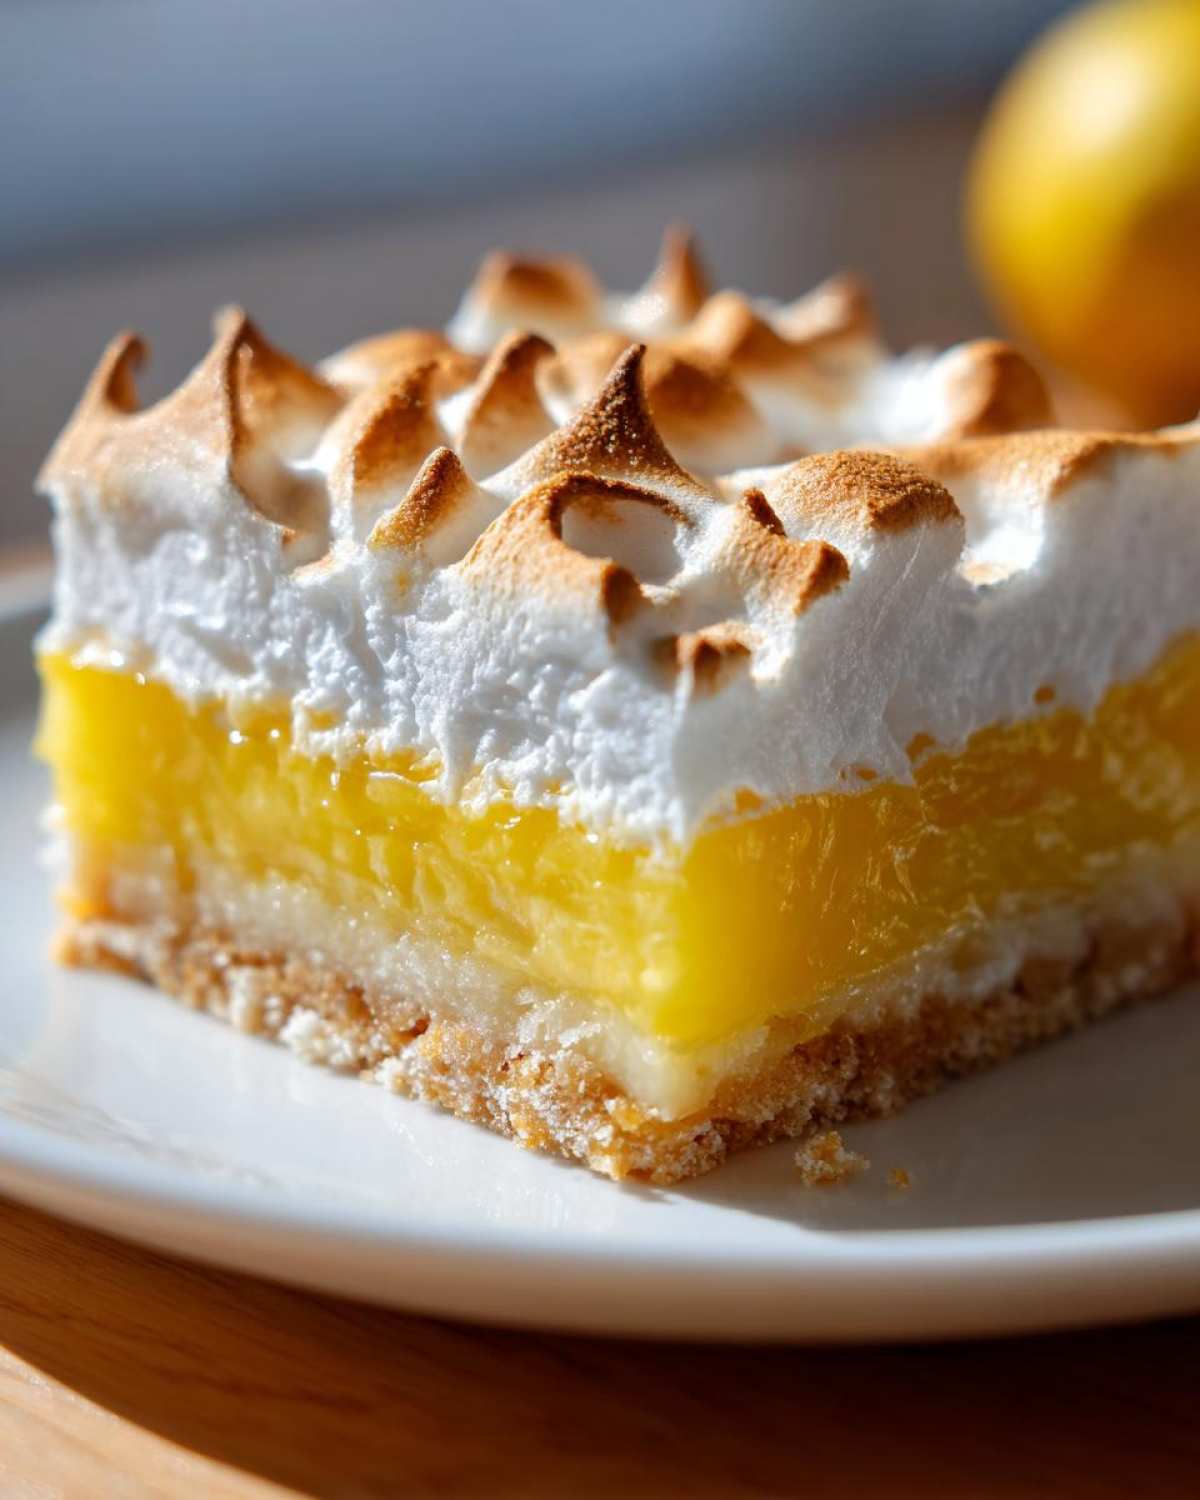
When you’re making squares instead of a traditional pie, you need components that behave themselves. These Lemon Meringue Pie Bars are different because they promise neat serving and incredible flavor stability. I used to dread bringing a messy pie to potlucks, but this recipe inspired by lemon baking changed everything for me! They look gorgeous cut into neat squares, and they travel like a dream. Trust me, I’ve worked out all the kinks so you don’t have to worry about weeping or shrinking meringue.
- Portable perfection for any gathering.
- A filling that sets up beautifully in a 9×13 pan.
- Meringue that actually stays put after toasting!
Plus, the crisp shortbread base means you get that classic buttery bite in every layer you try. Speaking of layers, let’s look closer at why these elements shine.
The Buttery Crust Lemon Bars Recipe Base
This isn’t some flimsy graham cracker crust that crumbles the minute you look at it. We’re using a proper shortbread base here. It’s sturdy, unbelievably buttery, and presses perfectly into the pan. When you bake it first, you lock in stability, which is critical for any delicious Shortbread Crust Lemon Bars Recipe. This step is your insurance policy against a soggy bottom, which, trust me, we want to avoid at all costs!
Achieving a Bright Lemon Filling Recipe for Bars
You want that pure, mouth-puckering zest, not a dull, creamy custard. The key is cooking the filling slowly on the stovetop until it dramatically thickens. That cooking process ensures we have a very stable, tangy center once it cools slightly. This is the secret behind a truly exceptional Bright Lemon Filling Recipe for Bars that holds its shape when you slice through that fluffy topping!
Ingredients for Ultimate Lemon Meringue Pie Bars
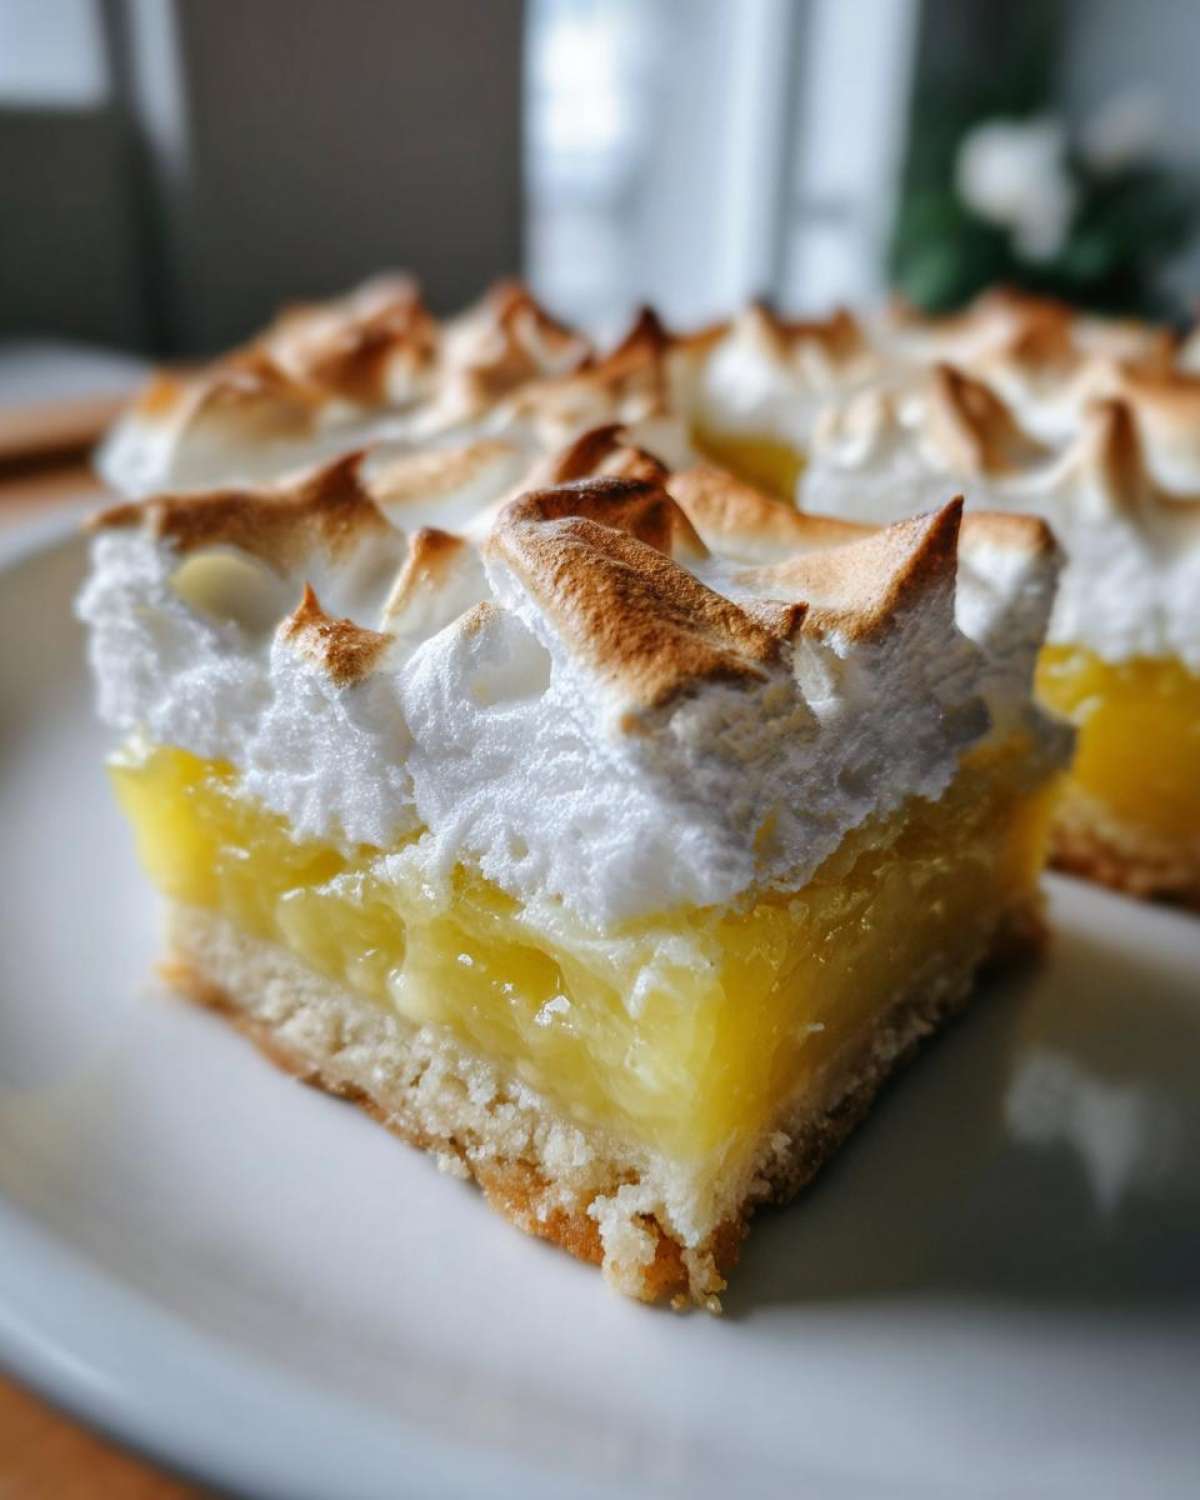
Getting the right ratios is non-negotiable when you’re mixing structure (the crust), tang (the filling), and air (the meringue). I always lay everything out before I start so I don’t panic when things move quickly, especially when dealing with the hot filling. Everything you need for these gorgeous, sliceable squares is listed below. And just a quick tip—I found this amazing lemon brownie recipe uses a similar zest technique; always use fresh juice for the best flavor!
For the Buttery Shortbread Crust
- 1 1/2 cups all-purpose flour
- 1/2 cup granulated sugar
- 1/4 teaspoon salt
- 1/2 cup cold unsalted butter, cubed
- 1/4 cup cold water
For the Tangy Lemon Filling
- 1 1/2 cups granulated sugar
- 1/4 cup all-purpose flour
- 1/4 teaspoon salt
- 4 large egg yolks
- 1 cup fresh lemon juice
- 1 tablespoon lemon zest
For the Toasted Meringue Topping
- 4 large egg whites
- 1/2 teaspoon cream of tartar
- 1/2 cup granulated sugar
How to Prepare Lemon Meringue Pie Bars Step-by-Step
Okay, this is where the magic happens! Since we’re working in a sheet pan format to make these Lemon Meringue Pie Bars perfectly portable, the method is key to avoiding mushy bottoms. Set your oven to 350°F (175°C) right now. My biggest E-E-A-T tip for you right away? Line your 9×13 inch pan with parchment paper, letting it hang way over two sides. Seriously, don’t skip the overhang—that’s your handle later! If you love learning new foundational techniques, check out how they tackle structure in my no-bake cheesecake guide; it helps with mindset!
Baking the Shortbread Crust
First, whisk together your dry crust ingredients. Then, you need to cut in that cold butter until it honestly looks like coarse breadcrumbs. Add the cold water slowly, just until the dough holds together when you squeeze it. Don’t overwork it! Press that buttery mixture evenly into your prepared pan base. Pop it into the oven for about 18 to 20 minutes until the edges just start looking happy and a little golden. Take it out while it’s still warm.
Cooking the Bright Lemon Filling Recipe for Bars
Now for the tart layer! In a saucepan, whisk together the sugar, flour, and salt. Then incorporate the egg yolks, lemon juice, and lemon zest quickly so it’s silky smooth. This needs medium heat, and the most important rule is: stir constantly! Seriously, don’t walk away for even a second. You’re looking for it to thicken up enough to coat the back of a spoon, which usually takes about 8 to 10 minutes. Pour that hot, fragrant mixture right over your warm crust and bake it again for just 15 minutes. It starts setting up now!
How to Make Meringue on Bars and Finish Baking
While that sets, beat your egg whites with the cream of tartar until they get soft peaks—they look like fluffy clouds. Now, add the sugar slowly for that stiff, glossy texture. When you spread this meringue onto the warm lemon layer, make absolutely sure you push it right to the edges of the crust; this prevents it from shrinking back when it bakes. Bake for another 10 to 12 minutes until those tips are beautifully browned, or grab your kitchen torch for that perfect toasted look! The most crucial final step for clean squares is letting them cool completely, maybe even chill them, before you try slicing. It makes all the difference!
Tips for Success with Your Lemon Meringue Pie Bars
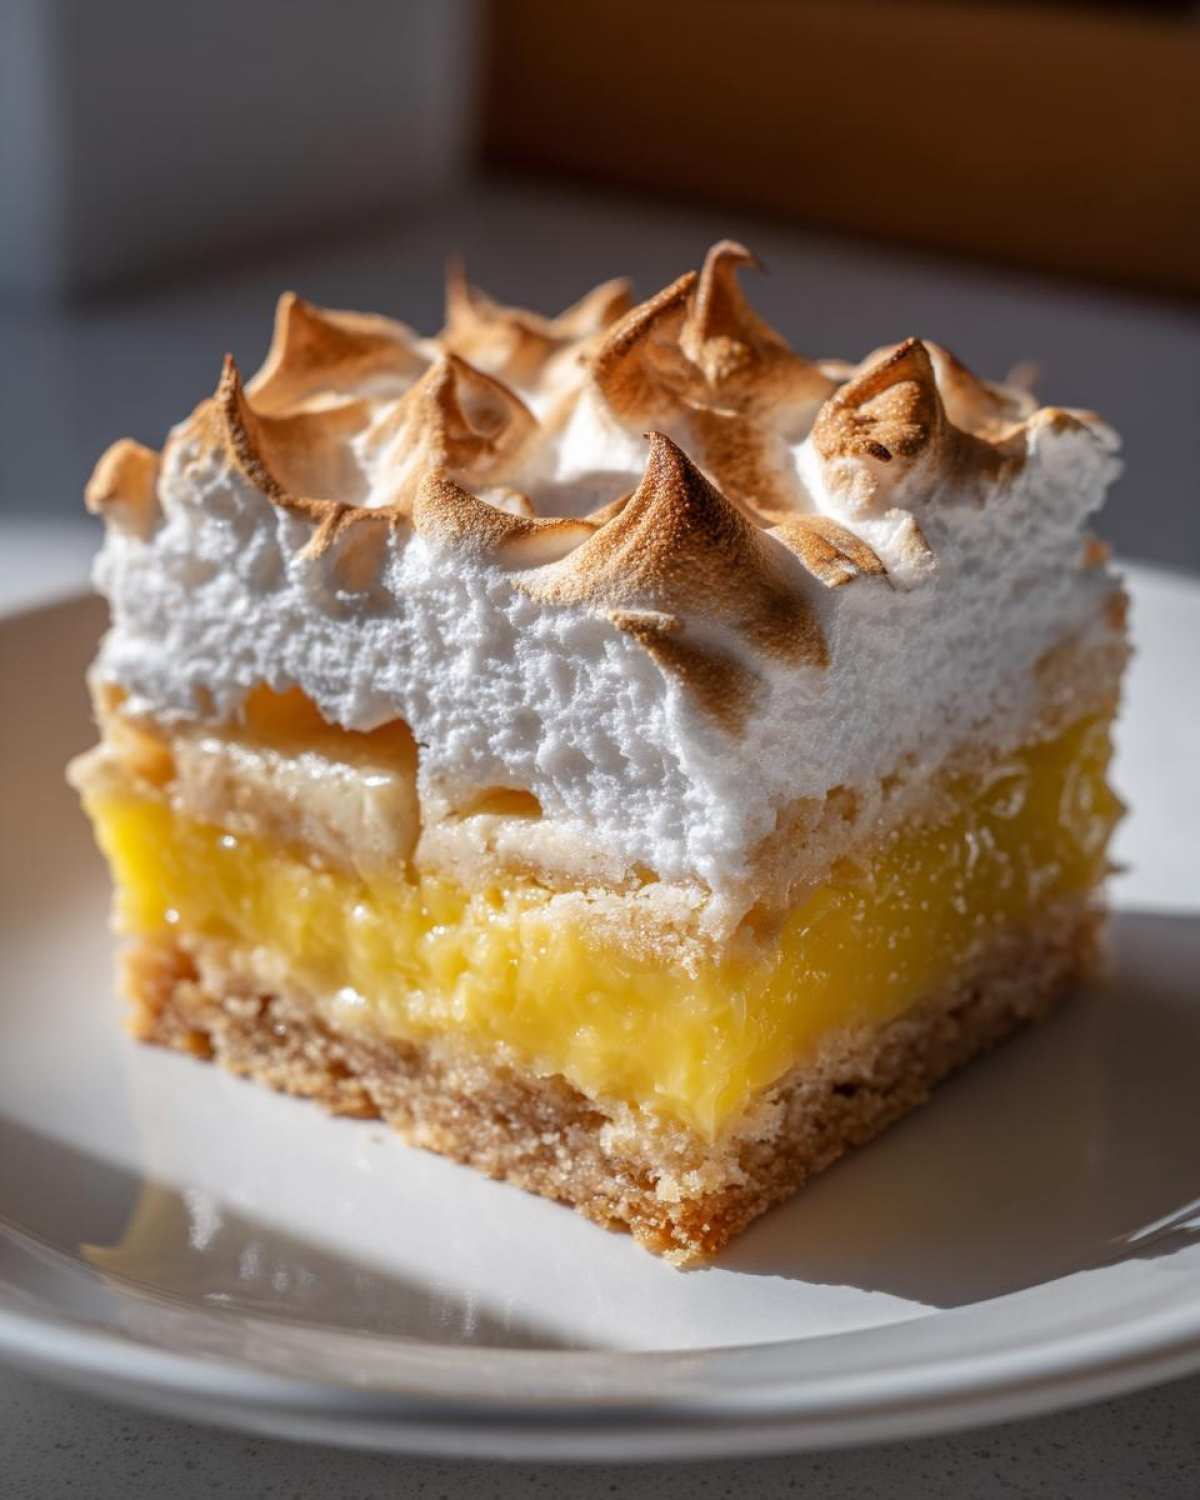
If you want to bake what I honestly think is the Best Lemon Meringue Bar Recipe out there, you need to listen to these pro tips. Getting meringue right is tricky, but when you master it, you get those incredible, cloud-like tops on your Lemon Meringue Pie Bars without any sinking nightmares. My notes from years of baking this recipe for friends always circle back to a few key details regarding stability and clean cutting. If you like learning about pie structures, you should peek at my inspiration for a good tart base; it helps with mindset!
Meringue Stability Secrets
The absolute number one thing that ruins a meringue is grease! I mean it—even a tiny molecule of leftover butter or egg yolk in your bowl or on your beaters will stop those egg whites from whipping up into stiff, glossy peaks. Before you even start whipping, give that bowl a quick wipe down with a little vinegar or lemon juice to ensure it’s completely spotless and dry. This one little habit is the difference between stiff peaks and soupy sadness!
Achieving Perfect Slices
You baked it perfectly, but now you want those gorgeous, neat squares for serving? You absolutely cannot rush the cooling process. If you try to cut these when they are even slightly warm, the filling will ooze out, and your beautiful meringue will smear everywhere. Seriously, for the cleanest cuts for your Portable Lemon Meringue Dessert, let them cool to room temperature first, and then stick the whole pan in the fridge for at least two hours. Cold citrus bars slice like a dream!
Make Ahead Lemon Bars and Storage Instructions
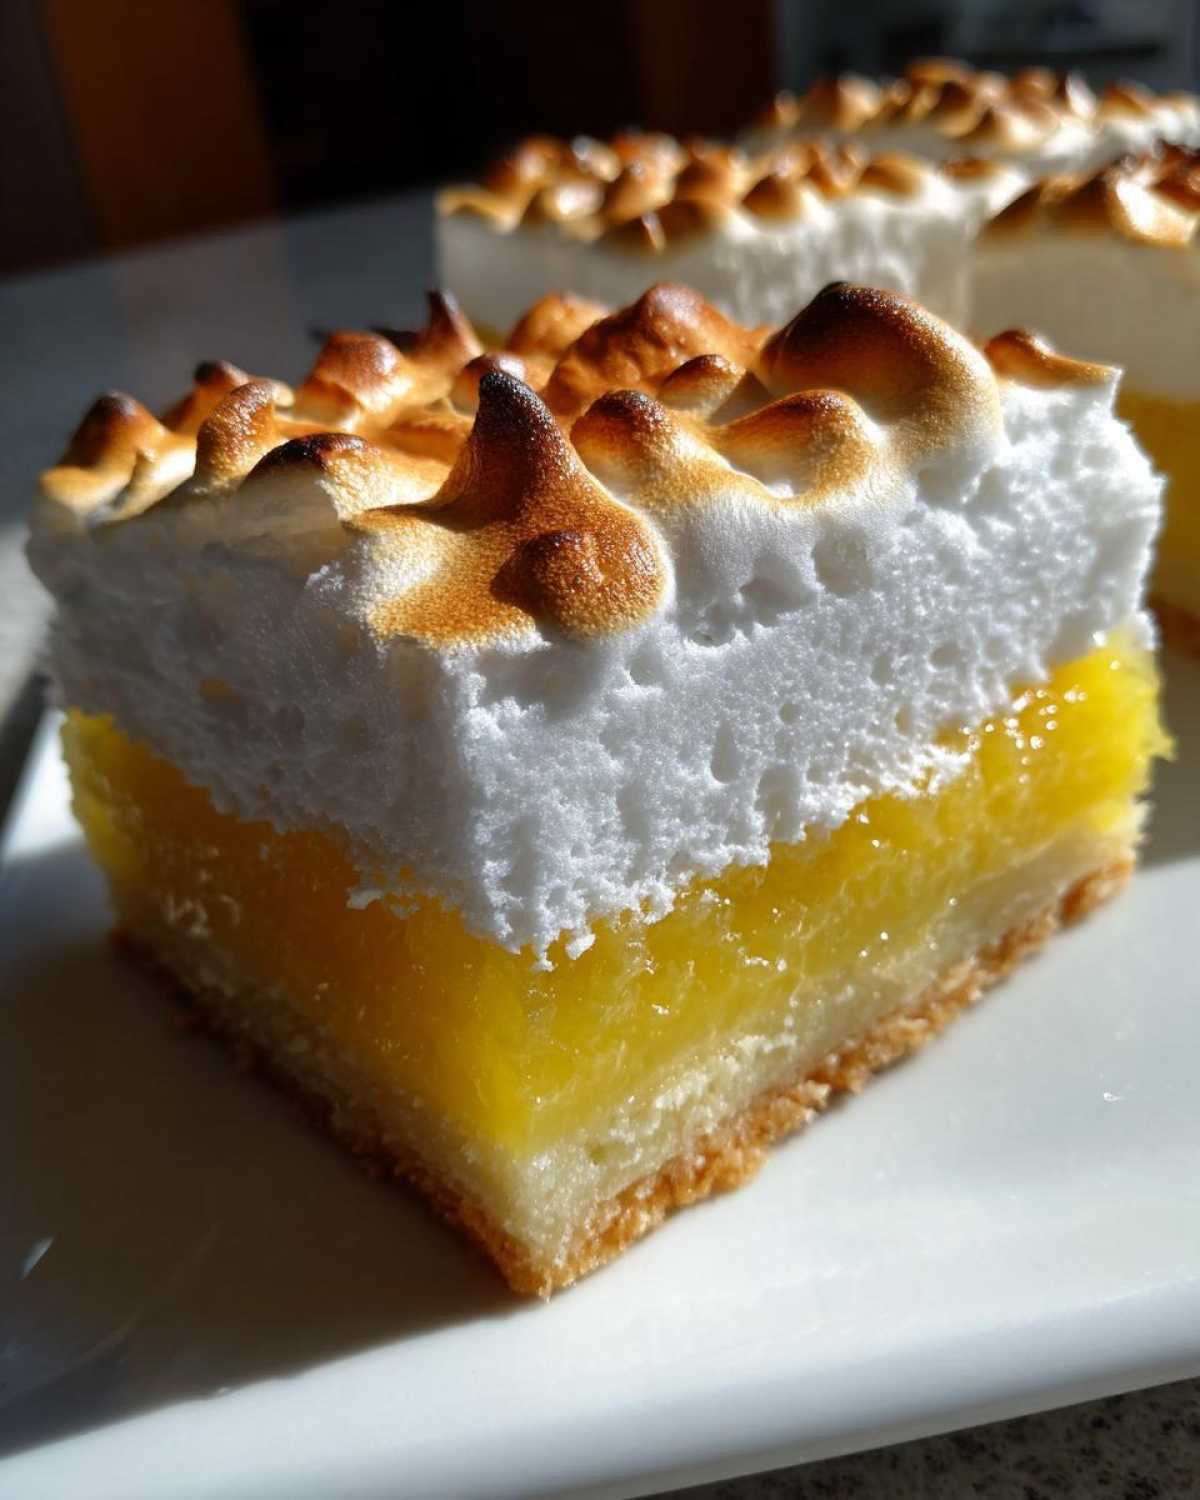
One of the best things about turning a classic pie into bars is how easy they are to prep ahead of time! If you’re looking for fantastic Make Ahead Lemon Bars, this recipe is perfect. You can absolutely bake the crust and make the cooked lemon filling a day in advance. Just keep those two layers cooled completely and stored together in the pan, covered tightly, in the fridge overnight. Just make sure you wait to top it with the meringue until right before you plan to serve or shortly before the final bake!
Once everything is fully baked and cooled—and I mean completely cooled—you can store the finished Lemon Meringue Pie Bars in an airtight container. They are actually better the next day once the filling has fully firmed up! If you want to learn more about other make-ahead treats that save you time, check out my tips for easy baked crumb bars; it’s the same principle of saving time!
Variations for Your Tangy Lemon Dessert Bars
While I stand by the pure lemon flavor, sometimes you just need to switch things up a bit! These bars are so straightforward, they take extra flavors like a champ. If you love citrus but want something different, try swapping half of the fresh lemon juice for fresh lime juice. That combination makes for incredible Tangy Lemon Dessert Bars—it really wakes up the palate!
Another fun change is in the crust. Next time you think about making these, try stirring a teaspoon of finely chopped rosemary into the dry crust mix before you add the butter. It gives the buttery base such an unexpected, fragrant lift! If you’re looking for other ways to use lemon zest in baking, you have to check out my recipe for soft and buttery lemon scones. It’s a totally different texture but the same sunny flavor hit!
Frequently Asked Questions About Lemon Meringue Pie Bars
Can I use a different pan size for these Lemon Meringue Pie Bars?
You totally can! We use a 9×13 inch pan because it gives us bars that aren’t too thick and bake quickly. If you use a smaller pan, say a 9×9 inch, your layers will be much thicker. That means you’ll need to increase the baking time for the crust and the filling because the heat has further to travel to the middle. Watch carefully! For a larger pan, you’ll need less time, but you might end up with a slightly flatter bar.
How do I prevent the meringue from weeping on my Lemon Bars with Meringue?
Weeping—when those little beads of syrup show up on top—is the worst! It usually happens because of temperature shock or not enough sugar. Make sure your egg whites are beaten to nice, stiff peaks, and that you add the sugar slowly. My top tip, though, is to make sure you spread the meringue immediately over the hot lemon filling. That initial heat helps bond everything together, which stops the weird separation that causes weeping on your Lemon Bars with Meringue! For more insights into our baking philosophy, you can always read more about us here.
Are these considered No Fuss Lemon Meringue Slices if I skip torching?
Absolutely! I include the torching option because I love that deep, almost caramelized flavor on the tips, but please don’t feel like you have to rush out and buy a torch just for this! Baking the meringue for 10 to 12 minutes at the end does a fantastic job too, turning them into wonderful No Fuss Lemon Meringue Slices. It’s all about getting that golden brown color on top, whether you use fire or the oven element!
Estimated Nutritional Data for Lemon Meringue Pie Bars
Now, I know we all bake for love, but sometimes it’s good to know what you’re enjoying! Please remember, these numbers are just estimates based on the ingredients used to make exactly 24 bars in this recipe. When you make substitutions or change the size of your squares, things shift, so take these figures as a handy guideline.
When you look at the 210 calories per bar, you’re getting a fantastic serving of sunshine and buttery crust! Here’s a quick rundown of what you can expect per single bar, based on our yield of 24 servings:
- Serving Size: 1 bar
- Calories: 210
- Sugar: 22g
- Sodium: 65mg
- Total Fat: 10g (with 6g saturated fat)
- Carbohydrates: 31g
- Protein: 4g
- Cholesterol: 55mg
Share Your Best Lemon Meringue Bar Recipe Creations
I really hope these Lemon Meringue Pie Bars become a staple in your kitchen, just like they are in mine! I put my heart into perfecting that topping, so please come back and give the recipe a star rating when you try it. Did your meringue turn out glossy? Did you torch those tips? Drop a comment below and share your success—or any funny baking mishaps! If you have questions, or just want to say hello, you can always get in touch with me here. Happy baking, friend!
PrintUltimate Lemon Meringue Pie Bars with Toasted Meringue Topping

Make portable, easy-to-serve lemon meringue pie bars featuring a buttery shortbread crust, a bright lemon filling, and a stable, toasted meringue topping.
- Prep Time: 30 min
- Cook Time: 55 min
- Total Time: 85 min
- Yield: 24 bars
- Category: Dessert
- Method: Baking
- Cuisine: American
- Diet: Vegetarian
Ingredients
- 1 1/2 cups all-purpose flour
- 1/2 cup granulated sugar
- 1/4 teaspoon salt
- 1/2 cup cold unsalted butter, cubed
- 1/4 cup cold water
- 1 1/2 cups granulated sugar (for filling)
- 1/4 cup all-purpose flour (for filling)
- 1/4 teaspoon salt (for filling)
- 4 large egg yolks
- 1 cup fresh lemon juice
- 1 tablespoon lemon zest
- 4 large egg whites (for meringue)
- 1/2 teaspoon cream of tartar
- 1/2 cup granulated sugar (for meringue)
Instructions
- Preheat your oven to 350°F (175°C). Line a 9×13 inch baking pan with parchment paper, leaving an overhang on two sides for easy removal.
- Prepare the crust: In a medium bowl, whisk together 1 1/2 cups flour, 1/2 cup sugar, and 1/4 teaspoon salt. Cut in the cold butter using a pastry blender or your fingers until the mixture resembles coarse crumbs.
- Add the cold water, one tablespoon at a time, mixing until the dough just comes together. Press the dough evenly into the bottom of the prepared pan.
- Bake the crust for 18 to 20 minutes, or until the edges are lightly golden. Remove from the oven and set aside while you prepare the filling.
- Prepare the filling: In a medium saucepan, whisk together 1 1/2 cups sugar, 1/4 cup flour, and 1/4 teaspoon salt. Whisk in the egg yolks, lemon juice, and lemon zest until smooth.
- Cook the filling over medium heat, stirring constantly, until the mixture thickens significantly, about 8 to 10 minutes. It should coat the back of a spoon. Do not let it boil rapidly.
- Pour the hot lemon filling evenly over the warm baked crust. Return the pan to the oven and bake for an additional 15 minutes. Remove and let cool slightly while you make the meringue.
- Prepare the meringue: In a clean, grease-free bowl, beat the 4 egg whites and cream of tartar with an electric mixer until soft peaks form. Gradually add the 1/2 cup sugar, beating until stiff, glossy peaks form.
- Spread the meringue evenly over the warm lemon filling, making sure to seal the meringue to the edges of the crust to prevent shrinking.
- Bake the bars again for 10 to 12 minutes, or until the meringue is lightly golden brown. Alternatively, use a kitchen torch to toast the meringue to your liking.
- Cool the bars completely on a wire rack before lifting them out of the pan using the parchment paper overhang. Cut into squares.
Notes
- For the most stable meringue, ensure your mixing bowl and beaters are completely free of any grease or egg yolk residue.
- Cool the bars completely before slicing to get clean cuts. Chilling them in the refrigerator for at least two hours helps firm up the filling.
- You can make the crust and filling a day ahead. Store them separately, and add the meringue just before baking.
Nutrition
- Serving Size: 1 bar
- Calories: 210
- Sugar: 22
- Sodium: 65
- Fat: 10
- Saturated Fat: 6
- Unsaturated Fat: 4
- Trans Fat: 0
- Carbohydrates: 31
- Fiber: 1
- Protein: 4
- Cholesterol: 55