

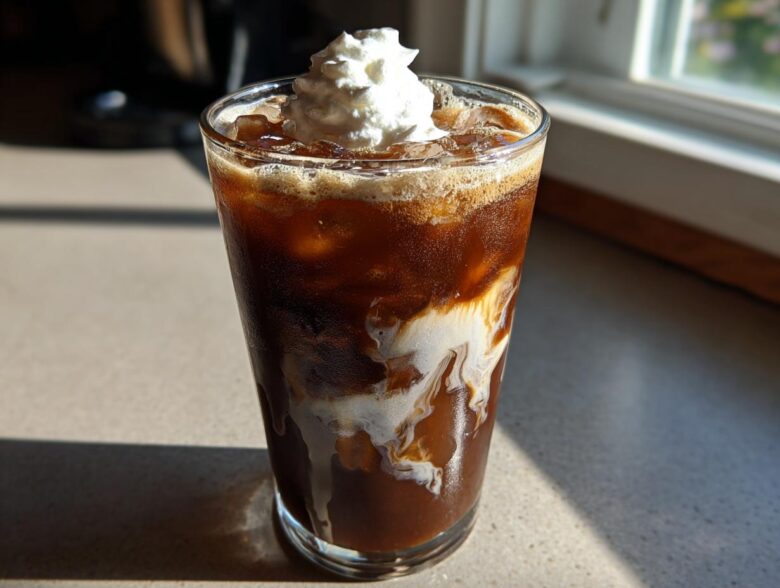
Oh my gosh, are you dying from this heat too? I swear, the summer sun demands a very specific kind of fuel, and for me, that fuel has to be cold, sweet, and strong. Forget those long lines at the coffee shop! I spent way too much money trying to find the *perfect* chilled coffee drink until I figured out I could make the absolute best Iced Mocha right here in my kitchen. Seriously, we are talking about maximum flavor in about five minutes flat. I’ve tested the ratios a million times so you don’t have to—I just wanted something rich and chocolatey that didn’t taste watered down. Trust me, once you get the hang of this simple recipe, you’ll ditch the drive-thru forever!
Why This Is the Best Easy Iced Mocha Recipe
I’m always looking for shortcuts without sacrificing taste, and that’s exactly what we nailed here. This isn’t just some weak chocolate milk mixed with lukewarm coffee. This is a proper, cafe-quality treat that comes together faster than it takes to find your keys and get out the door.
Why you need to try this right now:
- It truly takes about five minutes start-to-finish. Seriously fast!
- The flavor balance is spot-on; it’s deep coffee mingling with real chocolate richness.
- It’s so adaptable! You can swap out the milk or the coffee base easily.
I call this my Easy iced mocha recipe because there’s no simmering chocolate sauce for an hour or waiting overnight for cold brew to steep. We’re using simple ingredients to get gourmet results, and that’s something I can get behind on a scorching afternoon!
Essential Iced Mocha Ingredients for Rich Flavor
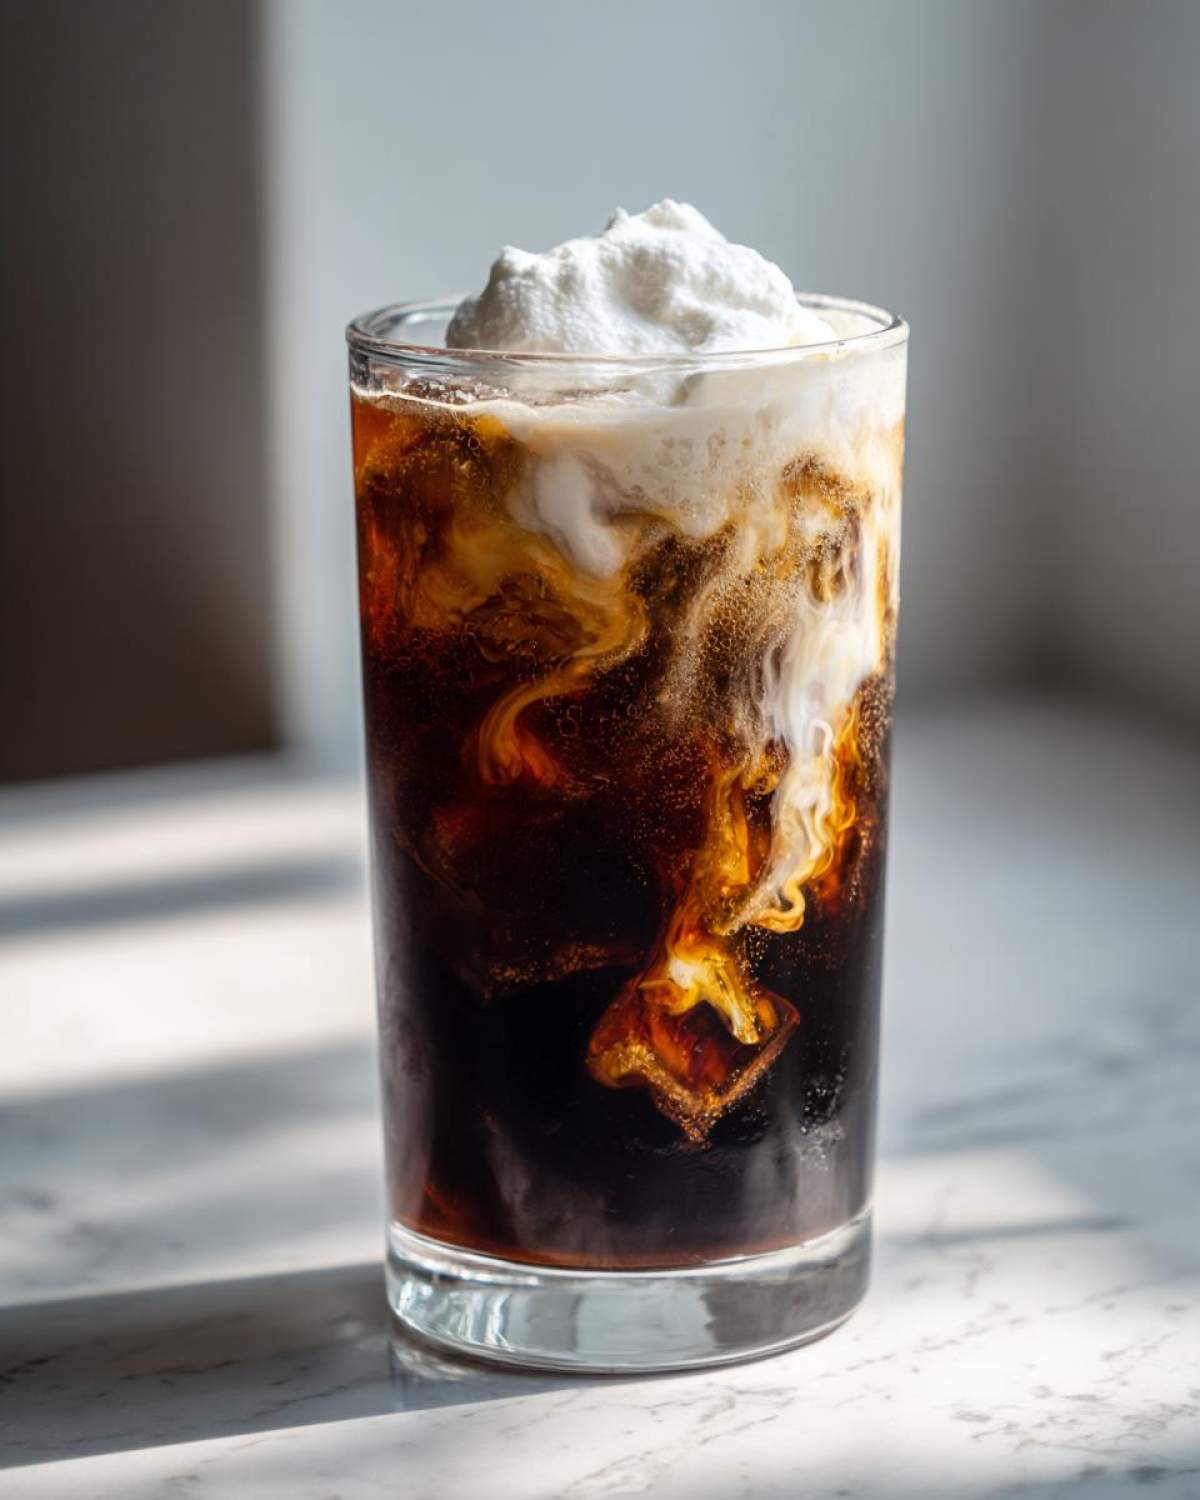
Okay, this is where the magic starts, but listen up: an **Iced Mocha** lives or dies by the quality of its components. We’re only making one drink, so every single ingredient needs to pull its weight. We need two tablespoons of a really good chocolate source, one cup of milk, ice, and then that crucial coffee element. If you’re going simple, grab your favorite bottled syrup. But if you want that “Wow, did you buy this?” flavor, you absolutely must use a high-quality dark chocolate sauce. It melts better and tastes richer than a thin syrup. I love experimenting, and while I have notes on creamy white hot chocolate, for a classic mocha, stick with dark chocolate!
Don’t forget the sweetener! The recipe calls for just a teaspoon of sugar or sweetener, and that’s a starting point. Remember, chocolate syrup already brings sweetness, so taste before you add more. You can always sneak in more later, but you can’t take it out once it’s in there!
Choosing Your Coffee Base for the Iced Mocha
Since this drink is built around the coffee and chocolate being best friends, you need strength. You have two excellent routes here. Route one is espresso: two lovely, freshly pulled shots are ideal. The heat helps dissolve that chocolate perfectly. If you don’t have an espresso machine, don’t worry! Go for Route two: about half a cup of a very concentrated cold brew. I mean strong, like sludge-at-the-bottom strong. Regular drip coffee is just going to get lost under the ice and the milk, leaving you with a muted flavor. We need that coffee punch for a truly great **Iced Mocha**!
Selecting the Best Chocolate Source for Your Iced Mocha
I almost exclusively use a thick chocolate sauce now, like the kind used for hot fudge sundaes, because it blends so smoothly. Cocoa powder is tricky in a cold drink—it clumps up unless you do some extra magic work first. If you want that gourmet touch, you can absolutely whip up a small batch of homemade sauce. It’s easier than you think! If you’re feeling adventurous later, you can check out my recipe for homemade chocolate milk and see how simple making a base sauce can be. It tastes incredible here, especially if you use a dark cocoa powder in the sauce recipe!
Simple Preparation: How to Make Iced Mocha
Alright, buckle up, because this is the easiest way to construct the perfect **Iced Mocha**, and we are moving fast! We’re keeping the steps clean and focused so you can get that cold caffeine fix immediately. Remember, patience only applies to tasting, not mixing this drink—we want speed and flawless texture!
Dissolving the Chocolate in Your Iced Mocha Base
First things first: pour your coffee into your glass. If you pulled shots of espresso, great! That residual heat is our best friend for dissolving our chocolate syrup and any optional sweetener right away. Just stir it aggressively until it’s completely smooth, just like you would when making a lovely iced latte base.
If, like me on busy mornings, you opted for the cold brew concentrate, you need to be a little more strategic here. Because cold brew is room temperature, that thick chocolate sauce won’t dissolve easily on its own. Take your two tablespoons of chocolate and mix them into the cold coffee first. If it’s still stubborn, pop that small glass into the microwave for maybe 10 or 15 seconds—just enough to warm the chocolate slightly so it blends into a velvety liquid. Honestly, nobody wants a grainy bite of undissolved chocolate syrup chunks in their drink, so take that extra second to make sure it’s seamless!
Assembling the Perfect Layered Iced Mocha
Once your chocolate-coffee base looks beautifully homogenous, it’s time for the chill factor. This is the phase where we start building the layers that make this drink look so good! Grab your ice—and be generous! Fill that glass almost right to the top. We want tons of ice because it keeps the drink cold without watering down the flavor too fast, assuming you started strong.
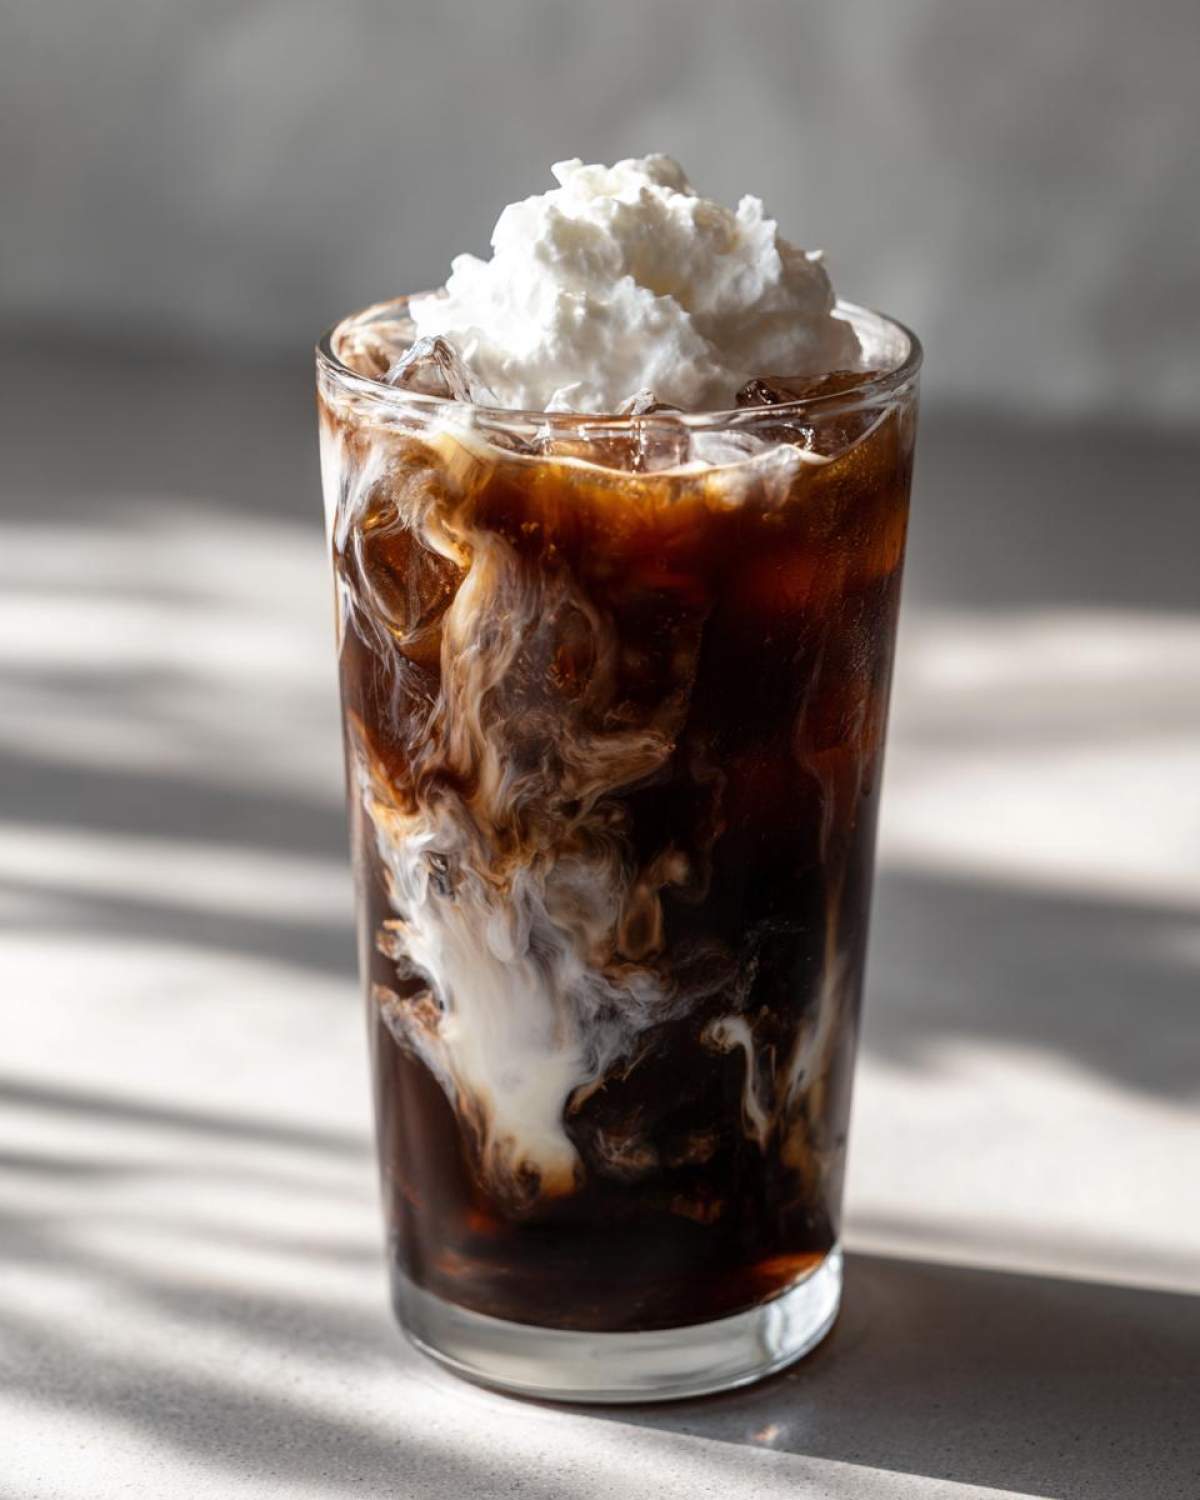
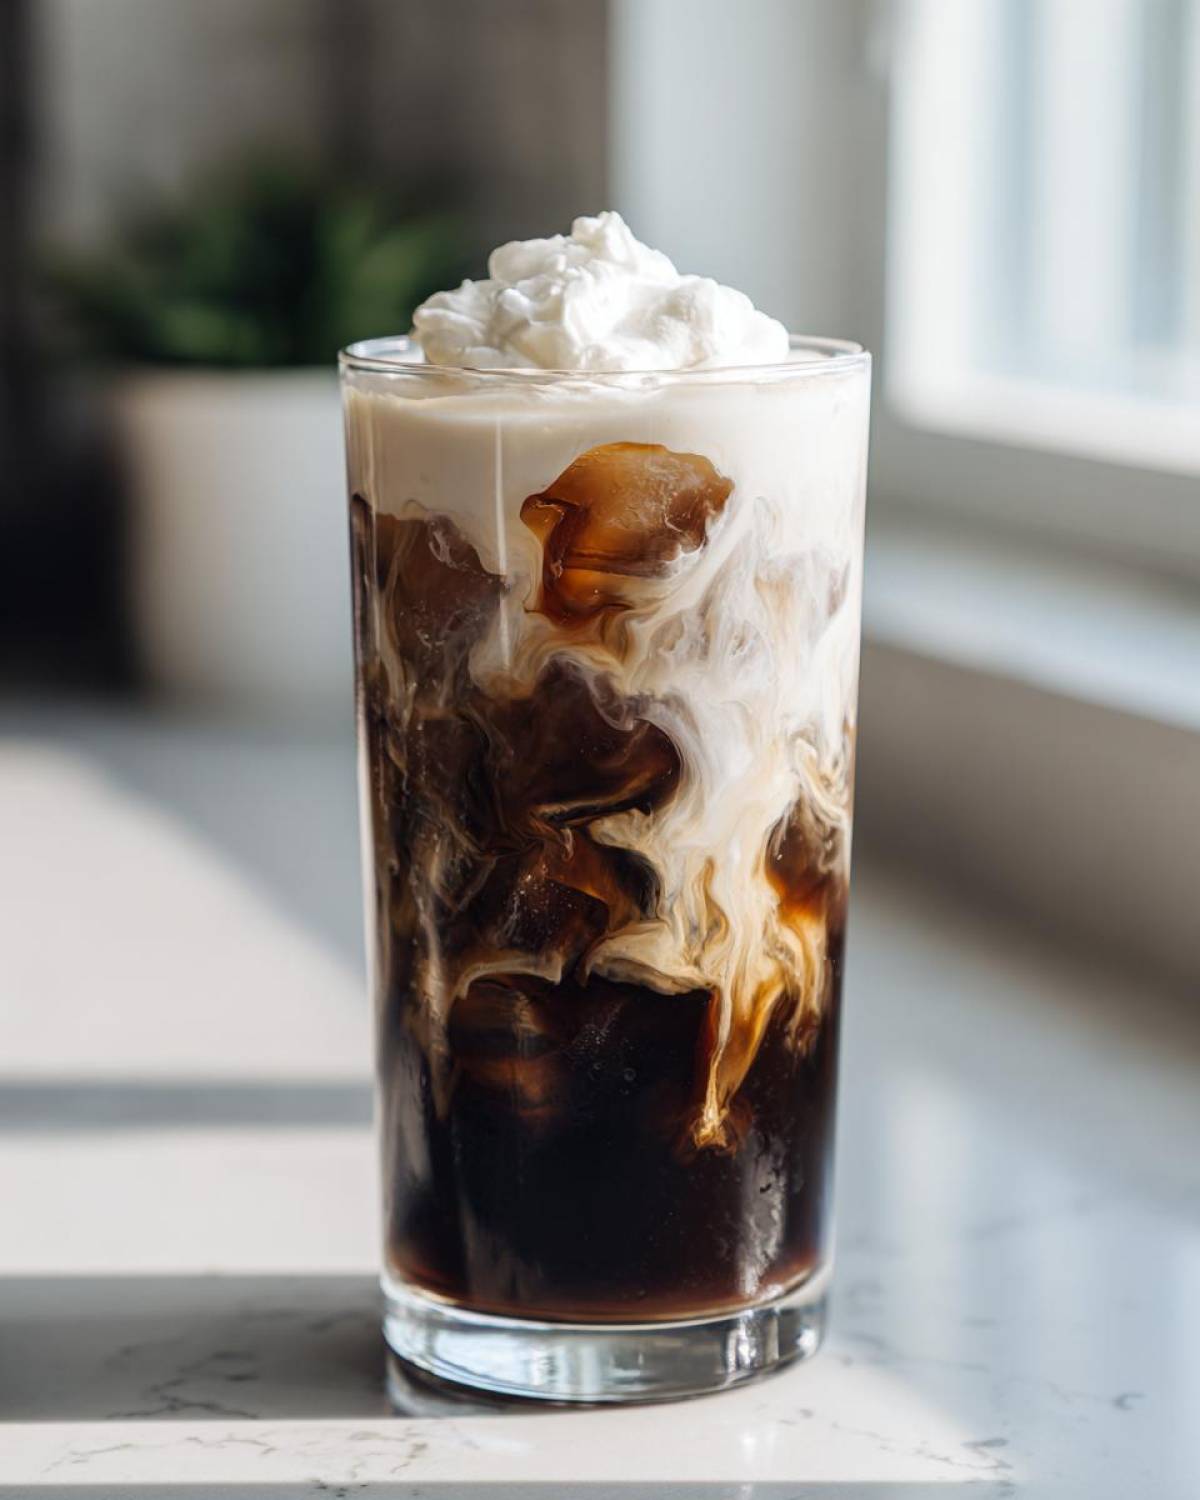
Next, gently pour your cup of milk over the ice. Don’t just dump it; try to pour it down the inside edge of the glass if you can. This helps keep those beautiful layers visible for a minute or two. Finally, grab a spoon and give it one slow, gentle stir just to combine the cold milk with the mocha base. Don’t go crazy churning it, or you’ll end up with a flat, brownish glass. We want to see that beautiful mix coming together. If you’re adding whipped cream, save that for the very last second, just before taking that first glorious sip!
Tips for a Gourmet Iced Mocha at Home
You know, making this an Easy iced mocha recipe doesn’t mean we have to compromise on that rich, gourmet feel. The biggest lesson I learned early on—the hard way, naturally—is about the coffee-to-sweetness ratio. When I first tried making a homemade version, I used my usual morning cup of coffee, which was fine for a regular pour-over. Oops! Once I added the ice and the chocolate syrup, the whole drink tasted flat and weak. I ended up dumping it and starting over with double the espresso!
So, my top tip is this: embrace the strength. If you’re using cold brew, use the concentrate. If you’re using espresso, pull those shots a little longer than usual until they are deep and dark. That way, when the ice melts halfway through your slow sipping session, you still have that bold, satisfying coffee flavor fighting through the chocolate.
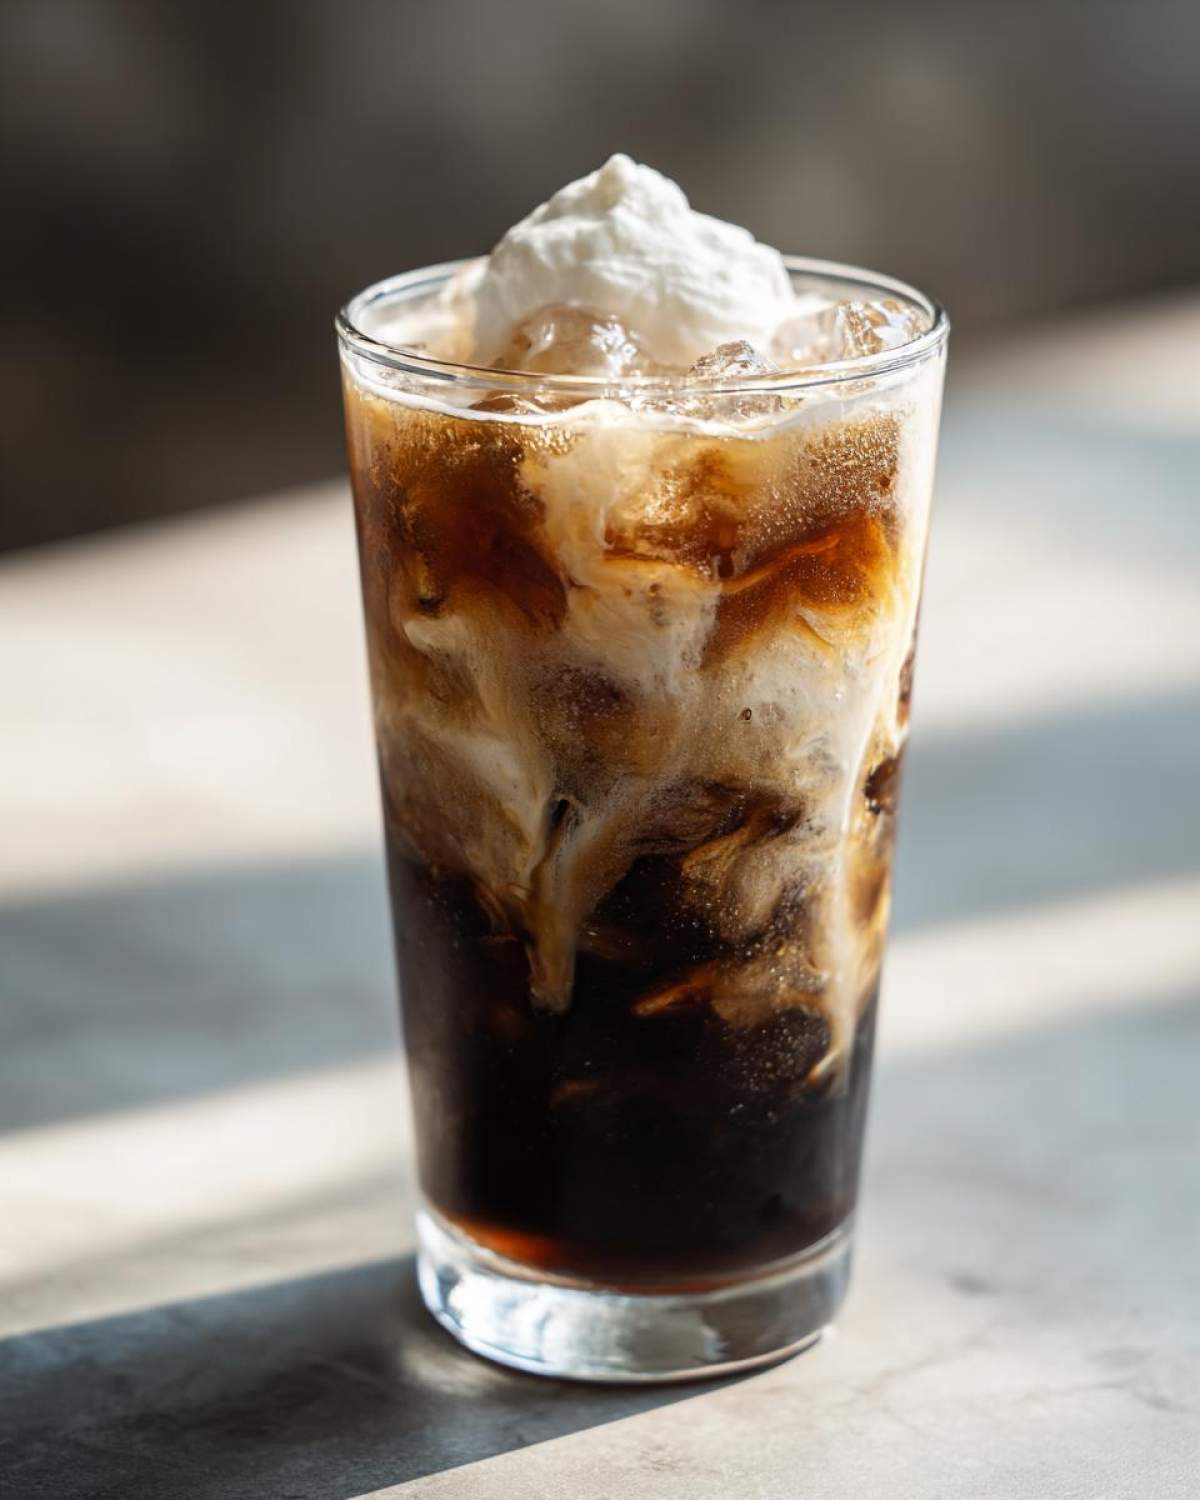
Also, don’t skip out on the toppings! Even if you don’t want to go full whipped cream mountain—though you totally should—a little sprinkle makes a big difference. A tiny dusting of cocoa powder or even a drizzle of hot fudge right on top before you drink it elevates this from a quick fix to a real treat. If you love caramel, you should try my salted caramel mocha variation next time; it’s amazing!
Iced Mocha Flavor Variations and Substitutions
One of the biggest joys of making your favorite drinks at home is that you control the ingredients! We aren’t locked into one specific version here, which is why this recipe is perfect for trying out new things or catering to dietary needs. If you’ve got friends over who need a different twist, or if you just want to mix things up on a Tuesday afternoon, it’s ridiculously easy to pivot.
The most common requests I get are about milk swaps and flavor tweaks. You can easily take this basic **Iced Mocha** and turn it into something completely unique without needing a whole separate recipe card tucked away.
Making a Dairy Free Iced Mocha
If you’re looking to make a Dairy free iced mocha, you really have no excuse not to! The biggest question I get is which non-dairy milk is best. Honestly, it’s down to texture preference. Oat milk is the champion here; it’s thick and creamy and handles the cold temperature really well without getting watery. Almond milk works fine, but it can sometimes taste a little thin compared to whole milk.
For anyone wanting Vegan iced mocha ideas, just stick to oat or soy milk, and make sure the chocolate syrup you use is dairy-free (most standard syrups are, but always check the label!). Use a zero-calorie sweetener like monk fruit if you’re skipping traditional sugar, too.
Adding Popular Iced Mocha Flavor Variations
Ready to dress this thing up? It’s so simple! You can add about an eighth of a teaspoon of peppermint extract right in when you’re dissolving the chocolate. Instant holiday vibe, even if it’s 90 degrees outside! Another really cozy addition is cinnamon. Just a tiny pinch of ground cinnamon mixed in makes the whole drink smell incredible.
If you want a salted caramel vibe, skip the regular chocolate syrup and use a salted caramel sauce instead. Or, if you stick with the chocolate and want that rich, salty counterpoint, add just one or two grains of flaky sea salt directly into your coffee base. It cuts the sweetness beautifully!
Serving Suggestions for Your Iced Mocha with Whipped Cream
This easy drink deserves a fancy finish, don’t you think? Presentation is half the fun, especially when you’ve put in the effort to make your own coffee shop quality beverage. The ultimate crowning glory is, of course, homemade whipped cream. I always keep a can handy for emergencies, but the real deal beats the canned stuff hands-down!
When you top your blended mocha, make sure the surface is relatively smooth before you start. If you’re feeling extra decadent, follow the assembly order: coffee/chocolate, ice, milk, and *then* the cream. For that perfect visual pop, grab some finely shaved dark chocolate or just dust a whisper of unsweetened cocoa powder right over the top of the whipped cream. It makes serving up your iced mocha with whipped cream feel like a major event. Enjoy it immediately while it’s perfectly cold and layered!
Storage and Reheating Instructions for Iced Mocha
Okay, let’s be honest—this Iced Mocha is best enjoyed the second you finish shaking the ice into it. It’s built for immediate gratification, so I really try not to save any!
If you do somehow have leftovers, definitely don’t try to store it for long. Just scrape off the whipped cream if you used any, pour the remaining liquid into a sealed container, and keep it in the fridge for maybe an hour or two at most. The ice will melt, of course, weakening the flavor.
When you go to drink the leftovers? Just give it a really, really vigorous stir. If the chocolate seems a little separated, that’s normal as the temperature changes. The vigorous stirring should bring it back together nicely. If it’s totally sad and lukewarm, just dump it over a fresh glass full of new ice!
Frequently Asked Questions About Homemade Iced Mocha
I get so many questions about making coffee shop drinks at home, and that’s totally fair! Sometimes those commercial drinks just hit different, but not always! Here are a few of the things I always get asked about when people try this recipe for the first time.
Can I make this Iced Mocha with leftover brewed coffee?
You absolutely *can*, but I have to give you a little warning here. If you just use regular leftover drip coffee from this morning, it’s probably going to taste weak once you put all that ice in. That’s really the downfall of any Iced Mocha made with weak coffee—it just gets lost! I highly recommend that if you are saving coffee, you brew it extra strong on purpose, like I do with my cold brew concentrate experiments. Think double the grounds for the same amount of water, or you might just want to follow the instructions for a strong cold brew base instead.
How can I make this taste like a Starbucks copycat iced mocha?
To nail that specific flavor profile, you need two things working together! First, that chocolate has to be high quality—use a thick, rich chocolate sauce; they tend to have a specific flavor profile that’s slightly different from simple syrups. Second, and this is crucial, you need that coffee punch. Commercial places use very strong espresso or specific cold brew concentrates. Make sure your coffee component is strong enough to cut through the richness of the chocolate and the milk. If you use two shots of espresso, you’ll be right there! It’s all about balancing that sweetness with a bold coffee flavor.
Recipe Metrics and Yield for Your Iced Mocha
Since we’ve spent all this time making sure your **Iced Mocha** tastes amazing and looks beautiful, here’s a quick rundown of the stats so you know exactly how much time and effort this surprisingly simple drink took!
You seriously won’t believe how fast this comes together, especially if you already have your cold brew concentrate ready to go.
- Prep Time: 5 minutes (Seriously! That’s just measuring!)
- Cook Time: 0 minutes (Unless you count microwaving your chocolate for 10 seconds, which I totally do for efficiency!)
- Total Time: 5 minutes
- Yield: 1 serving (But you’ll definitely want to make two batches right away.)
This recipe is perfect for those moments when you need a fantastic, rich chocolate coffee drink recipes fix, but you don’t have the patience for a long brewing or complex recipe. It really is the best quick iced mocha at home!
PrintSimple Iced Mocha Recipe

Make a rich, coffee shop-style iced mocha at home using simple ingredients and easy steps.
- Prep Time: 5 min
- Cook Time: 0 min
- Total Time: 5 min
- Yield: 1 serving
- Category: Beverage
- Method: Mixing
- Cuisine: American
- Diet: Vegetarian
Ingredients
- 2 shots espresso or 1/2 cup strong cold brew concentrate
- 2 tablespoons chocolate syrup or sauce
- 1 cup milk (dairy or non-dairy)
- 1 teaspoon sugar or sweetener (optional)
- Ice cubes
- Whipped cream (optional, for topping)
Instructions
- Prepare your espresso shots or measure your cold brew concentrate into a tall glass.
- Add the chocolate syrup and sugar (if using) to the coffee. Stir well until the chocolate is fully dissolved into the warm espresso or room temperature cold brew.
- Fill the glass almost to the top with ice cubes.
- Pour the milk over the ice and coffee mixture.
- Stir gently to combine all layers.
- Top with whipped cream, if desired. Serve immediately.
Notes
- For a dairy-free or vegan mocha, use oat milk or almond milk.
- If you use cold brew, you may need to warm the chocolate syrup slightly before mixing it with the coffee to help it dissolve better.
- Adjust the amount of chocolate syrup based on your preference for sweetness and chocolate intensity.
Nutrition
- Serving Size: 1 drink
- Calories: 250
- Sugar: 30
- Sodium: 100
- Fat: 8
- Saturated Fat: 4
- Unsaturated Fat: 4
- Trans Fat: 0
- Carbohydrates: 35
- Fiber: 1
- Protein: 10
- Cholesterol: 25