

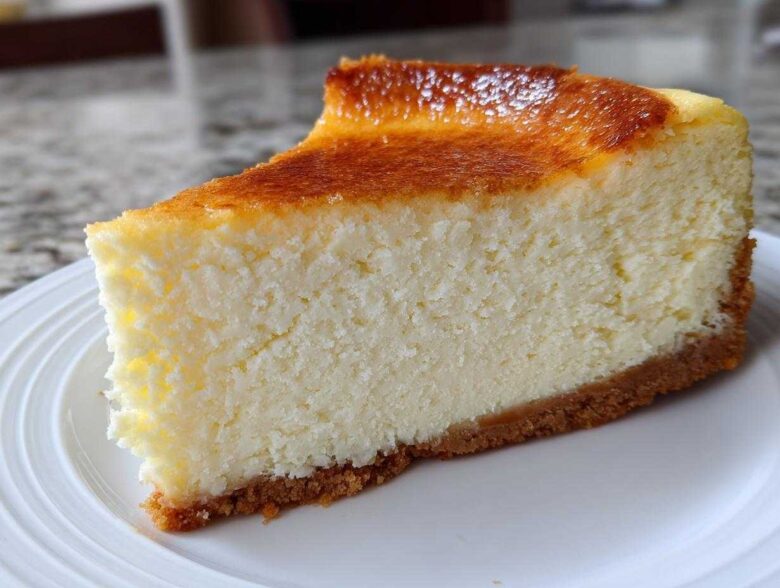
If you’ve ever looked at a stunning, smooth cheesecake and thought, “I can never make one of those,” Liam and I are here to tell you that’s just not true! Forget the stress; this is the ultimate, **easy homemade cheesecake recipe** that conquers baking fears. This New York Style variation comes out rich, absolutely creamy, and the best part? It’s completely **crack-free**, even when we skip the fussy water bath. Seriously, this is the foundational **cheesecake recipe** you need in your life, perfected by Liam, who used to think baking was too intimidating. Get ready to deliver comfort with this flawless, indulgent dessert! Before we dive in, you can read more about our origin story and why cooking for people matters over at our story.
Why This New York Style Cheesecake Recipe Delivers Perfection (The Secret to a Crack Free Cheesecake)
We know the fear. That dreaded crack right down the middle of your beautiful creation. But trust me, this cheesecake recipe just fights back against cracks automatically. We’ve dialed in the science so you get that luxurious, velvety cheesecake filling every single time, even when we skip the fussy water bath. The biggest trick that makes this a true crack free cheesecake isn’t just the slow cooling, though that helps a ton! It starts long before the oven.
The absolute must-do step is ensuring every single dairy component—the cream cheese, the eggs, the sour cream—is truly room temperature. If they aren’t comfy warm, they won’t blend right, no matter how hard your mixer tries. We learned early on that starting cold guarantees a lumpy mess, and lumps are the enemy of smoothness! Speaking of savory things that can go wrong, I used to be terrified of making a simple caramelized onion dip because I thought I’d burn the onions, but cheesecake is so much more forgiving!
Achieving That Signature Creamy Cheesecake Recipe Texture
For that unbelievably smooth texture, you need to respect the cream cheese. We only use the full-fat stuff; there’s no cutting corners here if you want the real New York experience. Liam’s big tip, which I always forget? Scrape the bowl down after every single addition! If you leave pockets of unmixed cream cheese hiding on the bottom or sides, you’ll end up with weird pockets in your final creamy cheesecake recipe. We don’t scrape just once, we scrape aggressively, I promise you’ll notice the difference!
Gathering Supplies for Your Easy Homemade Cheesecake
Getting ready for this easy homemade cheesecake means making sure your tools are prepped, because once the batter is ready, you need to move fast! Forget about trying to wrestle a cheesecake out of a regular cake pan; if you don’t own a 9-inch springform pan, this is the time to grab one. I remember the first time Liam had me use one—I hated how wobbly the sides looked! I thought for sure the edges would spill out during the foil wrapping process. But I was wrong. These pans are magic for clean removal!
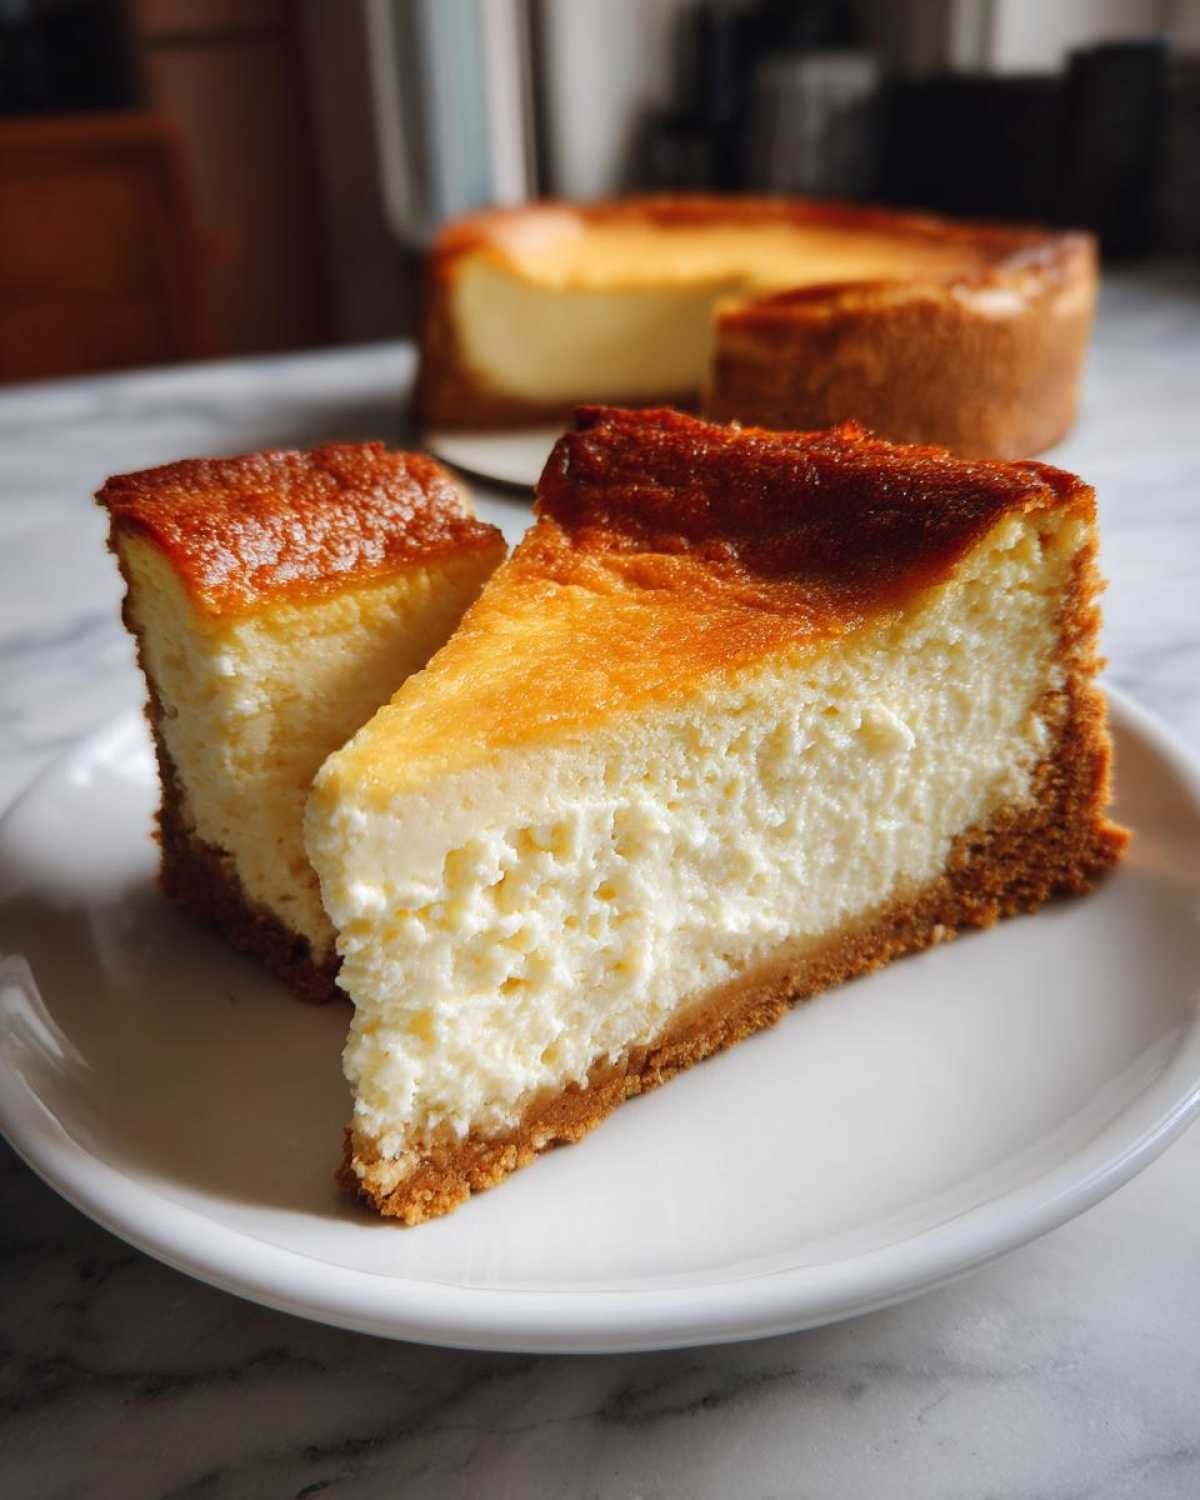
Essential Equipment for the Perfect Cheesecake Recipe
- A 9-inch springform pan—non-negotiable for a beautiful release!
- An electric mixer (handheld or stand mixer) for getting that batter perfectly smooth.
- Heavy-duty aluminum foil. We need the good stuff to wrap that pan up tightly, whether you’re using a water bath or not.
Ingredients for the Best Cheesecake Recipe: Crust and Filling
Okay, now for the shopping list! Getting your supplies together is half the battle for this unbelievable cheesecake recipe. The key here—and I mean the *absolute* key—is temperature control. Don’t cheat! If your cream cheese or eggs are even a little chilly, you’re playing with fire regarding lumps and cracks. Liam is meticulous about this, and I’ve learned to always pull everything out about two hours before I even think about mixing. Let’s get organized for the crust and filling!
If you’re looking for other simple treats to deliver warmth, check out how we make amazing garlic breadsticks—simple stuff that always hits the spot!
For the Graham Cracker Crust Recipe
- 1 3/4 cups graham cracker crumbs (We use finely ground crumbs, almost dust-like!)
- 1/2 cup granulated sugar (This sweetens up the base perfectly.)
- 6 tablespoons unsalted butter, completely melted
For the Rich Cheesecake Filling
Remember what I said—everything here needs to be totally room temperature to make sure we get that perfect rich cheesecake dessert.
- 4 (8 ounce) packages full-fat cream cheese, softened so it squishes easily
- 1 1/2 cups granulated sugar (Yes, more sugar! This is New York style, after all.)
- 1/4 cup all-purpose flour (This is our little insurance policy to help prevent cracks!)
- 1 teaspoon vanilla extract (Use the good stuff, please!)
- 1/4 teaspoon salt
- 4 large eggs, all at room temperature
- 1/2 cup sour cream, room temperature (This adds the signature tang!)
Cheesecake Step by Step: Baking Your Classic Cheesecake Dessert
This is where the magic happens! We are going to walk through achieving the most amazing classic cheesecake dessert without resorting to a boiling water bath—seriously, we are skipping that mess. Follow these steps closely, especially the cooling process, and you’ll have a gorgeous, crack free cheesecake recipe surface that will make everyone clap. If you want to see another one of Liam’s tested favorites for holiday baking, you should check out our classic pumpkin pie recipe for comparison!
Preparing the Crust and Oven Setup
First things first, preheat your oven to 350 degrees F. Now, this next part is important even if we aren’t bathing the pan in water: grab that 9-inch springform pan and wrap the outside bottom and sides absolutely tightly with heavy-duty foil. Think of this as your insurance card against any potential moisture seeping in. After your graham cracker crust recipe is mixed and pressed firmly into the bottom, pop that pan into the oven for 10 minutes while it bakes. Once it’s done, take it out, let it chill for just a second, and then drop your oven temperature down to 325 degrees F for the filling.
Mixing the Velvety Cheesecake Filling
Take your lovely, smooth cream cheese base—remember, no lumps! Beat in the sugar, flour (our anti-crack helper!), vanilla, and salt on medium speed until it’s just combined. Then, this is Liam’s strict rule for maintaining that creamy cheesecake recipe texture: add those four room-temperature eggs in one at a time. Mix on low speed *just* until the yellow yolk disappears before adding the next one. Overmixing here whips in too much air, and air causes cracks later! Finish by gently stirring in your sour cream until the batter looks uniformly smooth.
Baking and the Crucial Slow Cooling for a Crack Free Cheesecake Recipe
Pour that gorgeous filling over your crust and very gently tap the pan on the counter a couple of times to get rid of any sneaky air bubbles. Bake at 325 degrees F for about an hour to 75 minutes. You’re looking for the edges to look solid, but the inner two inches should still have a little wobble—like soft Jell-O! The real secret to this crack free cheesecake recipe happens next: turn your oven off completely, prop the door open about two inches, and leave the cheesecake inside for a full hour. This slow temperature descent is essential for preventing that devastating surface crack!
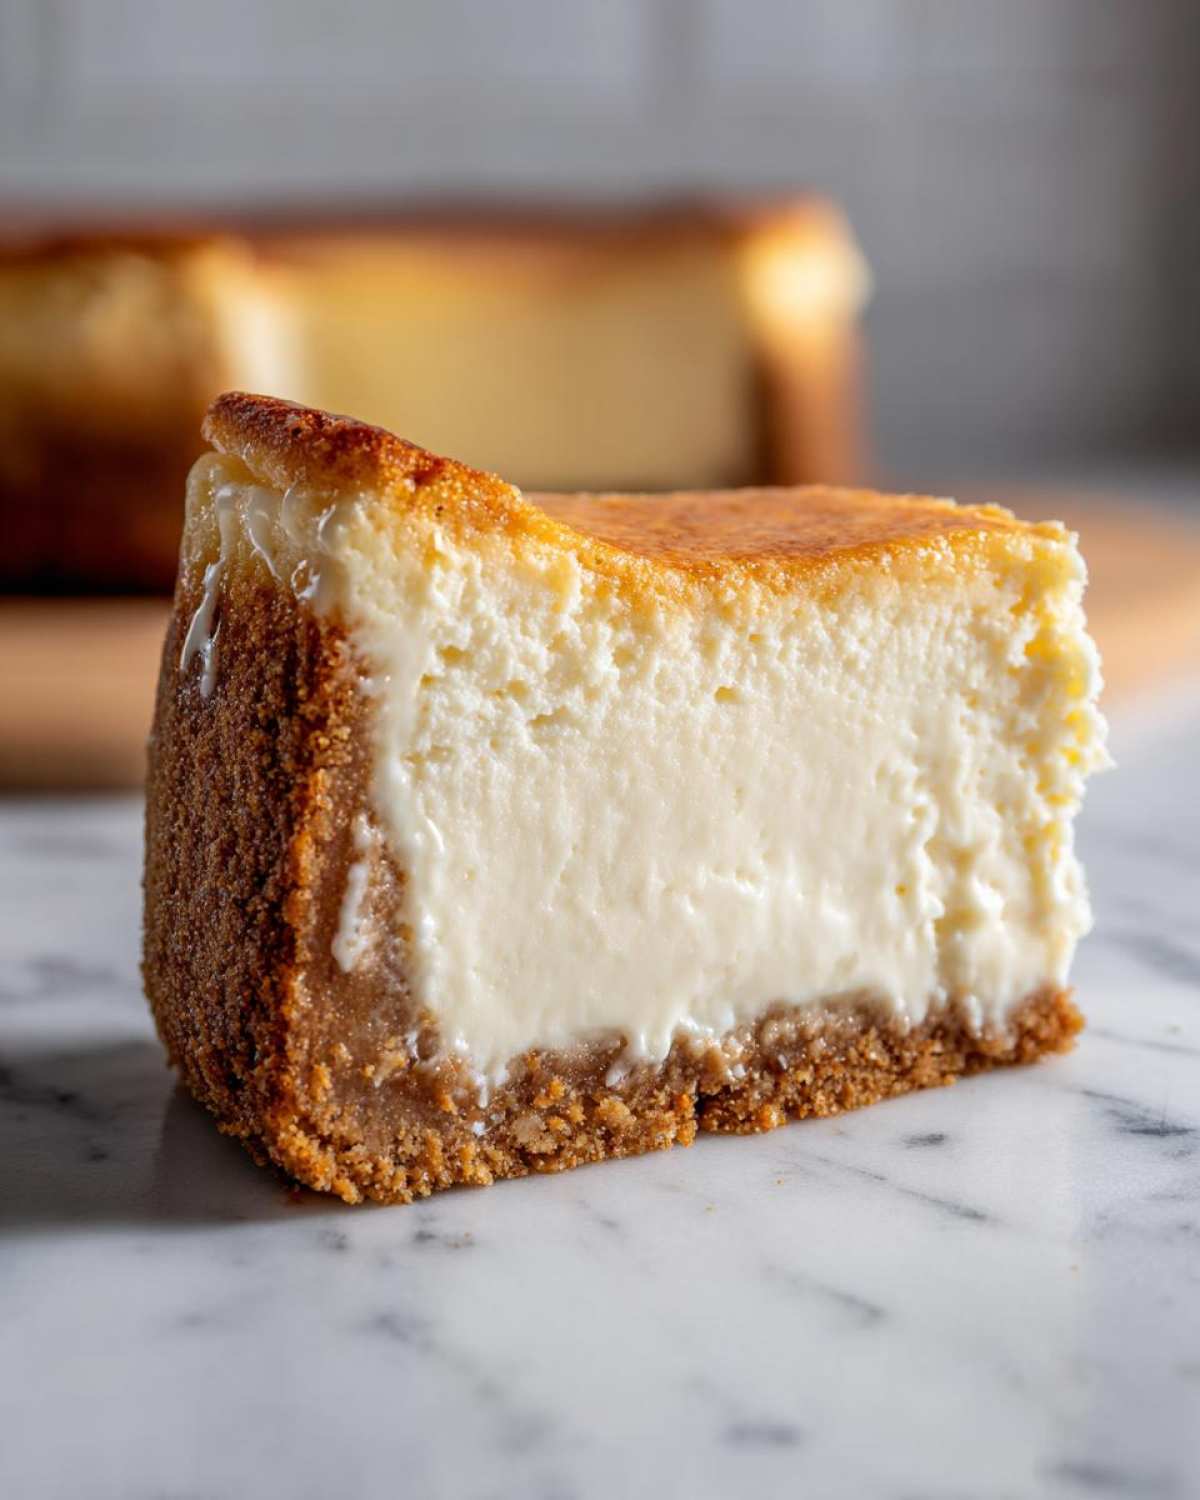
Tips for Success with Your New York Cheesecake Recipe
We’ve covered the main baking steps, but just like Liam says, sometimes the difference between good and *this* amazing cheesecake recipe comes down to the little things. Seriously, pay attention to the temperature tweaks!
The biggest expert tip I can give you for a truly velvety experience is to stop being impatient with your ingredients. If your cream cheese is cold, you’re going to end up mixing for ages trying to beat out the lumps, which means you’re incorporating air. Air equals cracks later! That means the room temperature rule isn’t just a suggestion for this dessert, it’s the law!
Also, once the eggs are in, treat your mixer gently. Low speed! We’re aiming for a rich, dense New York structure, not a fluffy sponge cake, so we don’t want extra volume from aggressive beating. If you want to see how another baker handles their New York style, you can check out this advice for a similar New York Cheesecake recipe, though I still think ours is easier!
Serving Suggestions for Your Classic Cheesecake Dessert
Once your stunning, crack-free masterpiece has chilled overnight—which is definitely the hardest part, I won’t lie—it’s time to adorn this classic cheesecake dessert! Since the base flavor is so rich, dense, and perfectly tangy, you don’t need a complicated topping. In fact, the simpler, the better, because we want that creamy texture to shine!
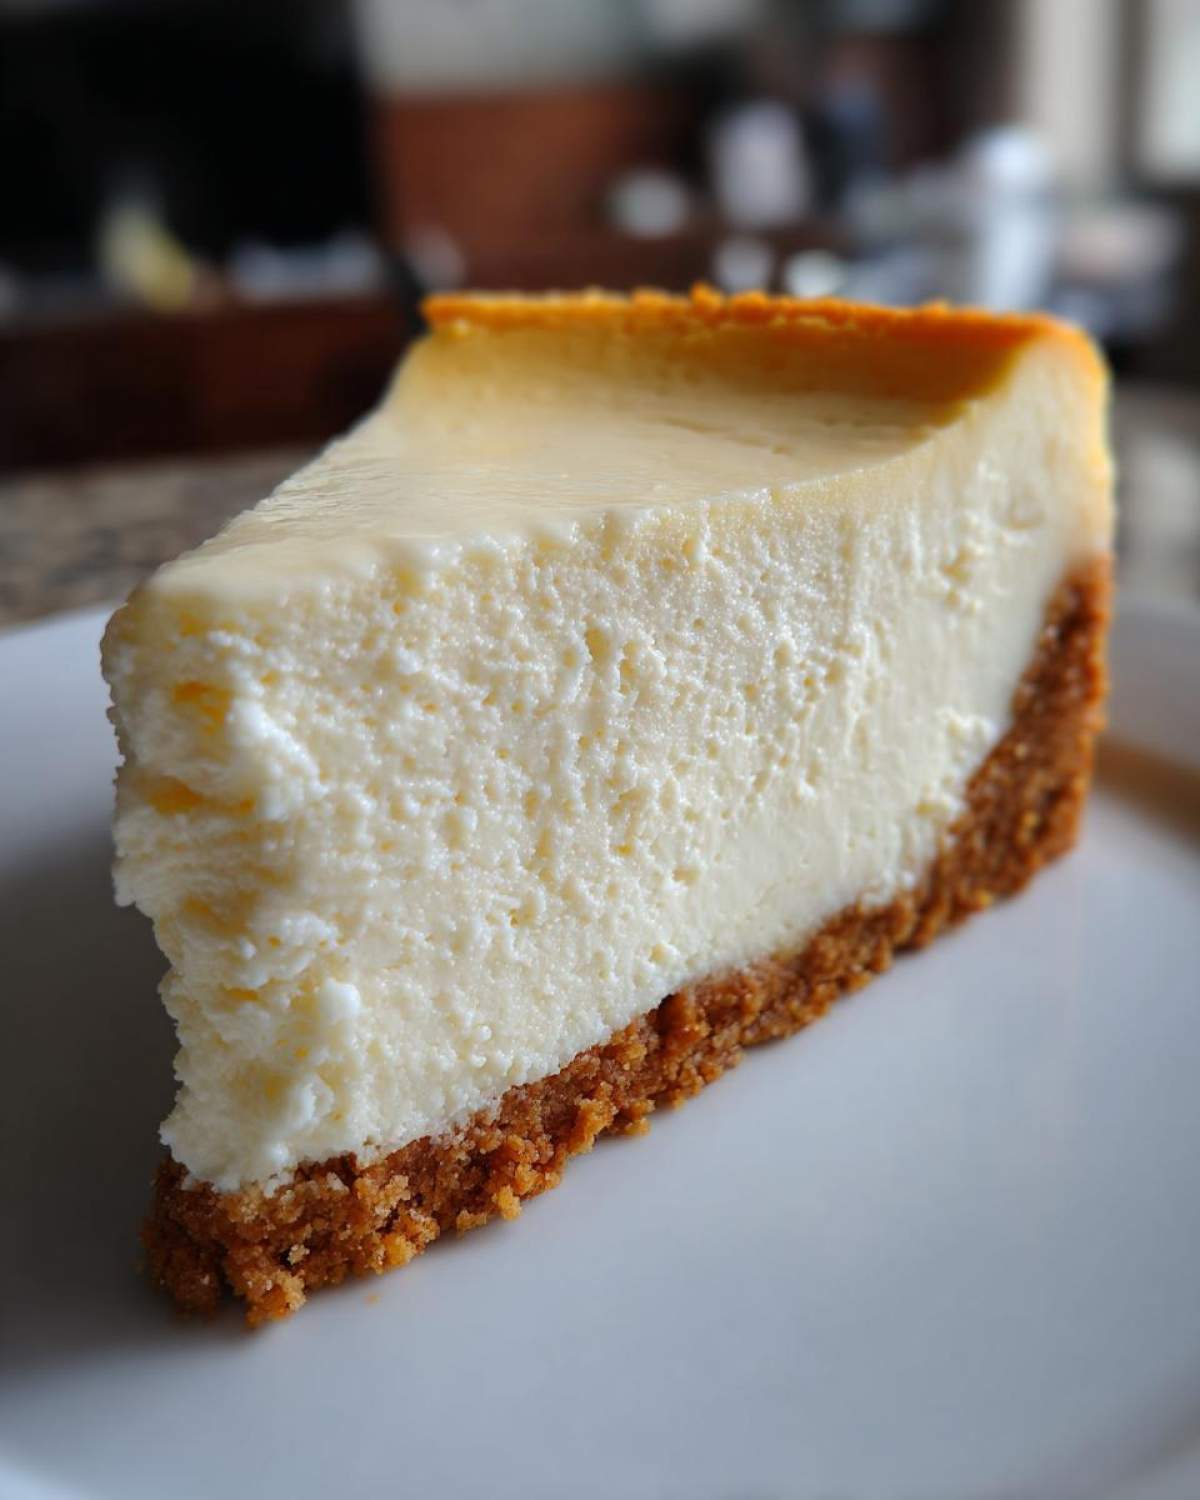
For me, Liam loves a dramatic drizzle, but I usually stick to what feels fresh and light. Have you ever tried just piling a huge mound of fresh, sweet raspberries right on top? It’s gorgeous, and the slight tartness cuts through the richness perfectly. It makes for such a beautiful presentation!
If you’re feeling a little fancier—maybe for a big birthday or holiday baking—a simple caramel sauce is divine. Just remember, a little goes a long way. You really don’t want to drown out the delicate flavor we worked so hard to achieve. If you’re into slightly more involved baking, maybe you should check out how we make our apple tart next, but for this cheesecake, keep the toppings light and complementary!
Storage and Making Ahead for Your Cheesecake Recipe
Okay, you’ve done the hard part, and now you have this incredible, perfectly set dessert. Don’t ruin it by getting impatient! For this cheesecake recipe—especially because it’s rich and has so much dairy—you absolutely have to let it set completely. I know waiting feels cruel, but you need a minimum of six hours, and honestly, overnight is where the dreams happen. This slow chill time locks in that luxurious, creamy cheesecake recipe texture we worked so hard to achieve.
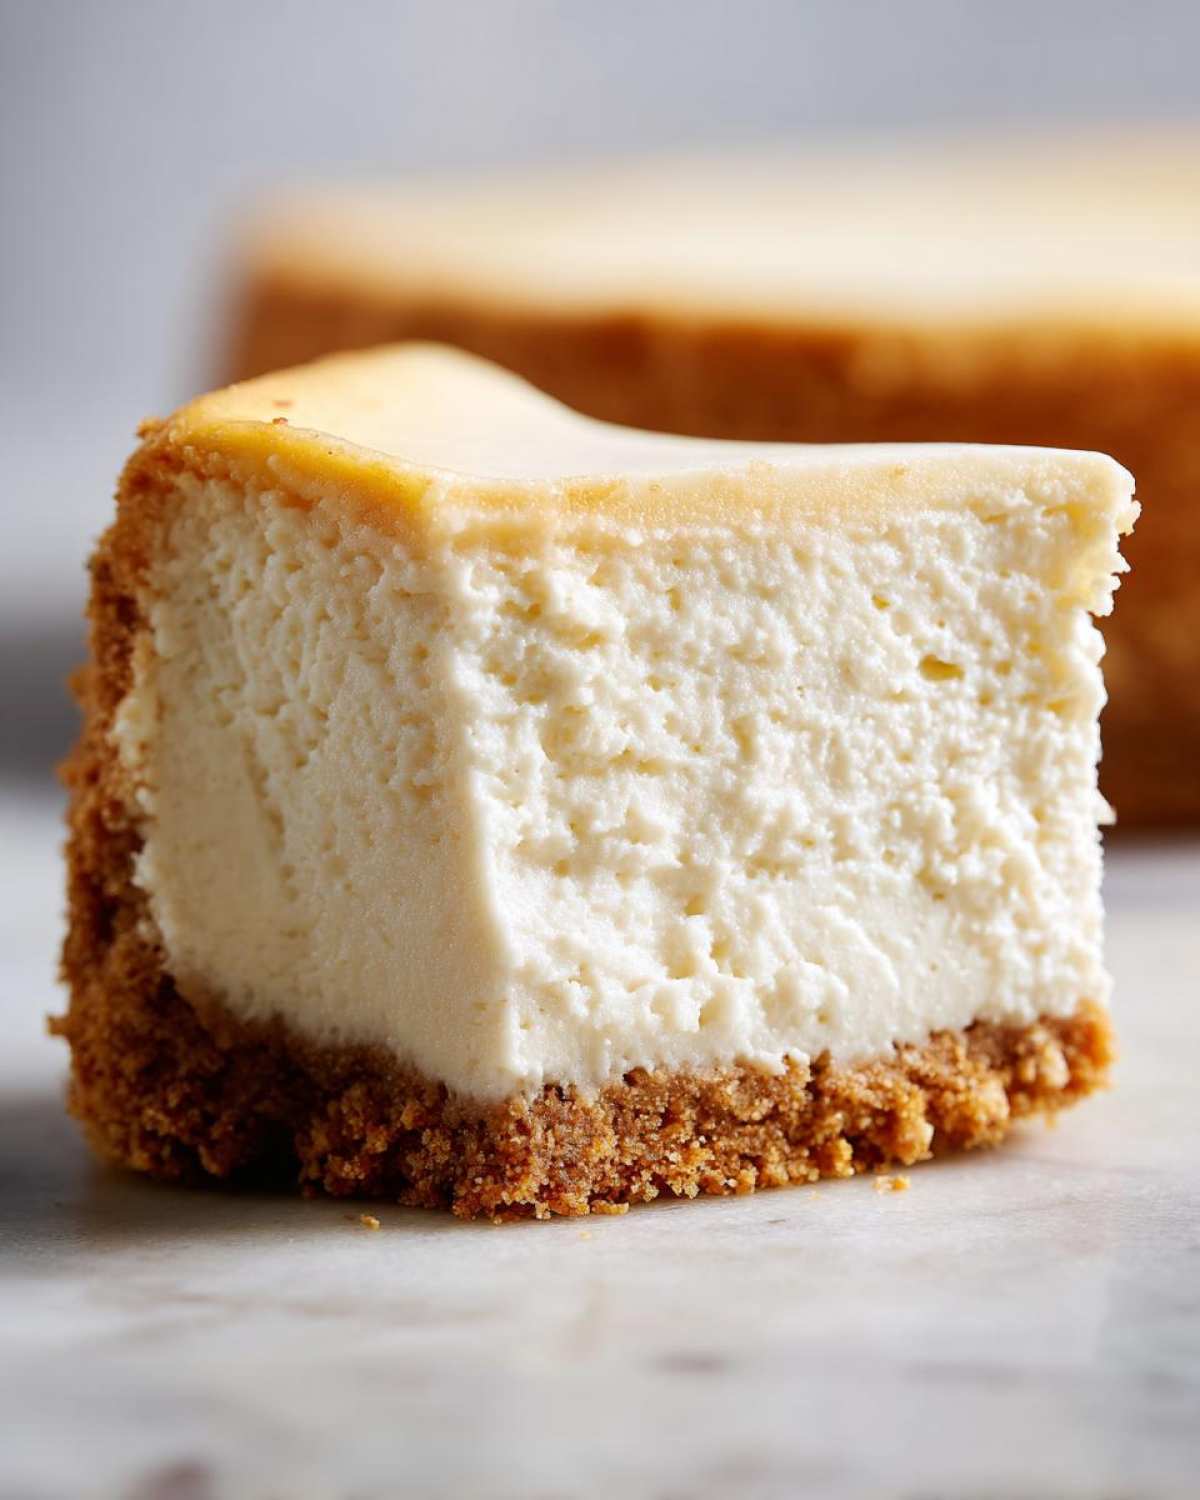
When we wrap leftovers (which usually only happens around our house if someone else shows up!), we cover the whole pan tightly with plastic wrap, making sure it doesn’t touch the surface if you decided to add a topping. A well-wrapped cheesecake will keep beautifully in the fridge for about five days. It never lasts that long, though, because it’s just too tempting!
This is definitely one of my favorite recipes to make ahead for the holidays, too. If you’re planning on baking for Thanksgiving or Christmas, you can make this entire thing three days in advance and just keep it chilling. It tastes even better on day two, I swear! If you’re looking for another make-ahead option that’s fantastic for cozy holiday vibes, you should definitely try Liam’s easy super moist pumpkin bread recipe for a totally different kind of treat!
Frequently Asked Questions About Making a Cheesecake Recipe
I knew you’d have questions! Creating the best cheesecake recipe often brings up the same panics, especially when you’re trying to avoid cracks on your first go. Don’t worry—we’ve tackled all the biggest worries right here so you can proceed confidently with this easy homemade cheesecake!
Why can’t I skip the slow cooling process?
If you skip the hour of slow cooling in the slightly open oven, you are almost guaranteeing a crack. Why? Because a massive, fast temperature drop makes the cheesecake contract too quickly. It’s basically shrinking away from its smooth top surface! That slow cool down is non-negotiable if you want that perfect, smooth finish without fussing with a full water bath.
What happens if my cream cheese wasn’t completely soft?
Oh, I’ve done this before when I’m trying to rush things! If your cream cheese is lumpy when you start mixing, you’ll end up with a lumpy batter, which ruins that dreamy, creamy cheesecake recipe texture. You have to beat the lumps out before adding sugar, or you risk over-beating once the eggs come in. If you realize it halfway through, just stop mixing and let the bowl sit on the counter for another 15 minutes before trying again!
Is the foil really necessary if I’m doing a no water bath cheesecake?
Liam insists on it, even though we aren’t bathing it! It’s purely for insurance. If any condensation drips off the sides of the oven during the bake (which can happen!), that foil keeps the lower part of your crust dry. A soggy crust ruins any cheesecake, no matter how perfect the filling is. It’s small effort for a guaranteed perfect no water bath cheesecake!
Can I use light cream cheese to make this lighter?
Please don’t! If you want the rich, dense texture that defines a New York cheesecake, you need the full-fat stuff. Light or reduced-fat cream cheese simply doesn’t have the fat content needed to hold that beautiful structure. It’s why our recipe works so well without added stabilizers, keeping this truly homemade!
If you have any other burning questions about baking or want to see more of our posts, you can check out our whole blog archive!
Estimated Nutritional Data for This Indulgent Dessert Recipe
Okay, let’s talk numbers for a second. Since this is a seriously rich and indulgent dessert recipe, I want to be upfront about what’s in that glorious slice! Liam always reminds me that we aren’t making health food—we’re making happiness—but for transparency (because we want you to trust us completely!), here are the estimates based on the ingredients listed. We believe in full transparency here at Cookery Courier!
Remember, these figures are just an estimate. If you use a different brand of graham crackers or the exact amount of sugar varies slightly, the numbers will shift. Don’t forget to read through our full disclaimer regarding nutritional information on the site!
- Serving Size: 1 slice
- Calories: Approximately 450
- Fat: Around 30g (with 18g being saturated fat—that’s the richness talking!)
- Carbohydrates: About 40g
- Protein: Roughly 8g
See? Totally worth every single bite. Enjoy this masterpiece guilt-free!
PrintThe Best Easy Homemade New York Style Cheesecake Recipe (Crack-Free)

Follow this simple guide to make the best homemade New York Style Cheesecake. You will achieve a rich, creamy, and velvety texture every time, without needing a water bath or worrying about cracks. This classic dessert is perfect for any special occasion.
- Prep Time: 25 min
- Cook Time: 75 min
- Total Time: 100 min
- Yield: 12 servings
- Category: Dessert
- Method: Baking
- Cuisine: American
- Diet: Vegetarian
Ingredients
- 1 3/4 cups graham cracker crumbs
- 1/2 cup granulated sugar (for crust)
- 6 tablespoons unsalted butter, melted
- 4 (8 ounce) packages full-fat cream cheese, softened to room temperature
- 1 1/2 cups granulated sugar (for filling)
- 1/4 cup all-purpose flour
- 1 teaspoon vanilla extract
- 1/4 teaspoon salt
- 4 large eggs, room temperature
- 1/2 cup sour cream, room temperature
Instructions
- Preheat your oven to 350 degrees F. Wrap the outside of a 9-inch springform pan tightly with heavy-duty aluminum foil to prevent water seepage, even if you are skipping the water bath.
- Prepare the crust: Mix the graham cracker crumbs, 1/2 cup sugar, and melted butter until combined. Press the mixture firmly into the bottom of the prepared springform pan. Bake for 10 minutes. Remove from the oven and let cool slightly. Reduce the oven temperature to 325 degrees F.
- Prepare the filling: In a large bowl, beat the softened cream cheese with an electric mixer on medium speed until completely smooth. Scrape down the sides of the bowl often.
- Add the 1 1/2 cups sugar, flour, vanilla extract, and salt to the cream cheese mixture. Beat until just combined and smooth. Do not overmix.
- Add the eggs one at a time, mixing on low speed after each addition only until the yolk disappears. Mix in the sour cream until the batter is uniform and creamy.
- Pour the filling over the cooled crust. Gently tap the pan on the counter a few times to release any large air bubbles.
- Bake at 325 degrees F for 60 to 75 minutes. The edges should look set, but the center 2 inches should still have a slight jiggle when gently nudged.
- Turn off the oven, but leave the cheesecake inside with the oven door propped open about 2 inches for 1 hour. This slow cooling prevents cracking.
- Remove the cheesecake from the oven and let it cool completely on a wire rack. Once cool, cover loosely and refrigerate for at least 6 hours, or preferably overnight, before serving.
Notes
- Use room temperature ingredients for the filling; this prevents lumps and ensures a velvety cheesecake filling.
- To avoid cracks, do not overmix the batter once the eggs are added. Mix only until incorporated.
- If you choose to use a water bath, place the foil-wrapped springform pan inside a larger roasting pan and fill the roasting pan with hot water halfway up the side of the springform pan before baking.
Nutrition
- Serving Size: 1 slice
- Calories: 450
- Sugar: 35
- Sodium: 250
- Fat: 30
- Saturated Fat: 18
- Unsaturated Fat: 12
- Trans Fat: 0.5
- Carbohydrates: 40
- Fiber: 1
- Protein: 8
- Cholesterol: 120