

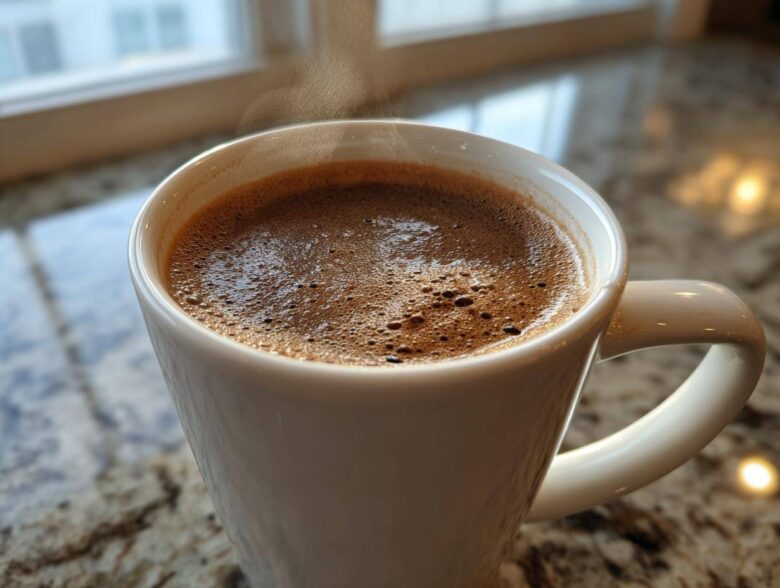
There is nothing quite like stepping inside on a freezing afternoon and knowing a steaming mug of pure chocolate richness is waiting for you, right? Forget those sad, dusty packets you find in the back of the cupboard. When it comes to treating yourself right, there’s no substitute for making your own homemade hot cocoa mix from scratch! I’m telling you, this big-batch recipe is a game-changer. We whip up a giant container every fall, and it saves us so much money compared to buying those little tins. Plus, you get to control every bit of the flavor! This is truly the best way to get a decadent, creamy hot cocoa mix that tastes like it came from a fancy café, not a factory.
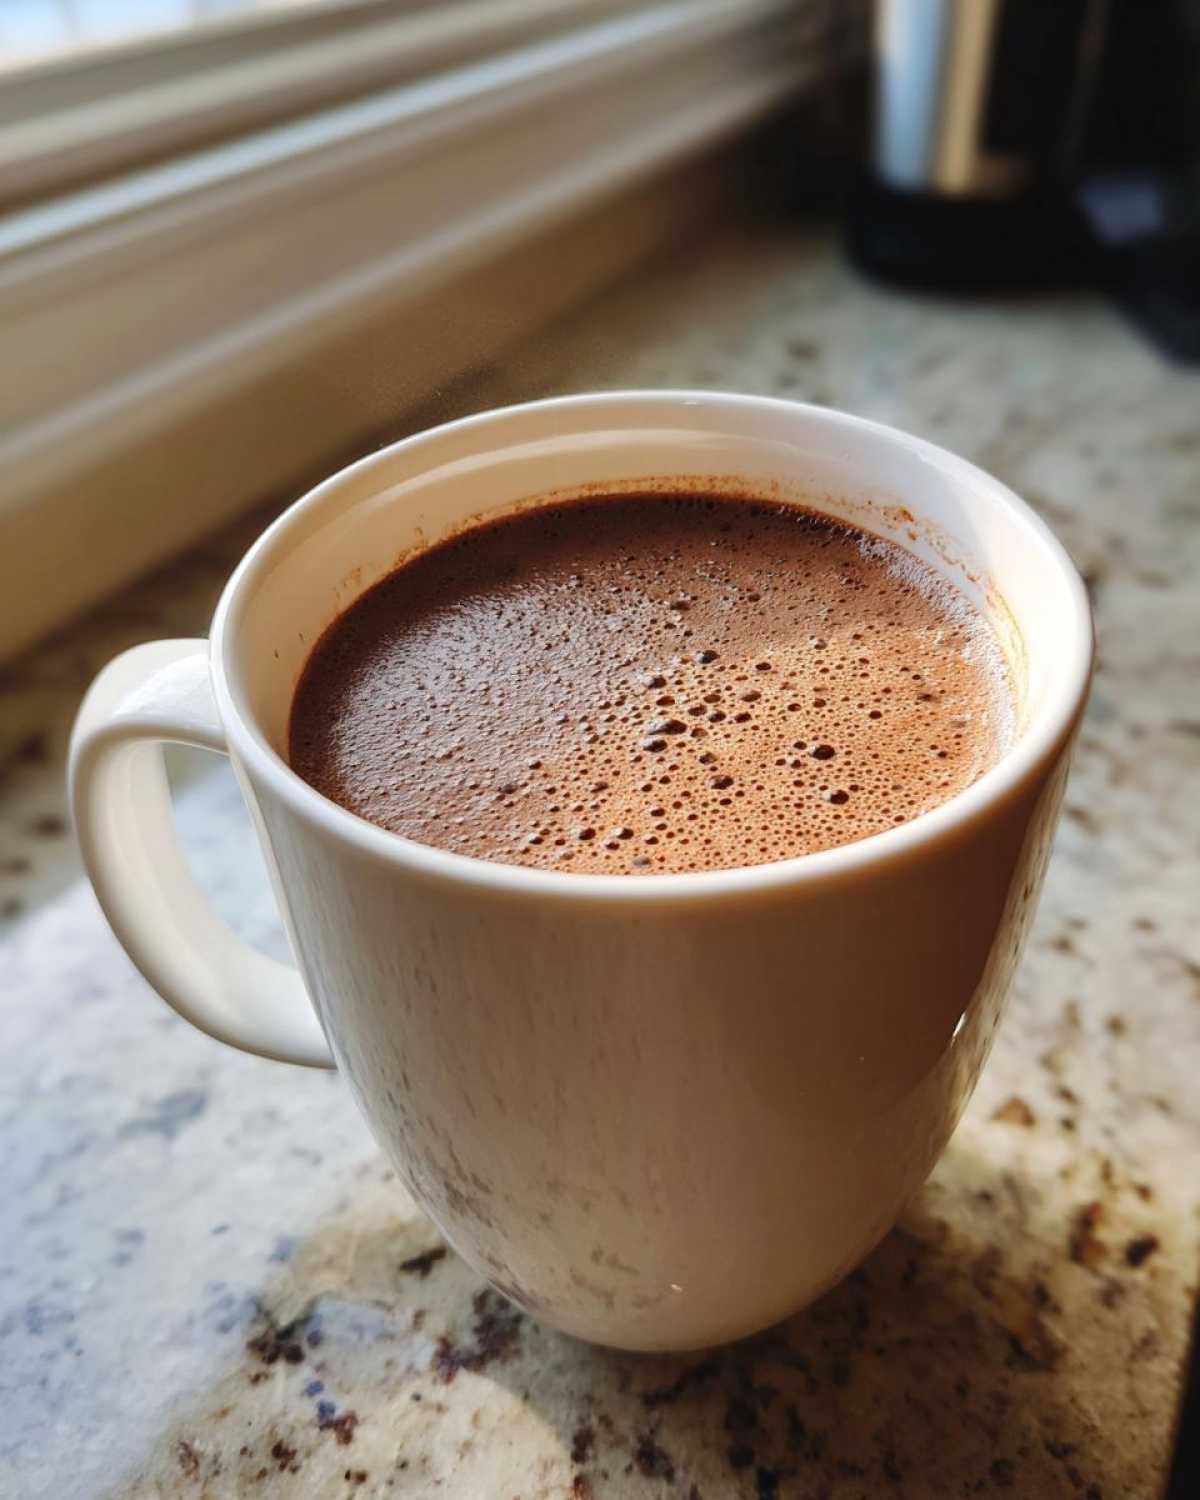
I started making this because I hated how thin the store-bought stuff always tasted, even when I used whole milk. This blend guarantees a deep chocolate punch every single time. Trust me, once you try this DIY hot chocolate powder, you won’t go back. And you can use it to make that amazing pumpkin white hot chocolate too!
Why This Big Batch Hot Cocoa Mix is Your New Pantry Staple Chocolate Drink
Seriously, why buy the sad little packets when you can make a huge haul in less time than it takes to queue at the coffee shop? This is all about efficiency and making sure that when a hot chocolate craving hits—and it always does unexpectedly—you’re ready. We’re talking about transforming your cupboard into a powerhouse for winter drinks!
- This recipe is designed to be made in bulk. You mix it once, and you’re all set for weeks, maybe even months!
- It’s the highest quality chocolate flavor you can get without measuring cocoa powder every single time you want a mug.
- It’s so much better for your wallet; buying ingredients in bulk just stretches your dollar further.
Quick Preparation for Homemade Hot Cocoa Mix
You heard me right—ten minutes, start to finish! There is zero cooking involved here, which is my favorite part of any easy cocoa mix recipe. You just measure, pour, and whisk. If you can stir ingredients together, you can master this. It’s perfect for those evenings when you need instant comfort without the hassle.
Creamy Hot Cocoa Recipe Dry Mix Potential
The difference between this and grocery store muck is texture. We are aiming for decadent! Even if you skip the powdered milk—which is totally fine, by the way—the ratio of high-quality cocoa to sugar gives you a body that coats your mouth. When you use milk instead of just water preparing this creamy hot cocoa recipe dry mix, it honestly tastes like melted chocolate bars.
Gathering Ingredients for Your Rich Chocolate Powder Recipe
Okay, let’s talk about what goes into this behemoth of a recipe. Because we are making a big batch hot cocoa mix, we are going for volume—this yields almost seven cups of powder! That’s enough to keep us supplied through the first big snowstorm, easy. The magic here is choosing good ingredients, because since this is a dry mix, there’s nowhere to hide poor quality choices.
When you use fresh, real ingredients, your pantry staple chocolate drink is going to taste way better. It makes a difference that you can taste immediately once you start whisking everything together. I always make sure my pantry is stocked with these things before that first chilly day hits the windshield!
Ingredient Notes and Substitutions for Hot Cocoa Mix
The main thing folks ask me about is the powdered milk. It’s great for that ultra-creamy texture, but if you’re out or just don’t want it in your homemade hot cocoa mix, don’t panic for a second! The note in the recipe explains exactly what to do: bump up the cocoa powder slightly and add some finely grated dark chocolate. That melted chocolate adds incredible depth, making it a truly rich chocolate powder recipe.
Now, about the cocoa powder itself: I play around with natural vs. Dutch-process, but honestly, you can use either for this recipe. Dutch-process gives a smoother, darker color, but either way, make sure it’s good quality. The salt is super important too—it’s not just for flavor, it actually helps balance the sugar so it doesn’t taste overwhelmingly sweet. Don’t skip the salt or the optional espresso powder if you want that truly complex chocolate flavor!
Step-by-Step Instructions for the DIY Hot Chocolate Powder
This is where the magic happens, though I use the term ‘magic’ loosely because it’s really just assembly! Since this is a DIY hot chocolate powder, there’s no oven time, no waiting around for things to rise. We are keeping this super simple and fast—think 10 minutes max. The first big step is just getting everything into your biggest mixing bowl. Seriously, grab the biggest one you have, because we are making a bulk beverage mix here.
You’ll measure out the sugar, the cocoa powder, the salt, and any of those optional flavor boosters we talked about. Just dump them right in! Once they are all together, then it’s time to move quickly but deliberately into the most crucial phase of making a great hot cocoa mix.
Achieving Smoothness in Your Hot Cocoa Mix
Okay, listen up, this part is non-negotiable if you want a lump-free mug later. That cocoa powder loves to clump up—it’s stubborn! You absolutely must whisk everything together until you can’t see any pockets of singular ingredients. I like to use a proper balloon whisk and really get down into the corners of the bowl.
Keep whisking until it looks uniform, kind of like finely sifted sand. If you see any dark spots that look like pure cocoa powder clinging together, break them up with the side of your whisk. That careful blending step is what separates a decent homemade hot cocoa mix from one that tastes like you just dumped powder into hot milk.
Once it’s perfectly smooth, you can head over to my general baking tips page if you want to learn more about handling dry ingredients, but for now, transfer this gorgeous powder into your storage jars! You did it!
Preparing Your Perfect Serving of Hot Cocoa Mix
Now that you’ve got this huge batch of powder ready to go, how do you turn it into that perfect, cozy mug? It couldn’t be simpler! For one serving, you need about a half cup of the dry mix—yes, half a cup, that’s how rich this is!—stirred into one cup of hot liquid. If you are in a huge rush, hot water works fine and it’s fast, but oh boy, do you miss out on the texture.
If your goal is that unbelievably velvety experience, you must use hot milk. Whole milk is my go-to, but even lower-fat milk makes a world of difference. The milk interacts with those dry ingredients, especially if you used the optional powdered milk, to create that luxurious, creamy hot cocoa recipe dry mix payoff. Whisk it well until it’s completely dissolved and get ready to sip!
Storage and Make Ahead Hot Cocoa Tips
Since we went to the trouble of making this enormous batch of homemade hot cocoa mix, we need to make sure it lasts, right? Good news! This is fantastic for making ahead because it’s a completely dry mixture. As long as you keep it safe from moisture, it lasts beautifully at room temperature for up to six months. Six months! That’s basically a whole winter season covered, which is why batch making is genius.
You absolutely must use airtight containers. I’ve tried storing it in big Ziploc bags, but honestly, they just don’t cut it once you start dipping into the supply regularly. You want jars or containers with tight-fitting lids to keep humidity out, otherwise, that sugar starts clumping and our beautiful powder turns into a brick. If you’re planning on keeping the kitchen really stocked for easy winter mornings, check out my best tips for making brunch ahead of time for other pantry ideas!
Gifting Hot Cocoa Powder: Creating a Chocolate Gift in a Jar
You absolutely HAVE to make a batch of this homemade hot cocoa mix just for gifting, trust me. These jars make the most thoughtful, cozy presents for neighbors, teachers, or anyone you want to share a little warmth with. It’s so much better than giving a scented candle because this is an edible hug!
The secret to a beautiful presentation for this bulk beverage mix is layering. Grab a nice decorative mason jar. Don’t mix the ingredients first! Instead, carefully layer the granulated sugar on the bottom, then the cocoa powder (you might want to gently tap the jar to keep the layers straight), and finally top it off with that fluffy optional powdered milk. It looks stunning, like a little dessert waiting to happen.
If you’re feeling extra fancy and want the ultimate chocolate gift in a jar, I sometimes mix the dry ingredients first, then layer that finished powder with some cute additions—think chocolate chips, mini marshmallows, or maybe even a little cinnamon stick tucked inside the jar’s neck. Just tie a simple tag on with ribbon that explains how to make the perfect cup. It’s guaranteed to be the best DIY hot chocolate powder they’ve ever received!
Frequently Asked Questions About Homemade Hot Cocoa Mix
I know when you’re making a big batch, you might have a few leftover questions swirling around in your head. That’s totally normal! I’ve been asked these same things a hundred times, especially when I share my homemade hot cocoa mix recipe with friends. Here are the answers to the most common things folks want to know about this rich chocolate powder recipe.
Can I make this hot cocoa mix without powdered milk?
Yes, absolutely! That powdered milk is strictly optional and primarily there to help bulk up the mix and give a melt-in-your-mouth creaminess when you only use water. If you skip it, you should definitely follow the little trick I mentioned earlier: add an extra 1/4 cup of good cocoa powder and blend in about 1/4 cup of some finely grated dark chocolate right before you seal the jar. That keeps it feeling luxurious and hits that creamy hot cocoa recipe dry mix goal without the dairy powder.
What is the best liquid to use with this dry mix?
If you want the absolute best result, milk is the winner, hands down. Heating up whole milk and mixing in the powder creates that thick, rich hug in a mug we’re aiming for. But look, if you’re in a rush, or just need a quick warm-up snack, hot water is totally fine! It will still taste infinitely better than a store-bought packet because of the quality cocoa, but it won’t have that creamy texture unless you use milk. It’s a simple trade-off!
How can I make this hot cocoa mix spicier or sweeter?
This is where the fun begins! Since this is your own DIY hot chocolate powder, you customize! For spice, I already love adding cinnamon, but if you want more kick, add a tiny pinch of cayenne pepper to your large bowl when you’re mixing everything. Start small, like a quarter teaspoon for the whole batch! If it’s not sweet enough for your taste, you can always increase the granulated sugar when you make the big batch hot cocoa mix. If you realize it’s too sweet after tasting it, the next time, just cut back the sugar by a quarter cup and add a tiny splash more cocoa powder to balance it out.
We are all about experimenting in the kitchen! You can learn more about getting the very best out of your own homemade ingredients by checking out what we’re up to on the About Us page here!
Nutritional Estimates for Your Creamy Hot Cocoa Recipe Dry Mix
Now, I’m certainly not a nutritionist, so please take these numbers with a huge grain of salt—but they are based on the recipe if you use the optional powdered milk and follow the serving size exactly! Remember, this is a treat, not a health food, but it’s nice to know generally what you’re working with when you make this creamy hot cocoa recipe dry mix in bulk.
The measurements below are for one serving (1/2 cup of the dry mix):
- Serving Size: 1/2 cup dry mix (makes 1 serving)
- Calories: About 200
- Sugar: Around 30 grams
- Fat: Just about 2 grams
This estimate assumes a standard preparation using the fuller ingredient list. Since you control the sugar when you make the homemade hot cocoa mix, the final numbers change drastically if you cut back! This data is just a helpful guide for when you’re tracking things.
Share Your Favorite Winter Drink Mix Creations
Well, that’s it! We’ve turned simple pantry staples into a massive store of the most delicious, rich homemade hot cocoa mix you’ll ever taste. I hope you’re just as excited as I am to try this out the next time a chilly evening rolls around.
But I really want to hear what *you* do! Did you stick to the recipe perfectly, or did you throw in some cardamom or maybe some chopped walnuts before you sealed the jar? Tell me how you’re enjoying your bulk beverage mix. Did you use the layers for a beautiful chocolate gift in a jar, or did you just dump it all into one giant container right away?
Please, please leave me a rating below—five stars if it warmed your soul the way it warms mine! And if you have any other fantastic variations or tips tucked away for your hot cocoa mix preparation, snap over to the contact page and let me know. Happy sipping, everyone!
PrintBig Batch Homemade Hot Cocoa Mix

A simple recipe for a large batch of dry hot cocoa mix that yields a rich, creamy drink when combined with hot liquid.
- Prep Time: 10 min
- Cook Time: 0 min
- Total Time: 10 min
- Yield: About 7 cups of mix (makes approximately 14 servings)
- Category: Beverage Mix
- Method: Mixing
- Cuisine: American
- Diet: Vegetarian
Ingredients
- 4 cups granulated sugar
- 2 cups unsweetened cocoa powder (natural or Dutch-process)
- 1 cup powdered milk (optional, for extra creaminess)
- 1 teaspoon salt
- 1 teaspoon instant espresso powder (optional, for depth)
- 1/2 teaspoon ground cinnamon (optional)
Instructions
- Measure the granulated sugar, cocoa powder, powdered milk (if using), salt, instant espresso powder (if using), and cinnamon (if using) into a very large bowl.
- Whisk all dry ingredients together thoroughly until they are completely combined and no lumps remain. Break up any clumps of cocoa powder.
- Transfer the finished mix to clean, airtight containers for storage. This recipe makes a large batch suitable for stocking your pantry or dividing for gifts.
- To prepare one serving, combine 1/2 cup of the dry mix with 1 cup of hot milk or water in a mug. Whisk until smooth and enjoy.
Notes
- For a richer flavor without powdered milk, increase the amount of cocoa powder by 1/4 cup and add 1/4 cup of finely grated dark chocolate to the mix before storing.
- This mix stores well at room temperature in a sealed container for up to six months.
- For gifting, layer the ingredients in a decorative jar, or simply package the finished mix with instructions attached.
Nutrition
- Serving Size: 1/2 cup dry mix (makes 1 serving)
- Calories: 200
- Sugar: 30
- Sodium: 50
- Fat: 2
- Saturated Fat: 1
- Unsaturated Fat: 1
- Trans Fat: 0
- Carbohydrates: 45
- Fiber: 3
- Protein: 3
- Cholesterol: 0